Jump to content


Photo

Little Less Conversation A Little More........


  • Please log in to reply
246 replies to this topic

#1 SukiDawg

SukiDawg

    Speeding Along Now

  • Members
  • PipPipPipPipPip
  • 304 posts

Posted 23 September 2008 - 11:10 PM

Been spending a lot of time over the last couple of years mulling over ideas for a project to replace the last one when it was finished... you know - as you do while you actually DOING the last one.

Well - all bar the shouting said last project is done now.. so I've spent a few beer tokens on Ebay, and I wheeled that old mini shed.. er I mean shell, I had kicking about into the workshop.

After some poking about with the pick hammer it soon became aparent that the shell I had was destined for the road no longer - far too rotten to be a realistic repair - but at least it would serve as a good mock up. So - ater getting stuck in, here's my a first look at what I'm thinking.... kinda.


Excuse the butchery - remember this is just a mock up for now.


Posted Image

Posted Image

Posted Image


Off for a shower!


Dave.

#2 Bungle

Bungle

    Original Spamster

  • Members
  • PipPipPipPipPipPipPipPipPipPipPip
  • 28,971 posts
  • Location: Cornwall
  • Local Club: cornish mini club

Posted 24 September 2008 - 06:18 AM

mind your toes with those spiny round bits near them :D

#3 lchris21

lchris21

    Mini Mad

  • TMF+ Member
  • PipPipPipPip
  • 106 posts

Posted 24 September 2008 - 04:54 PM

Whooooo......hoooo..another RWD BEC project. Bring it on.
All the best with this

#4 SukiDawg

SukiDawg

    Speeding Along Now

  • Members
  • PipPipPipPipPip
  • 304 posts

Posted 06 October 2008 - 09:24 PM

Hey...

Things are moving on... As mentioned the shell in the pics above turned out to be far too far gone to be feasible for this project, but subject to a good eyeball it looks like I've found a real nice '94 shell to use as a base.

I was out in the workshop a little bit last weekend, but mainly it was putting finishing touches to the last project so only spent a bit of time on the mini. Mainly taking out the rear seats etc from the interior and doing a lot of chin scratching about roll cage structure and all that kind of stuff... Main thing I did was cut more steel out of the front subby; allowing me to better position the engine... I'm now clear about what the subby should look like when the fat lady sings - its bloody tight to get the strength back into it - but reckon its do-able. The bulkhead gods are gonna be angry though lol...


Hopefuly have something to show soon....


Dave.

Edited by SukiDawg, 06 October 2008 - 09:26 PM.


#5 SukiDawg

SukiDawg

    Speeding Along Now

  • Members
  • PipPipPipPipPip
  • 304 posts

Posted 03 November 2008 - 12:40 AM

Well - sorted the shell now I reckon - going to pick it up from another of our number next weekend....


In the meantime - there's not too much to actually show, but I know a hell of a lot more about bike engined cars than I did a few weeks ago, and I reckon all the major aspects of this one are clearing in my mind. I want to know exactly what I'm doing before I start, so I'm trying to do it like a proper job.. I use Unigraphics day to day in my job, so I've begun to model the bare mini shell in that software. Once thats done I can lay eveything out in the machine first and not have too many puzzles when it comes to cutting the metal...

It doesn't look much yet, but these things do take time... Shell is modelled up to the dash rail, and back as far as the step under the seat. Its a slow process...


Posted Image

Posted Image


Dave.

#6 z cars chris

z cars chris

    Speeding Along Now

  • Members
  • PipPipPipPipPip
  • 469 posts

Posted 07 November 2008 - 08:52 PM

the first bike engined mini we did was like this with an R1 yamaha sideways on to the engine bay and driving a propshaft to the back of the car where we fitted a diff and rear suspension
worked pretty well but was heavy compared to the ones we do now as you end up running a propshaft and diff etc
BIG thing to watch out for is the steering rack its easy to forget that in the mock up stage and its critical to being able to drive the car afterwards !!! exhaust headers are pretty complex as well as they have to curl around the motor and across the front of the engine bay

chris

#7 SukiDawg

SukiDawg

    Speeding Along Now

  • Members
  • PipPipPipPipPip
  • 304 posts

Posted 16 November 2008 - 05:35 PM

Posted Image

Also have my shell now - picked it up from Liverpool last weekend. Should get my diff this week (Freelander) which is coming from a friend in N. Ireland who breaks land rovers.

#8 SukiDawg

SukiDawg

    Speeding Along Now

  • Members
  • PipPipPipPipPip
  • 304 posts

Posted 24 November 2008 - 08:17 PM

Been working away in front of the tube this weekend... Got a decent enough floorpan/shell model to start laying out the car now, just got to crack on and get the remaining parts into the computer as well. Brought my surface plate into the house lol... its cold in the garage! Using that on the dining room table I've got the crankcase and head castings measured and into the machine too...

Engine just roughly positioned at the moment...

Posted Image

bit off centre...

Posted Image

Posted Image

I was drawing round the whisky bottle.... Really....

Posted Image

Still waiting on the diff >_<

Edited by SukiDawg, 24 November 2008 - 08:31 PM.


#9 SukiDawg

SukiDawg

    Speeding Along Now

  • Members
  • PipPipPipPipPip
  • 304 posts

Posted 01 December 2008 - 10:48 PM

A couple of purchases turned in the last few days; I bought a handheld gravity fed sandblast gun and some glass bead media from the mighty ebay for less than £40 delivered all in. Thought I would give it a blast (b'dum tsch) this evening and see how well it worked...

This took about an hour, and used most of the 25Kg bag, however I experimented a bit with scooping up the blast media and sticking it back in the gun; and I reckon with a bit of filtering it'll work a treat. We use fine wire mesh at work so should be able to get a piece to make a filter with...

Posted Image

Takes the paint off the inside of the shell a treat. Doesn't work to well on the exterior panels though; it struggled to break through the primer on the exterior - however I reckon you could easily run over the outside with the air sander to break the top layer and then blast back if required... however - as my shell is fairly rust free on the body panels this may not really be required. Its more where I'll be modifying the shell that I want bare metal.

This shows sort of before and after....

Posted Image

This is the gun...

Posted Image


I'm not sure the media I have is agressive enough for everything - might email the person I bought it from and see what he says as there's other types on is ebay page. Something that took the seam sealer off would be good - and also for use on the more corroded areas....

#10 R1mini

R1mini

    One Carb Or Two?

  • Members
  • PipPipPipPipPipPipPip
  • 1,384 posts

Posted 01 December 2008 - 11:13 PM

Aluminium Oxide works brilliantly available from Machine Mart and the like, it takes the rust clean off, back to as new metal. I don't know about seam sealer and underseal though. I used the oxide again and again after filtering it got less effective as it became finer and finer but way better than using a wire brush, I reused it about three times before it really started to lose its bite

Cheers
David

#11 SukiDawg

SukiDawg

    Speeding Along Now

  • Members
  • PipPipPipPipPip
  • 304 posts

Posted 03 December 2008 - 10:30 PM

Thanks David...

After a bit of research I came up with the same thing, so I'll give it a whirl.....

#12 SukiDawg

SukiDawg

    Speeding Along Now

  • Members
  • PipPipPipPipPip
  • 304 posts

Posted 12 March 2009 - 10:18 PM

Hello...

Happy new year to all - been a while since I posted anything in the thread... Basically because I didn't have much to report. Was away for a few weeks over Xmas, then other commitments etc in Jan and Feb - but have now picked this again so here's a short update.

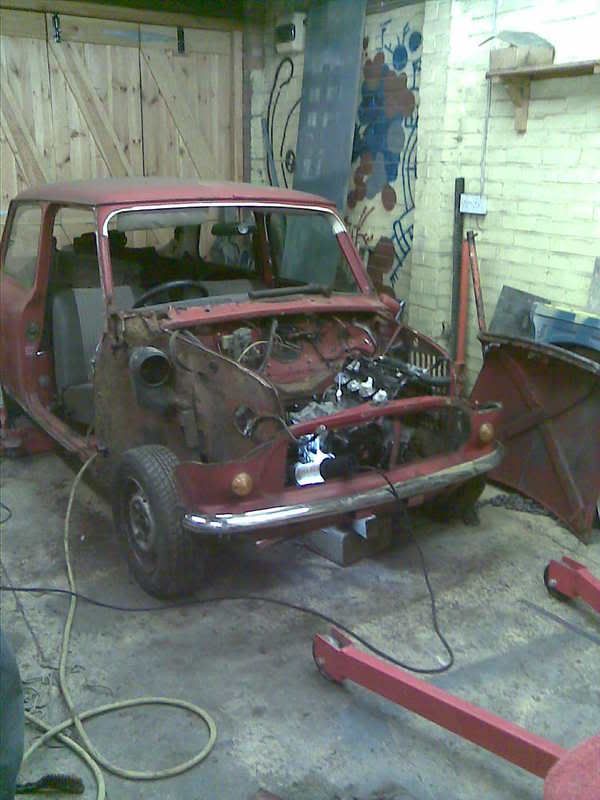
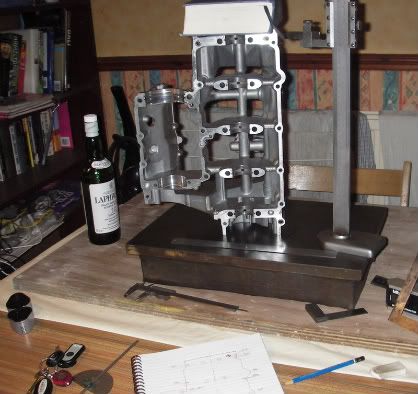
We have built high stands to allow good access to the underside of the shell. When it comes time to install the prop, exhaust mountings, rear and front subframes etc this should make it a lot easier. Although I have spent a fair bit of time on the computer working on the design for the car, it was good to get back out in the workshop (now that the weather is getting warmer) and see some tangible progress.

The car up in the air...

Posted Image

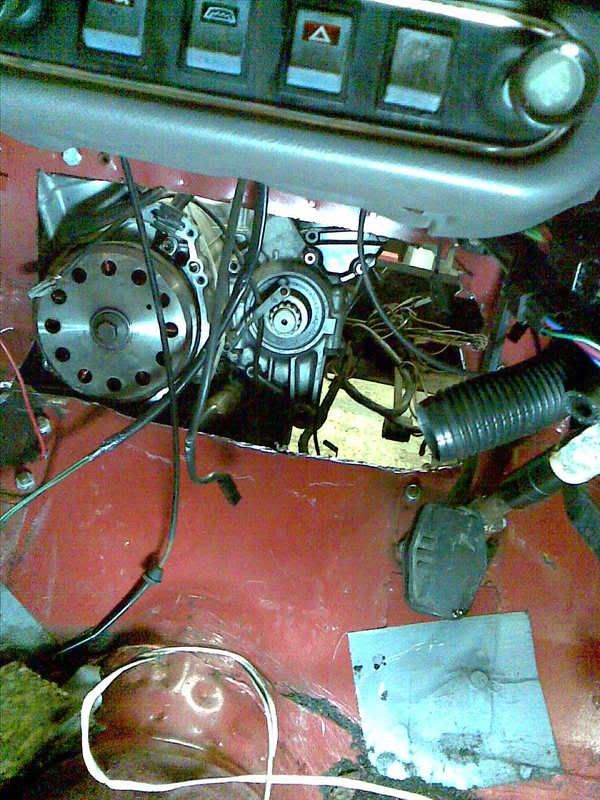
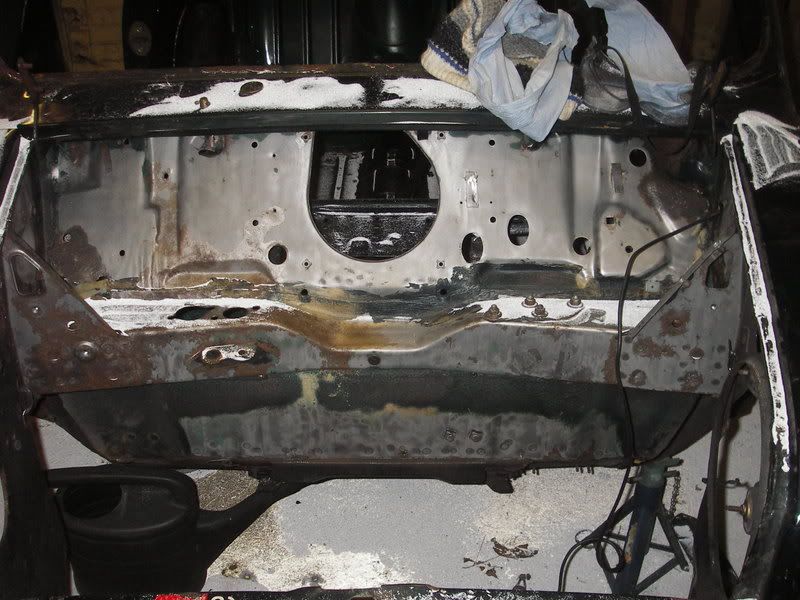
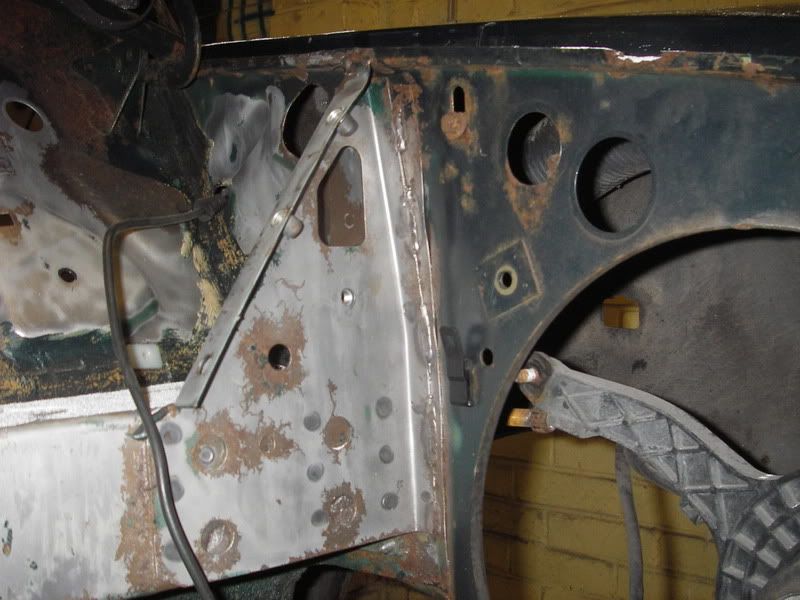
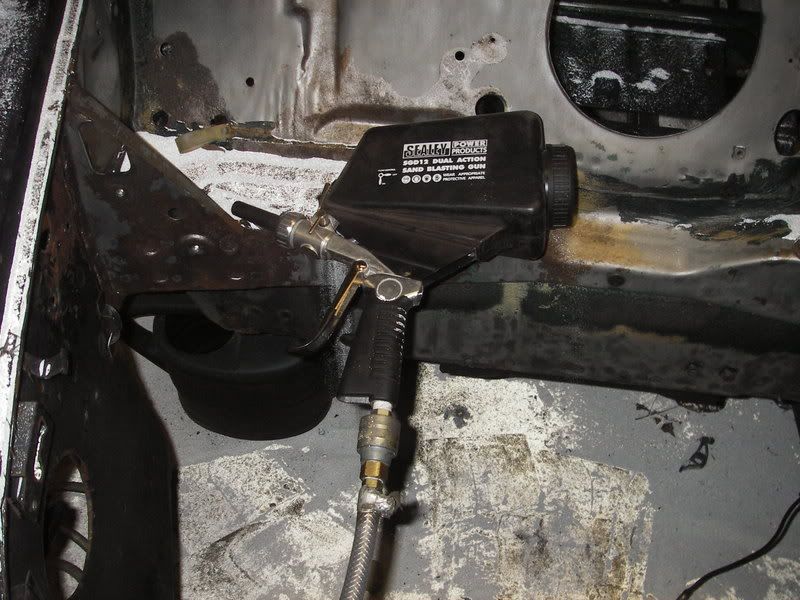
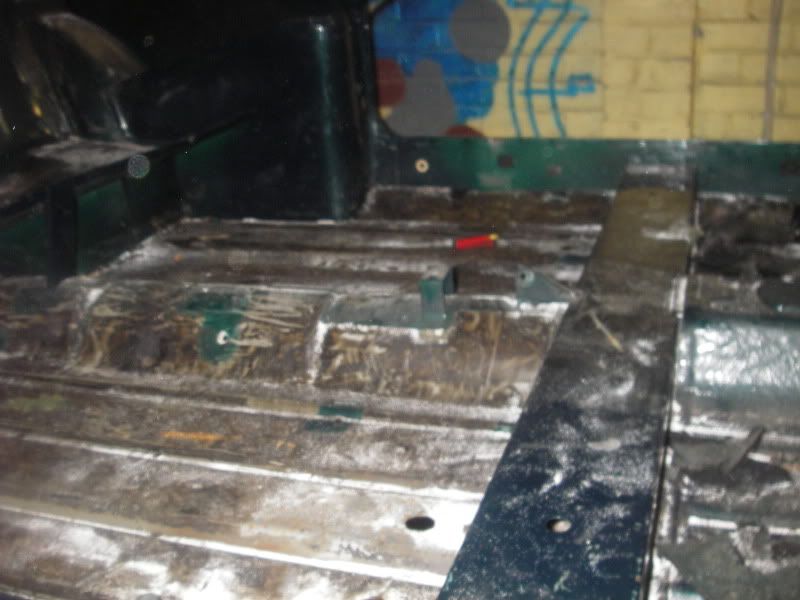
Spent this afternoon continuting to clean all the seam sealer and gunk off the bulkhead and underside. I've found progress is better with air drill / cup brush, a wallpaper scraper and a blowlamp than with the shot blastung gun.

Posted Image

Posted Image

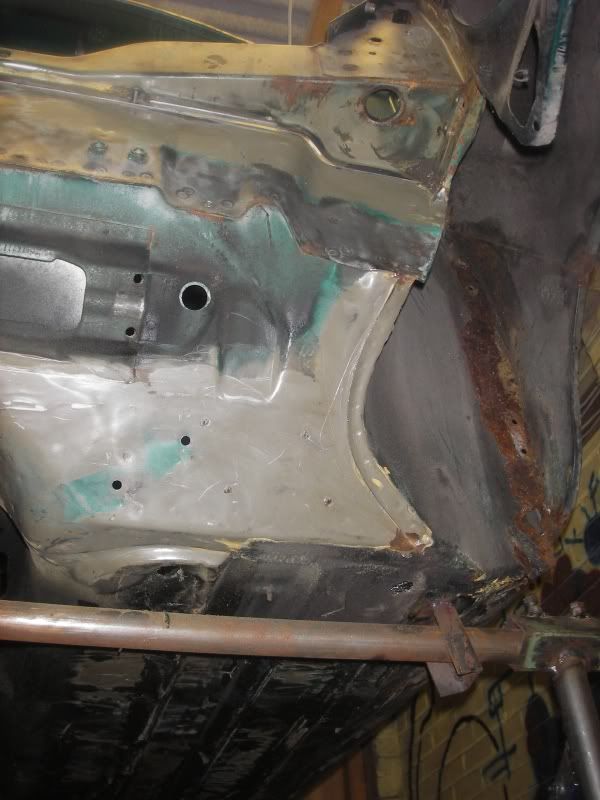
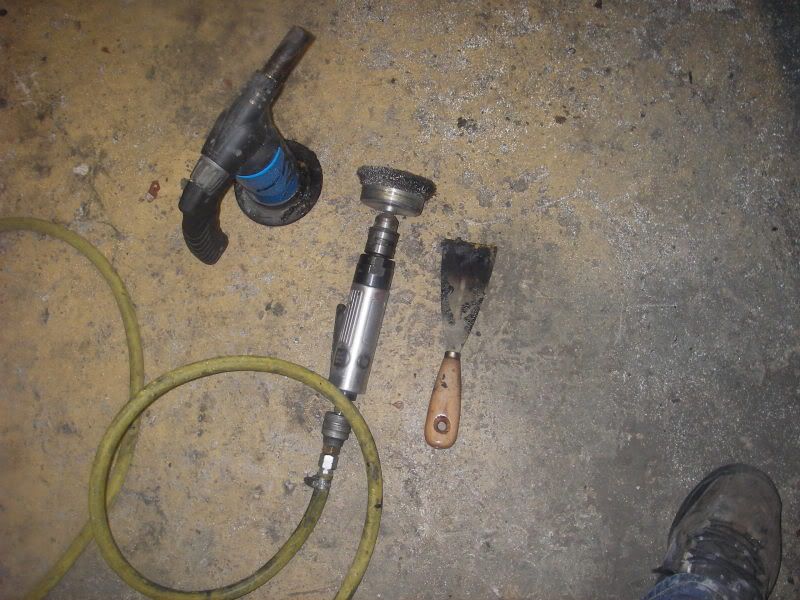
The blowlamp also softens the bitumen sound deadening a treat - it comes off like marzipan once you warm the panels....

Posted Image


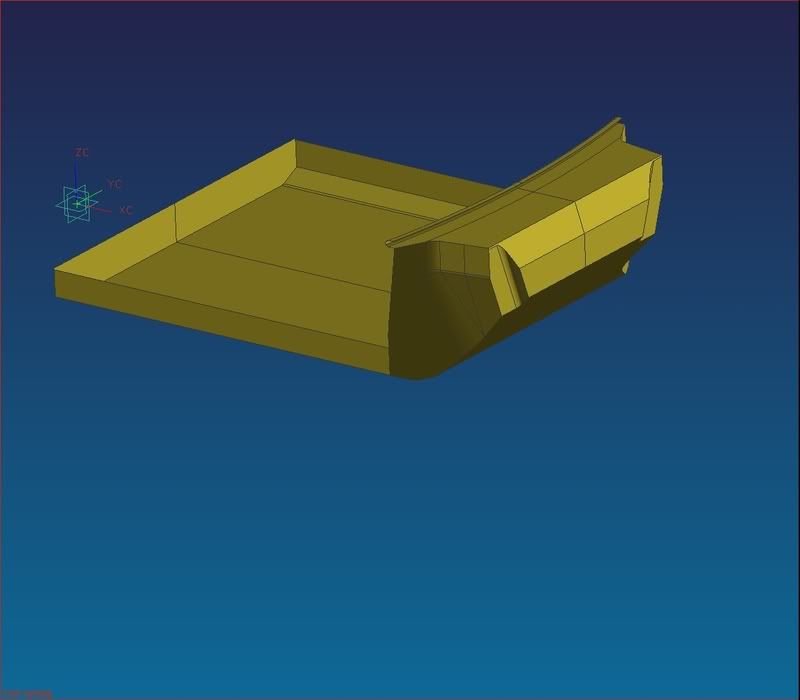
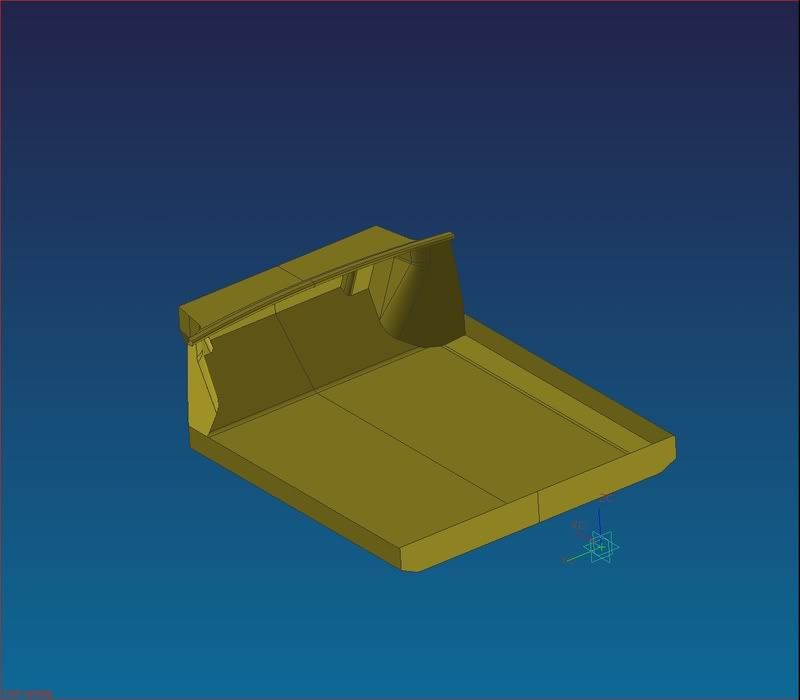
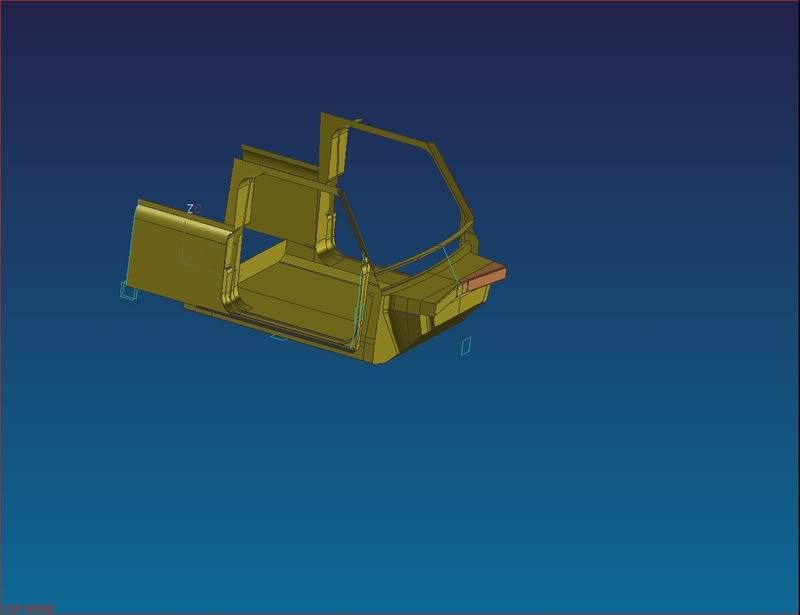
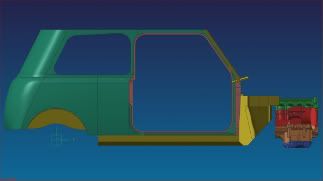
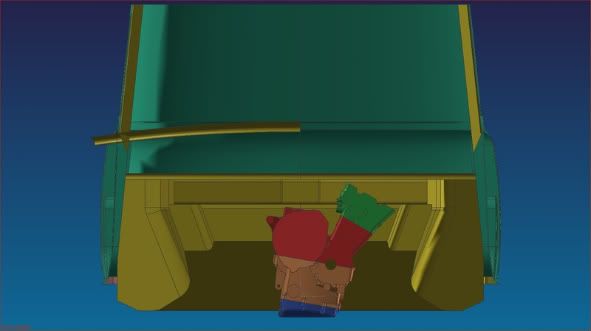
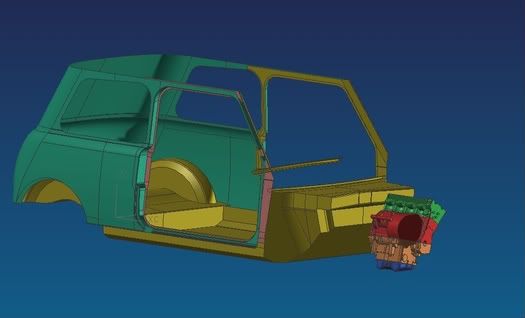
In terms of design progress, I'm still laying the whole thing out really. I've been doing a lot of reading about suspension design, and have a decent idea of what I should be looking to acheive at the back end. I have the diff - and have modelled it - so am well positioned to sort out the back end. Also had an excellent conversation with Bailey Morris (propshaft manufacturers) today, so again am well prepared to lay this all out. I am thinking that there are several reasons to end up with a left hand drive car at the end of it, as this would allow me to move the prop pver to the right of the car a little without compromising driver's postion too much. There's erm.. lets call it "a good reason"... to leave maximum space on the exhaust side of the engine as well - an area which is compromised package wise if you have a central running propshaft.

Anyway - here's a couple of screenshots....
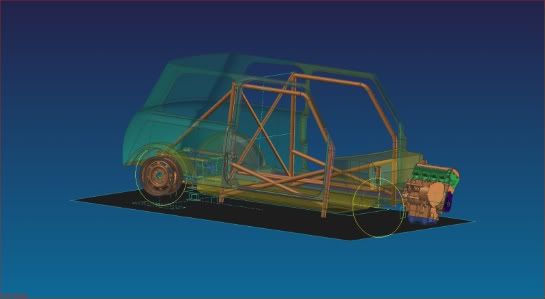
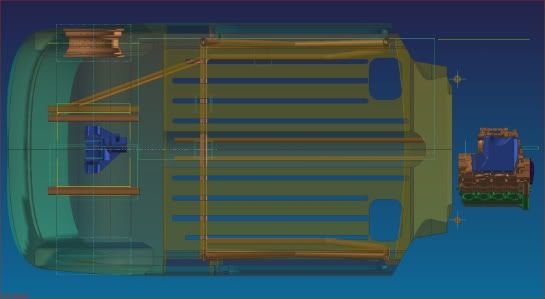
Posted Image

Posted Image


David.

#13 lchris21

lchris21

    Mini Mad

  • TMF+ Member
  • PipPipPipPip
  • 106 posts

Posted 13 March 2009 - 06:14 AM

You're doing a fine job there. Keep up the good work !

#14 jonny5

jonny5

    Starting My Mini Up

  • Noobies
  • Pip
  • 3 posts

Posted 13 March 2009 - 05:21 PM

Looks really good! Any chance you can upload the CAD model of the shell when all is done (IGES)? I've been making a rough CAD shell model myself, but yours is far superior! Keep up the good work!

Jon

#15 luke6040

luke6040

    Speeding Along Now

  • Members
  • PipPipPipPipPip
  • 449 posts
  • Local Club: na

Posted 13 March 2009 - 08:37 PM

That look rly cool! wish i had those CAD skills


0 user(s) are reading this topic

0 members, 0 guests, 0 anonymous users