Awesome. It's a privilege to watch this unfolding. I've learned a few lessons about dealing with setbacks, too.

Supercharged K20a2 Vtec - Race Spec
Started by
cptkirk
, Oct 26 2008 12:27 PM
1102 replies to this topic
#106

Teapot
-

- Members
-

- 5,010 posts
TMF Legend
- Location: Seaton, East Devon
Posted 02 May 2009 - 07:50 PM
#107
cptkirk
-
- Members
-
- 1,799 posts
Camshaft & Stage Two Head
- Location: West Sussex
- Local Club: B.M.C. + Chiminiclub
Posted 18 May 2009 - 05:41 PM
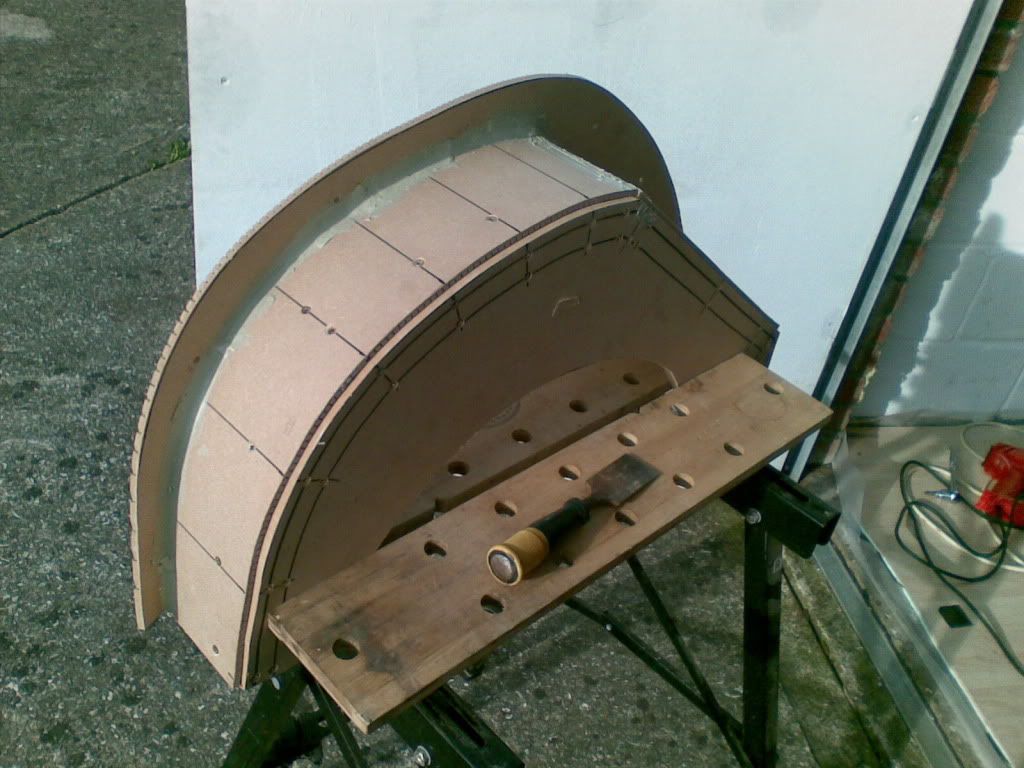
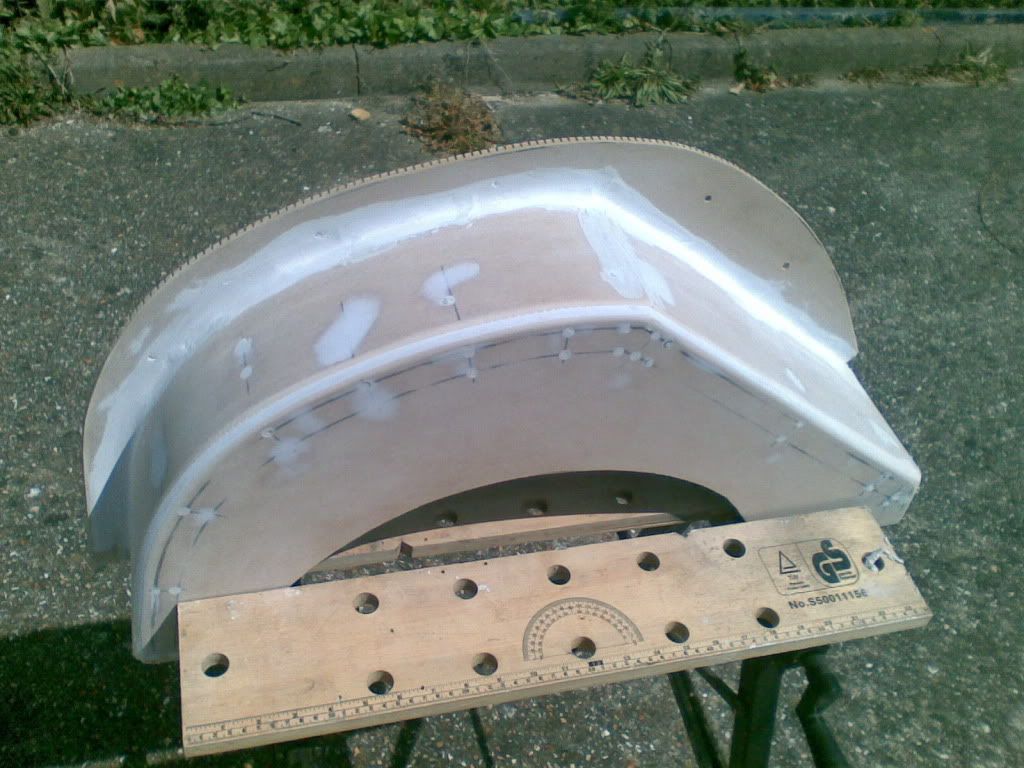
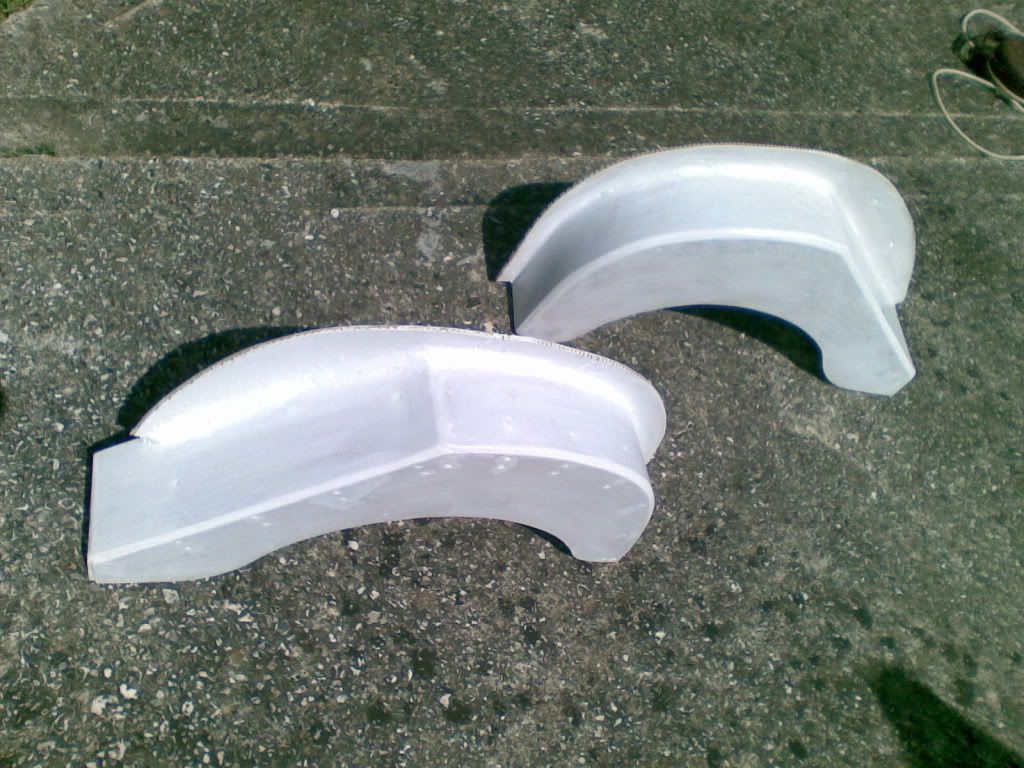
Update on Inner Arches:
Made progress with N/S arch and have handed them to my friend Stuart Jago, who is a whiz with fibreglass and not too shabby at spray painting either.
Once the mdf was finished I had to fill all the holes and smooth the joins, I looked like casper when I had finished, will be totally worth it though. So here are a few snaps of the arches, some of the N/S and one of the two arches, they still had another round of filling and sanding after the photo before they went:
#108
Saxo-Fiesta-Mini
-

- Members
-
- 2,889 posts
Up Into Fourth
- Local Club: LCMOC
Posted 18 May 2009 - 05:48 PM
lookin goood  reminds me of the twin sub box i made for my old car
reminds me of the twin sub box i made for my old car
#109
cptkirk
-
- Members
-
- 1,799 posts
Camshaft & Stage Two Head
- Location: West Sussex
- Local Club: B.M.C. + Chiminiclub
Posted 18 May 2009 - 05:58 PM
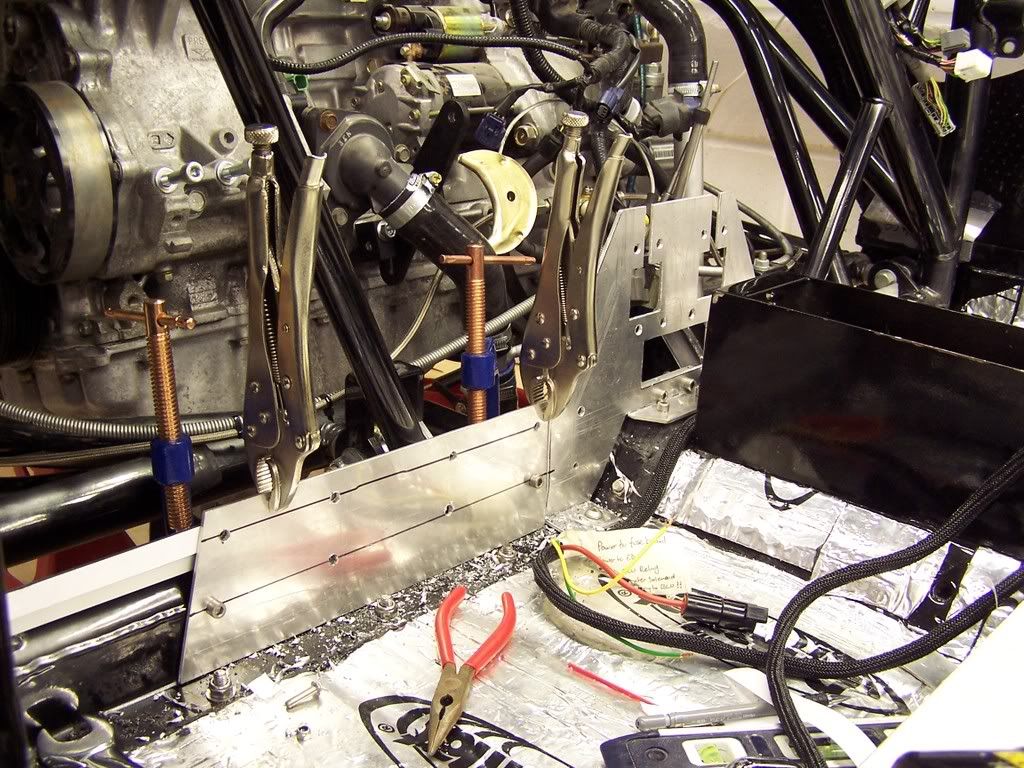
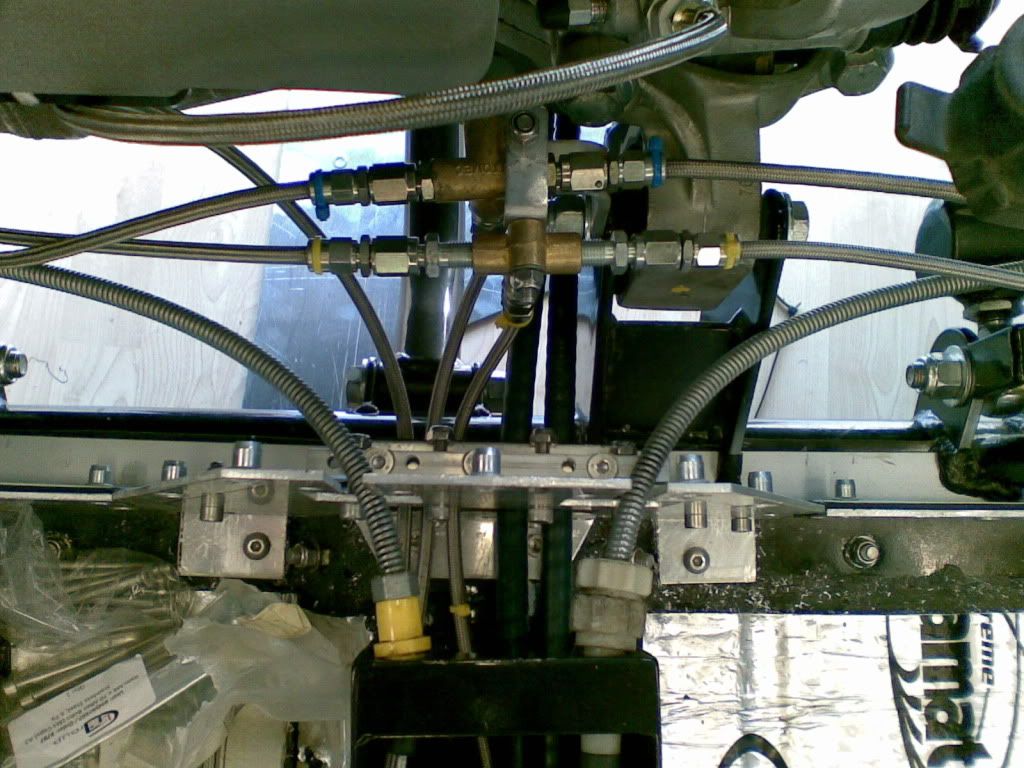
Gland Plate -
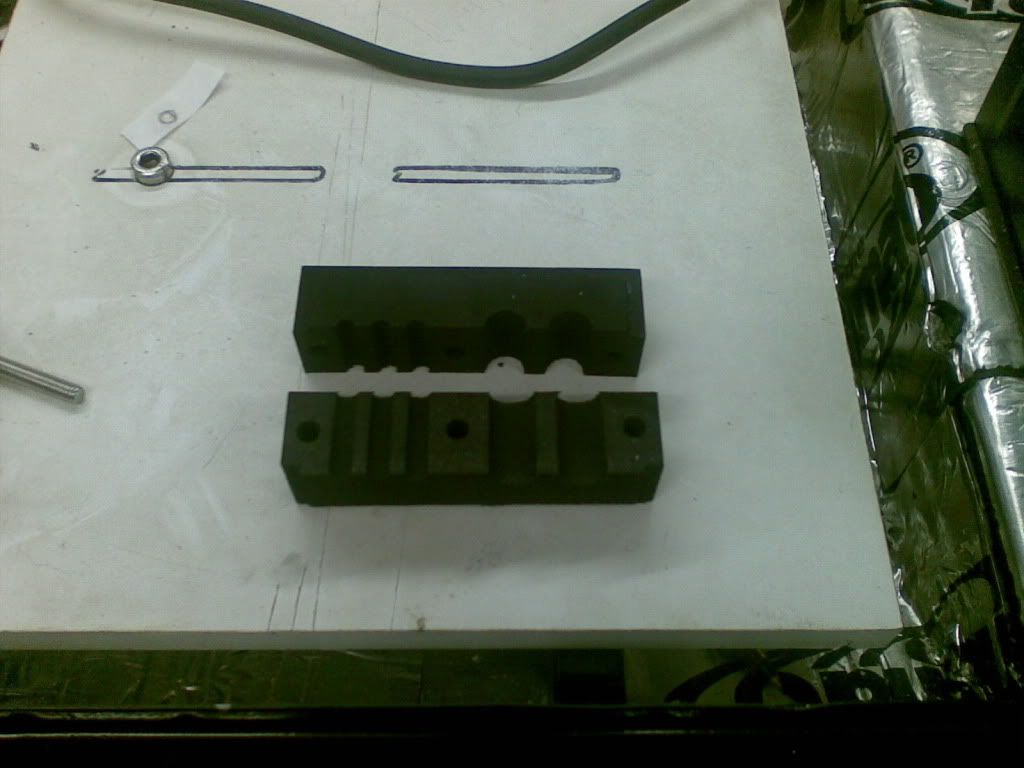
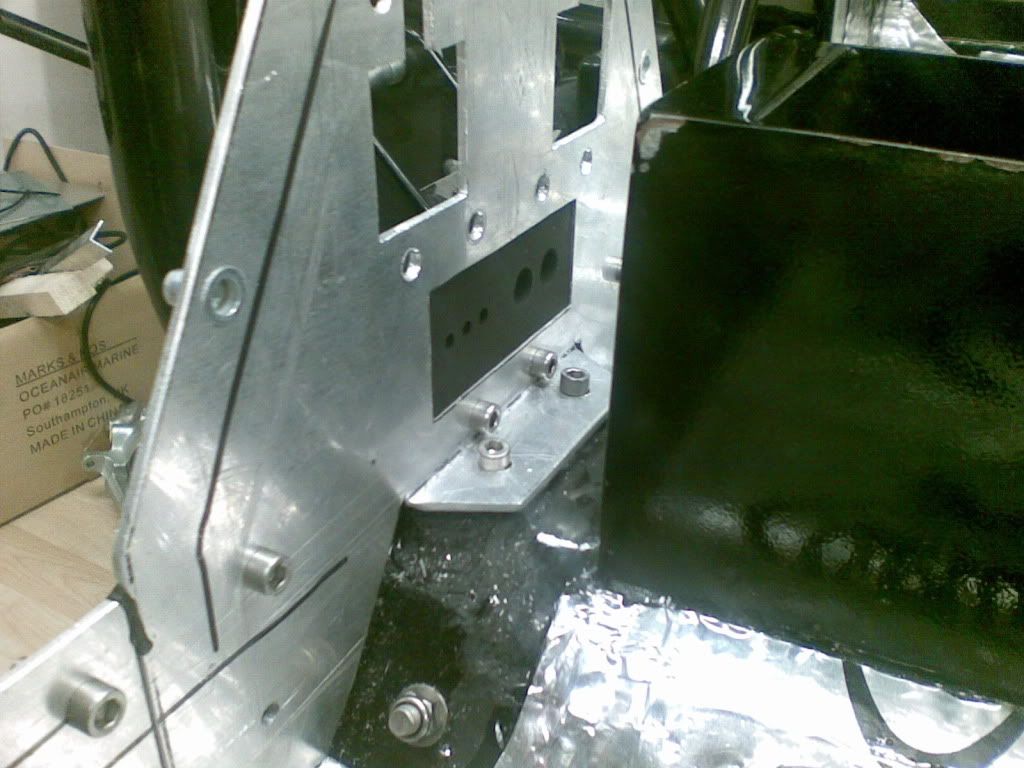
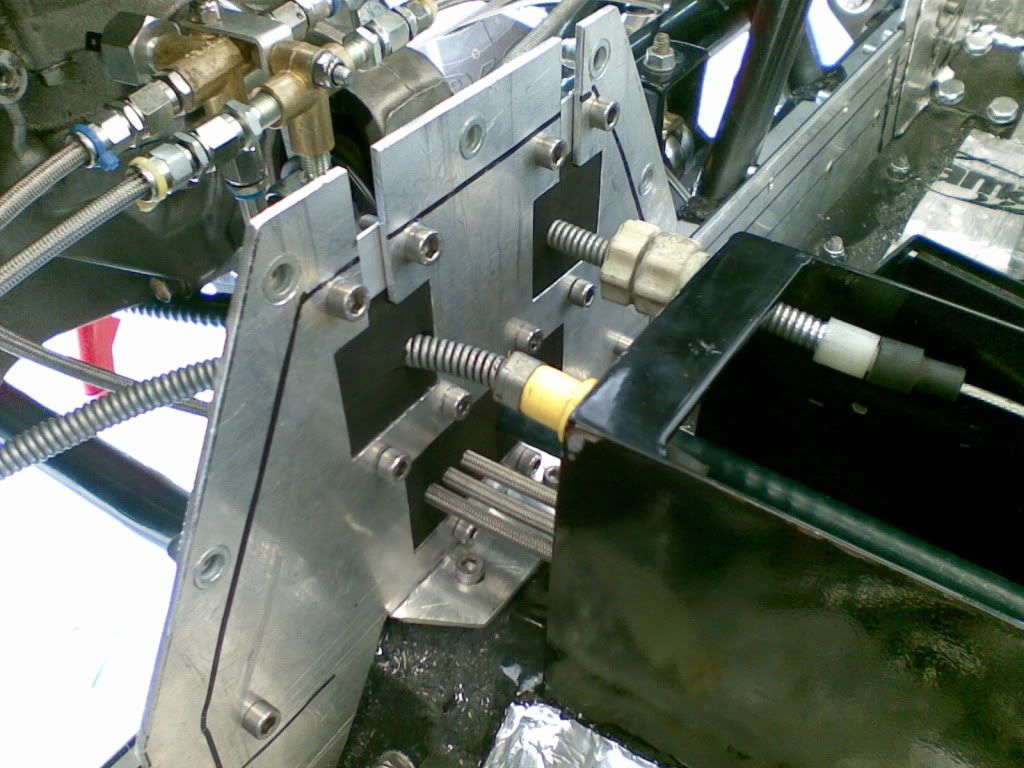
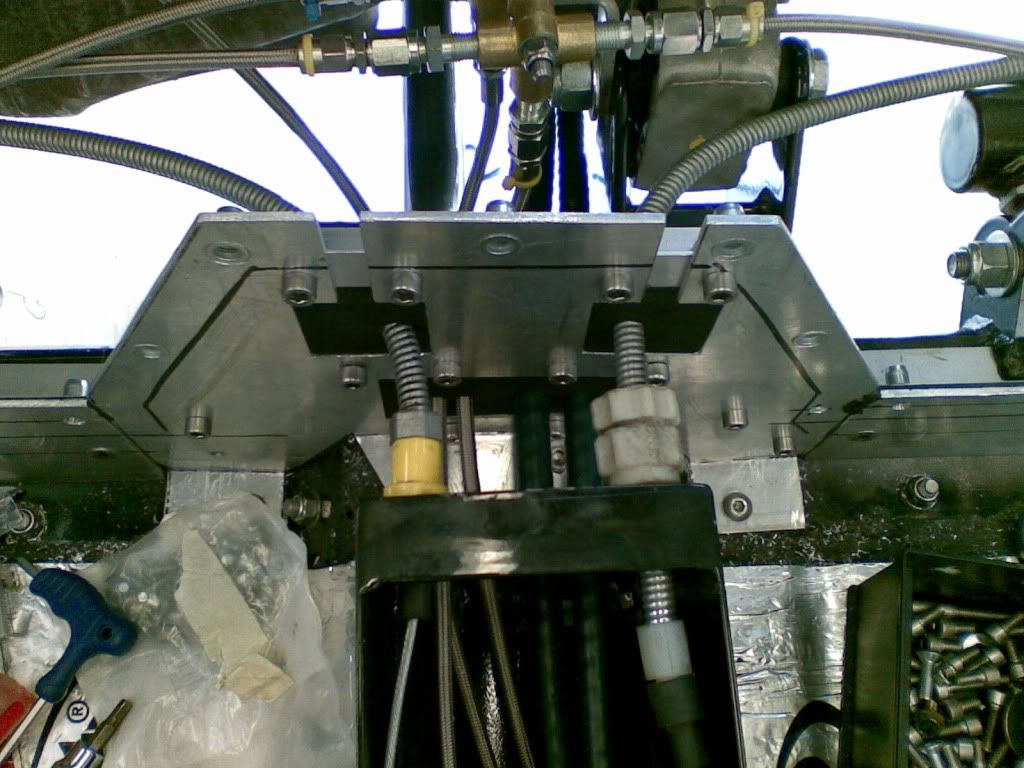
Some of you may have noticed a peice of ali at the rear of the tunnel with various sized rectangular and square holes in it, this is what I have called my gland plate. Another of my attempts to make the car as water tight as possible. The theory was to make rubber glands that fit snuggly around the brake lines, gear cables and handbrake cables. So as you can imagine this was a bit of a head scratcher for a while but has been sitting waiting to go together for a while now. The rubber was milled so that it has a shoulder that sits neatly in the holes.
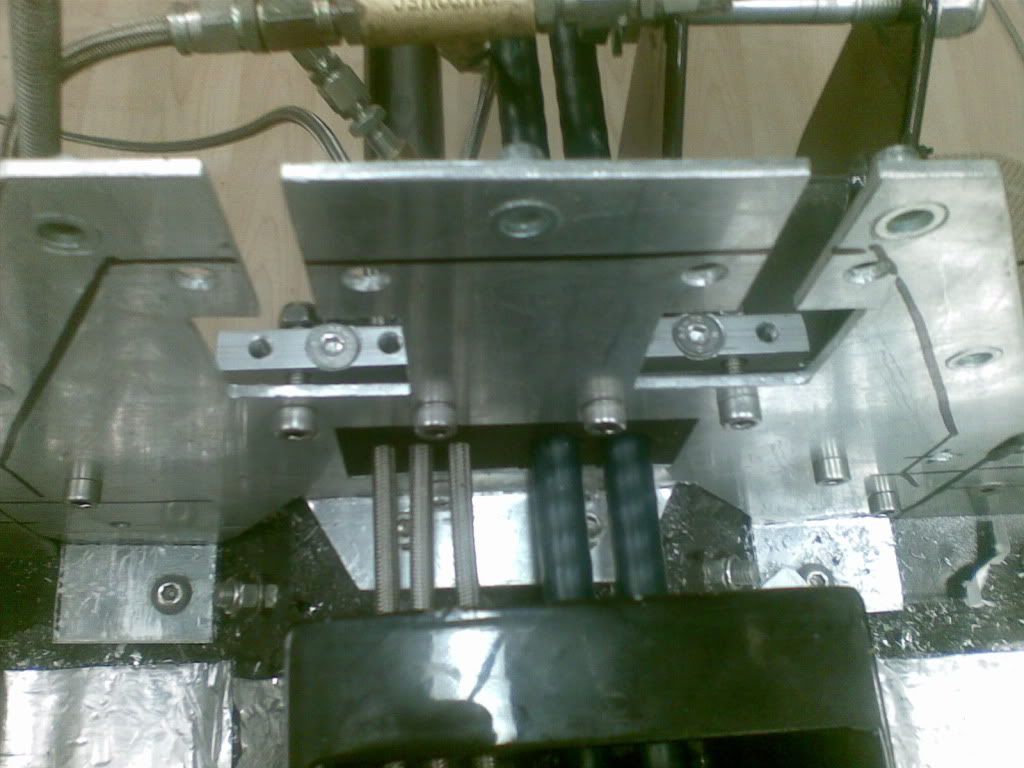
The following sequence of photos show the block as drilled and then in situ, with and without the cable going through, I then fitted the handbrake cables in the same manner (will show these in a later post), it was not easy working it all out and the jigsaw of bolts and holes and threaded bar was 'interesting' to put together. It looks like it will work....bonus!!!
We start with a photo you will have seen before in a previous thread, remember it now??
Now the rubber block is being drilled, this one is for the gear cables, brake lines (footbrake and hydraulic handbrake) and clutch line:
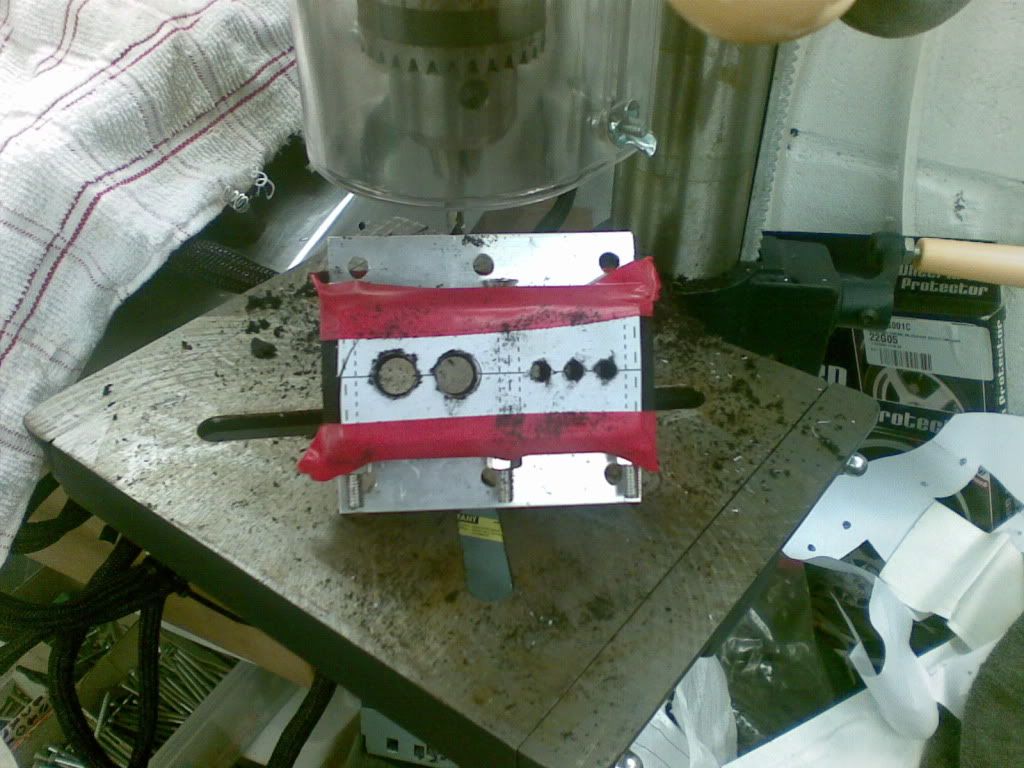
The block post drilling and seperated:
The block offered up to the gland plate:
Now the block with the lines and cables running through:
Some of you may have noticed a peice of ali at the rear of the tunnel with various sized rectangular and square holes in it, this is what I have called my gland plate. Another of my attempts to make the car as water tight as possible. The theory was to make rubber glands that fit snuggly around the brake lines, gear cables and handbrake cables. So as you can imagine this was a bit of a head scratcher for a while but has been sitting waiting to go together for a while now. The rubber was milled so that it has a shoulder that sits neatly in the holes.
The following sequence of photos show the block as drilled and then in situ, with and without the cable going through, I then fitted the handbrake cables in the same manner (will show these in a later post), it was not easy working it all out and the jigsaw of bolts and holes and threaded bar was 'interesting' to put together. It looks like it will work....bonus!!!
We start with a photo you will have seen before in a previous thread, remember it now??
Now the rubber block is being drilled, this one is for the gear cables, brake lines (footbrake and hydraulic handbrake) and clutch line:
The block post drilling and seperated:
The block offered up to the gland plate:
Now the block with the lines and cables running through:
#110
cptkirk
-
- Members
-
- 1,799 posts
Camshaft & Stage Two Head
- Location: West Sussex
- Local Club: B.M.C. + Chiminiclub
Posted 18 May 2009 - 06:11 PM
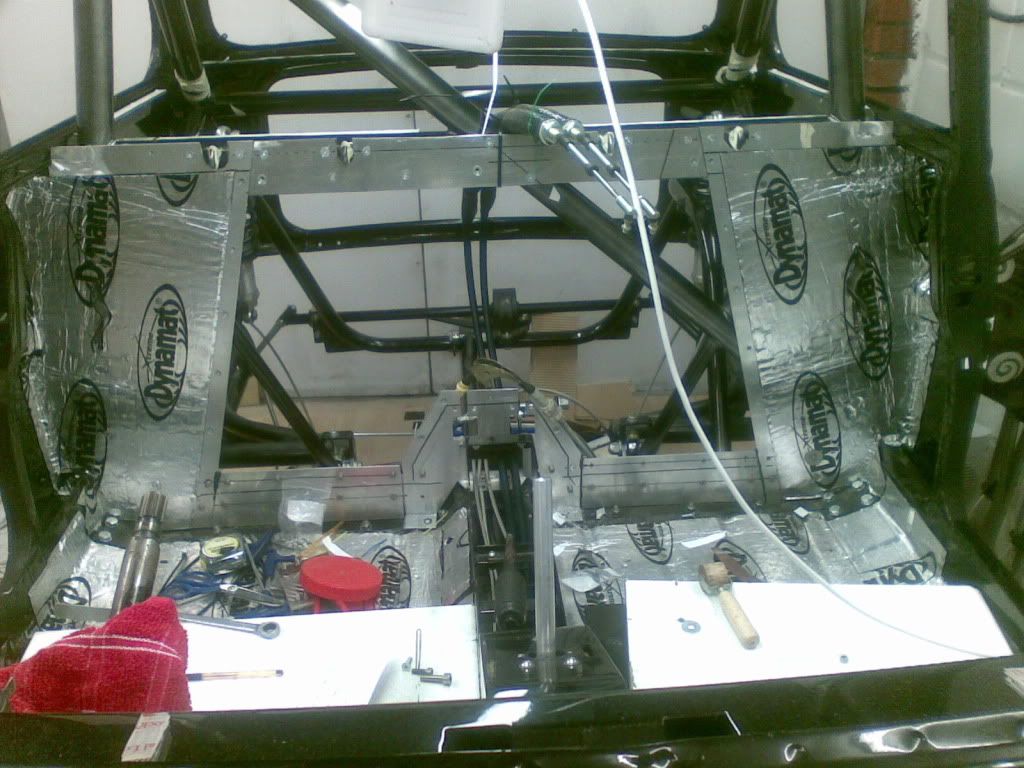
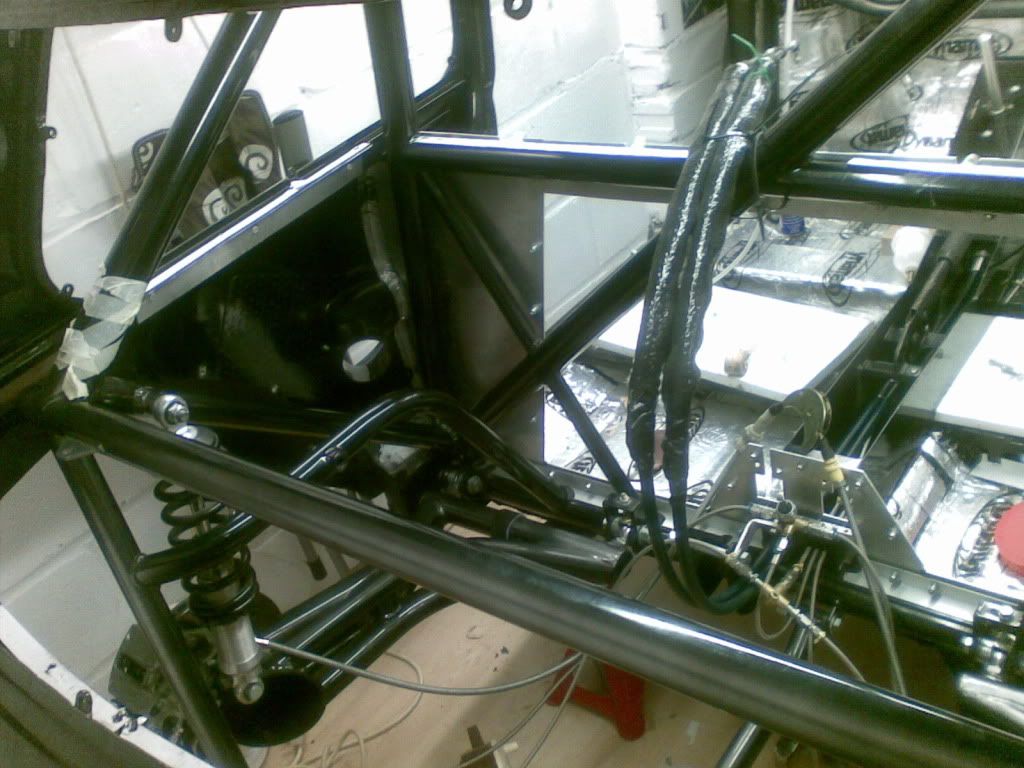
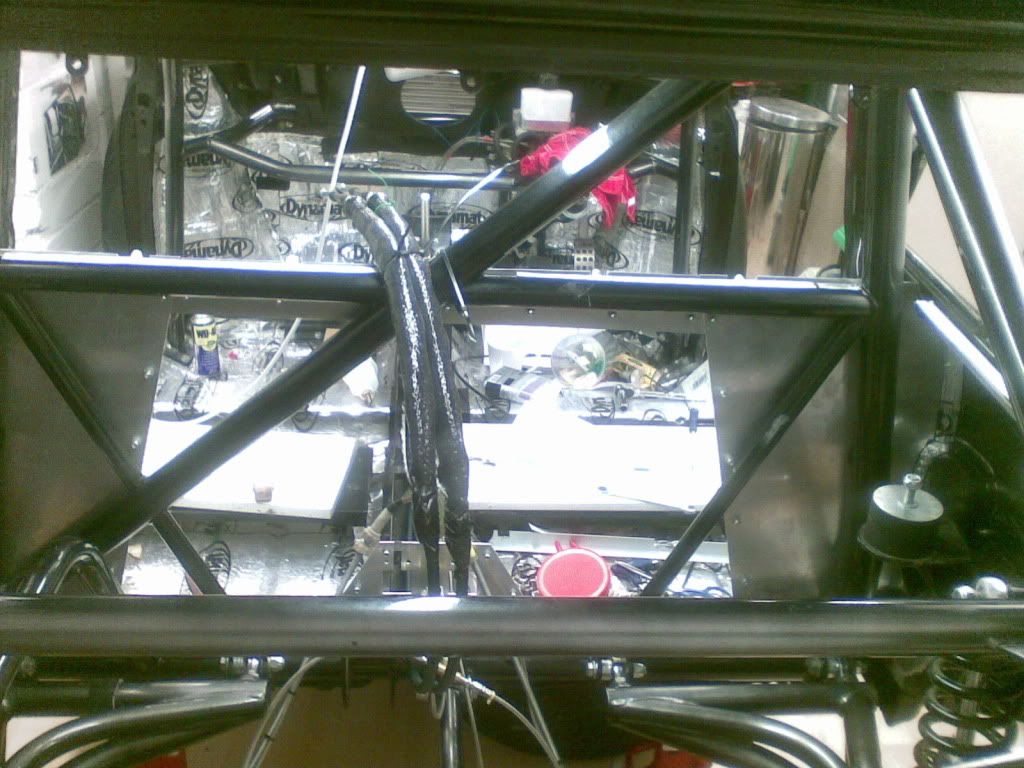
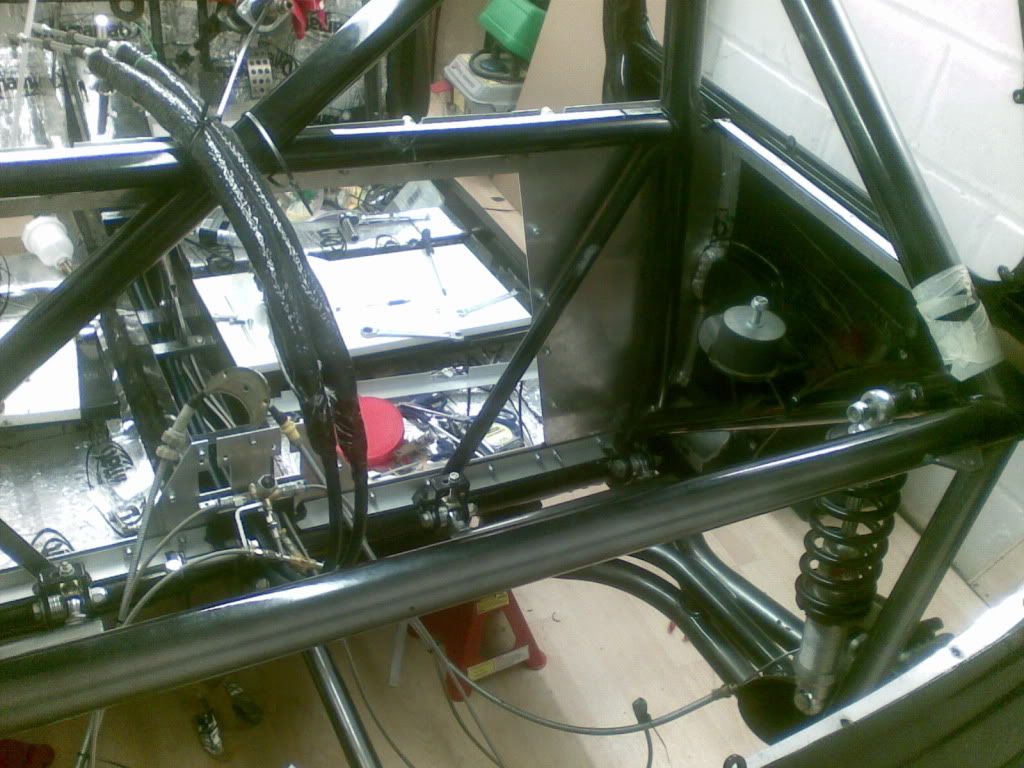
Rear bulkhead -
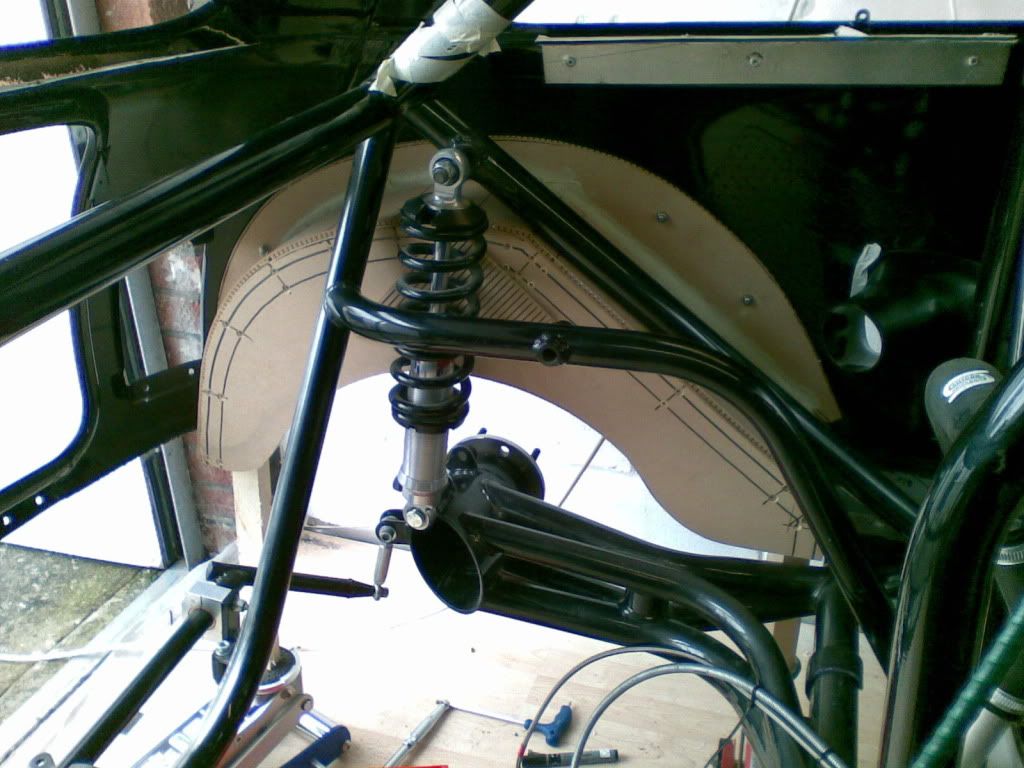
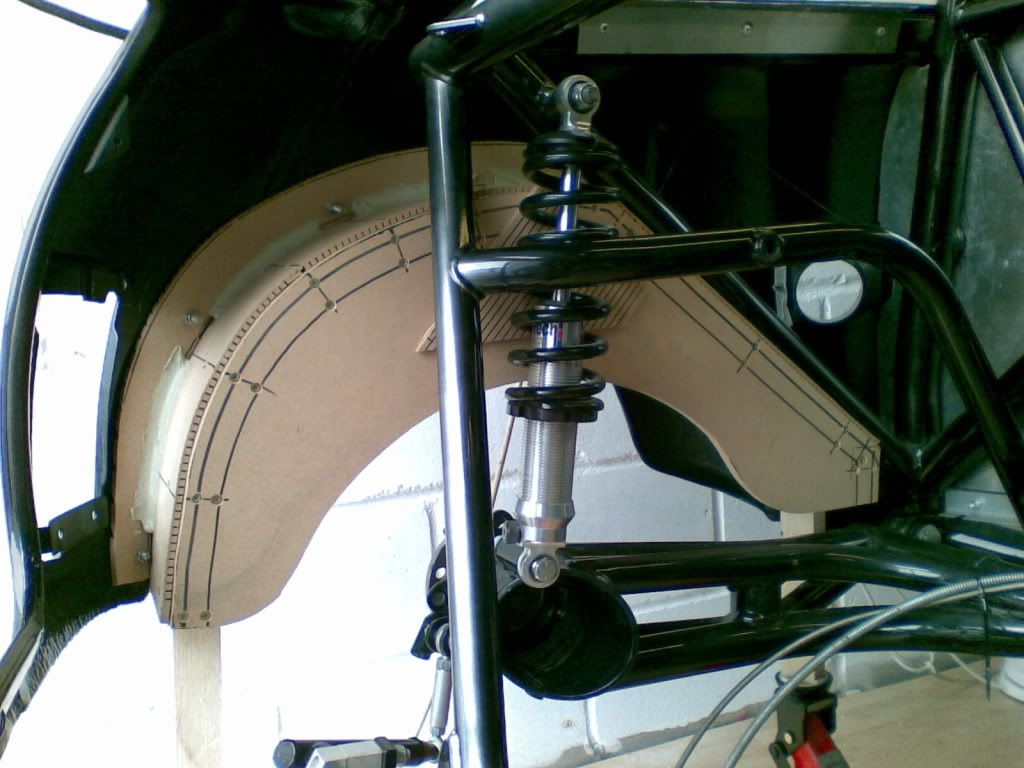
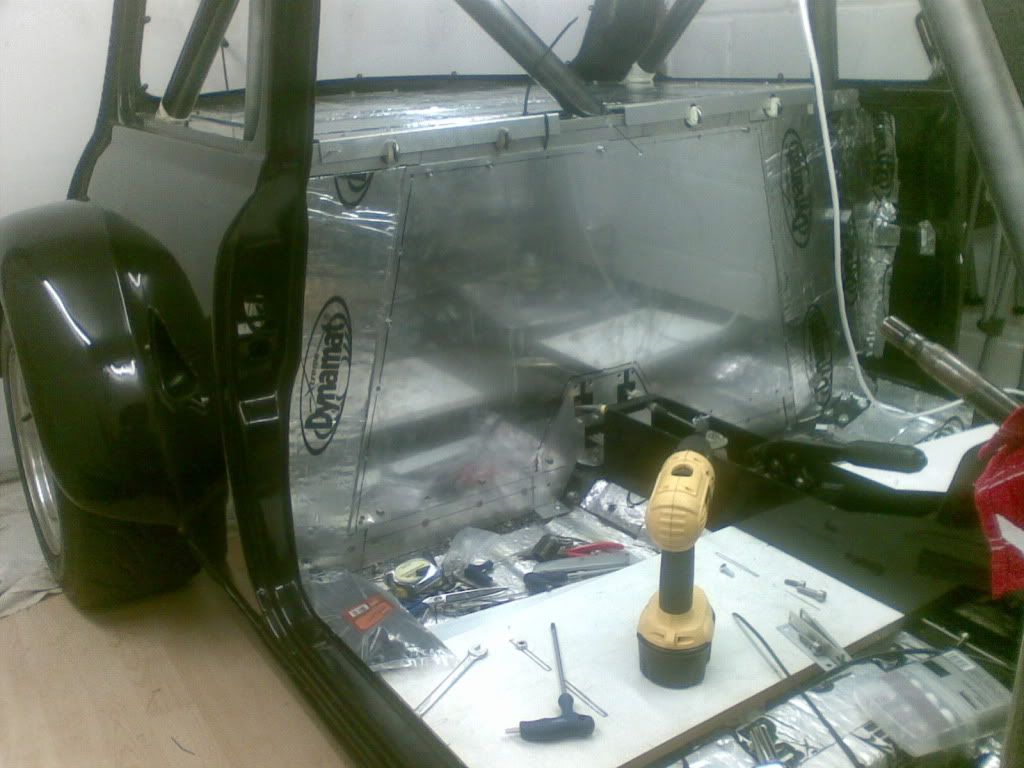
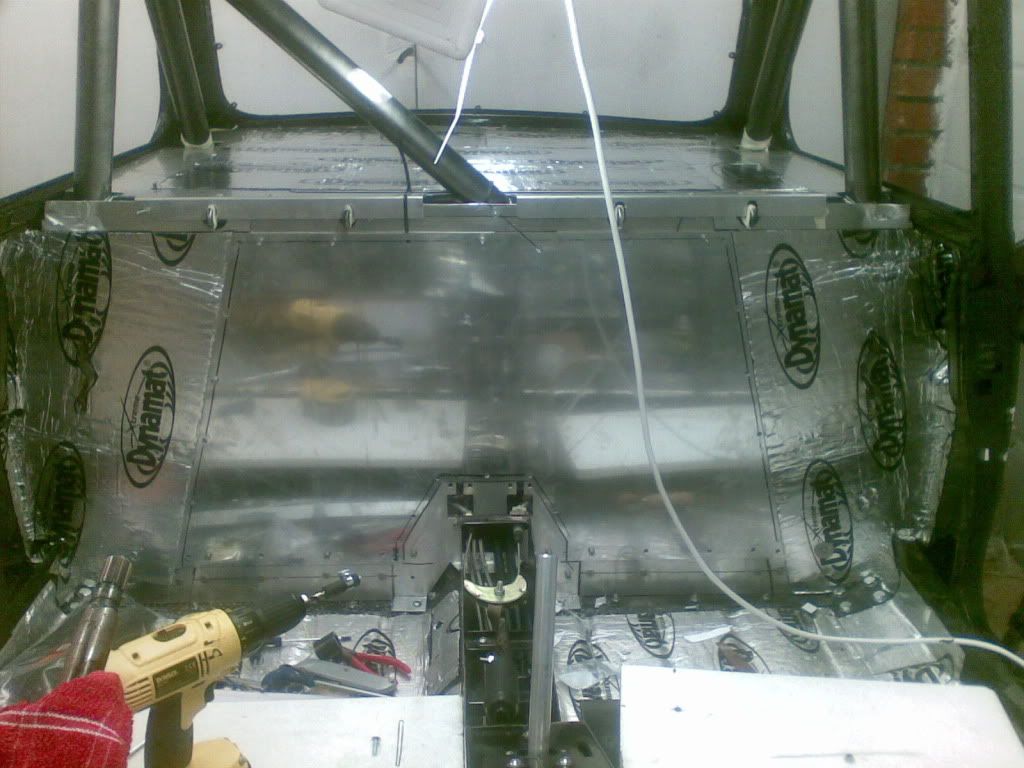
So I finally got my rear bulkhead fitted, wasnt the easiest of things to do as although the Z's bulkhead kit is a good fit to the inside of the shell I still needed to have bits welded to it so that is was a good fit all round.
The Dynamat has come in very handy indeed for my water tighting mission and I have to say that with that stuff stuck to the outer parts of the bulkhead it really makes a difference to the sound when you tap it - it is a dead sound, almost like tapping wood, sounds odd but the best thing I could come up with.
I had to make a decision to move forward with fitting the rear bulkhead even though I didnt have my fixing plates for the air scoops, that is another much longer thread and story.
Still a work in progress......
So here are a few shots of that lot going into place:
#111
cptkirk
-
- Members
-
- 1,799 posts
Camshaft & Stage Two Head
- Location: West Sussex
- Local Club: B.M.C. + Chiminiclub
Posted 18 May 2009 - 06:15 PM
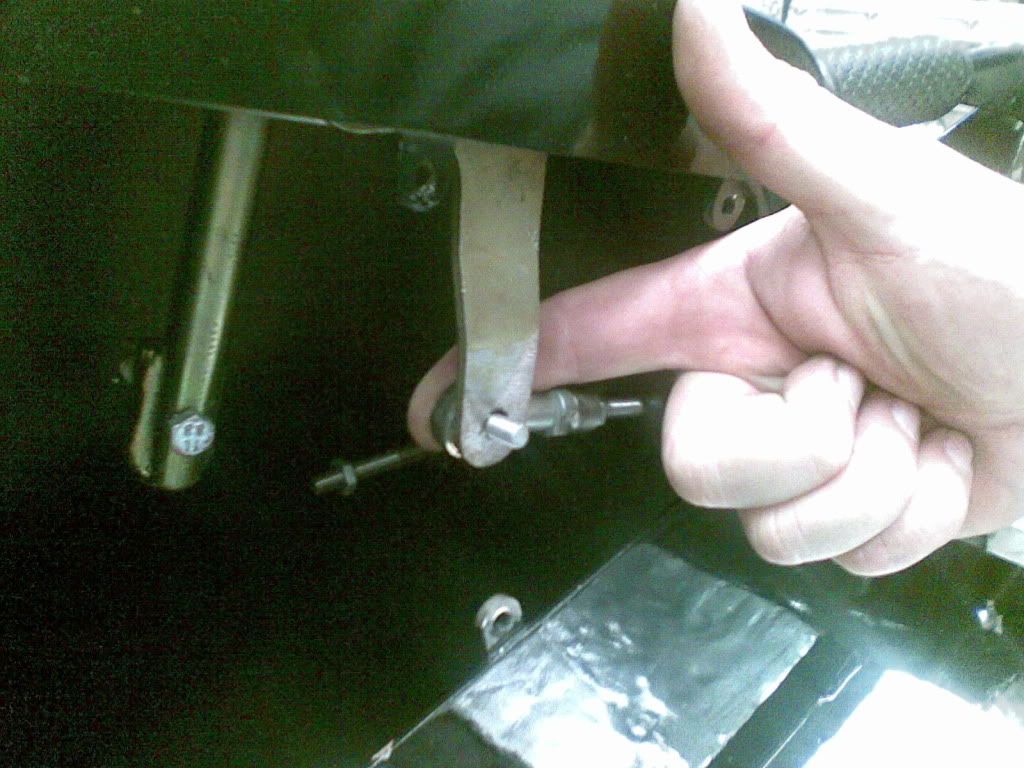
Quick note of advice for anyone fitting a raised tunnel:
The bolt for the N/S lever need to be as flush as you can make it so as to avoid collisionn with the main gear lever:

The bolt for the N/S lever need to be as flush as you can make it so as to avoid collisionn with the main gear lever:
#112
cptkirk
-
- Members
-
- 1,799 posts
Camshaft & Stage Two Head
- Location: West Sussex
- Local Club: B.M.C. + Chiminiclub
Posted 18 May 2009 - 06:23 PM
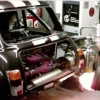
So all of the above things were being done over the last couple of weeks for one purpose, wonder of you can guess what that is.....
Well as it was a nice day on saturday I wheeled the car out into the sun-sheeeiiiine (Liam Gallagher stylee):
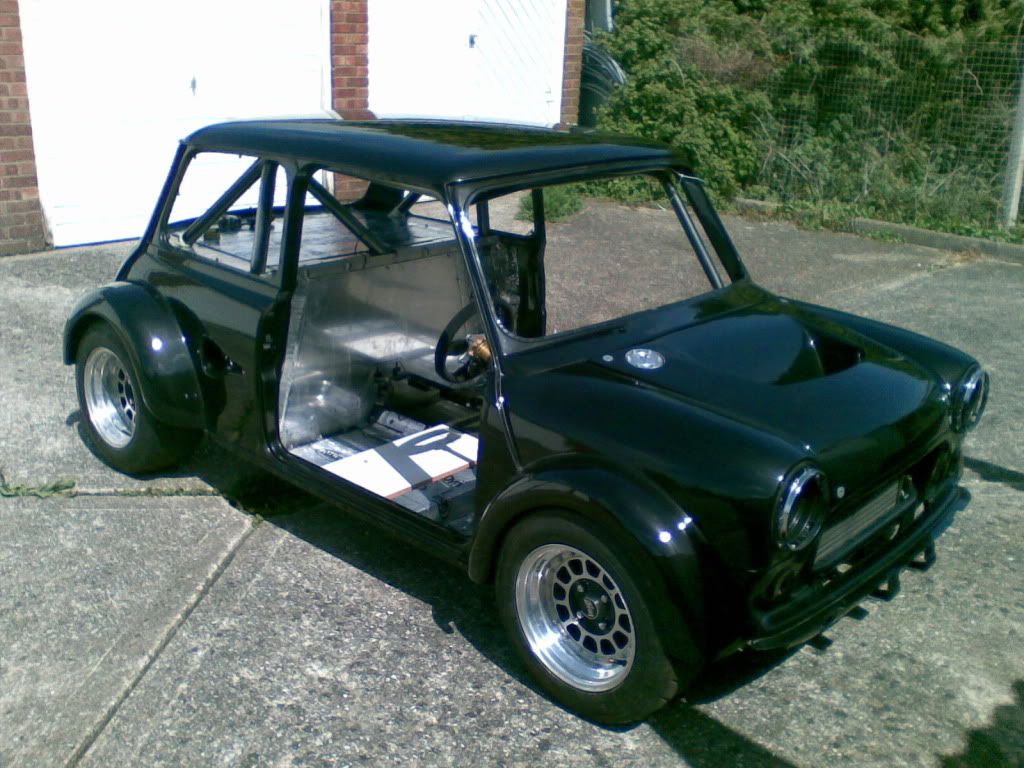
And then I took it for a ride on a trailer and it came back looking like this, can you spot the difference????
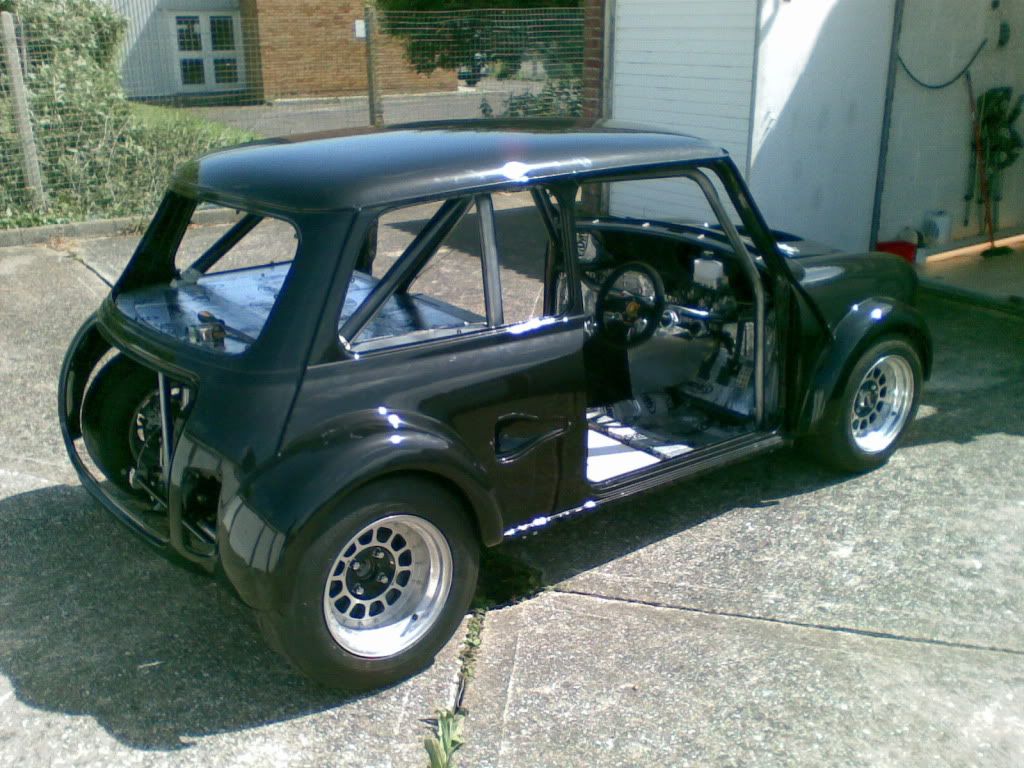
It's kinda difficult from that angle.
Maybe this will help:
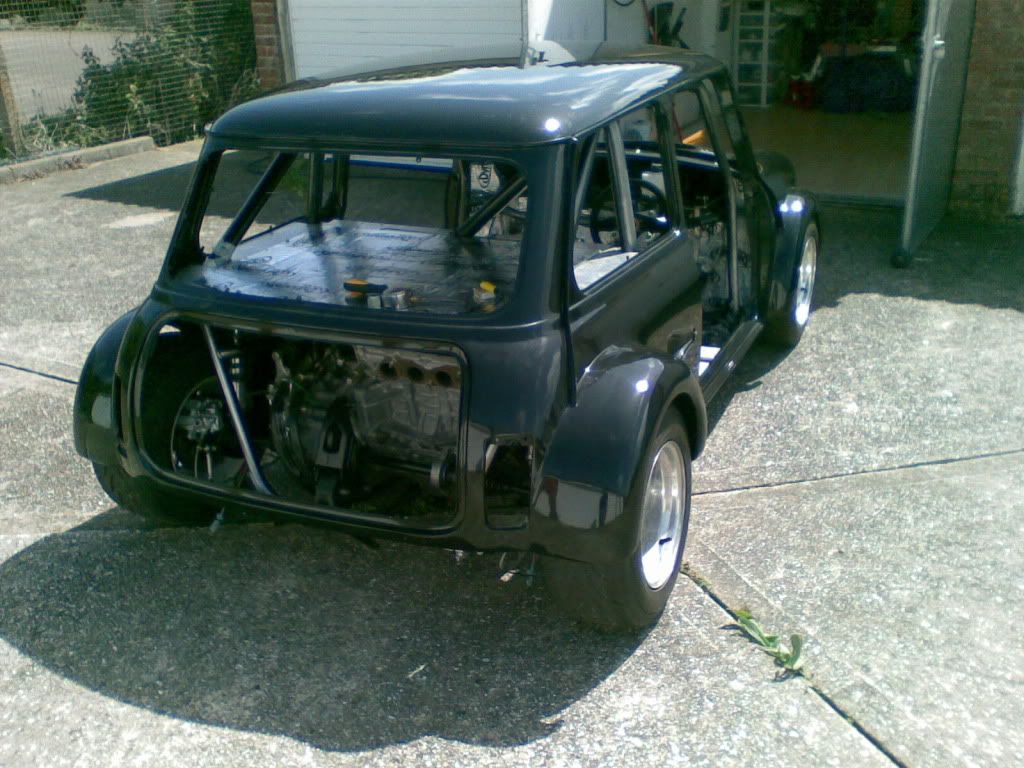
YEAH THATS RIGHT BABY - THE BEAST HAS AN ENGINE AGAIN - WOOOOO HOOOOOO
Well as it was a nice day on saturday I wheeled the car out into the sun-sheeeiiiine (Liam Gallagher stylee):
And then I took it for a ride on a trailer and it came back looking like this, can you spot the difference????
It's kinda difficult from that angle.
Maybe this will help:
YEAH THATS RIGHT BABY - THE BEAST HAS AN ENGINE AGAIN - WOOOOO HOOOOOO
#113
cptkirk
-
- Members
-
- 1,799 posts
Camshaft & Stage Two Head
- Location: West Sussex
- Local Club: B.M.C. + Chiminiclub
Posted 18 May 2009 - 06:30 PM
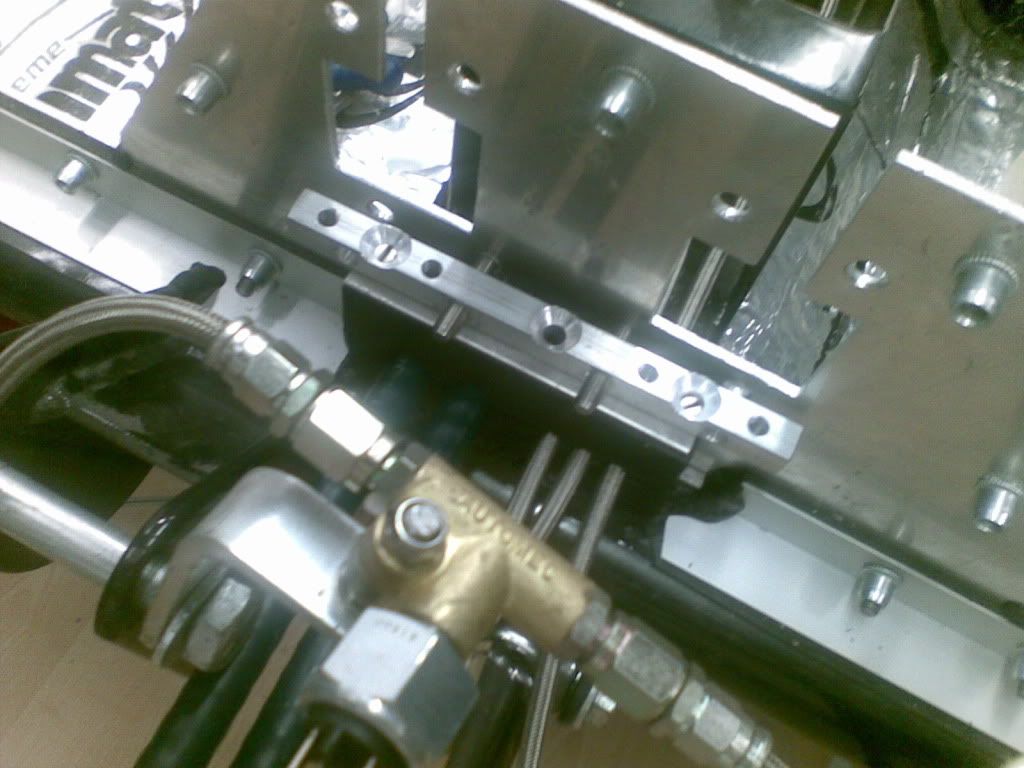
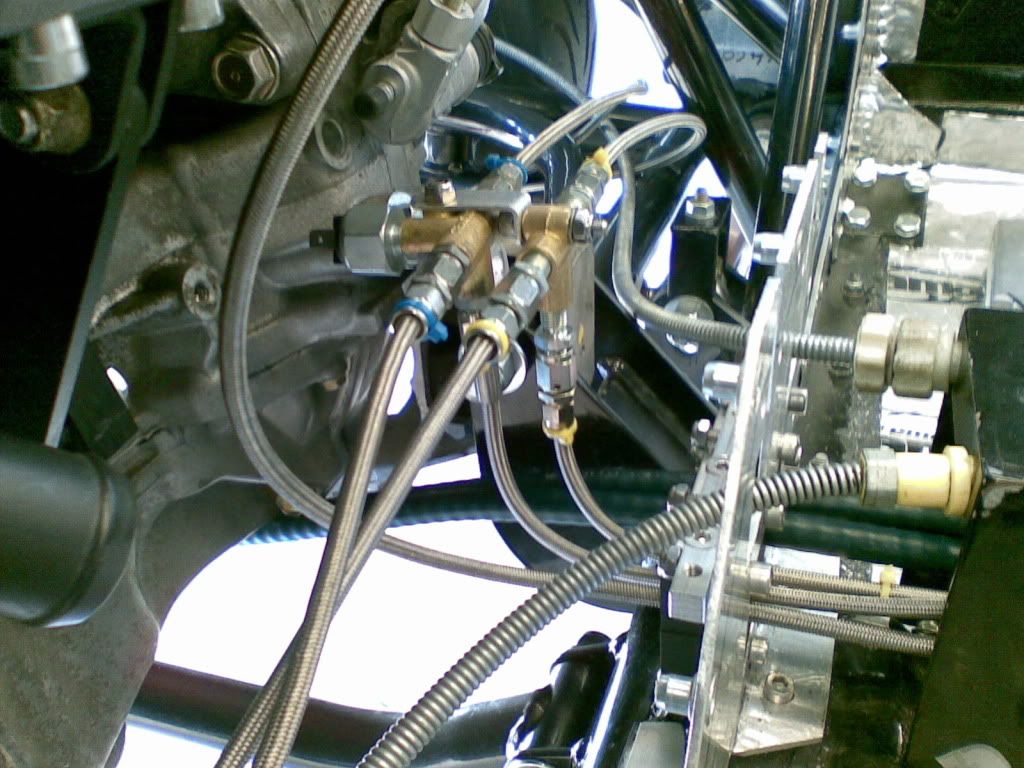
Gland Plate - part two
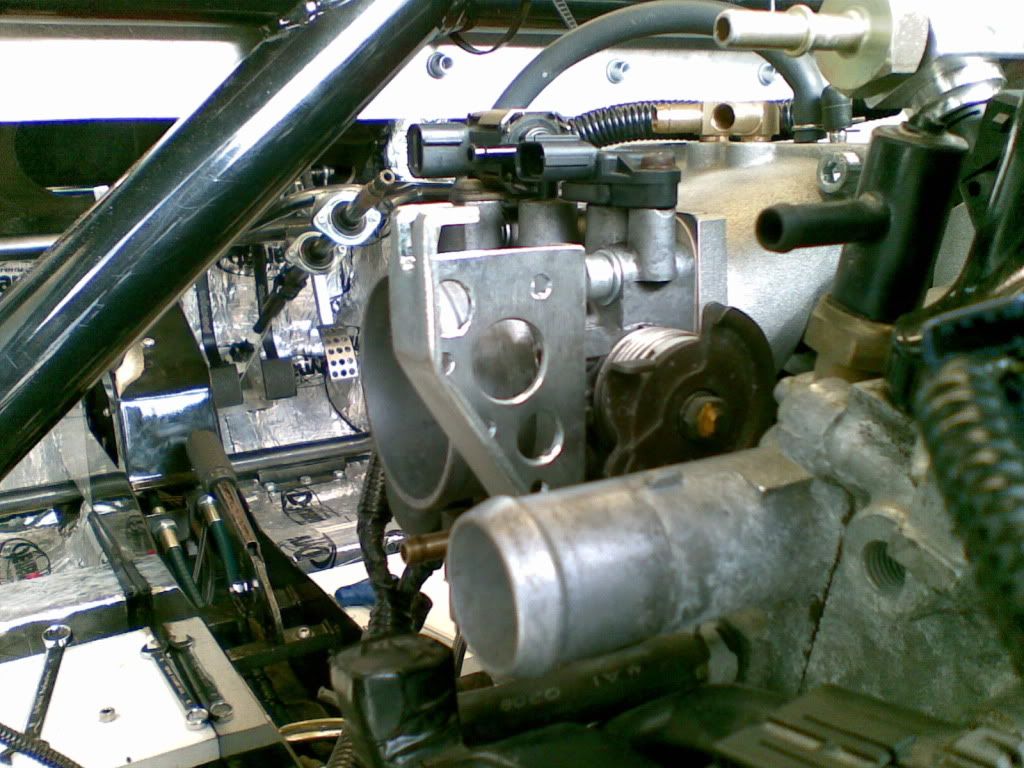
Now I can tell you about the rest of the gland plate, couldnt do it earlier as it would have given the game away as the engine is in the photos.
So today saw me fittiing the glands for the handbrake cable, I will let the photos do the talking:
Now I can tell you about the rest of the gland plate, couldnt do it earlier as it would have given the game away as the engine is in the photos.
So today saw me fittiing the glands for the handbrake cable, I will let the photos do the talking:
#114
cptkirk
-
- Members
-
- 1,799 posts
Camshaft & Stage Two Head
- Location: West Sussex
- Local Club: B.M.C. + Chiminiclub
Posted 18 May 2009 - 06:35 PM
For those of you that have been following the progress you might remember me showing the drawing for a new throttle cable mount, well it has been made and here it is in all its gleeming glory. Unfortunately the cable isnt attached as I am doing stuff in the tunnel and it isnt mounted to the car at the moment.

#115
cptkirk
-
- Members
-
- 1,799 posts
Camshaft & Stage Two Head
- Location: West Sussex
- Local Club: B.M.C. + Chiminiclub
Posted 18 May 2009 - 06:42 PM
Its full steam ahead now, it has to be ready for the IMM..............

#117
miniQ
-

- Members
-
- 497 posts
Speeding Along Now
- Location: Manchester
Posted 18 May 2009 - 09:06 PM
Very nice, cant wait to see the outcome!  how much you planning to spend maximum?
how much you planning to spend maximum?
#118
mkmini81
-

- Members
-
- 403 posts
Speeding Along Now
- Local Club: milton keynes mini owners club
Posted 18 May 2009 - 09:20 PM
really good work... its going to be a real beast when its on the road!!
#119
yeti21586
-

- TMF+ Member
-
- 3,740 posts
He's A Lumberjack And He's OK
- Name: Chris
- Location: Hampshire
- Local Club: None
Posted 18 May 2009 - 09:30 PM
keep it up its looking soooo good i cant wait to see what its gunna look like finished
#120
BlueminiJohn
-

- Members
-
- 204 posts
Mini Mad
- Location: Midlands
- Local Club: n/a
Posted 18 May 2009 - 09:45 PM
One thing to say:
AWSOME!!!!!!!!!!!!
AWSOME!!!!!!!!!!!!


1 user(s) are reading this topic
0 members, 1 guests, 0 anonymous users


