That looks brilliant, well done.
How did you do the edges? - the join to the top rail and bottom rail. Ie, is the bottom sharp and the top have a gap where the round meets flat?
Did you have to use a longer speedo cable? - it looks like the cluster is slightly forward than stock.
Would love to see a picture of your switchboard up close, as well as your top & bottom edge joins. I thought of doing something similar but with beading along the top and bottom with rubber trim of some sort. Just not as nice as that! Here is a link to a trim shop page so you get what I mean! (4322 would be my choice)
Also, what is the sound deadening like? I planned to fill the gap with polystyrene packing watsits or foam as there is a lot of space for it. Or does the steel do a good job on it's own?
Cheers mate.
I just smoothes the edges with a file. Its 2mm thick aluminium so the edges aren't too thin (and sharp) but its still flexible enough to follow the contour of the upper dash rail nicely. A common thickness of aluminium is 1.2mm but I think this would've been too thin.
The original speedo cable is only just long enough to fit. I had to fit the dash, mount the centre clocks and then put my arm in through the hole I made for the switches to fit the cable to the speedo. Tricky but nothing compared to fitting the clevis pin in the clutch pedal if you've ever had to do that!! With hindsight I would've fitted a longer cable.
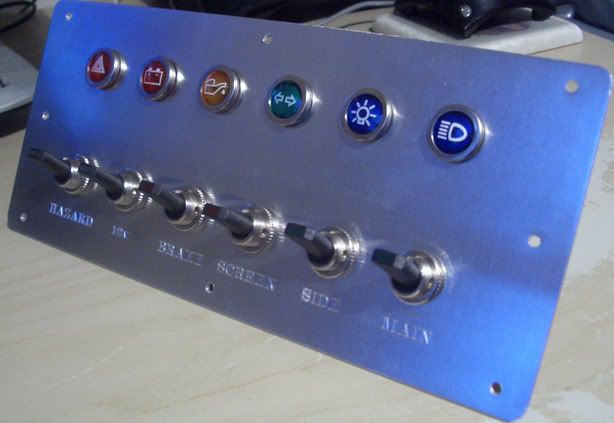
I changed the switch panel lights round before I fitted it. I removed the side light warning light and replaced it with the indicator tell tale light, and fitted a brake warning light above the brake test switch. Switches from Ebay, and the warning lights from
Europa Specialist Spares.
Sorry, couldn't take decent pics of the edges..
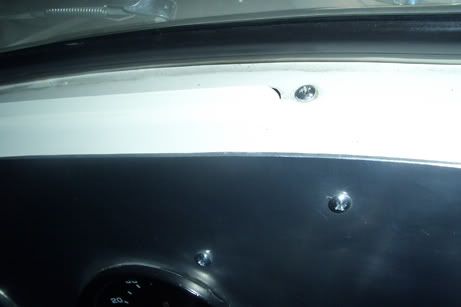
Its actually really difficult to see the lip with the top of the dash. Its more pronounced at the sides where I haven't quite shaped the aluminium perfectly but you don't notice it. I had thought of the beading too but I was happy with the result without it.
I got hold of a blanking plate for the big hole in the firewall (I think its from a Clubman), a couple of bitumen sound deadening pads on the firewall and I've stuffed two old sweatshirts into the recess behind the dash. End result is pretty quite.