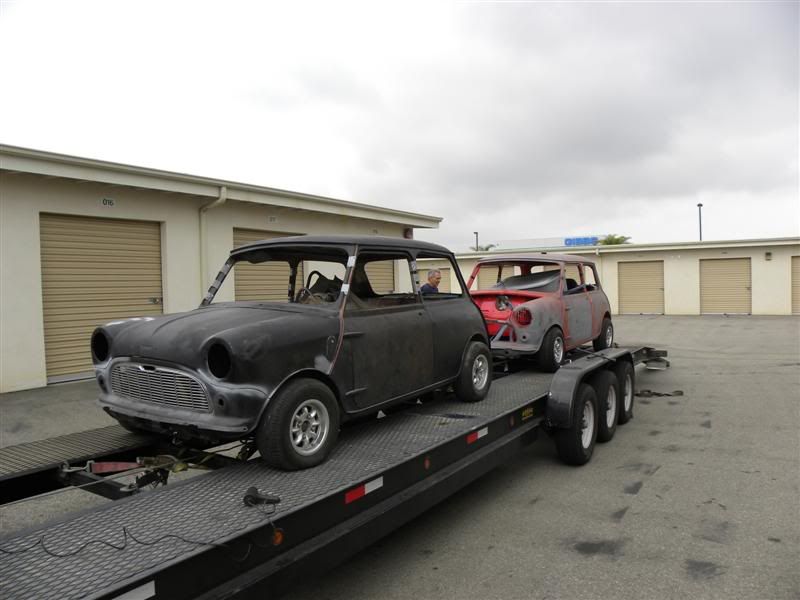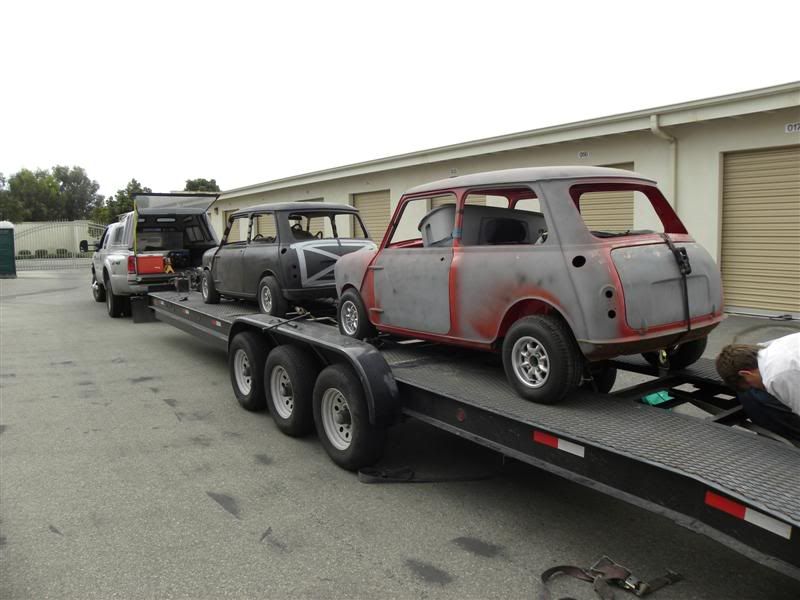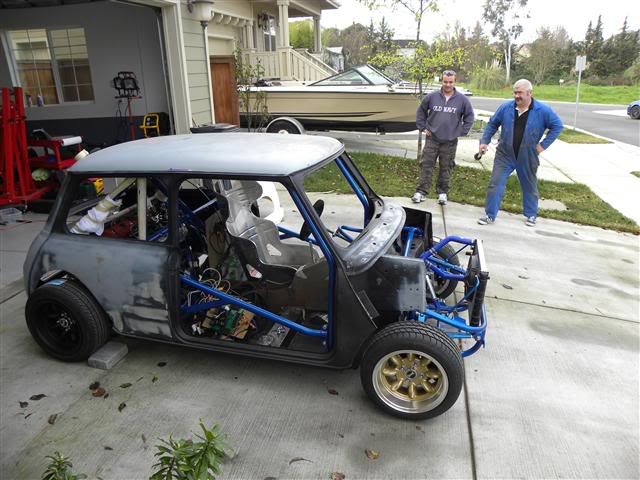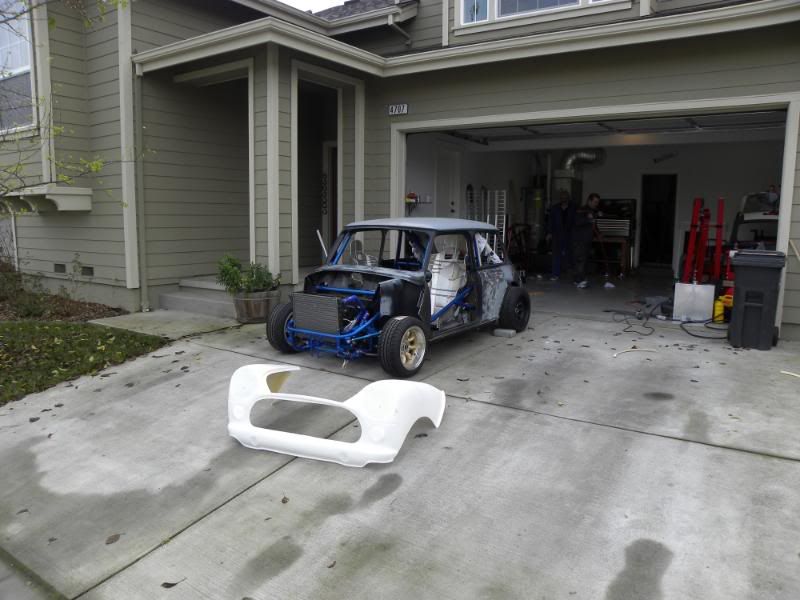


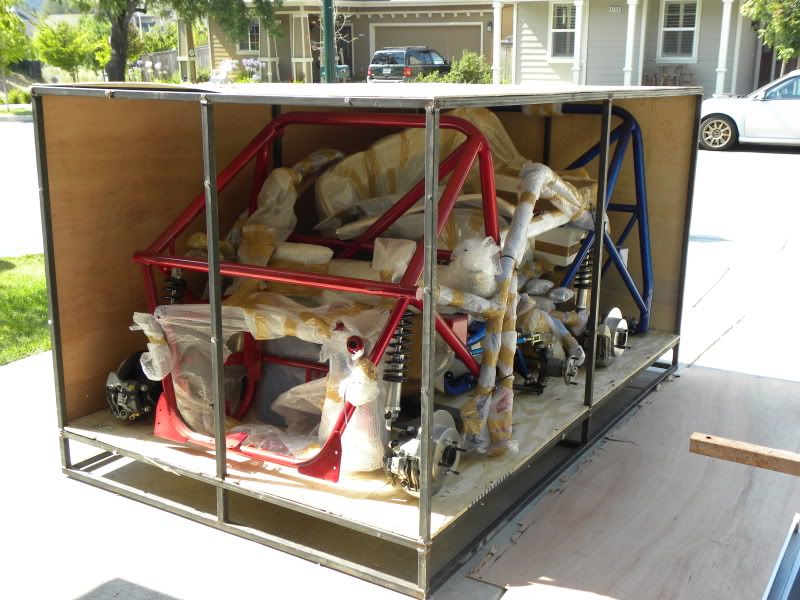
So here are the pics

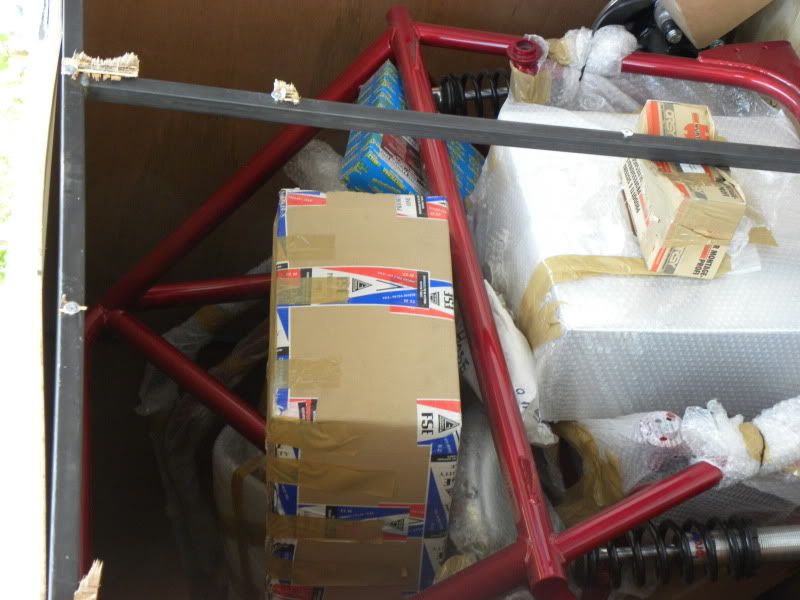
The first opening of the crate to see the goodies inside -

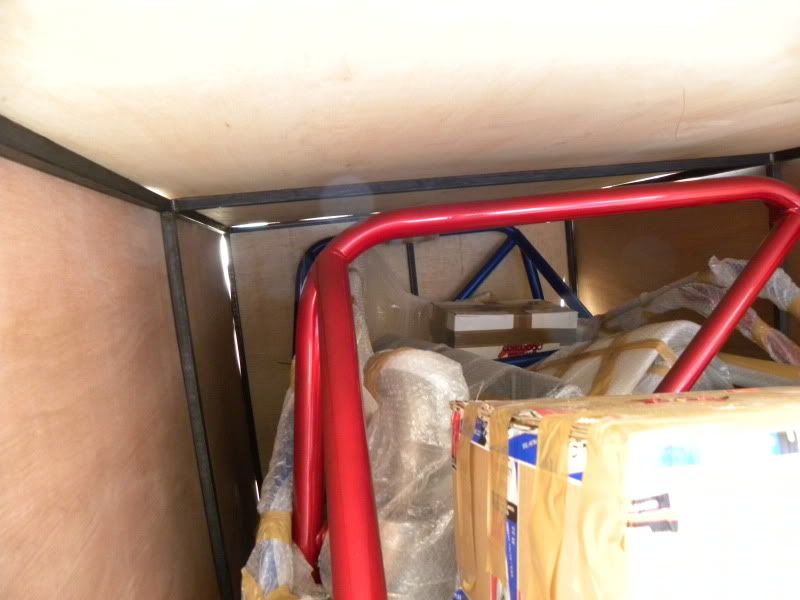
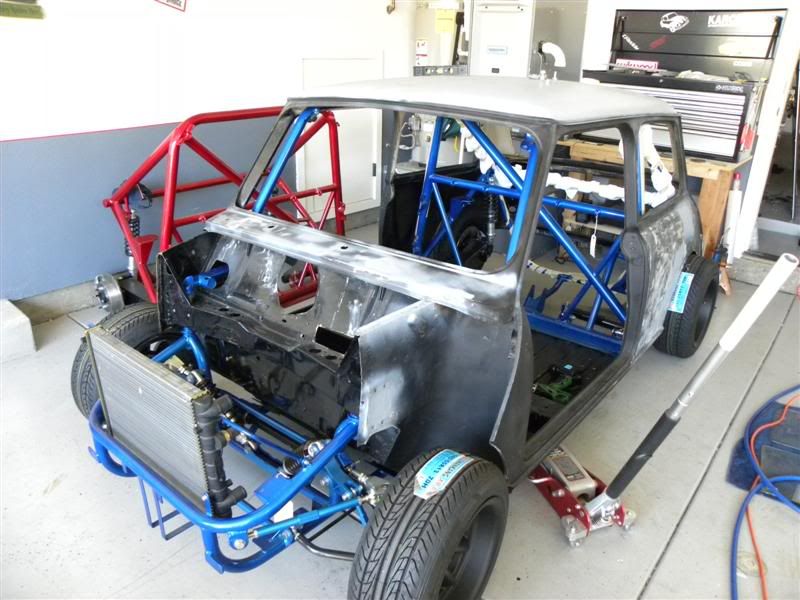
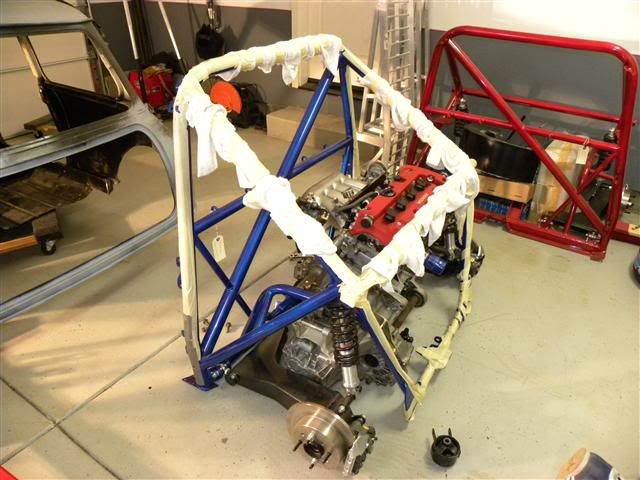
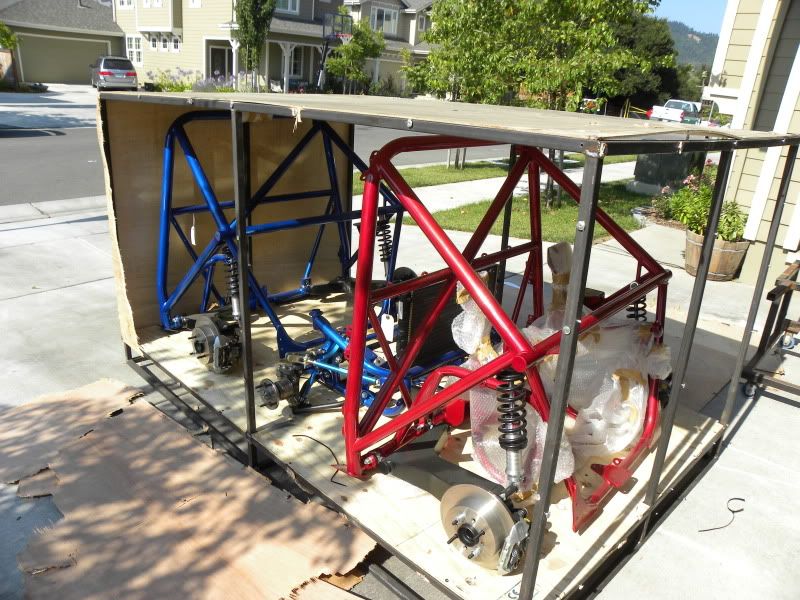
Followed by the big unveiling, shiney shiney shiney. the red and blue powder coating just glisened in the sun
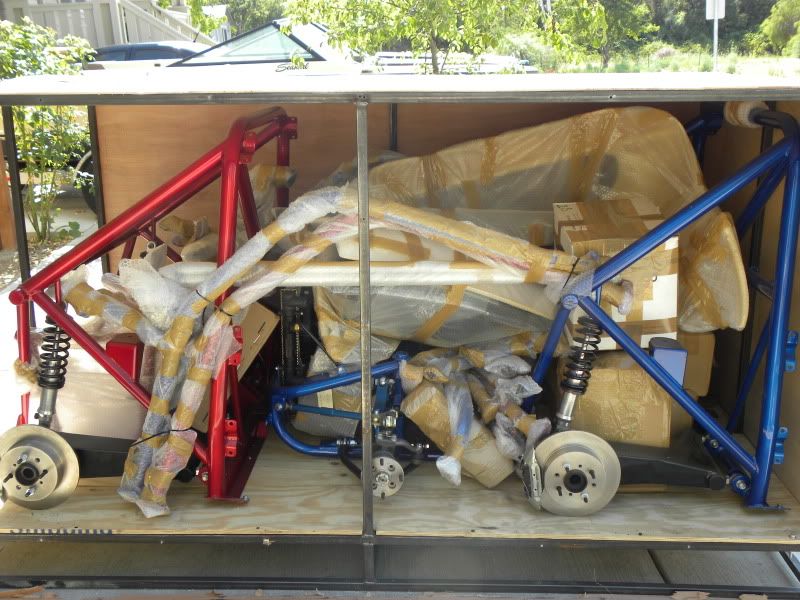

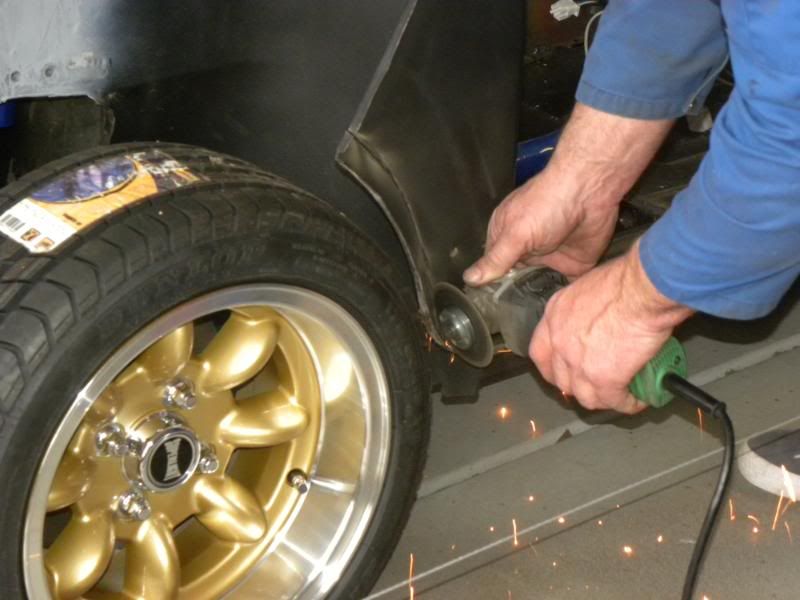
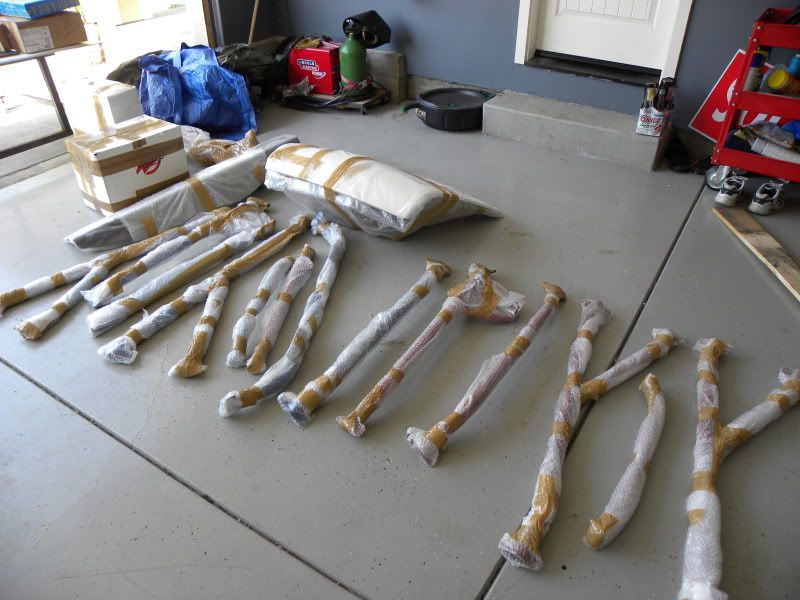
Getting all the support bars out. Chris and his guys did a great job in packaging all the components
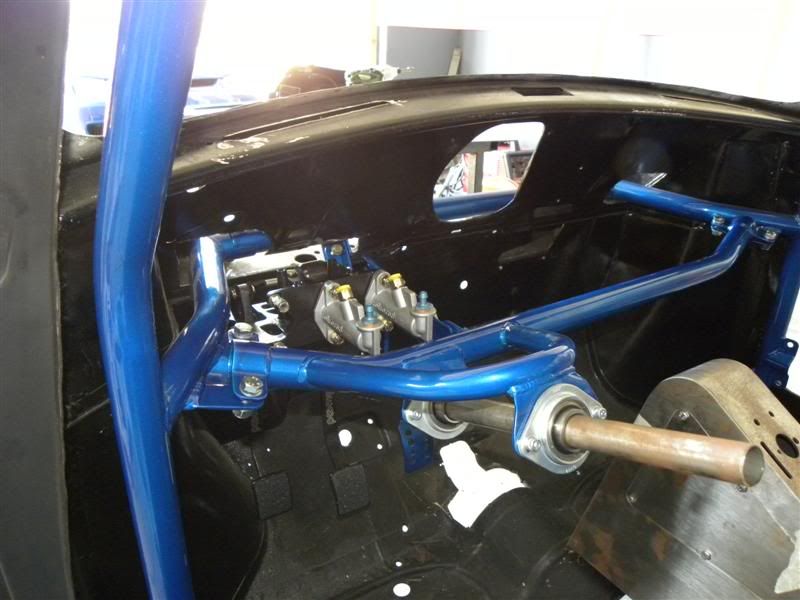
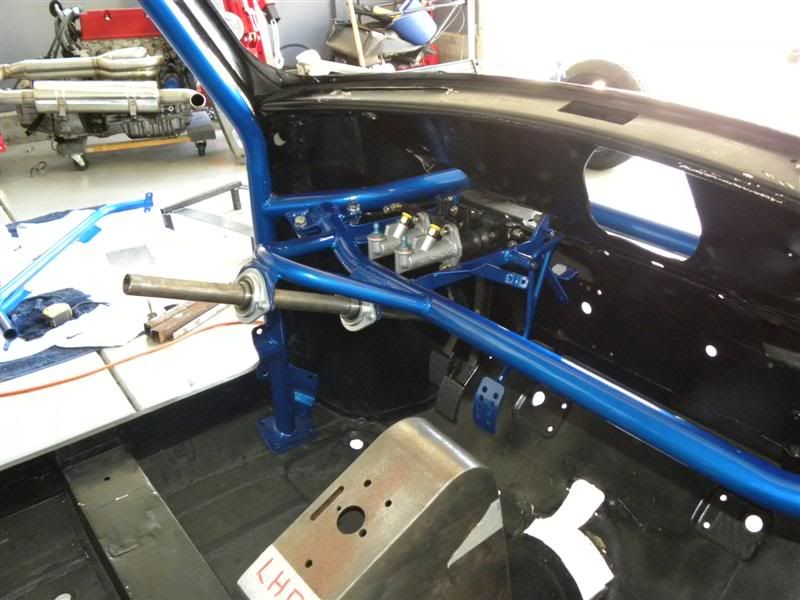
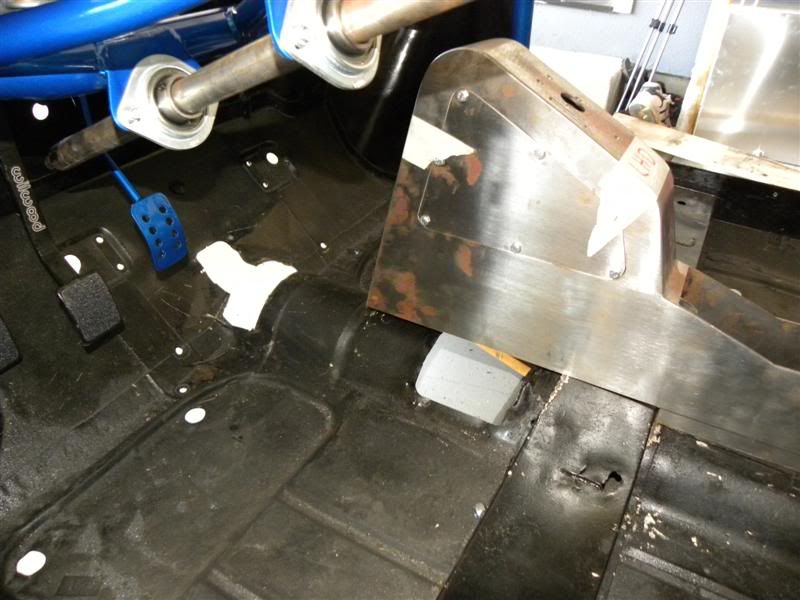
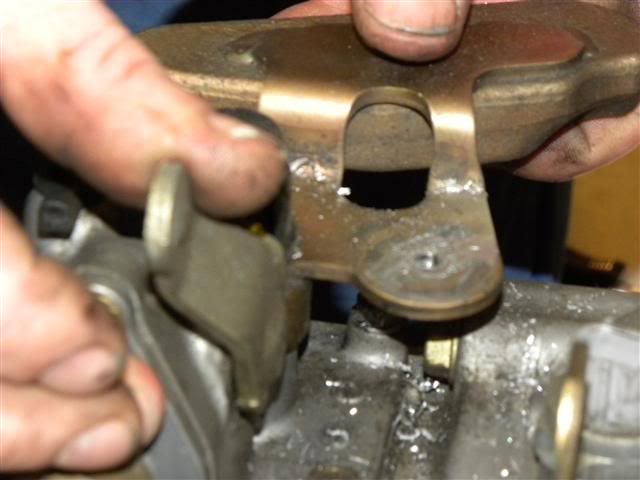
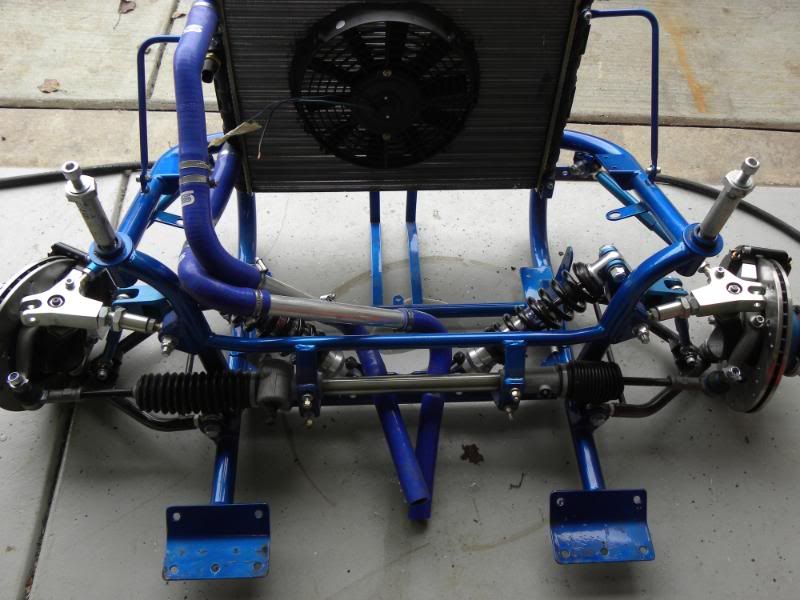
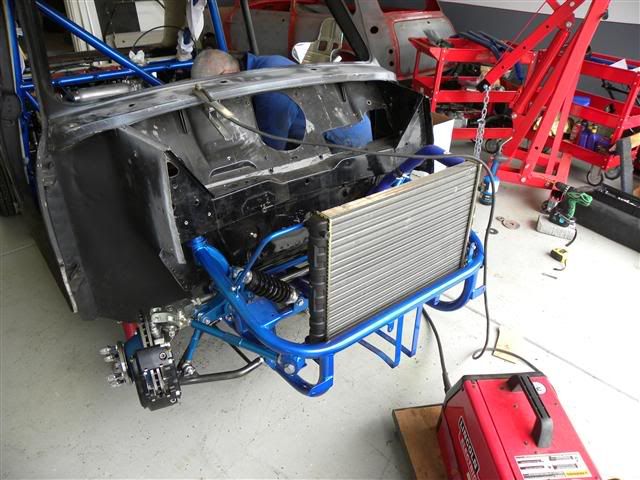
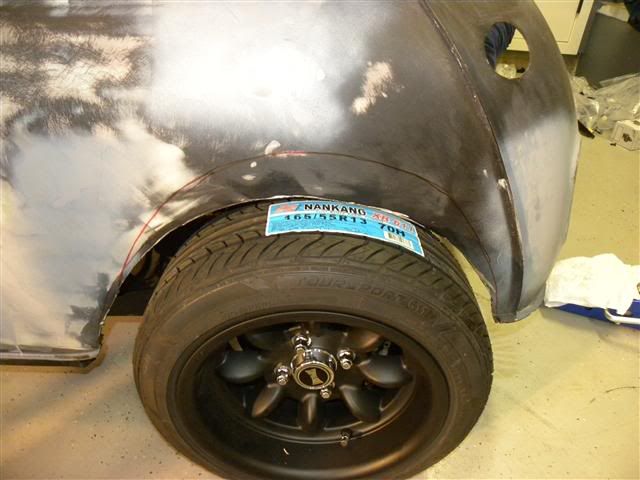
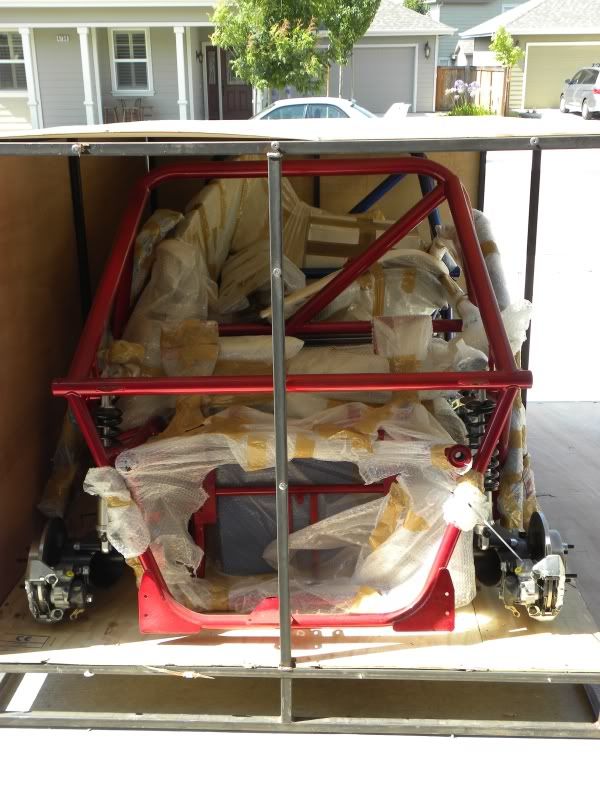
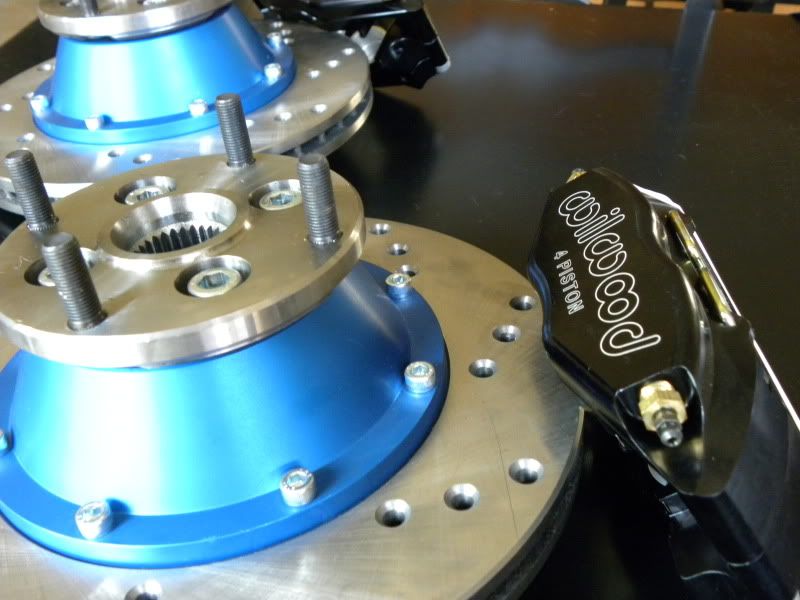
BIG Brakes FTW
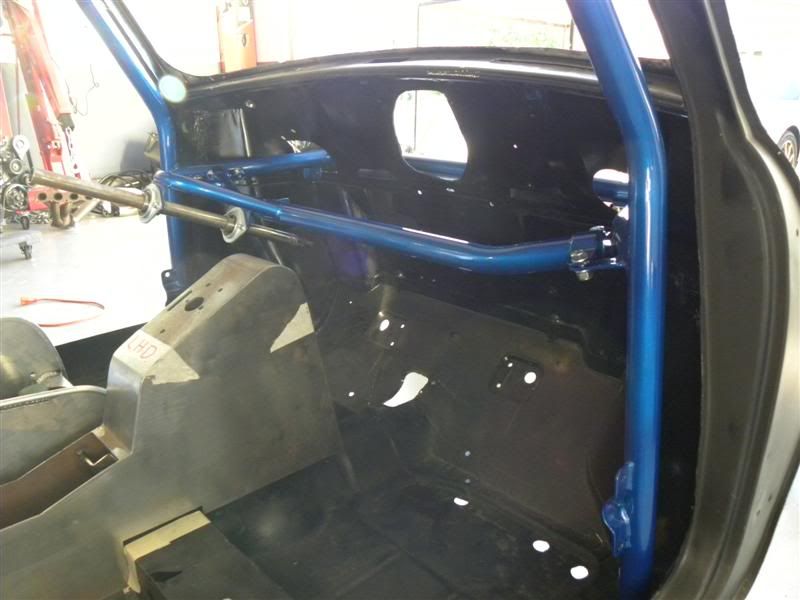
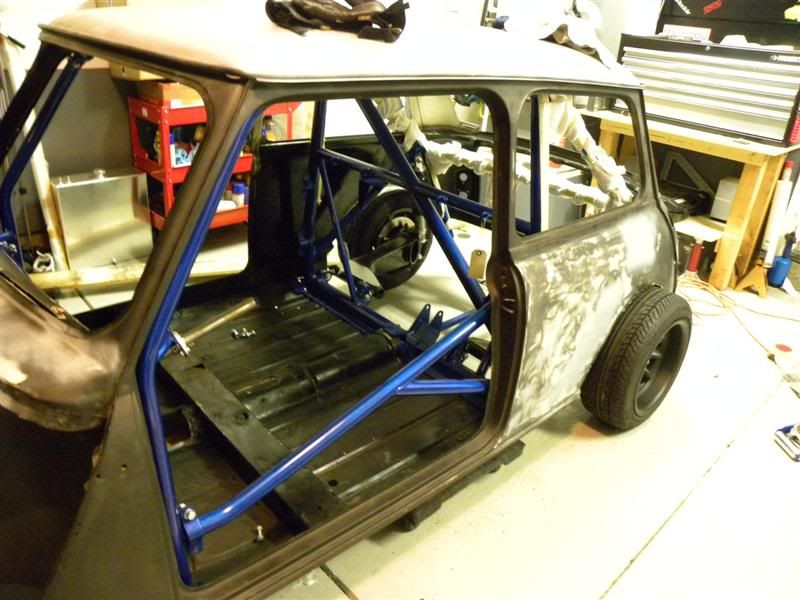
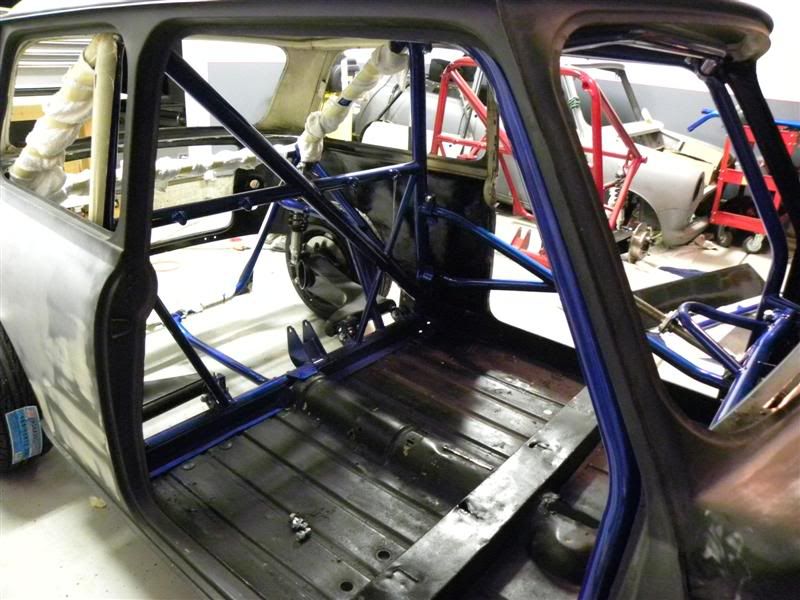
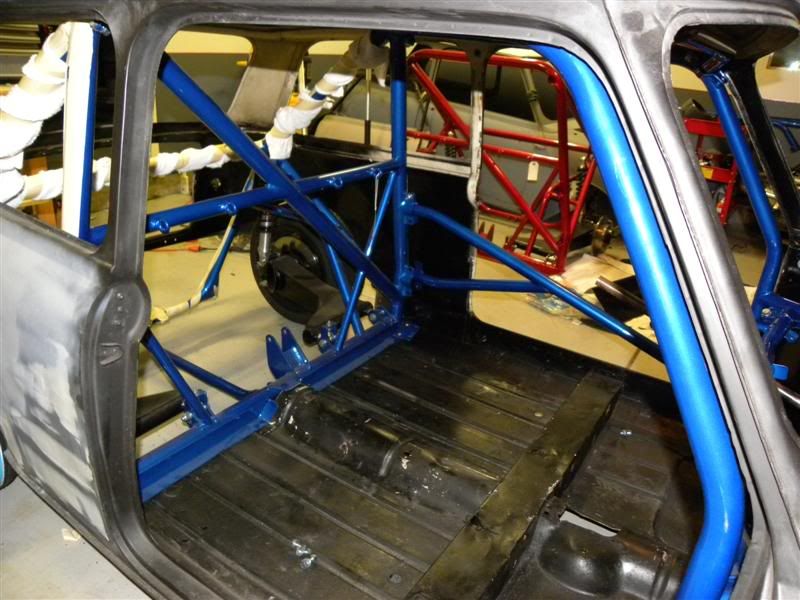
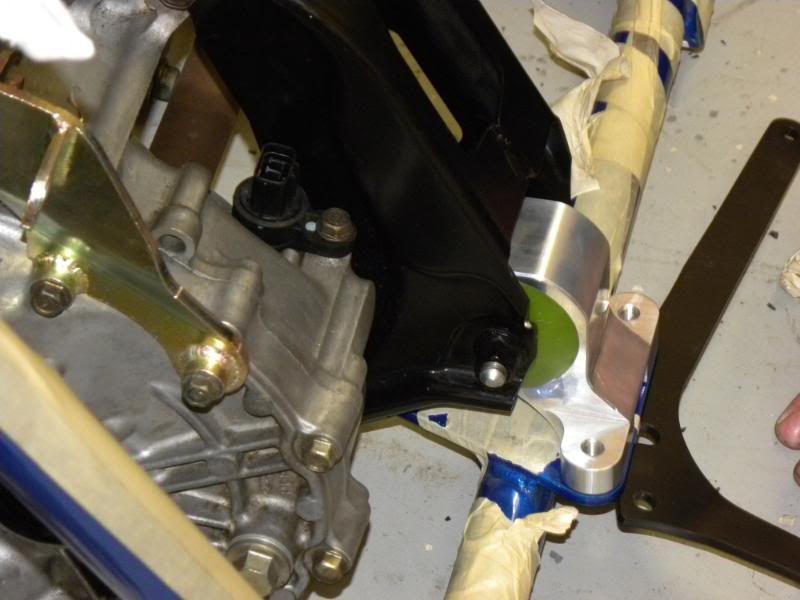
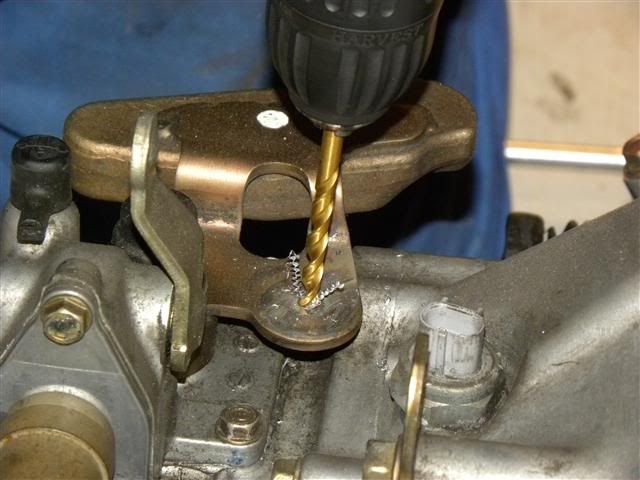
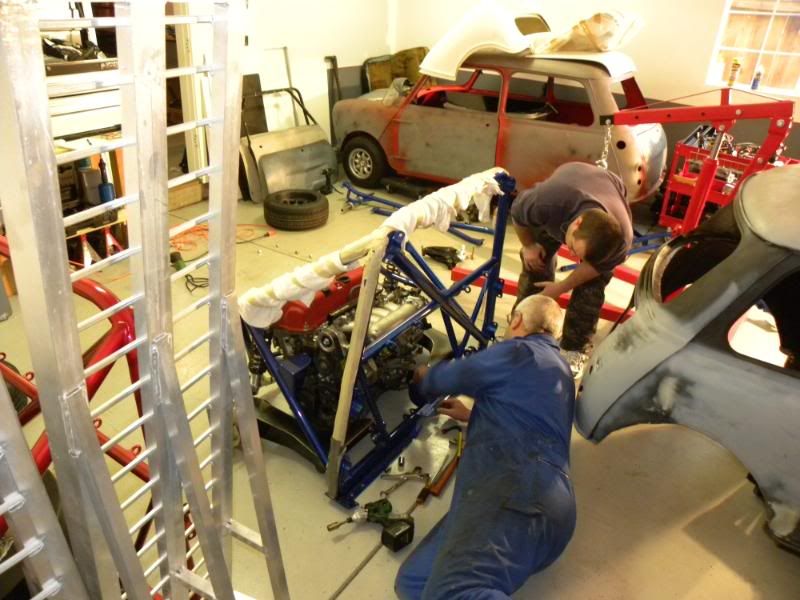
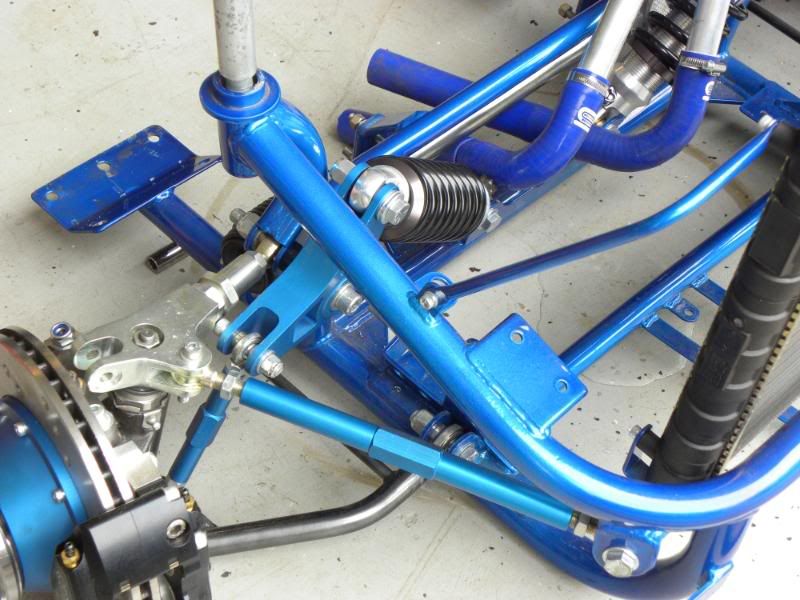
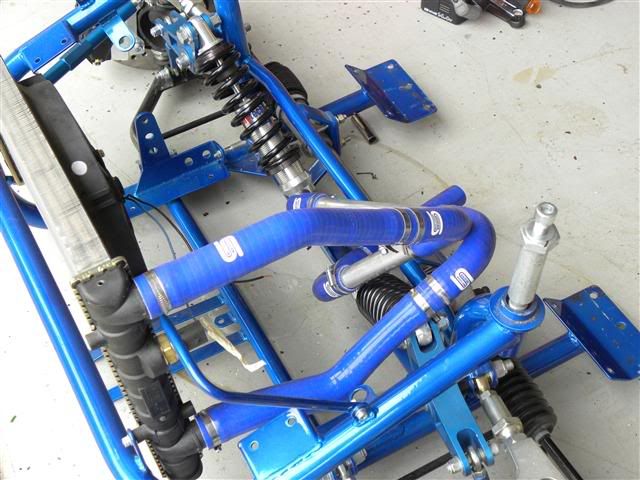
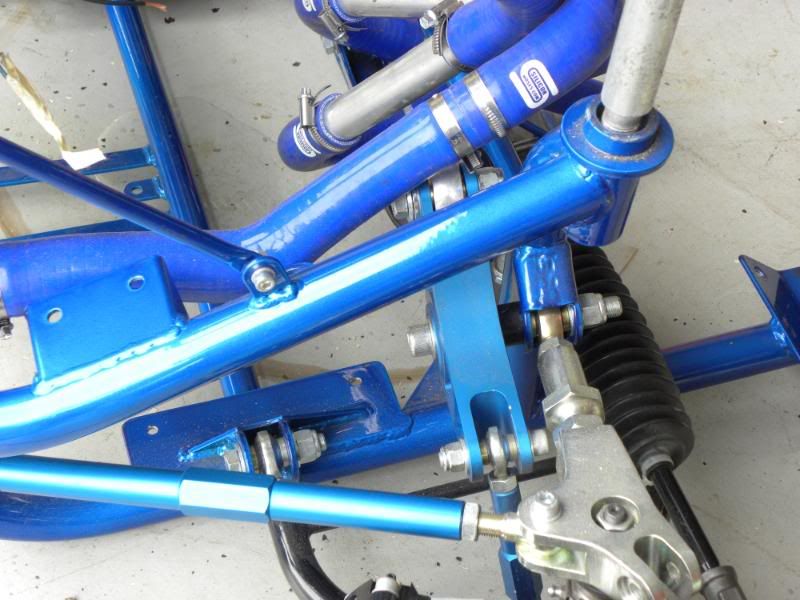
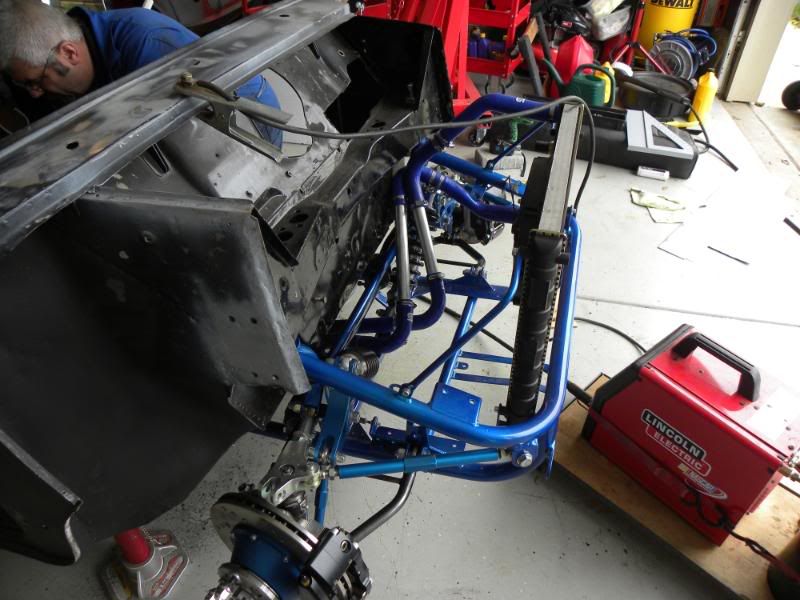
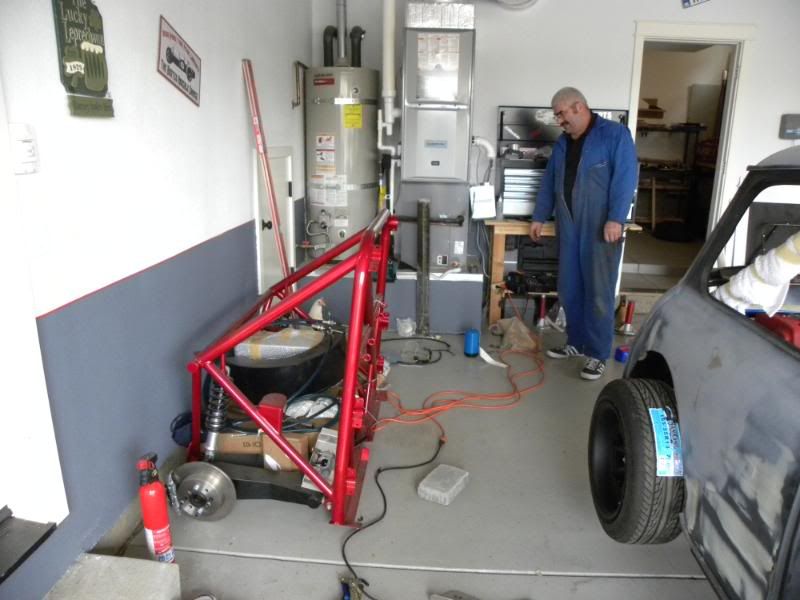
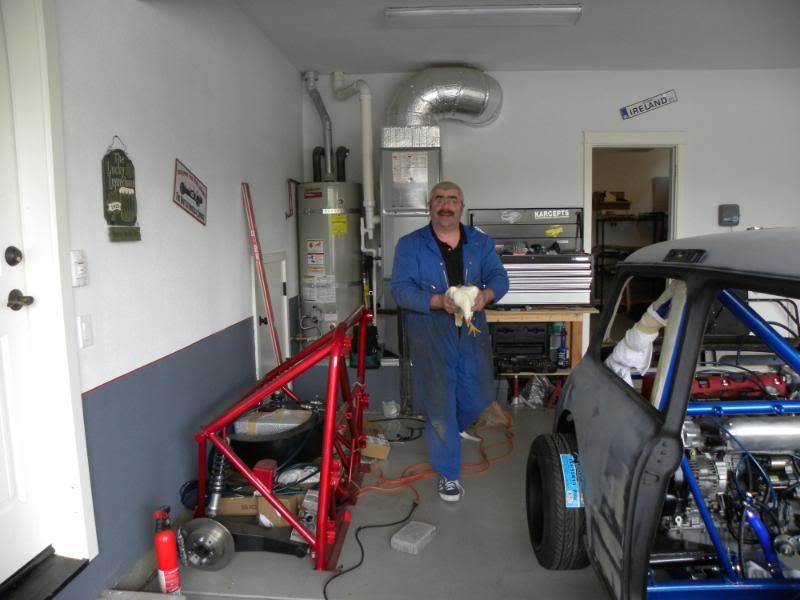
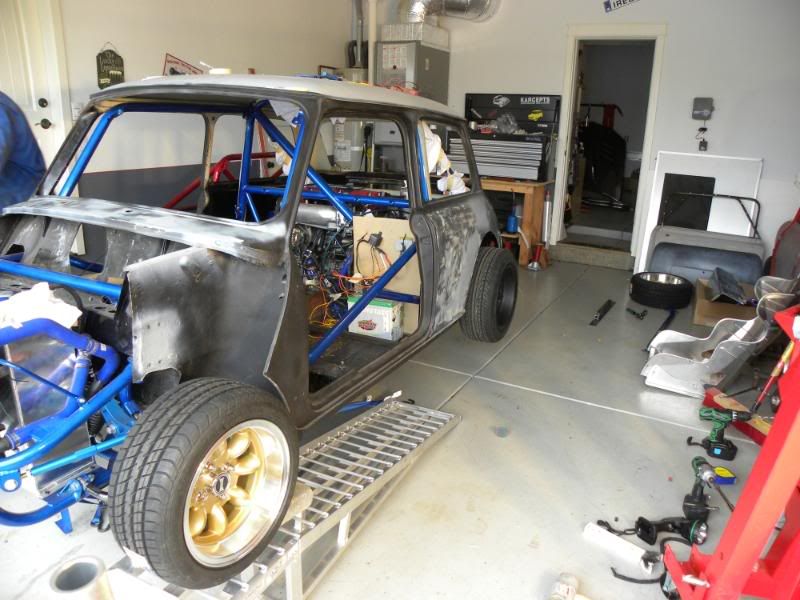
So I was up till all hours last night assembling one of the kits outside the chassis
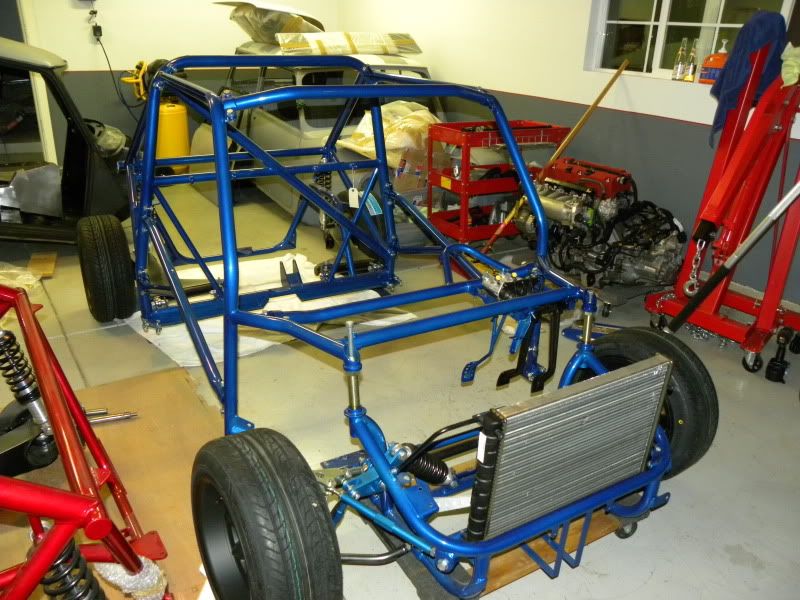
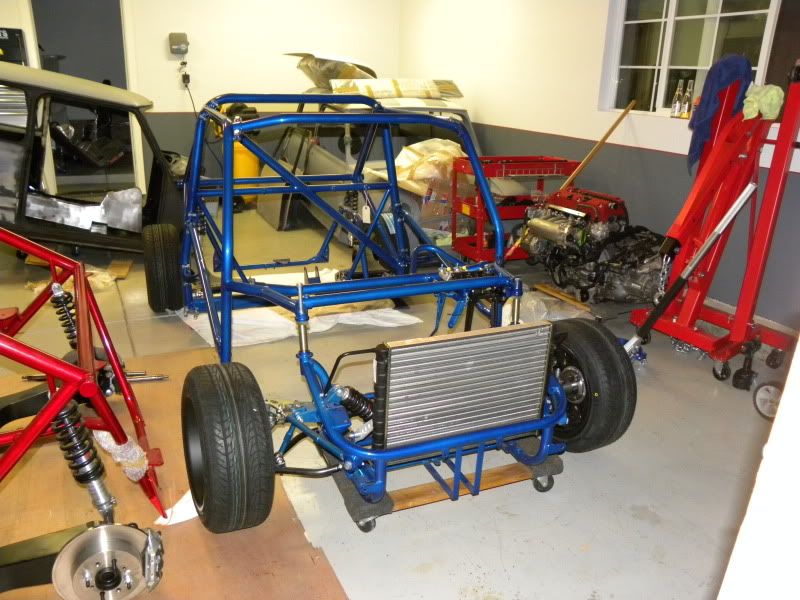

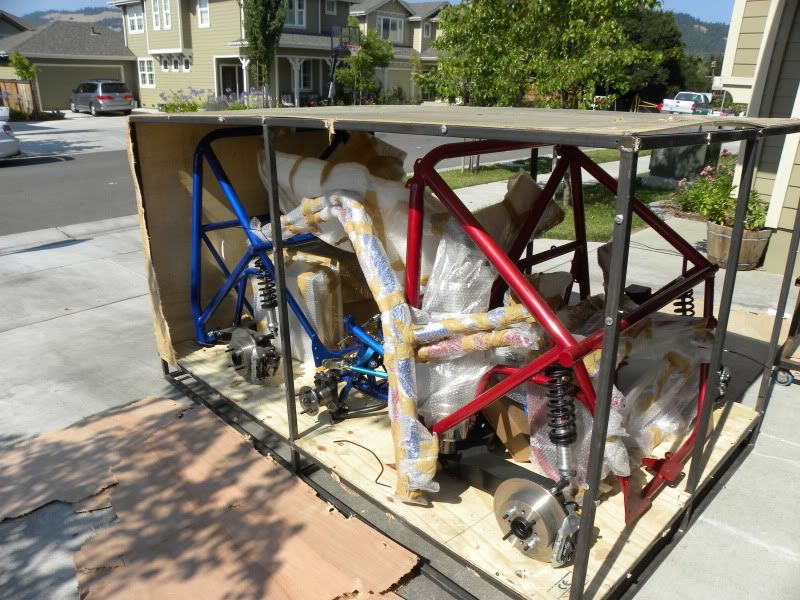
Blue just looks amazing and hte red is just beautiful. So now the fun starts on my build. but anybody reading this Stateside contact me on the kits for sale. they are ready to go and ready for you
 )
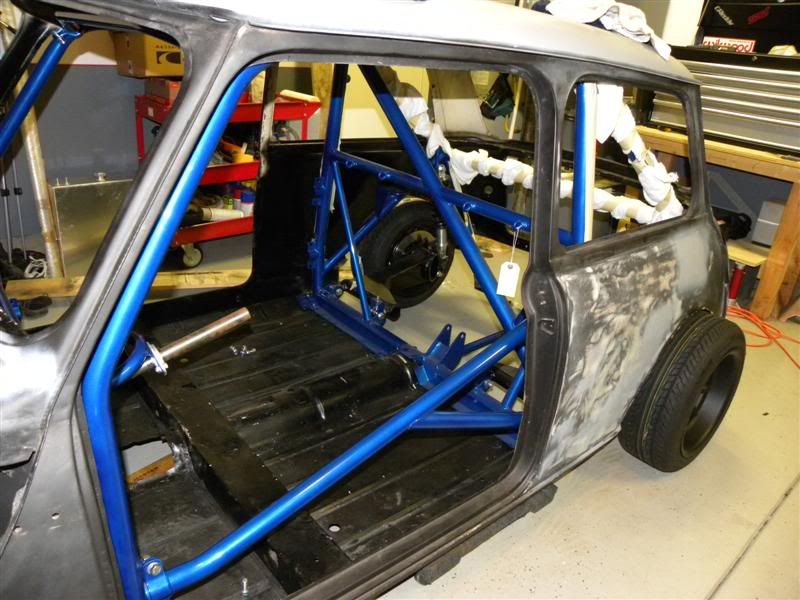
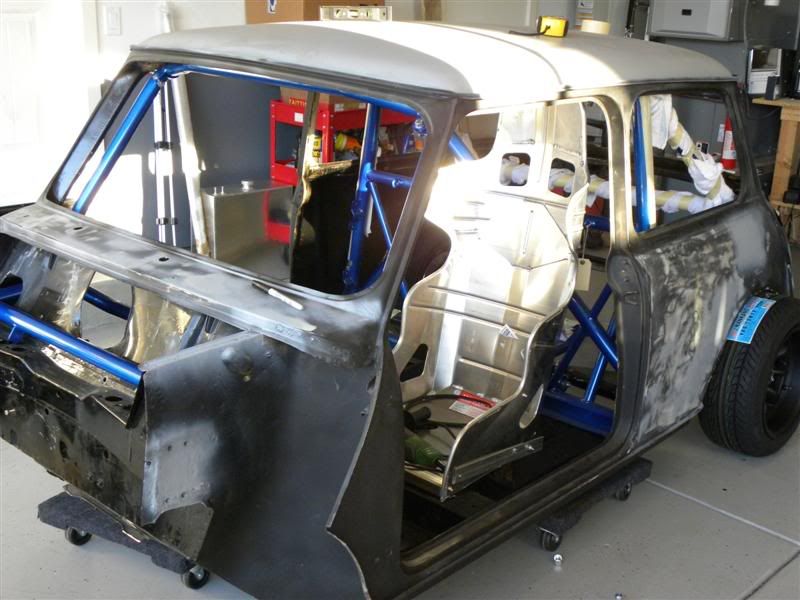
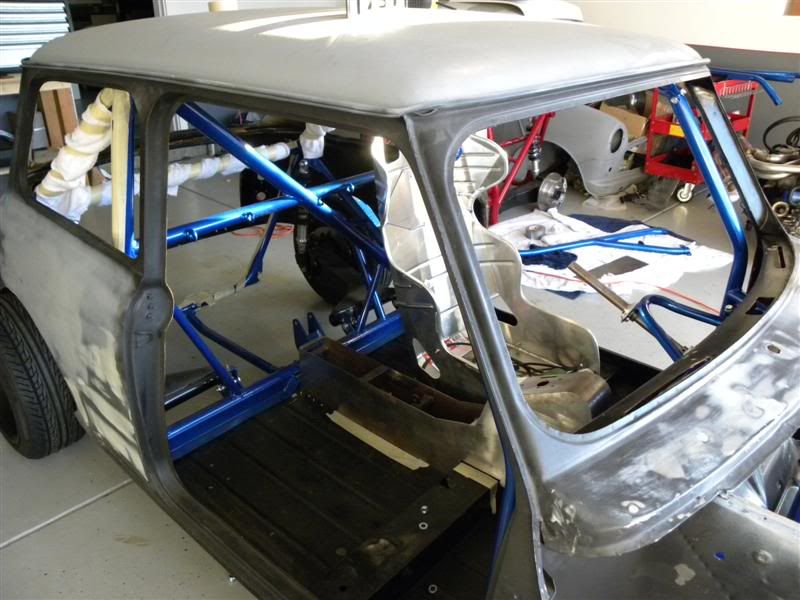
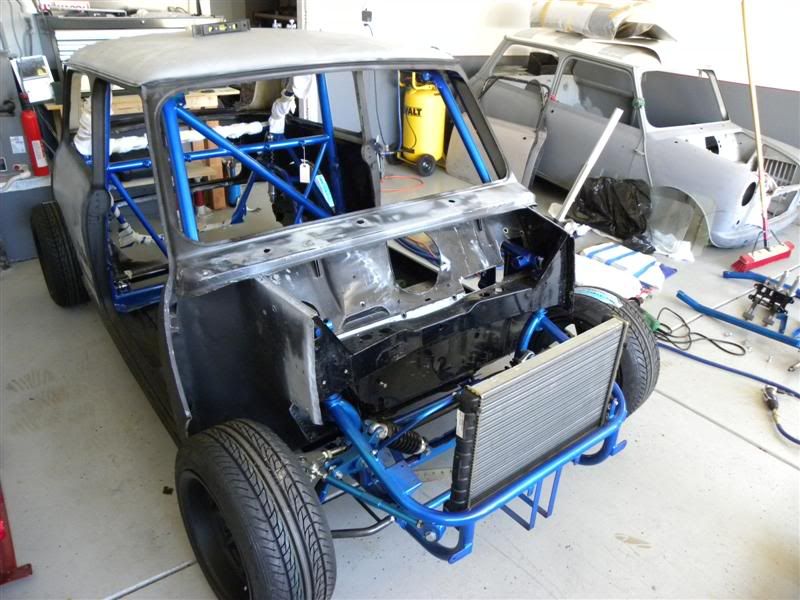
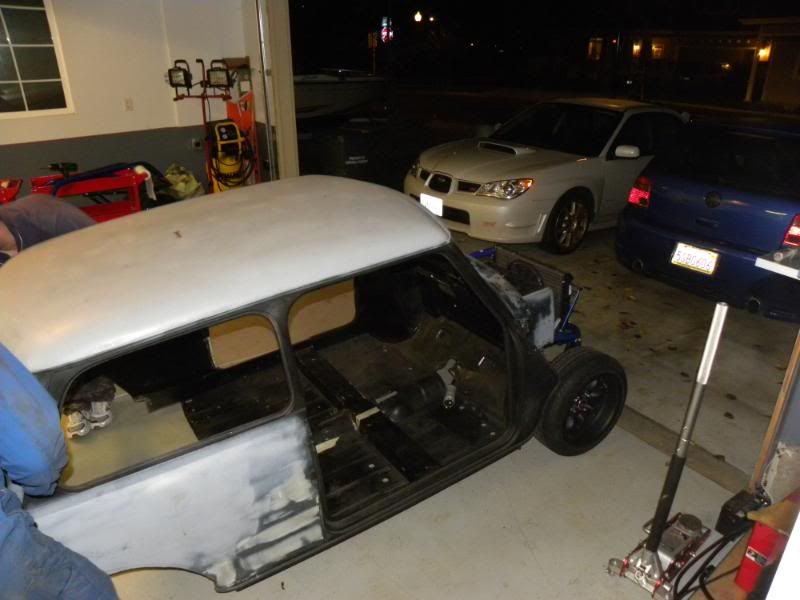
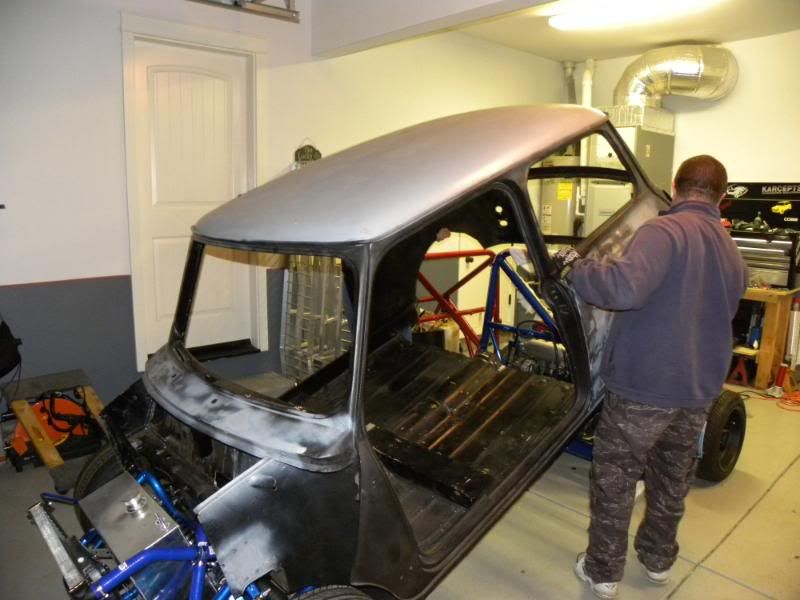
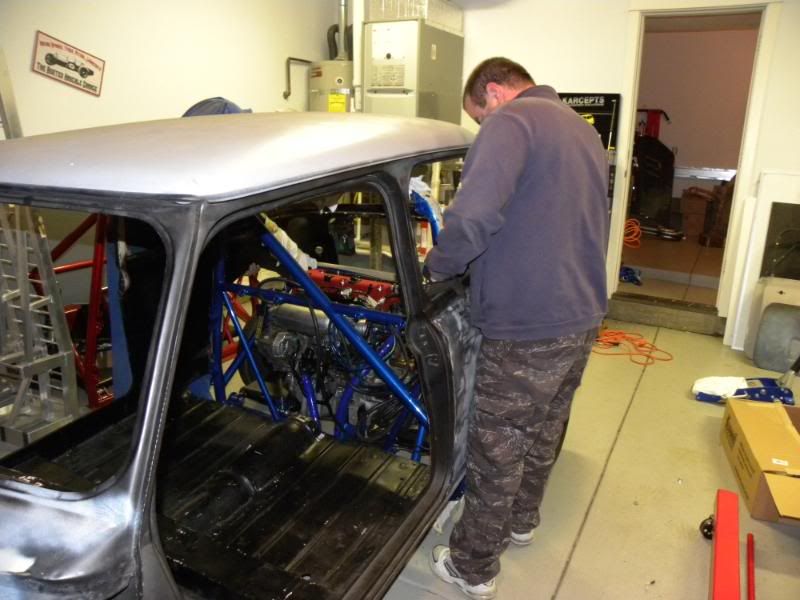
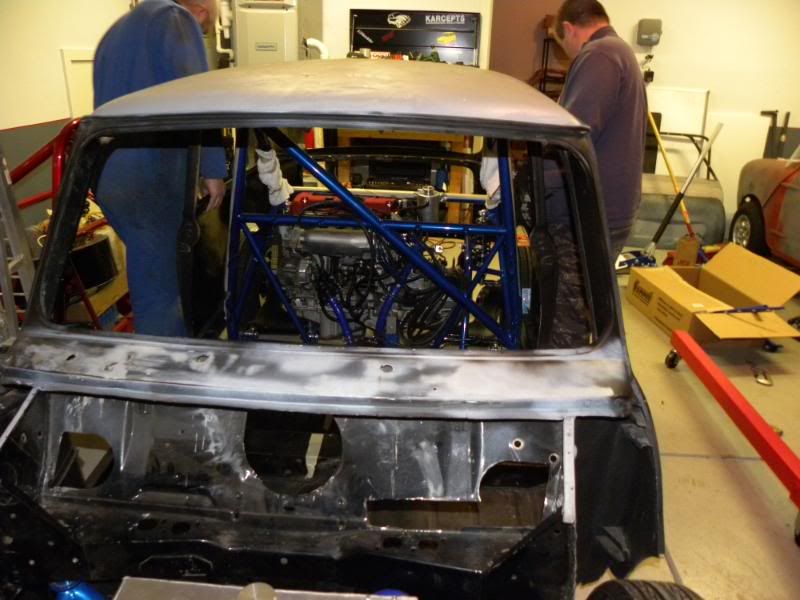
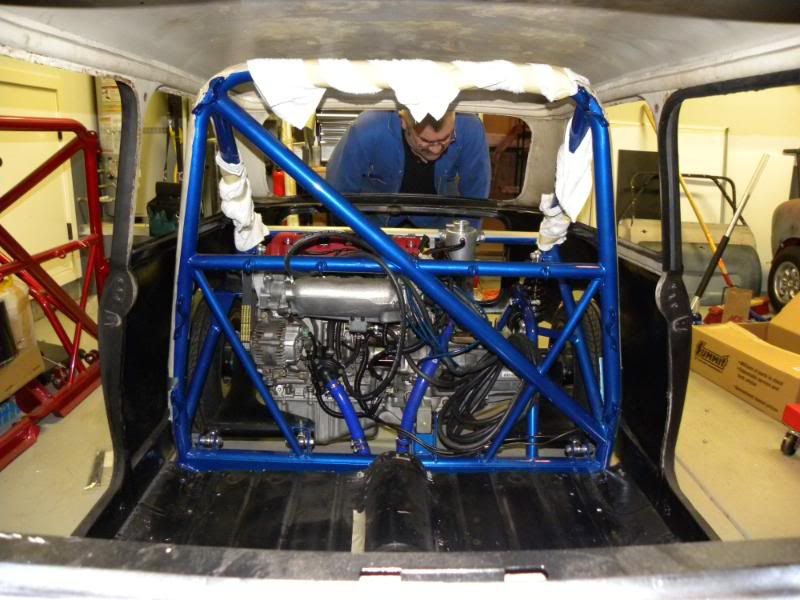
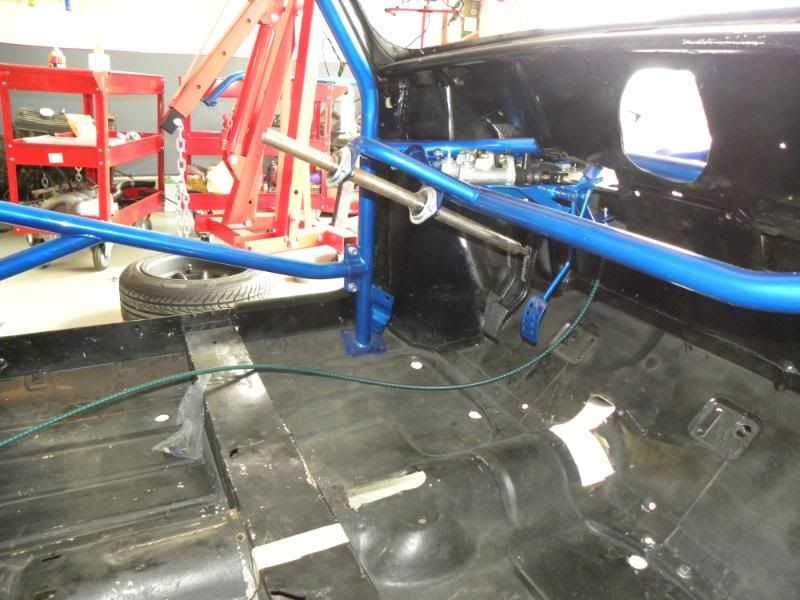
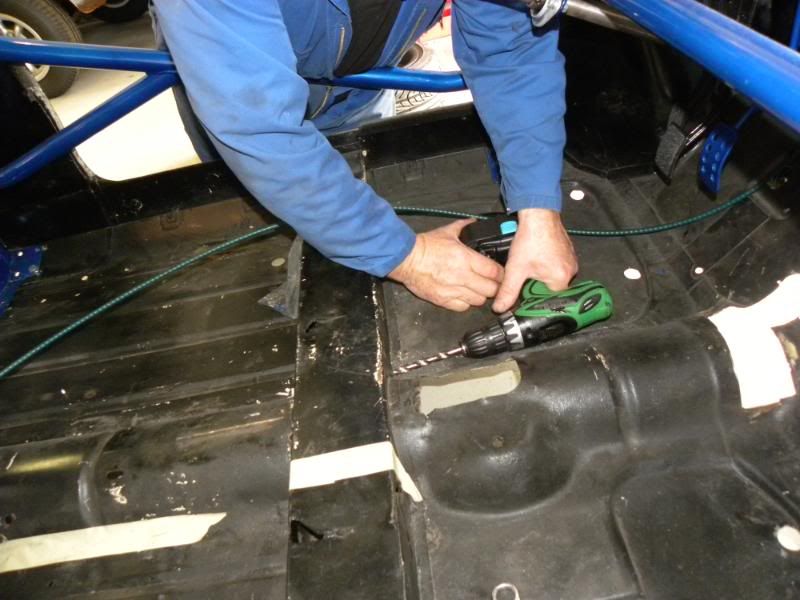
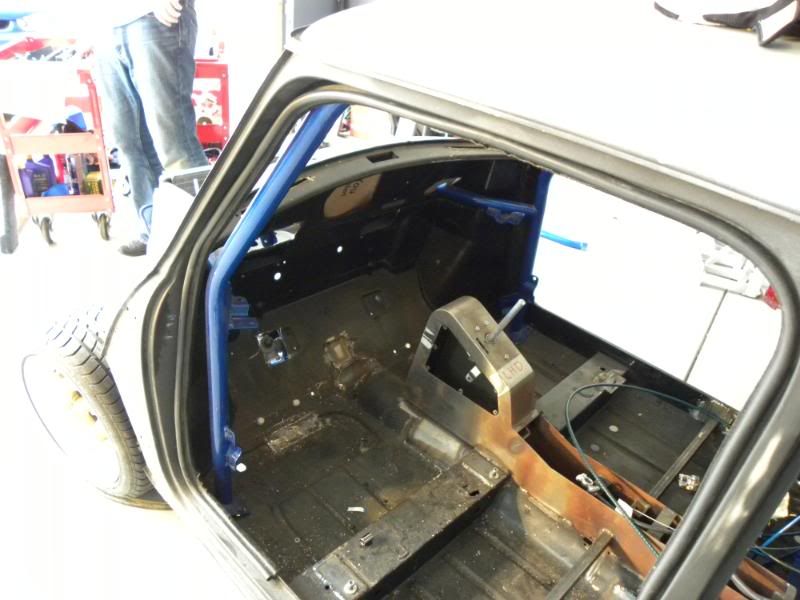
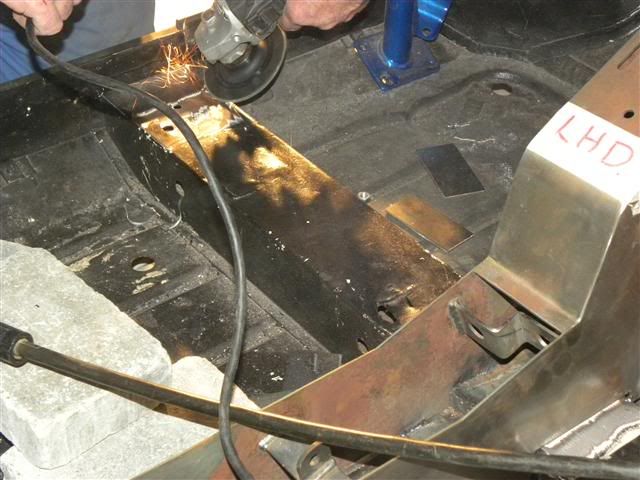
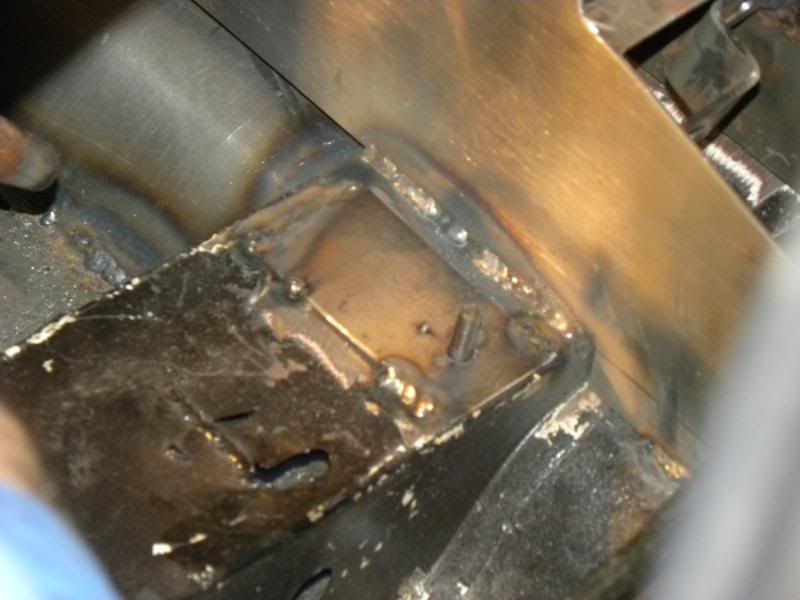
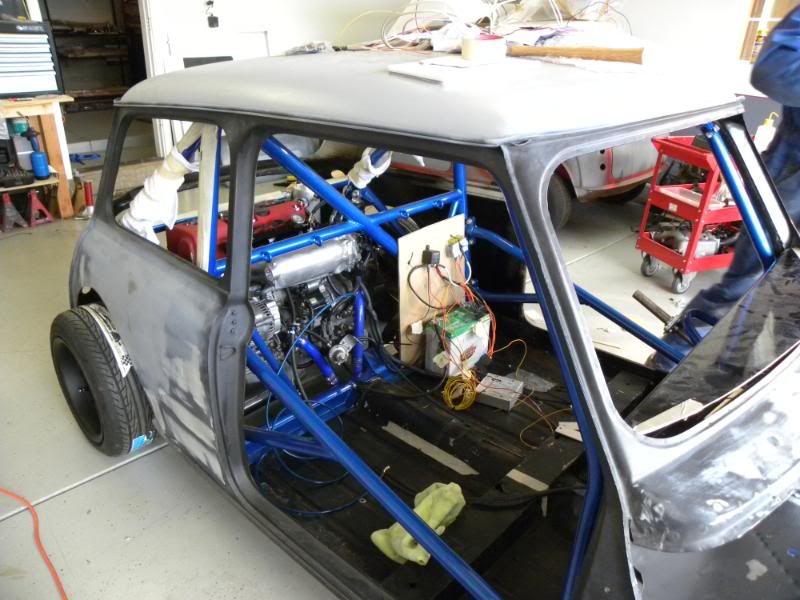
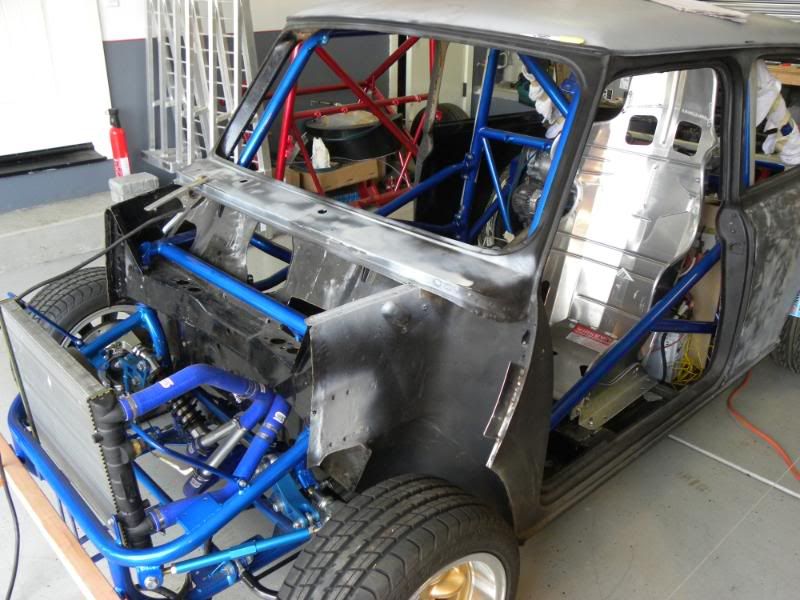
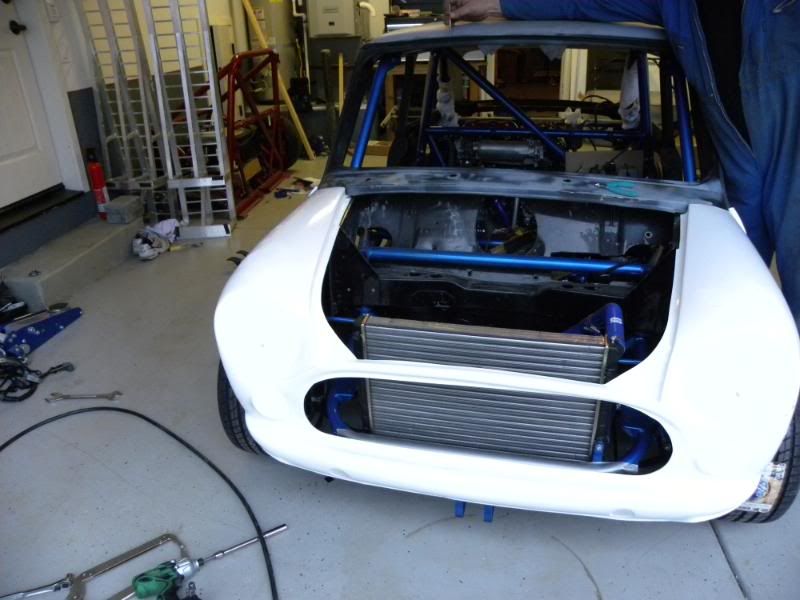
)I will have more updates over the weekend. Plan on placing the chassis inside the frame and soft fit it mark up all the holes etc.. and position the seat. Then strip it all down again for the body to get painted.
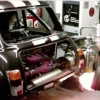
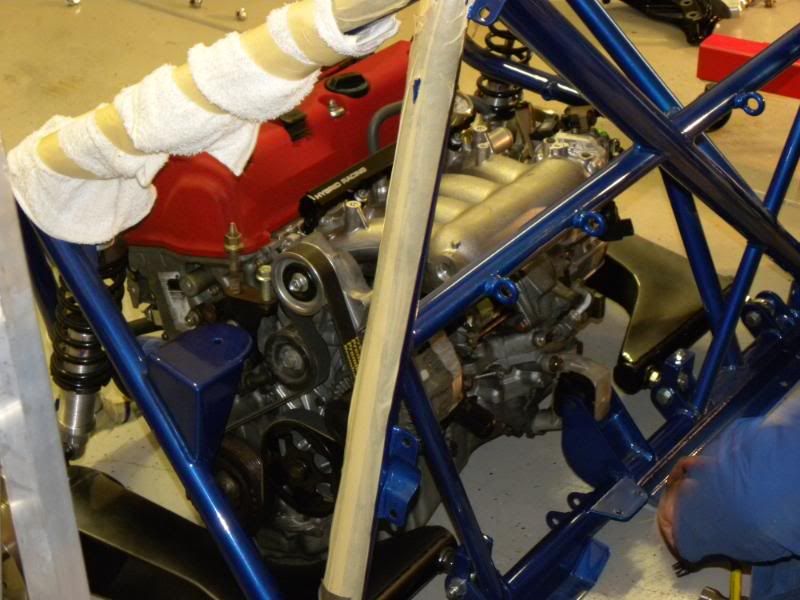
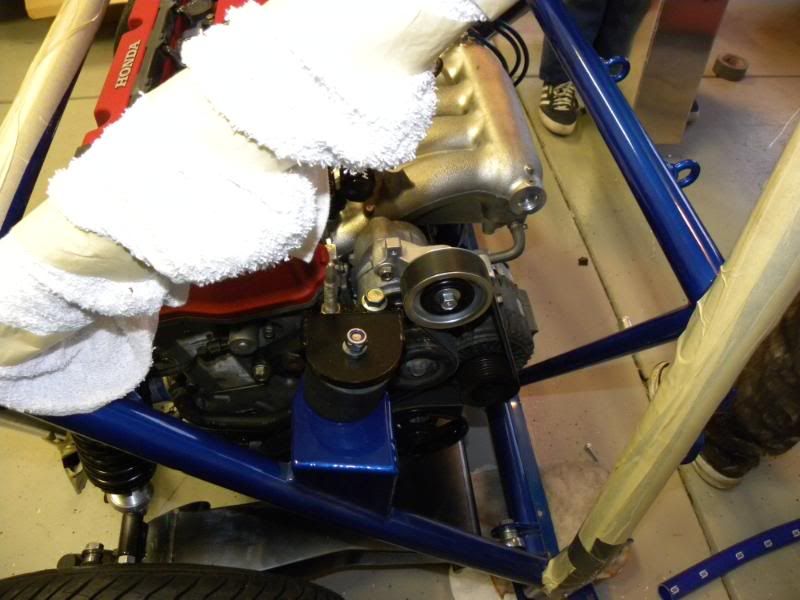
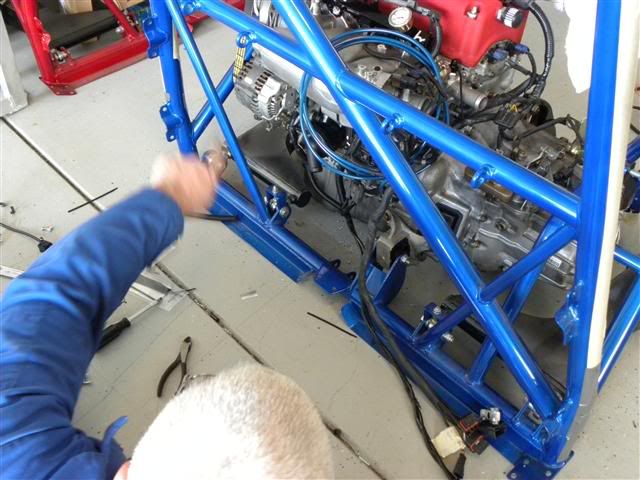
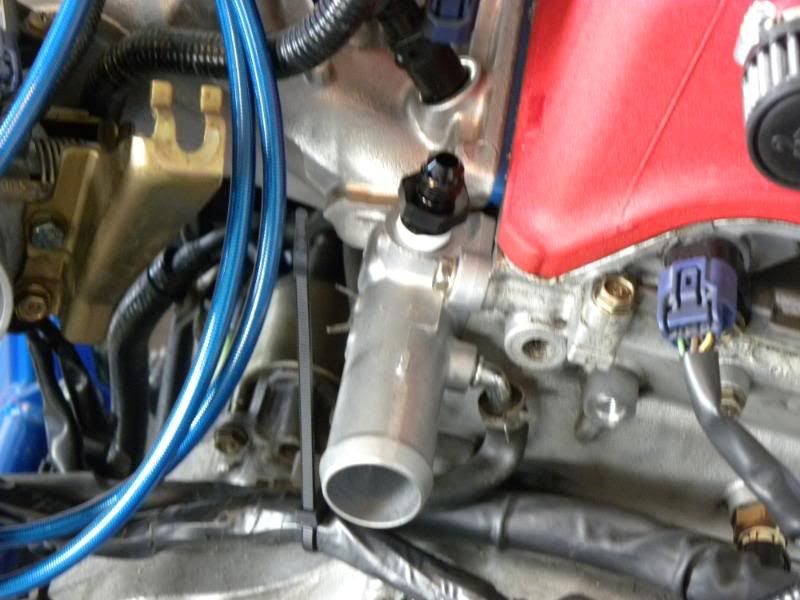
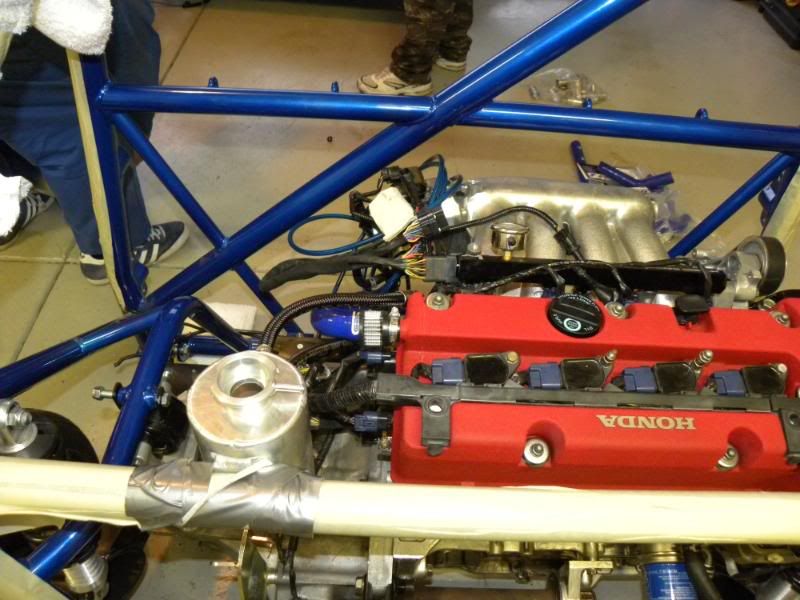
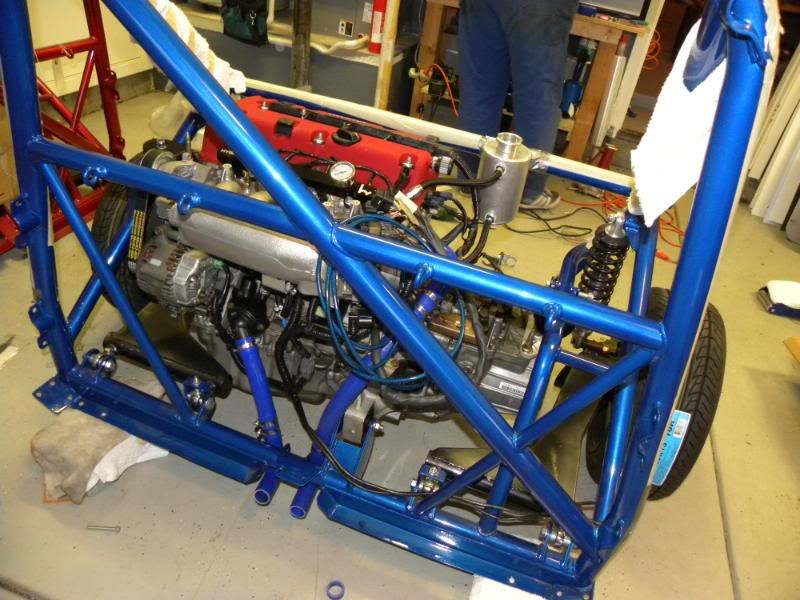
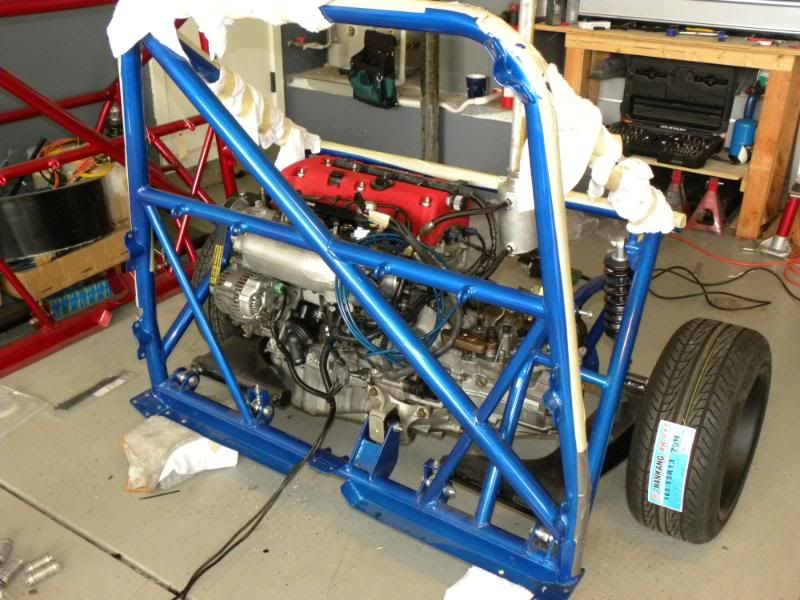
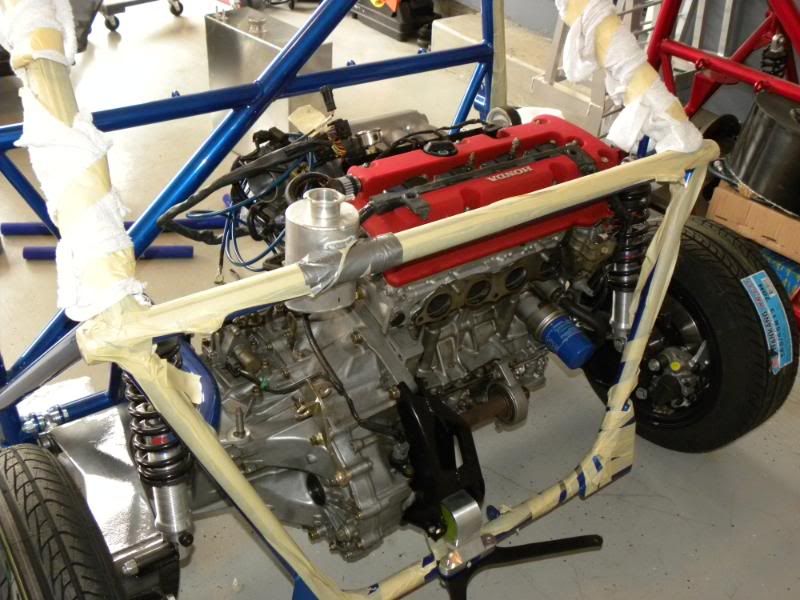
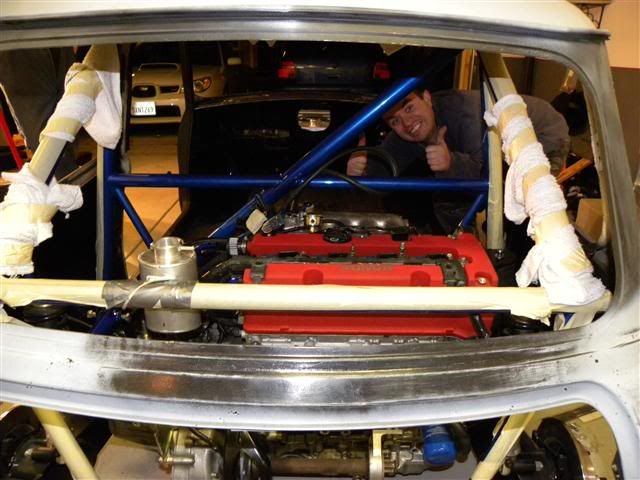
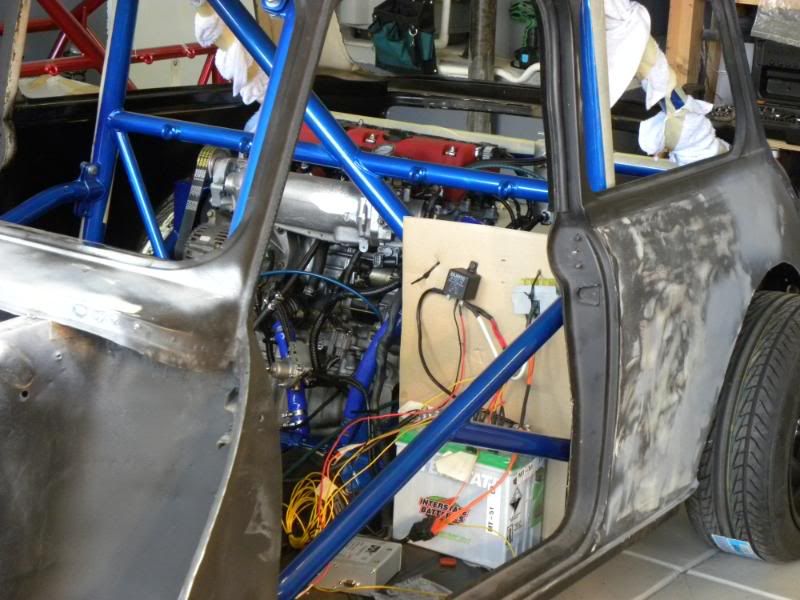
Oh and the engine is ready to go too
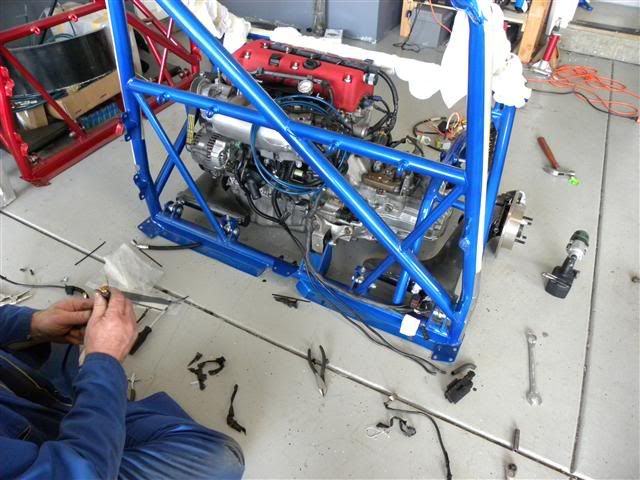
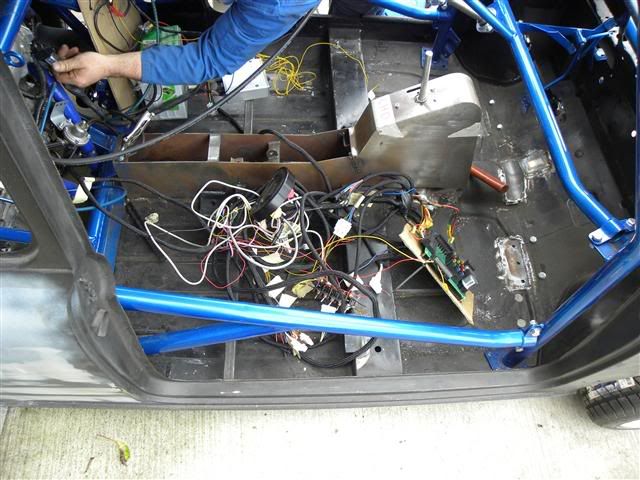
) once in the wire tuck begins
Edited by irishdude, 14 August 2009 - 08:45 PM.