Jump to content


Photo
- - - - -

Mr. Gonzales - '79 1000


  • Please log in to reply
68 replies to this topic

#1 Rasmus Holst

Rasmus Holst

    Stage One Kit Fitted

  • Noobies
  • PipPipPip
  • 84 posts

Posted 22 April 2009 - 09:02 AM

So, this is my first rebuild, first mini and first car.

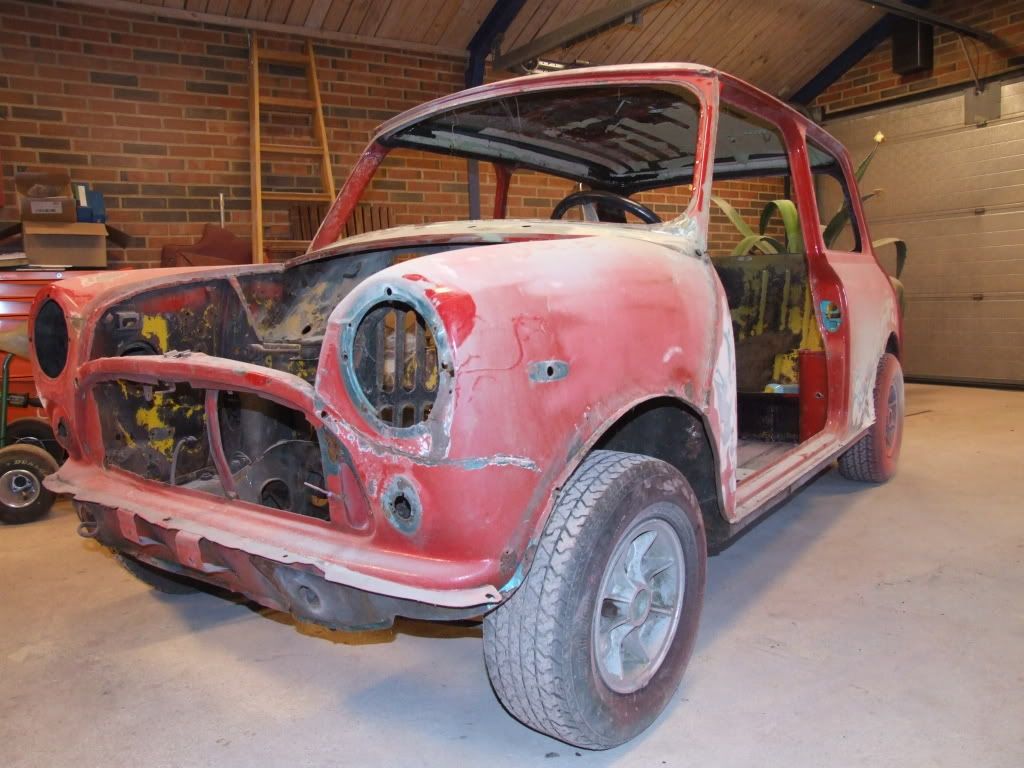
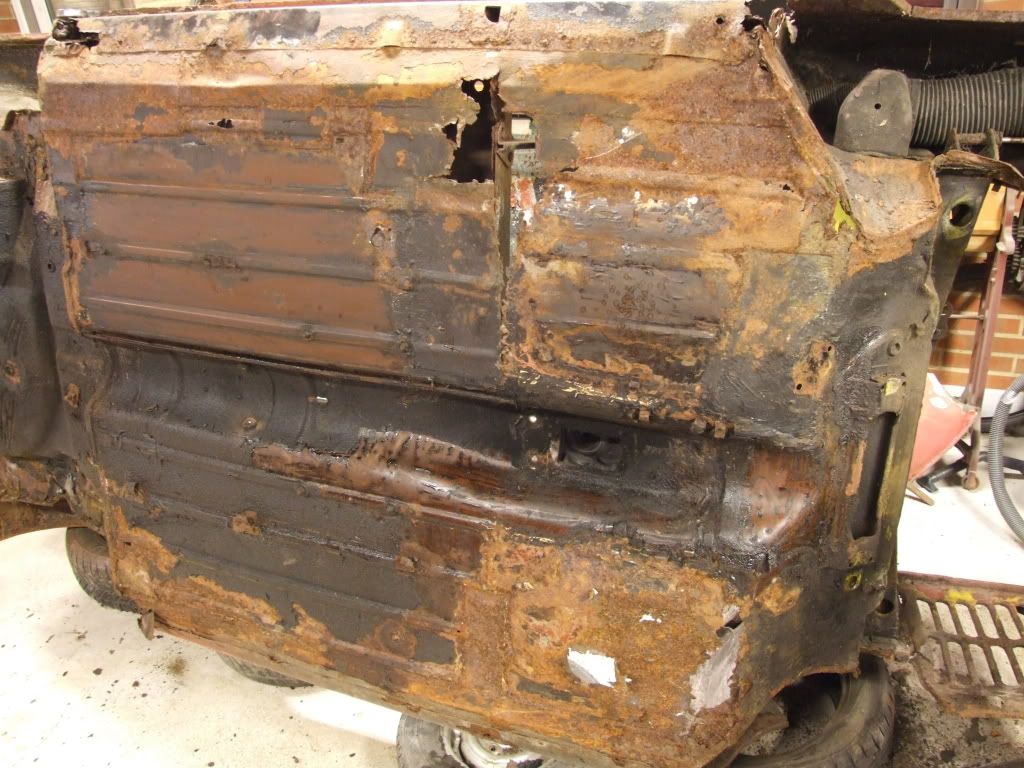
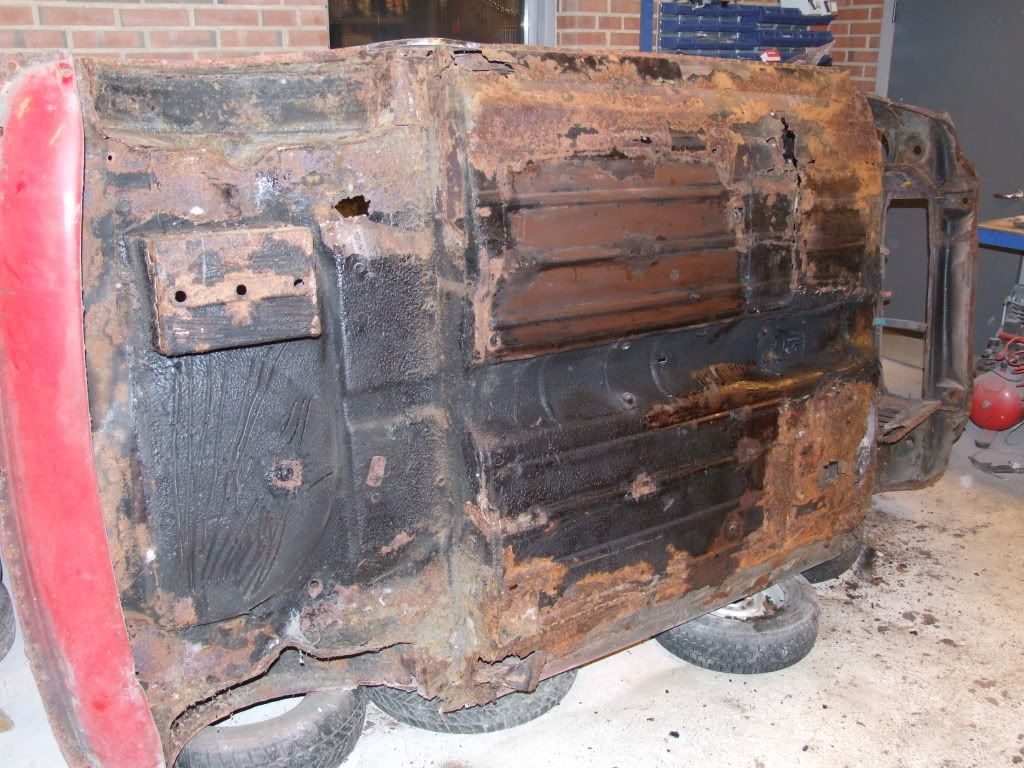
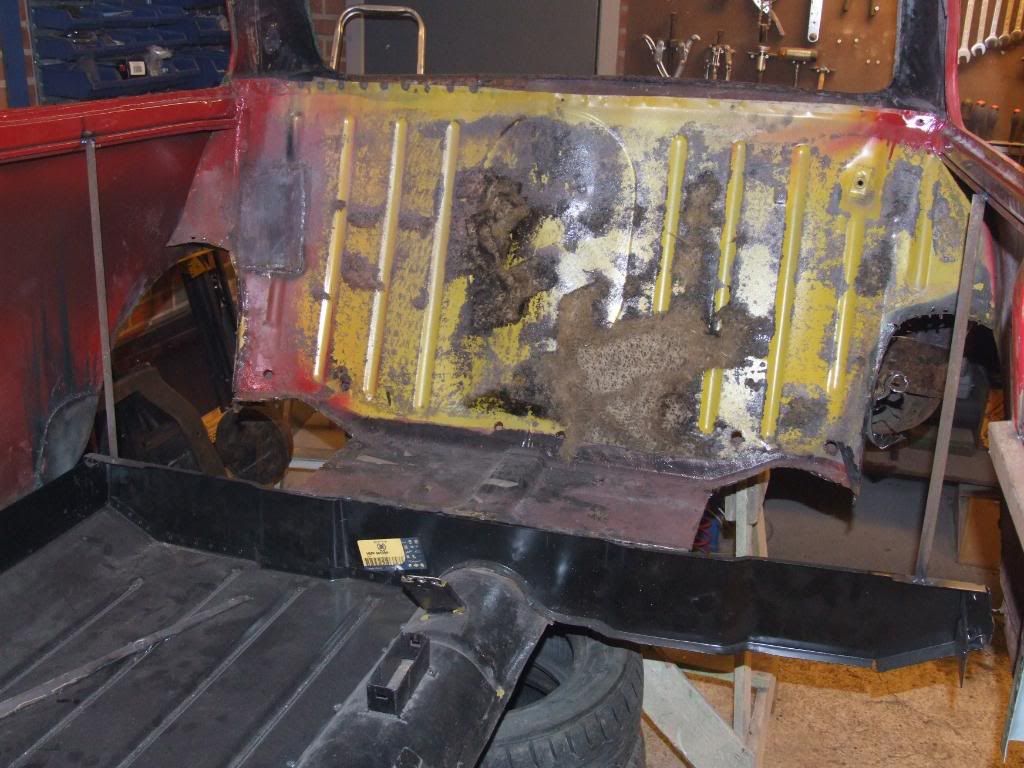
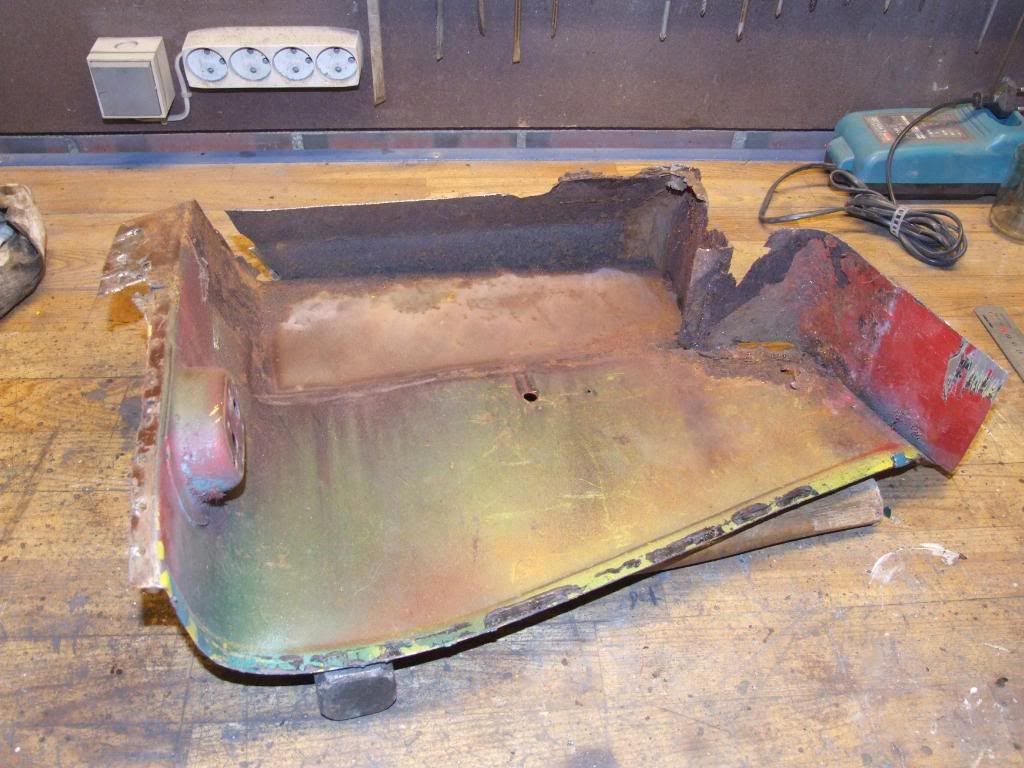
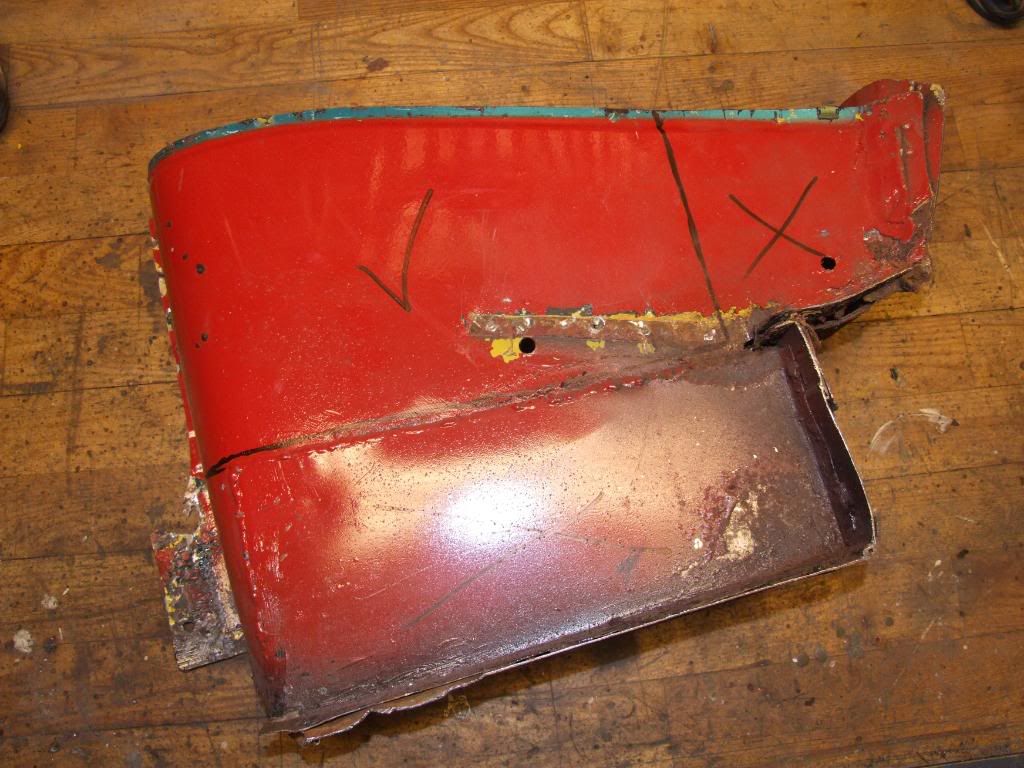
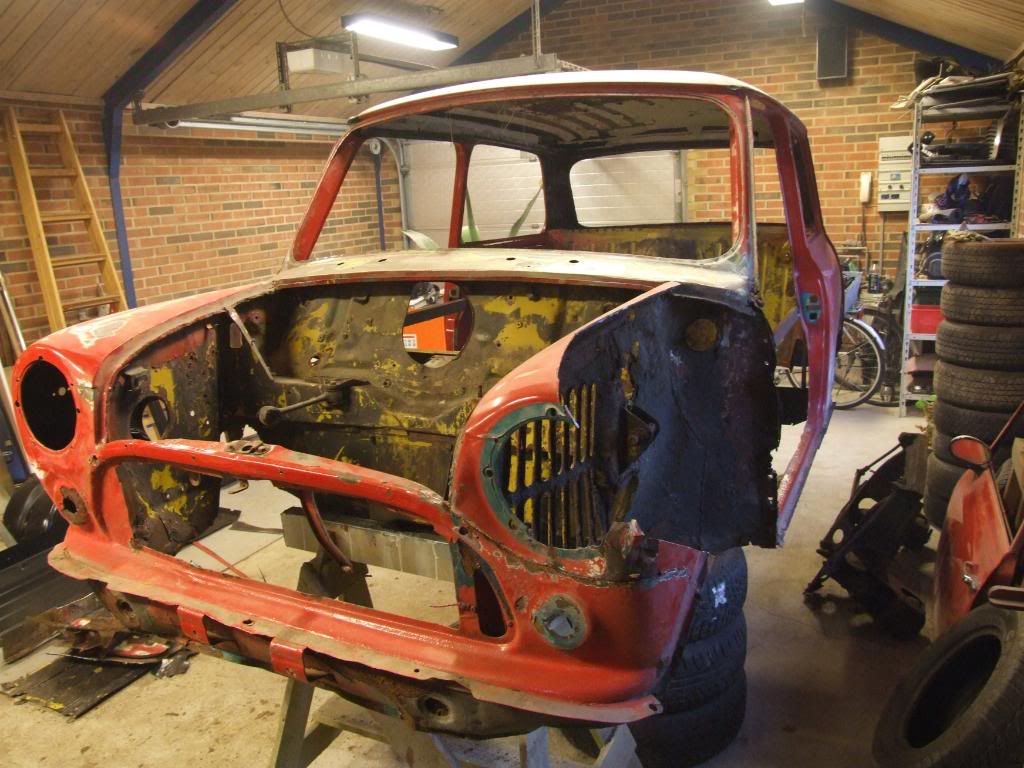
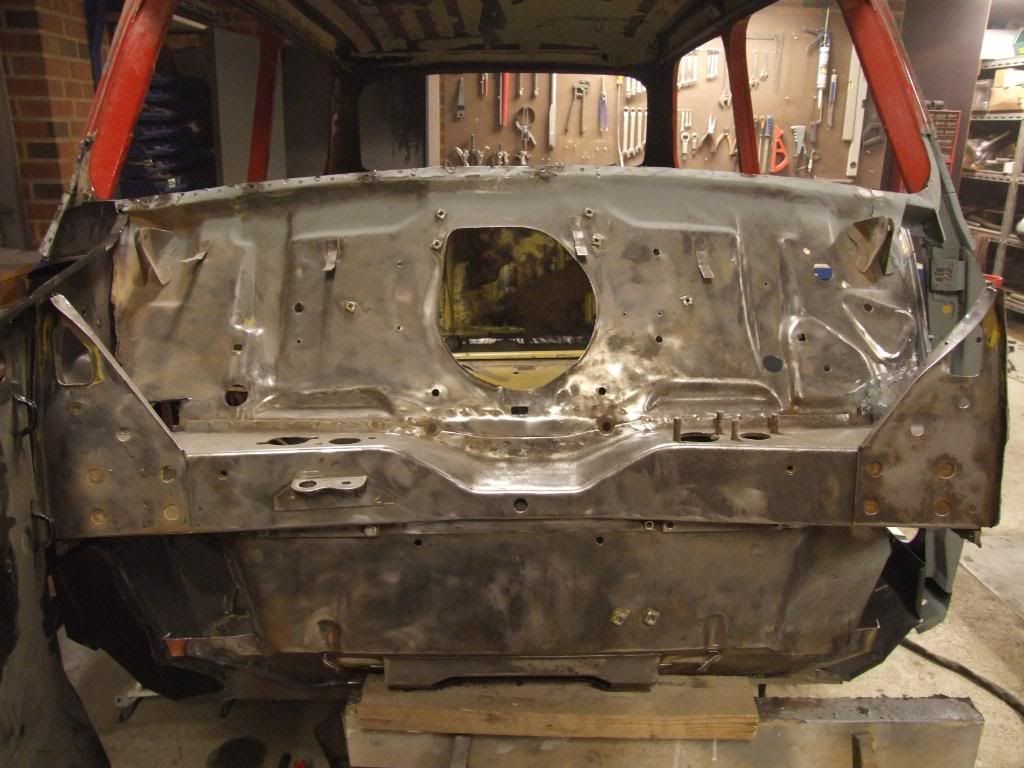
Thought it would be a qiuck restore. The plan was simple: fix the small rust spots so it could be on the road for 3-5 years while I study. Thats not how it went :teehee:

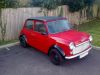
Went to see this Mini knowing it would need a mild restore, but with no idea of what sort of condition it ought to be in. Next morning i called the local BMH dealer to hear his oppinion. He just laughed and said i should find another car, but anyways 10 hours later it was on a trailer and heading home. :proud: 
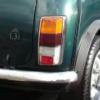
Such a nice car shouldn't end up at a breaker ;)

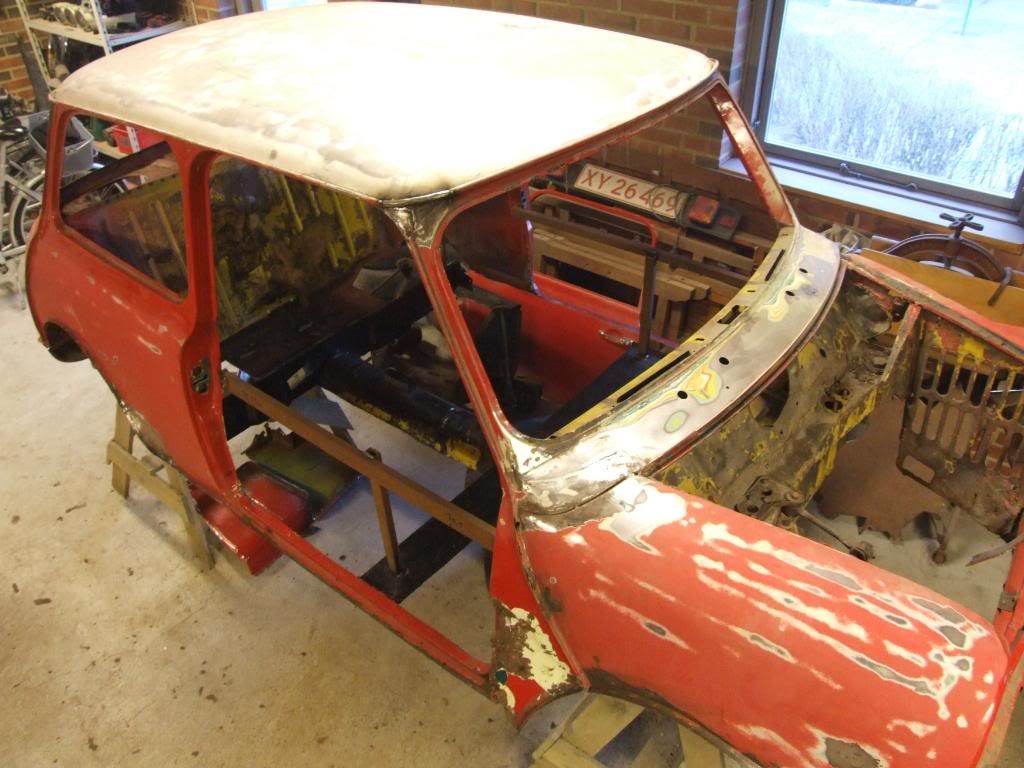
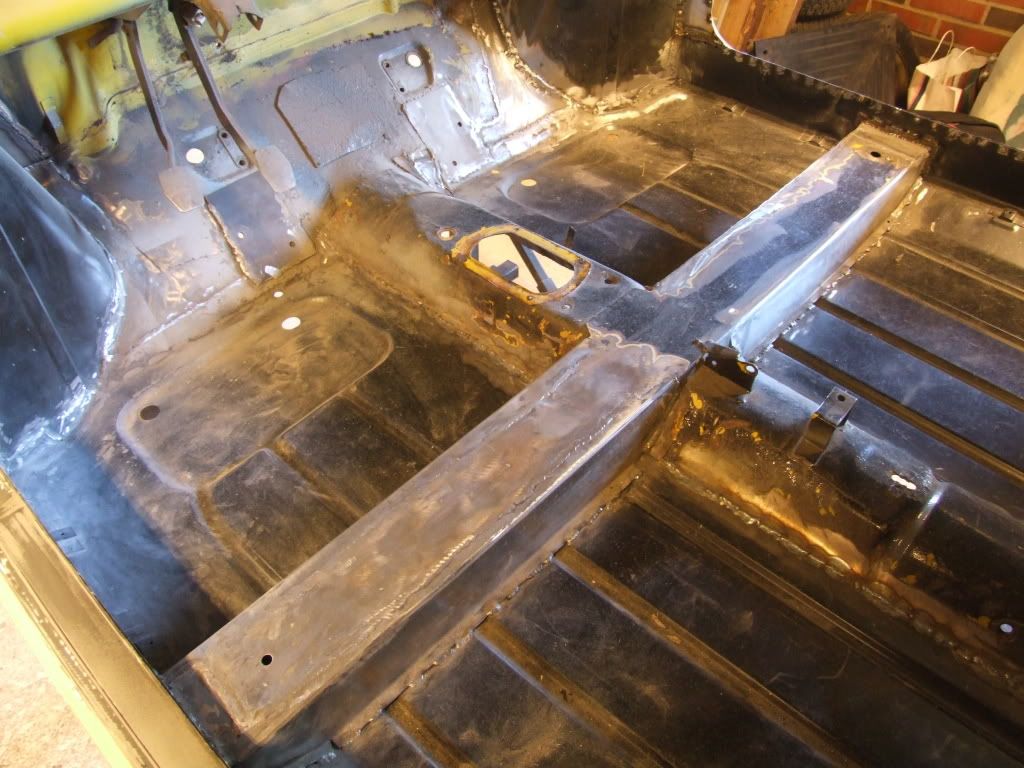
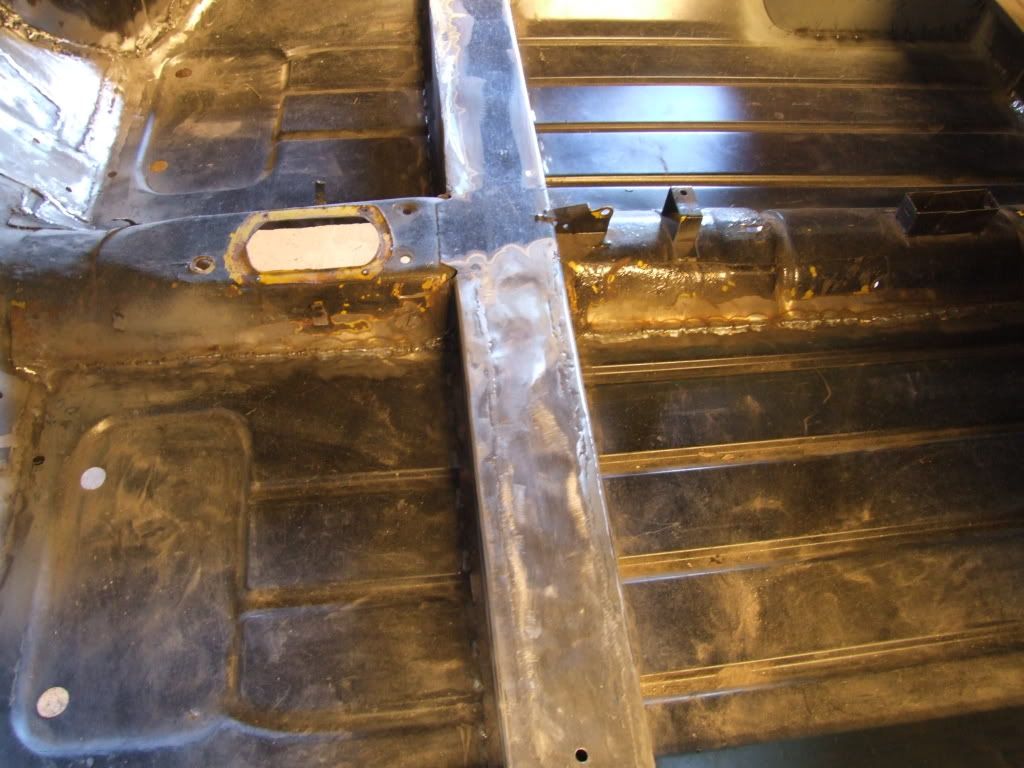
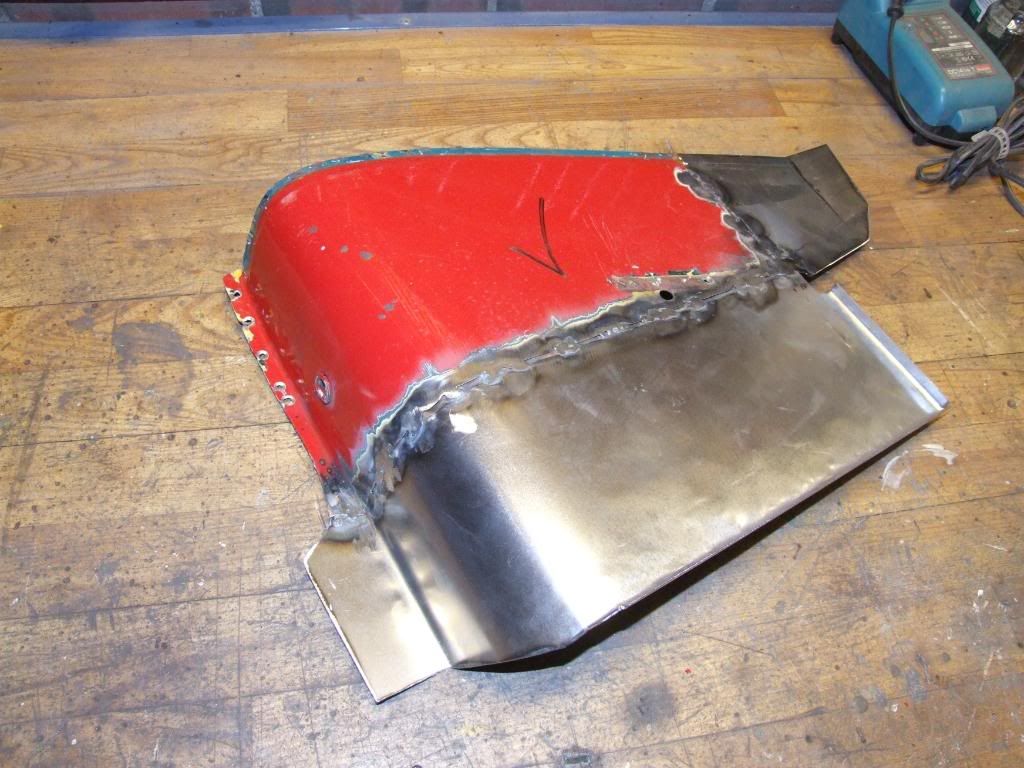
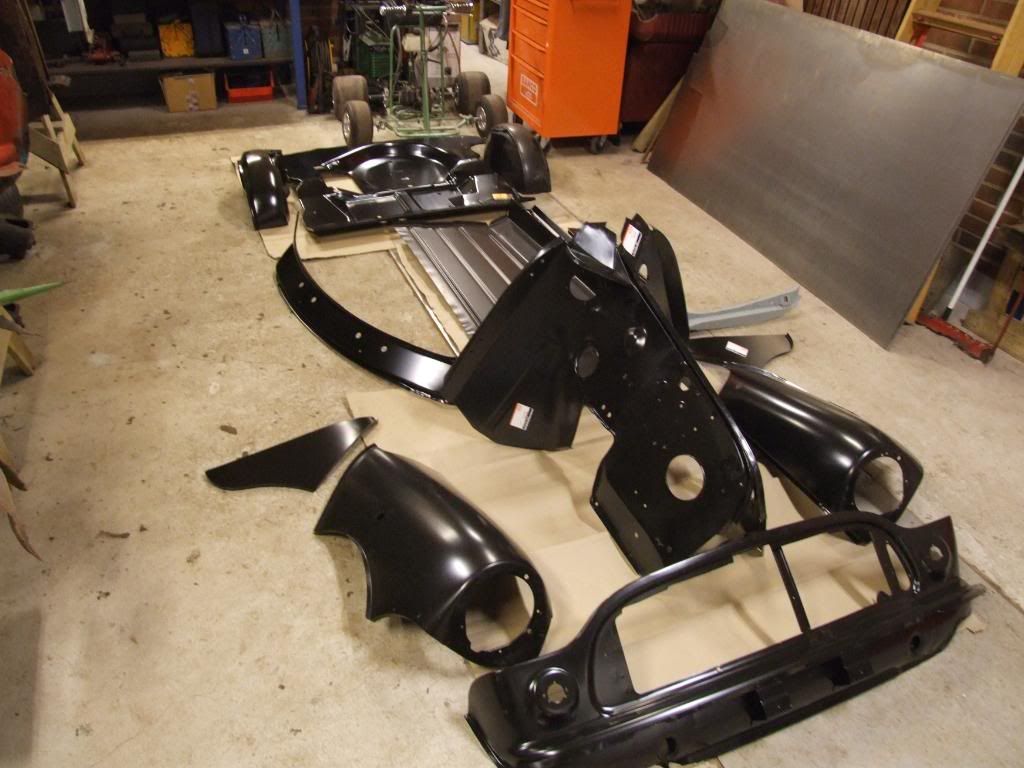
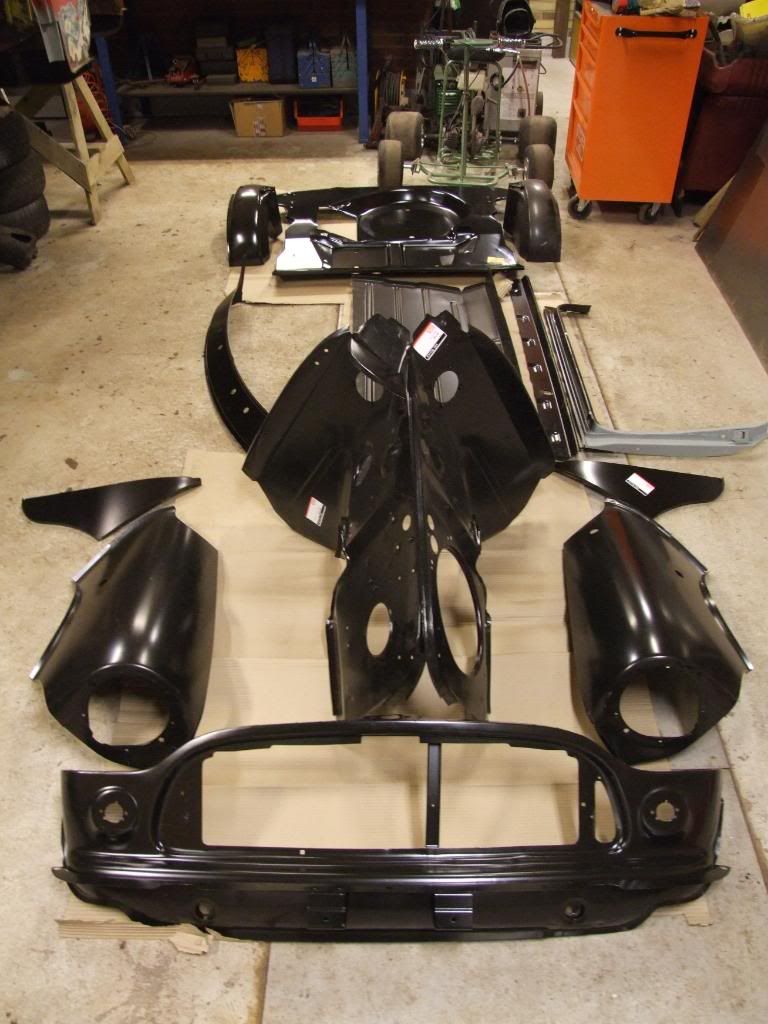
The plan with the car is to have all the rusty bits replaced, and build it up after the specs I like. I'm thinking of a British Racing Green body with Wood & Picketts arches and 12" minilights, a stage 2/3 988 engine and spotless interior.

Posted Image

Posted Image

Posted Image

Posted Image

Posted Image

Posted Image

Posted Image

Posted Image

Posted Image

Posted Image

Posted Image

Posted Image

Posted Image

Posted Image

Posted Image

Posted Image

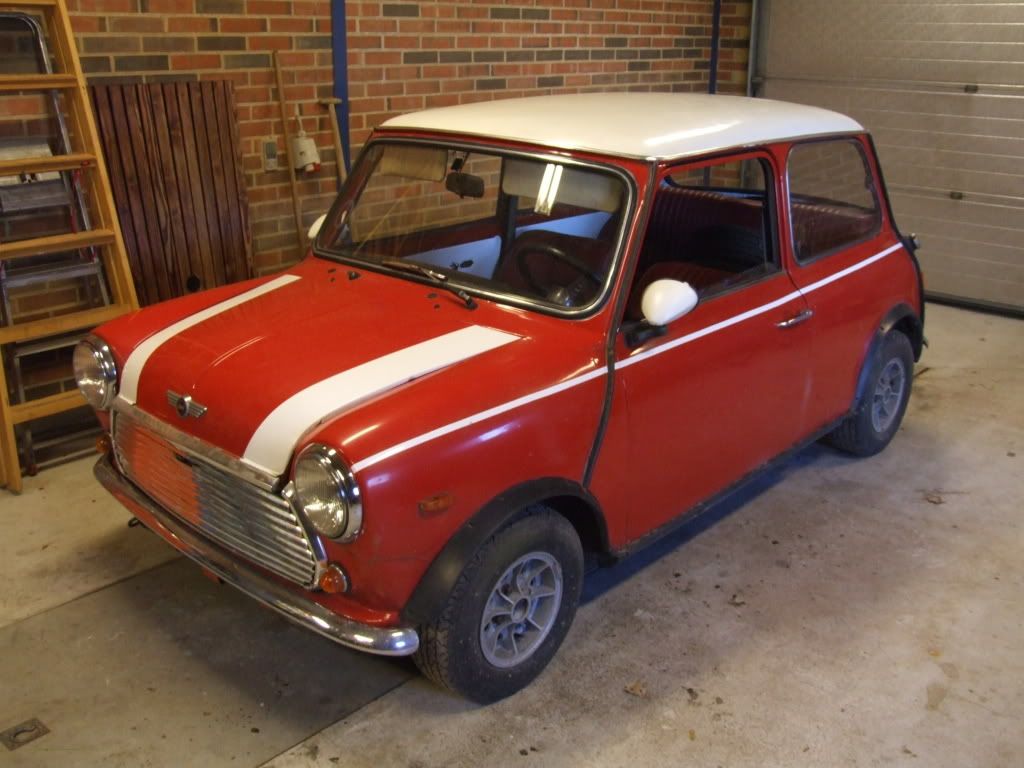
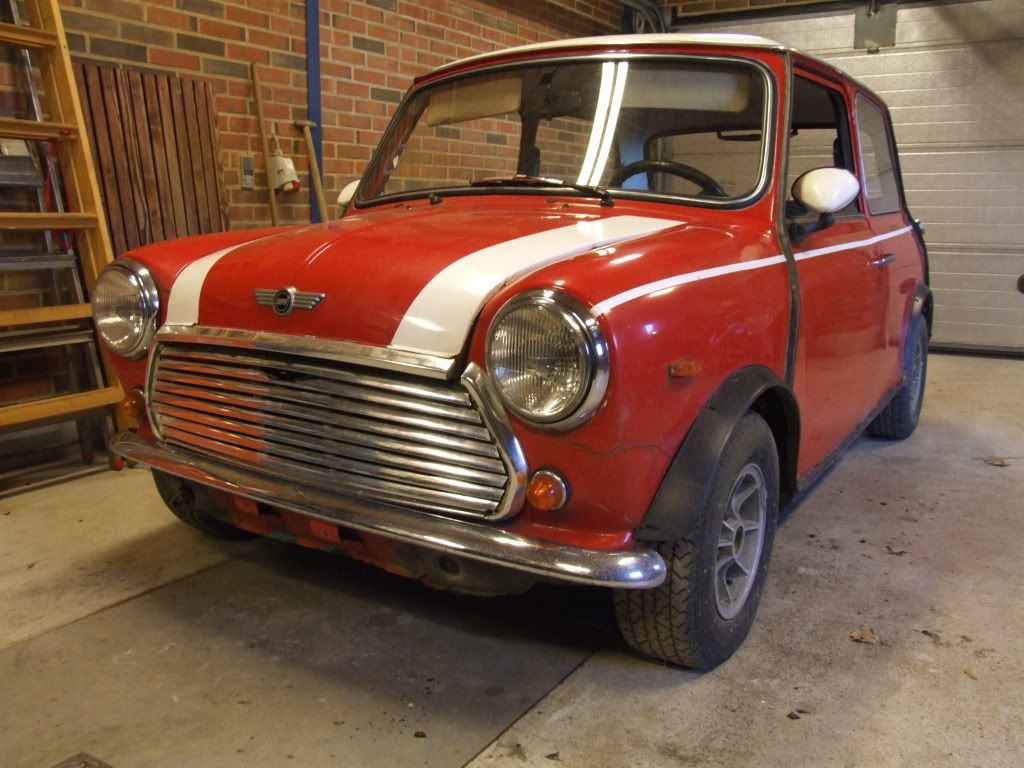
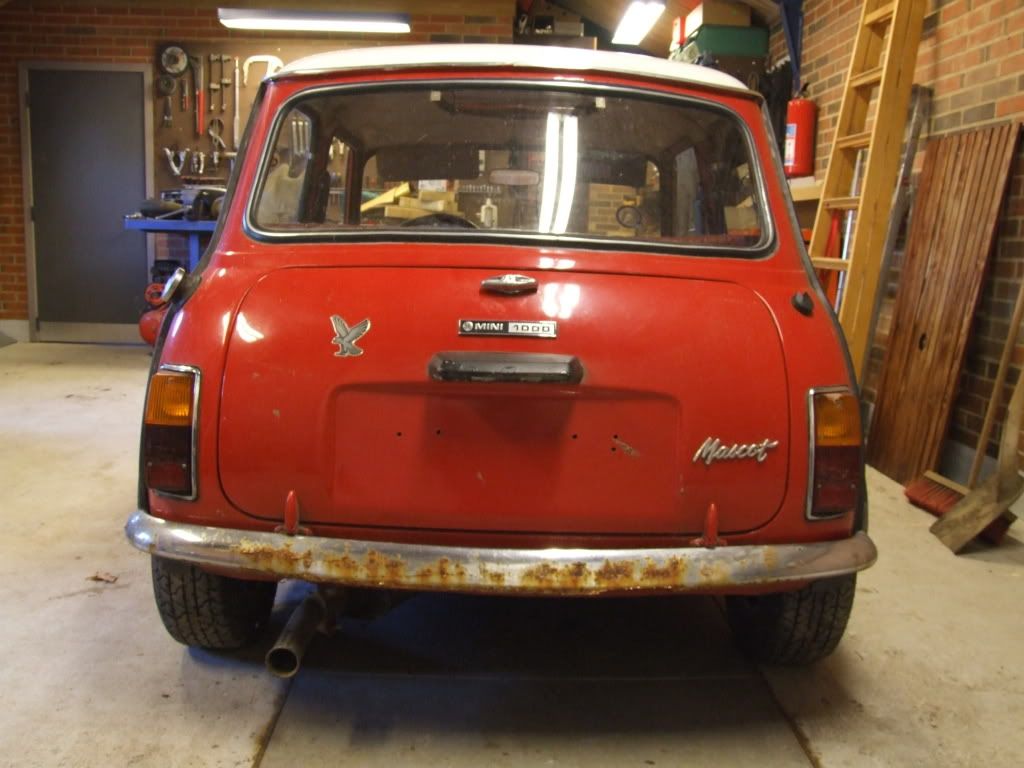
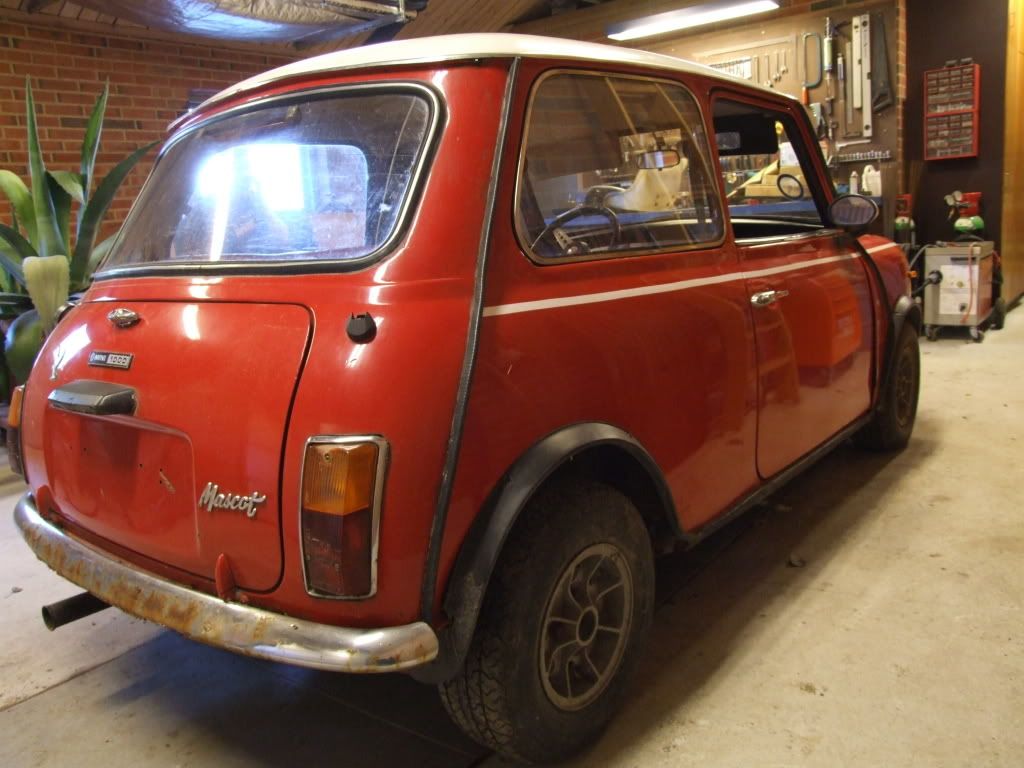
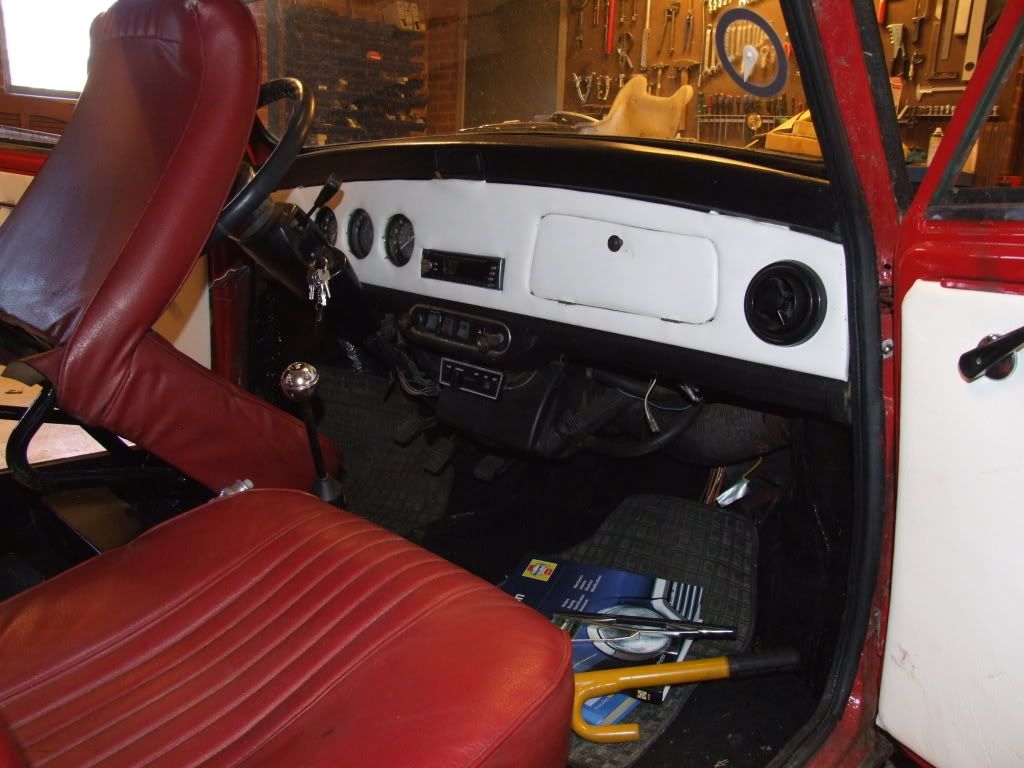
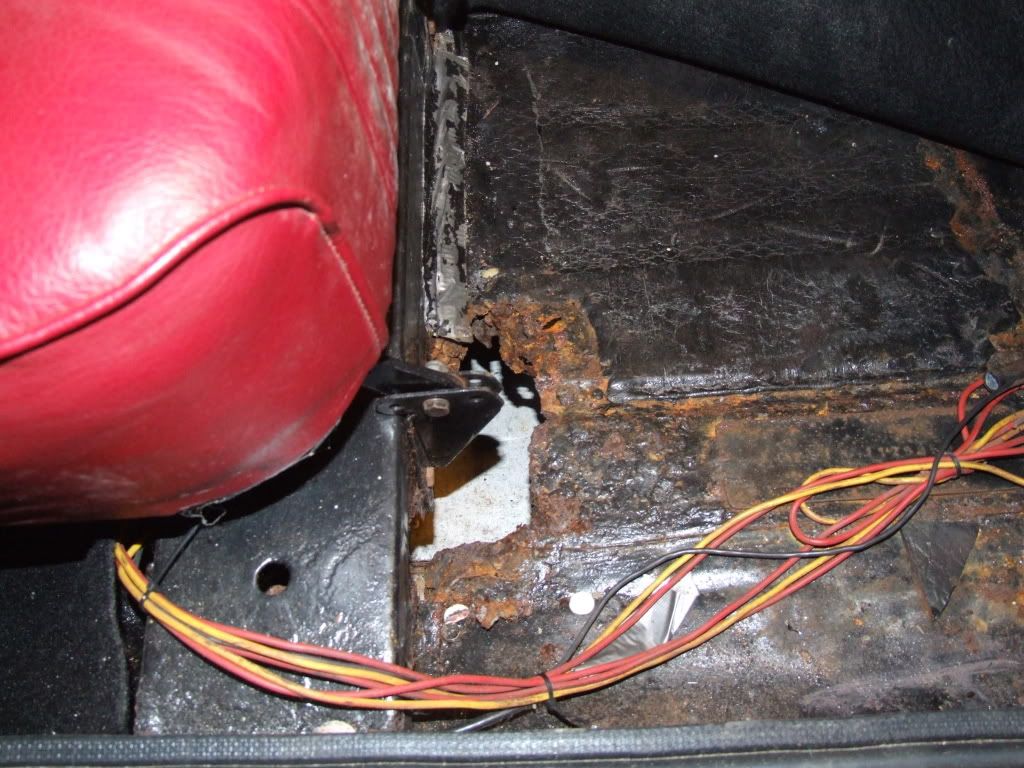
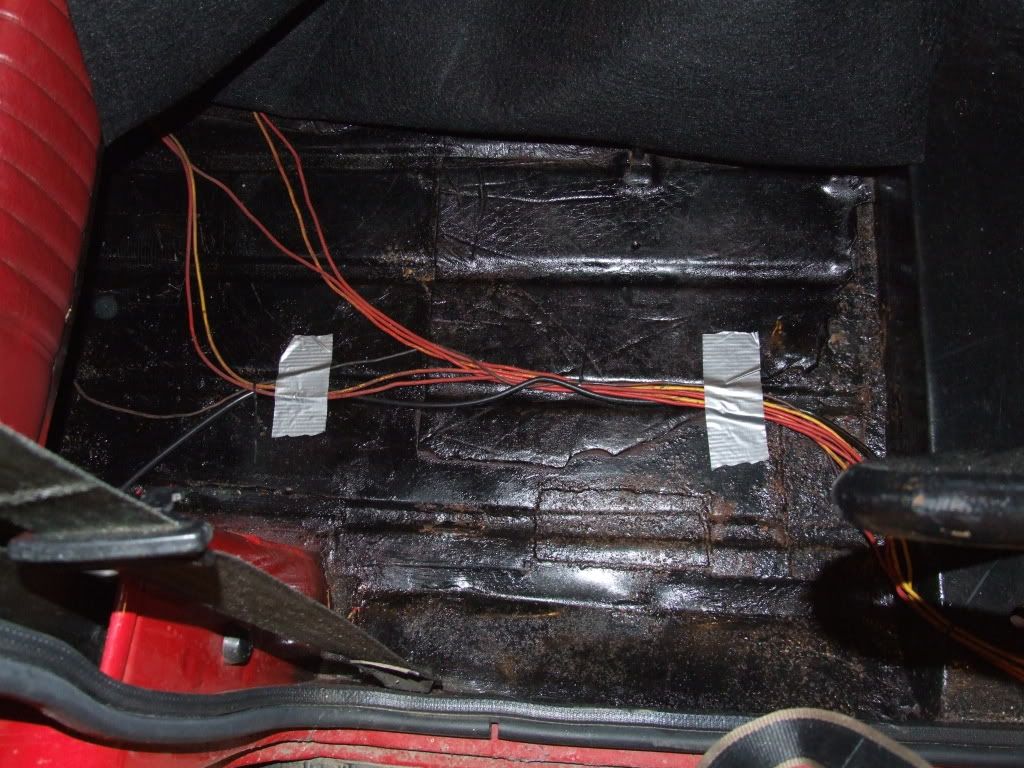
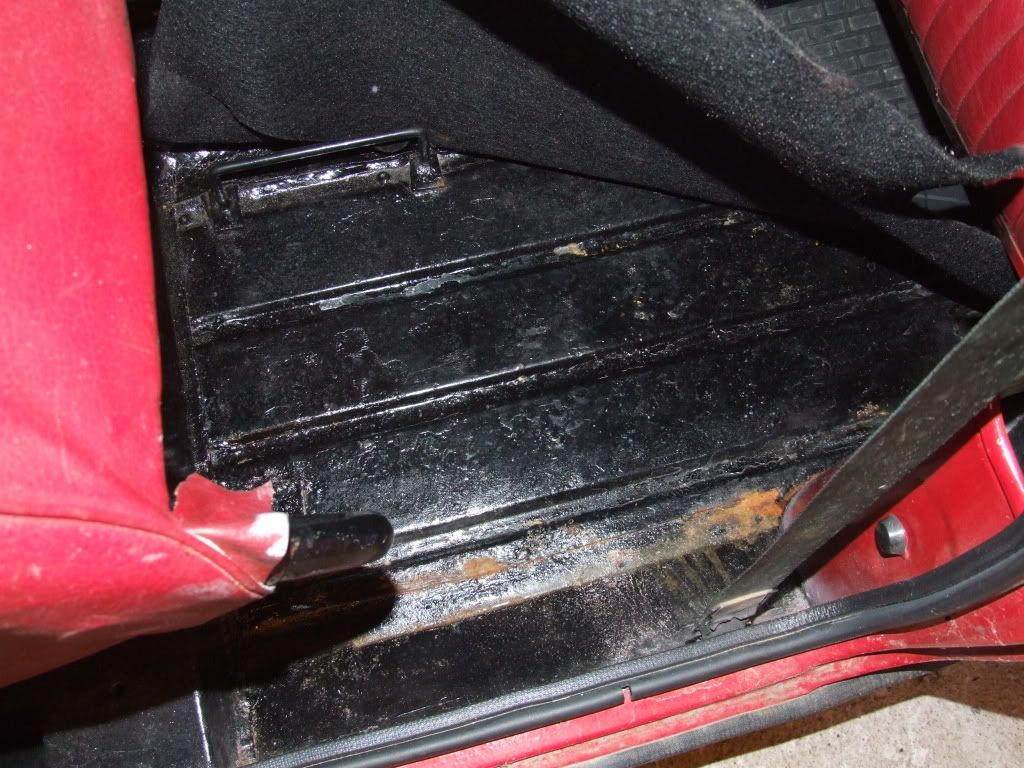
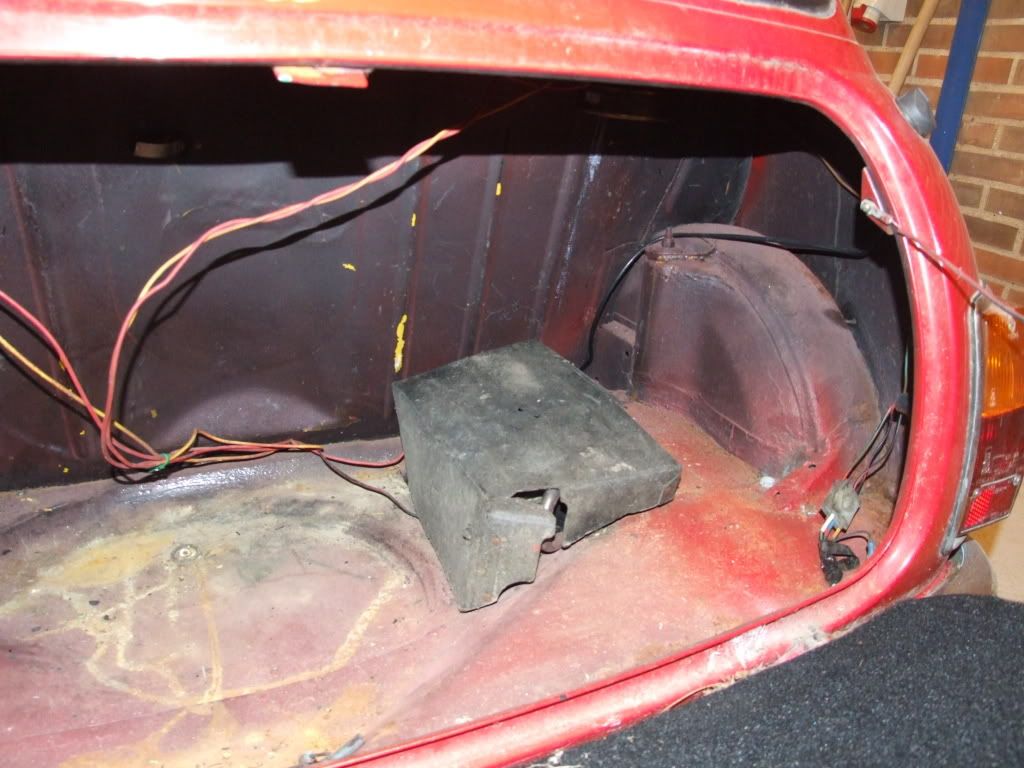
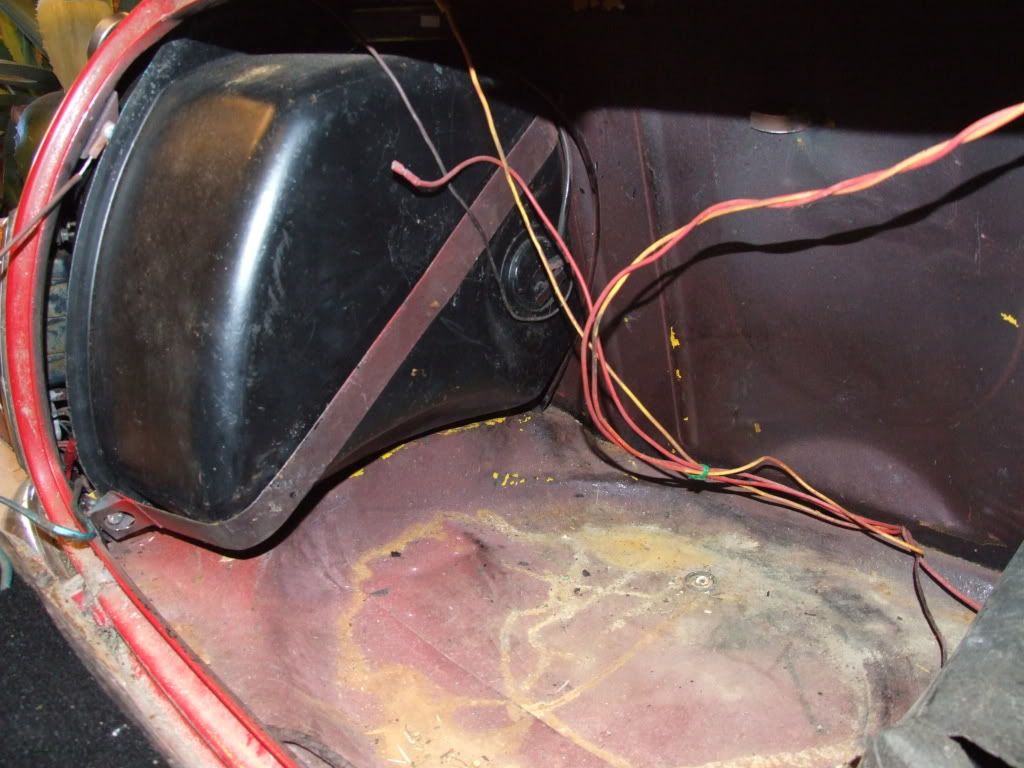
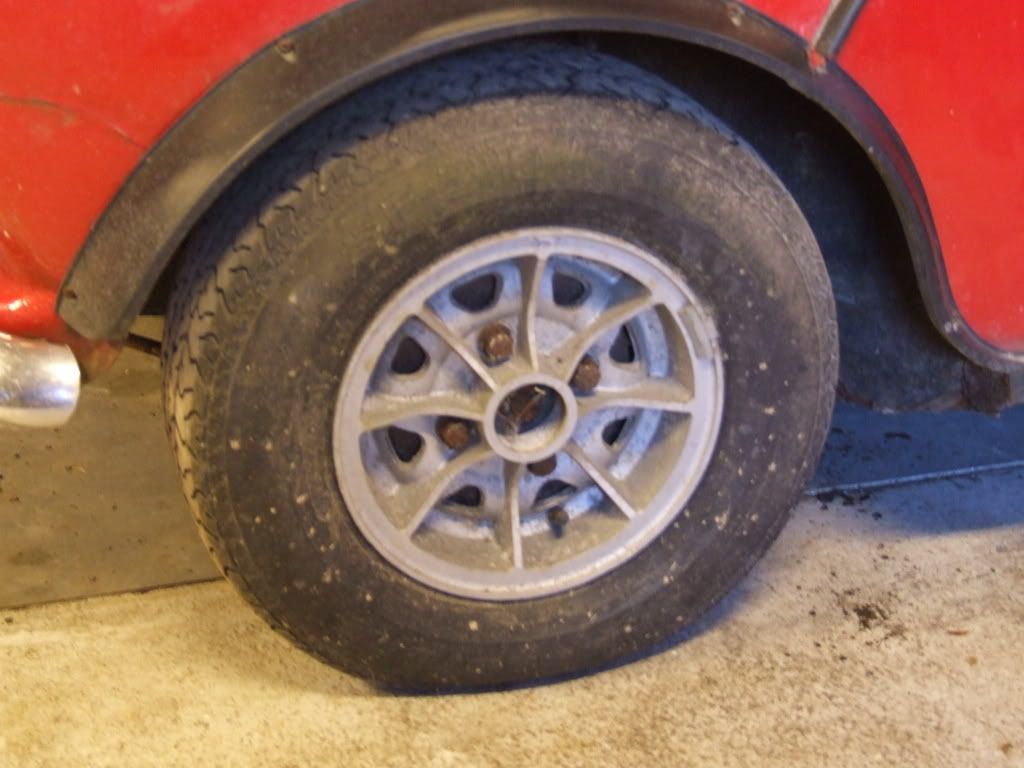
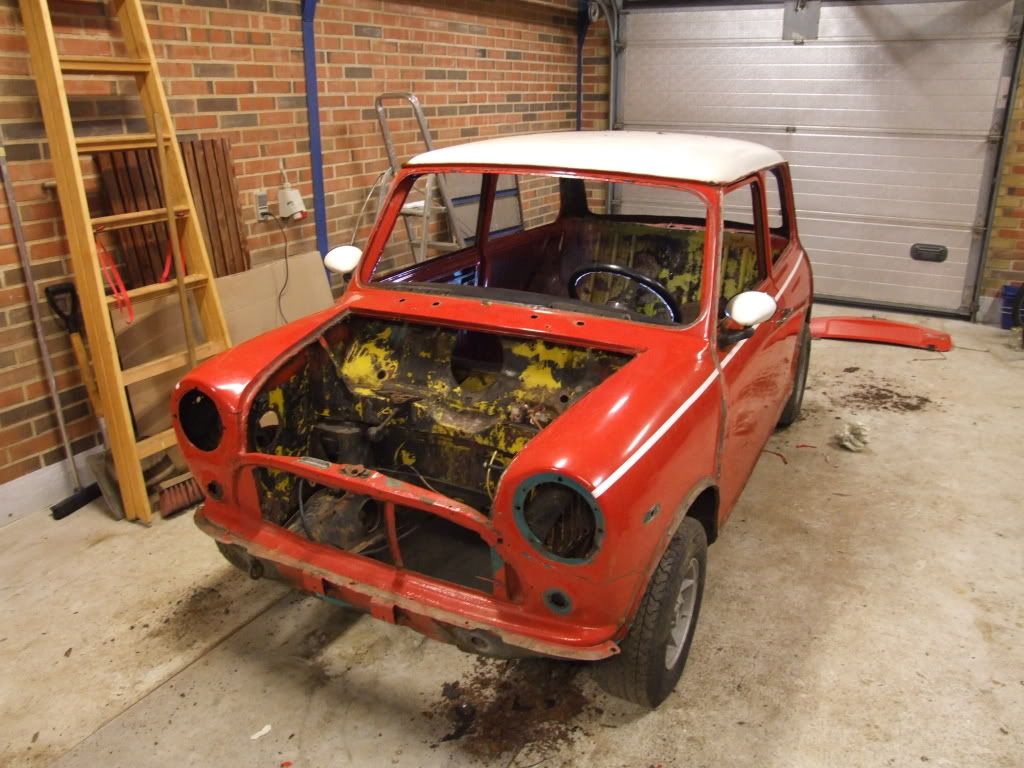
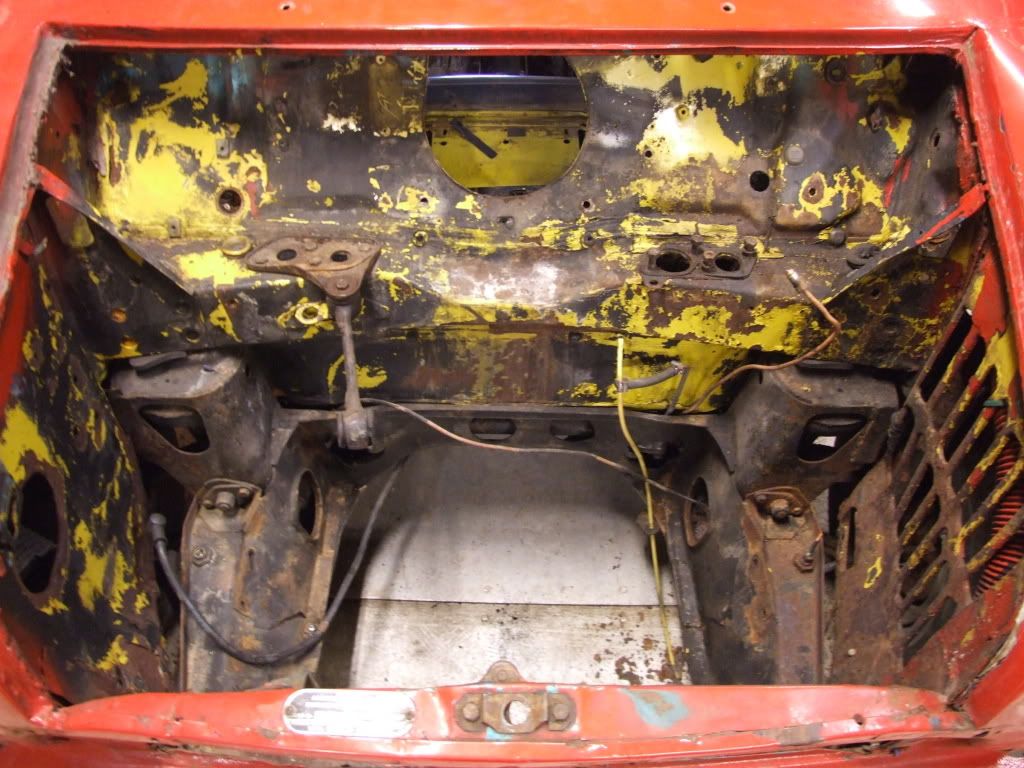
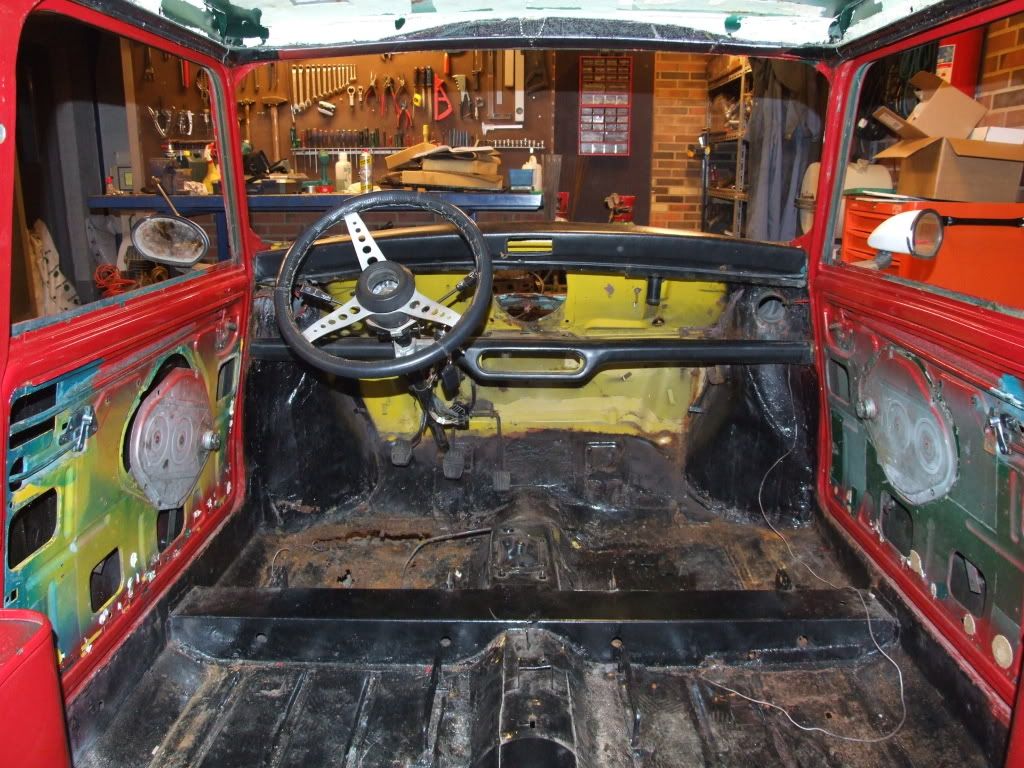
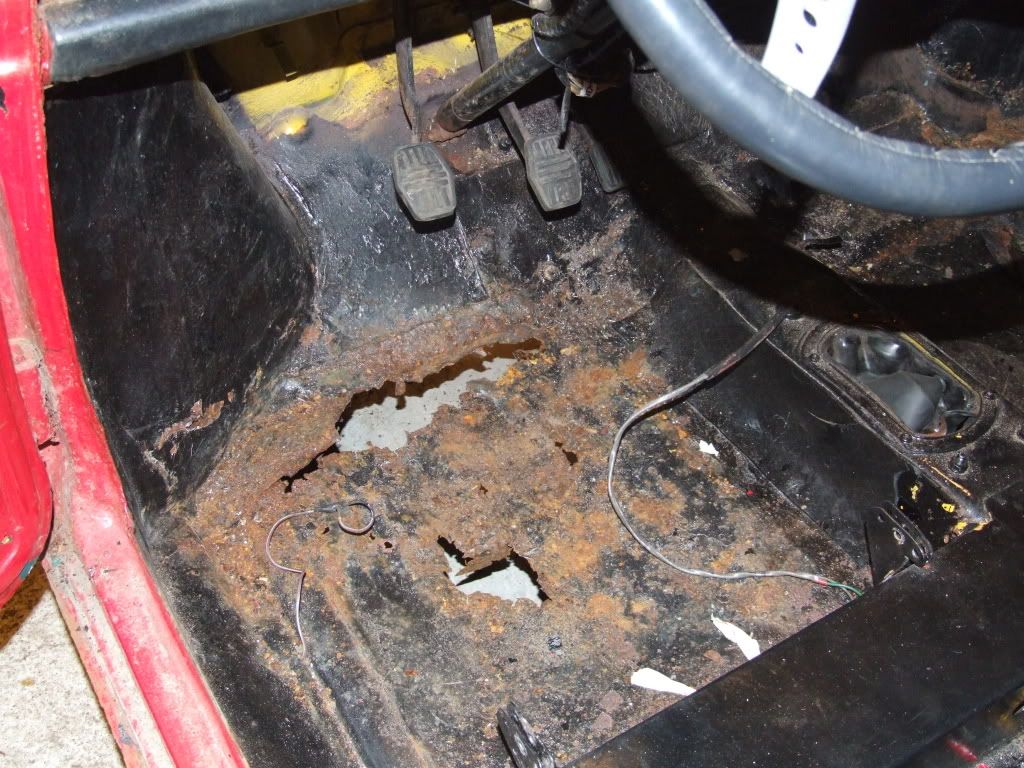
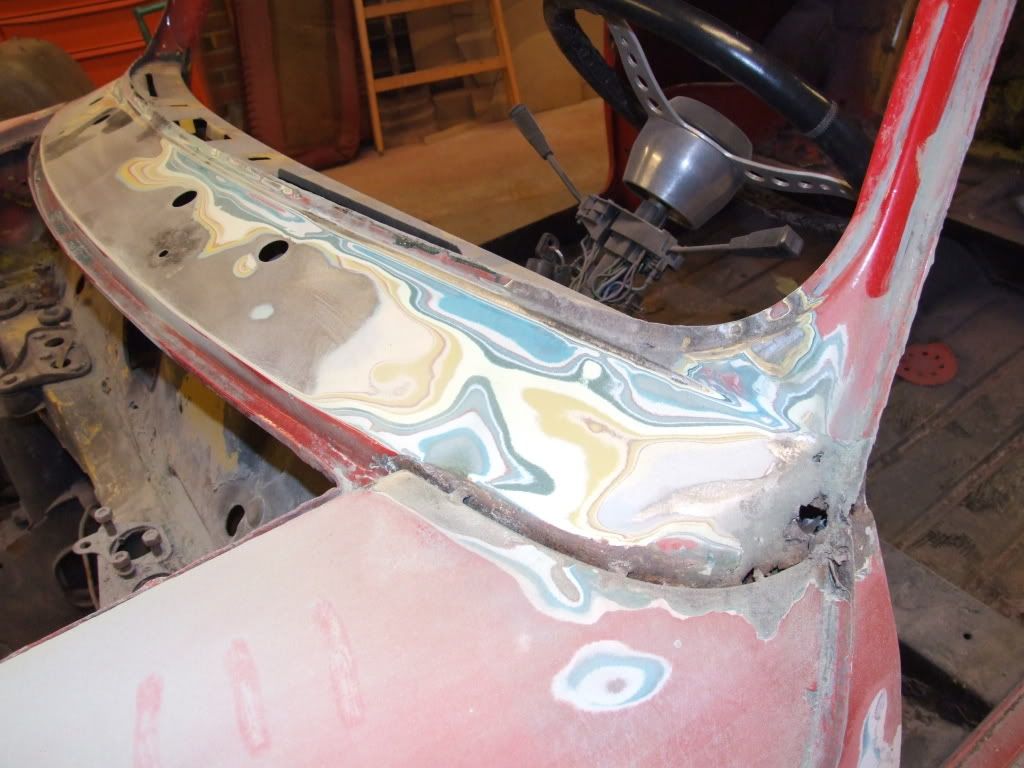
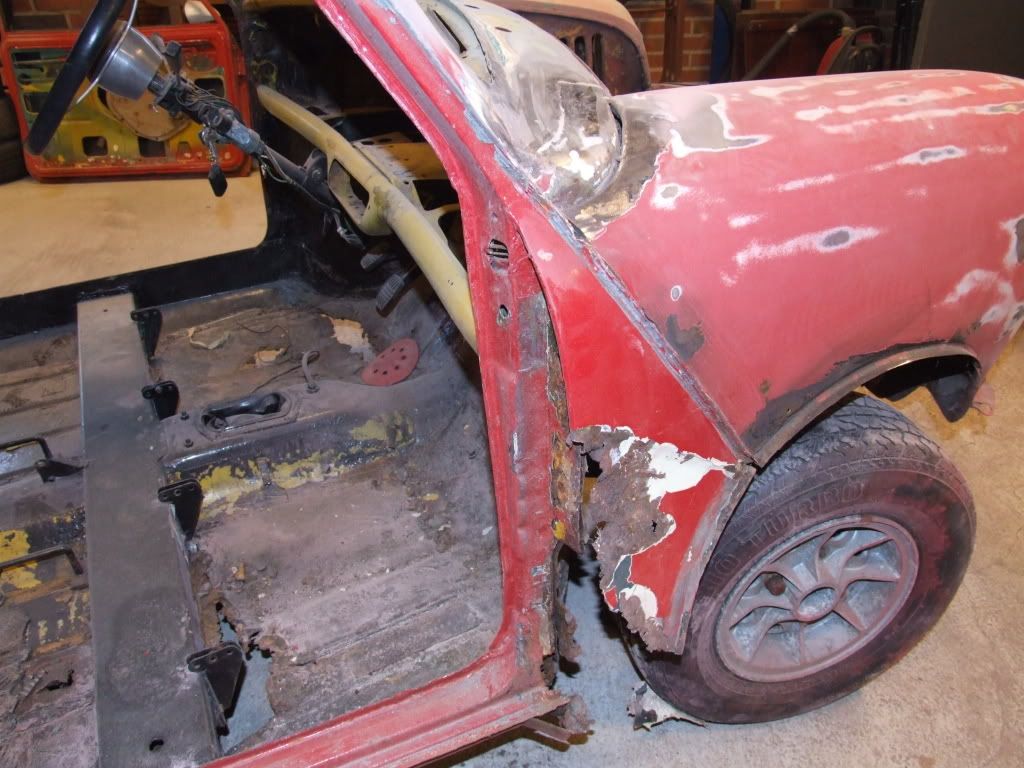
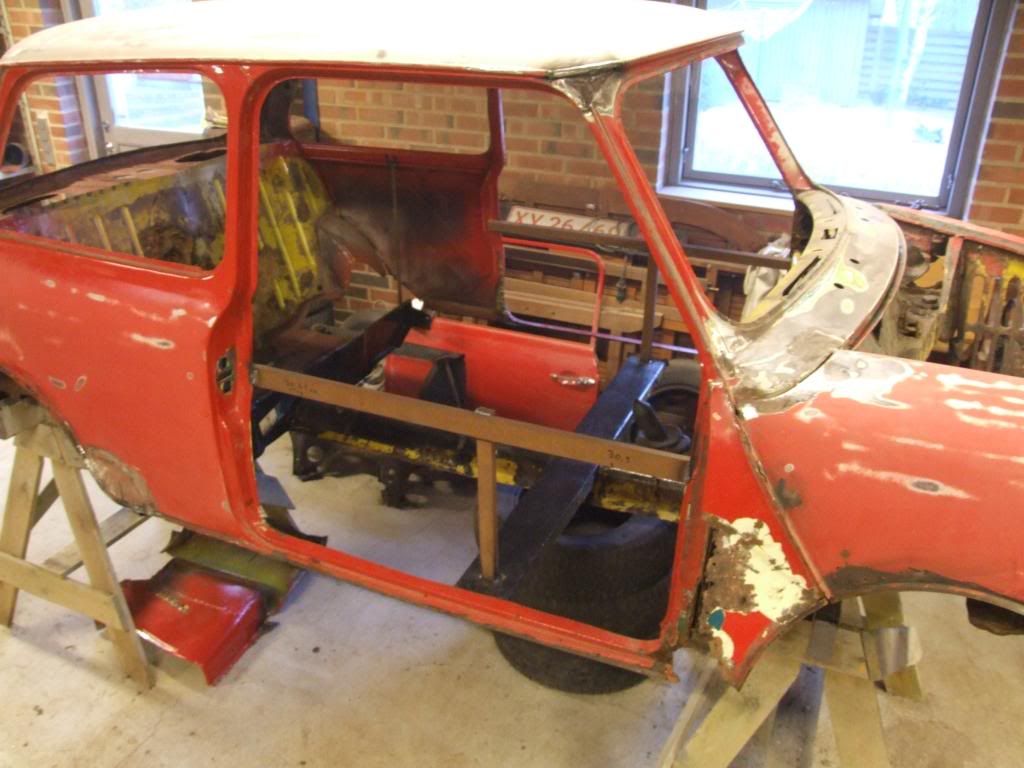
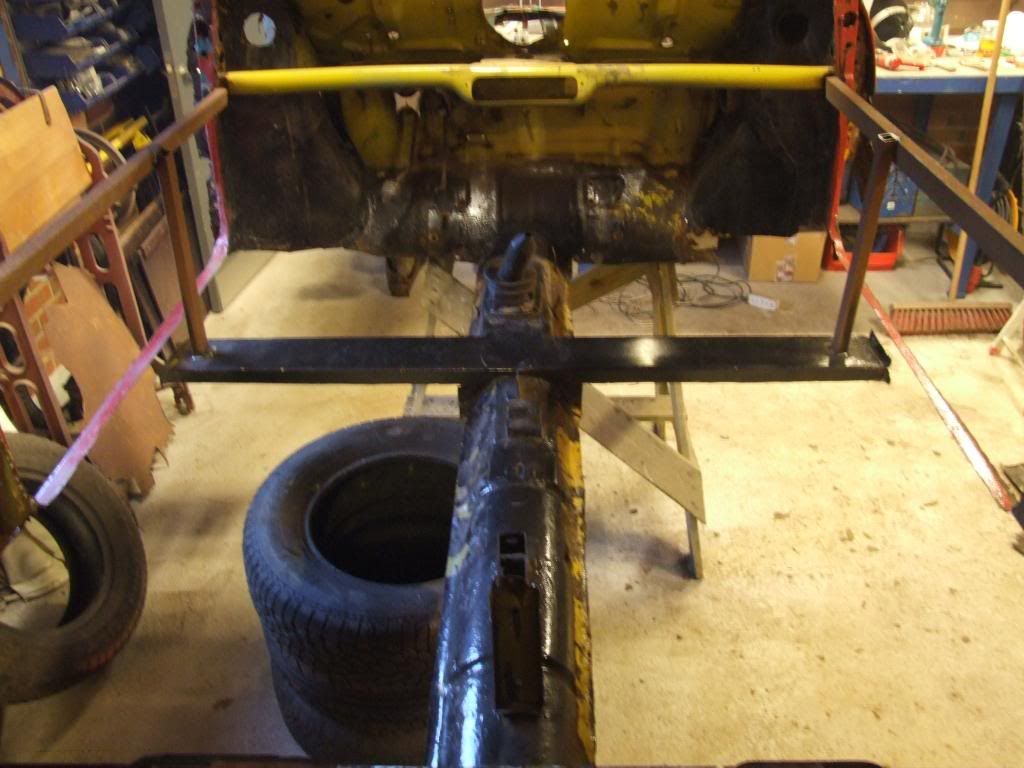
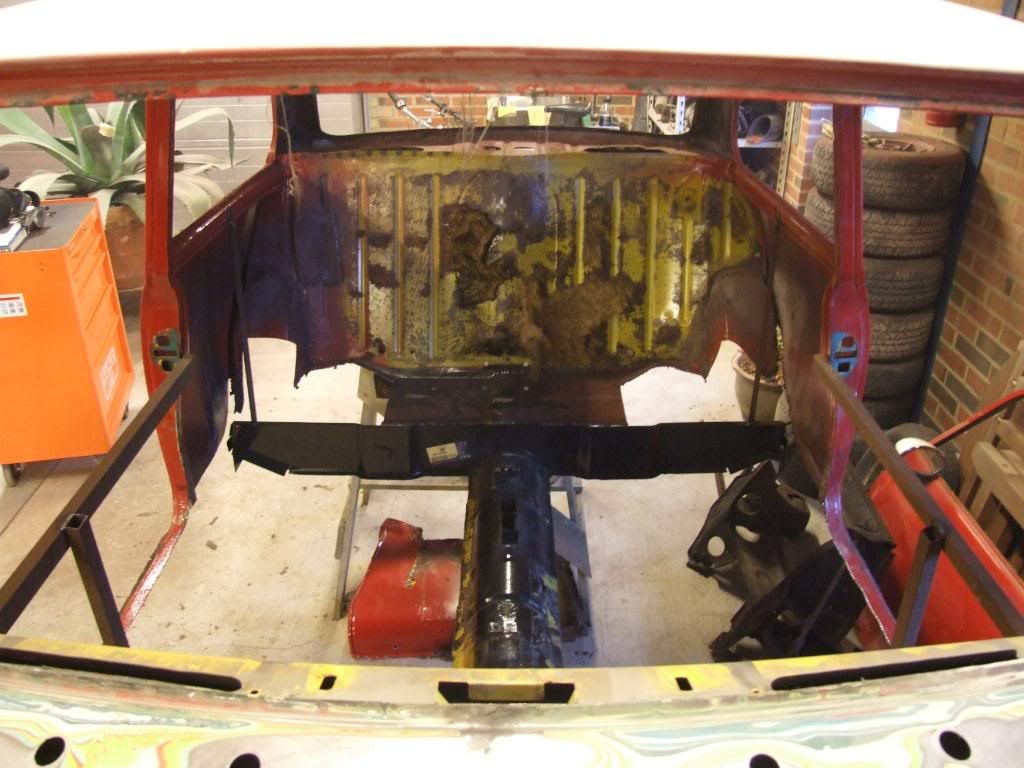
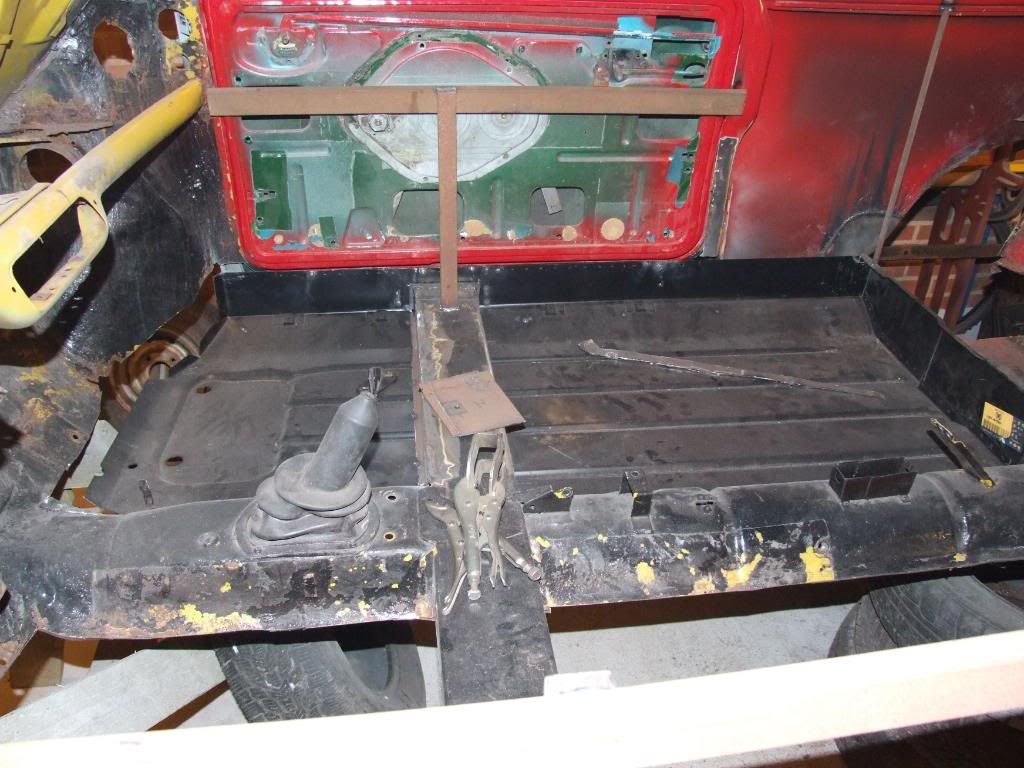
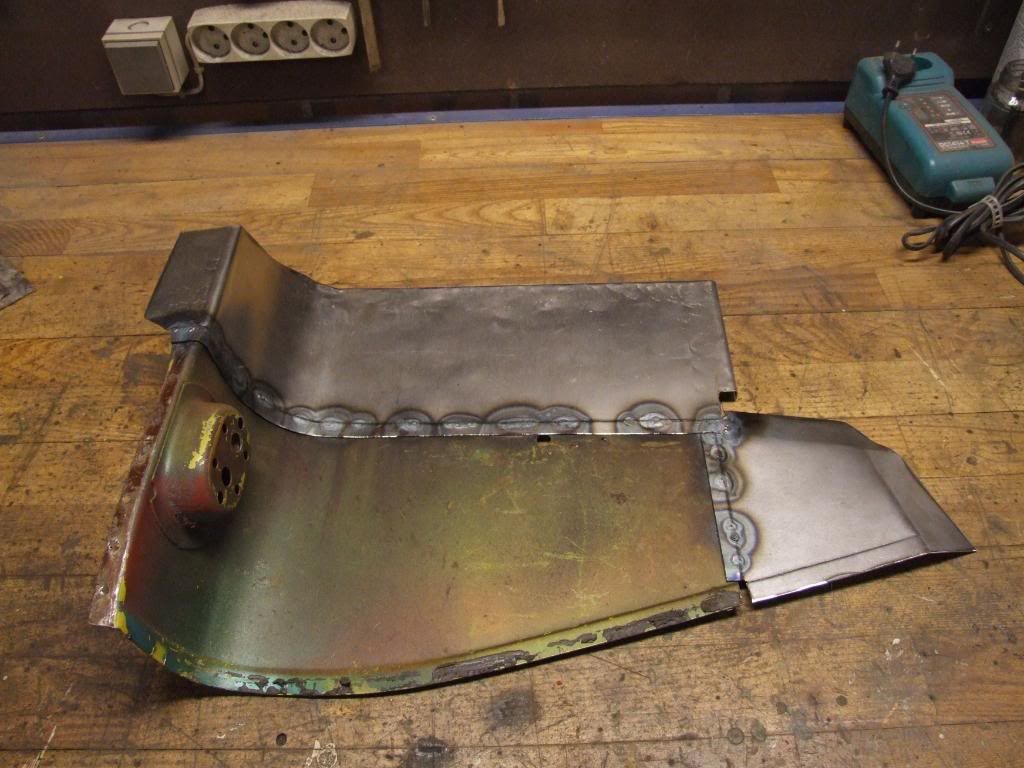
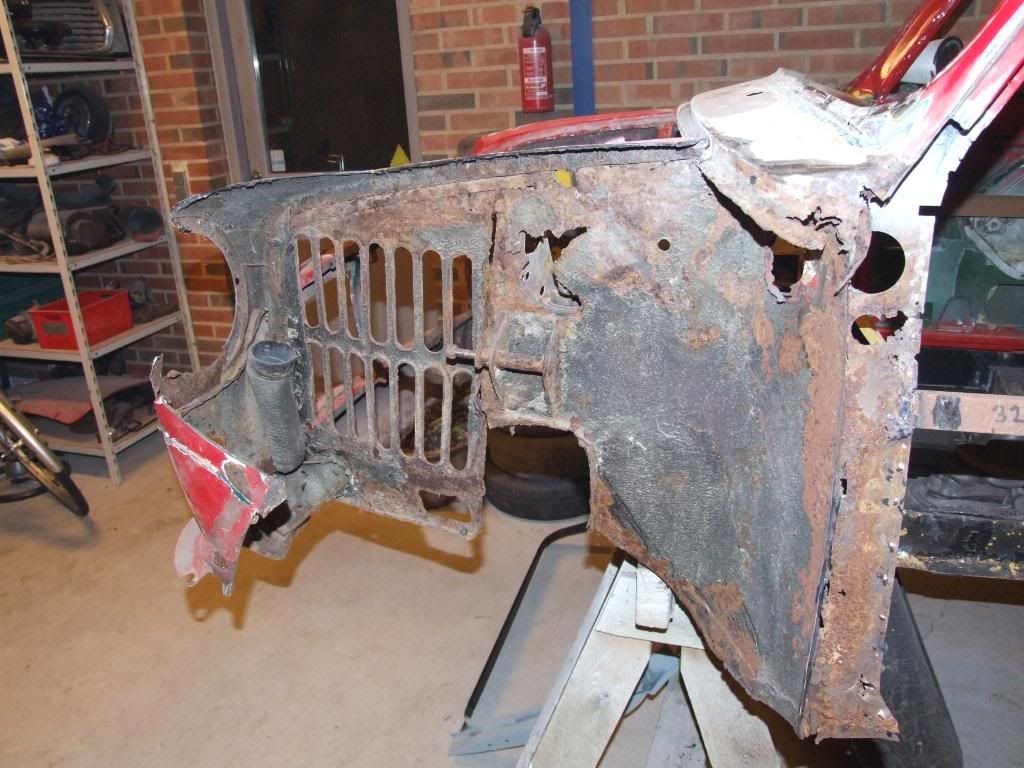
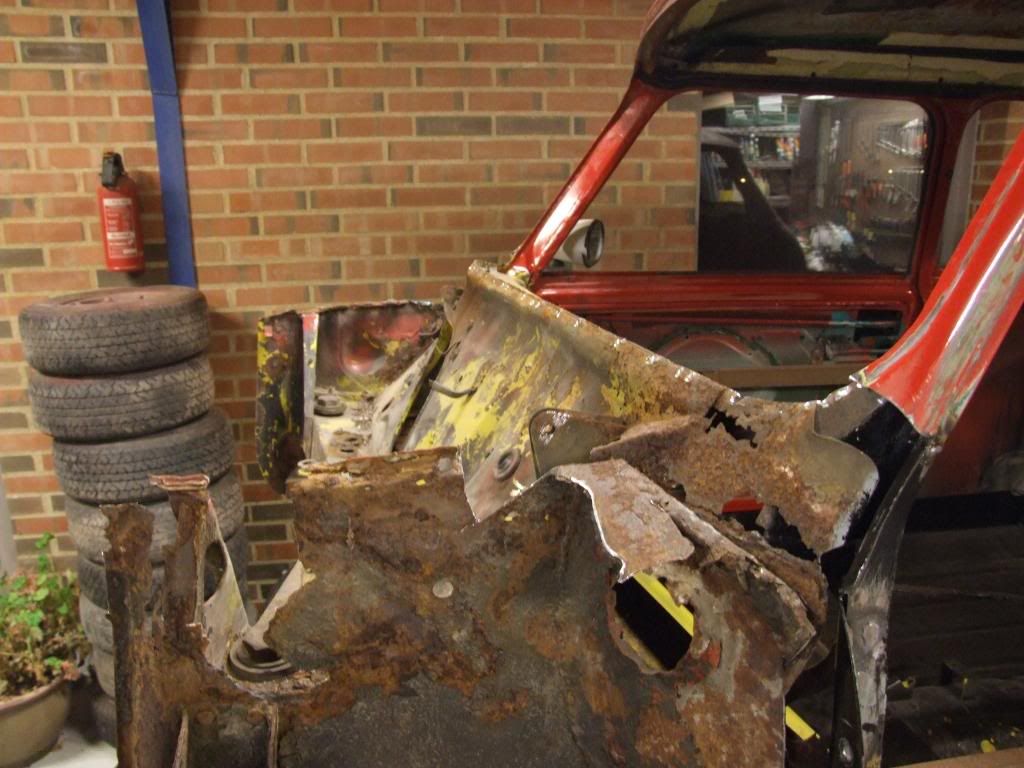
Not really looking that bad at this point, but it gets worse.

The morning after we tried to start the engine, but with no luck. Found out the cylinders kept flooding with coolant and the oil ran onto the floor via the clutch. More pics to come later

Edited by Rasmus Holst, 26 April 2009 - 08:38 PM.


#2 wilcooper

wilcooper

    One Carb Or Two?

  • Members
  • PipPipPipPipPipPipPip
  • 1,197 posts
  • Local Club: Sheffield Mini Club

Posted 22 April 2009 - 09:28 AM

another mini saved ^^

Looks good, some work to do but should be great! Good luck.

#3 Rasmus Holst

Rasmus Holst

    Stage One Kit Fitted

  • Noobies
  • PipPipPip
  • 84 posts

Posted 22 April 2009 - 05:22 PM

Stripped the car totally and began to sand it down. One of the privious owners had done a crappy job with a earlier restore. The panels didn't align, the welding seams wasn't grinded down, metal patches had been welded in whitout any concerns, and it had all been covered with filler. They even covered rust with filler. :proud:

Posted Image

Posted Image

Posted Image

Posted Image

Posted Image

Posted Image

Posted Image

Posted Image

Posted Image

Posted Image

This was one of the places where they just covered holes and rust in filler. it was about 1 inch thick!
Posted Image

It didn't look that bad when carpets and paint covered the whole thing.
Posted Image

#4 Teapot

Teapot

    TMF Legend

  • Members
  • PipPipPipPipPipPipPipPipPipPip
  • 5,010 posts
  • Location: Seaton, East Devon

Posted 22 April 2009 - 09:03 PM

Looks like the original floor of my '81 pickup :)

Yet the crossmember looks new?

Good luck with the restoration. :D

PS Nice workshop!

Edited by Teapot, 22 April 2009 - 09:04 PM.


#5 Rasmus Holst

Rasmus Holst

    Stage One Kit Fitted

  • Noobies
  • PipPipPip
  • 84 posts

Posted 23 April 2009 - 08:13 AM

Thank you for the comments :D

The crossmember wasn't as good as it looks. Once I got the paint off, it allmost fell apart. Only the top of it could be saved, so I made some new sides for it. Got a couple of pics of that to come.

#6 Rasmus Holst

Rasmus Holst

    Stage One Kit Fitted

  • Noobies
  • PipPipPip
  • 84 posts

Posted 26 April 2009 - 09:06 PM

The next thing that had to be done, was to strengthen the body for when the floor came out.

Looked like this:

Posted Image

Posted Image

Posted Image

Posted Image

These pics were taken after the panel to mount the rear subframe on was mounted (don't know what it's called) :)
The crossmember was bad at the bottom, so these where cut off as well.

The floor-pan and doorstep installation began:

Posted Image

Posted Image

Posted Image

Posted Image

At the picture above you can see the part of the crossmember that was good enough to save.

Also had time to do the side bins.
This was what they looked like before:
Posted Image

How to cut it:
Posted Image

And the result:
Posted Image

Posted Image

- very much close to perfect :) only setback was when I forgot to lift it off the table while welding. Made a huge burn in it, guessing dad won't be happy about that :thumbsup:

#7 battleroc

battleroc

    Mini Mad

  • Noobies
  • PipPipPipPip
  • 135 posts

Posted 26 April 2009 - 09:16 PM

nice project ,,, that will look the mutts nuts if you carry on with it like this :)

#8 stewart

stewart

    Mini Mad

  • Noobies
  • PipPipPipPip
  • 143 posts

Posted 26 April 2009 - 09:21 PM

Thats awsome work there, very neat!!! Id give any-thing to have a garage with as much space as what you've got :)

#9 Rasmus Holst

Rasmus Holst

    Stage One Kit Fitted

  • Noobies
  • PipPipPip
  • 84 posts

Posted 27 April 2009 - 08:39 AM

Thanks for the comments, and yeah.. I'm really happy with the spacy garage.

Got a pic of the first shipment of body panels from BMH. Can't say we don't support Britain in these financial crisis :w00t:

Posted Image

Posted Image

This was taken after the first floorpan, outer sill and doorstep was fitted.

#10 Teapot

Teapot

    TMF Legend

  • Members
  • PipPipPipPipPipPipPipPipPipPip
  • 5,010 posts
  • Location: Seaton, East Devon

Posted 27 April 2009 - 11:41 AM

If this could be pinned in a FAQ it would be really useful for reference because it's so encouraging. Looking forward to the next chapter :w00t:

#11 joe_m

joe_m

    One Carb Or Two?

  • Members
  • PipPipPipPipPipPipPip
  • 1,240 posts

Posted 27 April 2009 - 01:12 PM

:w00t: is that a bar stool racer i see in the background?!

#12 Rasmus Holst

Rasmus Holst

    Stage One Kit Fitted

  • Noobies
  • PipPipPip
  • 84 posts

Posted 27 April 2009 - 09:13 PM

Thanks for the nice comments

.. to Joe M, yes it certanly is a barstool racer. I made it as a project in "technology" at my gymnasium last year.

Got some pics of it:

First the rendered piccies from Solid Works
Posted Image

Posted Image

The frame after it had been welded up and tested with wheels on it
Posted Image

The frame finished and freshly painted
Posted Image

After assembley
Posted Image

Posted Image

-It's a 20mm frame with 15mm "stool-legs" and a home made 25mm shaft
-Go kart shaft bearings
-79 tooth sprocket at the back welded onto the shaft
- Go kart rims and Dunlop tires
-Drilled brake disk from a scooter
-Brake caliber from a pocket bike
-49ccm pocket bike engine with a race clutch with a 6 tooth sprocket
And of course, a nice imitation leather seat :thumbsup:

After this digression it's off to bed. Comming back with more about Gonzales in the morning... unless i'm off to the dealer to buy W&P arches :dontgetit:

#13 Rasmus Holst

Rasmus Holst

    Stage One Kit Fitted

  • Noobies
  • PipPipPip
  • 84 posts

Posted 28 April 2009 - 12:17 PM

Next up is the front

Started by cutting the bigger pieces off

Posted Image

Posted Image

Posted Image

Posted Image

Posted Image

After this we carefully removed the panels attached to the wall between the engine compartment and the cabin, by drilling the weldings out and seperating it with a chisel. This took a long time and about a metre of plaster :thumbsup:|

Theese were taken after it I've sand blasted and sanded the wall. The right innerwing were only fixed with screws.
Posted Image


Posted Image

Posted Image

The closed sections was primed with zinc and painted with a layer of 2 component paint to prevent rust.

Posted Image

#14 Teapot

Teapot

    TMF Legend

  • Members
  • PipPipPipPipPipPipPipPipPipPip
  • 5,010 posts
  • Location: Seaton, East Devon

Posted 28 April 2009 - 04:16 PM

2 component paint

And its name, please?

More excellent work there.

#15 joe_m

joe_m

    One Carb Or Two?

  • Members
  • PipPipPipPipPipPipPip
  • 1,240 posts

Posted 28 April 2009 - 05:31 PM

thats brill! was it hard to make?
looks good fun!!


1 user(s) are reading this topic

0 members, 1 guests, 0 anonymous users