Jump to content


Photo
- - - - -

Jenny The City E


  • Please log in to reply
531 replies to this topic

#1 leaky

leaky

    Iv never hit a penguin in the face with a casserole

  • TMF+ Member
  • PipPipPipPipPipPipPipPipPipPip
  • 6,890 posts
  • Location: Costa Del Tadley
  • Local Club: Basingstoke Mini Club

Posted 18 May 2009 - 06:15 PM

Right seeing as I have nothing better to do today I may as well start a projec page. This is gonna be the slowest project on here but never mind.

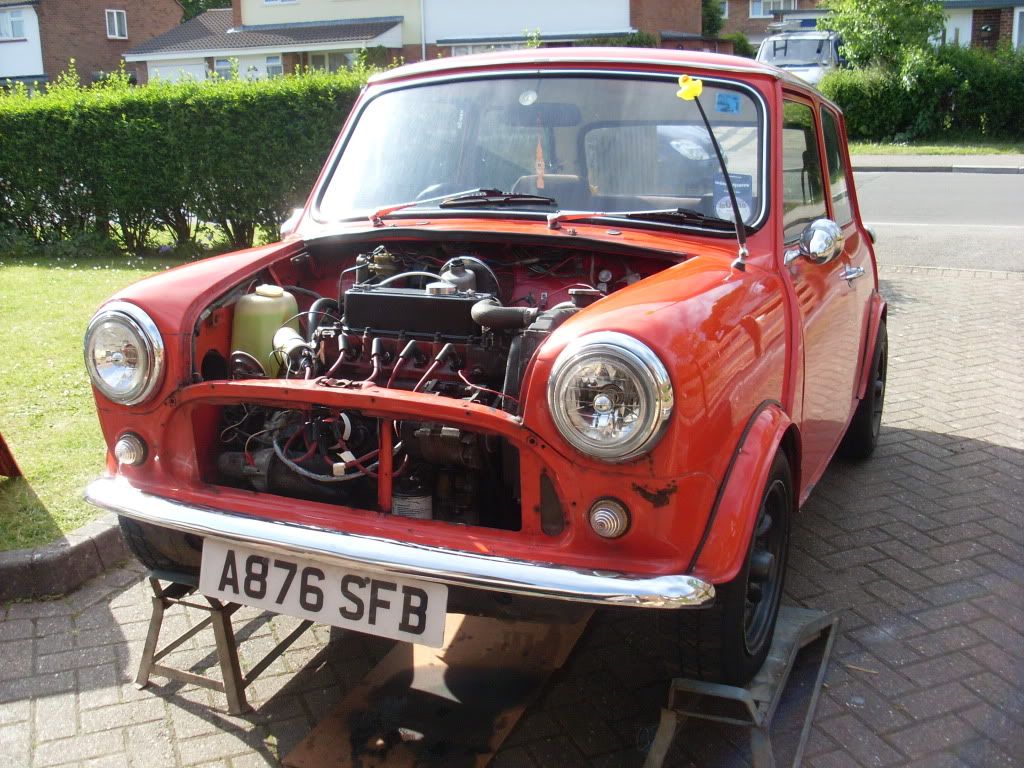
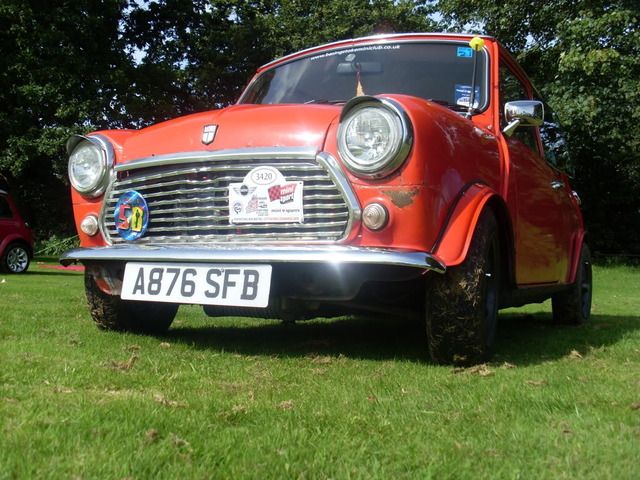
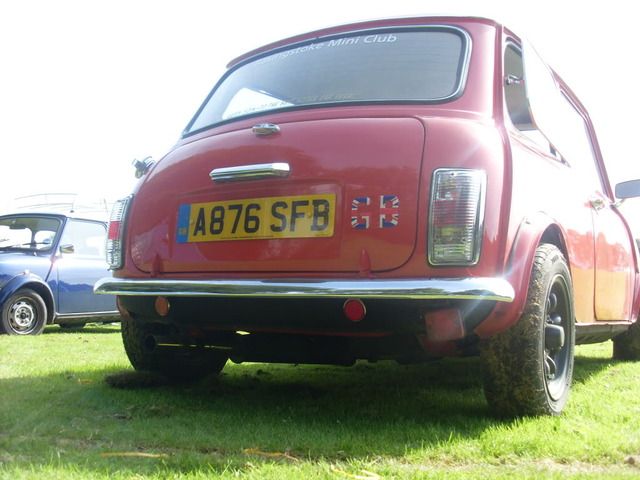
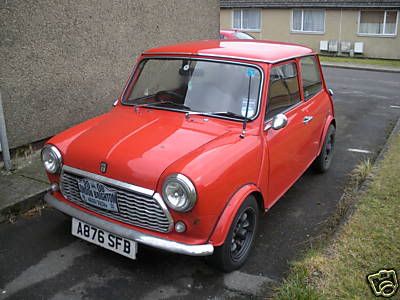
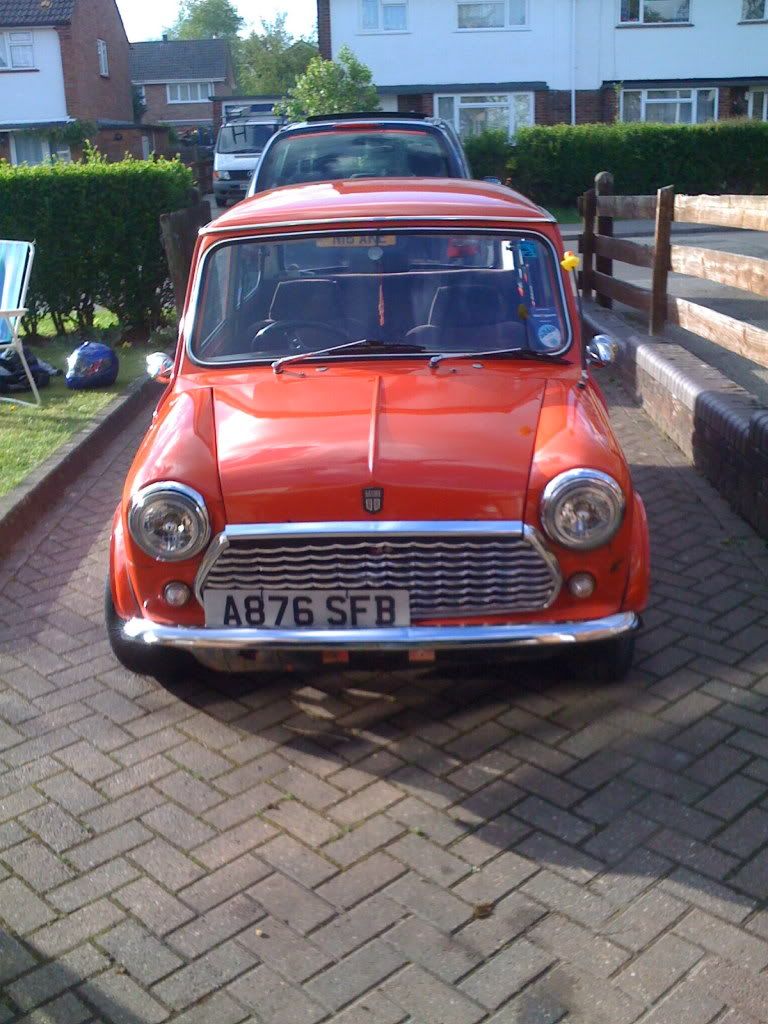
Ok so here goes. I bourght my Mini about 3 months ago. Here she is the day I bought her. I paid the grand total of £670 for her.

Posted Image

Ok so then came the 40 mile trip home back to my house. On the way back home we found that she was down on power, had a very bad miss fire and had brakes that couldnt stop a push bike. Ok so I bourght the car knowing their was only about 1 months MOT left on it. So I spent the time fixing the car up making sure it couldnt fail its MOT and yet she did fail. EPICALLY. Got 16 fails and 8 advisorys. What I decided to do was get the garage to fix the things it had failed on and then I would have a go at fixing the advisorys myself. So after spending about 2 weeks in the garage being fixed I got her back. In total the repairs cost me £640.

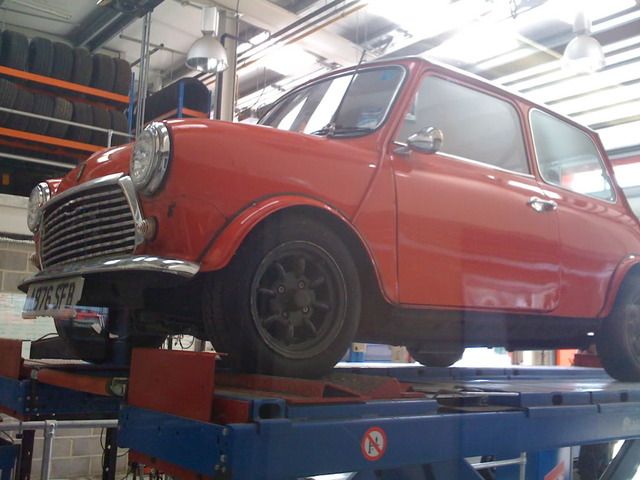
Here she is on the MOT ramp.

Posted Image

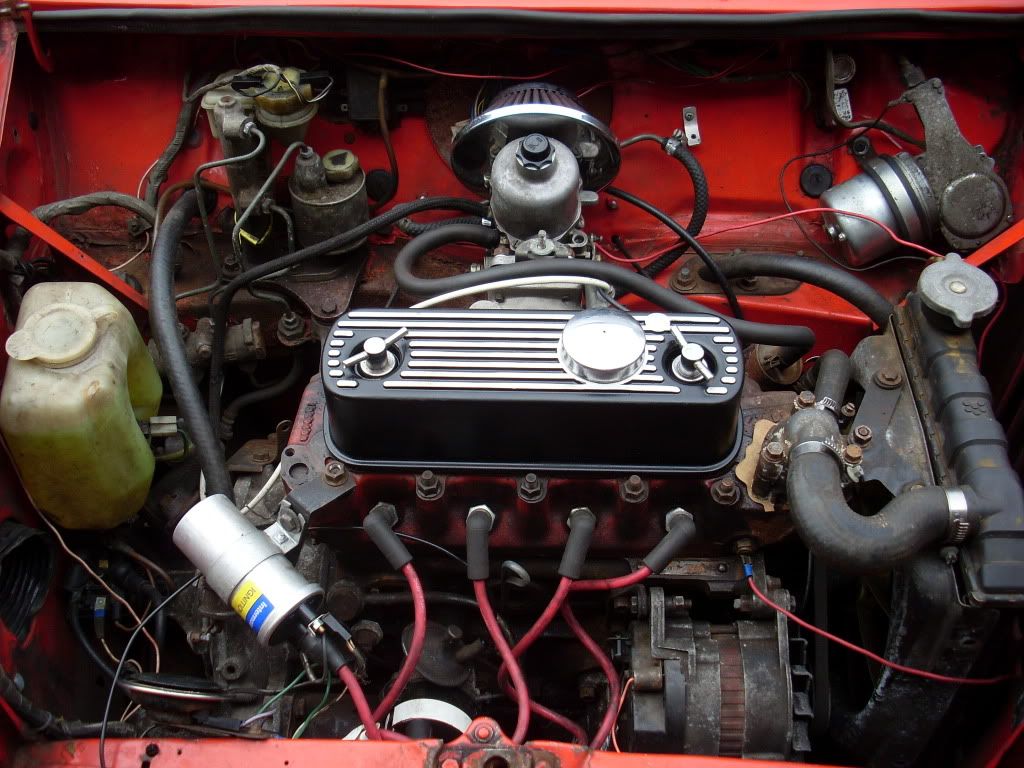
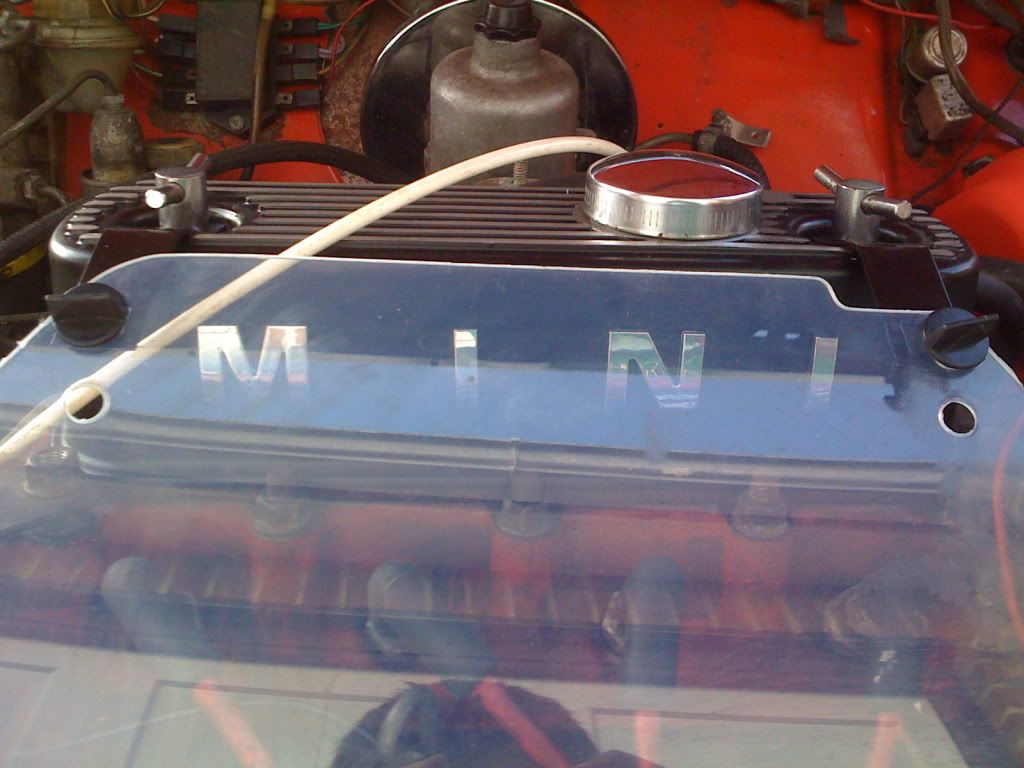
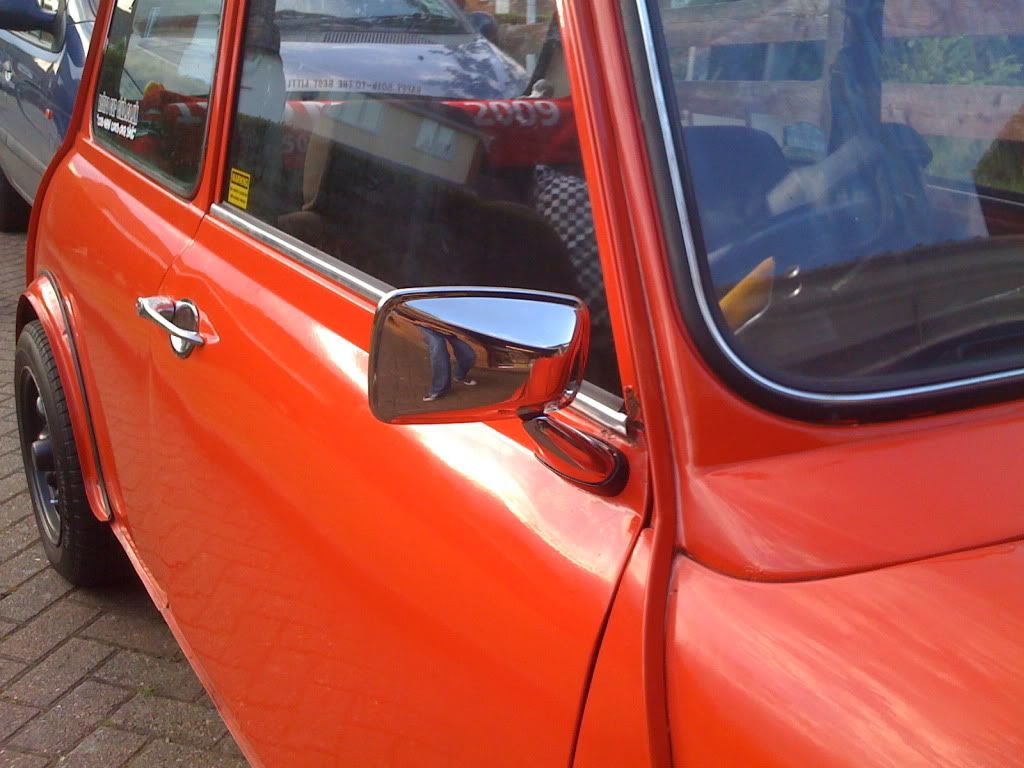
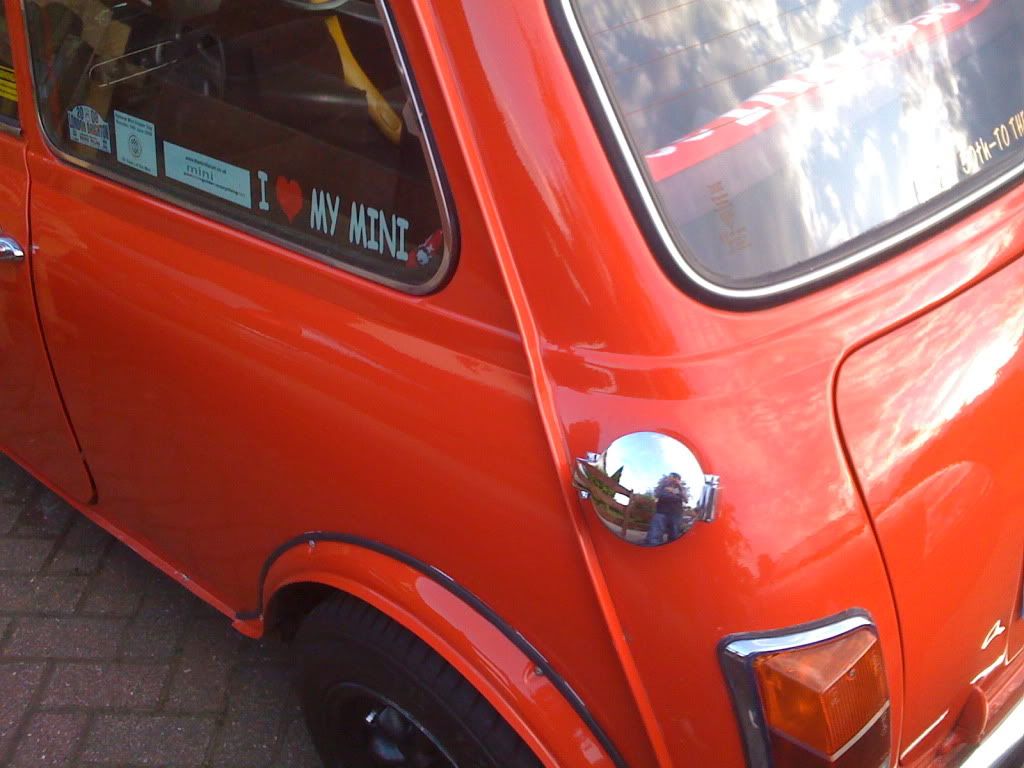
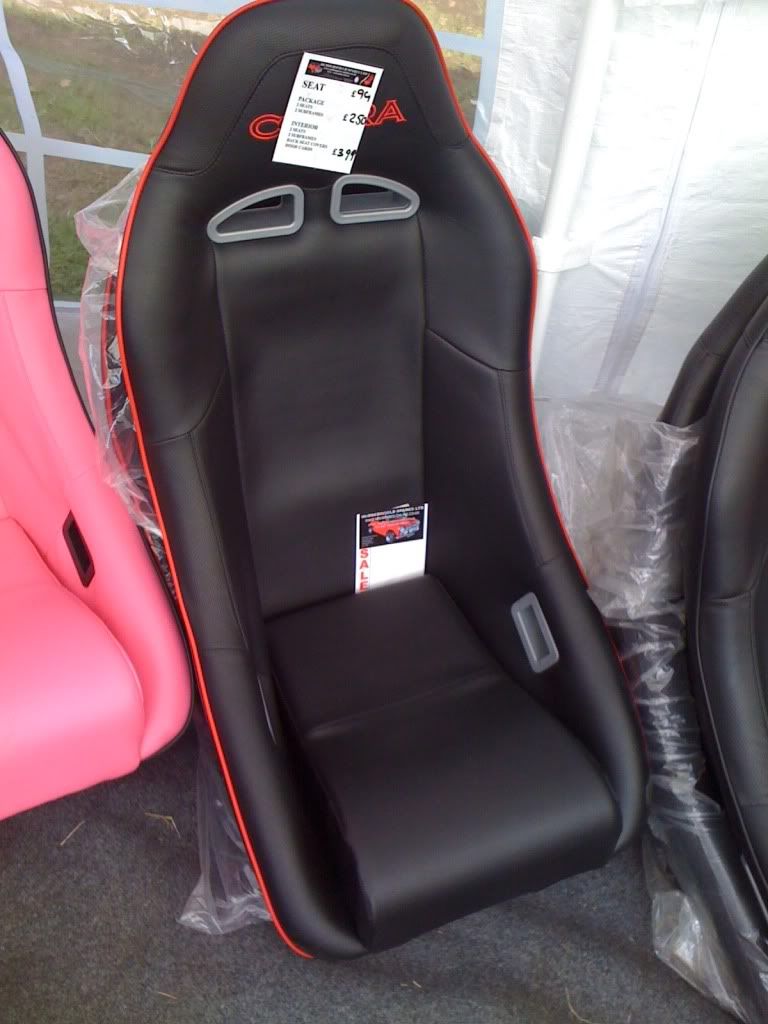
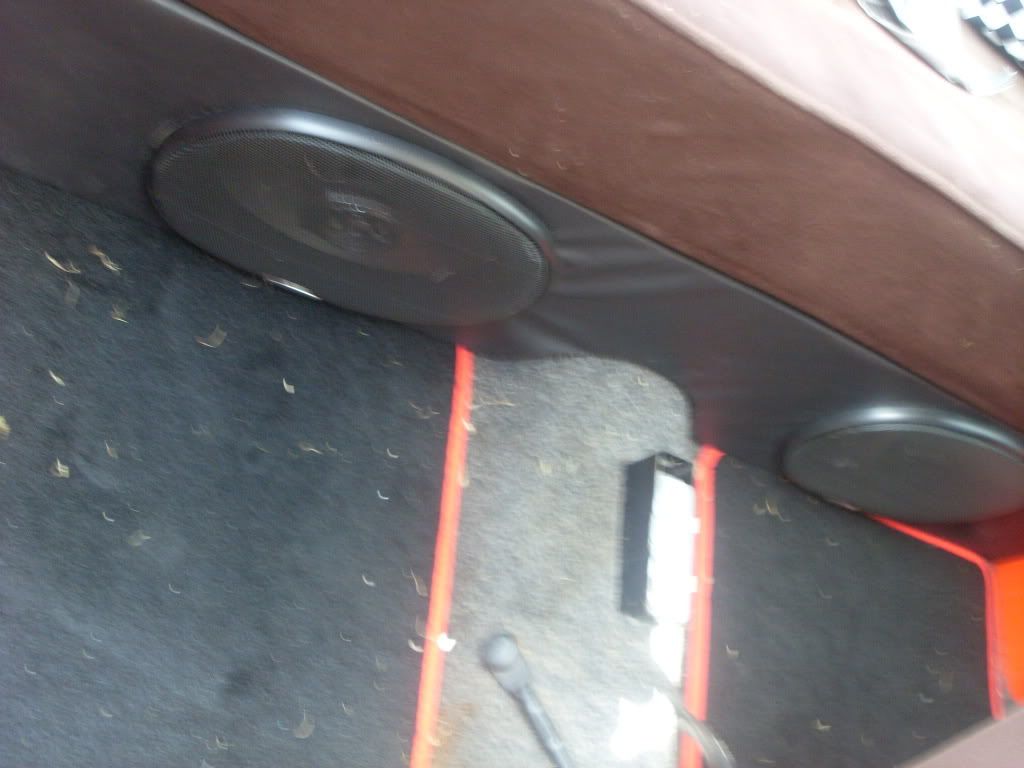
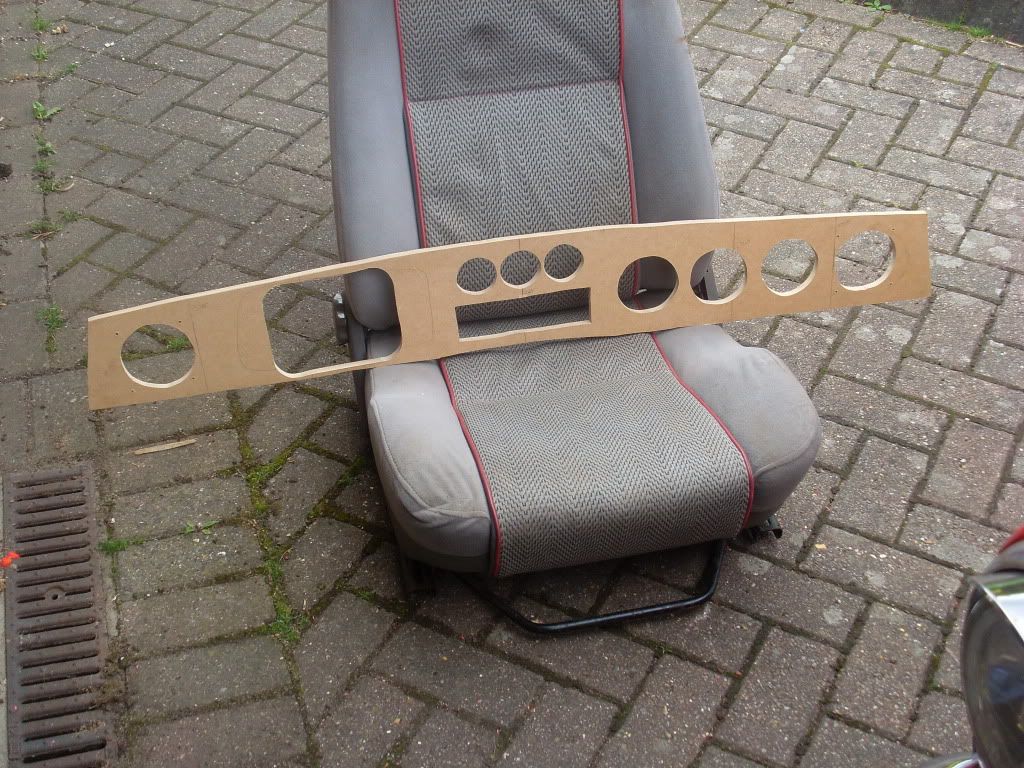
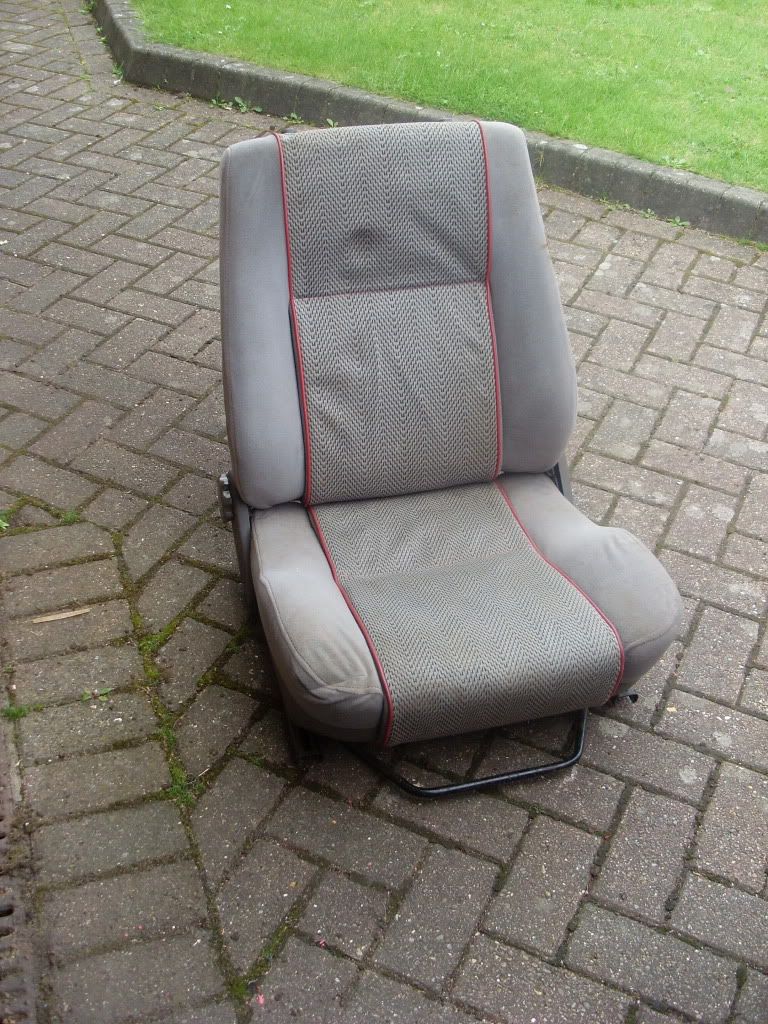
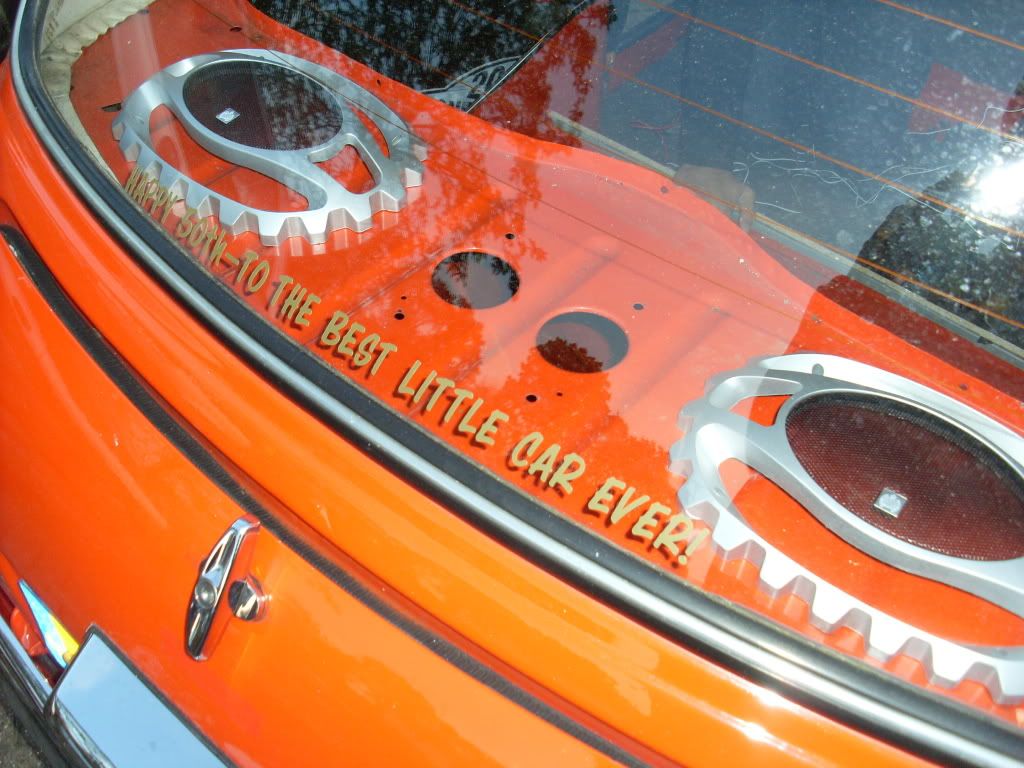
Ok so after I had her repared I set about doing some of the small things like wireing in the head unit and adding 4 extra speakers. 2 under the rear seat and 2 on the parcil shelf to go with the 2 that came with the car in the dash.

Posted Image

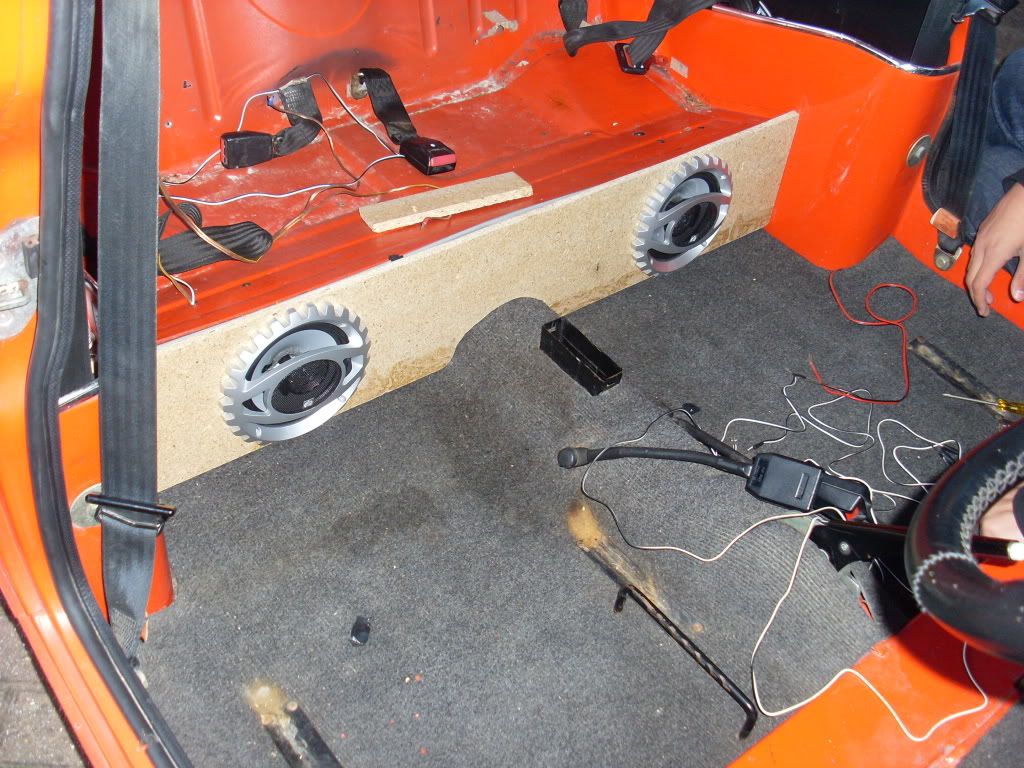
I know their only the cover I havnt got a picture with the speakers in the parcil shelf yet.

Posted Image

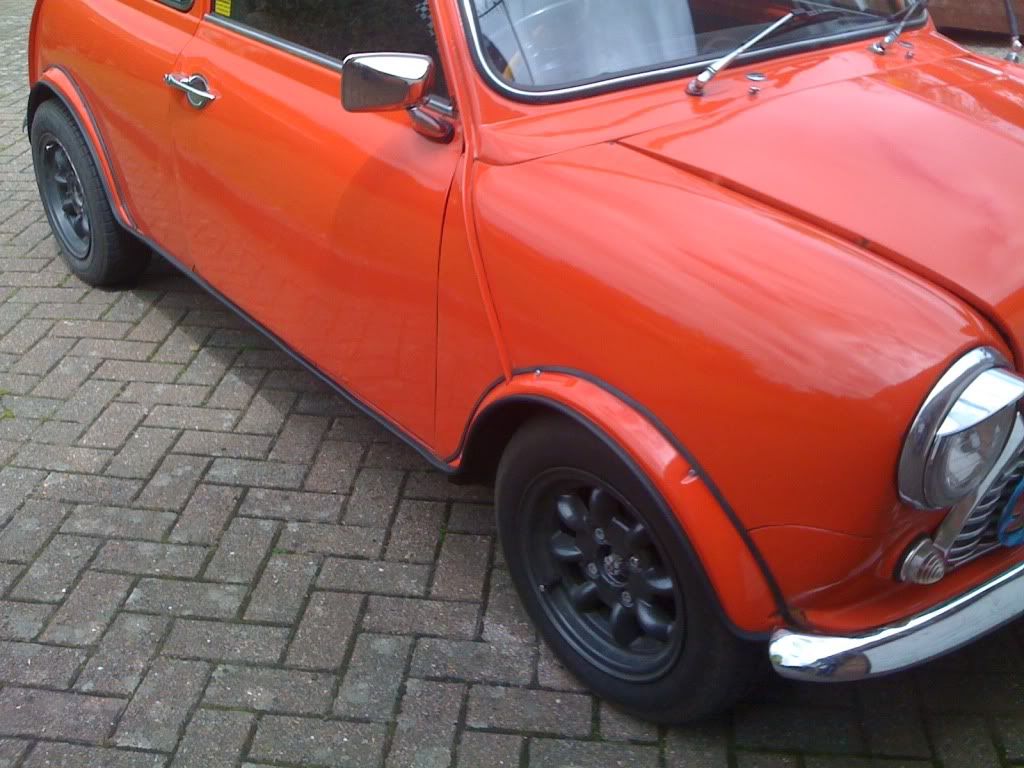
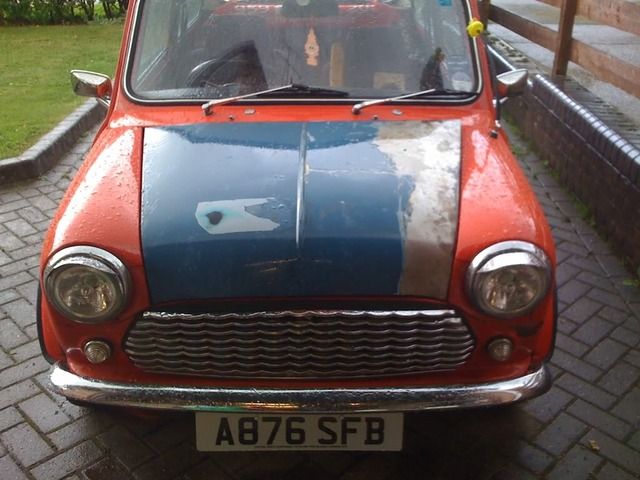
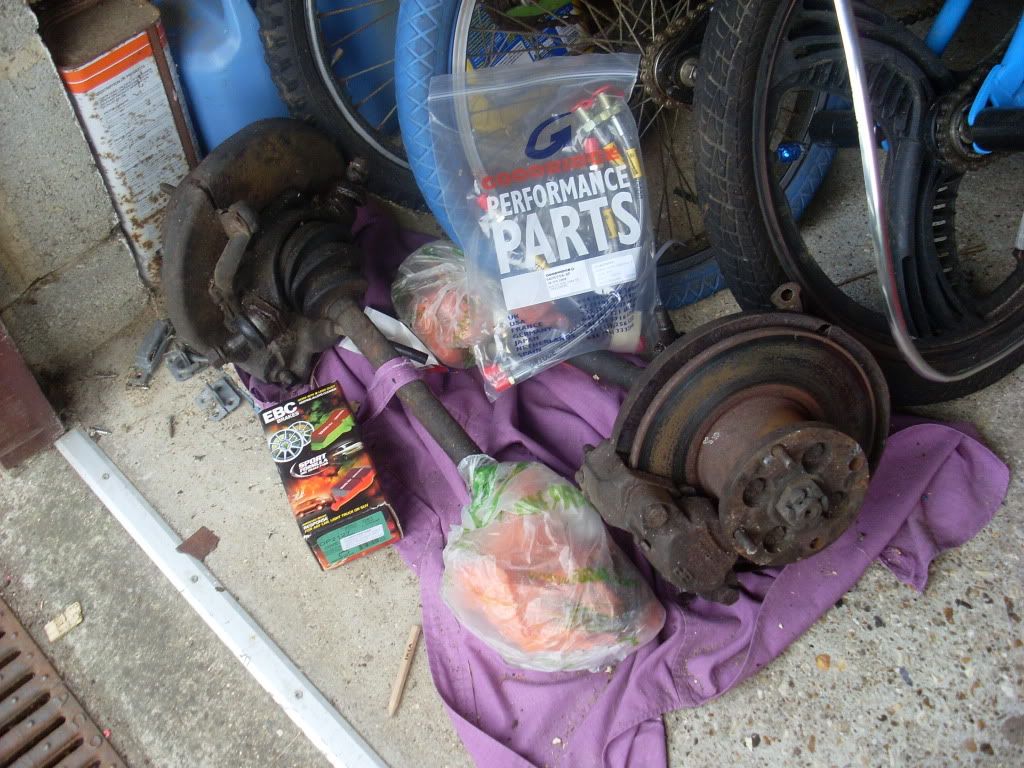
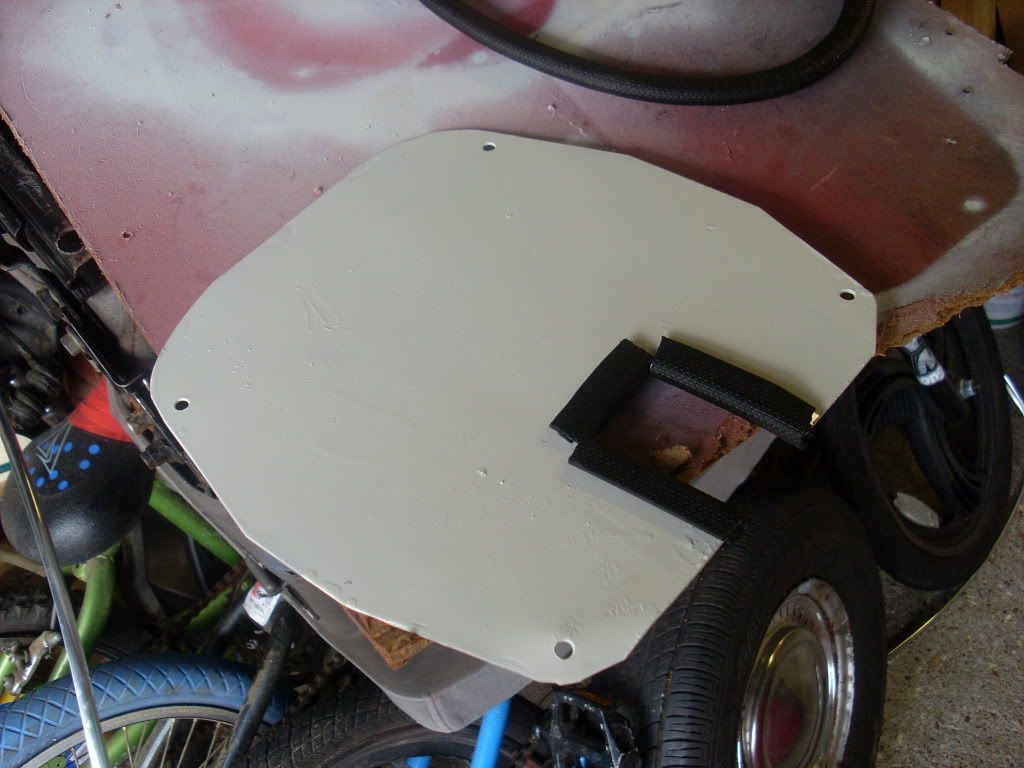
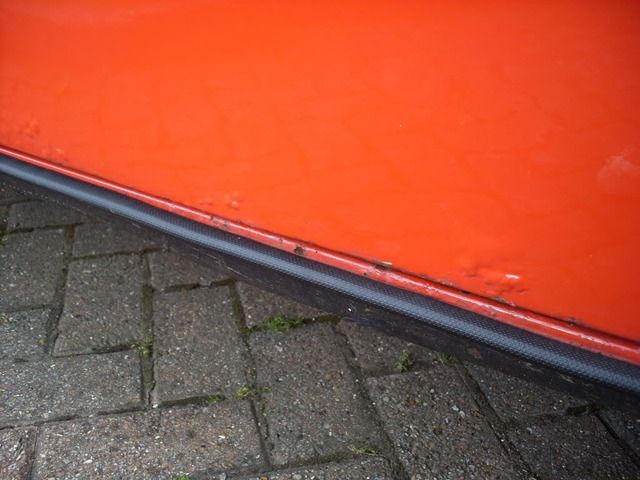
After doing all that I had a look at the front end as the guy who had owned the car before me had crahed into a post.

You can clearly see here that the left hand side of the bonnet doesnt match up with the rest of the car. I also had a hard time putting the headlight ring back on so I think all those pannels are bent and will need replacing.

Posted Image

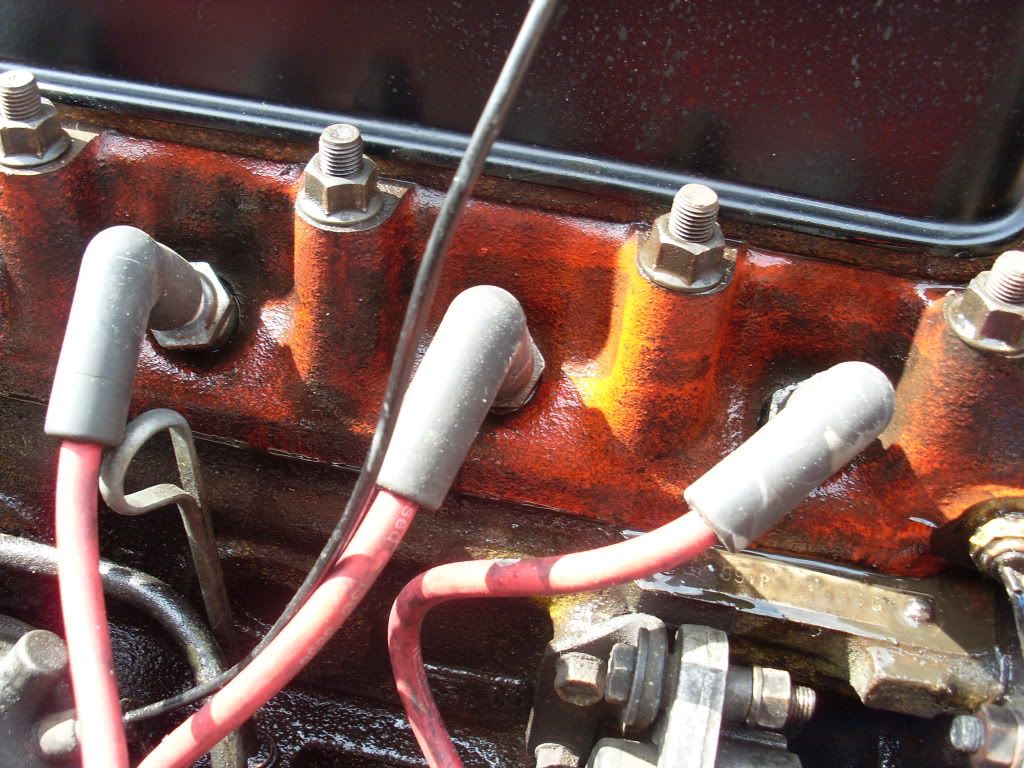
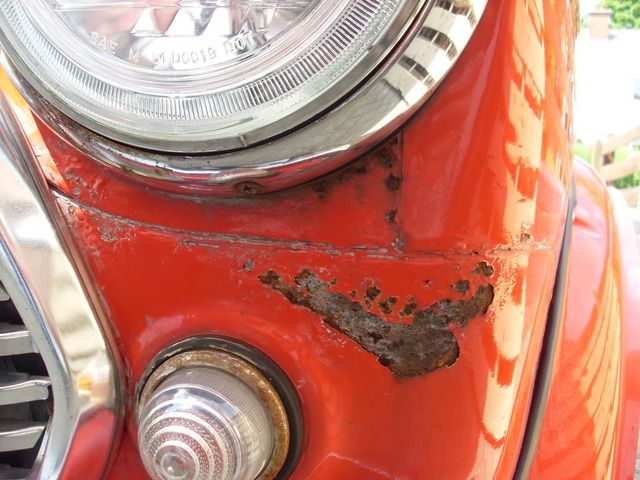
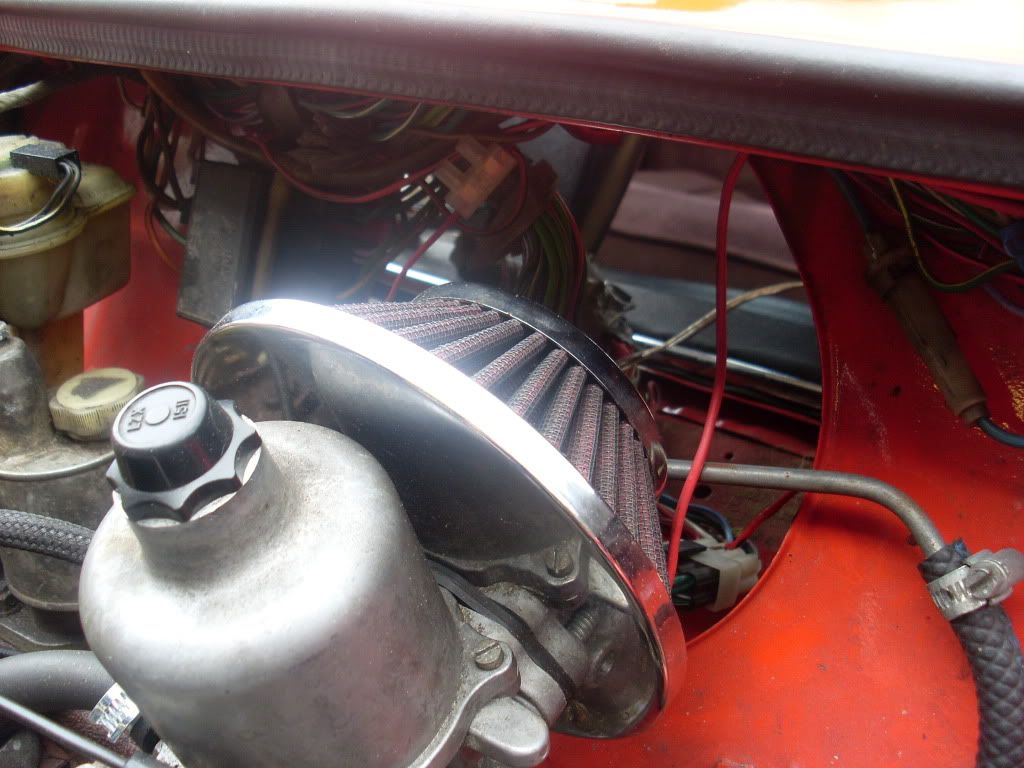
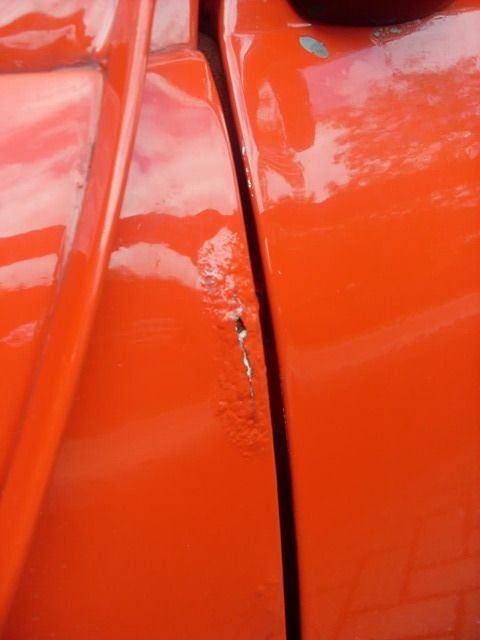
I also had a closer look at the bonnet and found this.

Posted Image
Posted Image
Posted Image

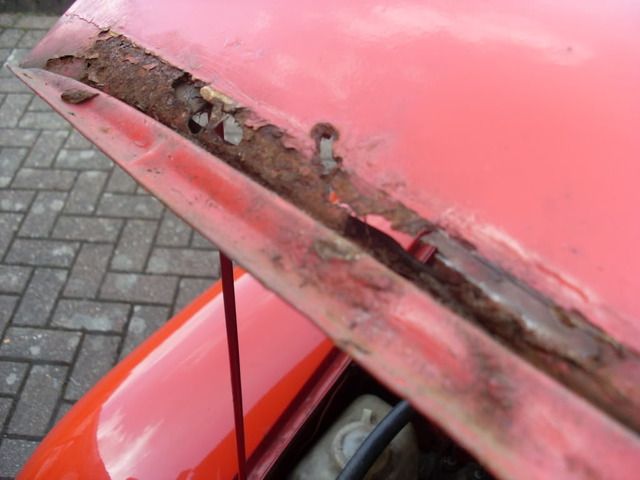
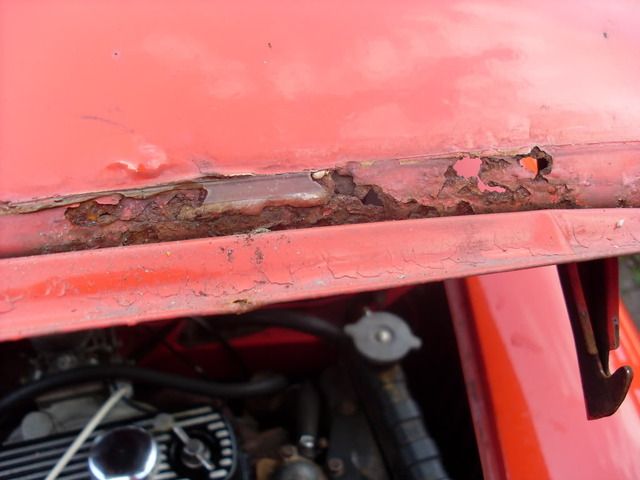
So im going to replace the bonnet as well.

Thats about it for now. My plans are to replace all the pannels that need changeing then adding some new arches and some 4 spoke revos then getting ready for a respray.

Thanks.

Edited by Mini-jon, 07 December 2009 - 04:23 PM.


#2 leaky

leaky

    Iv never hit a penguin in the face with a casserole

  • TMF+ Member
  • PipPipPipPipPipPipPipPipPipPip
  • 6,890 posts
  • Location: Costa Del Tadley
  • Local Club: Basingstoke Mini Club

Posted 21 May 2009 - 12:17 PM

Ok so its half term next week so I want to get some stuff done to the car if the weather stays good. First of all does anyone know how I can get my front end sorted out. What will I need to replace. And seconed of all I want to get some 6x12 Black 4 Spoke Revolution Alloy Wheels.
Posted Image

Has anyone got any pics of their mini with these on and what arches do you have or what ones should I get.

Anyway im going to have a go at making my boot borad this weekend so I will post some pics up.

Thanks.

#3 leaky

leaky

    Iv never hit a penguin in the face with a casserole

  • TMF+ Member
  • PipPipPipPipPipPipPipPipPipPip
  • 6,890 posts
  • Location: Costa Del Tadley
  • Local Club: Basingstoke Mini Club

Posted 24 May 2009 - 07:48 PM

I dont think anyone really cares but heres anouther small update. Had a crack at cleaning my engine up a bit. I used a hole can of engine degreaser and its still dirty. Also had it on some ramps to check under the car for any holes and it all seems to be in a good shape. I also took the bonnet off and cleaned the inside of that with some t-cut, took bloody ages to clean all the dirt of but it looks so much better now.

Shiny rocker cover.
Posted Image

You can see some of the red now.
Posted Image

On the ramps.
Posted Image

Also its a bit hard to describe so I will go and take a photo if I need to. But where does that small little tube/wire that come out of the top of the distubutor cap go to.

#4 mini_mad69

mini_mad69

    Let future you worry about it

  • Traders
  • PipPipPipPipPipPipPipPipPipPip
  • 5,417 posts
  • Local Club: urrrr no

Posted 25 May 2009 - 09:34 AM

Also its a bit hard to describe so I will go and take a photo if I need to. But where does that small little tube/wire that come out of the top of the distubutor cap go to.


That is the advance/retard vacuum system, it will plug into the carb just before the inlet manifold.

Car looks great keep up the good work


Ben

#5 wakkoboi

wakkoboi

    Speeding Along Now

  • Members
  • PipPipPipPipPip
  • 414 posts

Posted 25 May 2009 - 12:07 PM

looking good. where did you get the rocker cover from?

#6 leaky

leaky

    Iv never hit a penguin in the face with a casserole

  • TMF+ Member
  • PipPipPipPipPipPipPipPipPipPip
  • 6,890 posts
  • Location: Costa Del Tadley
  • Local Club: Basingstoke Mini Club

Posted 26 May 2009 - 09:44 AM

Also its a bit hard to describe so I will go and take a photo if I need to. But where does that small little tube/wire that come out of the top of the distubutor cap go to.


That is the advance/retard vacuum system, it will plug into the carb just before the inlet manifold.

Car looks great keep up the good work


Ben


Yes I think thats it. Im sure it was in the carb some where when I broke it but I cant for the bloody life of me see where it goes in and its really hard trying to find it in a haynes manual when I dont know whats its called. Now I know its the vacuum system I will look it up later. Thanks.

looking good. where did you get the rocker cover from?


I dont know where the rocker cover came from as i came with the car. I just spent about 2 hours cleaning it and making it shiny.

Also does anyone know what stuff I could get to clean the engine even better. I bourght a can of engine degreasent and as you can see you can now see some of the red but its still dirty.

#7 leaky

leaky

    Iv never hit a penguin in the face with a casserole

  • TMF+ Member
  • PipPipPipPipPipPipPipPipPipPip
  • 6,890 posts
  • Location: Costa Del Tadley
  • Local Club: Basingstoke Mini Club

Posted 07 June 2009 - 06:34 PM

Also its a bit hard to describe so I will go and take a photo if I need to. But where does that small little tube/wire that come out of the top of the distubutor cap go to.


That is the advance/retard vacuum system, it will plug into the carb just before the inlet manifold.

Car looks great keep up the good work


Ben


I had a look at this the other day and you were right so thanks iv now fixed it.

Done a small amount of work today. Tidyed the boot up and started to make a boot kit. Also cleaned the engine up some more. Only got 3 weeks left at college then I have a nice long brake so I get get cracking with some big work.

#8 leaky

leaky

    Iv never hit a penguin in the face with a casserole

  • TMF+ Member
  • PipPipPipPipPipPipPipPipPipPip
  • 6,890 posts
  • Location: Costa Del Tadley
  • Local Club: Basingstoke Mini Club

Posted 15 June 2009 - 07:20 PM

Small update. Sprayed my wipermotor cover red, got my weather sheild on and put some chrome badges on the rocker cover. Also fitted some new mirrors so I can now se behined me and fitted an aston martin fuel cap as well. O yes and I finaly put my Basingstoke Mini Club stickers on.

Posted Image

Posted Image

Posted Image

Posted Image

Posted Image

#9 leaky

leaky

    Iv never hit a penguin in the face with a casserole

  • TMF+ Member
  • PipPipPipPipPipPipPipPipPipPip
  • 6,890 posts
  • Location: Costa Del Tadley
  • Local Club: Basingstoke Mini Club

Posted 03 September 2009 - 10:05 PM

I haven't up dated this in ages. But here goes. While at the IMM I bought loads of new bits spent over £200 that I didn't have. Iv fitted some headlight peaks, chrome tail lights, black trim down the side and new number plates. Heres some pics.

Posted Image

Posted Image

Posted Image

Posted Image

Iv also got a MK1 bonnet to go on

Posted Image

Its gonna be fit with bonnet pins.

These are the seats I plan to fit.

Posted Image

Iv also got a set of disks to put on but might not fit them as my plans have changed and I want some 10" alloys. My plans are now to go for a classic but lightly modded look. Hence the MK1 bonnet and MK1 grill to go on. Also orderd some bumper over riders as well.

My speedo cable also broke the other day so im waiting for a new one of those to arive through the post.

And this weekend im gonna have ago at getting rid of this rust. As well as spraying the rear valance and front valance (I think it called) The same color as the rest of the car as its black at the moment and looks naff.

Posted Image

Iv also got all new window seals to go on with the black centers as I don't really like the chrome centers.

Ok so thats all the body work and shiny stuff. Now to the engine. It came fitted with a 998cc with a 1275 head and a stage one kit that had been fitted by a complete tit. Anyway I took it to slarks where I gave them a pound under £300 to fix my car. Got it back and its still not working properly. It wont go any fast then 75MPH so im not to happy with them so am gonna see what they do about it. Im now thinking of ripping it out and shoving a 1275 metro engine in it. Then rebuild the 998 as iv not rebuilt an engine before and it will be good practice.

Thats about it.

Edited by Mini-jon, 22 November 2009 - 12:57 PM.


#10 leaky

leaky

    Iv never hit a penguin in the face with a casserole

  • TMF+ Member
  • PipPipPipPipPipPipPipPipPipPip
  • 6,890 posts
  • Location: Costa Del Tadley
  • Local Club: Basingstoke Mini Club

Posted 04 September 2009 - 12:05 AM

Just been on the old internet having a look at some badges. For the boot im think these 2

Posted Image

Posted Image

so they read Austin Mini. Giving it anouther classic look. Havent chosen a bonnet badge yet so if anyones got any ideas that would be great.

Edited by Mini-jon, 04 September 2009 - 12:07 AM.


#11 leaky

leaky

    Iv never hit a penguin in the face with a casserole

  • TMF+ Member
  • PipPipPipPipPipPipPipPipPipPip
  • 6,890 posts
  • Location: Costa Del Tadley
  • Local Club: Basingstoke Mini Club

Posted 04 September 2009 - 11:38 AM

Just been on the old ebay. Ordered a new speedo cable as mine broke. As well as a tow hook for the front (always handy with a mini) and a air horn as my horn seems to be a bit broken. Have just been out and done a bit more work and got some more pics so when their upload i'll post them up.

Edited by Mini-jon, 05 September 2009 - 10:12 AM.


#12 leaky

leaky

    Iv never hit a penguin in the face with a casserole

  • TMF+ Member
  • PipPipPipPipPipPipPipPipPipPip
  • 6,890 posts
  • Location: Costa Del Tadley
  • Local Club: Basingstoke Mini Club

Posted 04 September 2009 - 12:42 PM

OK well heres another update. Heres a pic of my brakes iv bought as well as some green stuff pads and some of those really strong brake hoses.

Posted Image

Iv fitted some new mats and will get new carpets to match at Castle Comb.

Posted Image

Iv fitted some new speakers under the back seat as I now want all my sound to be alpine.

Posted Image

Put a little sticker in the window as its the 50th.

Posted Image

Also now got my IMM sticker in the window.

Posted Image

Iv also got bonnet pins to fit my Mk1 bonnet. This probley wont be done for castle comb though.

I made my own dash (John would be proud)

Posted Image

I also sanded this down and primered it. This covers the hole at the back of the engine and had gone all rusty. It also didint have any rubber bits round the gap so it cut straight through my speedo cable.

Posted Image

Heres the hole it will cover.

Posted Image

Also found a few for rusty spots I need to get sorted.

Posted Image

Posted Image

Also got a pair of these metro seats that I wont be fitting anymore so if anyones interested send me a PM.

Posted Image

The best bit is I was at Reading services and got this for FREEEEE.

Posted Image

Thats it for the time being. I have sunday off so may have another update then even though no one seem to look at my project thread. I guess im not cool enough.

Edited by Mini-jon, 22 November 2009 - 12:33 PM.


#13 ScottyBoi

ScottyBoi

    One Carb Or Two?

  • TMF+ Member
  • PipPipPipPipPipPipPip
  • 1,128 posts
  • Location: Bicester

Posted 04 September 2009 - 01:52 PM

Projects looking goo! Keep us updated! ;)

#14 leaky

leaky

    Iv never hit a penguin in the face with a casserole

  • TMF+ Member
  • PipPipPipPipPipPipPipPipPipPip
  • 6,890 posts
  • Location: Costa Del Tadley
  • Local Club: Basingstoke Mini Club

Posted 04 September 2009 - 11:34 PM

Projects looking goo! Keep us updated! >_<


Thanks will do. :)

#15 Ethel

Ethel

    ..is NOT a girl!

  • TMF Team
  • PipPipPipPipPipPipPipPipPipPipPip
  • 25,439 posts
  • Local Club: none

Posted 05 September 2009 - 11:13 AM

That's one loved up little car >_<

Think about putting some cash aside for when you have to tackle the rust head on with some new panels.


1 user(s) are reading this topic

0 members, 1 guests, 0 anonymous users