Jump to content


Photo
- - - - -

My Mk1 Rebuild Project


  • Please log in to reply
77 replies to this topic

#31 miniman_7

miniman_7

    Mini Mad

  • Members
  • PipPipPipPip
  • 286 posts
  • Location: Prestwood, Bucks
  • Local Club: Looking...

Posted 22 October 2011 - 07:31 PM

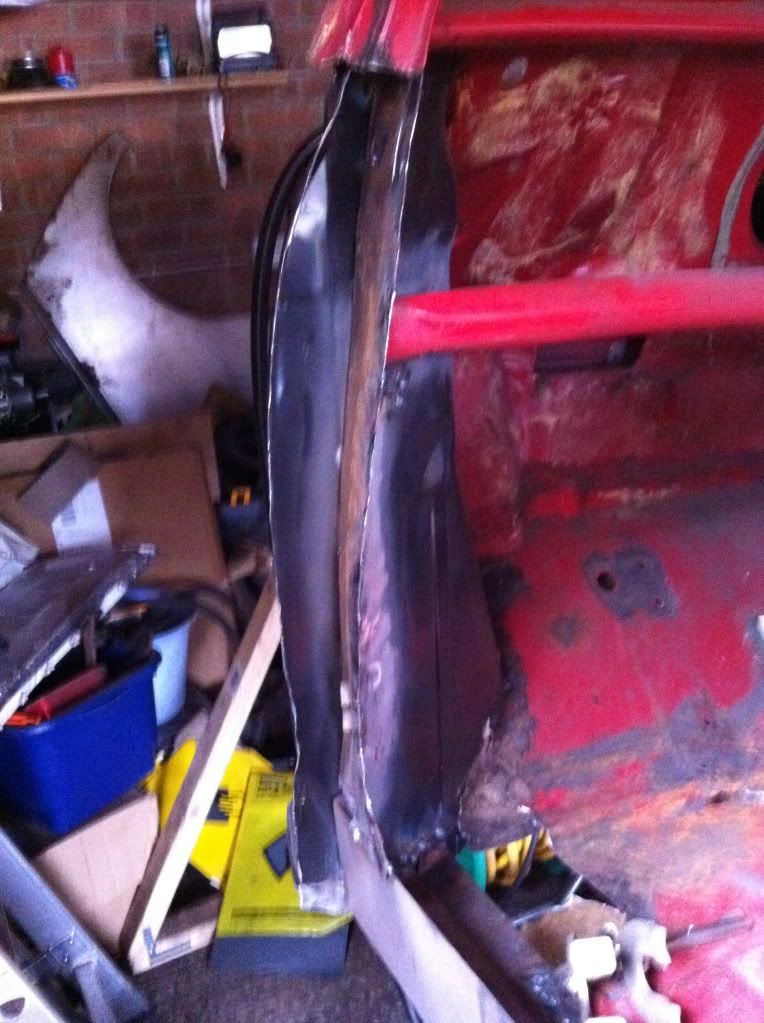
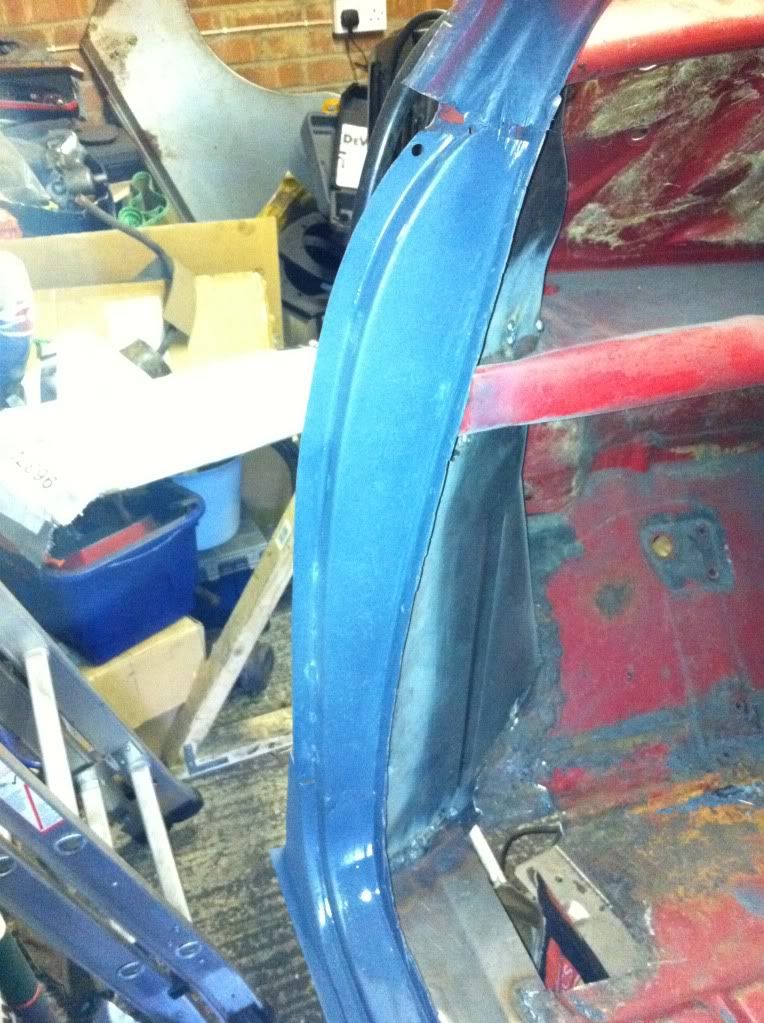
Looking good mate ,keep up the good work .Didn't notice any welding gloves or dust pan in the pics .


Thanks!
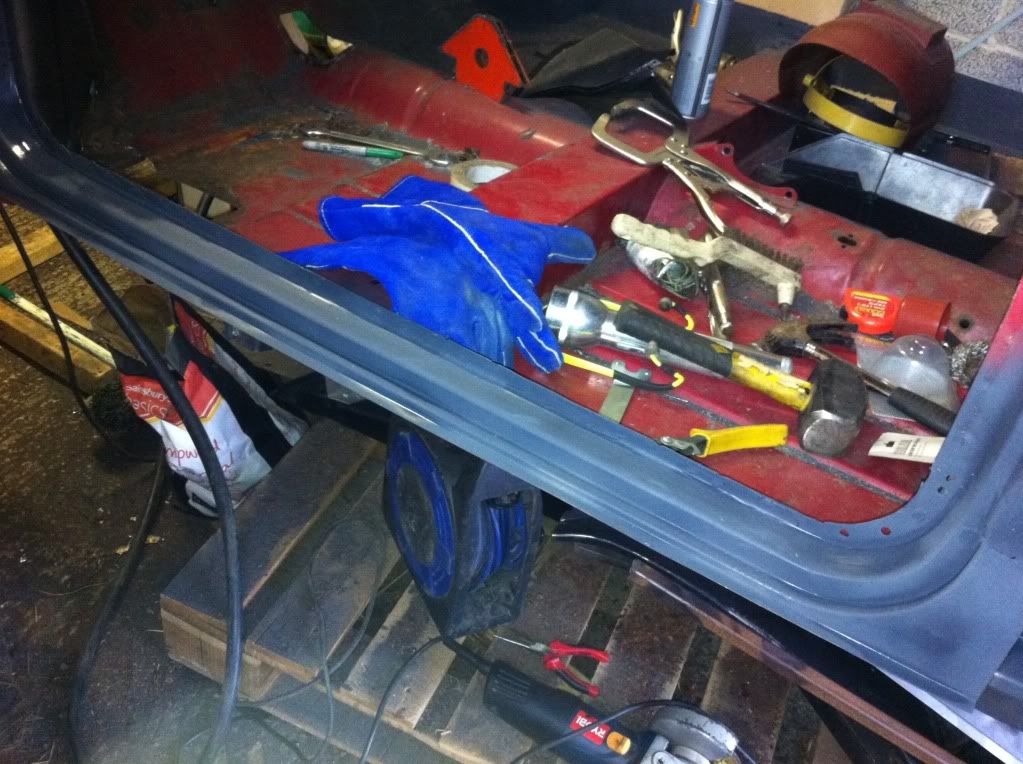
I'll ensure they are on show next time, although I got the all important Charcoal in shot!

#32 MGBailey007

MGBailey007

    One Carb Or Two?

  • Validating
  • PipPipPipPipPipPipPip
  • 725 posts
  • Location: Accrington
  • Local Club: North West Mini Club

Posted 23 October 2011 - 09:42 PM

good luck with the rebuild mate i was luck with the rust on mine, that is like a sieve, i wouldn't give something like that a second look. lucky we have people like you keeping a MK1 like that on the road and the best of luck

Matt

#33 miniman_7

miniman_7

    Mini Mad

  • Members
  • PipPipPipPip
  • 286 posts
  • Location: Prestwood, Bucks
  • Local Club: Looking...

Posted 24 October 2011 - 05:58 PM

I think it was more like a sieve that that been punched through really.

Coming along now. Aiming to be ready to paint the car in the spring when it starts to warm up a bit.
Will have the underside (where the finish is not critical) painted, the front finished and body prepared with an initial primer by Christmas. Fingers Crossed.

#34 miniman_7

miniman_7

    Mini Mad

  • Members
  • PipPipPipPip
  • 286 posts
  • Location: Prestwood, Bucks
  • Local Club: Looking...

Posted 07 November 2011 - 07:12 PM

Small Update....... Didn't get a lot done as I ran out of Gas................... Doh!

So companion box closing panel in. I think it also acts to stiffen up the rear half of the inner sill.

Posted Image
Needs welds grinding and priming in pic

Then I chopped out the A-post closing panel.
A previous "restorer" managed to FUBAR both a-posts losing the folds to join the a-panels on.
I was going to fab my own repairs, but eBay bargain-hunter extrodinaire-moi found a pair for £10.....Happy days!

Posted Image


Got some more gas today, so can consider the next steps on the weekend.
...And for those of you interested, I also got a new pair of Welding Gauntlets! No more burnt fingers!

#35 Badchilli

Badchilli

    Stage One Kit Fitted

  • Noobies
  • PipPipPip
  • 99 posts
  • Location: Derby

Posted 07 November 2011 - 07:17 PM

Happy days . New gloves and gas it will soon be finished :)

#36 miniman_7

miniman_7

    Mini Mad

  • Members
  • PipPipPipPip
  • 286 posts
  • Location: Prestwood, Bucks
  • Local Club: Looking...

Posted 07 November 2011 - 07:31 PM


what the hell! £300

I paid more than that for my Boxashite!

Mind you at least I know the difference between a Sill and a Subframe!

#37 Badchilli

Badchilli

    Stage One Kit Fitted

  • Noobies
  • PipPipPip
  • 99 posts
  • Location: Derby

Posted 07 November 2011 - 08:59 PM

Remember that ,they bodged it .Wonder if it's still on the road ?. It still makes me laugh when i watch ED knock the dent out of the door then back in again (14mins in)

#38 miniman_7

miniman_7

    Mini Mad

  • Members
  • PipPipPipPip
  • 286 posts
  • Location: Prestwood, Bucks
  • Local Club: Looking...

Posted 12 November 2011 - 06:30 PM

Bit more progress today!

New A-post in on the near side

Posted Image

Then came the fitting of the near side door step, and new jacking point fitted.

Posted Image
Posted Image

Welds ground back and primed.... Phew!
Not bad for couple of hours work. Note the new gloves

Another good step forward and big tick in box.
Have had a big reality check today though that I really need to face into grinding back some of the welding I've done before I can prime up.
As they say never start a new job before finishing another!

#39 Badchilli

Badchilli

    Stage One Kit Fitted

  • Noobies
  • PipPipPip
  • 99 posts
  • Location: Derby

Posted 12 November 2011 - 06:58 PM

Nice work mate . Lovin the new goves :)

#40 MGBailey007

MGBailey007

    One Carb Or Two?

  • Validating
  • PipPipPipPipPipPipPip
  • 725 posts
  • Location: Accrington
  • Local Club: North West Mini Club

Posted 04 January 2012 - 05:49 PM

looking good mate

#41 miniman_7

miniman_7

    Mini Mad

  • Members
  • PipPipPipPip
  • 286 posts
  • Location: Prestwood, Bucks
  • Local Club: Looking...

Posted 17 June 2012 - 08:55 AM

Well, it's been a while since I jumped on here and updated my thread.
It's come a fair way since November. Would want to be further forward, but with only a few hours spent on it every fortnight there you are.
Having had it for nearly three years, if I can get it painted before this August, I'll be happy!

Updates and pics to follow

#42 miniman_7

miniman_7

    Mini Mad

  • Members
  • PipPipPipPip
  • 286 posts
  • Location: Prestwood, Bucks
  • Local Club: Looking...

Posted 17 June 2012 - 11:35 AM

So since November i have done as follows:

With the A-posts and doorsteps in place, it was time to mount up the A-panels...

Posted Image

For me this was a bit of a challenge having only put mk3 panels on before.
A bit of manipulation to the inner wing, line up the inner and outer panels with bolts, and all cool.


This meant I could try the doors on for size using my newly re-pinned and bushed hinges. Here I learnt a valuable lesson when replacing the inner sills and door-steps.
Always line them up with the doors held in place. As any chippy will tell you, measure twice, cut once!
...I had a gap along the bottom of the passenger door that i could stuck my fingers through. I blame the height of the inner sill being 1cm too shallow, but at the end of the day a text book error!


With the steps re-fitted, next came the following metal replacements.....

...near-side rear wheelarch...
Posted Image

.....rear-quarter repair.....
Posted Image

and nearside outer sill
Posted Image

A repair to the passenger floor meant with some over-weld removal and smoothing the passenger side of the main body was complete
Posted Image

#43 miniman_7

miniman_7

    Mini Mad

  • Members
  • PipPipPipPip
  • 286 posts
  • Location: Prestwood, Bucks
  • Local Club: Looking...

Posted 17 June 2012 - 11:48 AM

Now I knew that the car had had a bit of a knock at some point in its life. There was evidence of this in the rear of the boot floor, old rear valance, and driver's side rear quarter.
In repair the lower rear quarter, I started to notice the amount of filler on the rear quarter and around the drivers side rear light
Posted Image

Clearly the applier of the filler was a little over-generous. I've still got to remove it from here, but the wedge I cut out of it is about 5-6mm thick. Feeling the inside of the panel, it is straight, so it looks like he has been over zealous in blinding in the small dent further forward.

Around the rear light it is a different story. Lots of evidence of the metal being re-shaped once the filler was taken back.
In my opinion it will only need a little bit of filler to reshape it. If that doesn't work I will have to replace the panel, but it is not that bad.
Posted Image

That brings me to where I was yesterday morning.....

#44 miniman_7

miniman_7

    Mini Mad

  • Members
  • PipPipPipPip
  • 286 posts
  • Location: Prestwood, Bucks
  • Local Club: Looking...

Posted 17 June 2012 - 11:56 AM

So yesterday the plan was to get to a point where the only welding that was left to be done was in putting on the new scuttle, wings, and front panel. But that will only be once the underside is painted, it is taken off the spit, and I can wheel the body out of the garage on the pallet

Got a full afternoon in the garage and....

....fitted the driver's side outer sill...
Posted Image

...repaired the rear wheelarch...
Posted Image
(it will feel a bit weird getting out of the vRS and into an 850cc mini!)

...and fitted the rear valance.
Posted Image


The plan this week is to spend a couple of evenings in the garage to take back the welds and smooth then over, then I can think about prepping for paint.

#45 miniman_7

miniman_7

    Mini Mad

  • Members
  • PipPipPipPip
  • 286 posts
  • Location: Prestwood, Bucks
  • Local Club: Looking...

Posted 26 June 2012 - 09:09 PM

Well almost 3 years in and I never thought I would say this...... I've started painting it!

The first couple of primer layers are now on ready to run seam sealer where it is needed tomorrow.

Posted Image


I've set myself a target to get the whole car painted during my 2 week holiday in August................... Best get a move on!


0 user(s) are reading this topic

0 members, 0 guests, 0 anonymous users