Jump to content


Photo
- - - - -

1960 Morris 850 And Friends


  • Please log in to reply
417 replies to this topic

#346 CLM

CLM

    One Carb Or Two?

  • Members
  • PipPipPipPipPipPipPip
  • 817 posts

Posted 06 March 2013 - 10:36 AM

Thank you very much :)


Ow... I rang my bell today, I stepped out of the back door stepped on the back porch step and landed on my... tailpipe.

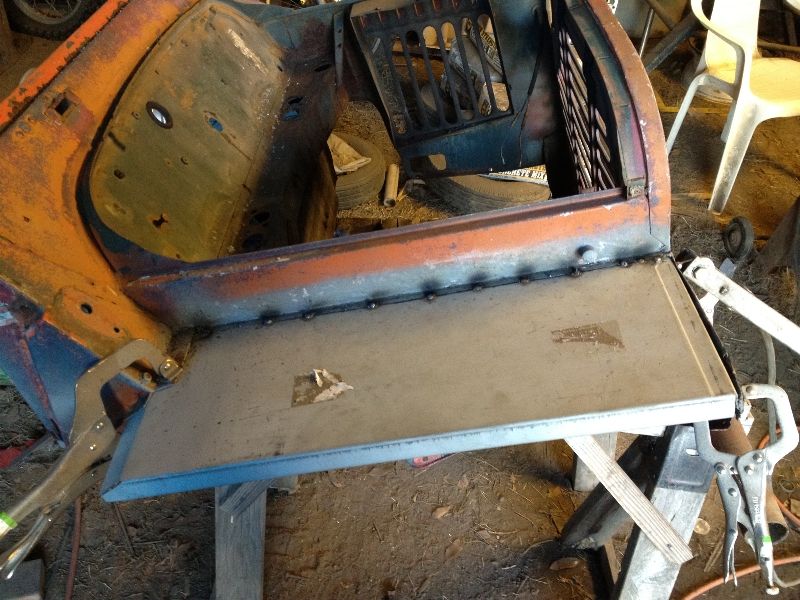
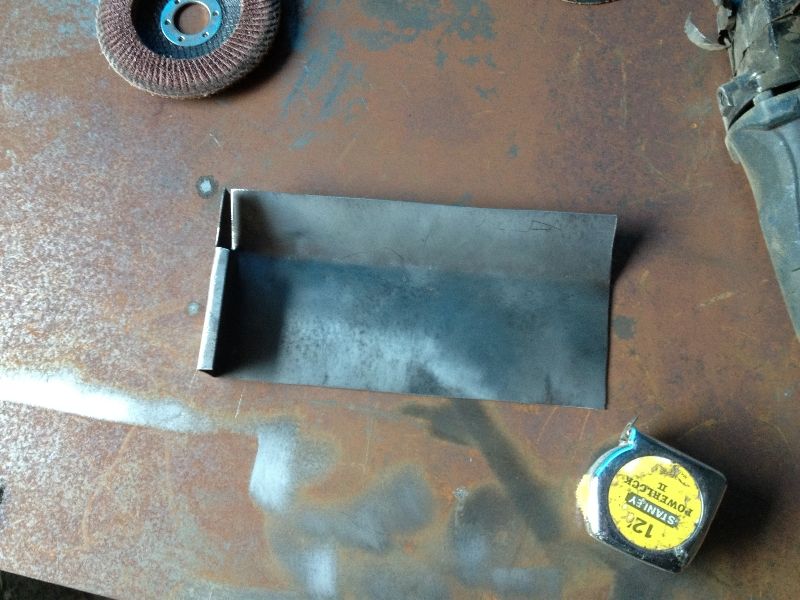
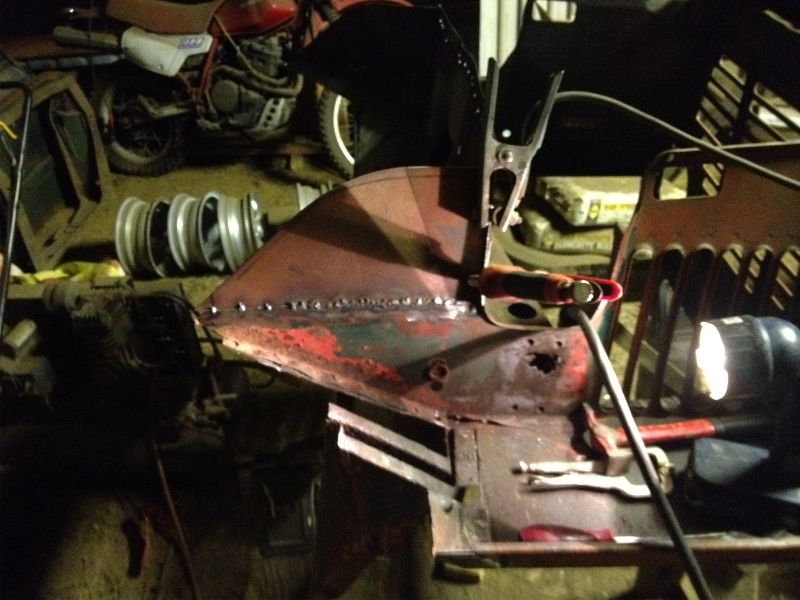
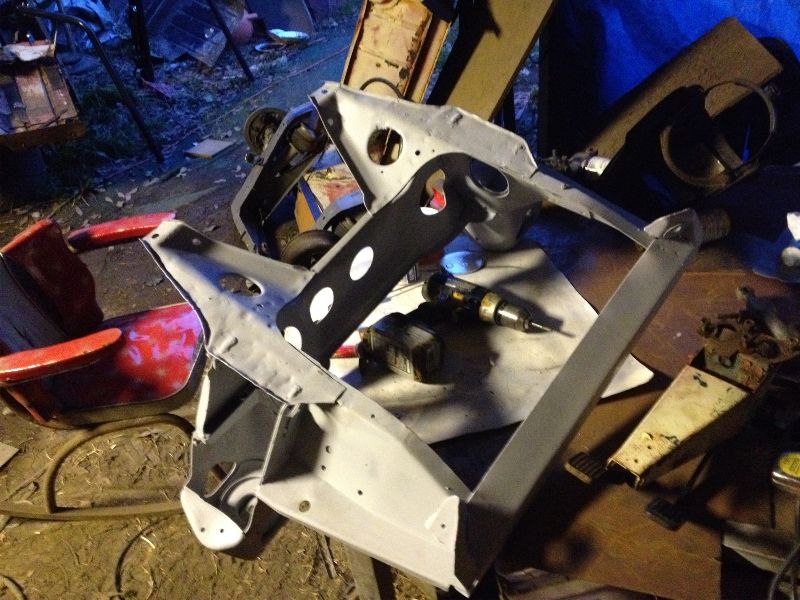
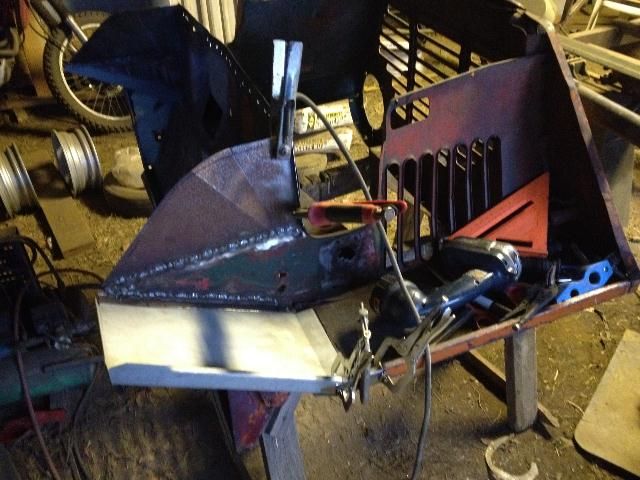
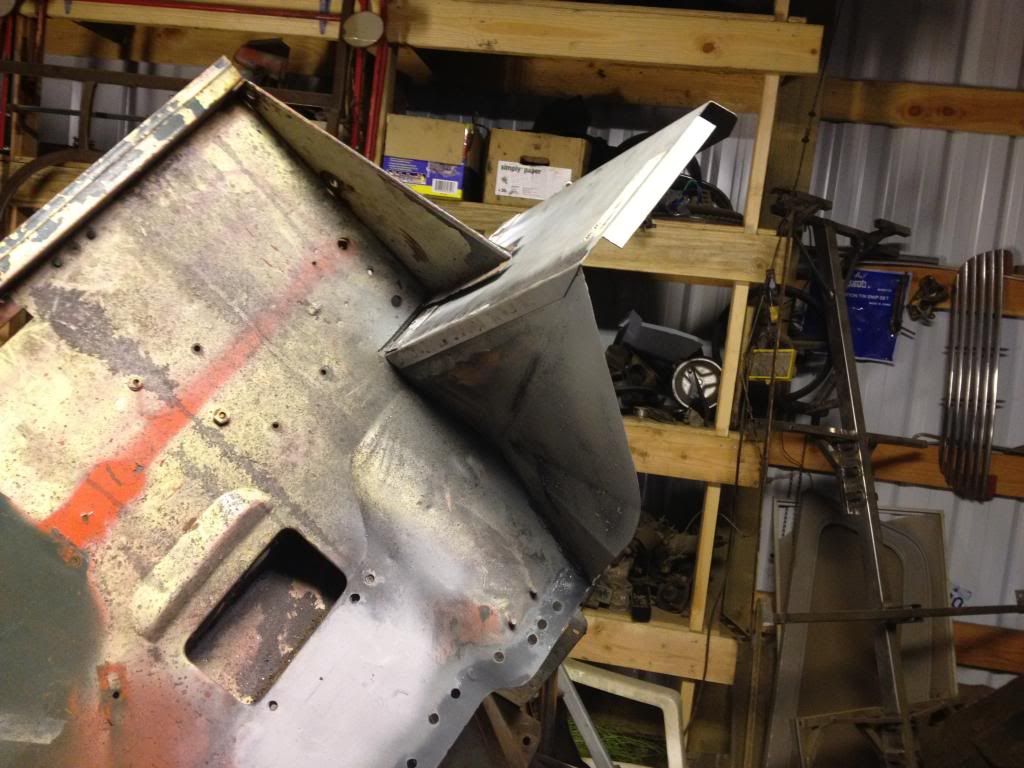
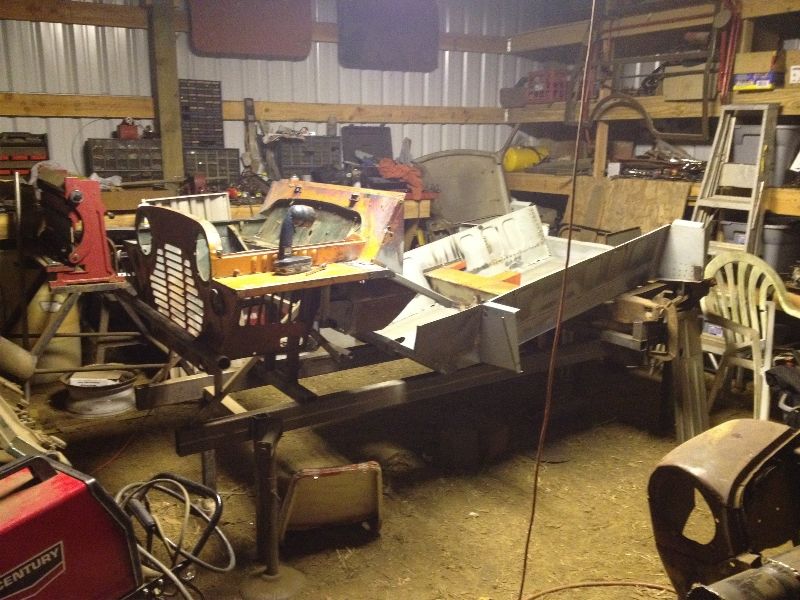
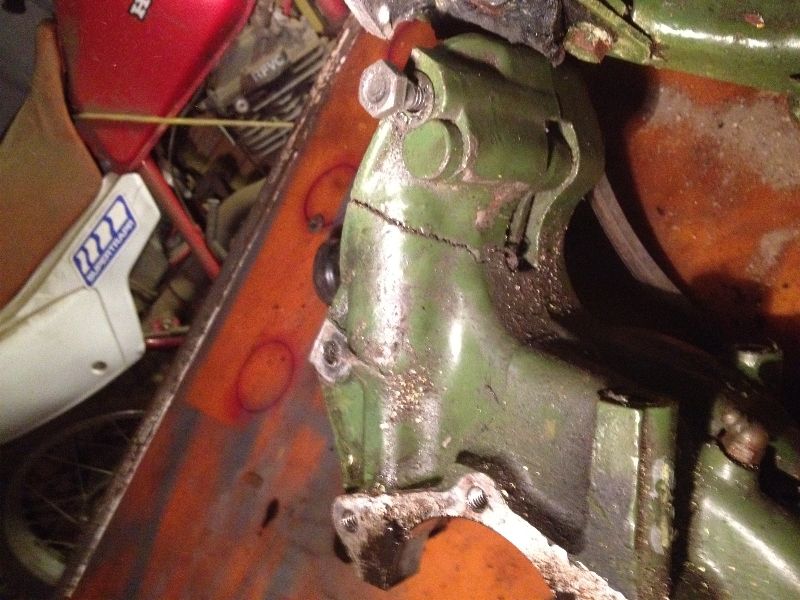
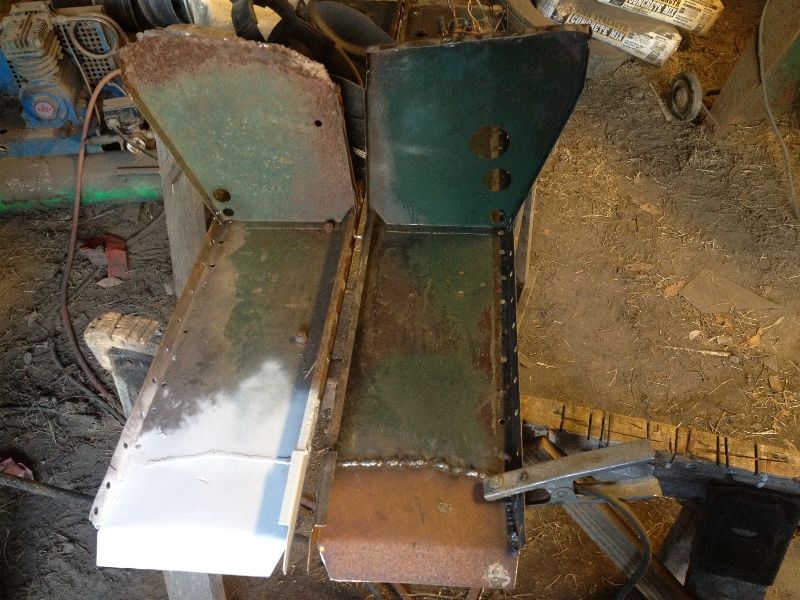
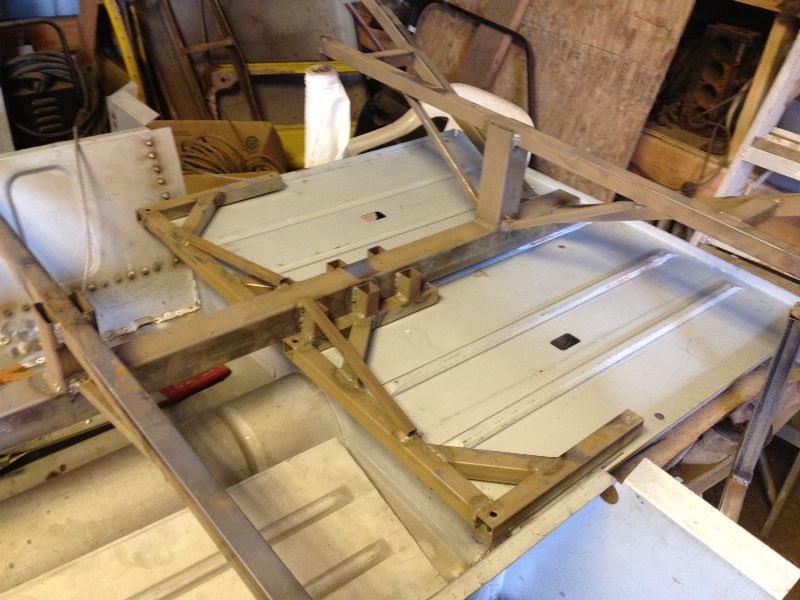
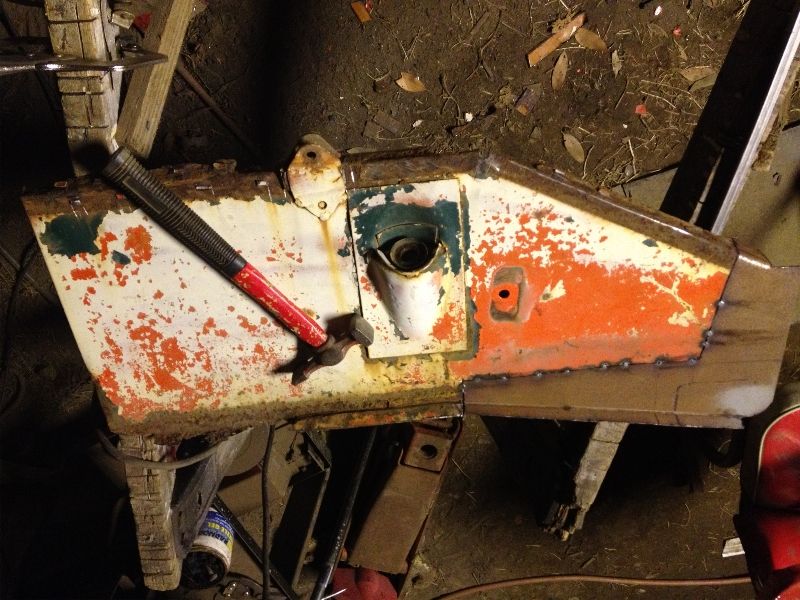
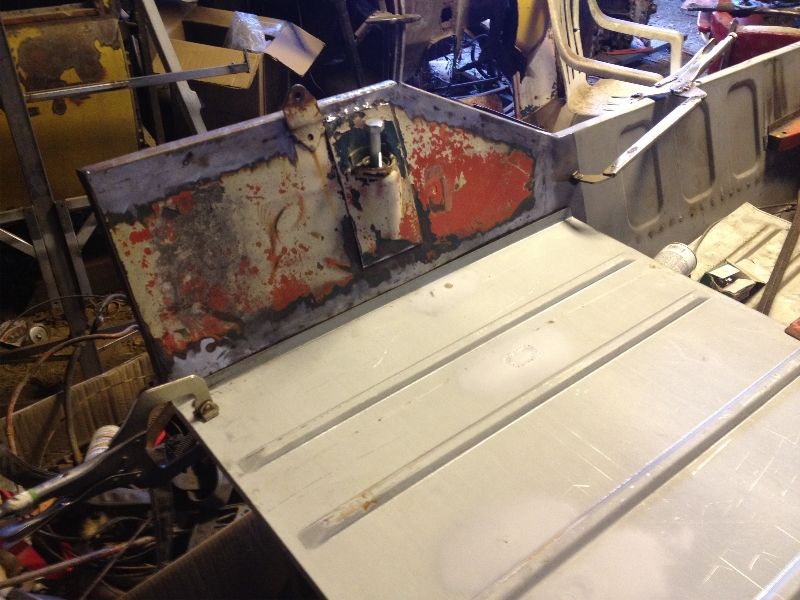
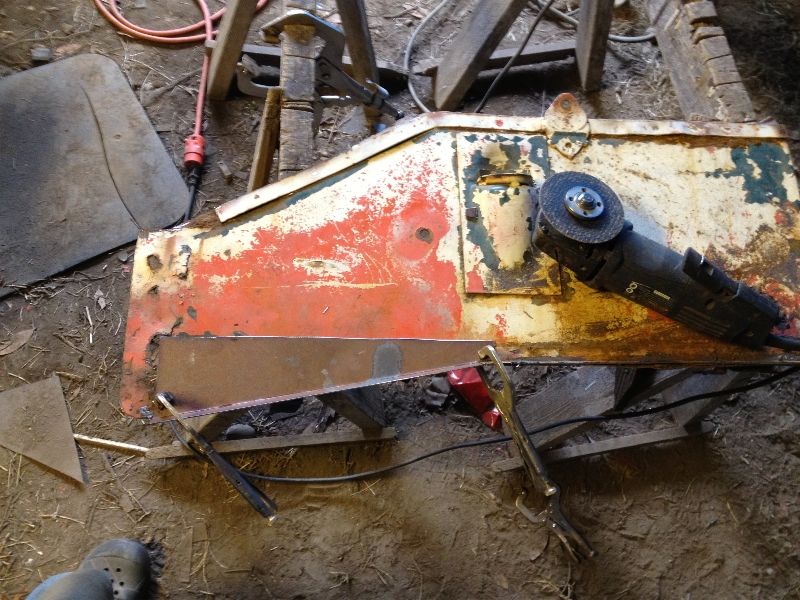
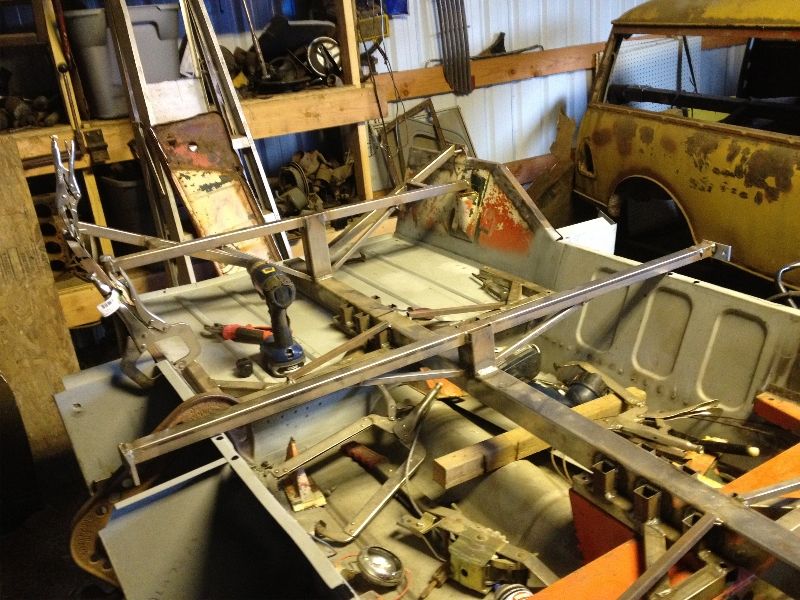
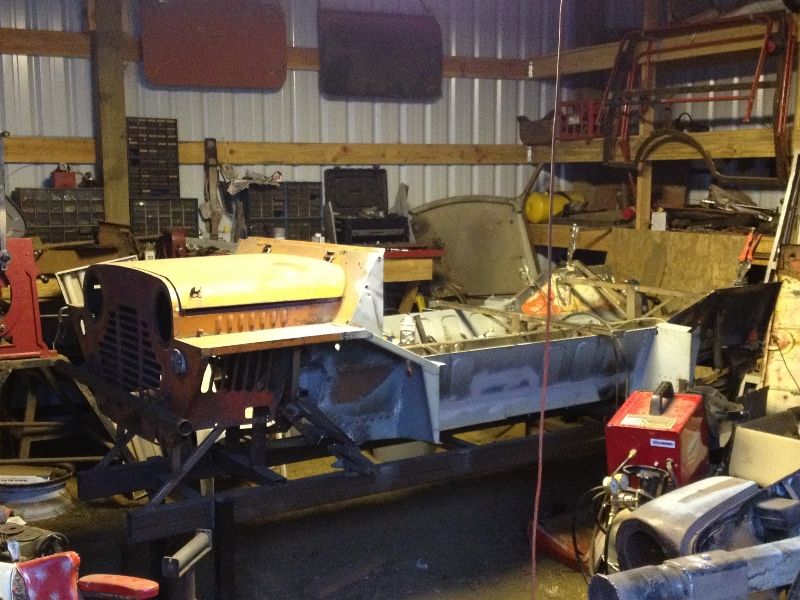
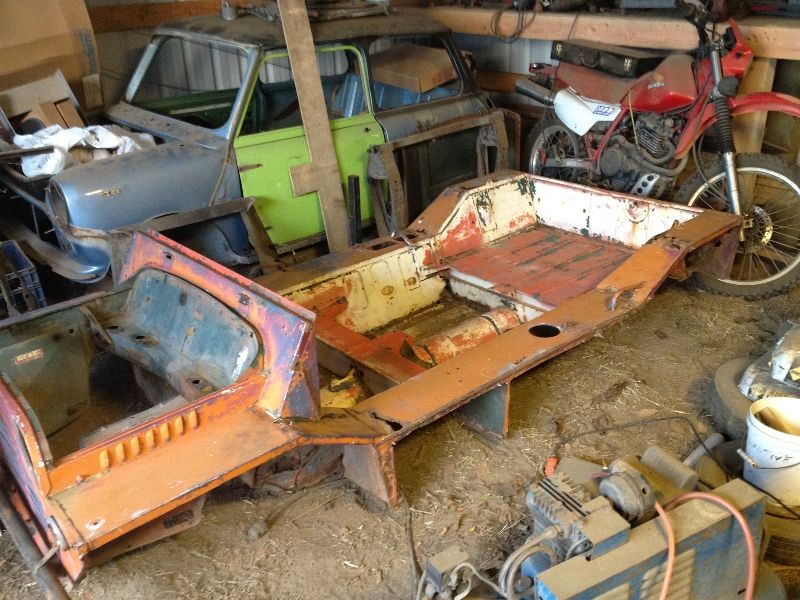
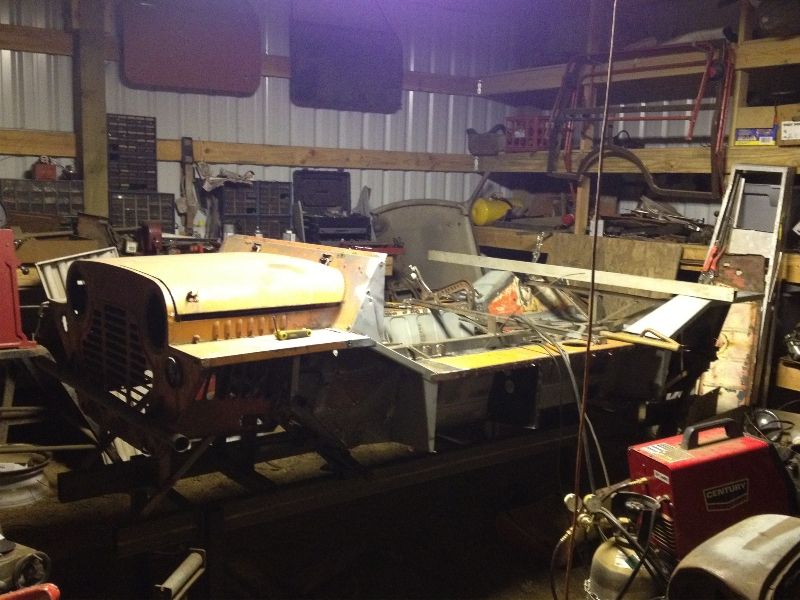
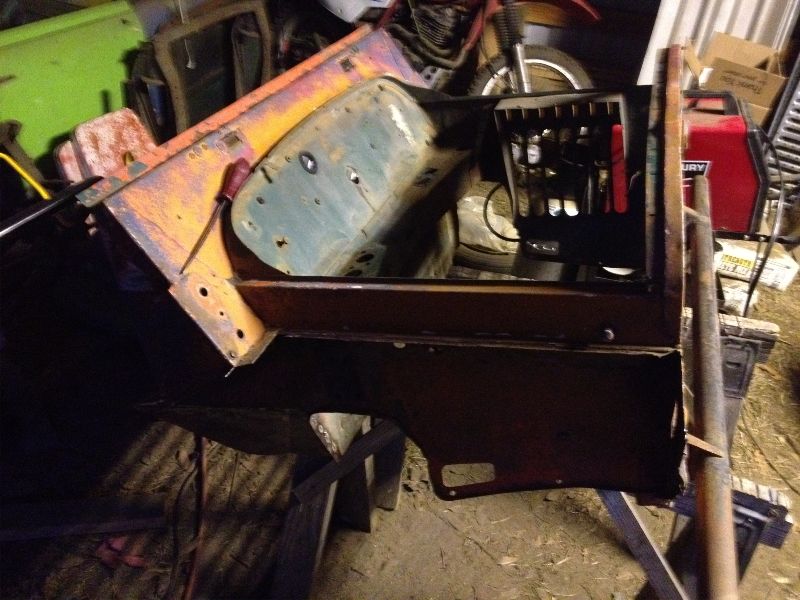
But aside from that, I worked a bit more on the front, I had to peel off the old bits of steel, I also had to rebuild the upper edge of the inner flitch and then test fit the sloping section.

Posted Image

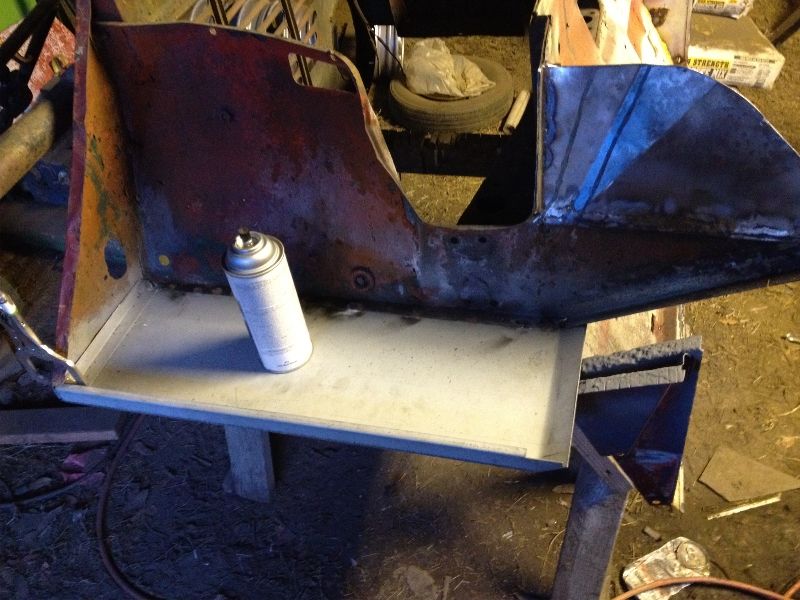
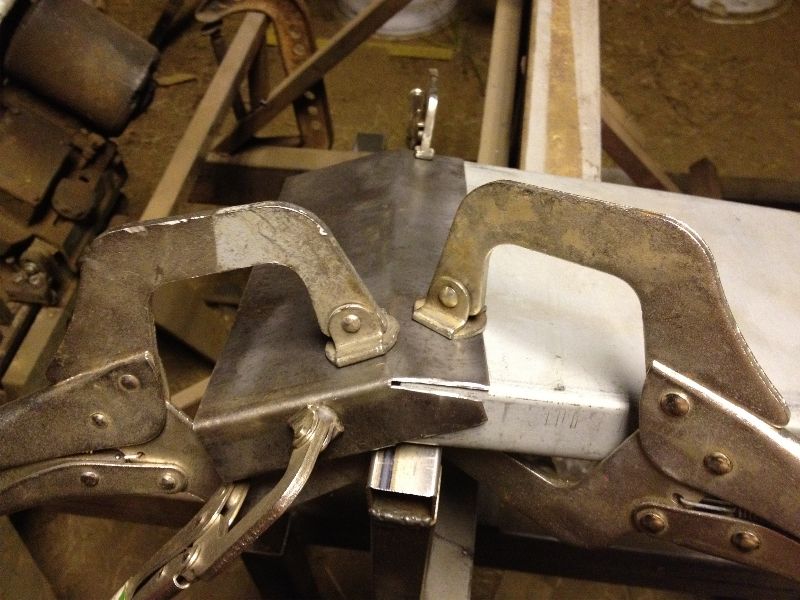
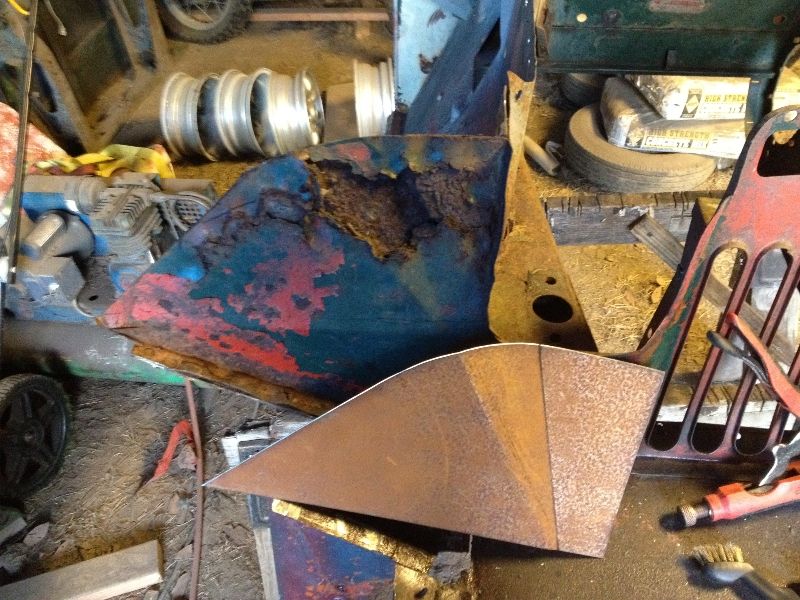
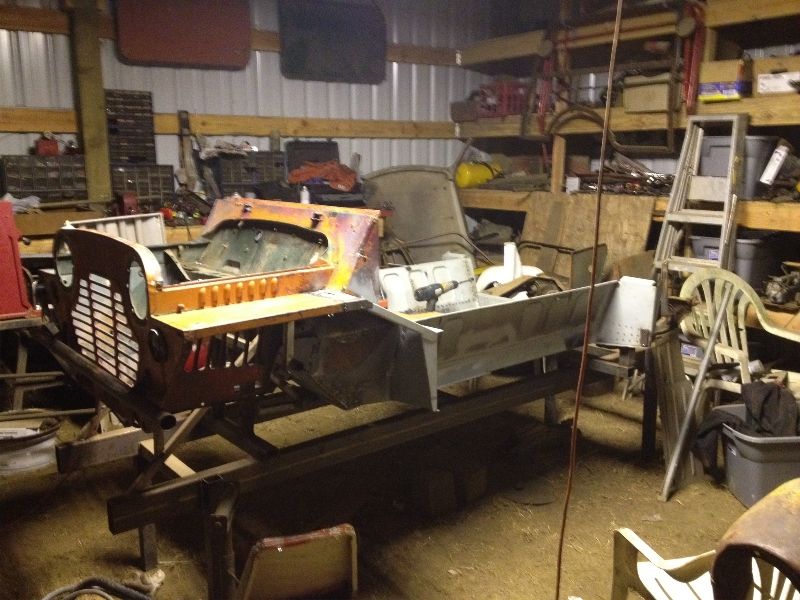
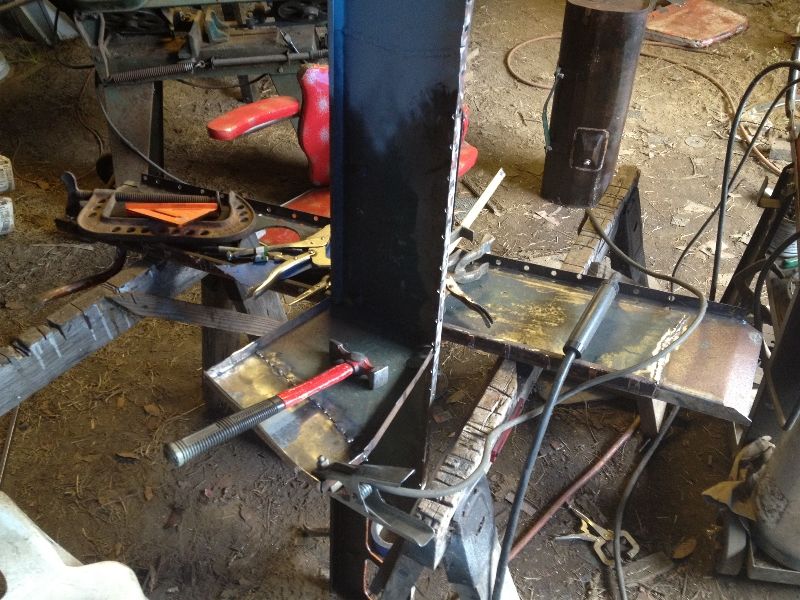
Once that was fitting well, I proceeded to cut off the old right hand wing and clean stuff up so I can fit the new wing which needed trimming.. cutting apart that new panel was a bit nerve wracking. But with some measuring and trimming everything seems to fit quite well.

Posted Image

Posted Image

Posted Image

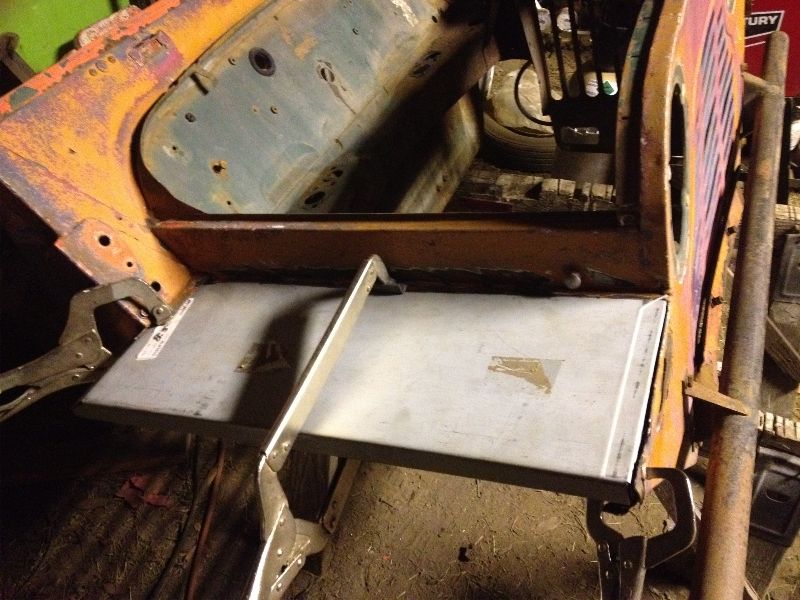
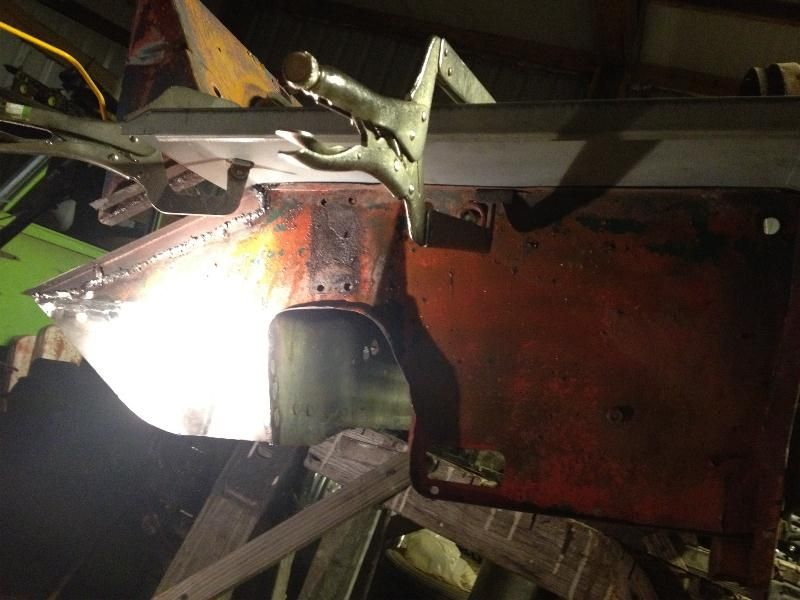
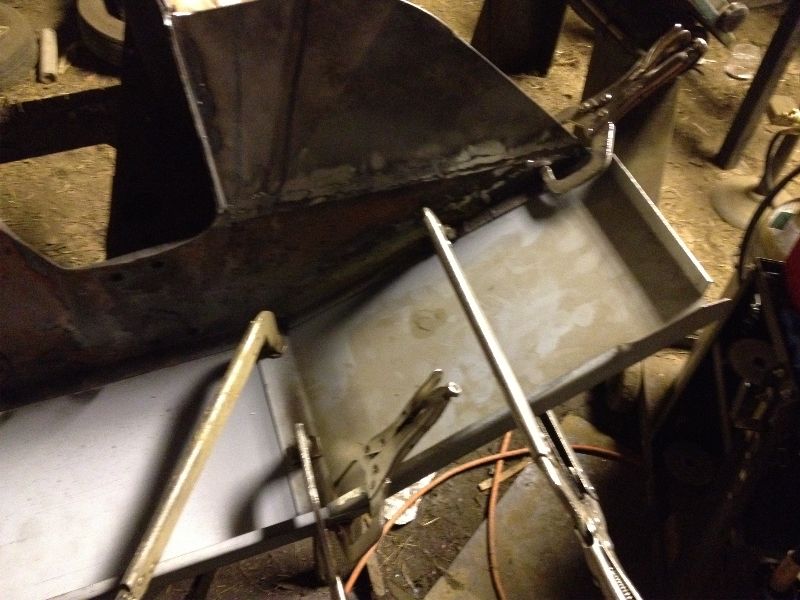
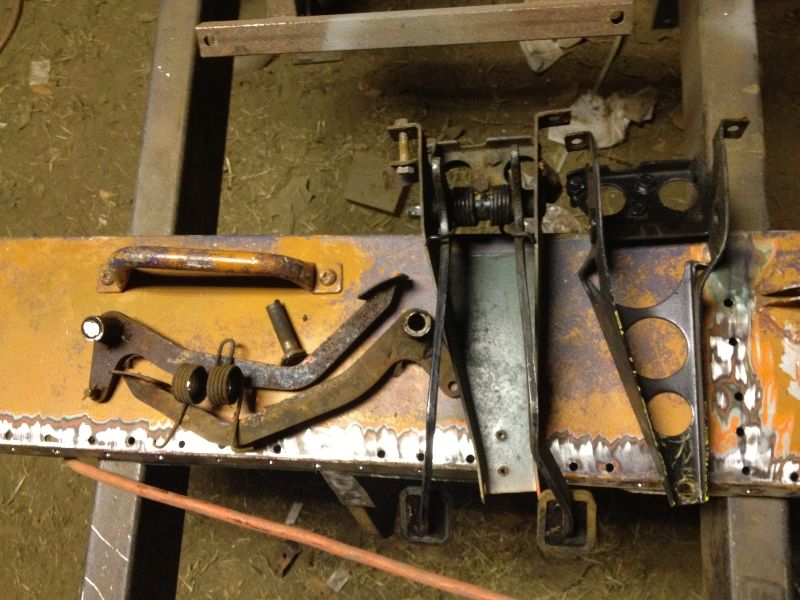
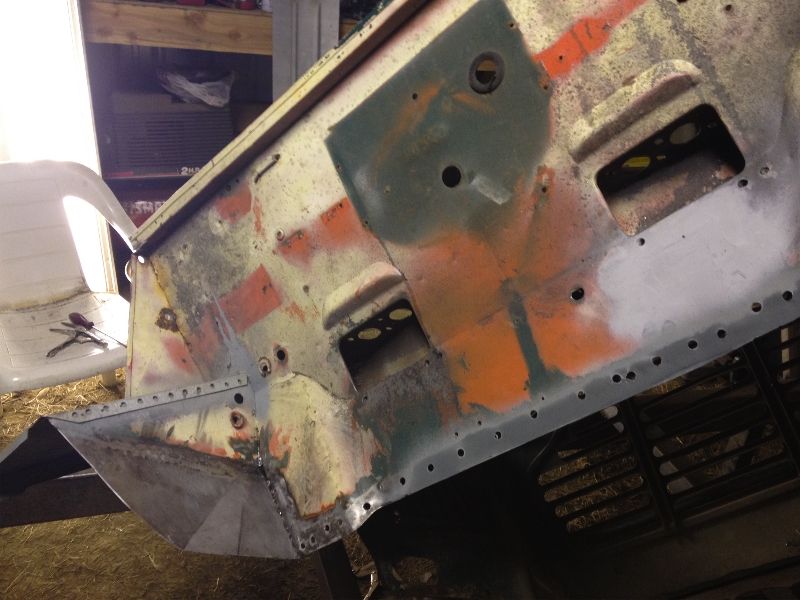
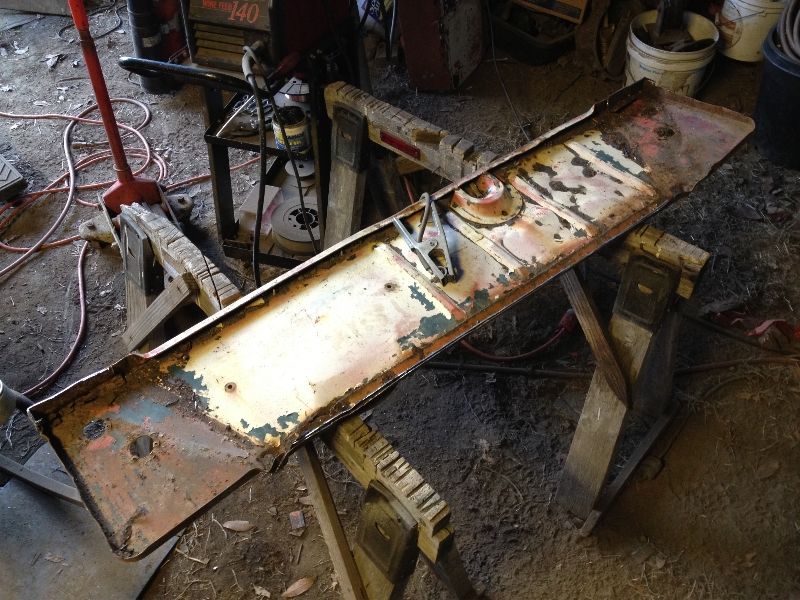
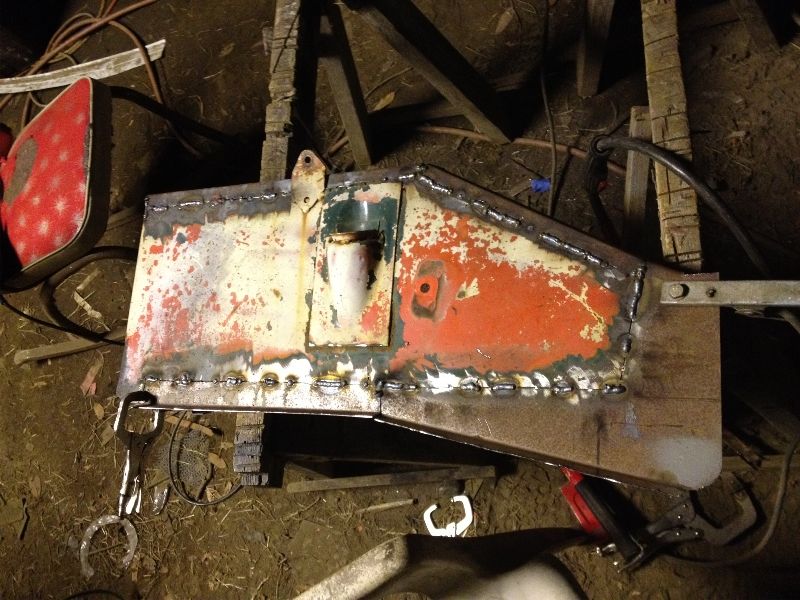
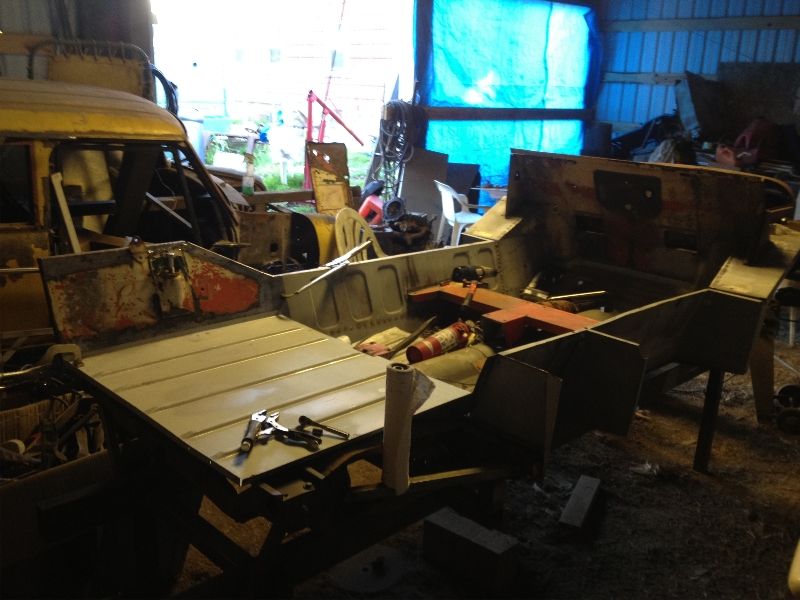
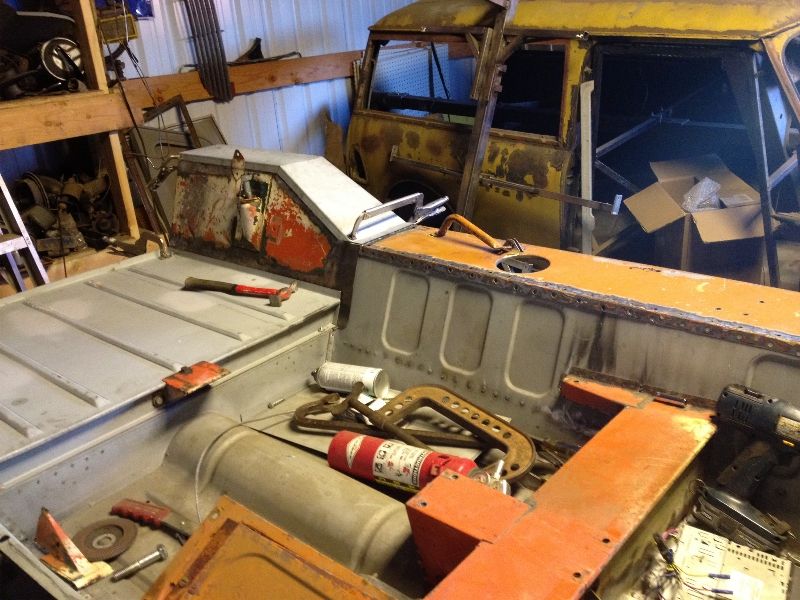
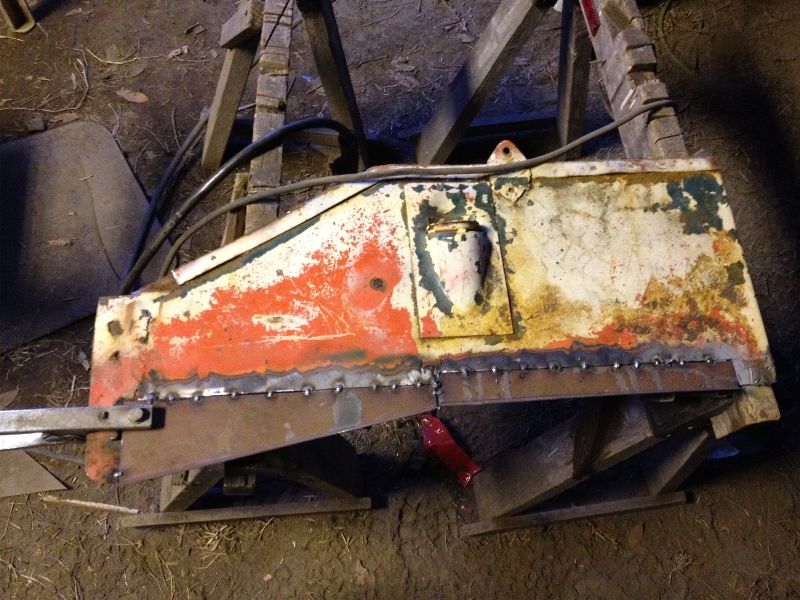
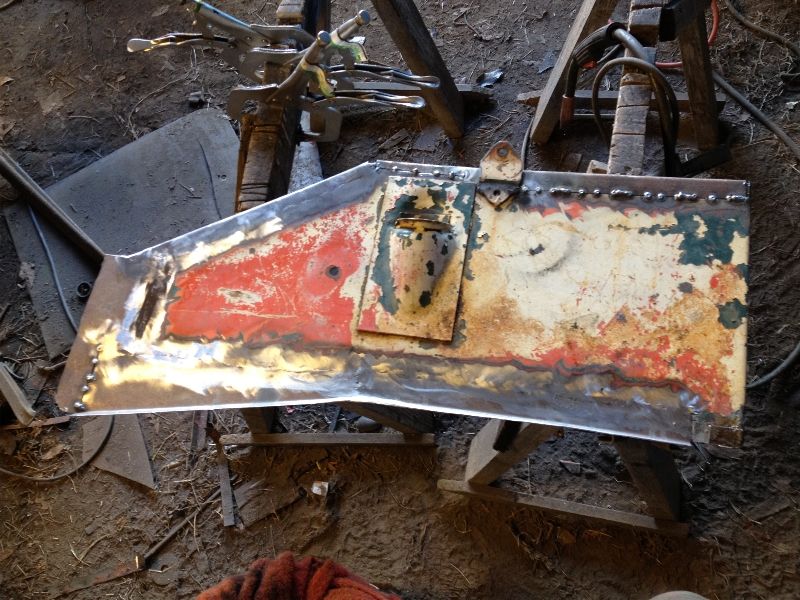
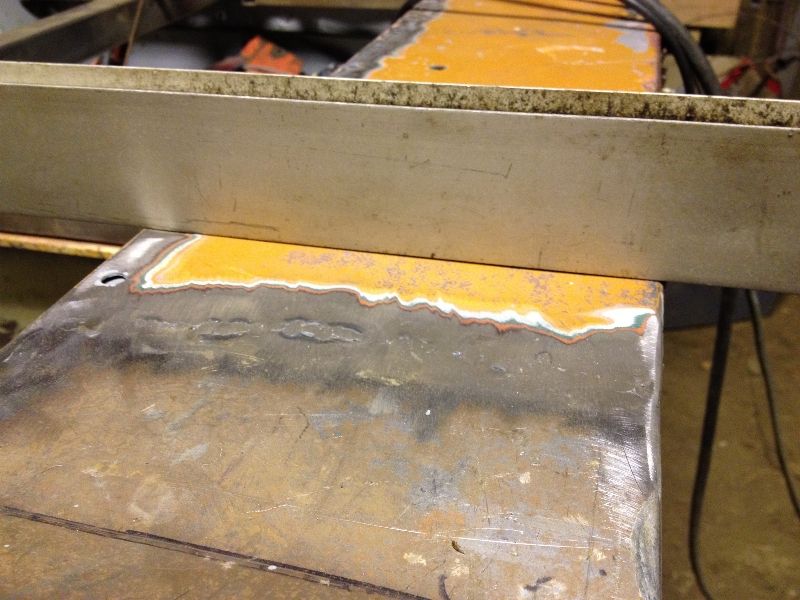
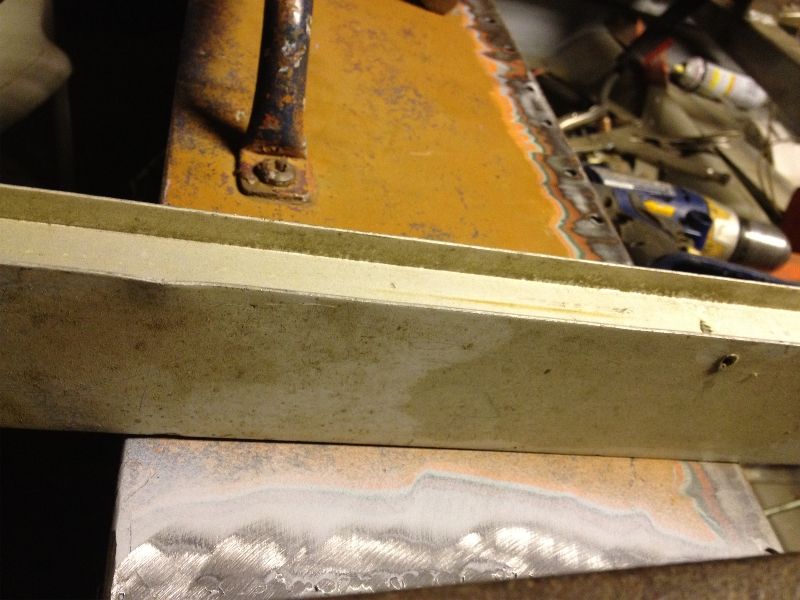
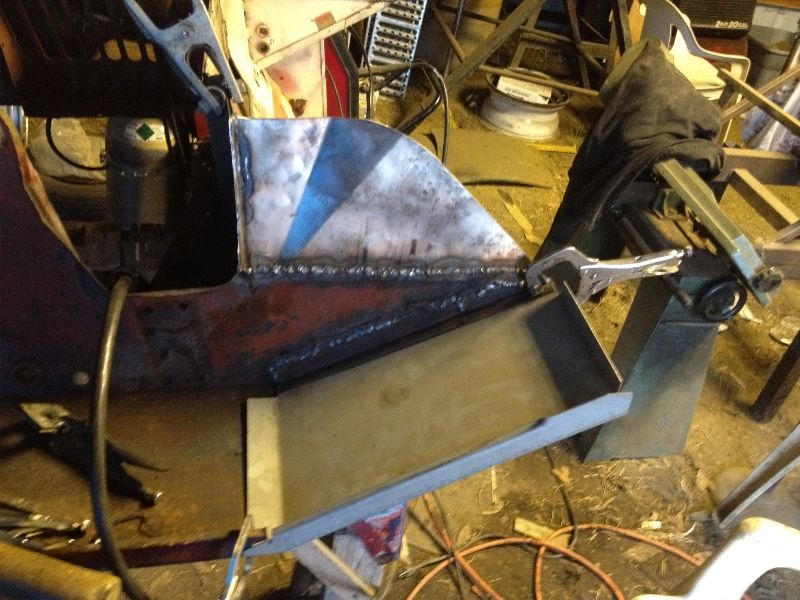
I managed to grind down some welds but others were currently in some awkward spots that I will get to when I can re-position the front a bit, but first I figured I would get the primary repairs done.

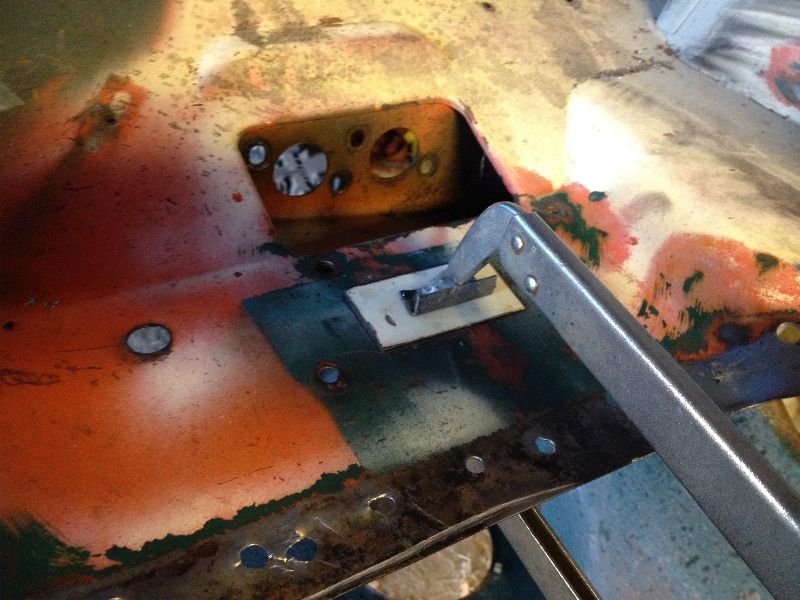
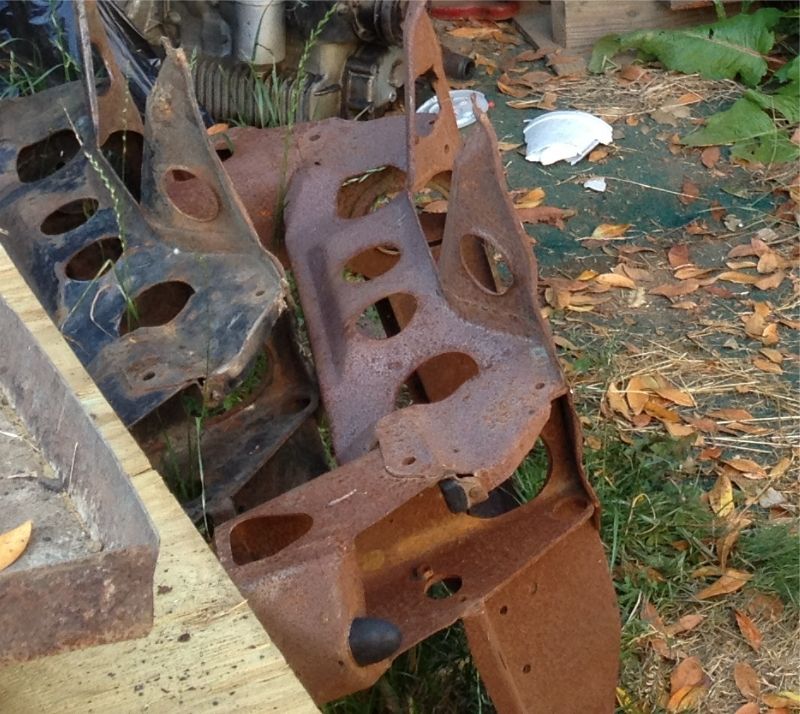
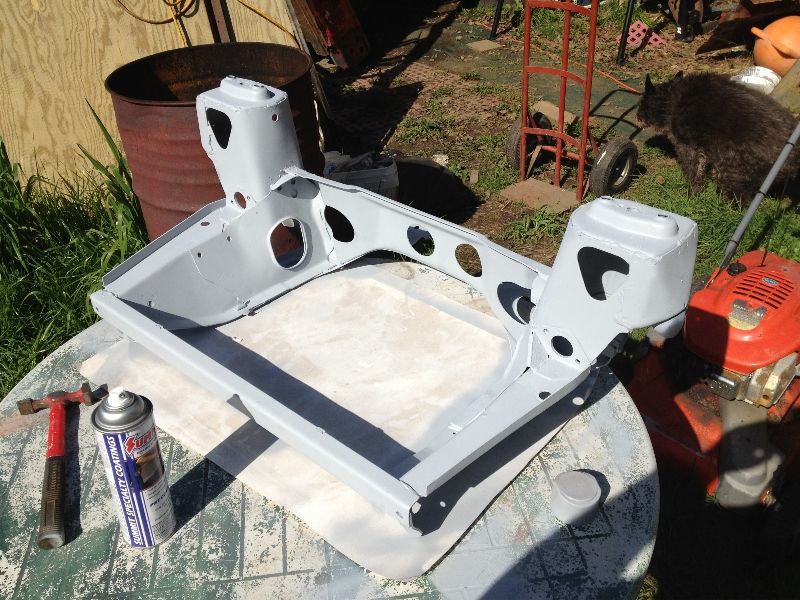
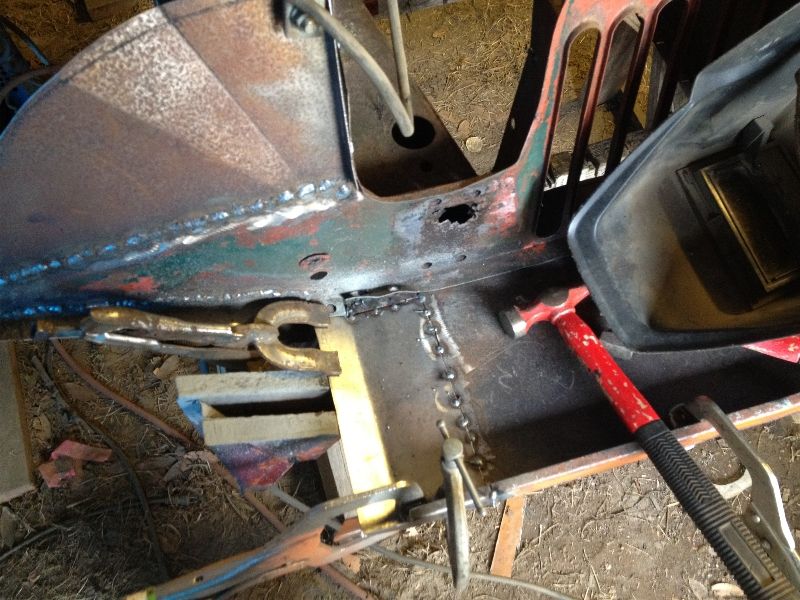
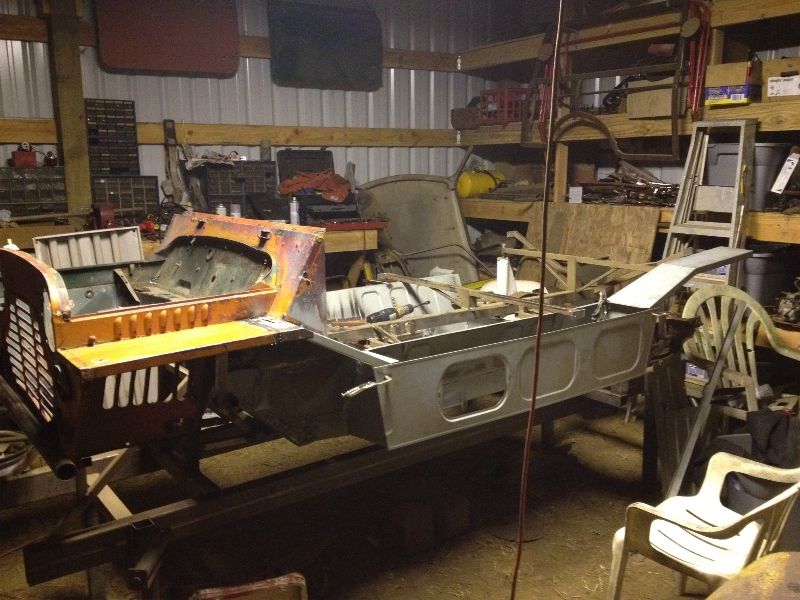
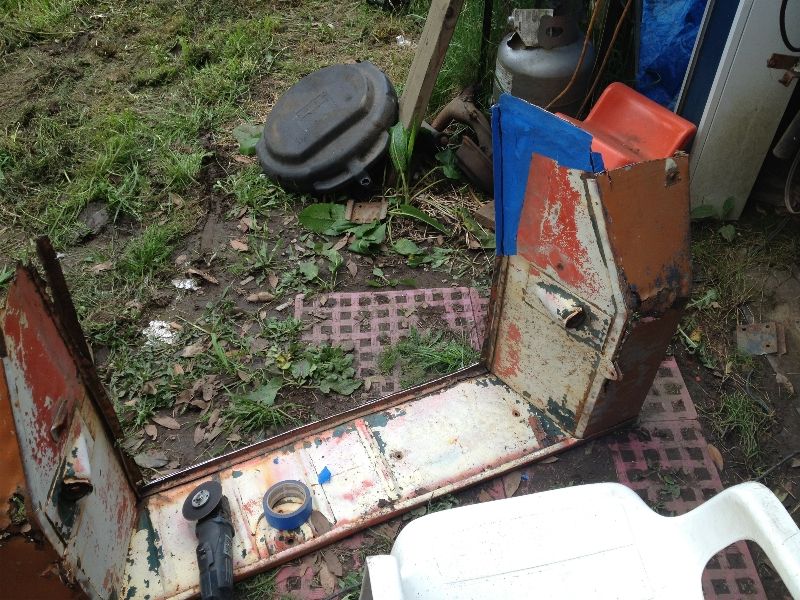
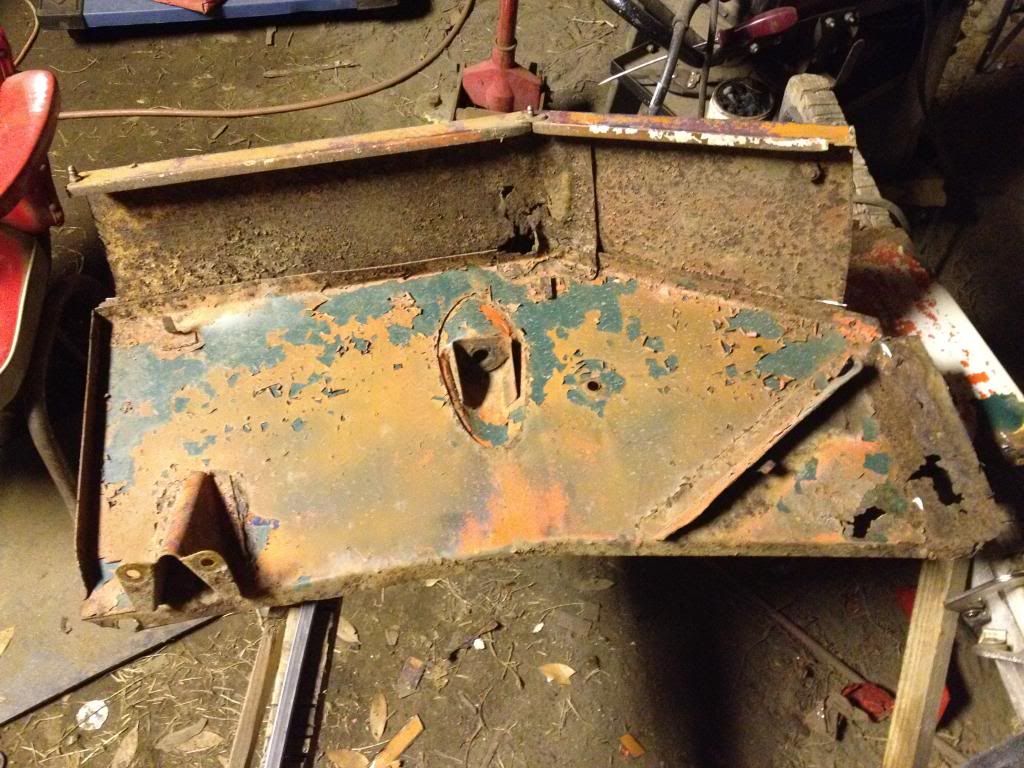
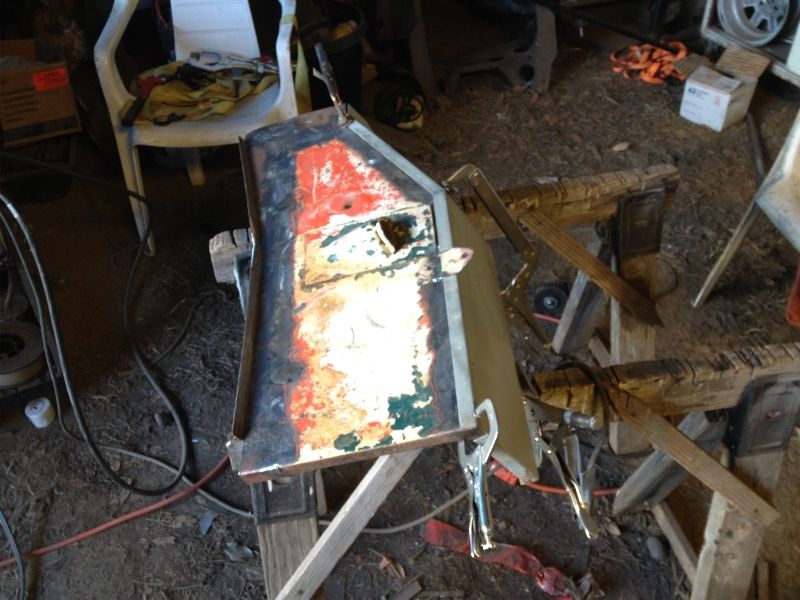
The front panel is likely going to have it's corners replaced... later. For right now I am going to just rivet that corner in place.. A bodge but one I plan to redo after this summer.

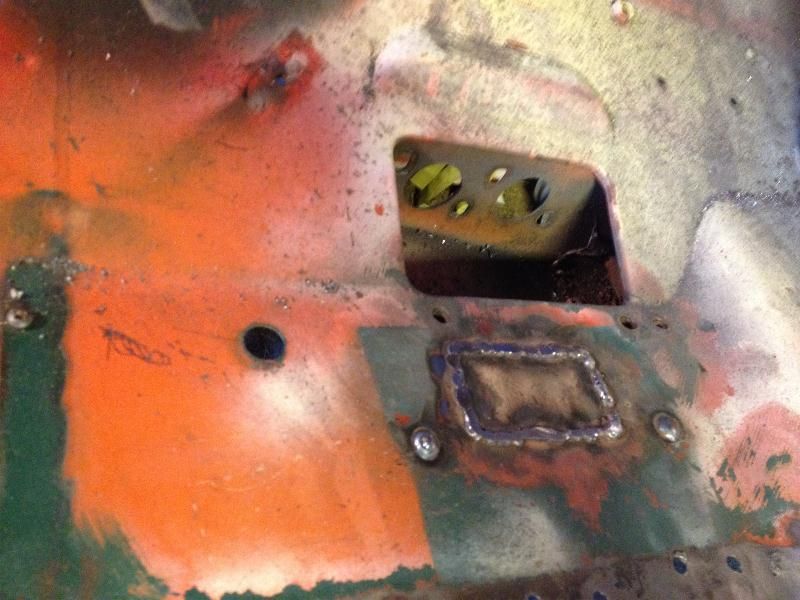
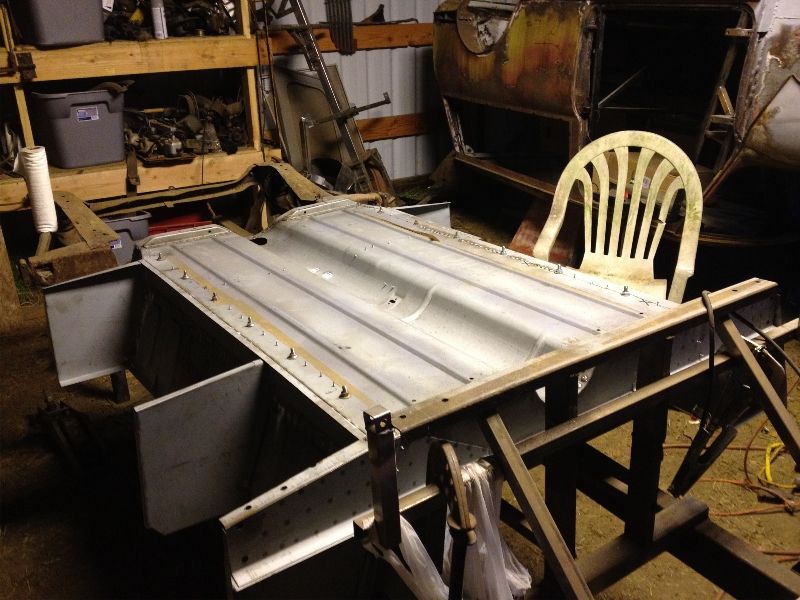
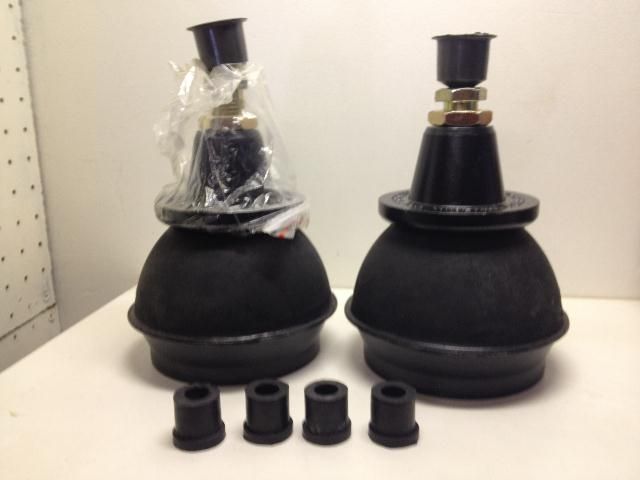
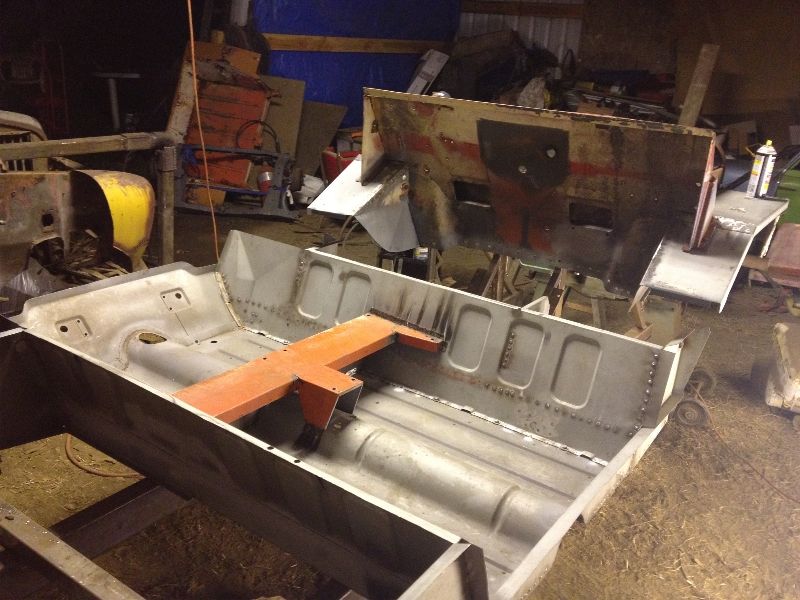
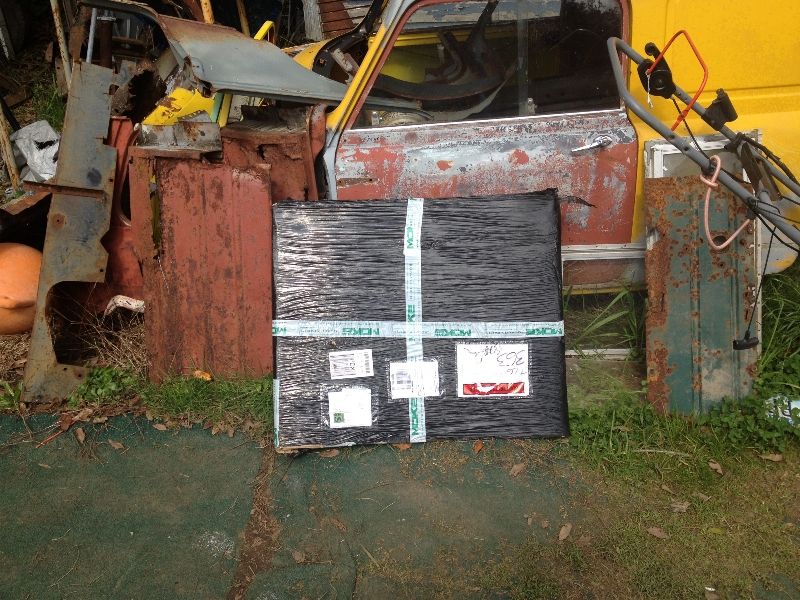
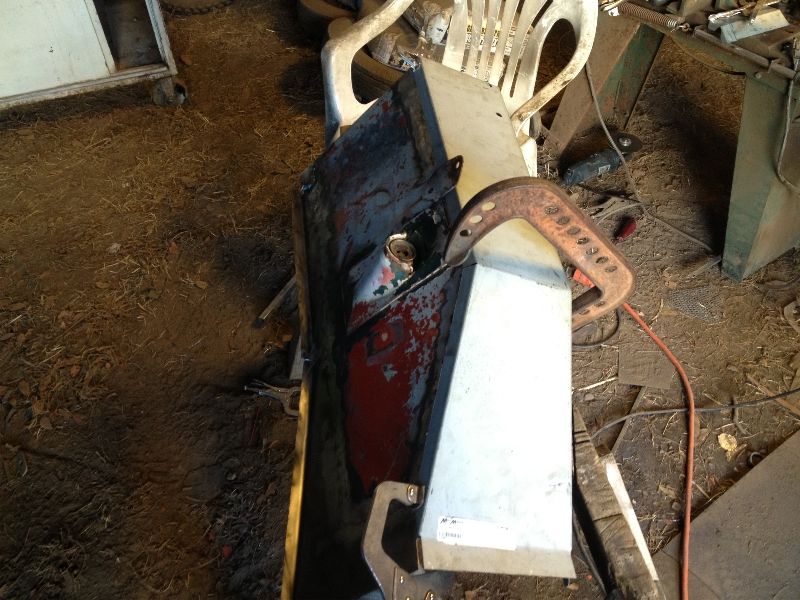
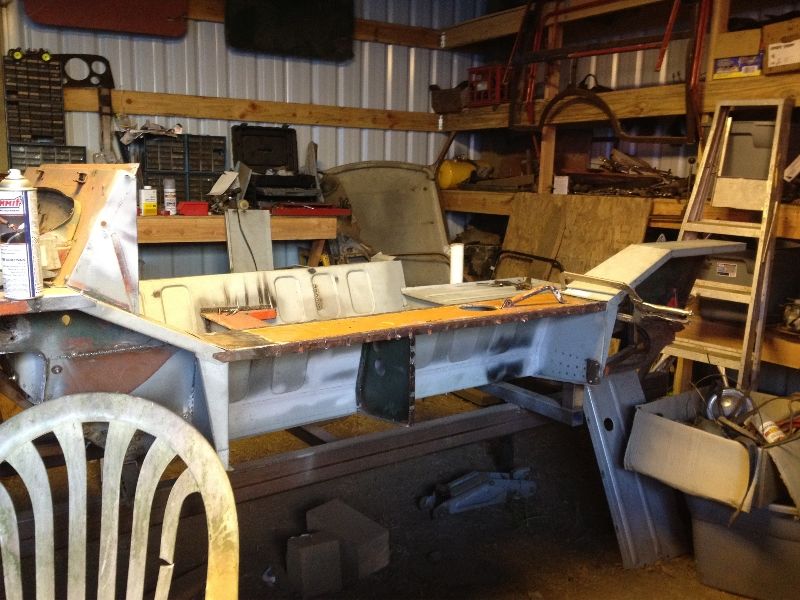
I also got some welding done on the underside of the pan but my primary focus has been the front end.... oh yeah. I also paid for my order from m-parts. The final damage was $361.92 shipped.

Chris

#347 CLM

CLM

    One Carb Or Two?

  • Members
  • PipPipPipPipPipPipPip
  • 817 posts

Posted 11 March 2013 - 06:54 AM

Well, since the last post I have welded that one wing on, still need to grind down the welds, the story of my life... It managed to line up and be square, the sloping section fits on perfectly.

Posted Image

Posted Image

Posted Image

From there I started cleaning up the pannier tops, although I have no pictures of that currently. I took and removed the strip of toeboard left on the front bulkhead and I had to weld up the large holes in where someone had some random heater crudely installed. It left me with a bit of oilcanning below that but that should go away once it is welded to the toeboard.

Posted Image

Posted Image

(one question, that hole to the left of the patch, that looks factory.. is it?)

This morning I went out and decided I really needed to work on the back part of the other fender as well as the other rotten flitch sections, I think the flitch is turning out better then the first one I did heh. I did find another small patch of rust in the front bulkhead that will need a small patch, you will see that later. The flitch repair was a bit oversized, seeing as I used the pattern I had made for the other side for this one, just needs a little trimming ;)

Posted Image

Posted Image

Posted Image

Posted Image


Another thing I found.... the pan fit in the jig quite well.. upside down and backwards! lol It made it fairly easy to do the welding on the bottom (not pictured).

Posted Image

Aside from that I have been going though the parts and pieces I will need in this moke, I brought my built up rear subframe that I removed from my woody home. When I pulled the brake drums, which were easier then any that I had pulled off on a mini before, everything inside looked new. The brake adjusters still spin just like they are supposed to, the screws holding the drums to the spindle look new... I am just going to use it as is I think. I have also got the bean cans from the same car out and they still look serviceable.

What doesn't look serviceable however is my pedal assembly, the shaft is seized in one of the pedals and I think I am going to have to cut them out... thankfully I have a donor set (again from that poor woody! That was a well spent $400!) That has almost new looking pedals spring and other hardware, but the main cage is bent. They should work well.

Oh well, marching on.

Chris

Edited by CLM, 11 March 2013 - 06:57 AM.


#348 CLM

CLM

    One Carb Or Two?

  • Members
  • PipPipPipPipPipPipPip
  • 817 posts

Posted 12 March 2013 - 10:00 AM

I got a call at about 8:30 am this morning, My subframe had been sandblasted! So $40 out the door and I have one sandblasted subframe on my hands. So that is what I did today, cleaned repaired and primed.

Before

Posted Image

and After.

Posted Image

Posted Image

I also received a nice package in the mail; a pair of disk c.v. joints, a pair of older Minispares reproduction 7.5 calipers unused, and a rats nest. Overjoyed.. and forgot to take pictures! >.<


I have ordered the bits I need to assemble the front subframe and I pulled out the chop saw to cut the brake pedal pivot shaft which unfortunately had seized in one of the pedals. Thankfully I had a spare pedal box from the wagon that was rather bent.. but only bent in the frame, the shaft and the pedals are perfect.

Posted Image

Unfortunately I pretty much destroyed the old pedals, but the ones from the saloon fit just fine and with a well greased shaft it went together easily :)

Untill next time!
Chris

#349 CLM

CLM

    One Carb Or Two?

  • Members
  • PipPipPipPipPipPipPip
  • 817 posts

Posted 17 March 2013 - 07:36 AM

I got my first suspension parts in the mail the other day, a pair of new cones some Ripspeed hi-los for the front and the lower arm bushings, I still have an order out for the rest of the bits I need to make a rolling subframe.

Posted Image

I do find it odd that these Ripspeed hi-los include knucklejoint cups... but no knuckle joints, causing you(me) to buy two knuckle joints which will also come with two... cups. Odd.

I have all the work I needed to do to the front end before I could fit it done, The last I needed to do was to finish fitting the last front sloping section, I had already fit the new wing and even more recently fit the new end I had made.

Posted Image

Posted Image

Posted Image

Posted Image

with it all together It came time to start fitting the front to the pan, The front was easy enough to get on the jig.

Posted Image

But I could only get the pan part way up by myself, In the end I enlisted my father to help me fit the pan to the nose, I will need to do some jacking and pushing at the seams as while it is close, it's not quite perfect.

Posted Image

Posted Image

And before I called it a night, for grins I clamped the pannier side and rear wing on for the hell of it :)

Posted Image

I am still waiting on M-parts to get this order together, but things are still moving along fairly well. I see my next few days filled with banging prying and jacking with a bit of welding thrown in for good measure.

Until next time.
Chris

#350 CLM

CLM

    One Carb Or Two?

  • Members
  • PipPipPipPipPipPipPip
  • 817 posts

Posted 20 March 2013 - 02:46 AM

Not much of an update, but I got my 1100 engine home, it was raining so I sprayed out the ports with some good penetrating oil to keep everything good. I will likely swap tail housings on this transmission to the magic wand style so I can use it in the moke when the time comes, but I don't think I am going to do much else as it is supposed to be rebuilt and was a runner when the wagon was wrecked. It should do the 500 miles round trip to Bend Oregon for Mini Meet West :)

Posted Image

Chris

#351 minimikej

minimikej

    Speeding Along Now

  • Members
  • PipPipPipPipPip
  • 347 posts
  • Location: Derbyshire

Posted 20 March 2013 - 09:48 AM

Wow, some great progress there! Got my hand out of the cast yesterday but it's still sore as hell, a couple of weeks and I should be able to get back to work on the mini.

#352 CLM

CLM

    One Carb Or Two?

  • Members
  • PipPipPipPipPipPipPip
  • 817 posts

Posted 20 March 2013 - 08:09 PM

Just took a look at your project and you have done an awesome job.. right up until that painful looking break! ow!

On another note....


YES! M-parts has taken my payment! :D :highfive: :w00t:

Means I should have more panels soon

Chris

#353 CLM

CLM

    One Carb Or Two?

  • Members
  • PipPipPipPipPipPipPip
  • 817 posts

Posted 21 March 2013 - 11:24 AM

..And the panels are in the mail!

While I am waiting I can draft up a wiring diagram for my moke starting with a blank sheet!

Chris

#354 CLM

CLM

    One Carb Or Two?

  • Members
  • PipPipPipPipPipPipPip
  • 817 posts

Posted 28 March 2013 - 05:31 AM

I put the 1100 up on a work bench to see about swapping the tail housing and.. well I ran into another issue. It seems the transmission currently has a 4.27:1 final drive in it. That is not going to be usable on the 10's. So my next option is swapping gearboxes with the old 850 I had in my original mini which I brought home from my moms house a couple of days ago, It should be a much better ratio as the 850 didn't seem to be over-revving to go places. Oh.. and the transmission currently on the 1100 needs a new tail housing anyways... it was built up and painted with an enormous crack in the tail housing!

Posted Image

On the moke side of things I have been working on the pannier tops while I was waiting for the new panels to arrive.

Posted Image

Posted Image

They are almost ready but they were put on the back burner again because...

New Panels arrived!

Posted Image

Panels and brake parts!

Posted Image

Knowing me I had to go toss them on the Moke to see the nice new floor in-situ. Once that was over with I went and patched up the 6 incorrect holes in the floor and painted the inside of the rear subframe crossmember.

Posted Image

Seeing as those panels were there I realized I needed to get cracking on the rear hullsides so started on breaking down the last large section of the original moke. While cutting the floor out I was surprised to find the rear subframe mounts not welded to the subframe crossmember.

Posted Image

Posted Image

I originally decided to leave the rear wings on temporarily to add support so I wouldn't overly damage the rear hullsides and rear panel... until.. I realized the hullsides were not even welded to the rear panel! The only thing holding them together was the rear wings and the remnants of the floor. So off they came!

Posted Image

Posted Image

Posted Image

My current plan right now is to continue working on the inner hull sides until they are usable then start assembling the rear of the moke.

The condition they are in is really bad and I likely should just replace them instead of patching them, however if I can patch them while keeping certain things intact I can retain my datum points and know where they will have to go.

Until next time,

Chris

#355 hughJ

hughJ

    Soldiering Along

  • Members
  • PipPipPipPipPipPipPip
  • 727 posts
  • Location: Highlands, Scotland

Posted 28 March 2013 - 08:07 AM

Chris - I haven't looked for a while. Super, super work. It's really a Moke from scratch! The Moke is such a bonny variant. Look forward to seeing this progress.

Hugh

#356 CLM

CLM

    One Carb Or Two?

  • Members
  • PipPipPipPipPipPipPip
  • 817 posts

Posted 28 March 2013 - 07:56 PM

Thank you greatly Hugh, yeah a moke from scratch.. And in a rush at that! I must be a :wacko: to think I will be driving it in an incomplete state in a couple months,

Chris

#357 CLM

CLM

    One Carb Or Two?

  • Members
  • PipPipPipPipPipPipPip
  • 817 posts

Posted 30 March 2013 - 05:28 AM

I am done with one of the hullsides, it needs some cleanup and welding on at this point. I think I even impressed myself with how it turned out seeing as it was the worst one of the two :)

It likely would have been easier to make a new one, but I don't have enough steel for it and this kept my datum points. The shock turrets are going to need work eventually but they will work for now. I literally had to replace the edge of the panel on 3 of it's 4 sides, the 4th got out easy because it had never been welded so really didn't have any rust (!)

Posted Image

First thing I did after deafening myself grinding down all the welds was try fitting the wing to it and.. surprise surprise.. It still fit nearly perfectly!

Posted Image

So I went and pulled the inner jig out of the moke so I could start fitting up panels to test the fit...

Posted Image

Posted Image

Which then had the pannier tops added... and then the rear wing. Wow I had one of these before... I think I cut it up because it was rusty! ;)

Posted Image

Posted Image

I need to get cracking on the other rear hullside next and once everything lines up to my satisfaction I can finish welding the moke together... For the most part. I will only be bolting the rear panel and the pannier sides on for now as I want to be able to get in there and do more work later.

Until next time
The Mad Moke Builder
Chris

#358 johnsn

johnsn

    Stage One Kit Fitted

  • Just Joined
  • PipPipPip
  • 69 posts
  • Local Club: OMS

Posted 31 March 2013 - 02:41 AM

First thing I did after deafening myself grinding down all the welds was try fitting the wing to it and.. surprise surprise.. It still fit nearly perfectly!
.....................
Until next time
The Mad Moke Builder
Chris


Hi Chris,
I have only one thing to say.
Ear Plugs!

Keep up the good work.
john s

#359 CLM

CLM

    One Carb Or Two?

  • Members
  • PipPipPipPipPipPipPip
  • 817 posts

Posted 31 March 2013 - 04:01 AM

WHAT!? WHAT!? I CAN'T HEAR YOU>>> HERE LET ME TAKE OUT MY.. Earplugs ;)

Thanks John.

Chris

#360 CLM

CLM

    One Carb Or Two?

  • Members
  • PipPipPipPipPipPipPip
  • 817 posts

Posted 04 April 2013 - 09:14 AM

Seems somewhat quiet on these boards, but I shall keep updating here along with the moke forums.


Well, since my last post I managed to rebuild the other rear hullside and remaining issues I had with the pannier tops.

I then set to jigging up everything I could to see what I needed to do to start welding it. As I was happy with the location of the load floor channel that attaches to the heelboard I did a few stitch welds as I don't have access to the bottom right now to weld it properly. I also welded the two load floor corner supports to the rear hullsides when they were in the right place.

Posted Image

Posted Image

Posted Image

Posted Image

Once everything was primed, the load floor channel tacked, the braces installed and the pannier tops ready, I started my honest to goodness assembly so I could proceed towards welding everything together. The hullsides got the top half of where they lap welded, I will need to pull the floor out one more time to finish them.

Posted Image

Posted Image

Then I started on the RH pannier top. Out of curiosity I laid a straight edge from side to side and.. well, I was surprised on how level they already were.

LH
Posted Image

RH
Posted Image

I have the LH side to weld up tomorrow and hopefully more of the rear section. It's definitely not perfect. But it is going together well enough that I should get many decades of use out of the old moke :)

I am very happy that every day it seems to be racing towards being able to be removed from the jig and bolted to some subframes, It is an amazing transformation from..

Posted Image

to this.

Posted Image

And just because I felt like it, here is a bit of a jumpy walk around video taken with my Phone. It's definitely a moke again and no longer a pile of panels! :D

Posted Image
(it's a movie click on the picture above)

Moking Right Along
Chris

Edited by CLM, 04 April 2013 - 09:14 AM.


0 user(s) are reading this topic

0 members, 0 guests, 0 anonymous users