Jump to content


Photo
- - - - -

1983 City E 998 To 1310 Cooper


  • Please log in to reply
40 replies to this topic

#1 jay whiting

jay whiting

    Mini Mad

  • Noobies
  • PipPipPipPip
  • 209 posts
  • Local Club: Gloucesters Mini-Rebels

Posted 11 September 2010 - 07:47 PM

After a while trawling the internet, special adds and e-bay, i finally found the right shell at the right price to start my project. On friday i went to look at a shell that i found advertised, liked what i saw and left a deposite. Today i went back with the trailor and paid the rest of the money owing on the shell and took here home. So what did i get and for how much........ I got myself a Mini City E, 1983 and in a vergin untouched state. The car has been garaged for the last three years so kept dry. The rear subframe is off due to the last owner starting to restor and repair, the engine is out due to him needing the gearbox for other purposes. Other than that the car is in a complete origional state. Now for the pricley sum of £100 what do you get for your money i hear you ask!!!!!!

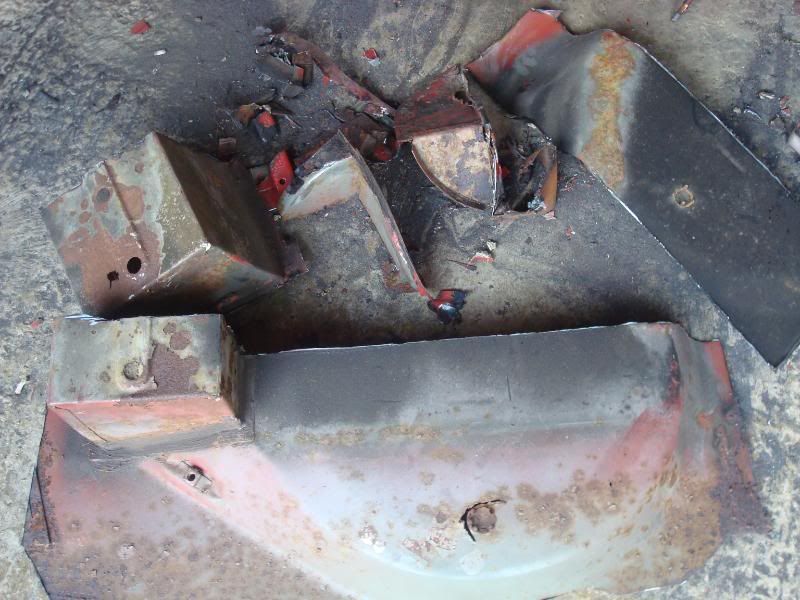
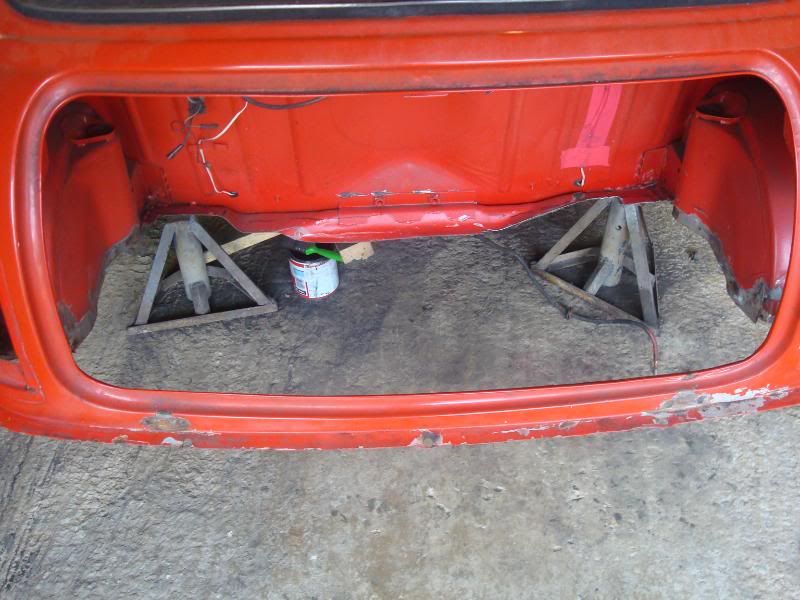
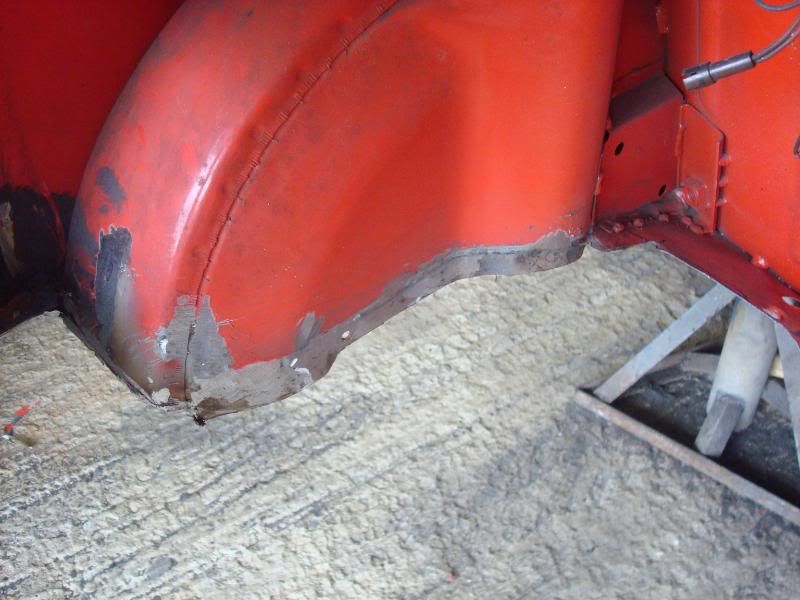
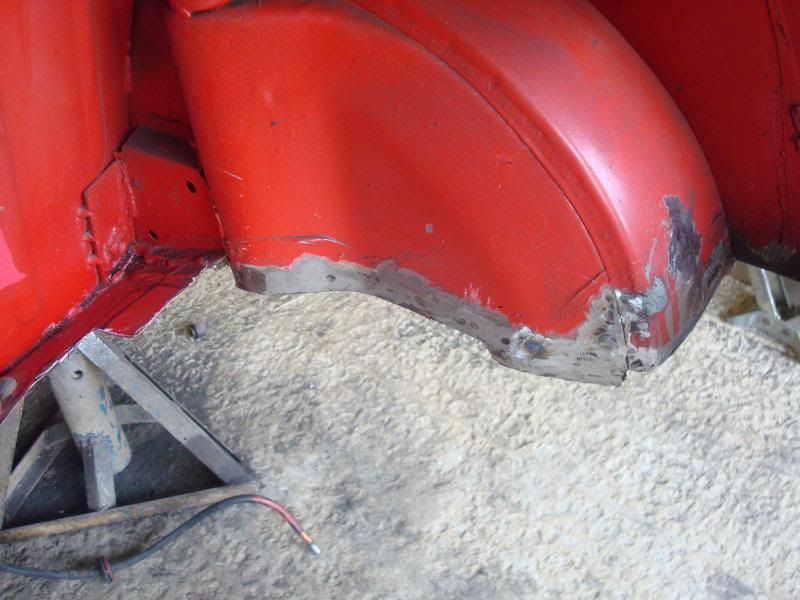
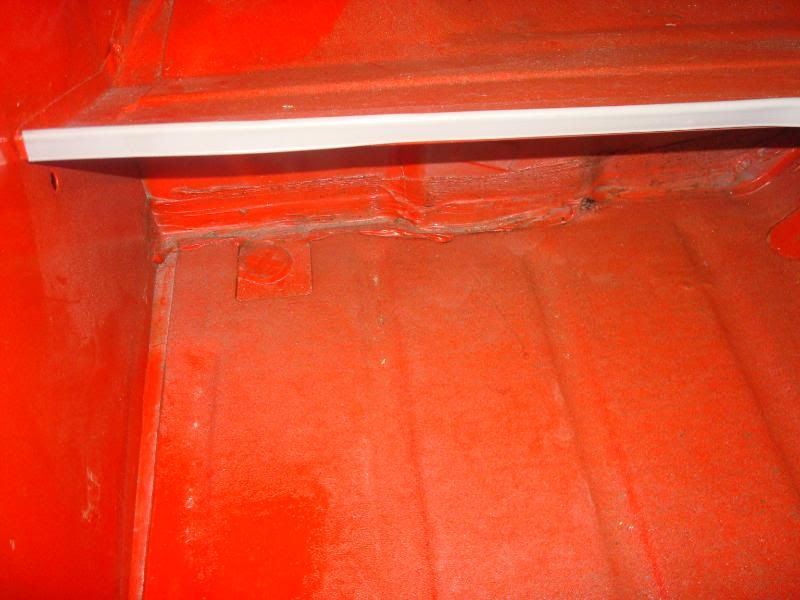
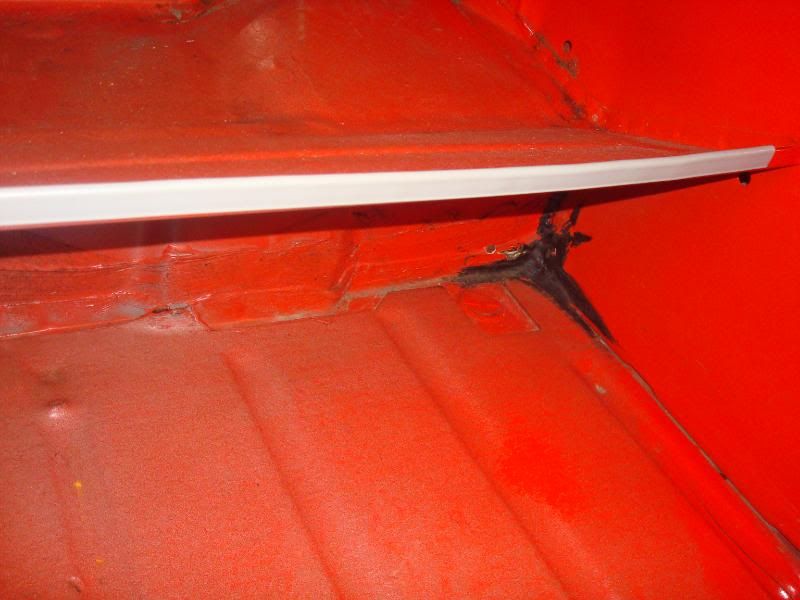
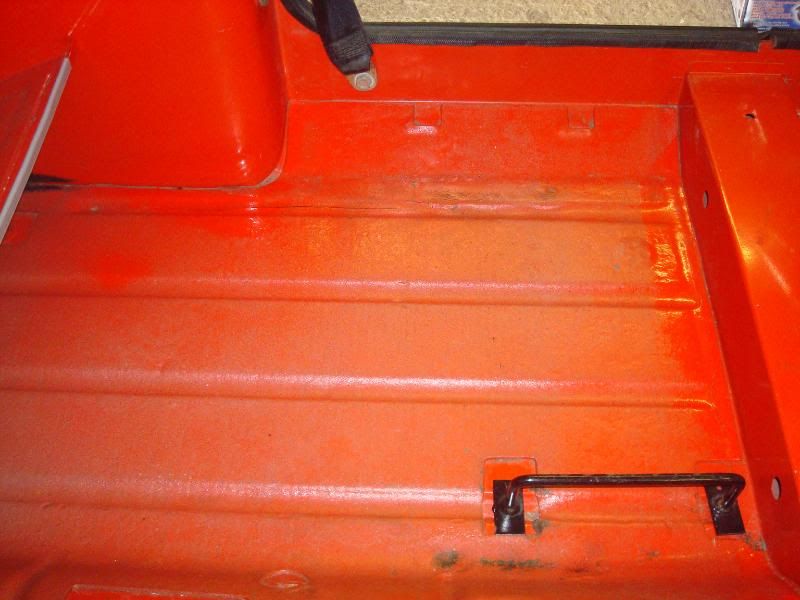
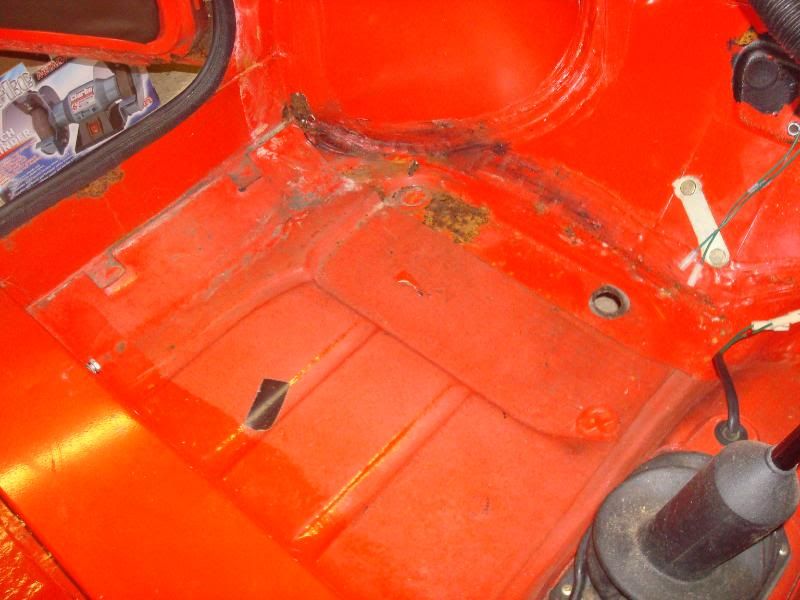
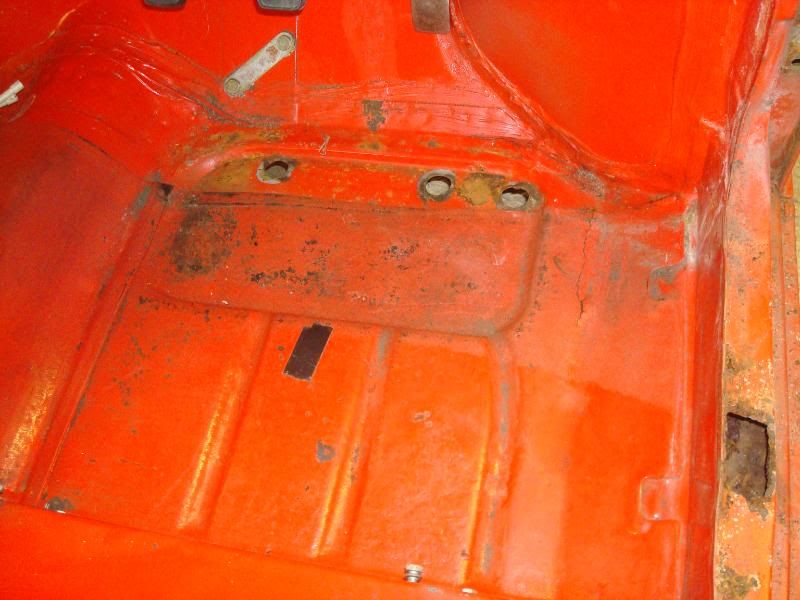
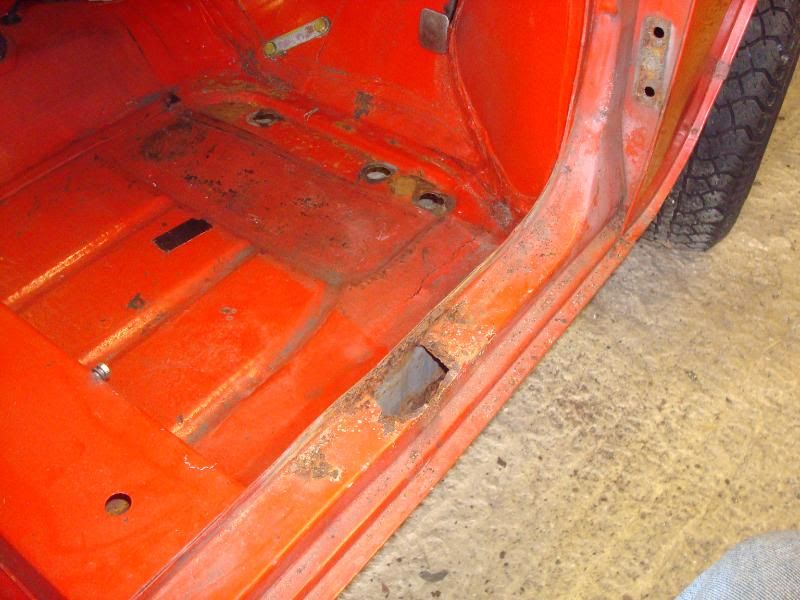
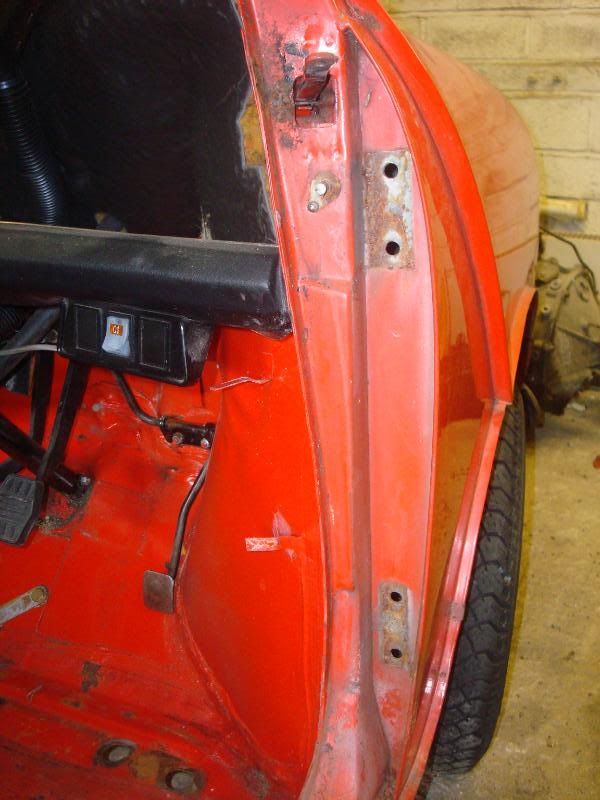
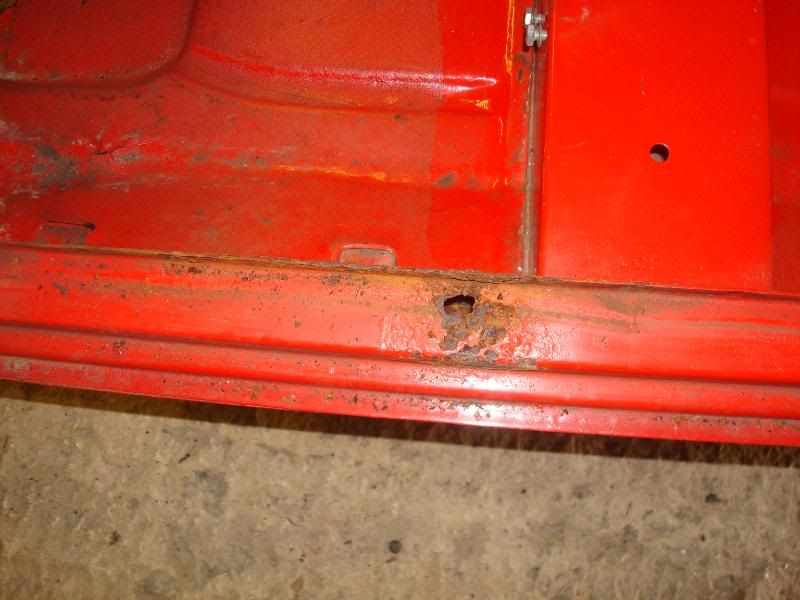
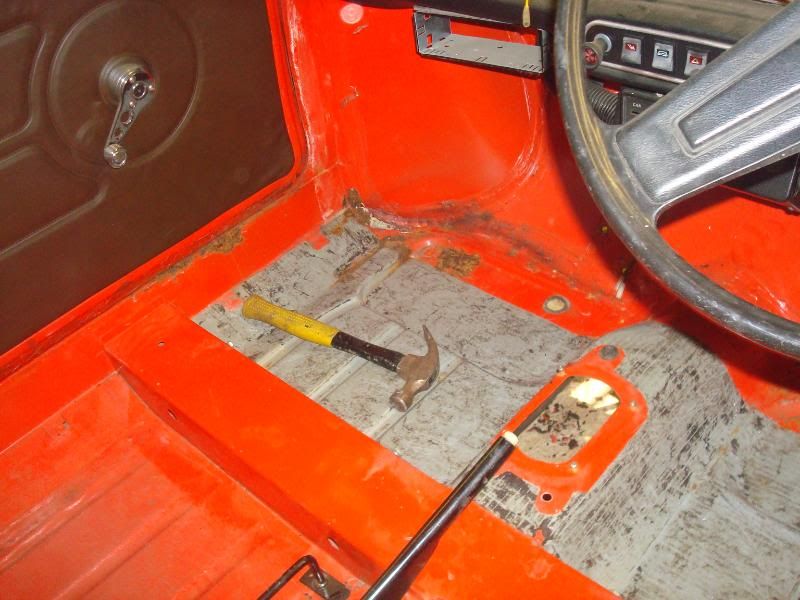
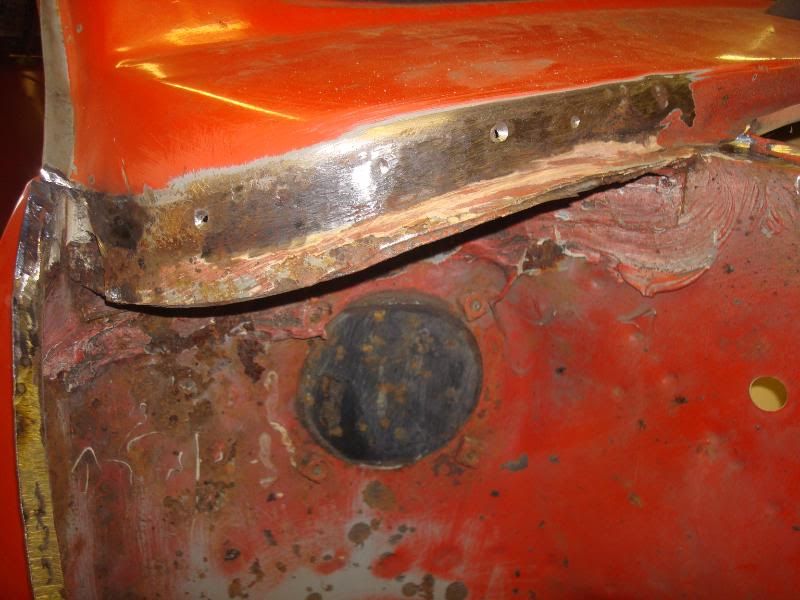
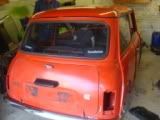
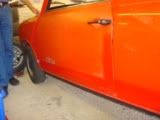
Well let me tell you, the body is in great shape, yes it has some work needed doing on it, like the rear boot floor section emmmmmmmm a few body blemishes, a bonet with the usual chrome trim water trap rust, two small rust spots on the front wings emmmm and thats it. NO a 1983 with that little rust cant be right and not for £100.

Well id like to thank Alan and his wife from Bristol (non TMF members) for there kind time in letting me look at and buy the car in the first place, i know they will be following this thread and build, so this is for you both as well as the rest of you at TMF.

So i guess i had better show you what £100 gets you if you look in the right places and ask the right questions:

Posted Image

Posted Image

Posted Image

Posted Image

Posted Image

Posted Image

Posted Image

Posted Image

Posted Image

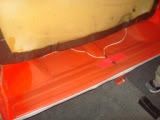
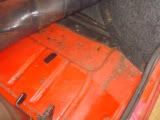
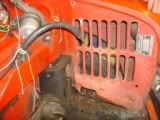
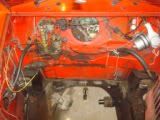
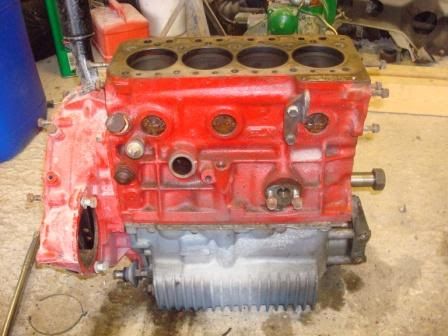
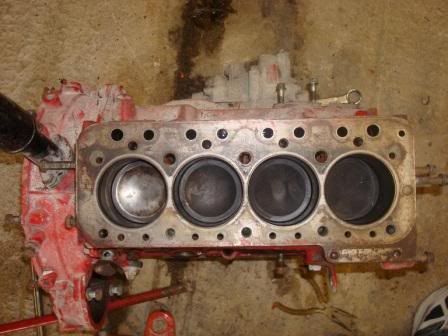
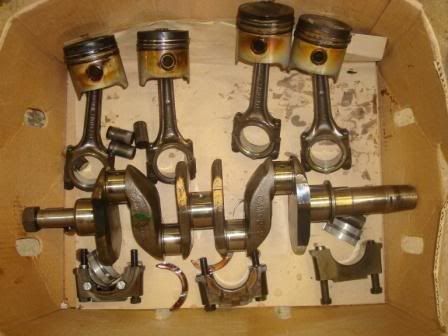
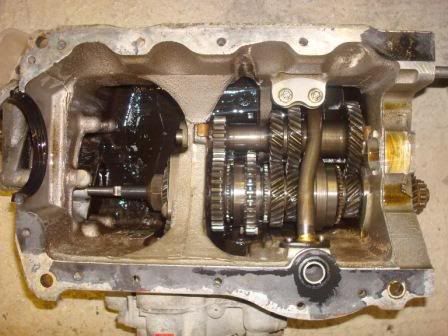
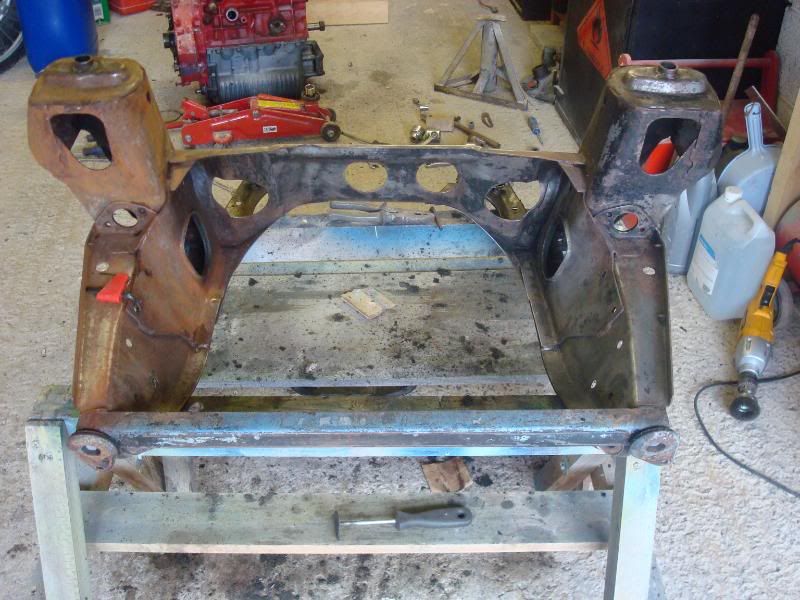
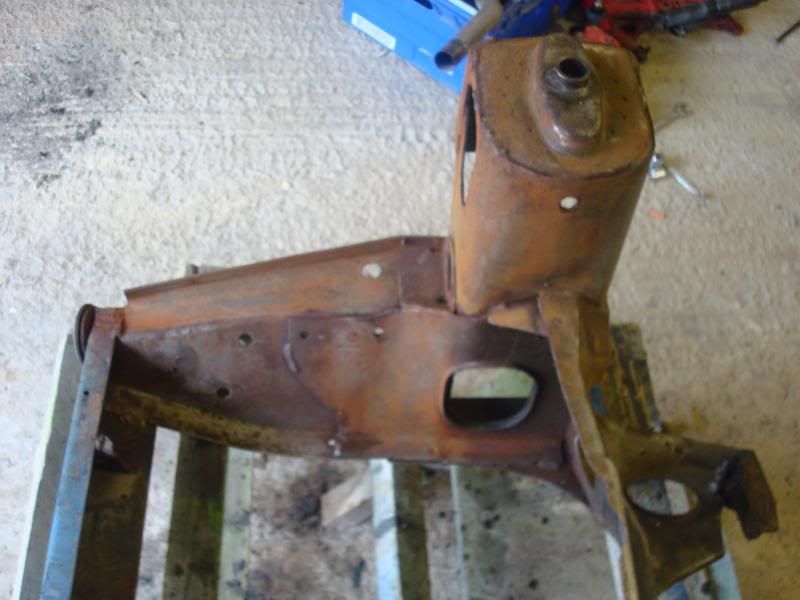
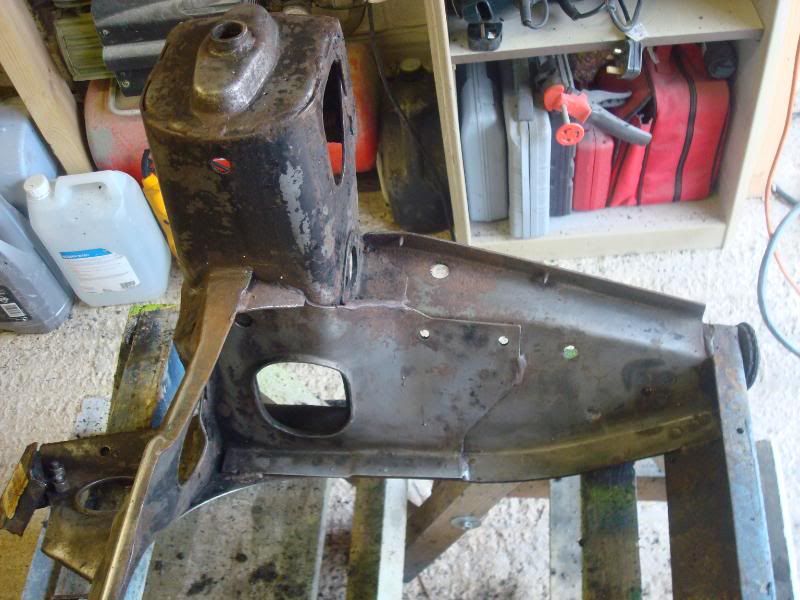
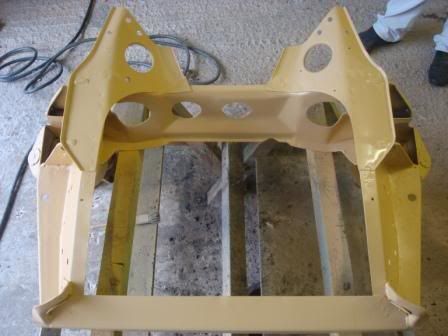
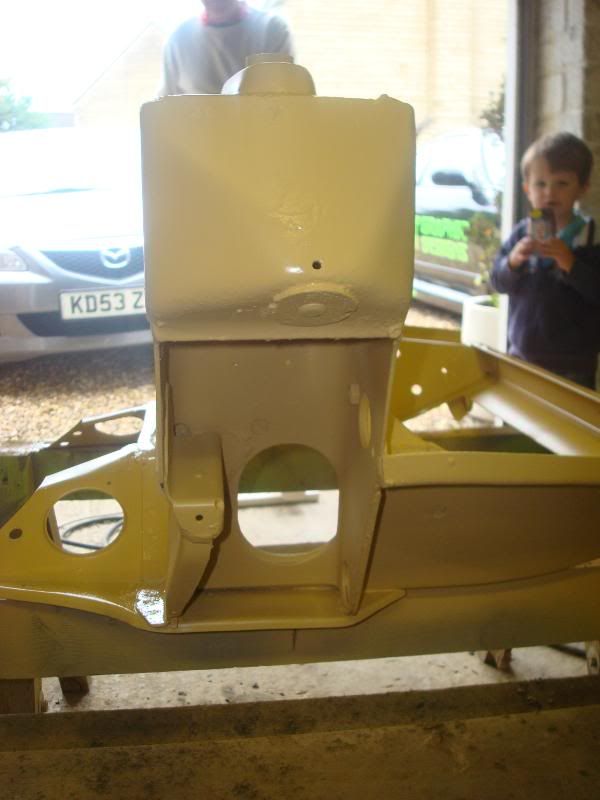
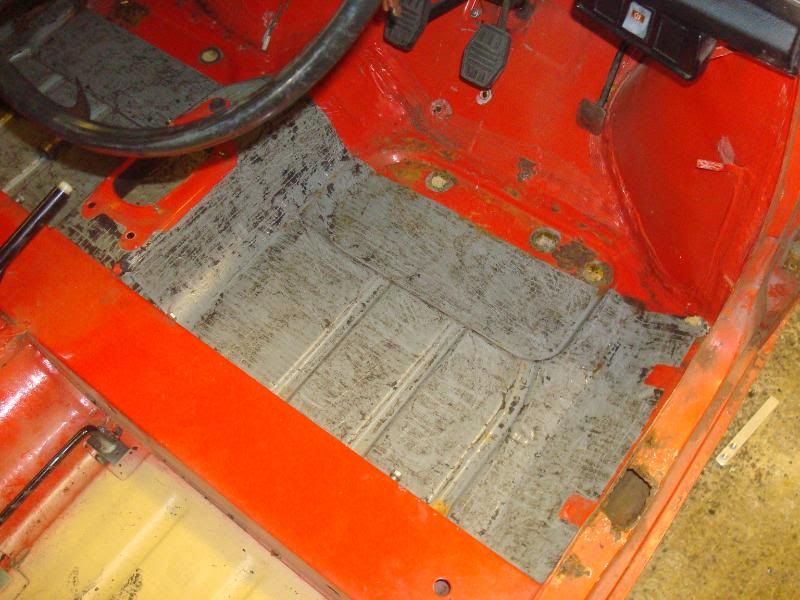
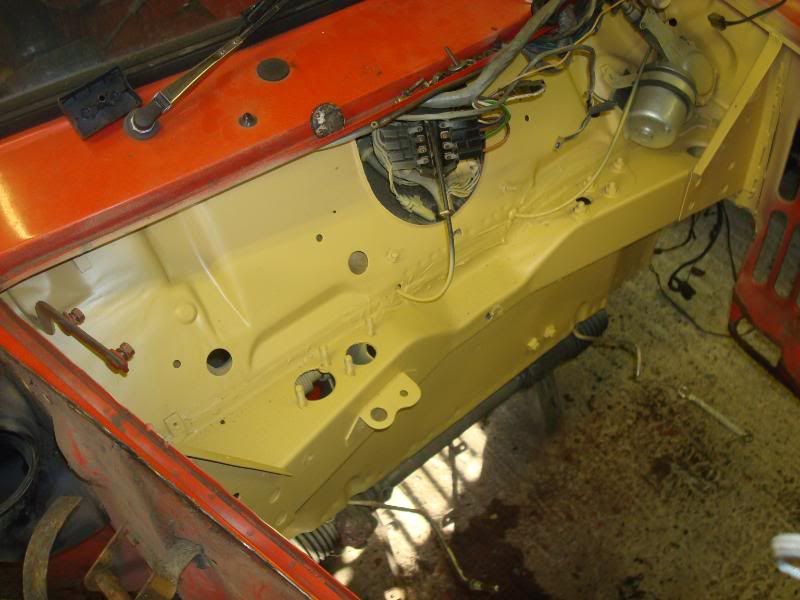
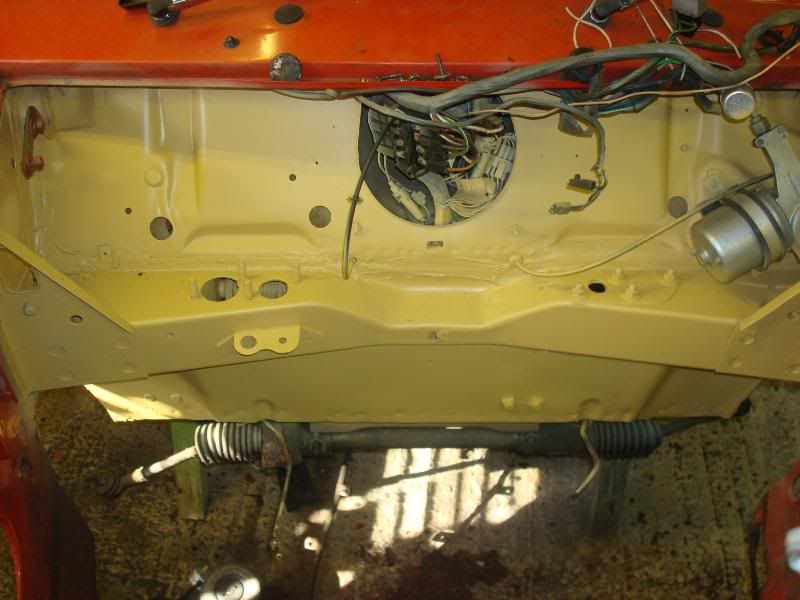
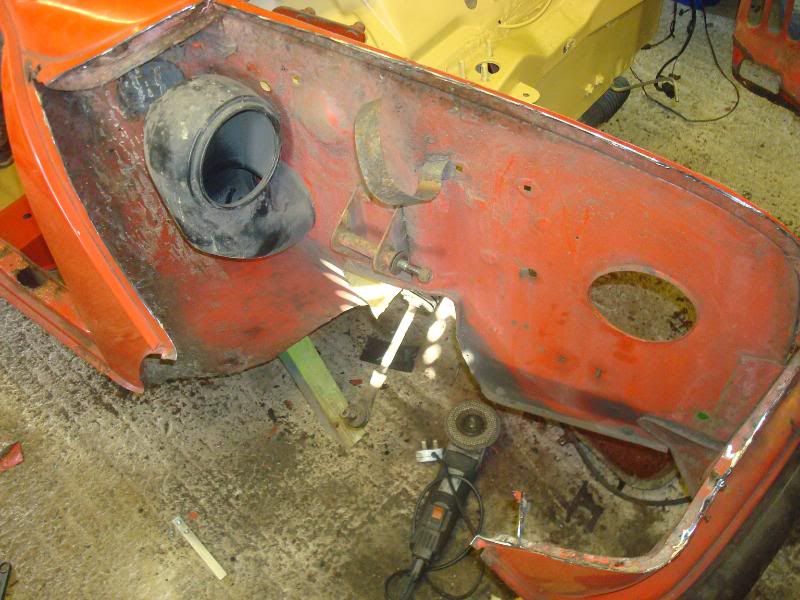
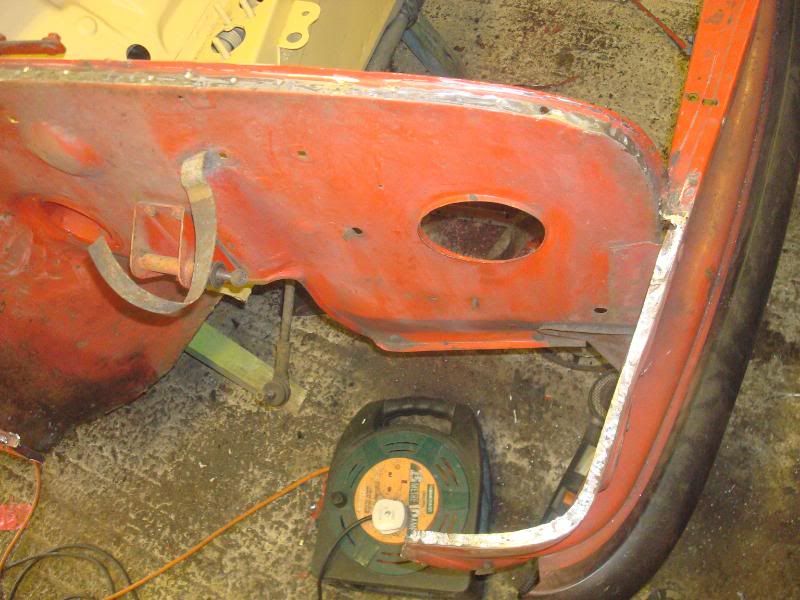
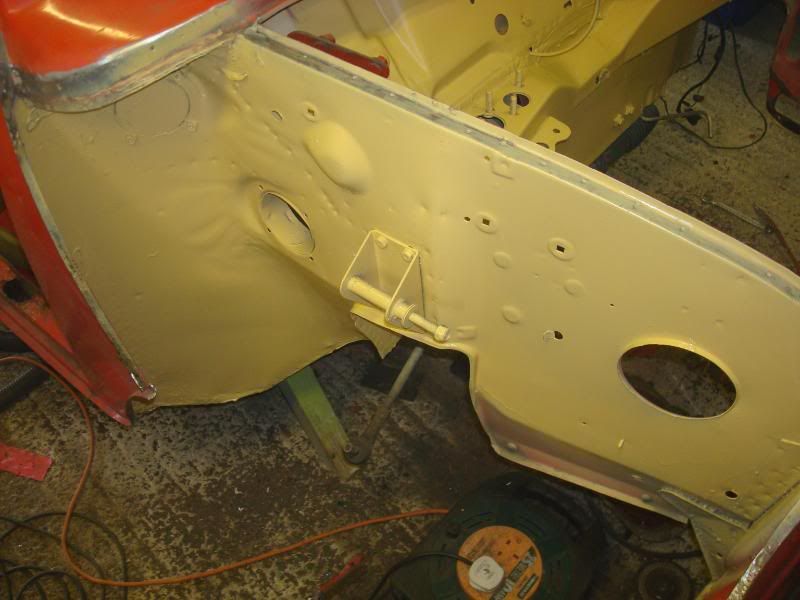
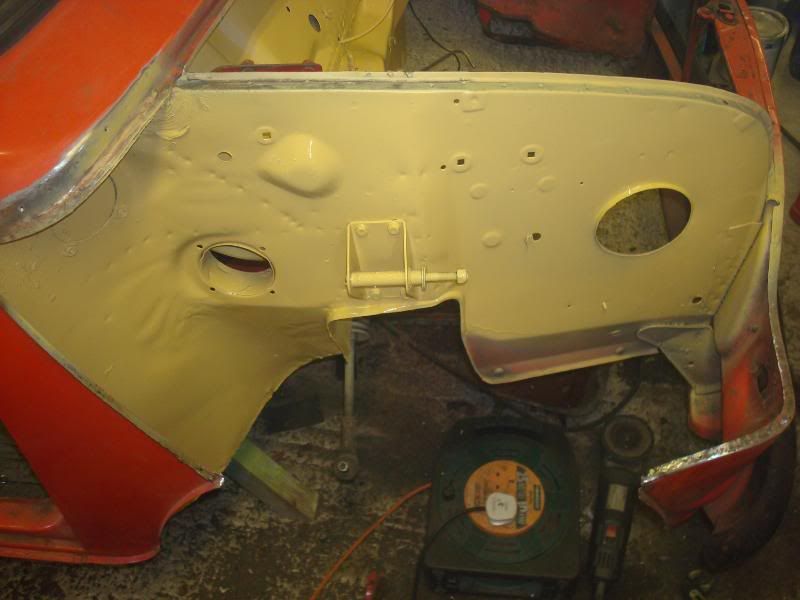
This little gem came as a complete car, the rear subframe and engine are off the car but are present. I have my own front subframe which hase been rebuilt which will find its way onto this project along with the 1293 engine that will also be fitted. Body wise, it will get a full bare body inspection and rebuild where its needed, along with the secont tank hole being cut as this will under-go a cooper S conversion, right down to rear light change, external door hinges, bumpers and everything else needed. Yes i know its new pannels that are not otherwise needed but oh well, why not. more pics will follow as the project moves on.

Edited by jay whiting, 26 December 2010 - 06:34 PM.


#2 jay whiting

jay whiting

    Mini Mad

  • Noobies
  • PipPipPipPip
  • 209 posts
  • Local Club: Gloucesters Mini-Rebels

Posted 19 September 2010 - 08:23 PM

Ok so work has now started on the project, i have taken out all the seats and carpet for a closer look at the body and found some tin worm. The boot floor had alread been started when i got the car so that was no supprise, but as in my true old way, i wasnt happy with where it was at so the whole boot floor is now cut out and ready for a new one. Carpet removed found a small omount of rot in the passenger foot well so the the whole panel will be cut out and replaced, bothe door steps need to come out and new fitted, the heal board will have to go and make way for a new one. Both front wings will be changed along with A panels. The front panel has some serface rust so that will go and a new one fitted. Both the rear valence close panels are rotted and thus have been cut out and await new. Bothe sill will be replaced along with new jacking points.

The engine is already out so the front and rear subframes can now be started. Both have been striped down, cleand and primed ready for top coat and rebuild. The rear radius arms have been re vamped by the last owner but i have new that will be fitted along with all new breaks, bearings etc and Alloy drums. Front end will see the drum breaks go and replaced with 8.5" discs and other related brake components. All flexable break lines will be treated to Goodrich braid lines and both subframes will be treated to Polly bush sets before going back on the car.

Engine wise, i have already striped out my old 1275 from my kit car and started on work to this. This is going to be bored out to +0.20 taking it to 1293cc, the crank is away at the moment being treated to a grind and nitrocarbonising, it will also be getting knife edged and wedged while away. Pistons are on order, cam will be either a Kent 266 or a piper varient. The block goes in next week and while there will be getting dip[ed to remove and internal junk from the galleries before the rebore and decking. New cam bearings will be fitted ready for the rebuild. The gearbox has already had a full strip down, and checked over and built back up. The diff is waiting to go back in at the moment but is getting changed from a 3.44 to a 2.9.

So what do i need well i guess a build list is needed

BODY

2x front wings
2x sills
2x jacking points
2x door steps
1x heal board
2x close panels
2x front floor panels
1x front panel

ENGINE

full gasget set
Pistons (on order)
cam
mains and ends
ARP rod bolts
ARP head studs
manifold studs and nuts
fuel pump (facet red top)
New carb (undecided)

SUSPENSION

rubber cone replacement (coils)
neg camber lower arms
adjustable tie bars
GAZ shocks
Polly bush set (get wen collect body panels)

INTERIOR

steering wheel boss
new speedo (mini city for a cooper S)
carpet set
cooper kick plates

EXTRAS

Austin cooper S bonnet and boot badges
Bumper over riders
Rear light conversion plates
Rear light to suit plates

Now that work has started on the project it will all start to move quiet quick. I will update with photoes of work done so far and work areas that need to be sorted tomorrow. Hope it will keep you all amused for a while.

#3 jay whiting

jay whiting

    Mini Mad

  • Noobies
  • PipPipPipPip
  • 209 posts
  • Local Club: Gloucesters Mini-Rebels

Posted 19 September 2010 - 08:47 PM

While your waiting for some update piccys tomorrow, here are some from the strip down and front subframe.

Posted Image

Posted Image

Posted Image

Posted Image

Posted Image

Posted Image

Posted Image

Posted Image

Posted Image

Posted Image

As you can see, the subframe is only in primer as i have yet to decide on what colour the car will end up, all parts will be painted the same colour, subframes, top and bottom arms ect ect.

#4 GraemeC

GraemeC

    Crazy About Mini's

  • TMF+ Member
  • PipPipPipPipPipPipPipPipPipPip
  • 7,438 posts
  • Location: Carnforth

Posted 20 September 2010 - 07:26 AM

In that last pic - the circular disc at the bottom of the tower is the remains of a bump stop, not part of the subframe. You'll need to remove it to fit a new bumpstop, there is a single 7/16" AF nut (inside the tower) holding it on

#5 jay whiting

jay whiting

    Mini Mad

  • Noobies
  • PipPipPipPip
  • 209 posts
  • Local Club: Gloucesters Mini-Rebels

Posted 20 September 2010 - 09:16 AM

Yes it is the remains of the bump stop, the other side has it fitted still as well. I left them in at that point as i was using them as a guide for a Lazer level to check the subframe for straighness. They have now been removed and the area under them has also been treated and put in primer. They made a good point of reference at the time while i was checking the subframe and deciding which one to use.

Thank you for the question tho, it shows that some of you are taking note of whats going on in this thread, i was starting to think is it all worth it. I was going to close the thread but i may now keep it running if people are going to watch and ask questions, afterall this is for peoples enjoyment/critasism and comments. Im not perfect by any stretch of the immagination and im bount to do some things people dont agree with or have sugesstions on how better to do it. Thanks :thumbsup:

#6 jay whiting

jay whiting

    Mini Mad

  • Noobies
  • PipPipPipPip
  • 209 posts
  • Local Club: Gloucesters Mini-Rebels

Posted 20 September 2010 - 10:00 PM

Went out in the garage again today and started work on the rust, there isnt all that much to be fair but once you start looking for it, you find it. Now that the main rot i the boot floor is all cut out i wanted to know what else was lurking so here are some pics of what the car looks like with the tin worm.

Posted Image

Posted Image

Posted Image

Posted Image

Posted Image

Posted Image

Posted Image

Posted Image

Posted Image

Posted Image

Posted Image

Posted Image

Posted Image

As you can see, there is a few spots of what i call light rust but nothing that would make any of you go 'OMG will you look at all that' so i guess im lucky with this build. i will get out and do some more work tomorrow on the engine bay so ill take more pics of whats going on for you all.

#7 Tupers

Tupers

    Up Into Fourth

  • Members
  • PipPipPipPipPipPipPipPipPip
  • 4,149 posts
  • Location: Devon

Posted 20 September 2010 - 10:14 PM

Wow, kudos for going ahead and cutting out the hole of the boot floor at least you'll know it's totally solid once it's all welded up.


The rest of the shell looks really pretty good well done on finding a solid ish one. :D

#8 jay whiting

jay whiting

    Mini Mad

  • Noobies
  • PipPipPipPip
  • 209 posts
  • Local Club: Gloucesters Mini-Rebels

Posted 20 September 2010 - 11:49 PM

i Want a total rust free shell so any sigh of rust, no matter how small, its coming out. The rest of the shell is in great shape, most of it is just cosmetic stuff, the sort of stuff that gets left for a couple of years. The car has been garaged for the last 3 years so kept dry and clean. And even before that i dont think it did much, it onle done 42000 miles from new and has been varifired as genuine milage.
Blimey your only the second person who has said anything on this thread lol.

#9 jay whiting

jay whiting

    Mini Mad

  • Noobies
  • PipPipPipPip
  • 209 posts
  • Local Club: Gloucesters Mini-Rebels

Posted 21 September 2010 - 06:48 PM

Ok so i had some more time in the garage today and got some more done. I started of by removing all the factory sound deadening from both front footwells to expose the metal beneith to see just how bad if any the rot was. I only found the small sections right at the front as seen in earlier pictures so all wasnt that bad. The floor pans will be changed tho and not plated. I then cleand the front bulh head back to bare metal and cleaned it all up being as it had been soaked in break fluid over the years and some paint had come off as you would expect. This area has now all been treated and given a light coat of primer to protect the bare metal until the next stage. Next up on the list was the front wings, they both have some rot in them next to the scuttle area so they have to go. I started by using a grinder and cutting the wing off just shy of the lips, then worked on the spot welds. The inner wing is in good shape so will remain. The wheel arch although scruffy looking is also solid so again a strip to bare metal to make sure and a light coat of primer to protect the metal until the new panels are here and ready to fit. Thats all i have managed to to today so here are just a couple of pics to show the work in progress.

Posted Image

Posted Image

Posted Image

Posted Image

Posted Image

Posted Image

Posted Image

Posted Image

Posted Image

#10 Carlos W

Carlos W

    Mine is purple, but I have been told that's normal

  • TMF+ Member
  • PipPipPipPipPipPipPipPipPipPipPip
  • 10,114 posts
  • Location: Sittingbourne, Kent

Posted 21 September 2010 - 06:57 PM

Wow, you're certainly making progress

#11 Bean

Bean

    Queen of 'shoppin, Voted Miss TMF 2011

  • Members
  • PipPipPipPipPipPipPipPipPipPip
  • 8,054 posts
  • Name: Jean
  • Location: Malvern

Posted 21 September 2010 - 07:00 PM

Wow - That is a solid shell! Where on earth did you find it and can I have one? :angel:

Great looking project, Jay! :)


(Edit - I think that's 3 'wow' comments you've had in a row now, lol. D'oh!)

#12 jay whiting

jay whiting

    Mini Mad

  • Noobies
  • PipPipPipPip
  • 209 posts
  • Local Club: Gloucesters Mini-Rebels

Posted 21 September 2010 - 07:11 PM

The shell came from bristol, the guy had advertised it a couple of times and had folks phone up about it and said we will come and have a look, they never did so he readvertised it again, i saw the addy and went for a look, saw how clean it was and said yes with no hesitation, paid a deposit of £50 and went away to get a trailor. went back and paid the last £50 and took here home. The car is complete with new tyres, new rear valance, and seats that look like they have never been sat in. The rear subframe was removed and had started to be repaired and the engine was out of the car but hey, with a shell as clean as this i wasnt going to argue. I just cant understand why it had not been snaped up in the past, its all origional (or was untill i started on it) and the rest, well you have been raeding about it.

What i am supprised at is the lack of feedback on the project so far, oh well ill keep doing the updates even if just for myself and the couple of you who have made comment lol.

#13 KieronBoz

KieronBoz

    Mini Mad

  • Members
  • PipPipPipPip
  • 280 posts
  • Local Club: LMCC

Posted 21 September 2010 - 07:21 PM

lol, theres lots of people like me, who just like to read em and move on, though im contradicting myself by posting now haha. Keep going anyway man :angel:

#14 jay whiting

jay whiting

    Mini Mad

  • Noobies
  • PipPipPipPip
  • 209 posts
  • Local Club: Gloucesters Mini-Rebels

Posted 21 September 2010 - 07:27 PM

LOl the proverbial 'Read n Run' thats cool, as long as people enjoy reading what im at, thats all that counts.

#15 jay whiting

jay whiting

    Mini Mad

  • Noobies
  • PipPipPipPip
  • 209 posts
  • Local Club: Gloucesters Mini-Rebels

Posted 02 October 2010 - 08:30 PM

Well after a week of from the mini due to work, today i decided that i would have a trip to Someford mini's to get all the parts i needed so after a few pounds spent i got the folloing Heratige parts:

n/s and o/s front wings
n/s and f/s scuttle under pans
n/s and o/s door steps
n/s and os front floor pans
n/s and o/f door steps
n/s and o/s sills
n/s heal board
Complete boot floor
n/s and o/s close panles
rear valence

So after spending a fortune i got to work. The boot floor is now in place awaiting the seam sealent. next up will be the heal board followed by the door steps and work my may to the front. I will take some picys tomorrow for all those who are folowing.


2 user(s) are reading this topic

0 members, 2 guests, 0 anonymous users