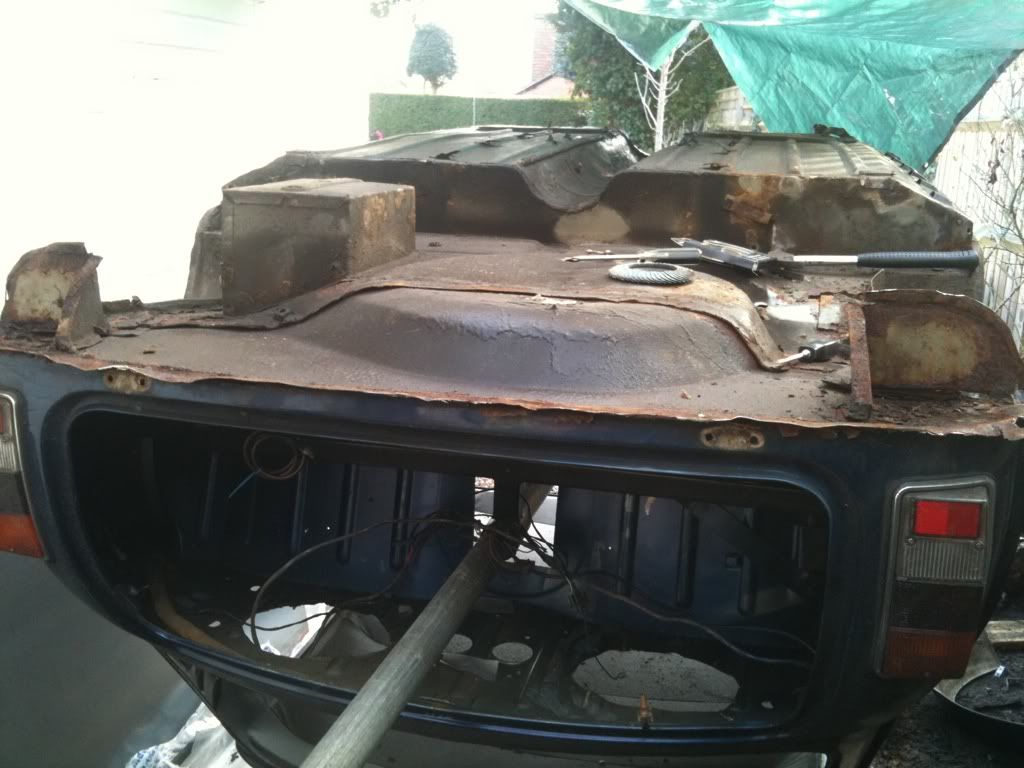
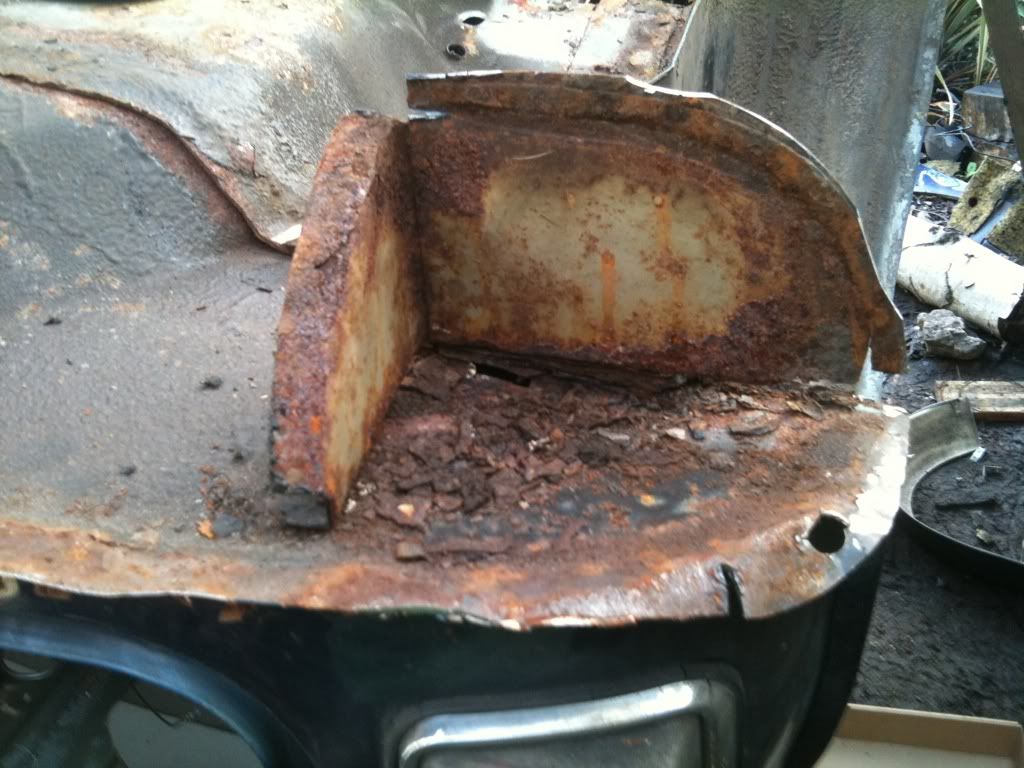
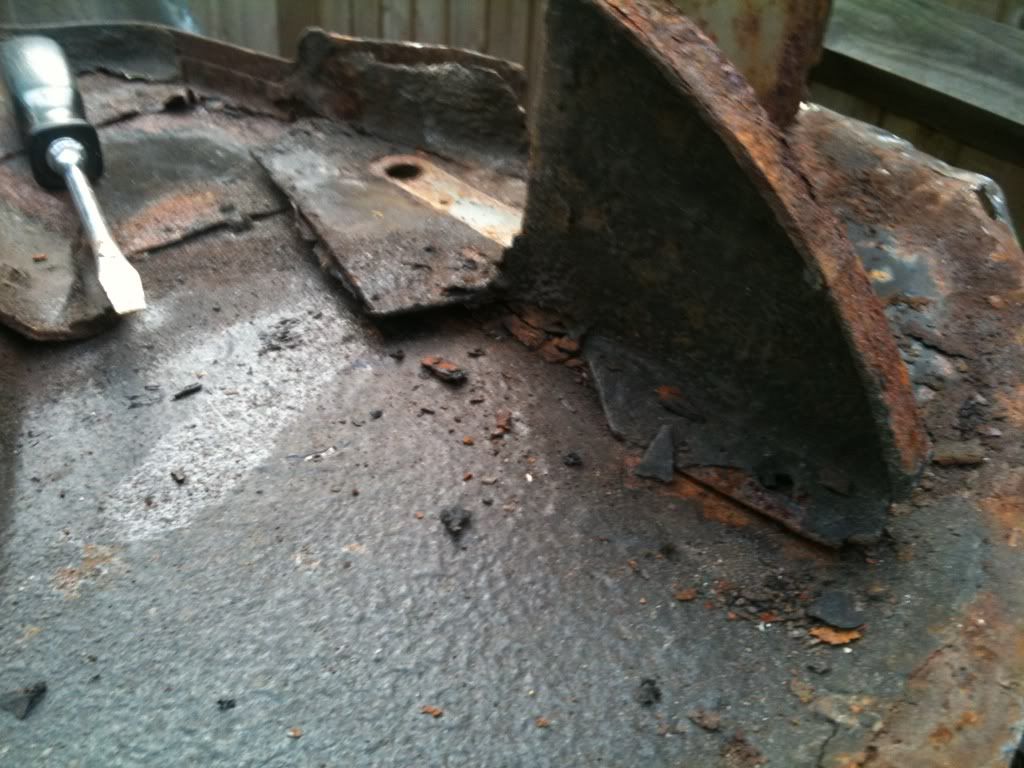
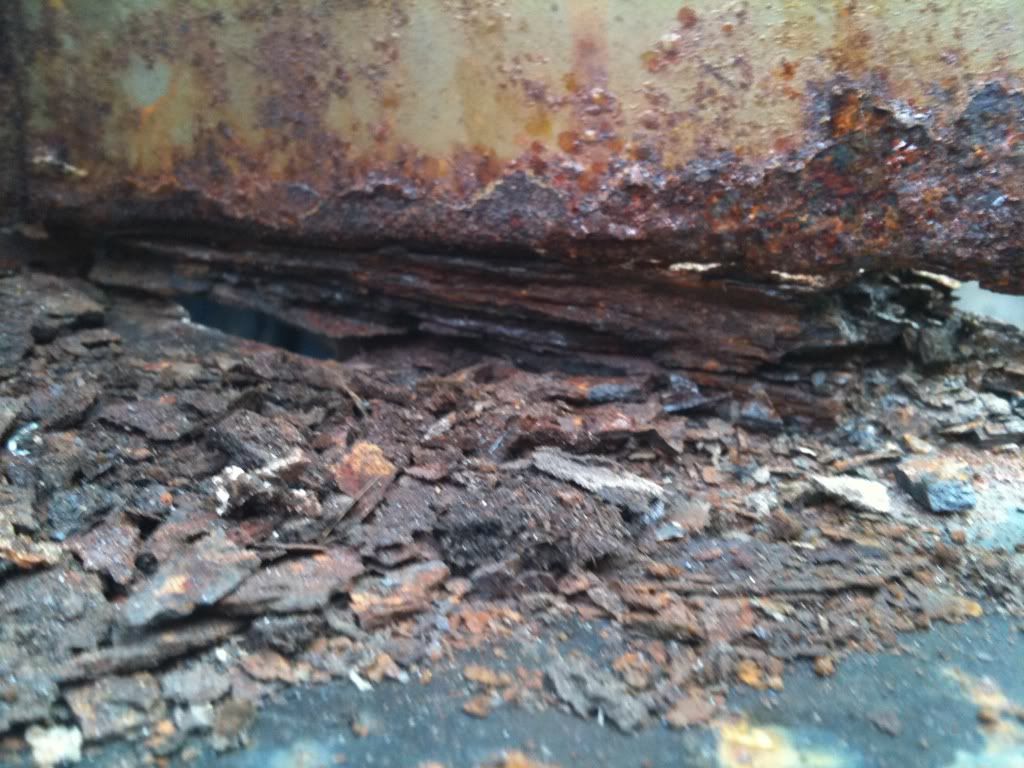
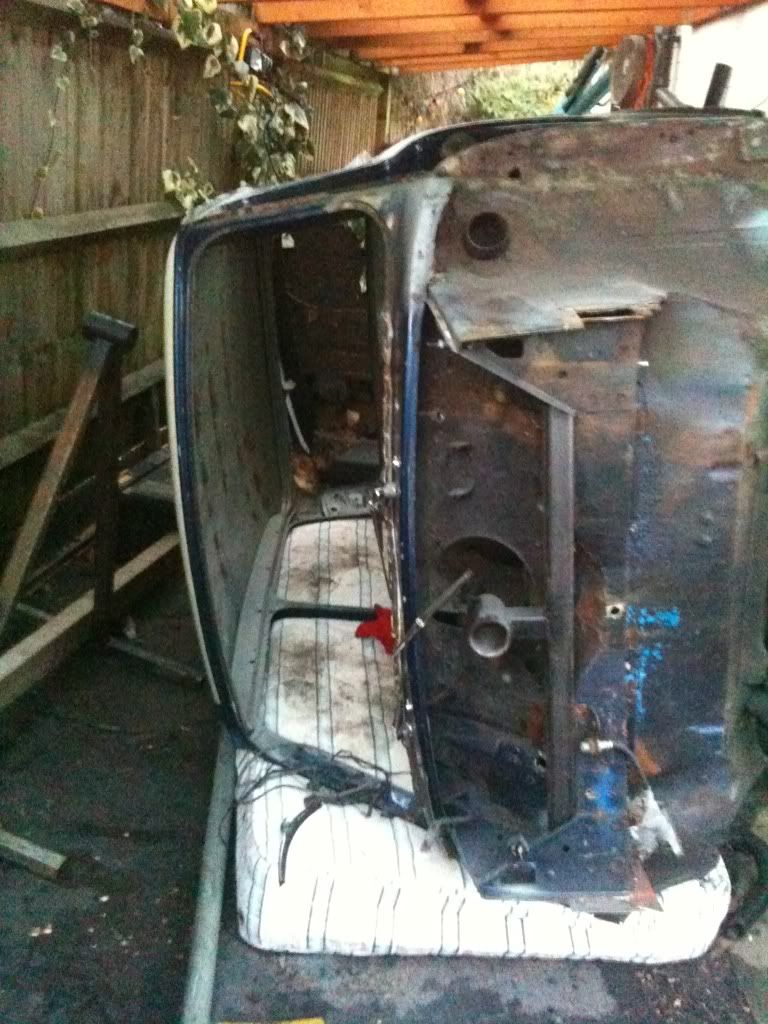
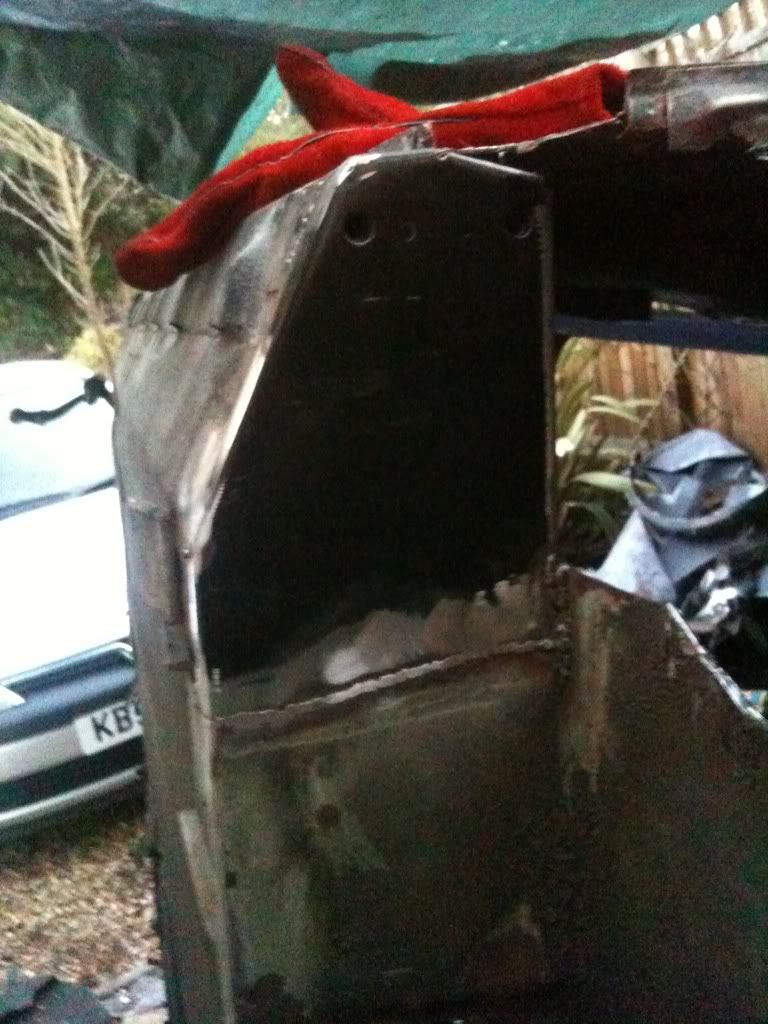
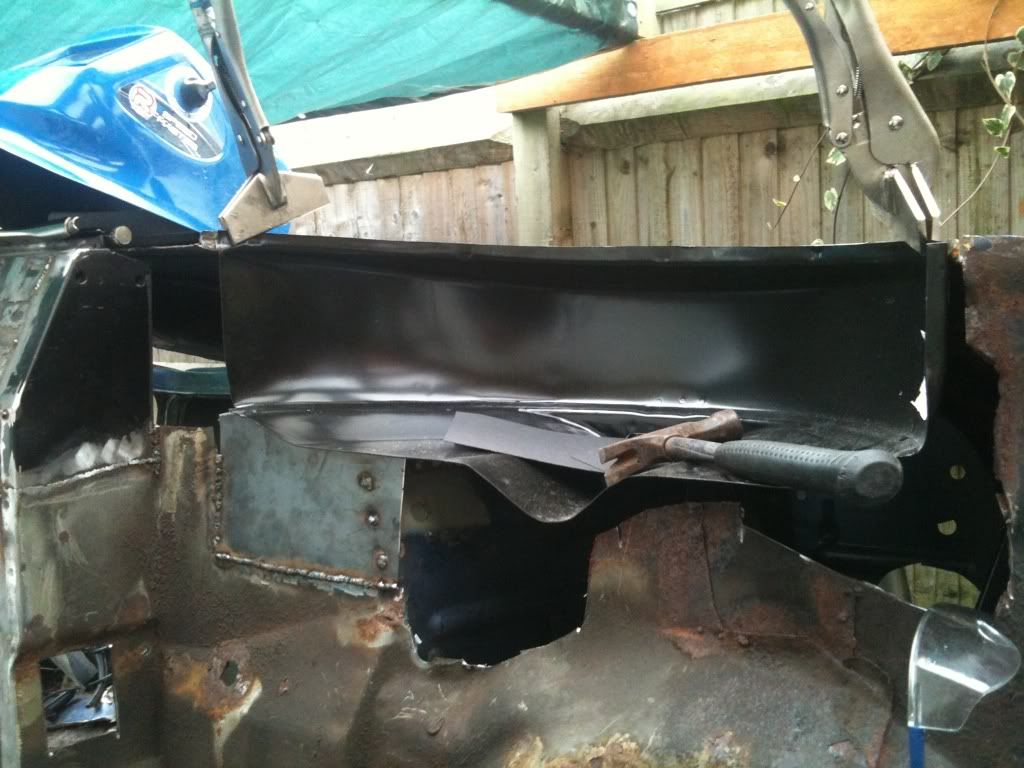
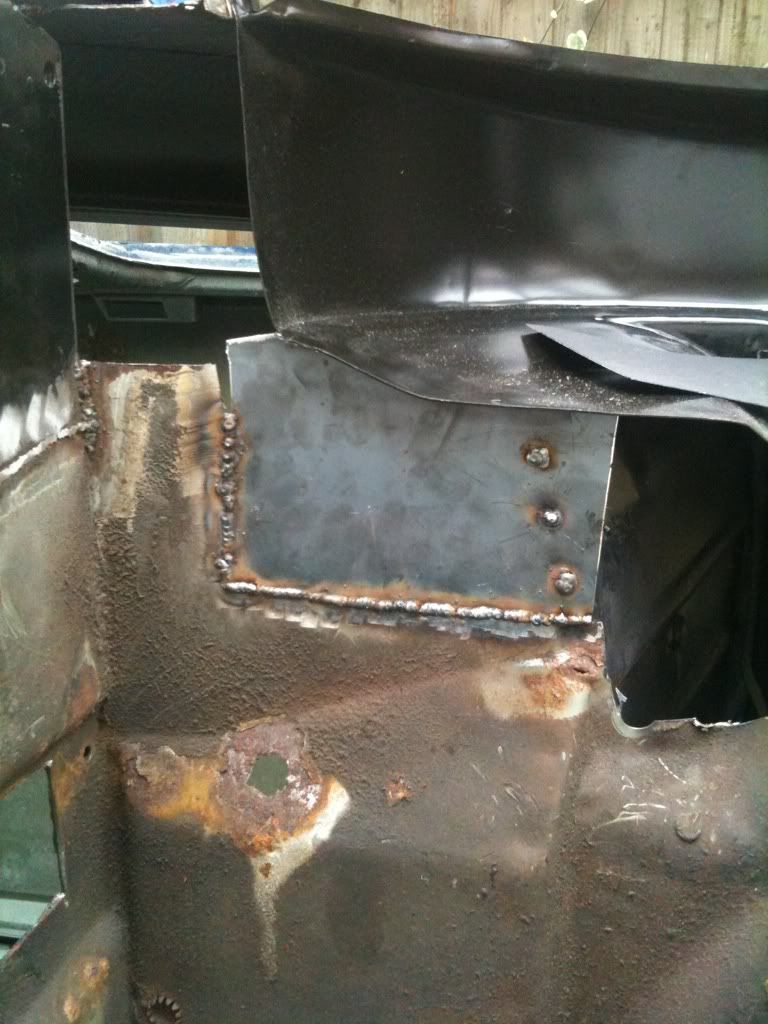
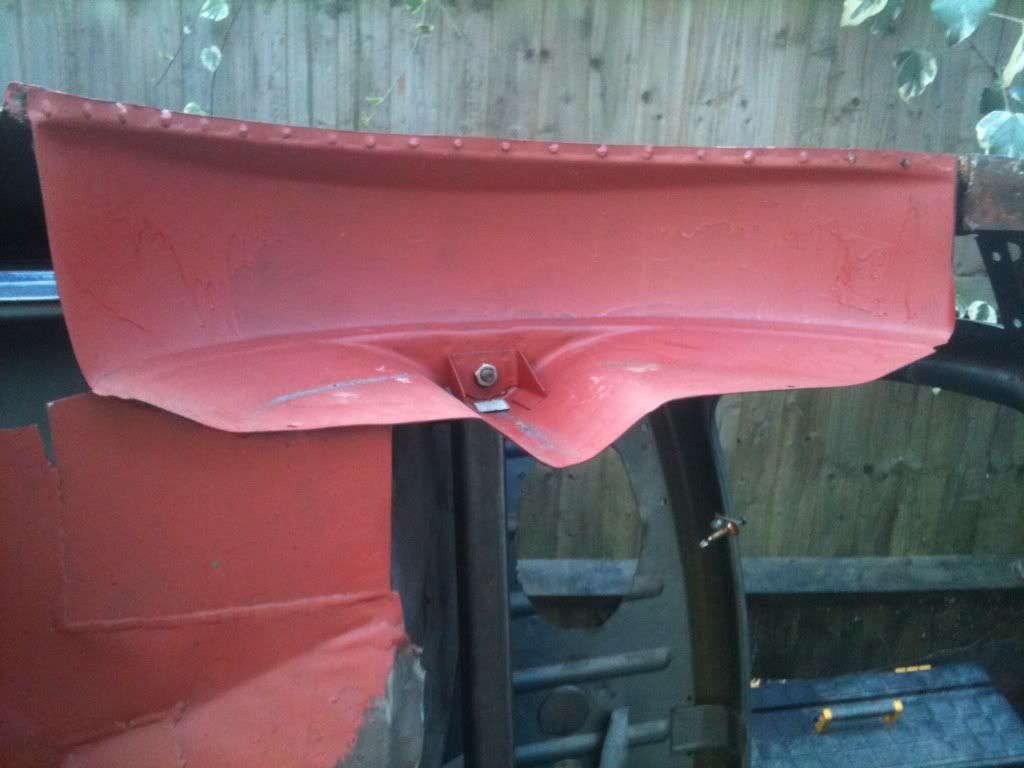
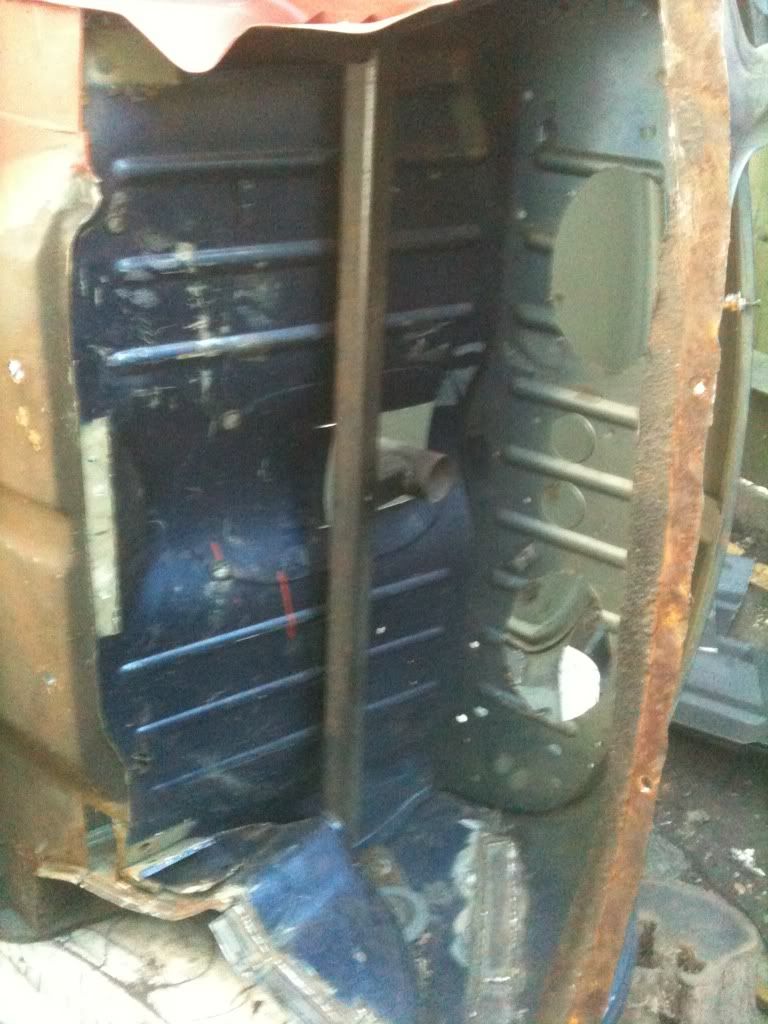
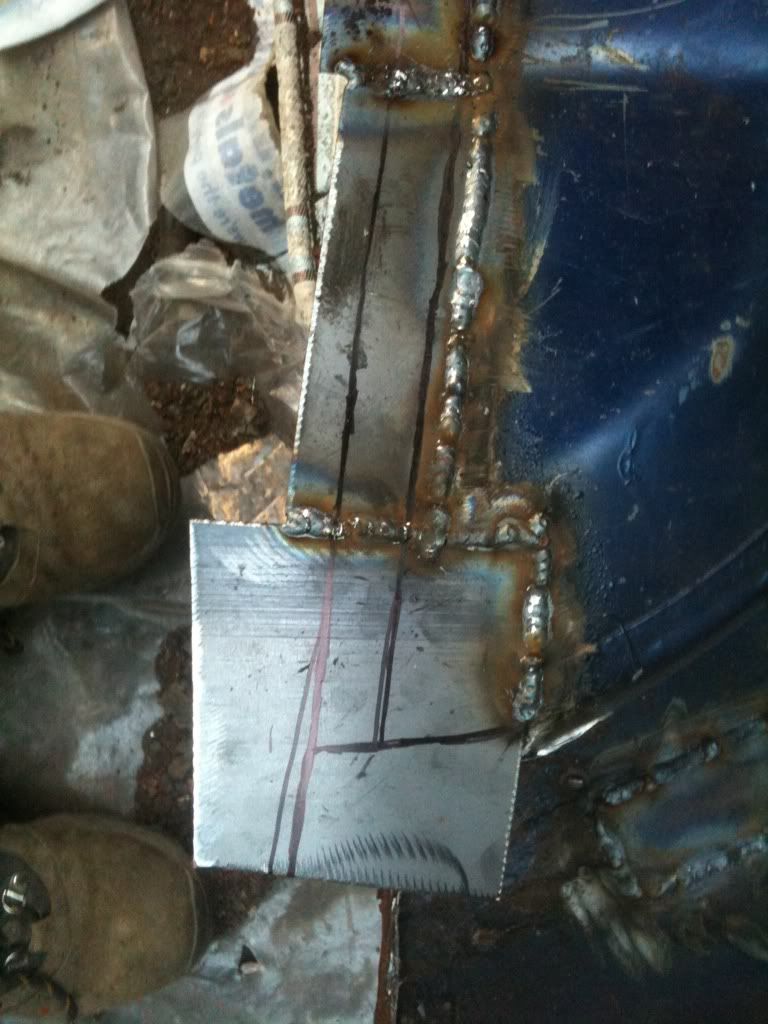
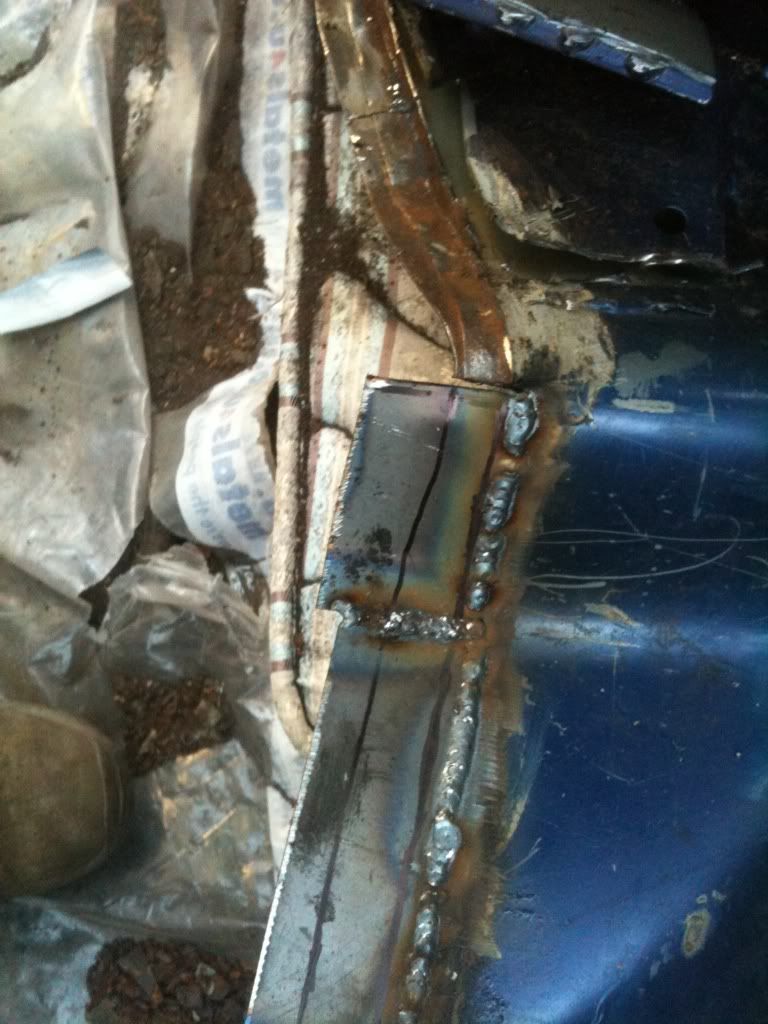
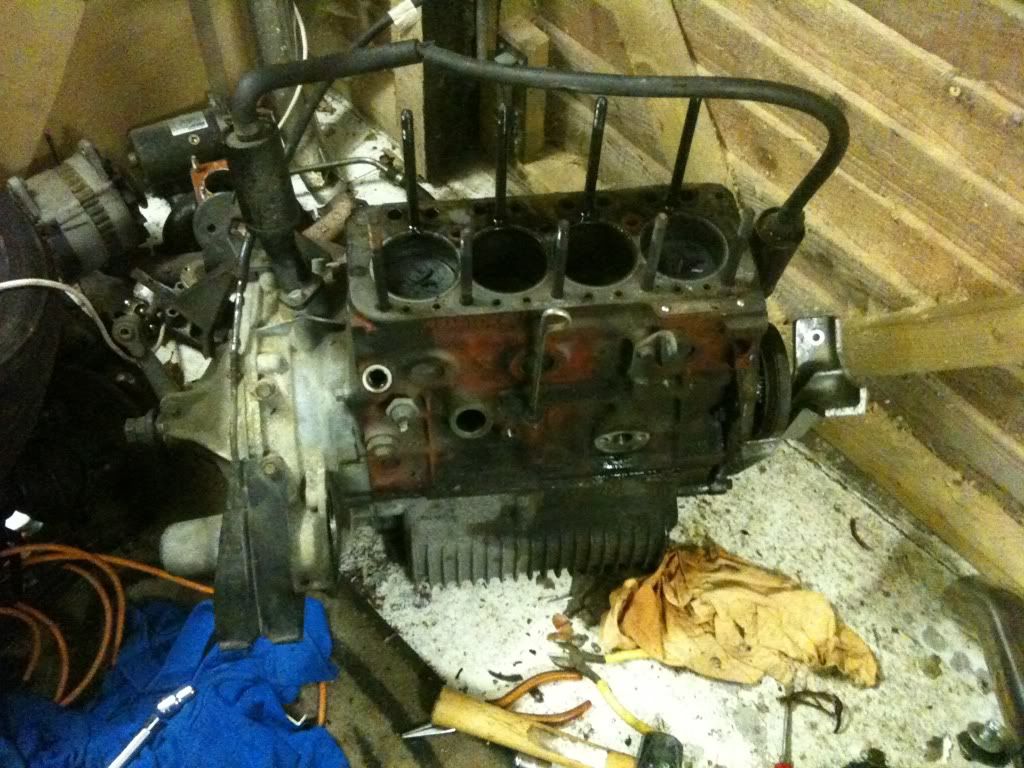
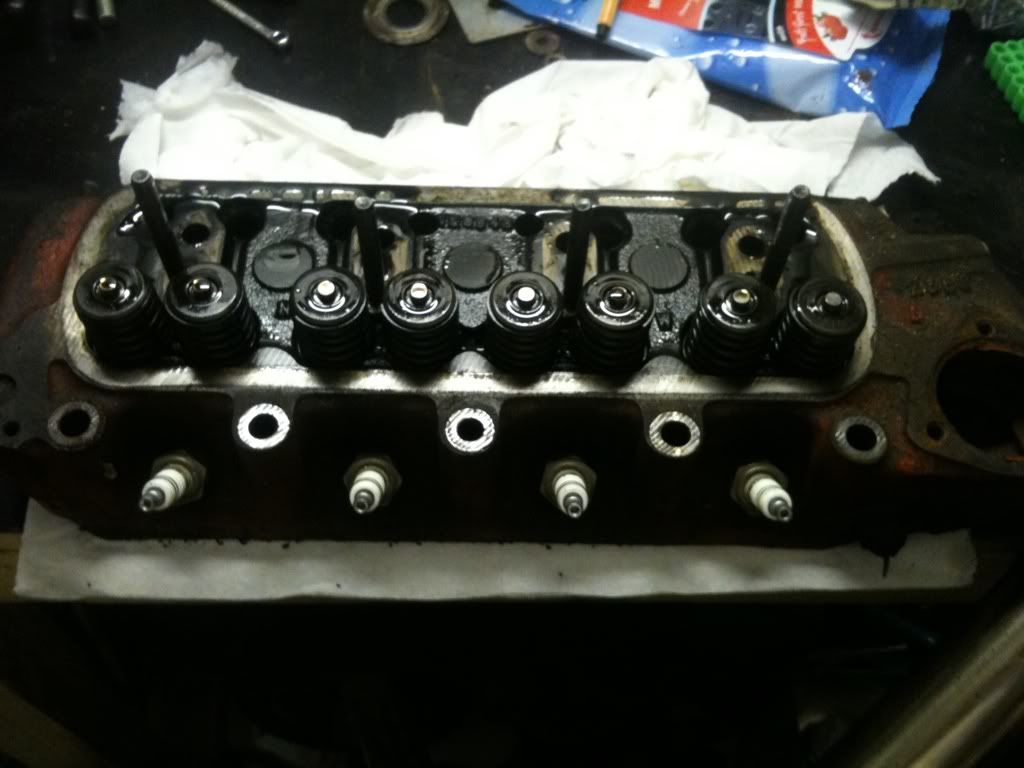
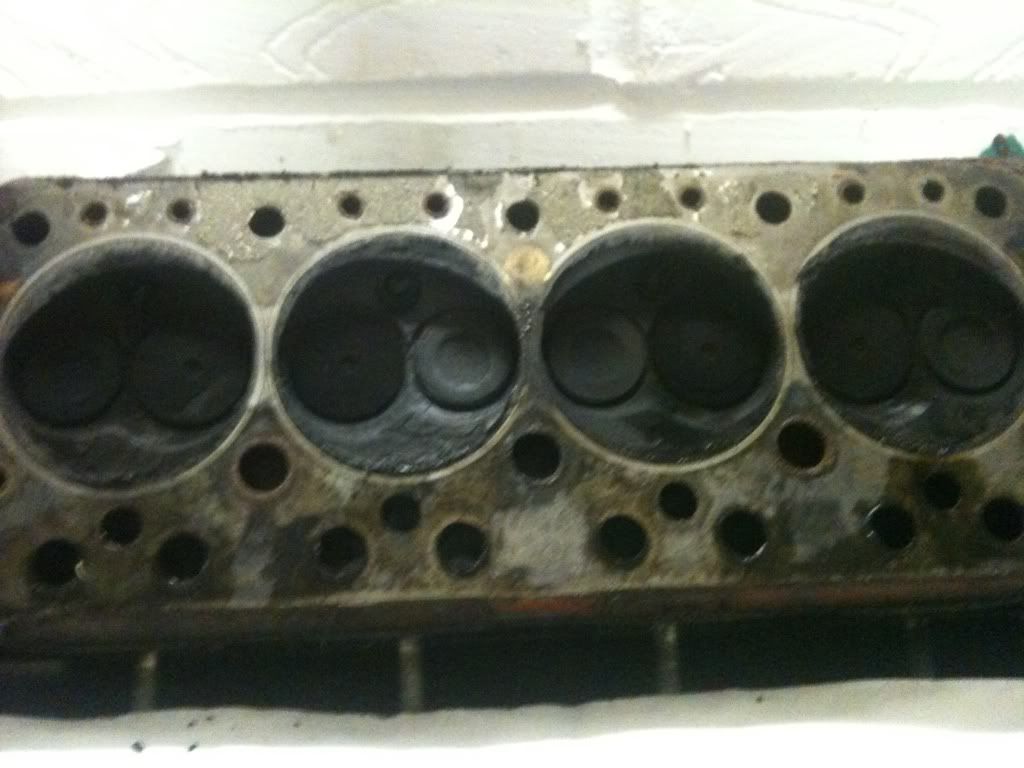
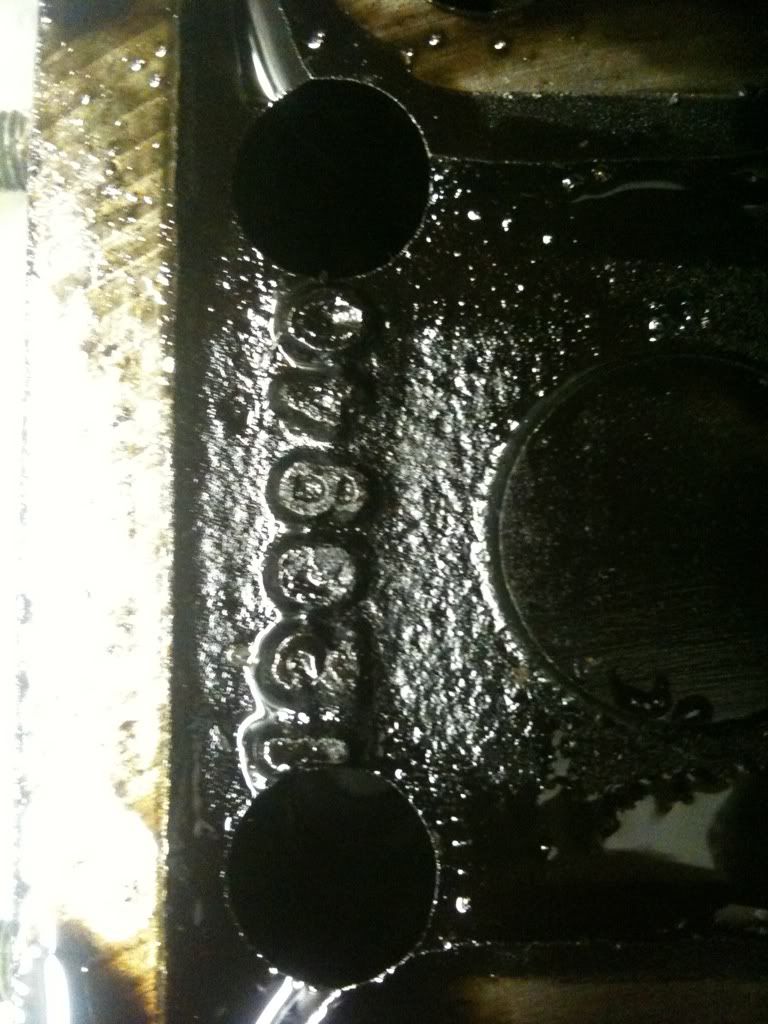
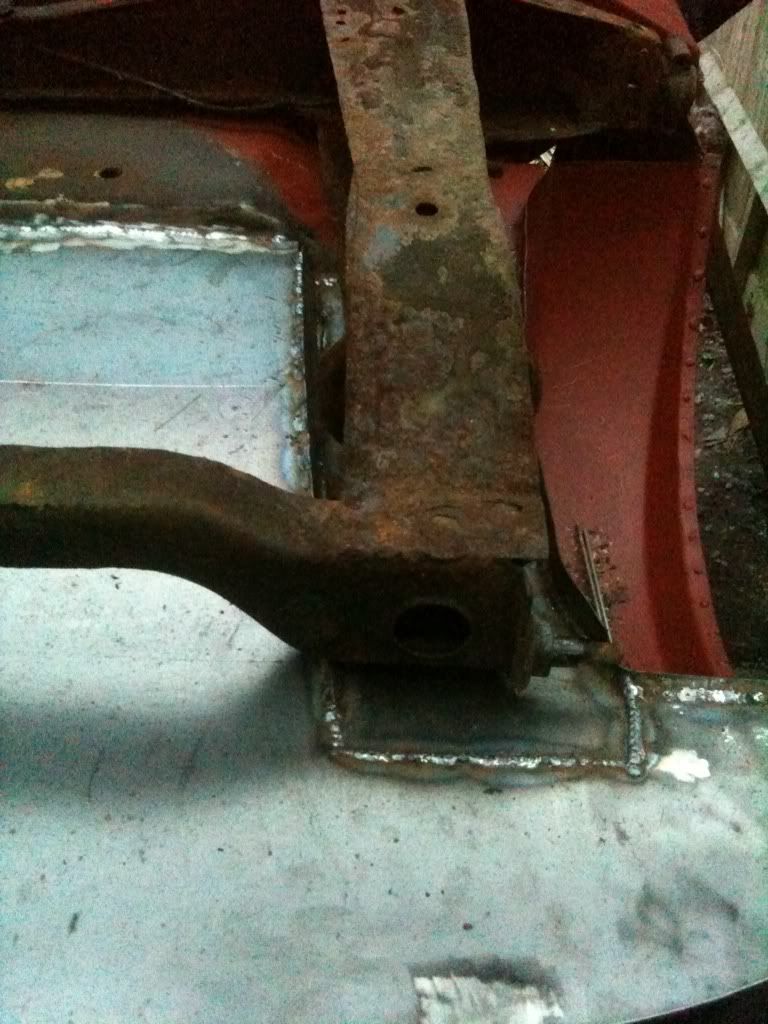
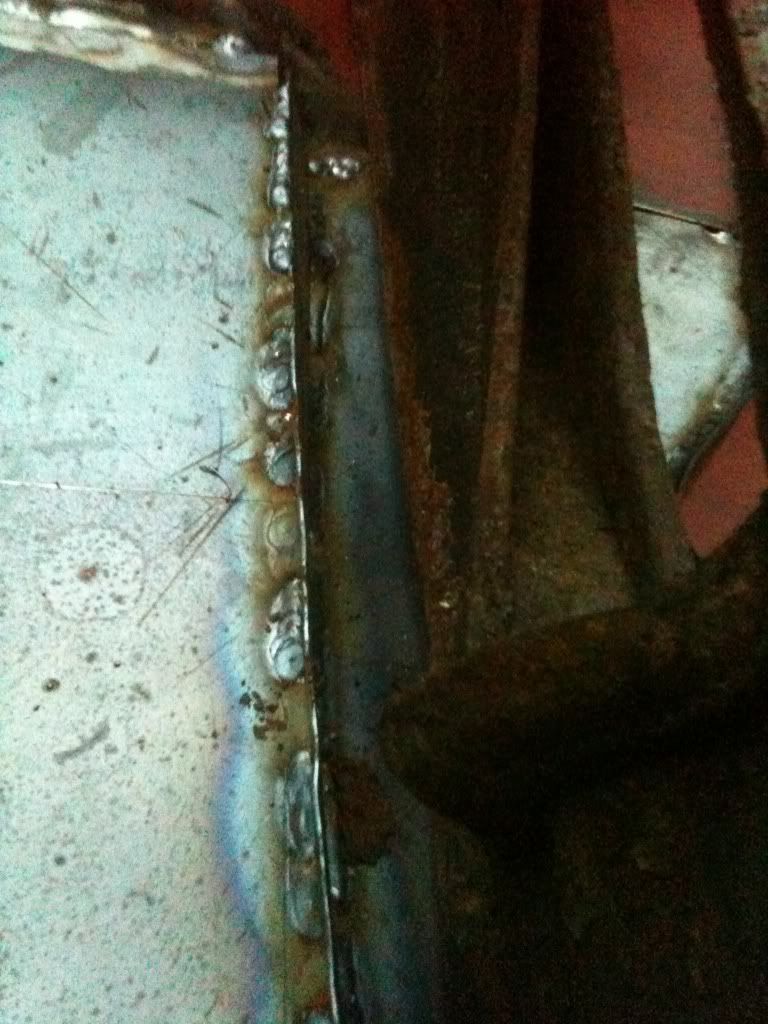
heres a few pictures.


One Carb Or Two?

Posted 30 December 2010 - 05:56 PM
Learner Driver

Posted 07 January 2011 - 11:37 PM
One Carb Or Two?
Posted 08 January 2011 - 10:25 AM


Mini Mad

Posted 08 January 2011 - 10:34 AM
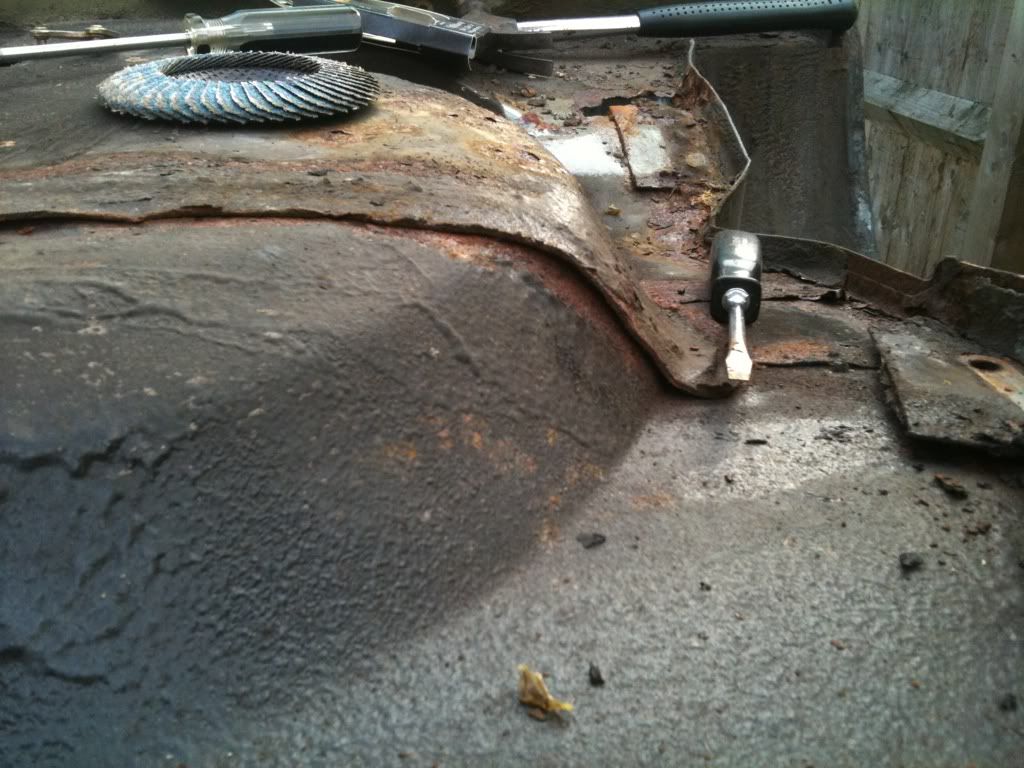
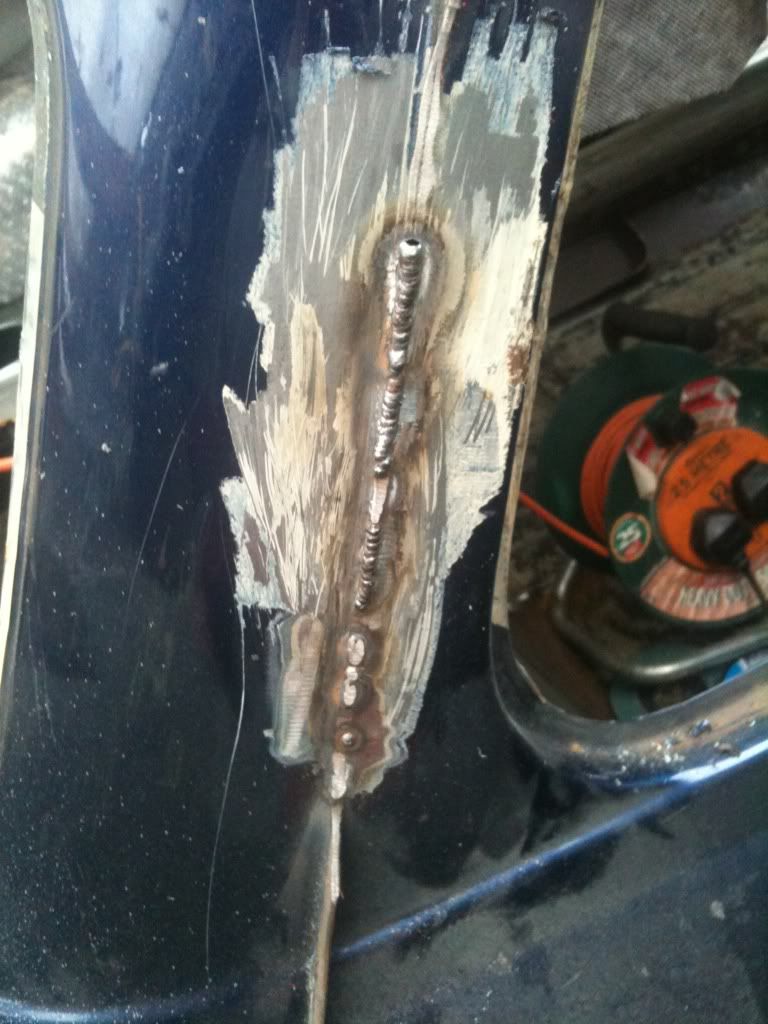
 horrible finding all the grot...I know that feeling oh so well!!!
One Carb Or Two?

Posted 08 January 2011 - 11:06 AM
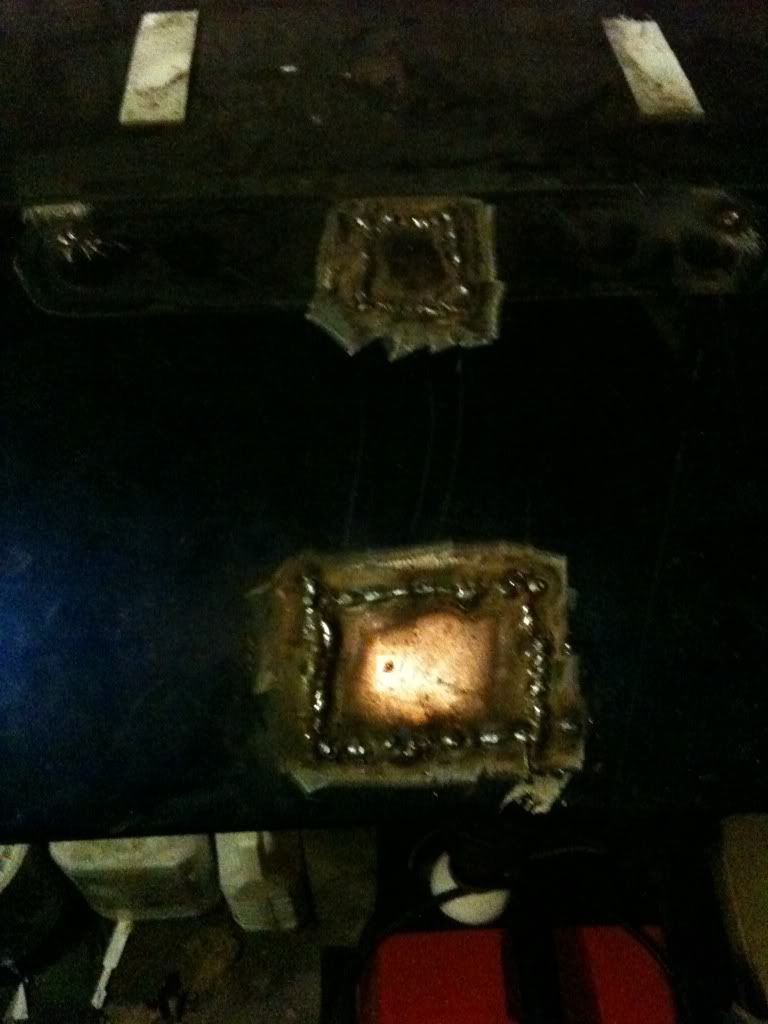
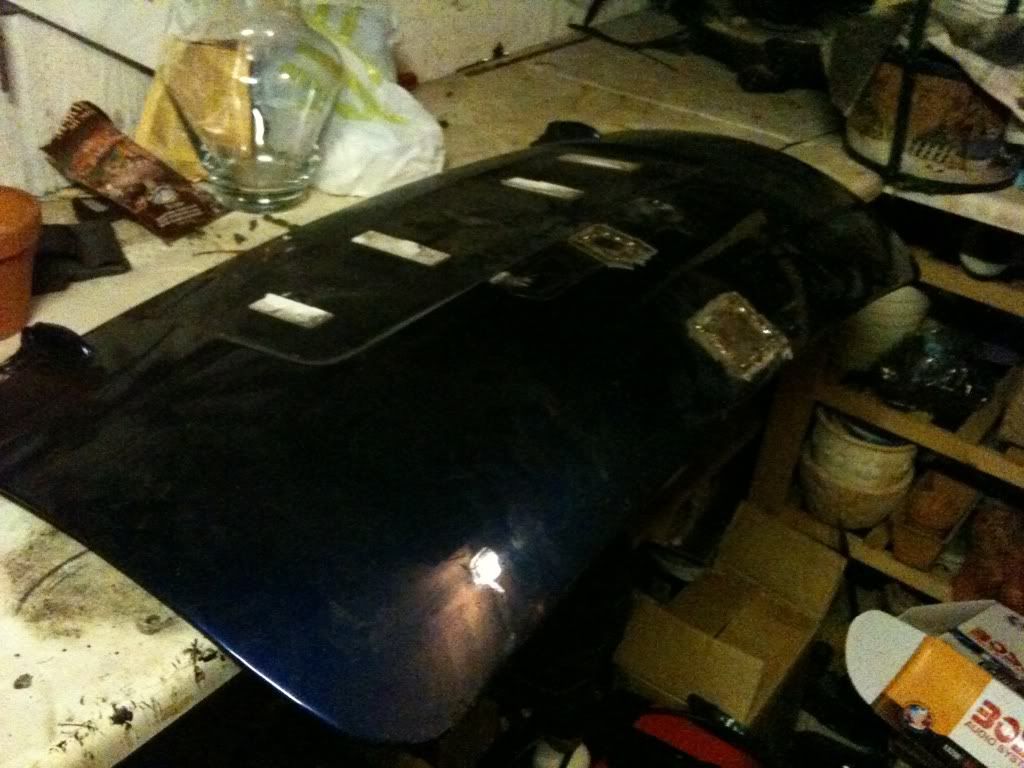
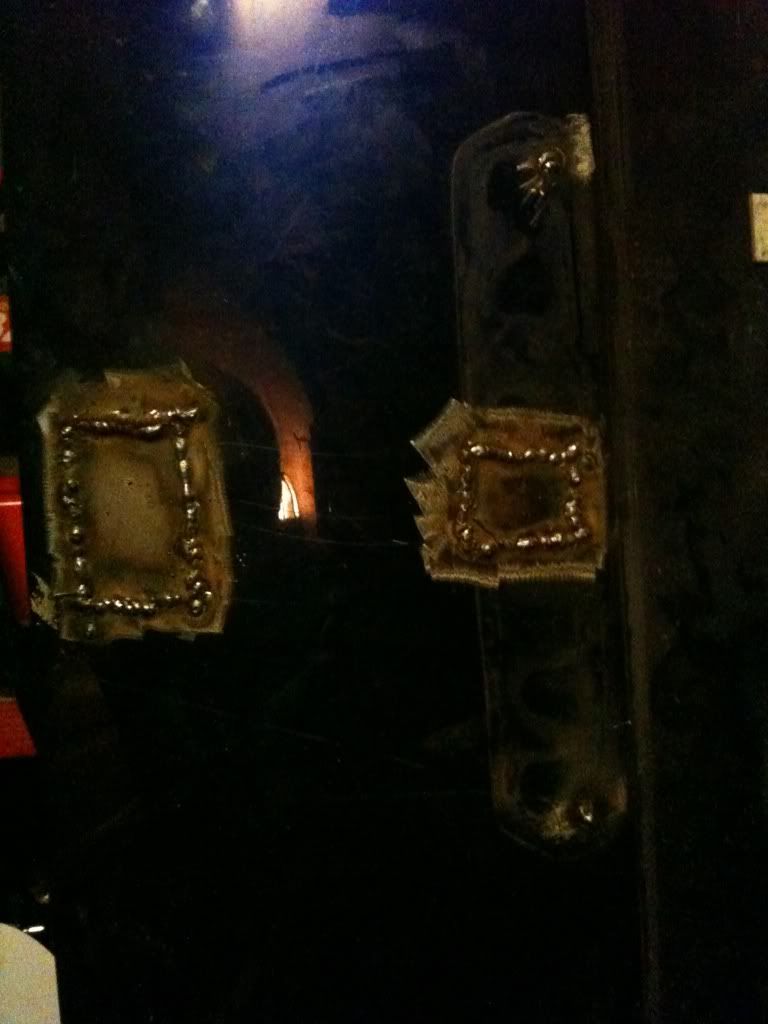
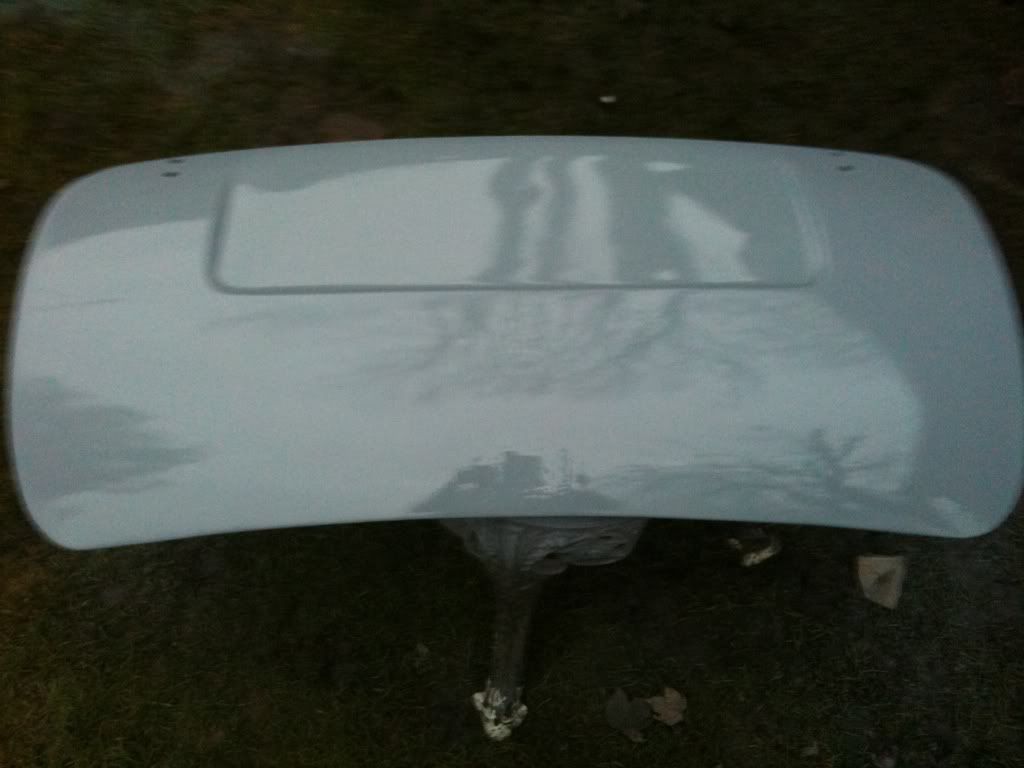
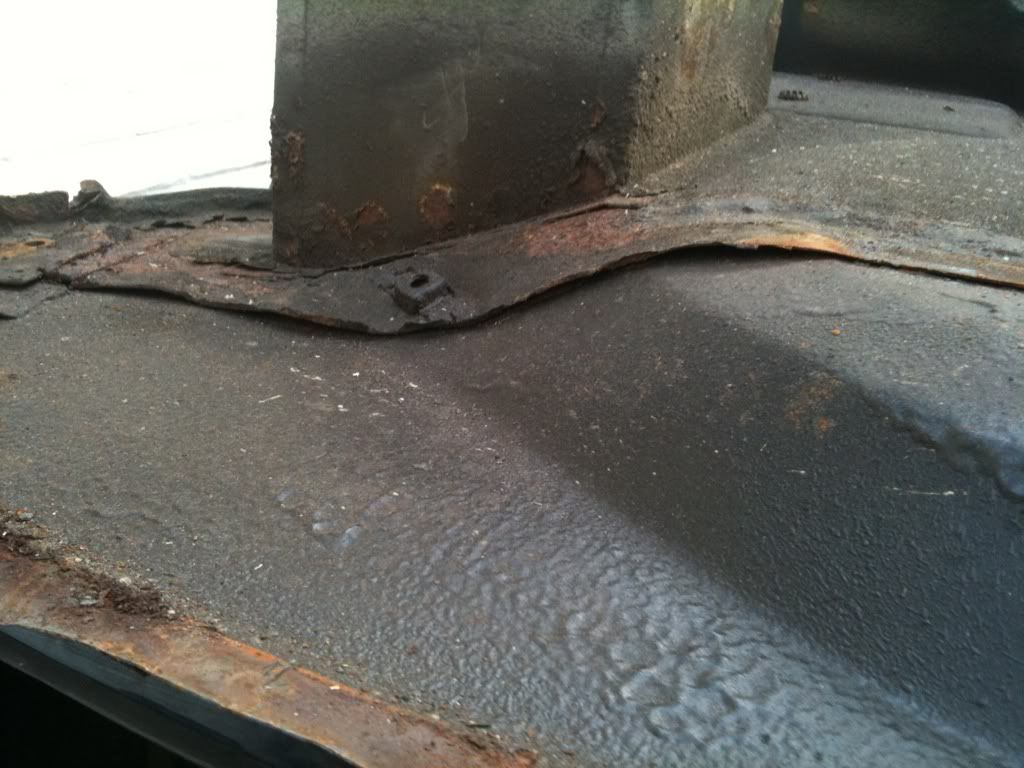
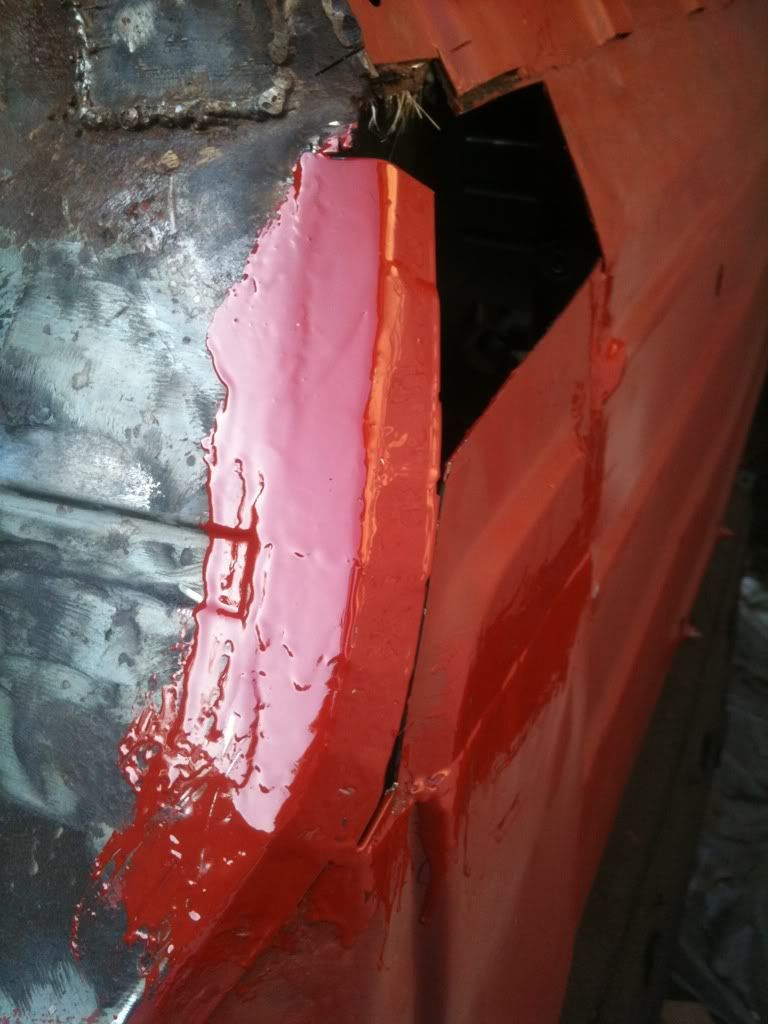
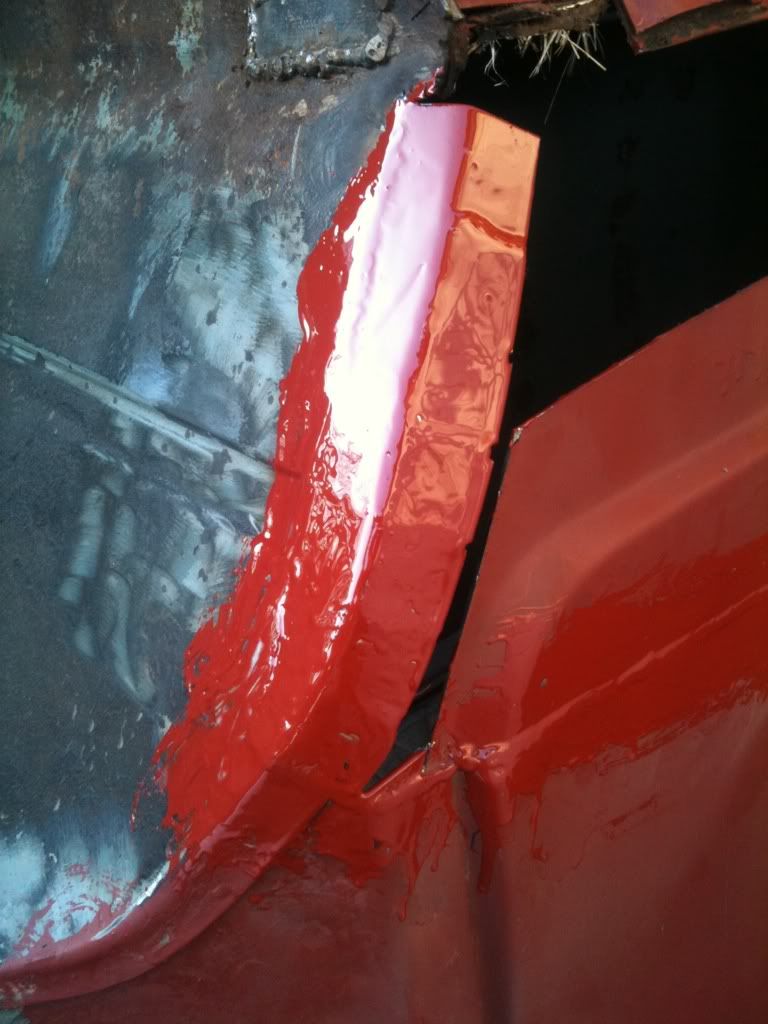
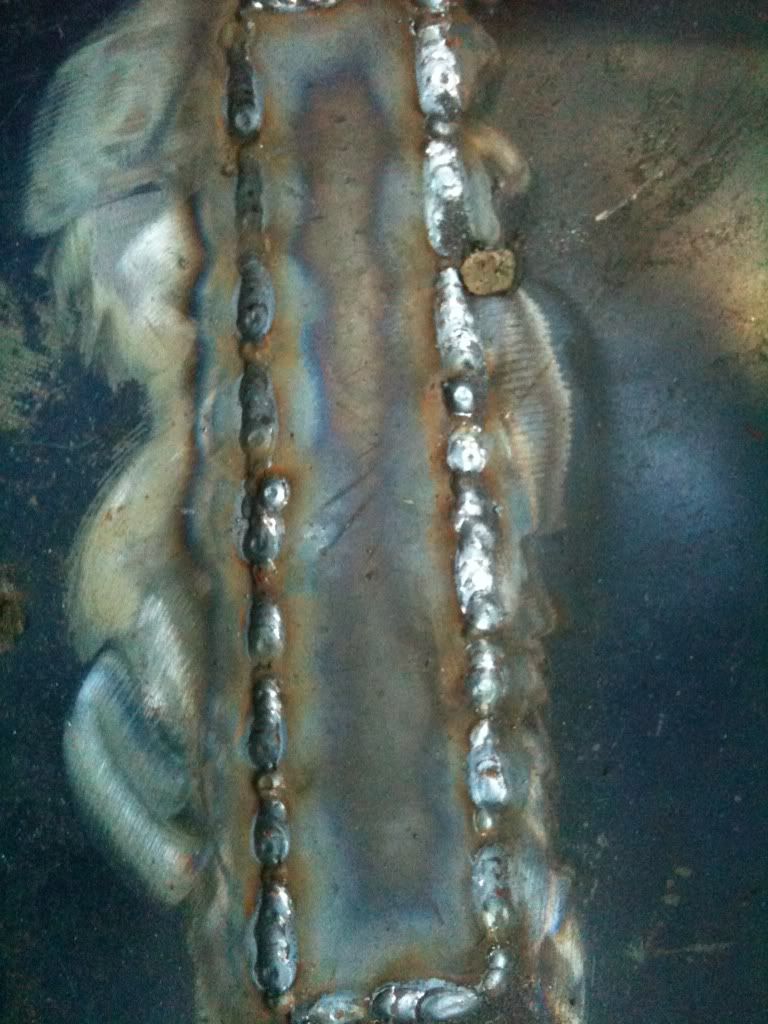
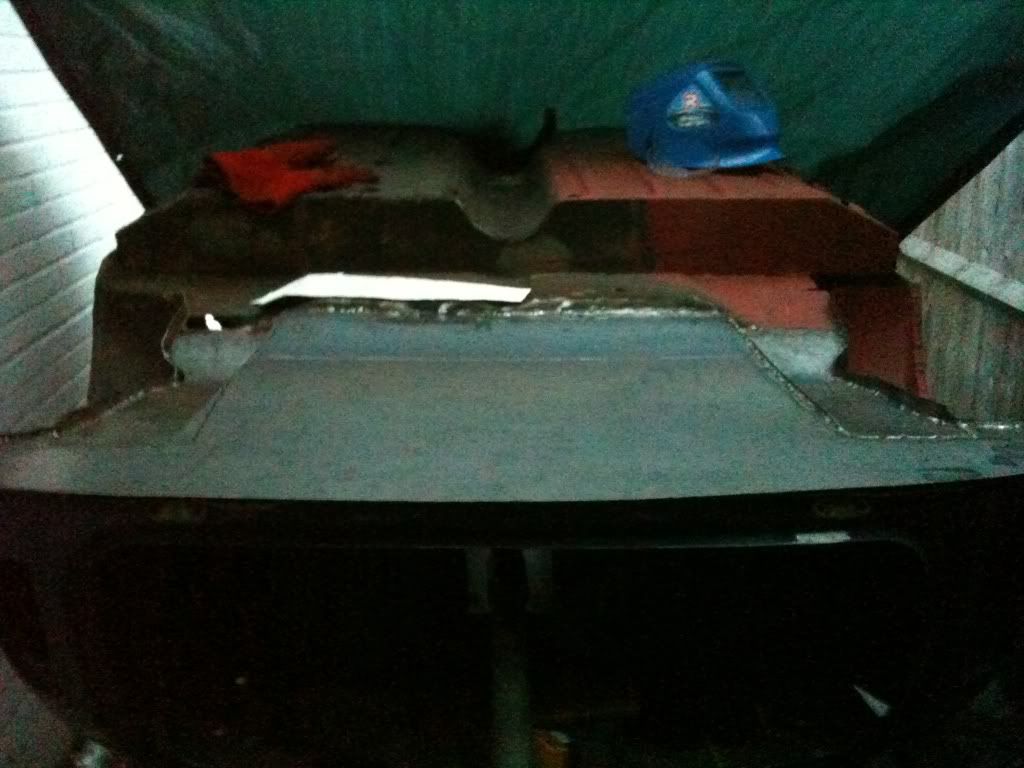
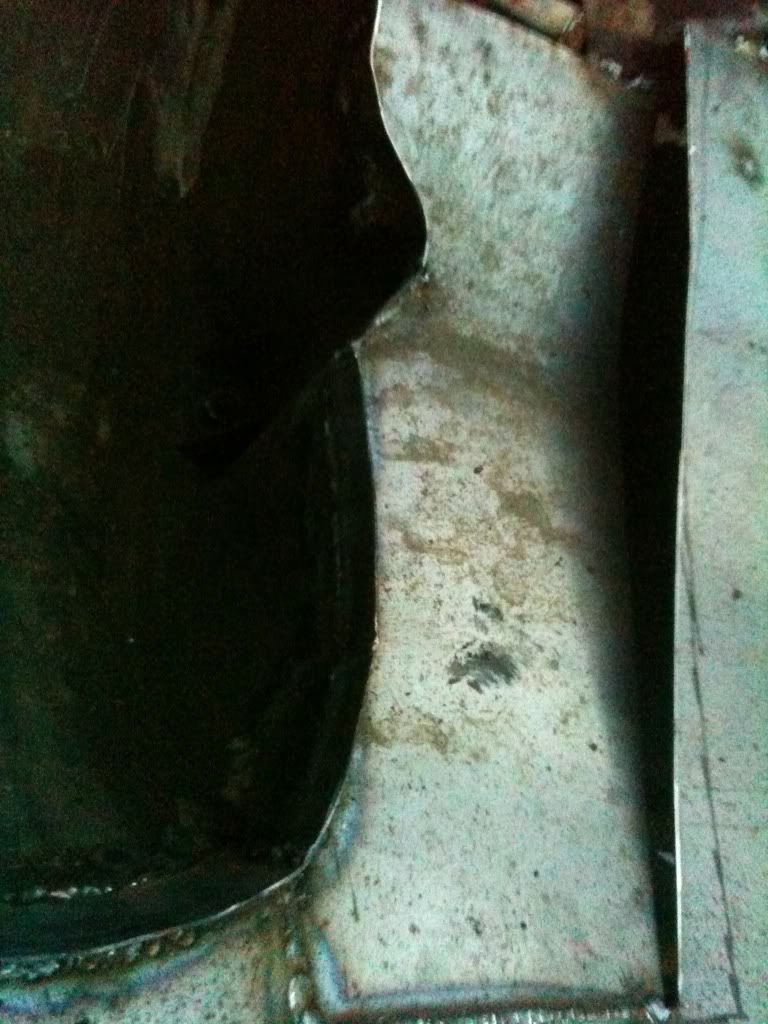
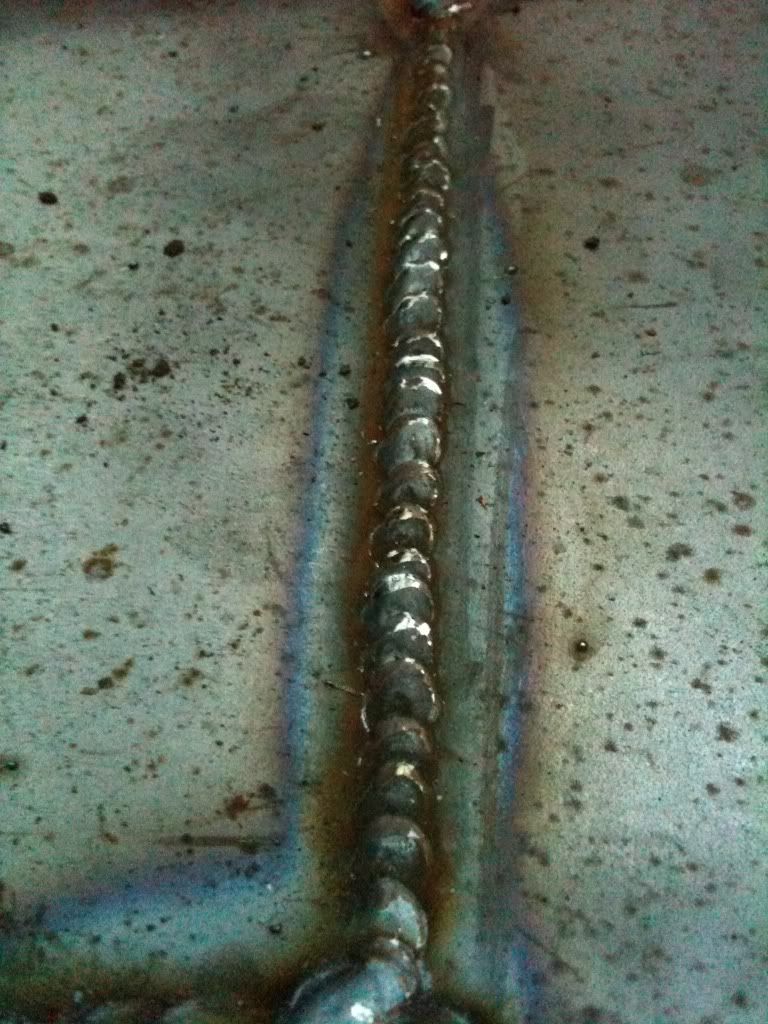
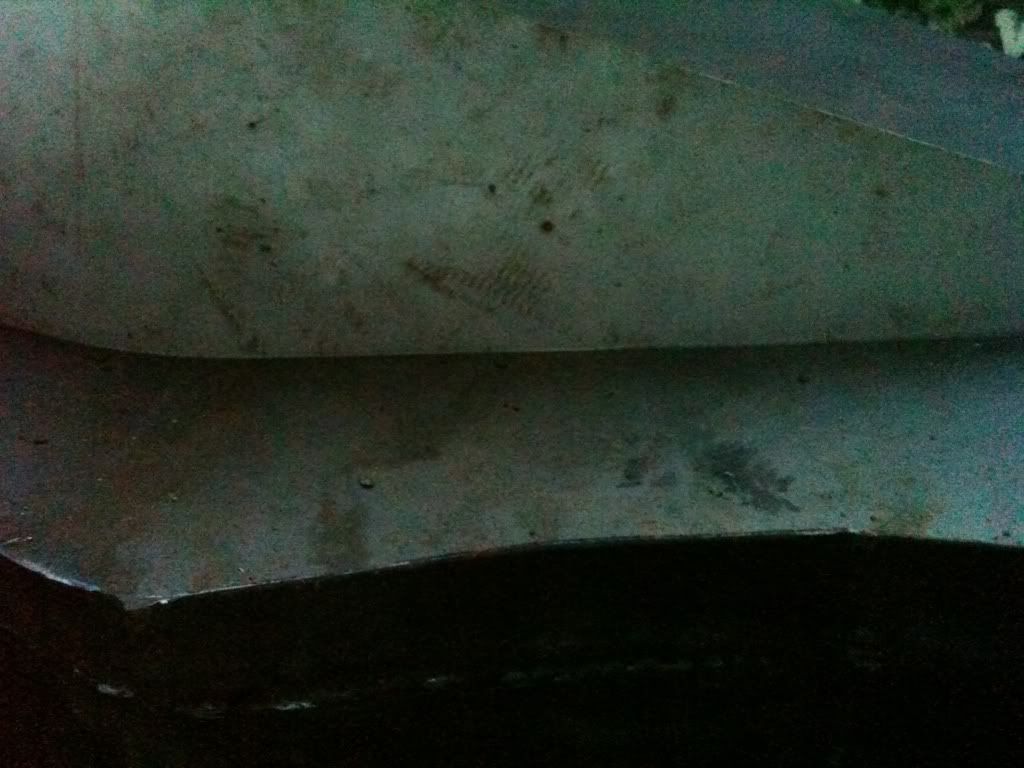
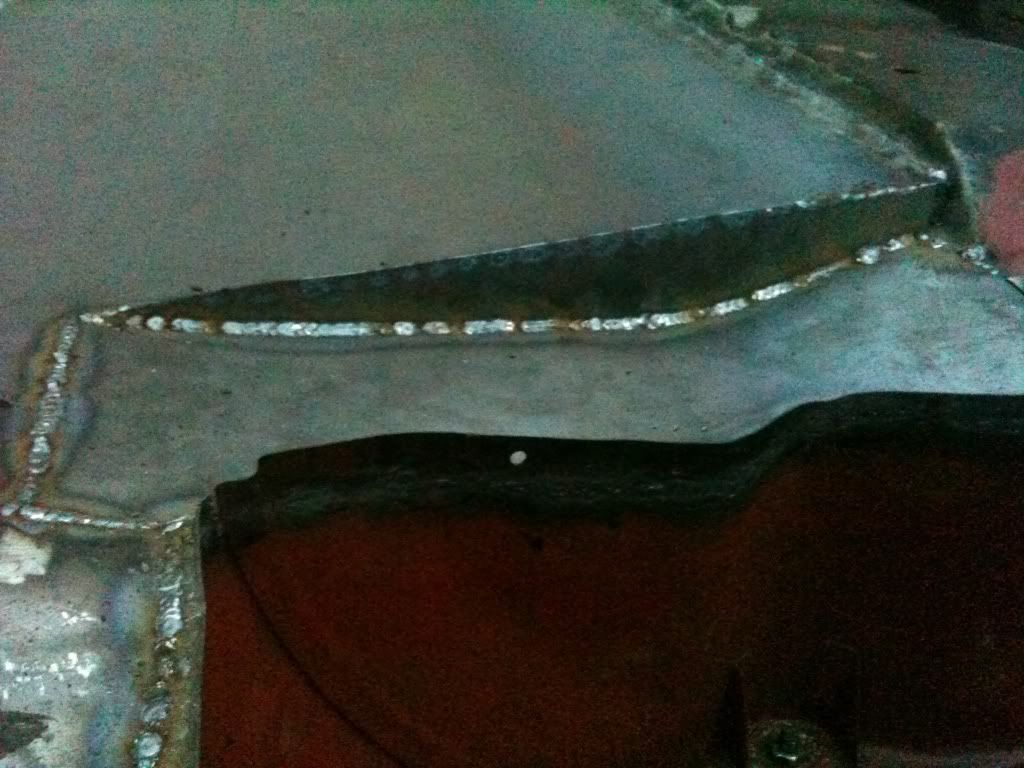
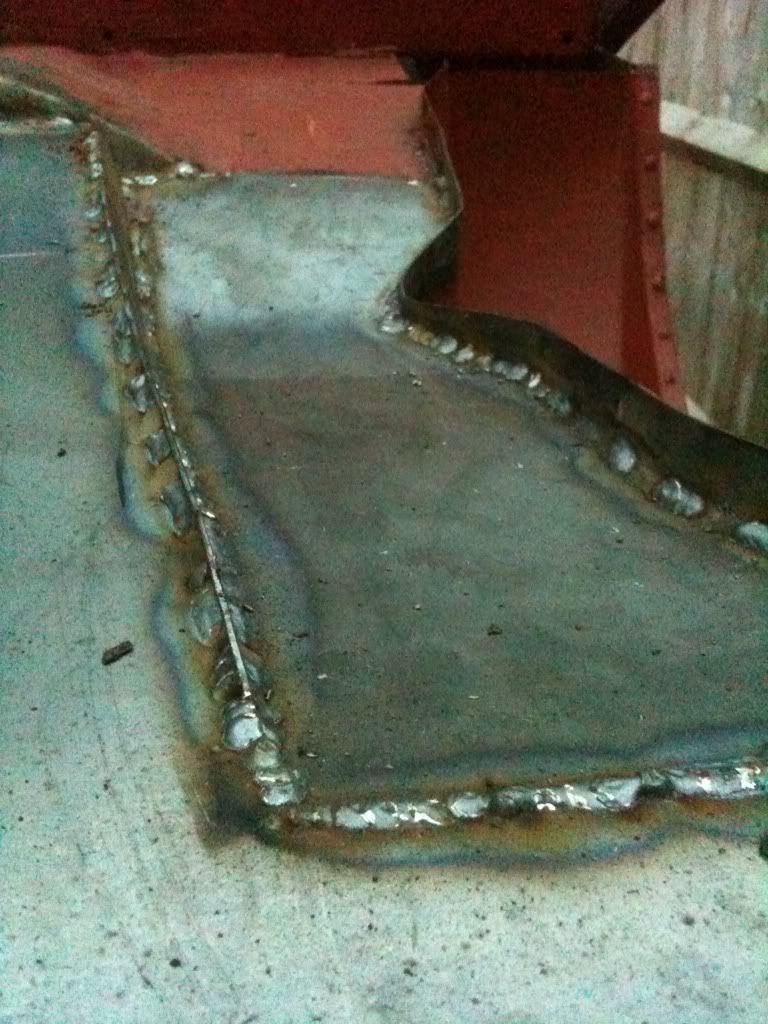
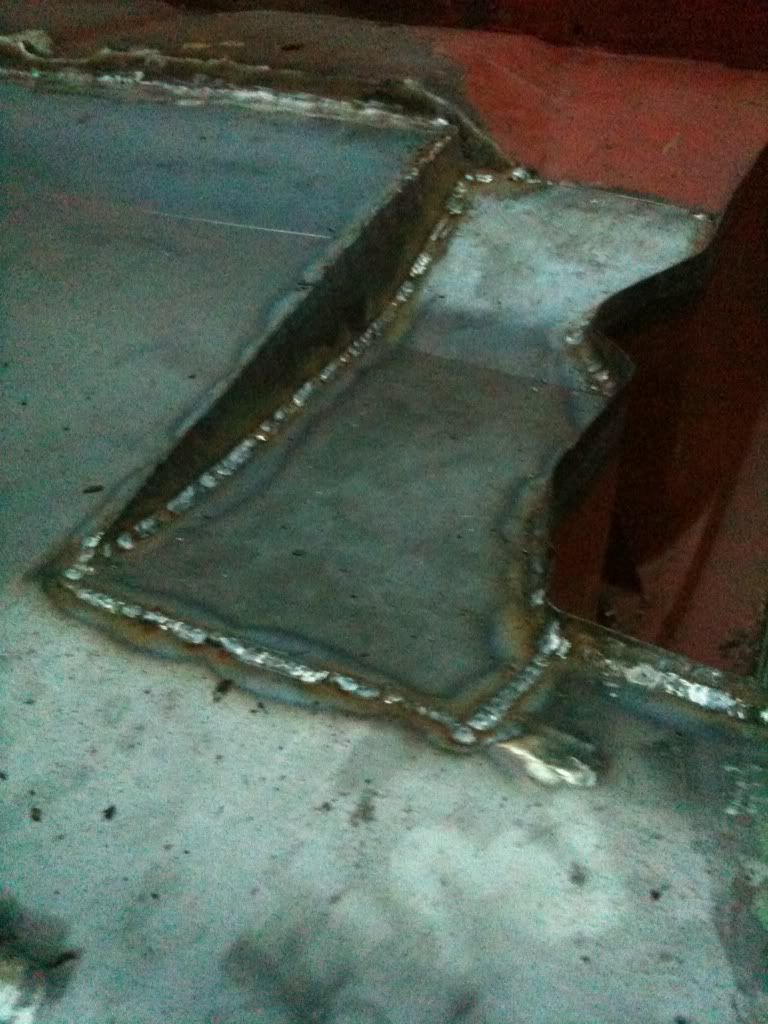
just a small update, ive started to fill the hole in my bootlid because i want a smoothie look but retaining the numberplate recess, im going to use my old bonnet hinges to hinge the boot internally and im going to try and find a sutable modern bonnet catch to use as an internal release.
heres a few pictures.
One Carb Or Two?
Posted 08 January 2011 - 05:32 PM
One Carb Or Two?
Posted 08 January 2011 - 11:54 PM
 looking good tho... good luck with the project
One Carb Or Two?
Posted 10 January 2011 - 06:15 PM

One Carb Or Two?
Posted 13 January 2011 - 06:52 PM
One Carb Or Two?
Posted 19 January 2011 - 05:05 PM

One Carb Or Two?
Posted 30 January 2011 - 07:57 PM

Mini Mad

Posted 30 January 2011 - 09:58 PM

One Carb Or Two?
Posted 02 February 2011 - 05:55 PM
One Carb Or Two?
Posted 06 February 2011 - 08:20 PM
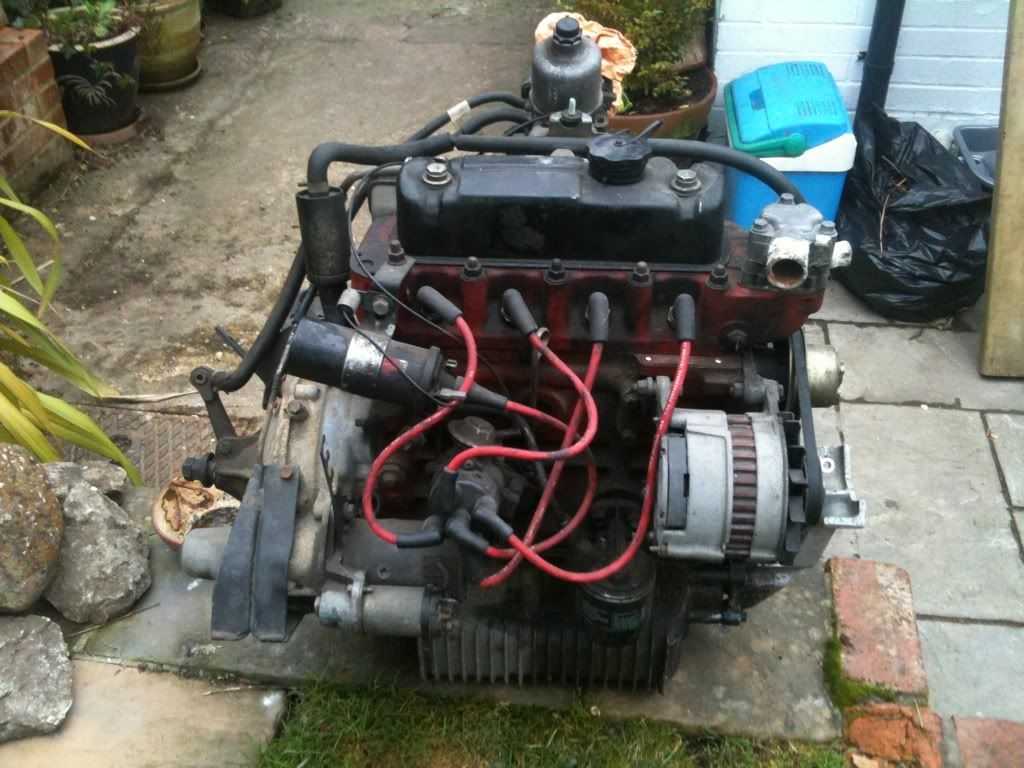
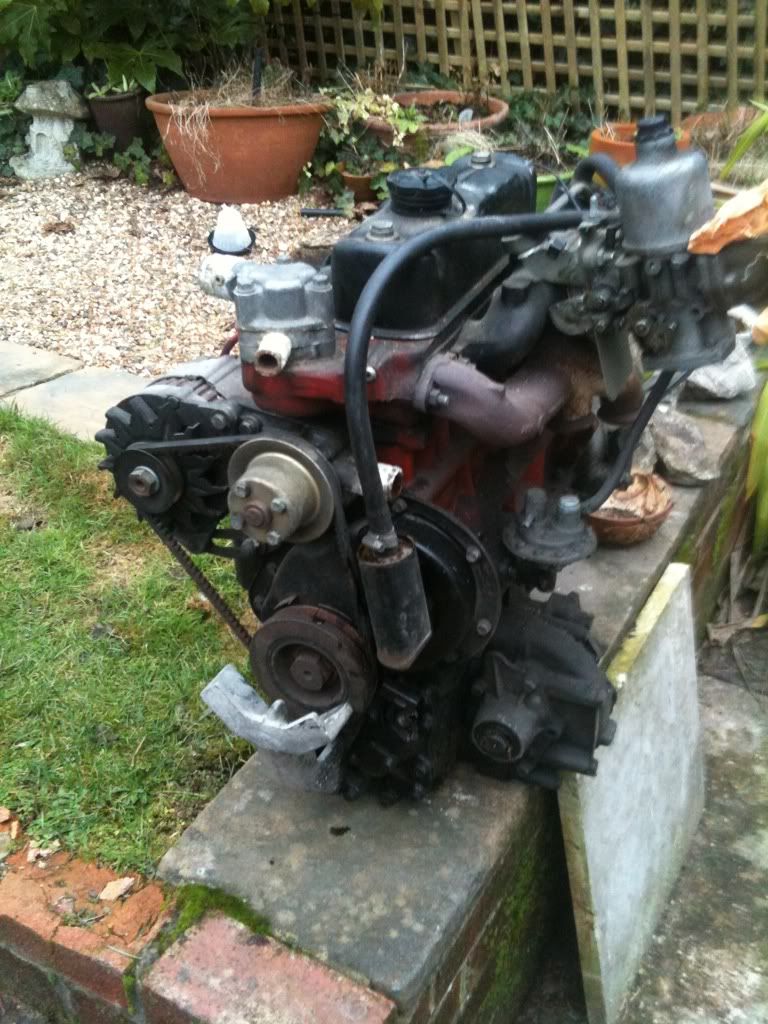
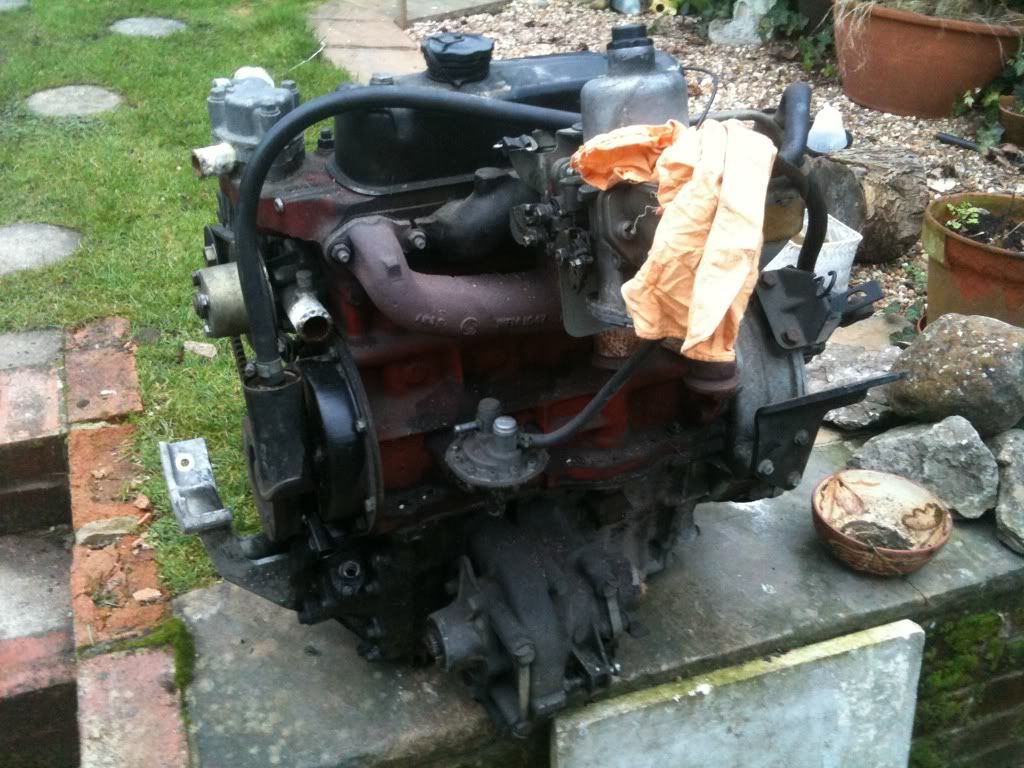

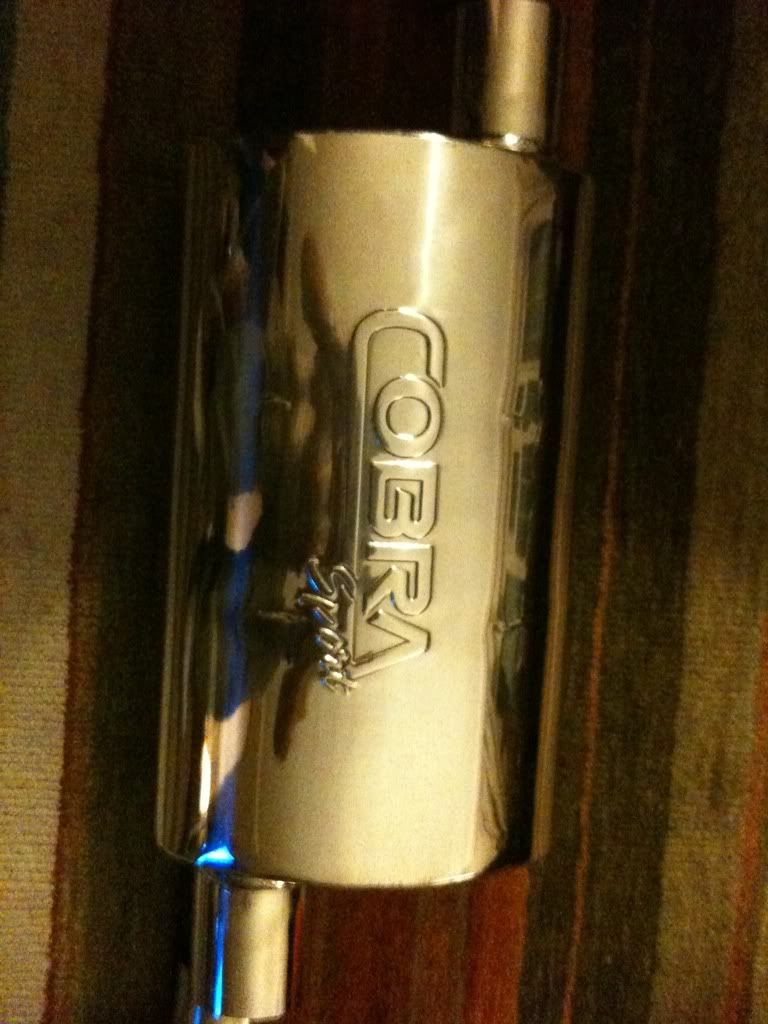
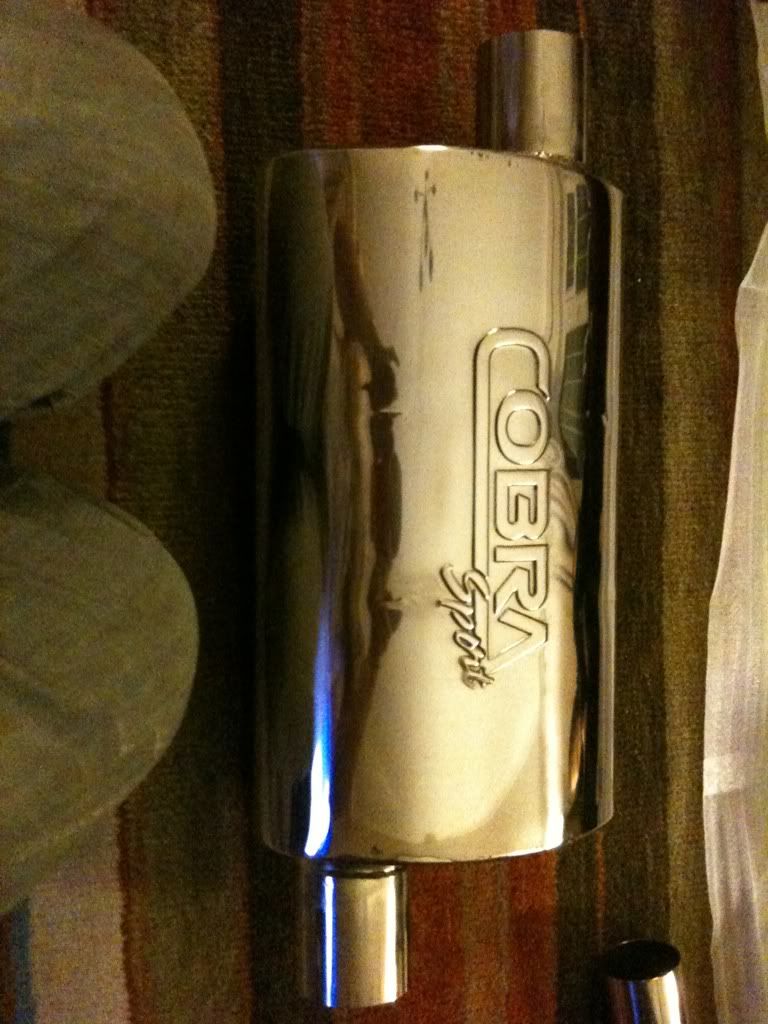
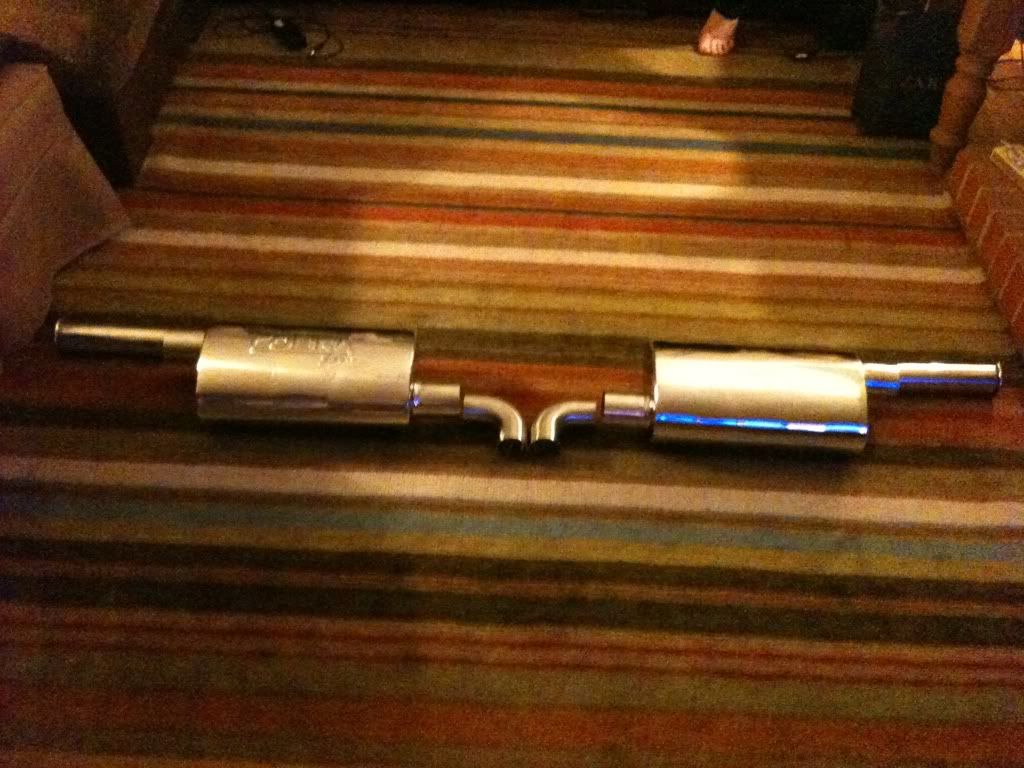
 so then i have the choice between a hot small bore or a hot large bore (which may go turbo down the line)
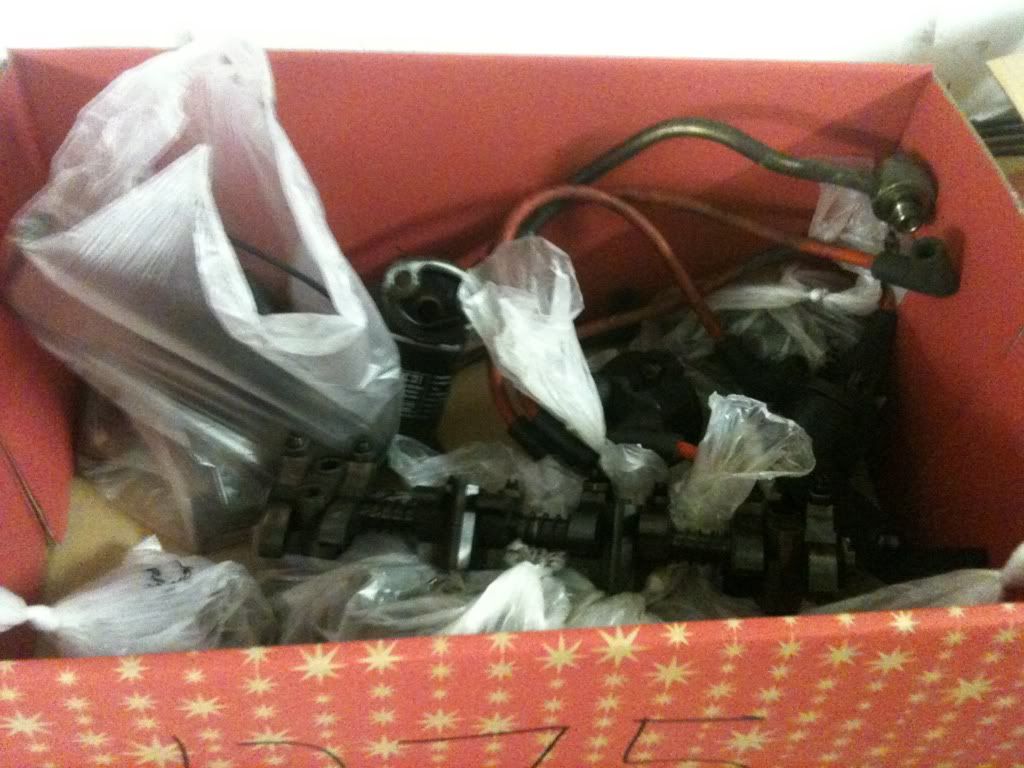
One Carb Or Two?
Posted 09 February 2011 - 07:13 PM


0 members, 0 guests, 0 anonymous users


