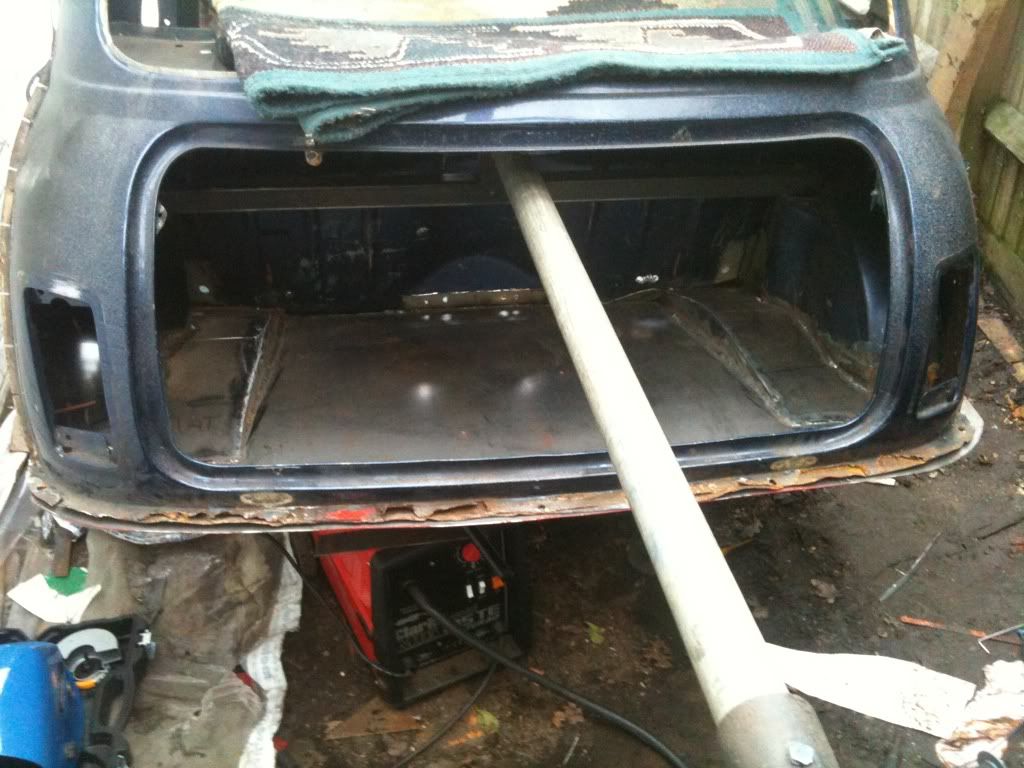
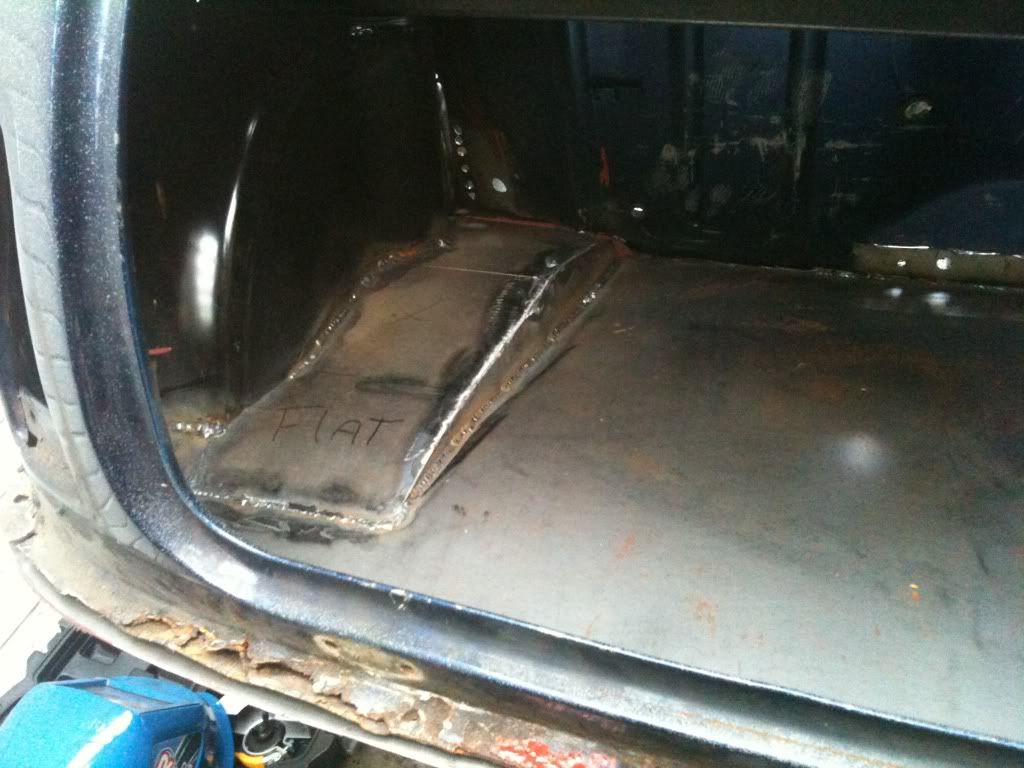
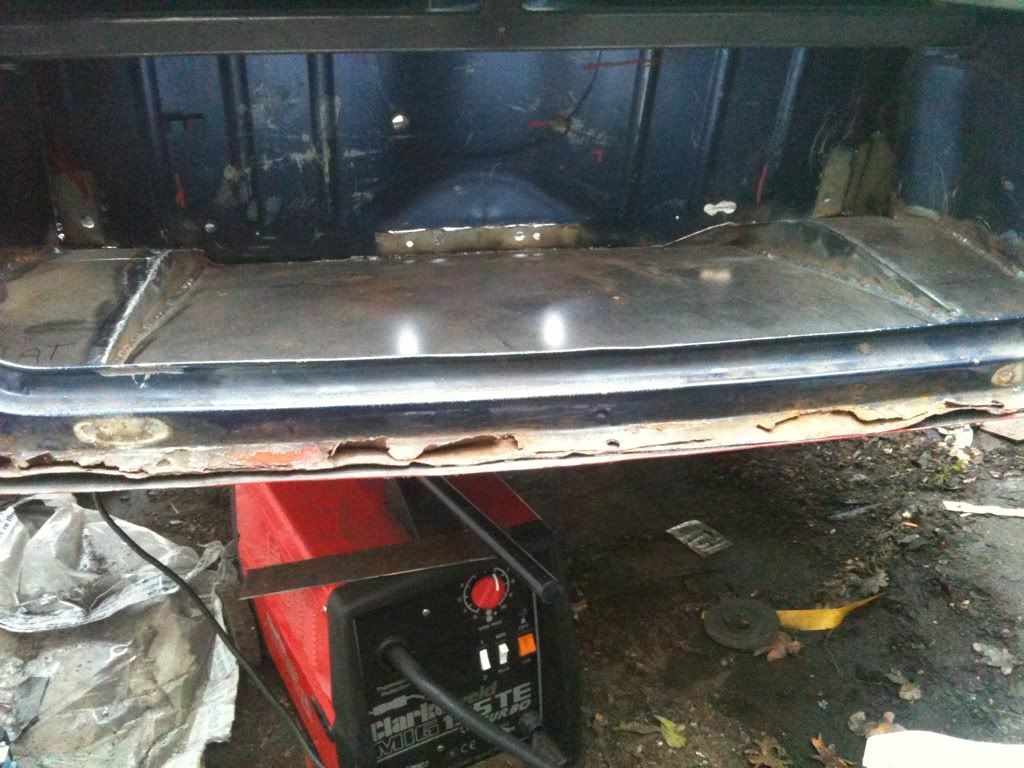
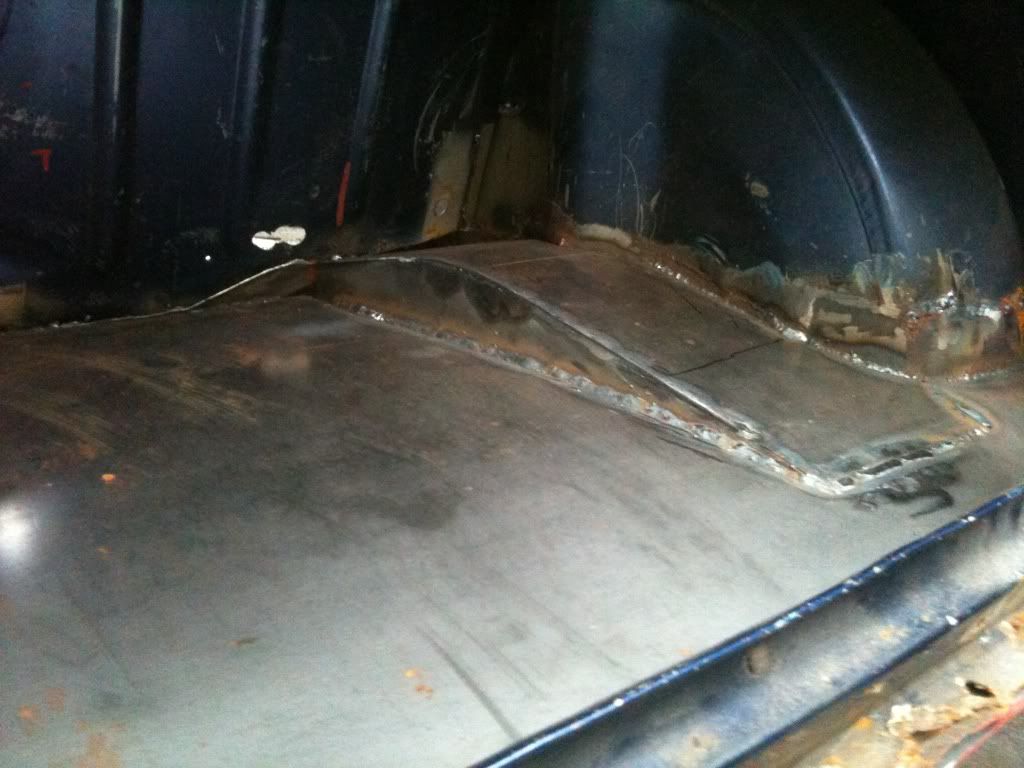
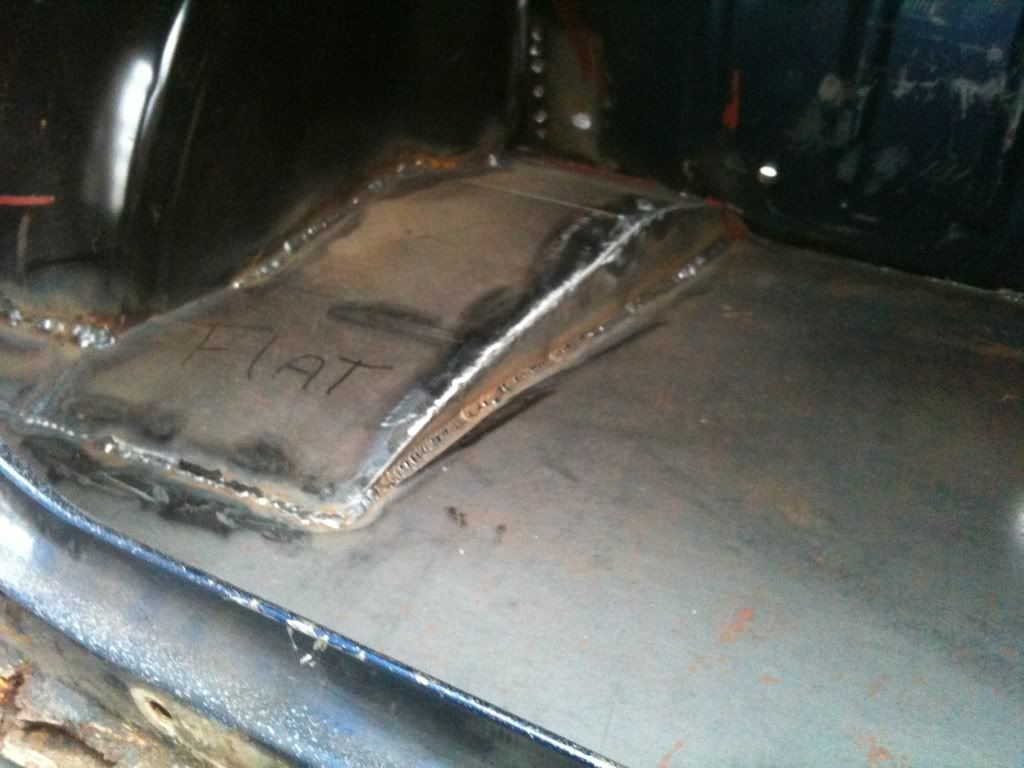
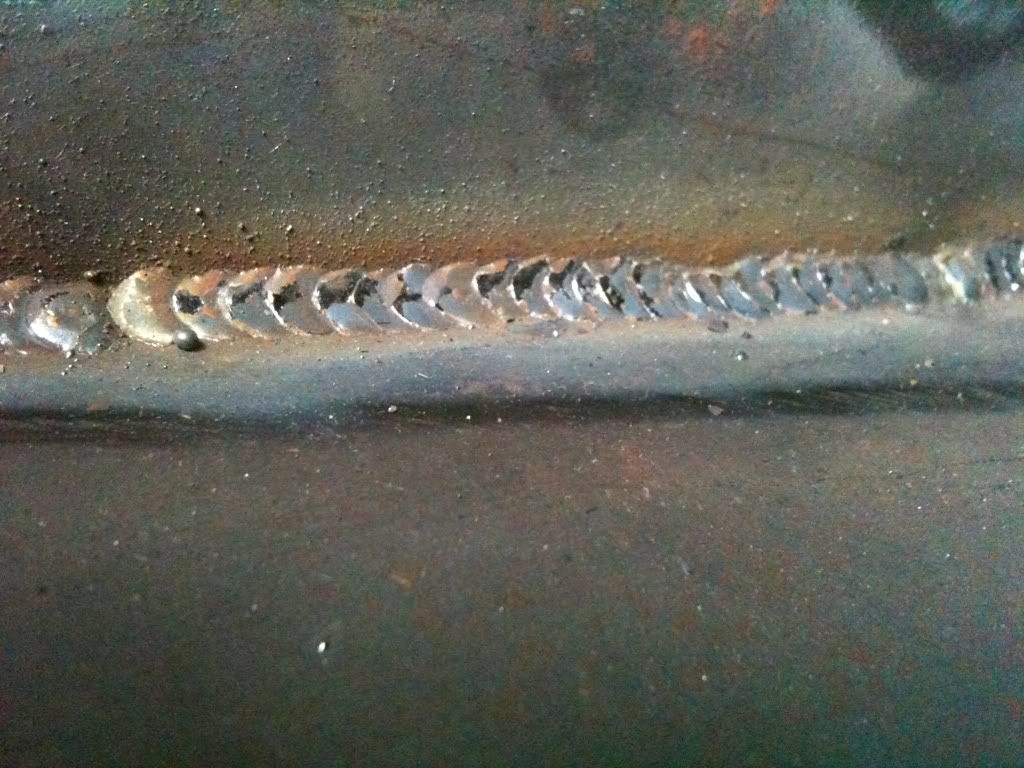
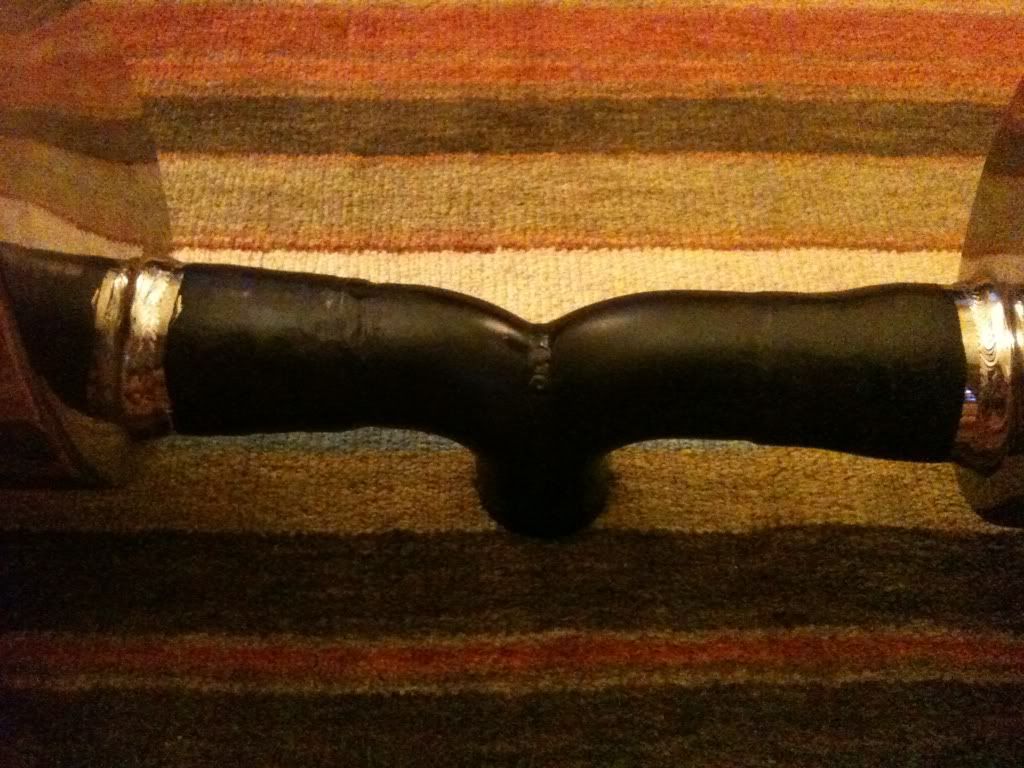
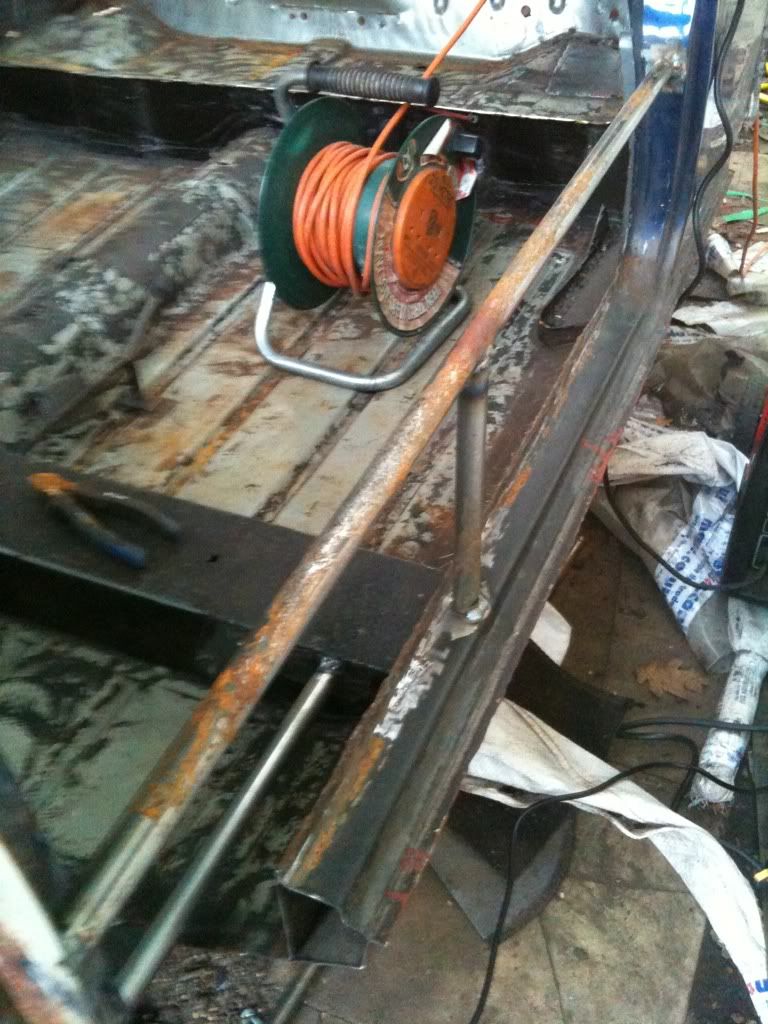
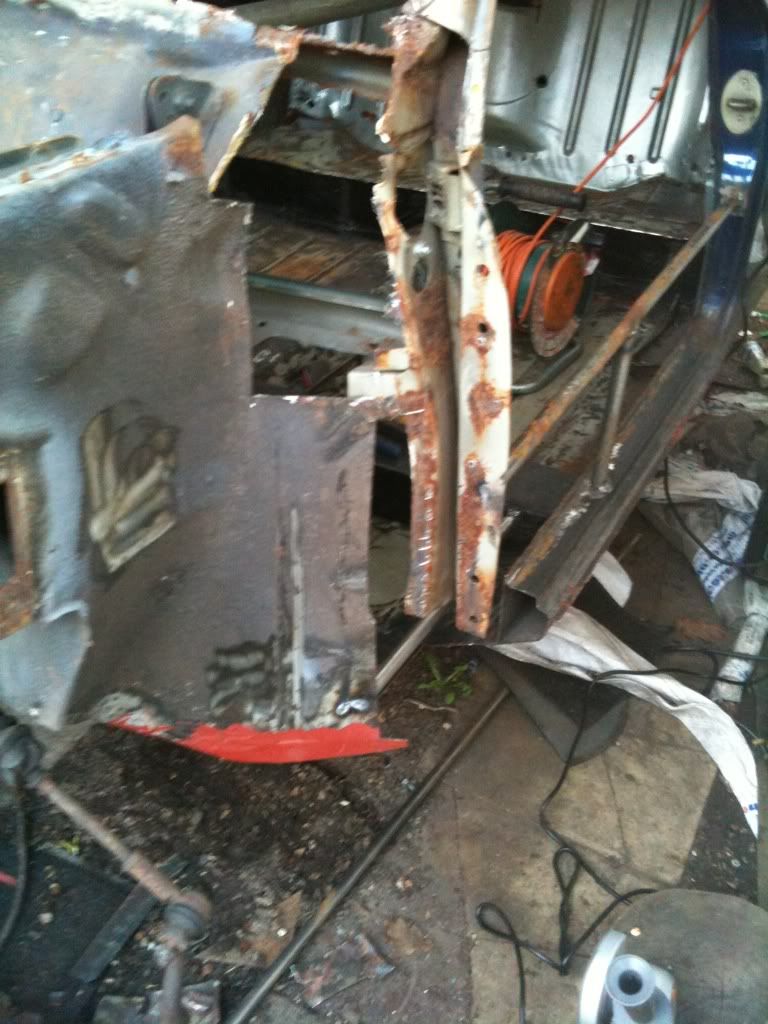
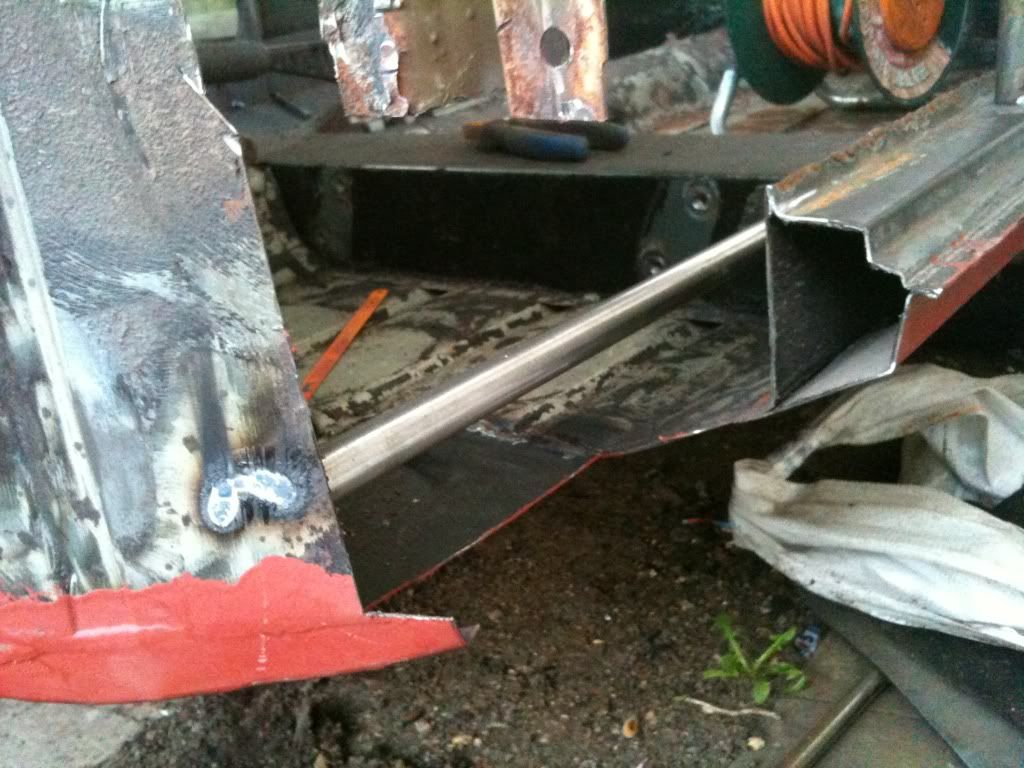
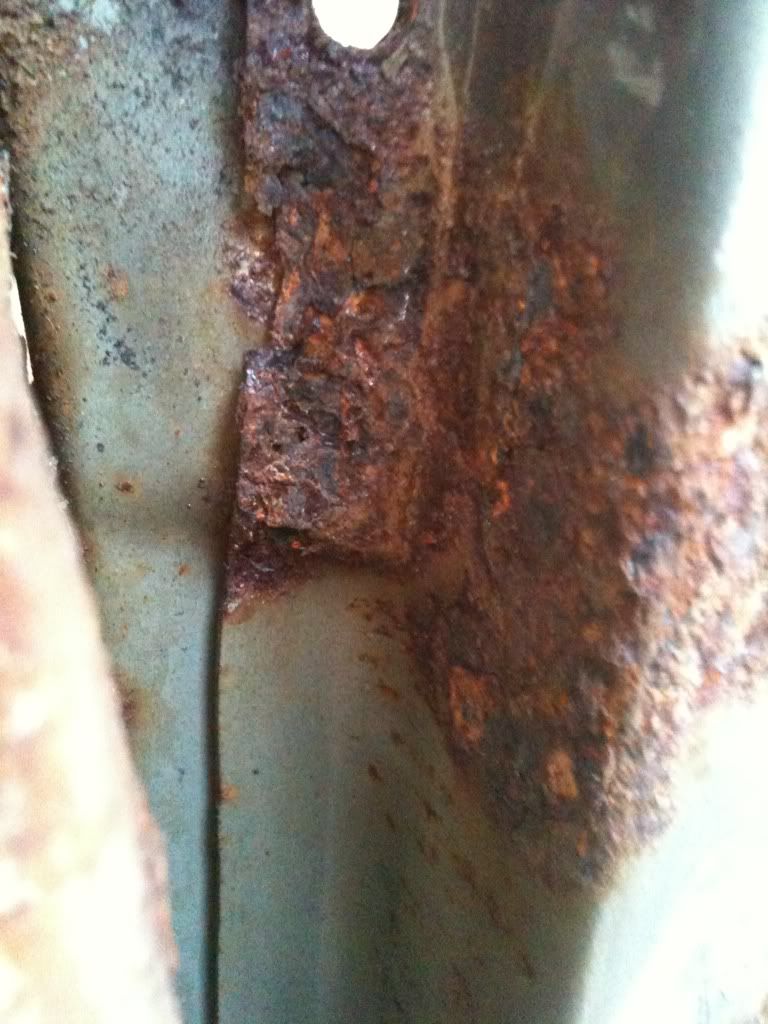
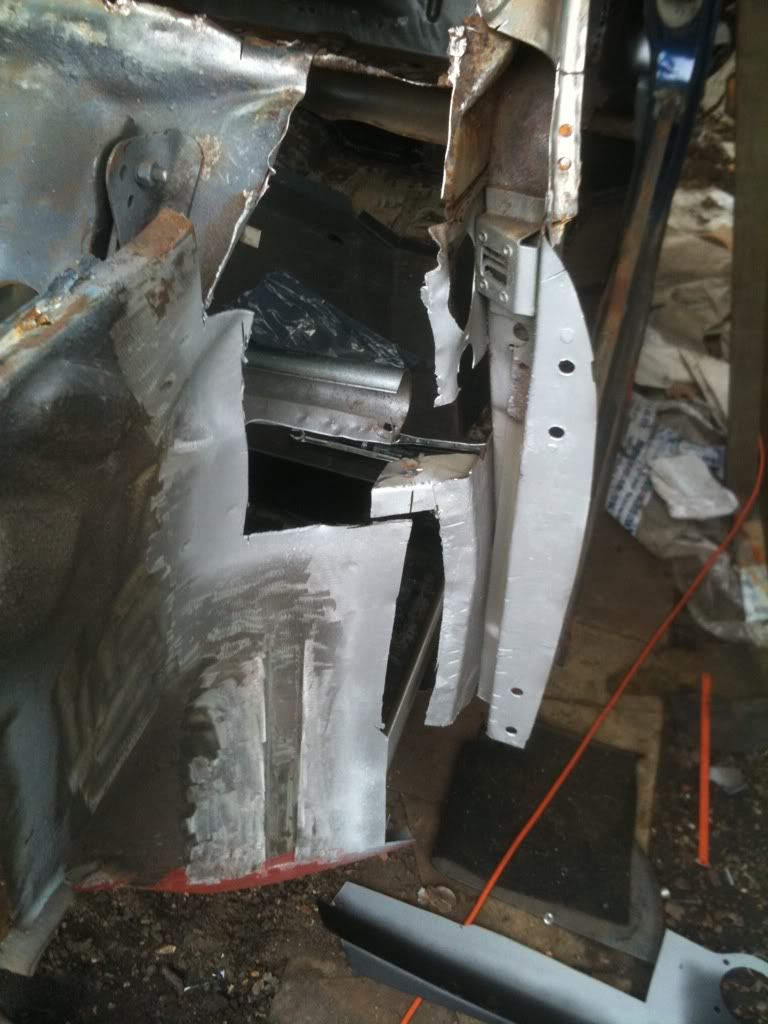
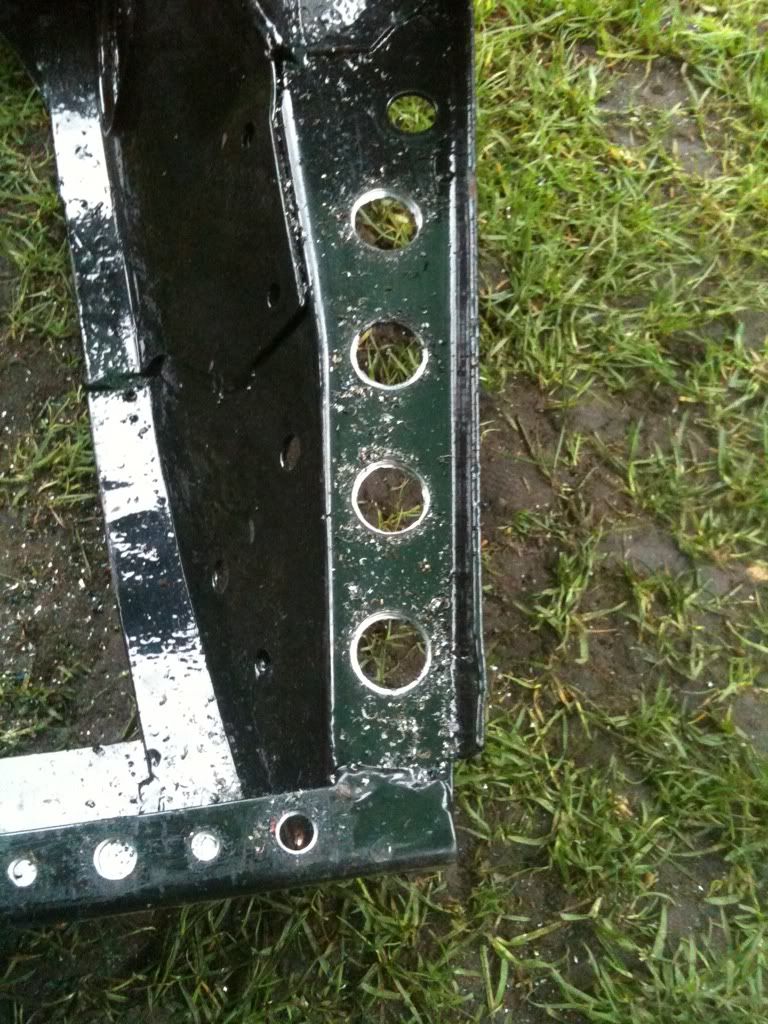
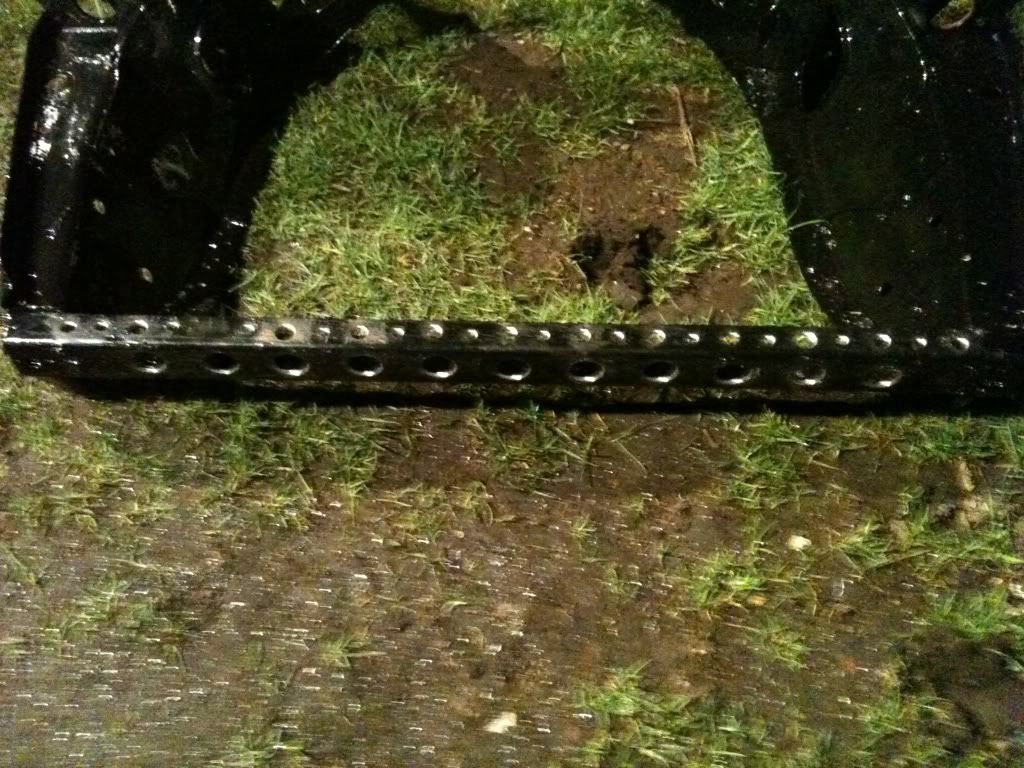
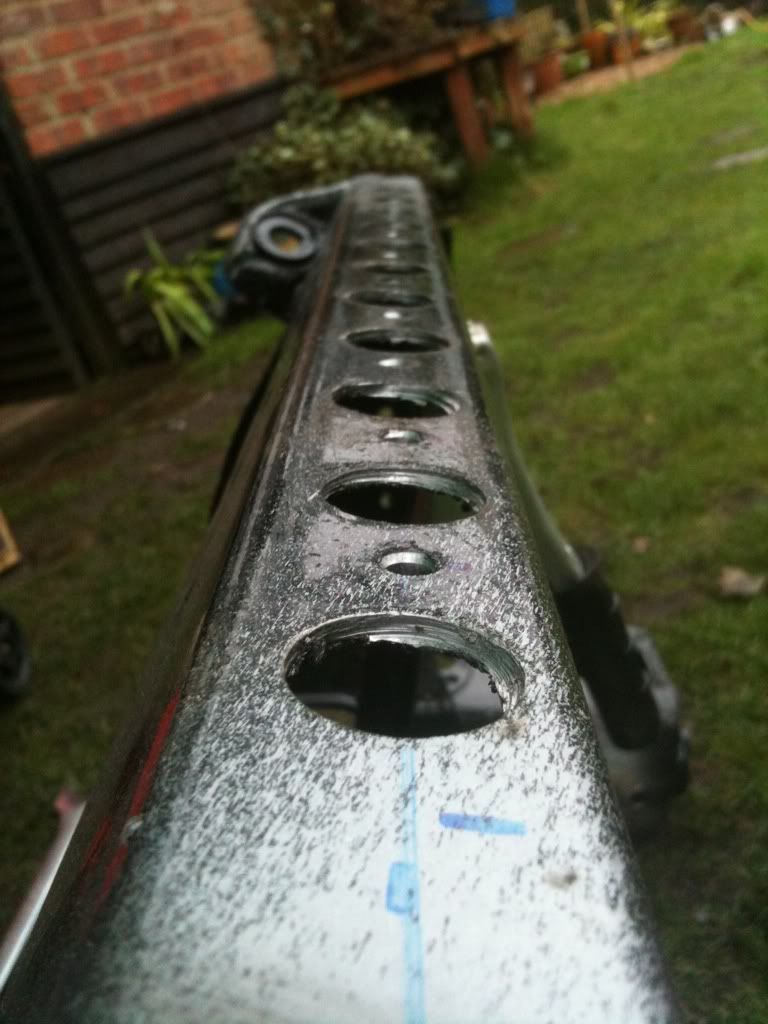
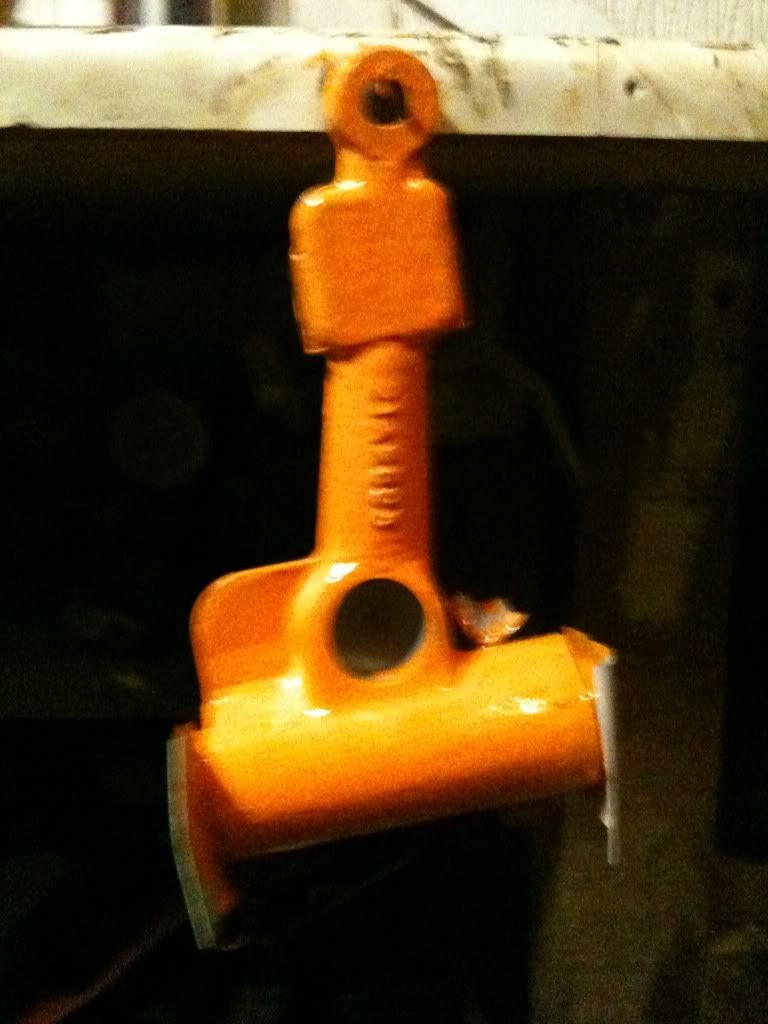
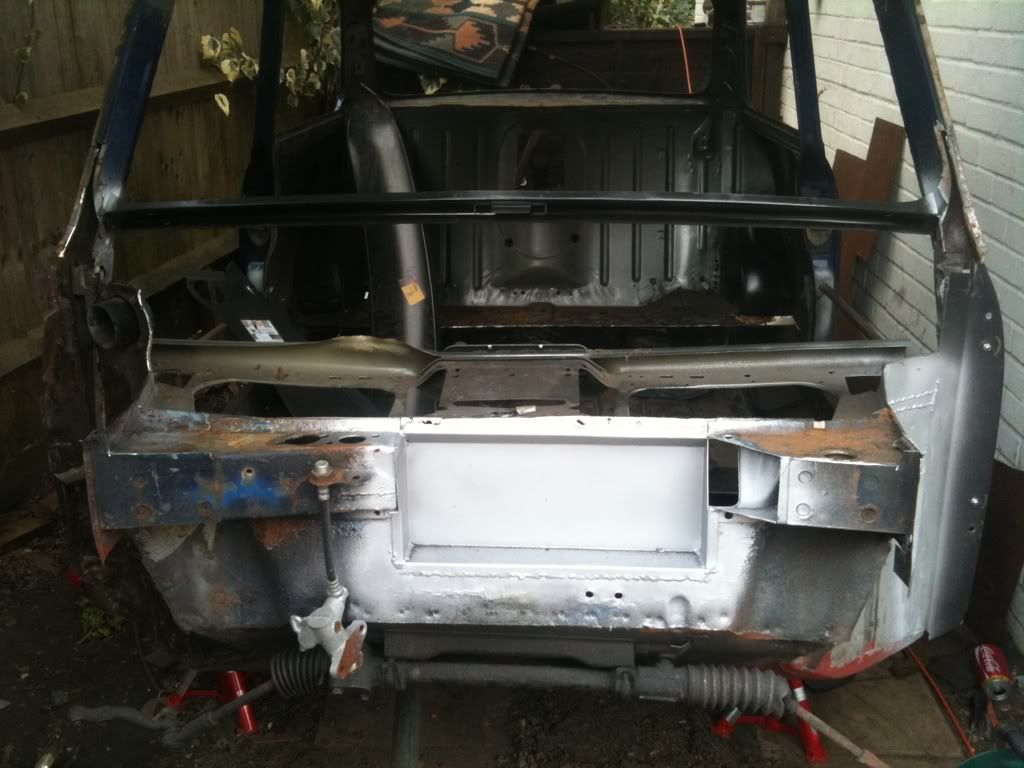
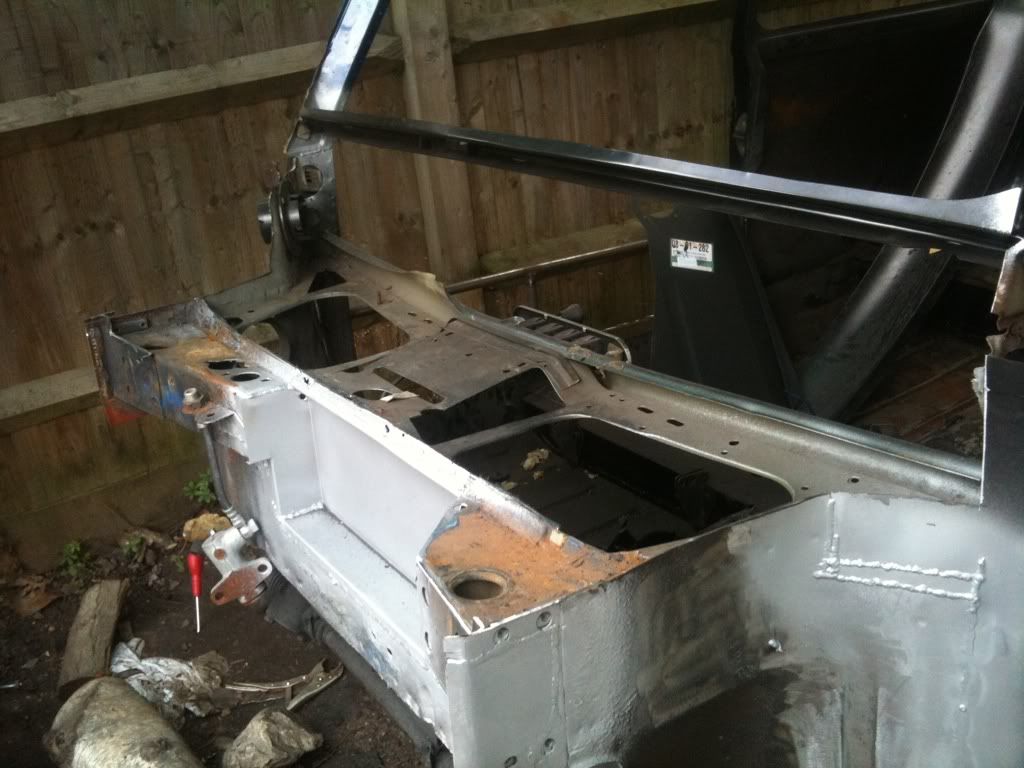
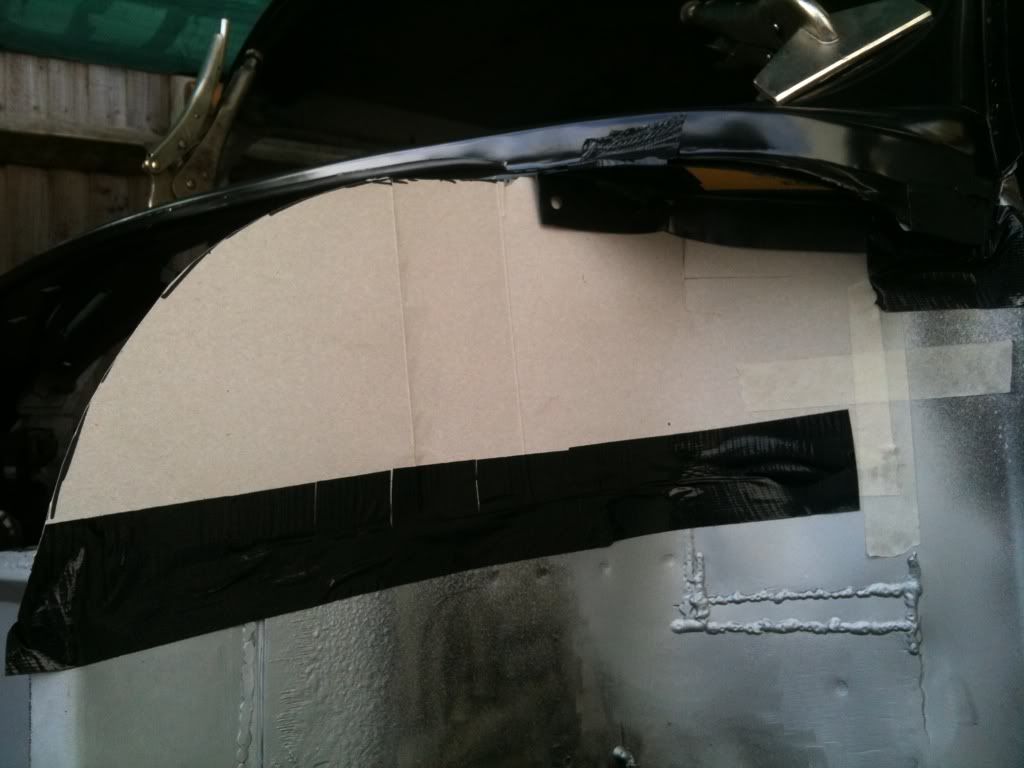
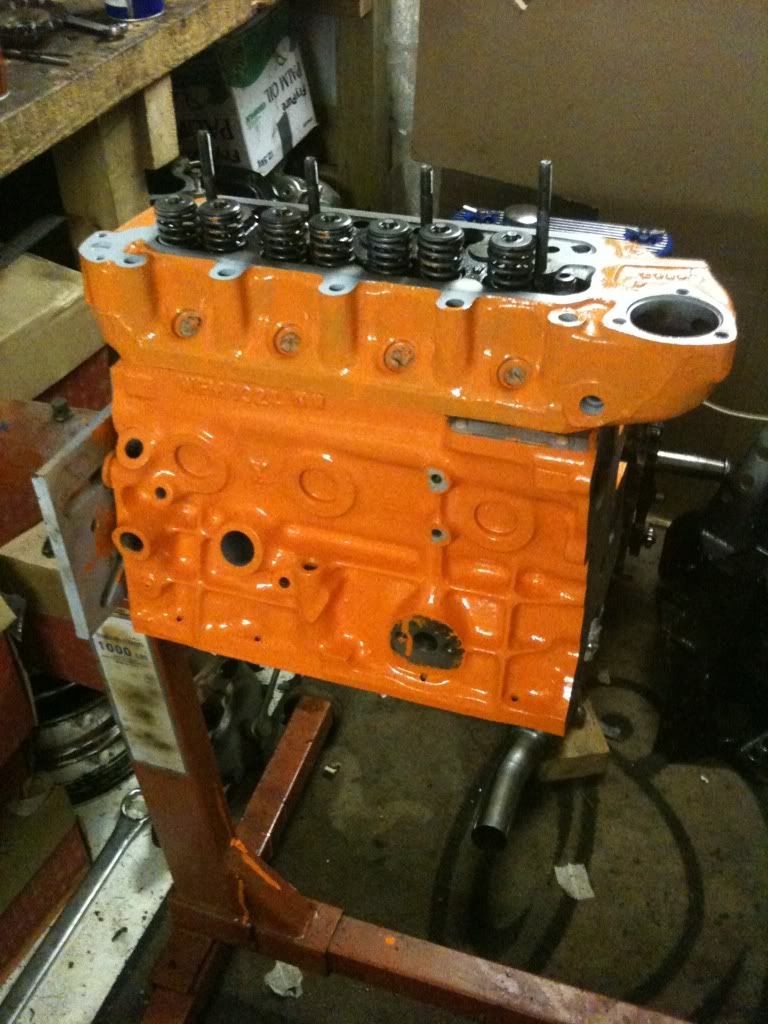
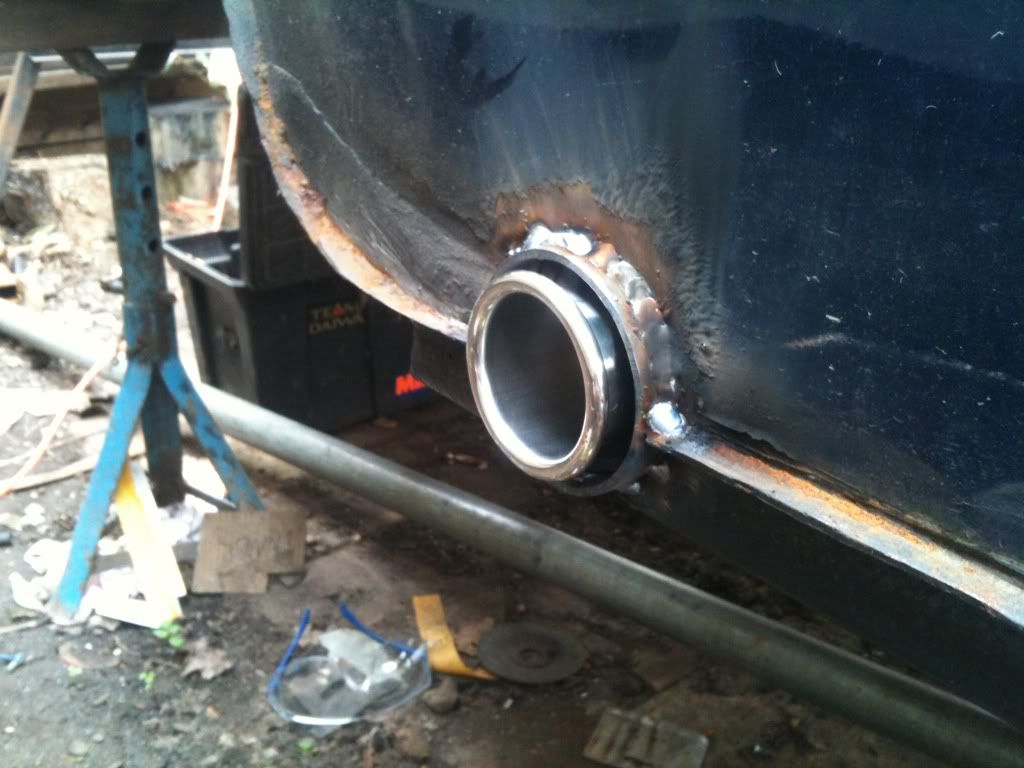
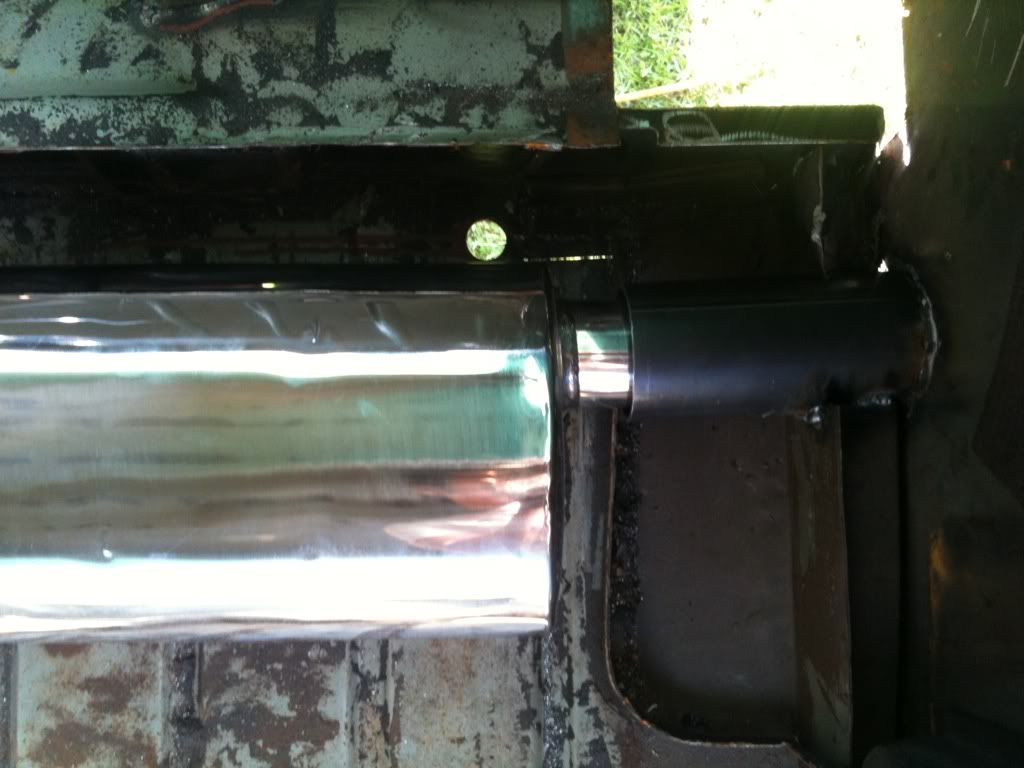
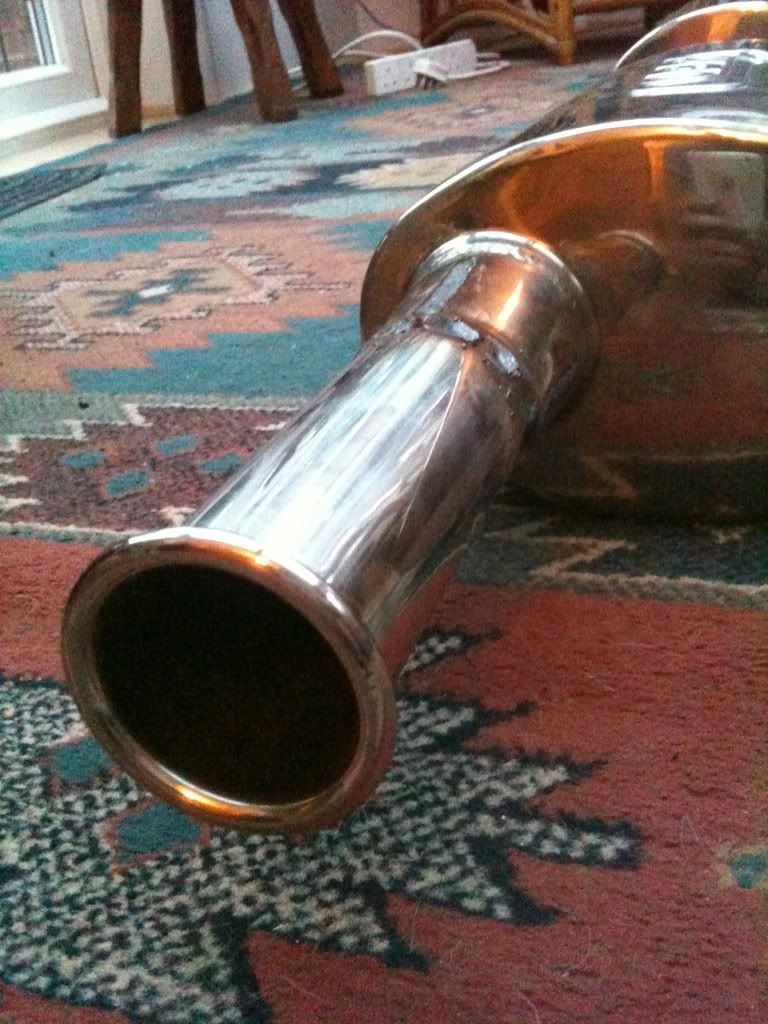
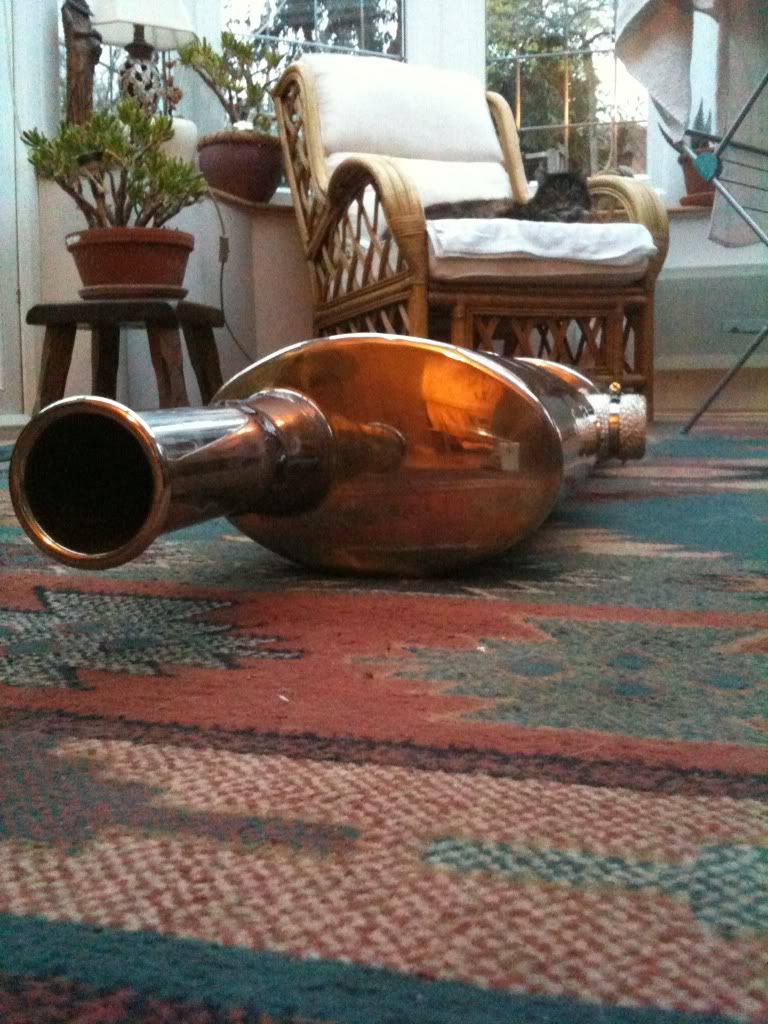
and one of some welding because it ended up so pretty looking

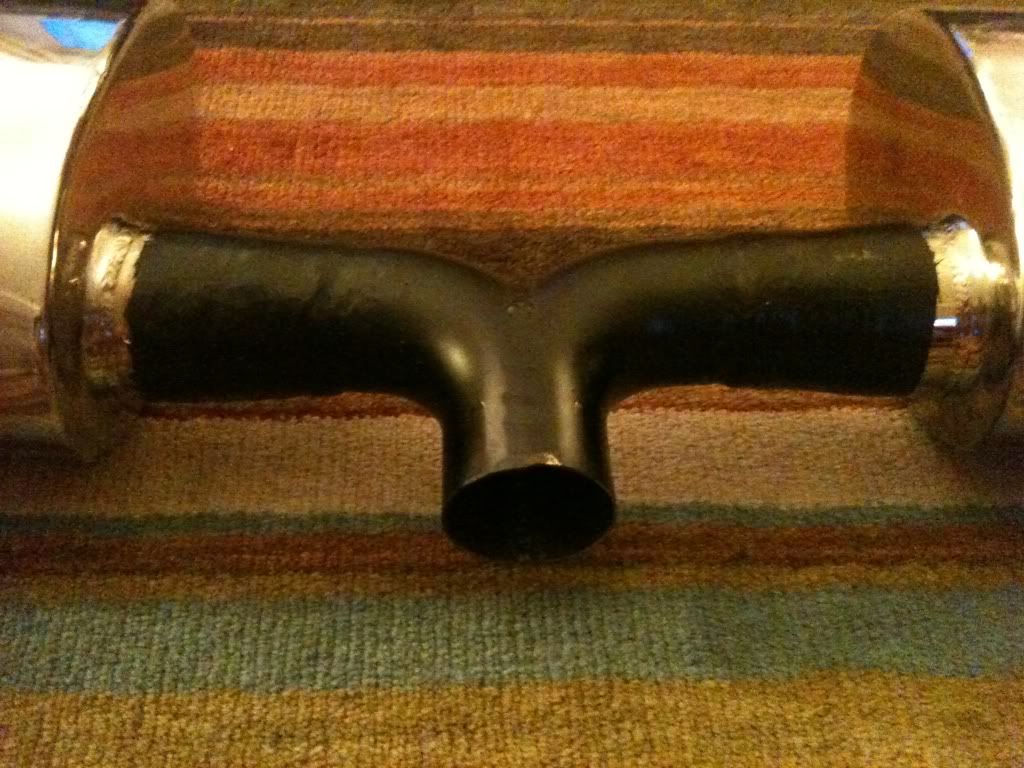
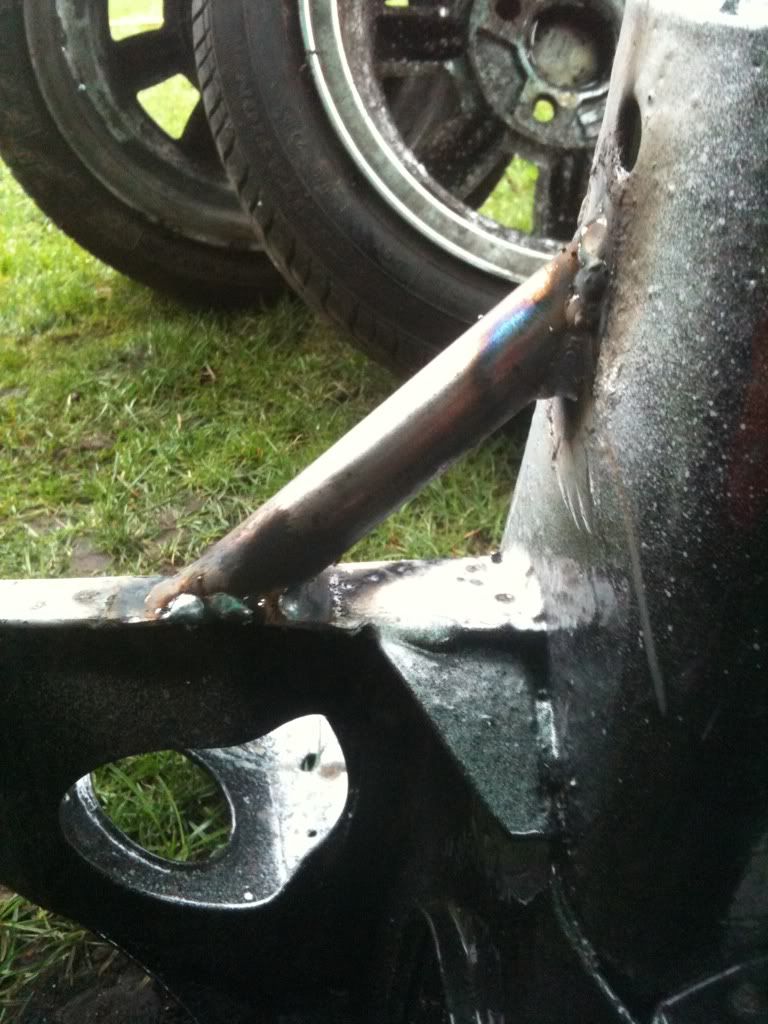
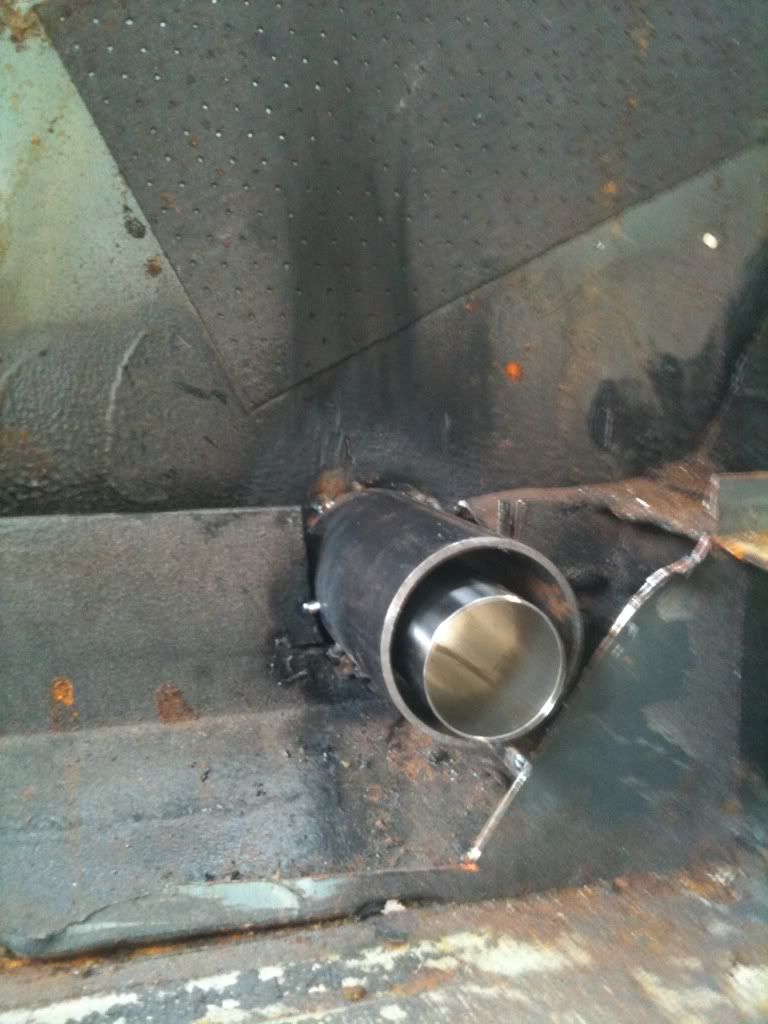
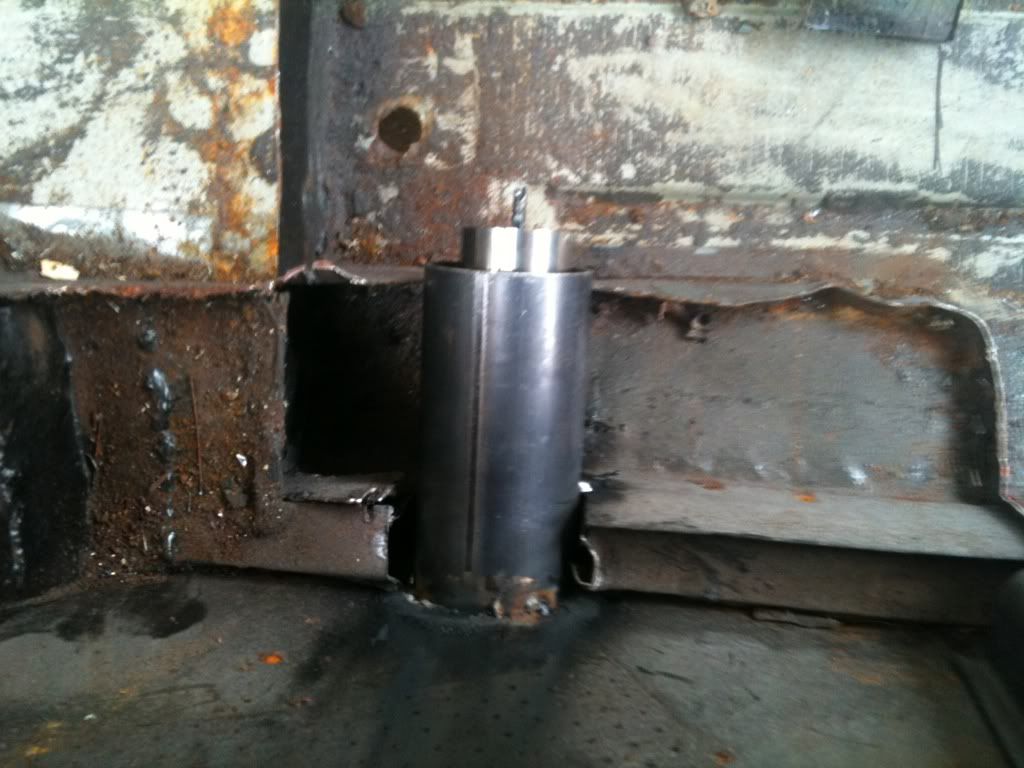
after college today i managed to get the T-piece made for my exhaust and started welding them up, sorry for the lack of pictures of how i did it but im sure most people can guess.


One Carb Or Two?

Posted 16 February 2011 - 07:22 PM
Soldiering Along

Posted 16 February 2011 - 08:00 PM
One Carb Or Two?
Posted 17 February 2011 - 07:02 PM
One Carb Or Two?
Posted 28 February 2011 - 05:41 PM

One Carb Or Two?
Posted 07 March 2011 - 08:09 PM

One Carb Or Two?
Posted 09 March 2011 - 08:05 PM
Learner Driver

Posted 09 March 2011 - 08:24 PM
Up Into Fourth

Posted 09 March 2011 - 09:13 PM
One Carb Or Two?
Posted 09 March 2011 - 09:36 PM

One Carb Or Two?
Posted 15 March 2011 - 09:53 PM
One Carb Or Two?
Posted 16 March 2011 - 09:03 PM

One Carb Or Two?
Posted 28 March 2011 - 08:23 PM
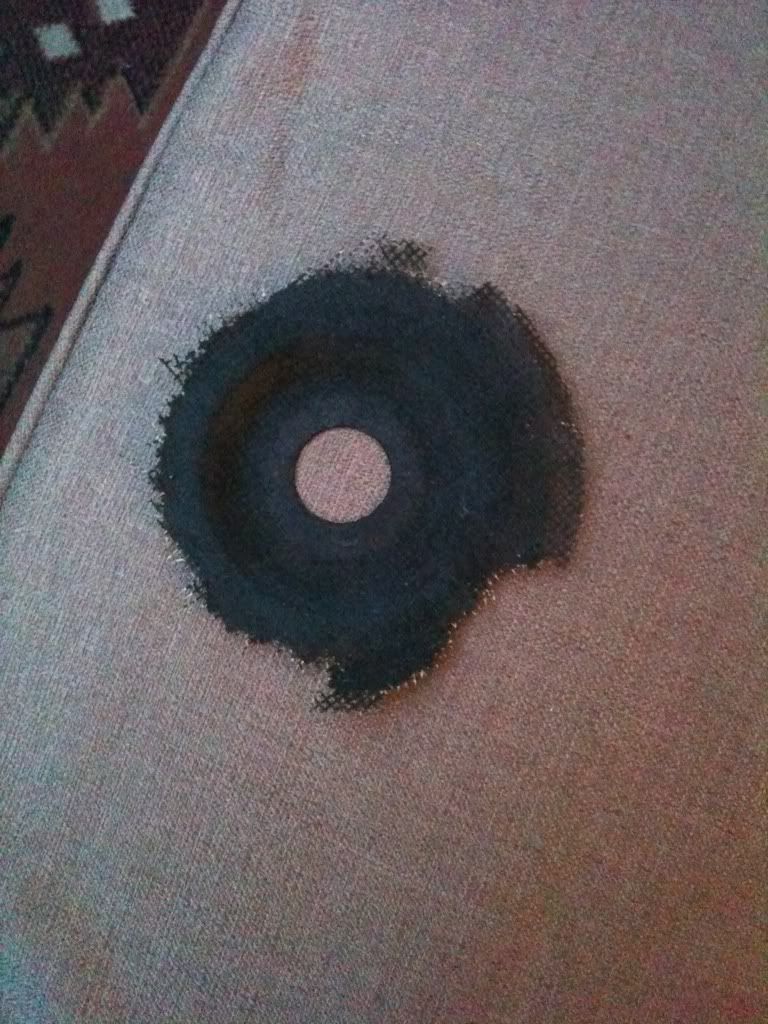
unlessi manage to find things to do that dont involve my moving my leg around.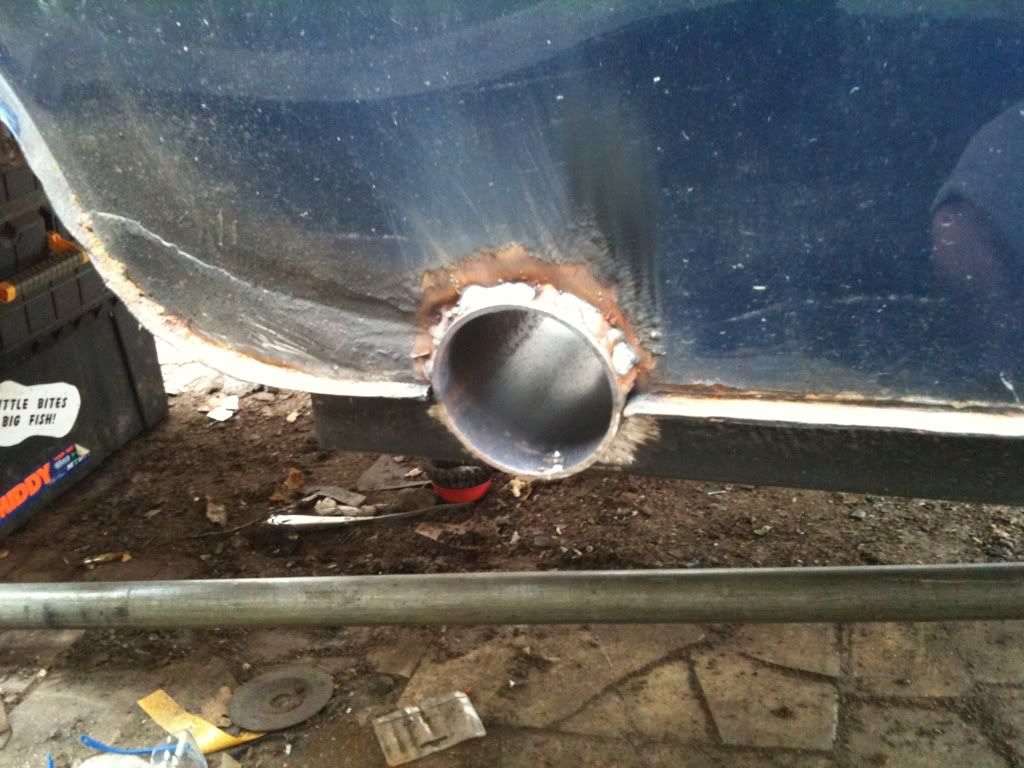


Up Into Fourth
Posted 28 March 2011 - 08:37 PM
One Carb Or Two?
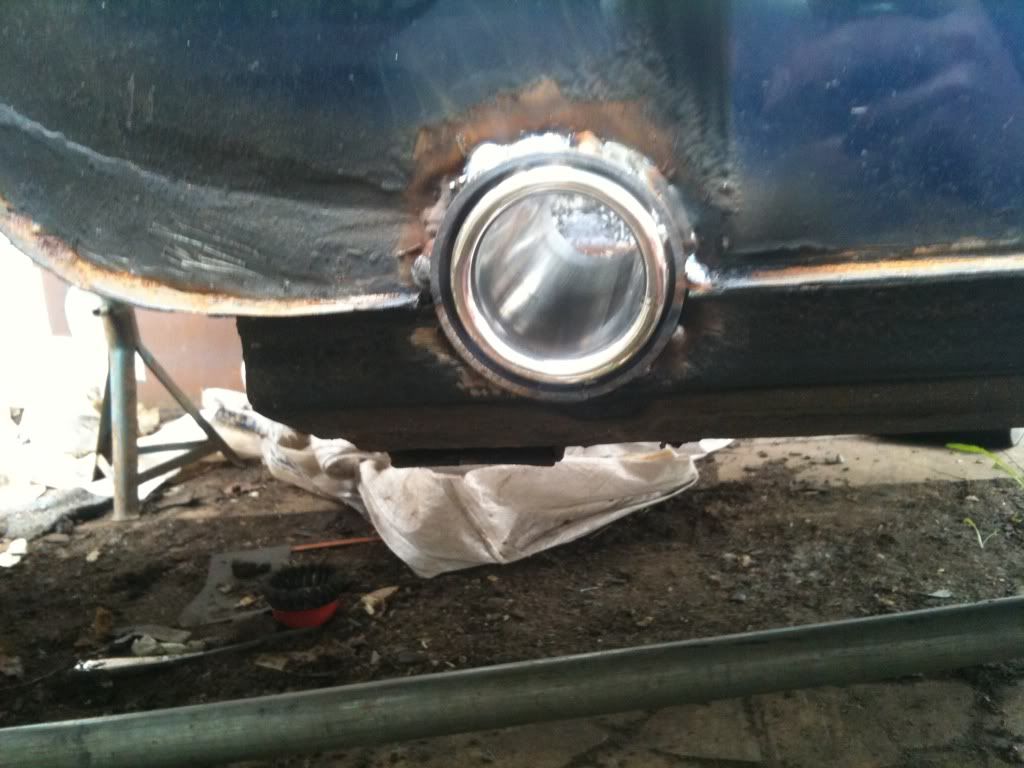
Posted 28 March 2011 - 08:44 PM
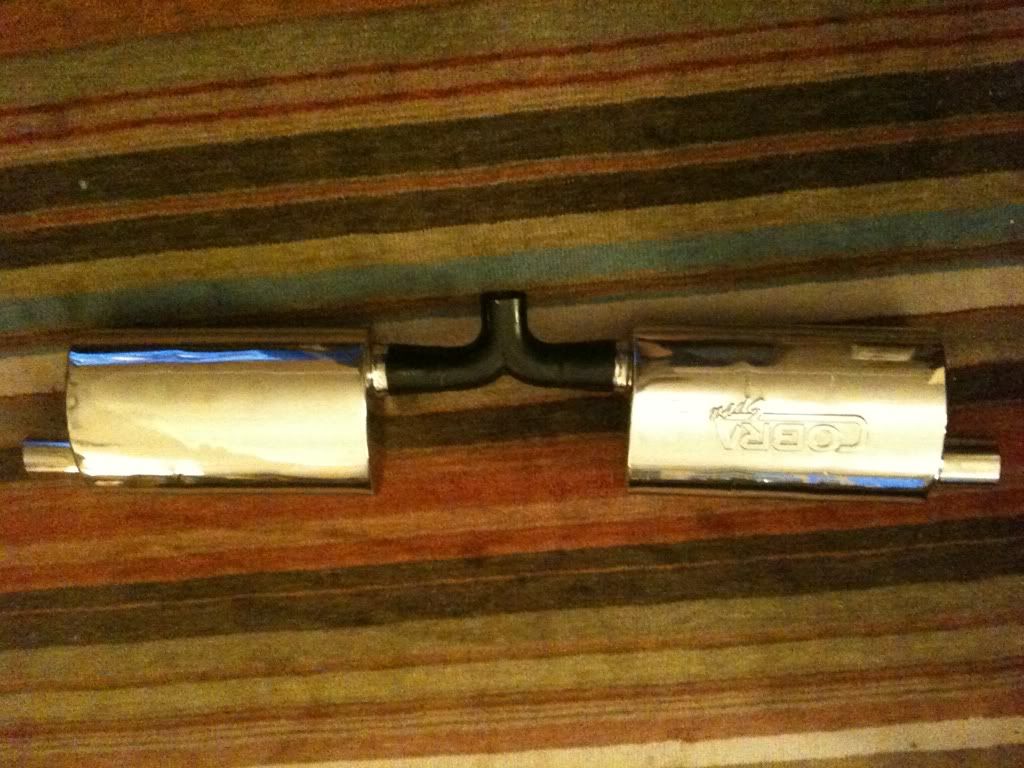
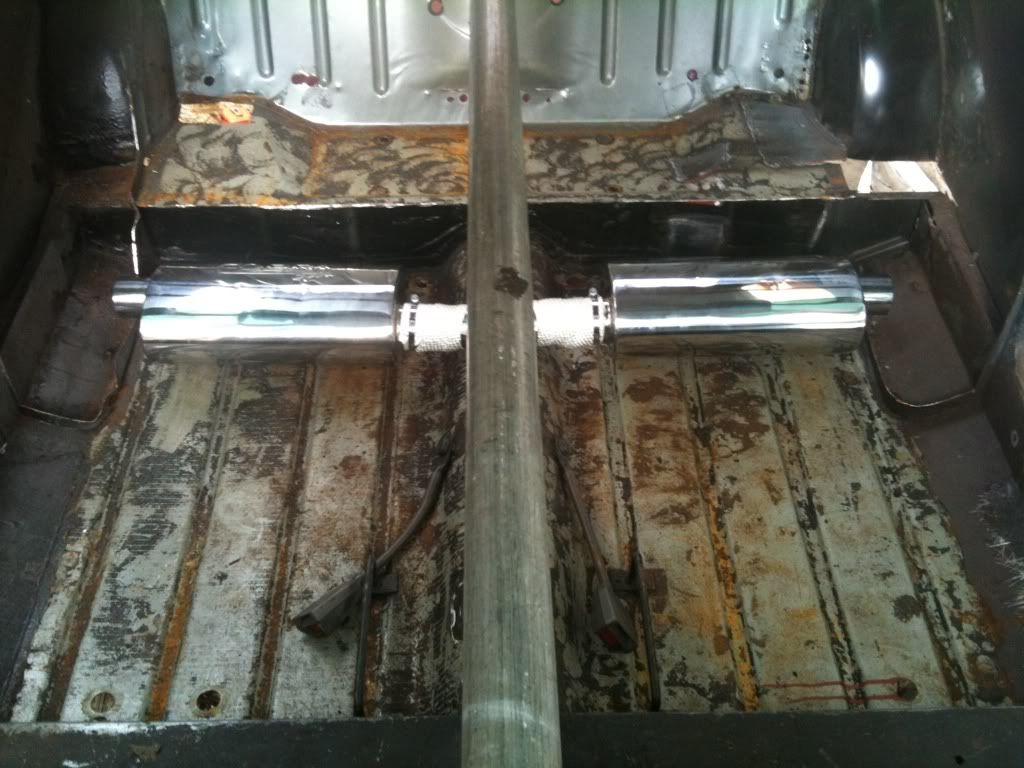
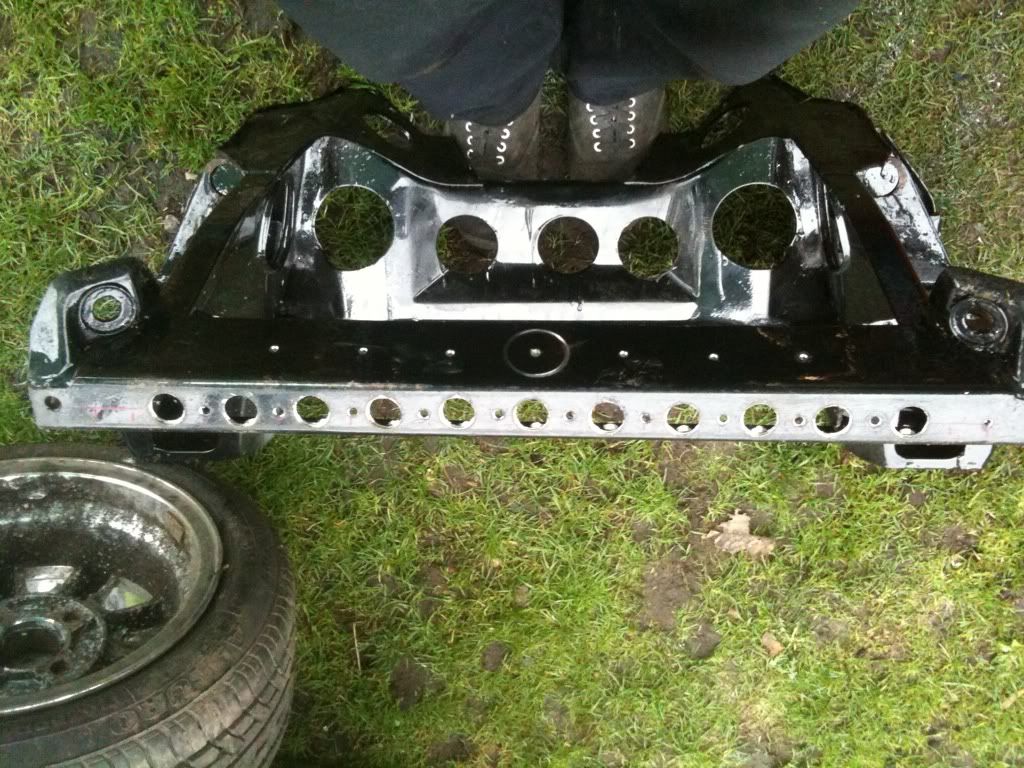
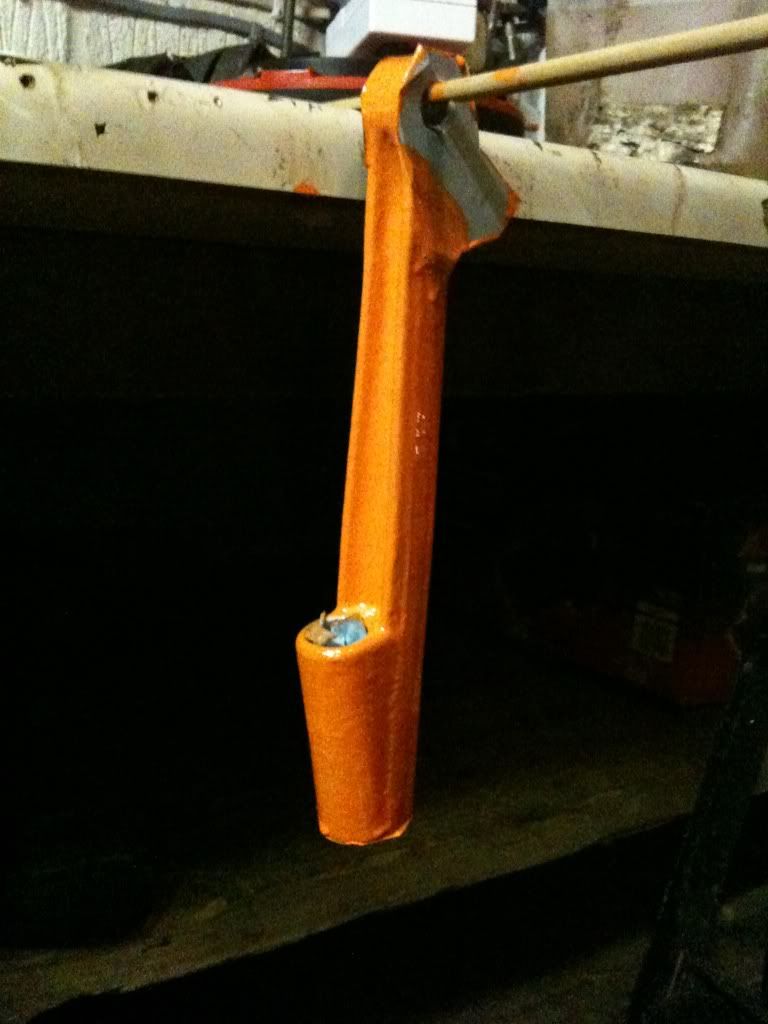
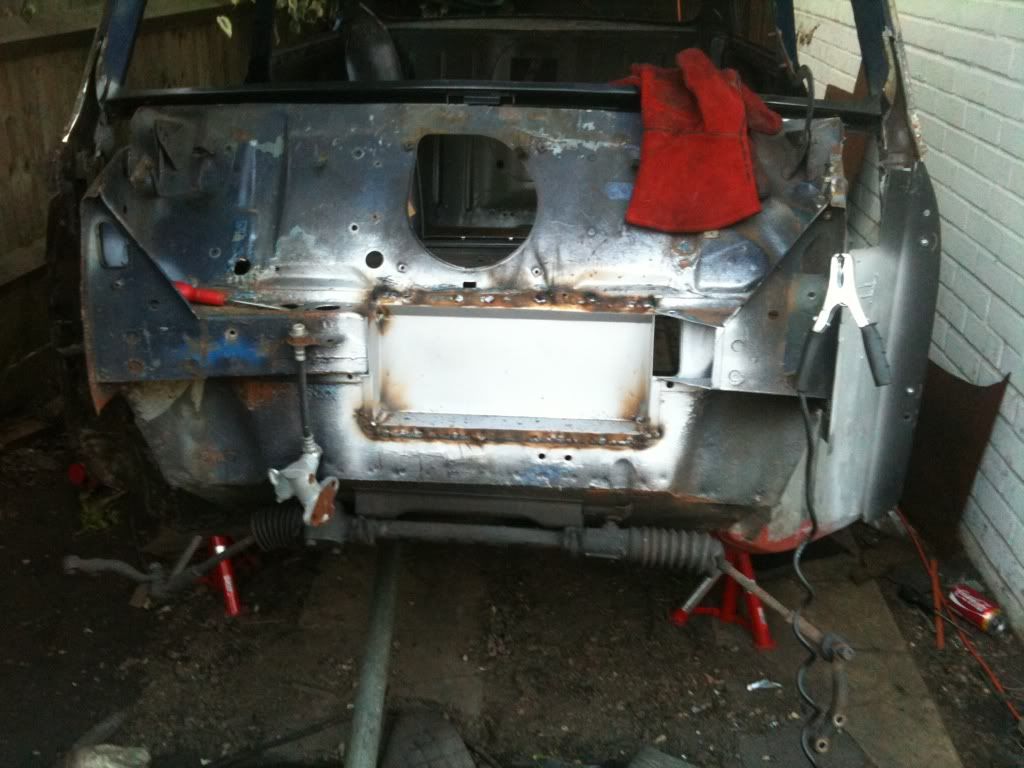
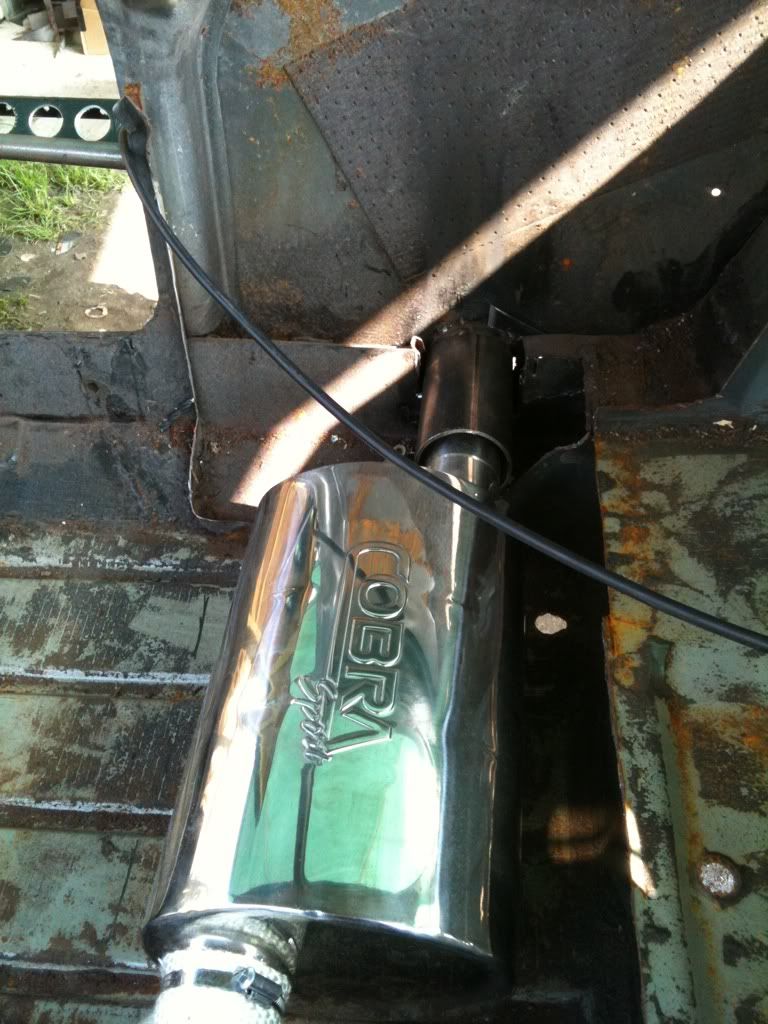
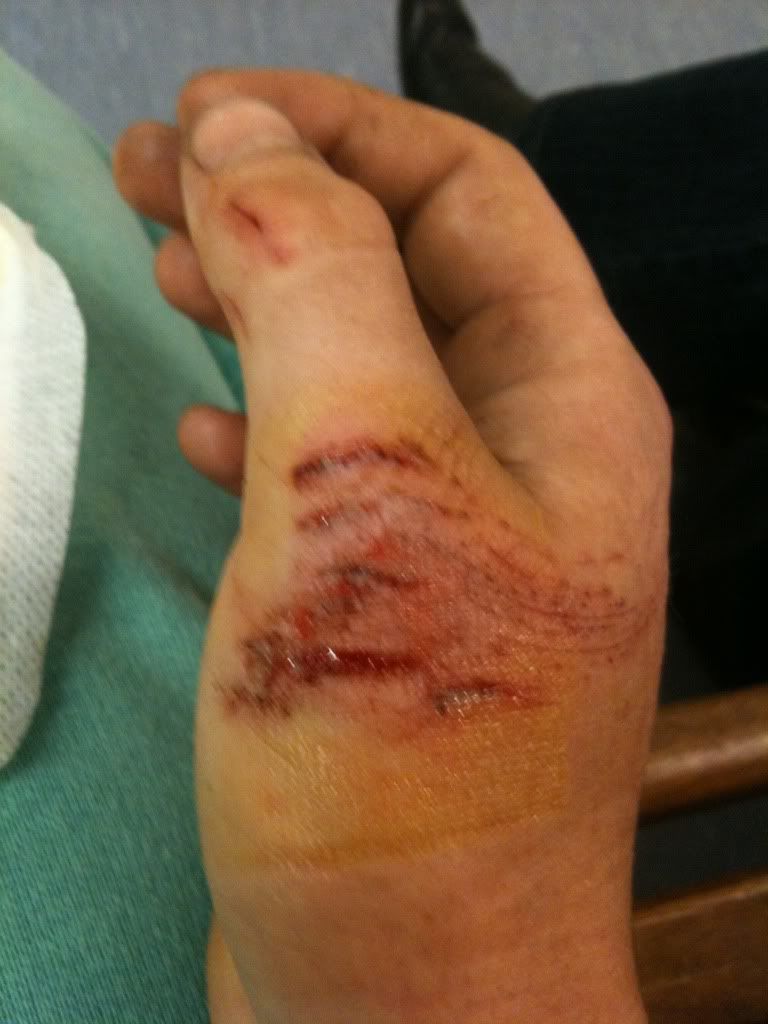
The exhaust tips look good Ben, what does you're hand look like under that bandage?
One Carb Or Two?
Posted 29 March 2011 - 10:39 AM


0 members, 2 guests, 0 anonymous users


