Jump to content


Photo
- - - - -

Nordic Blue Studio 2 Rebuild


  • Please log in to reply
32 replies to this topic

#1 mars red mike

mars red mike

    Camshaft & Stage Two Head

  • Members
  • PipPipPipPipPipPipPipPip
  • 1,500 posts
  • Local Club: Bodge Speed Racing

Posted 22 March 2011 - 08:08 PM

Hi all.I would like to introduce my new project. She is a 1992 Studio 2 in Nordic Blue, very very solid for its age. Original sills, original rear sub frame, and it still has all its original interior trim. Here is the most up to date picture I have of her
Posted Image
Posted Image

My original plan was colour change, wheels, interior etc but it seems a shame to rip apart such an original car and scatter the parts to the four winds. So I have decided to return her to completley original spec. So far I have noted the following that needs changing

1. Bumpers, wipers door handles and number plate light to be replaced with black ones.
2. Correct grille to be fitted.
3. Stainless mirrors need to be swapped for correct black plastic ones.
4. Chrome arches need to come off.
5. Electric clock and fag lighter need to be removed.
6. CD player to be swapped for Rover cassette player. (Already got this waiting)
7. Clear indicators to be swapped for correct orange ones.

There isnt much bodywork to do on it, maybe a new front end as its a little crusty and a quality respray and she will be beautiful again. Will try to get some better pics over the next few days.

Mike

#2 Midas Mk1

Midas Mk1

    Crazy About Mini's

  • TMF+ Member
  • PipPipPipPipPipPipPipPipPipPip
  • 5,779 posts
  • Location: Manchester
  • Local Club: S.U.N.M.C

Posted 22 March 2011 - 08:42 PM

Nice to see another Nordic Blue studio 2 :lol:
, shame I havent kept mine standard, although I have kept the Nordic blue colour scheme when it was resprayed :)

Ive seen lots of studio2's like mine with 12x5 Gb alloys, I think they were a dealer option at the time. Do you have replacement decals for when you have it resprayed? I managed to find my spare set on fleabay listed under metro, for just a fee pence! There still stored away, waiting to be fitted if I ever go back to standard....

subscribed to this thread :P

Edited by Midas Mk1, 22 March 2011 - 09:34 PM.


#3 grahama

grahama

    Up Into Fourth

  • Members
  • PipPipPipPipPipPipPipPipPip
  • 2,442 posts
  • Location: Warrington
  • Local Club: None in my area !!

Posted 22 March 2011 - 09:29 PM

That looks mint !!! Look forward to seeing it finished in 3 months given how good it looks !!!

Graham

#4 richard29593

richard29593

    Mini Mad

  • Members
  • PipPipPipPip
  • 156 posts

Posted 22 March 2011 - 10:01 PM

im guna follow this to

i have a studio 2 with quite alot of original features and im too restoring mine to its original condition

ps mine is black :) only once seen another black one lol

anyway have fun

#5 mars red mike

mars red mike

    Camshaft & Stage Two Head

  • Members
  • PipPipPipPipPipPipPipPip
  • 1,500 posts
  • Local Club: Bodge Speed Racing

Posted 23 March 2011 - 07:15 PM

As promised, here are some better pictures
Posted Image
Posted Image
Posted Image
Posted Image
Posted Image
Posted Image
Posted Image
Posted Image
Posted Image
Posted Image
Posted Image
Posted Image
Posted Image
Posted Image
Posted Image
Posted Image
Posted Image
Posted Image
Posted Image
Posted Image

#6 mars red mike

mars red mike

    Camshaft & Stage Two Head

  • Members
  • PipPipPipPipPipPipPipPip
  • 1,500 posts
  • Local Club: Bodge Speed Racing

Posted 23 March 2011 - 07:16 PM

and a couple more.....
Posted Image
Posted Image
Posted Image
Posted Image

#7 myredmini

myredmini

    My Mummy Says It's OK

  • Members
  • PipPipPipPipPipPipPipPipPip
  • 3,211 posts
  • Name: Dan
  • Location: Teesside
  • Local Club: BOG MOG

Posted 23 March 2011 - 08:09 PM

Looks very solid! :thumbsup:

#8 DaveVader

DaveVader

    One Carb Or Two?

  • Members
  • PipPipPipPipPipPipPip
  • 942 posts

Posted 24 March 2011 - 10:00 AM

I also have a Nordic Blue Studio 2. I was going to keep my completely original but decided I want a huge turbo and something that will end up killing me, so I'm building that instead.

#9 arnie

arnie

    Super Mini Mad

  • Members
  • PipPipPipPipPipPip
  • 514 posts
  • Local Club: sutton coldfield

Posted 24 March 2011 - 04:55 PM

this looks familiar. prity sure i've seen this round an about west brom area. looks realy nice.

arnie.

#10 mars red mike

mars red mike

    Camshaft & Stage Two Head

  • Members
  • PipPipPipPipPipPipPipPip
  • 1,500 posts
  • Local Club: Bodge Speed Racing

Posted 26 March 2011 - 08:30 PM

Done a bit more to the Studio 2 over the last couple of days. Thursday after work I got my old Rover radio out of the loft and fitted in place of the old CD player. Still works absolutley perfectly surprisingly. Removed the tatty chrome washer jets and replaced them albiet temporarily, with the correct plastic ones. I say temporarily because the person who fitted the chrome washers drilled the holes in the scuttle too bug so now the original ones wont go back in properly.
Today I did a few more little bits before I had to fit the new exhaust to the red one.

I removed the wing and GB badges and swapped the tatty chrome number plate light for a proper black one. While I was mooching in the shed I found the original boot badge so I stuck it back on.
Posted Image

Next up I changed the clear indicators for orange ones.
Posted Image
Posted Image
Posted Image
Posted Image

While I was at it, I also removed the chrome arch covers.
Posted Image

I also ripped this cheesy dung out of the rear window. No place at all on this Mini
Posted Image

Tomorrow I am going to have a good mooch in the shed as I am sure I have got a black handle set and at least one pair of sealed beam headlamps that need to be fitted.

Stay tuned.......

#11 mars red mike

mars red mike

    Camshaft & Stage Two Head

  • Members
  • PipPipPipPipPipPipPipPip
  • 1,500 posts
  • Local Club: Bodge Speed Racing

Posted 30 March 2011 - 08:54 PM

Got three days off this week so took the opportunity to do a few jobs on the mini. I recently had a good mooch in my spares shed and found a load of parts to go on the Studio 2.

First up, a near mint pair of sealed beam headlamps. I had to dig around to find some sidelight bulb holders which took a while but once I had found them the swap was fairly quick.
Posted Image

Also found a full set of black door handles. Only problem was the locks were goosed so went to Mini Spares this morning and picked up a new barrel
set and some gaskets. Fitting the new locks went smoothly and the black door handles were soon fitted. Sorted.
Posted Image

While I was at Mini Spares I also picked up a passenger side door mirror to replace the grotty Tex one and some black plastic washer jets. I wanted to fit the proper single jet ones but the previous owner had drilled the holes out in the scuttle panel to fit chrome jets so the holes were too big to refit the original ones. I fitted some intended for a mk1 and as they are black they dont look out of place.
Posted Image

The mirror
Posted Image

While I had the door cards off I gave them an scrub up along with the top and bottom dash rails. Cleaned up really well considering their age.
Posted Image

Things really coming along nicely with this one. Makes a change not to have to start by chopping rusty metal out.

mike

#12 RichardBrown

RichardBrown

    Speeding Along Now

  • Members
  • PipPipPipPipPip
  • 307 posts

Posted 13 April 2011 - 08:29 PM

looks much better standard
it looked tacky at the start

#13 mars red mike

mars red mike

    Camshaft & Stage Two Head

  • Members
  • PipPipPipPipPipPipPipPip
  • 1,500 posts
  • Local Club: Bodge Speed Racing

Posted 19 April 2011 - 07:50 PM

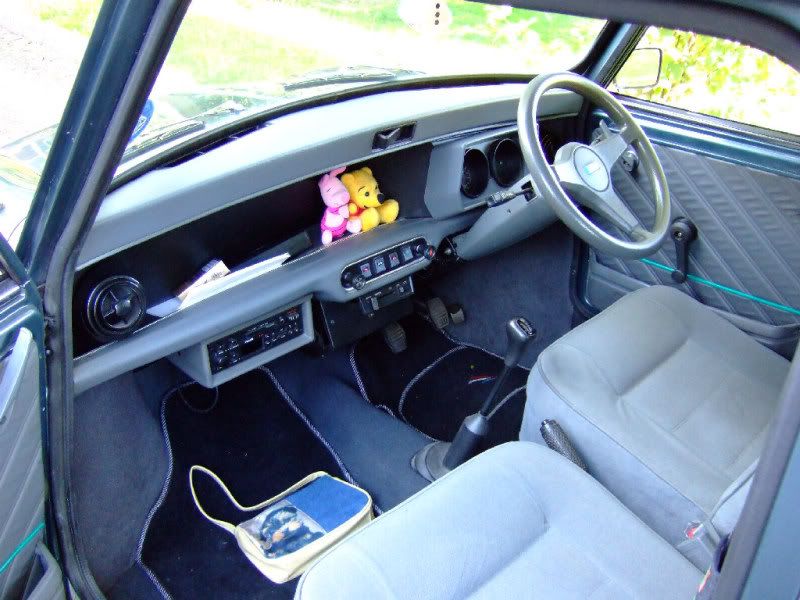
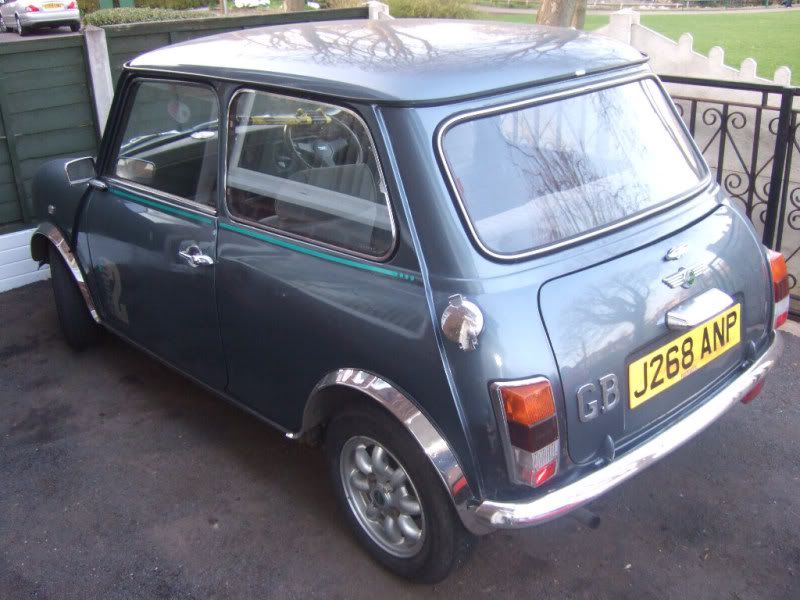
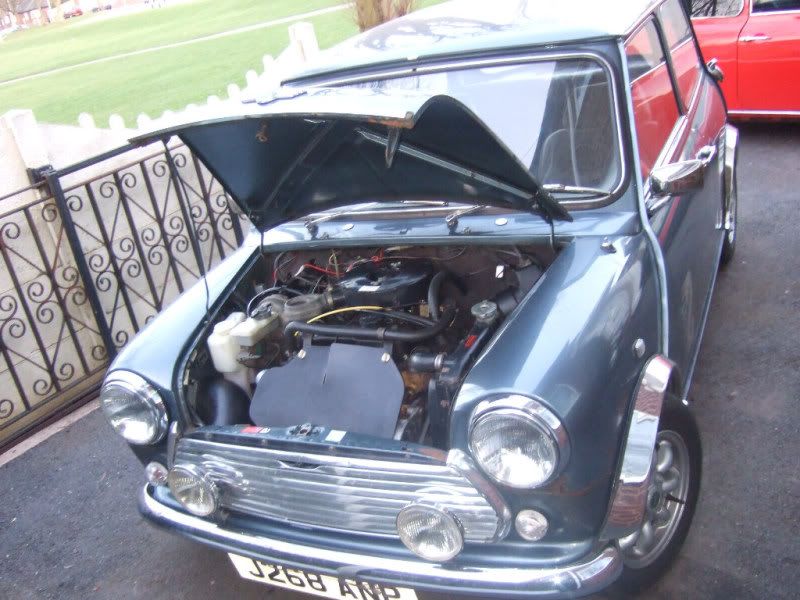
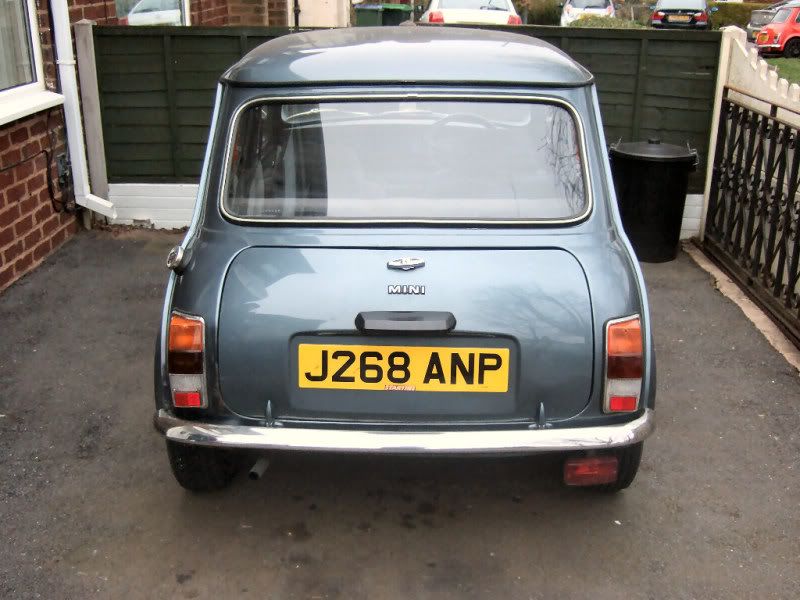
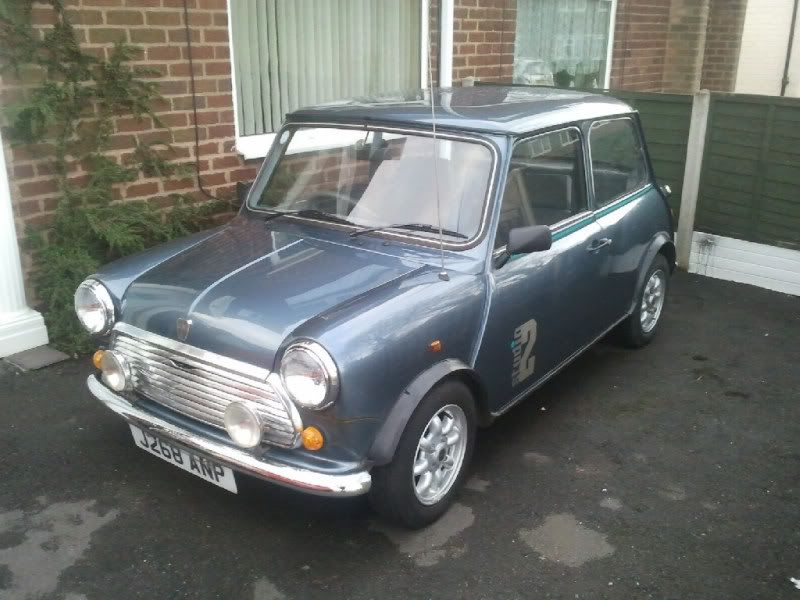
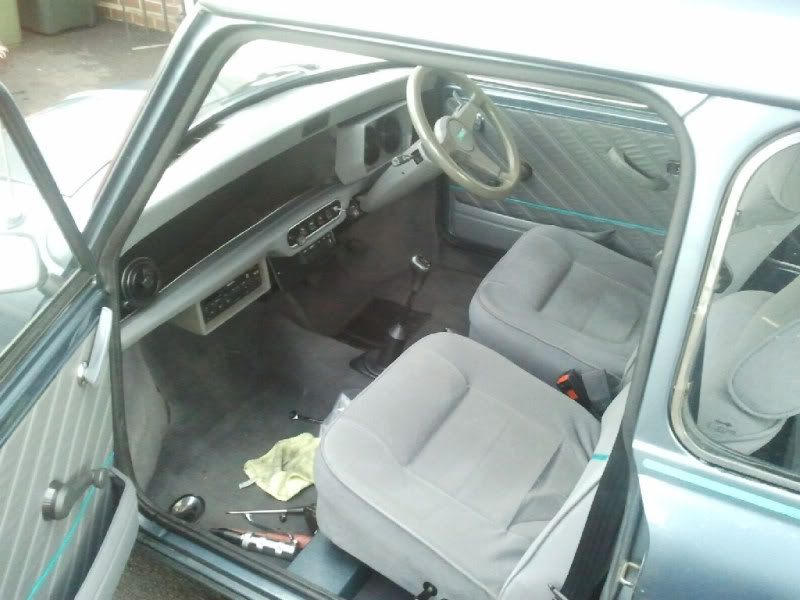
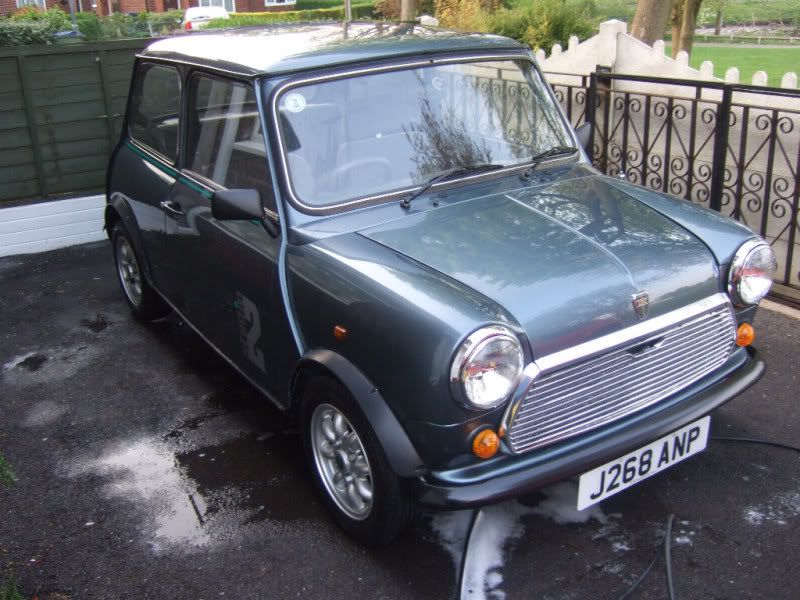
Right. First off I must apologise for not updating this thread. I have been really busy due to work and other commitments but sights are firmly set of the Studio 2 once again. The plan has changed slightly now. The Studio 2 will be pressed back into regular service next month and the red Mini will be coming off the road for some cosmetics and such. I have made some significant progress returning the Studio 2 back to standard form.

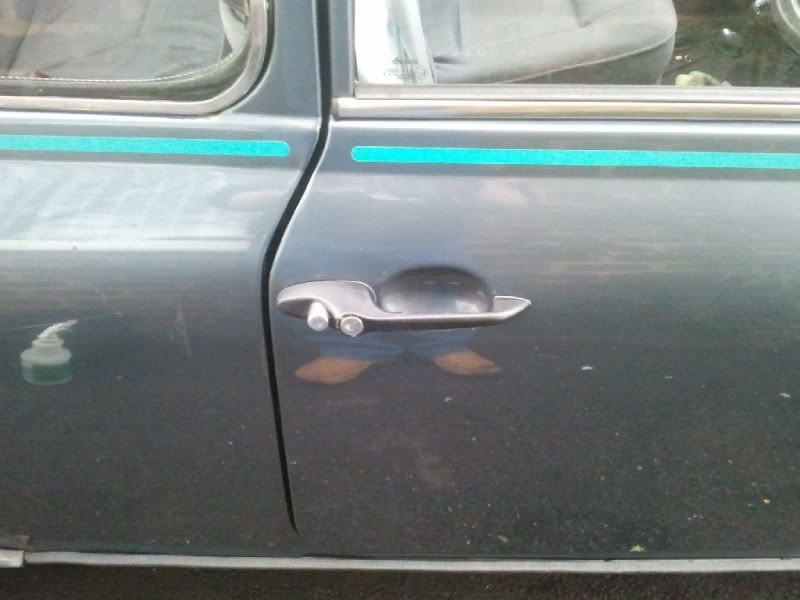
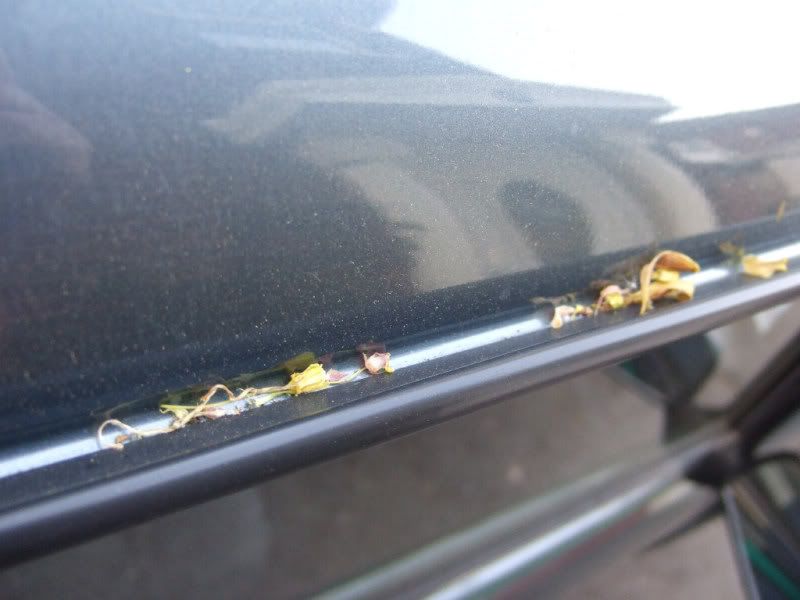
Paid a visit to Mini Spares during my lunch hour and picked up two door seals as I think the old ones were the factory ones and they no longer sealed very well.
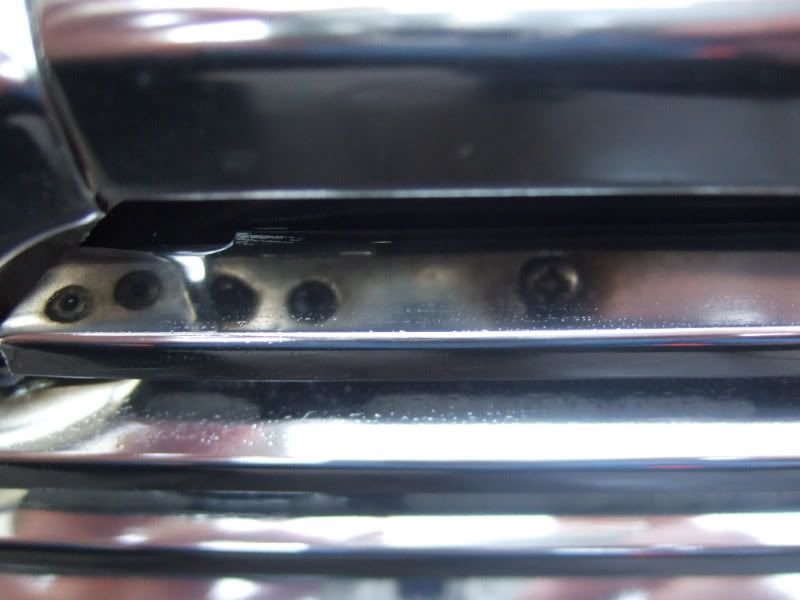
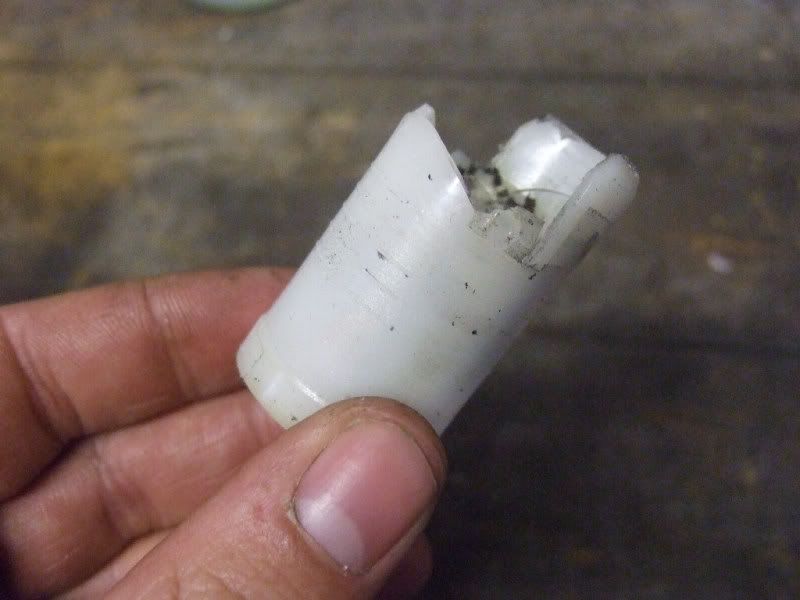
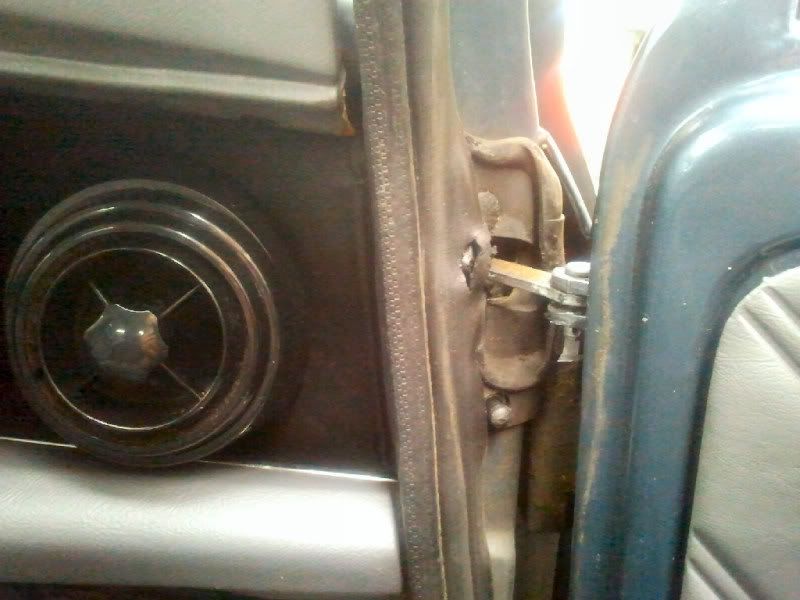
The state of the old ones
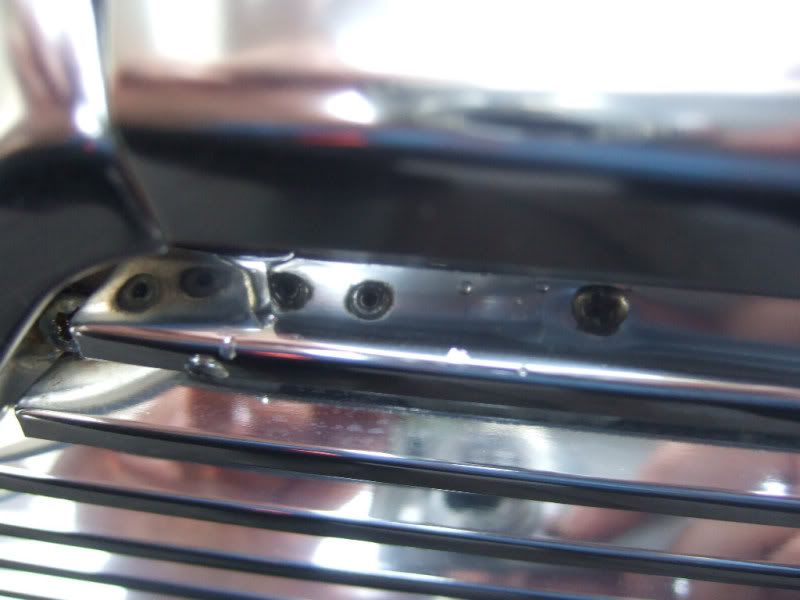
Posted Image

New one fitted
Posted Image

Thats more like it
Posted Image
I did replace the rubber seal around the catch but forgot to take a piccy.

Struck lucky at Mini Spares too. Didnt intend on replacing the bumpers just yet but they had a pair of black ones that had been ordered for a customer that
never collected them so I had them! You snooze you lose.
Fitted, within ten minutes of getting them home
Posted Image

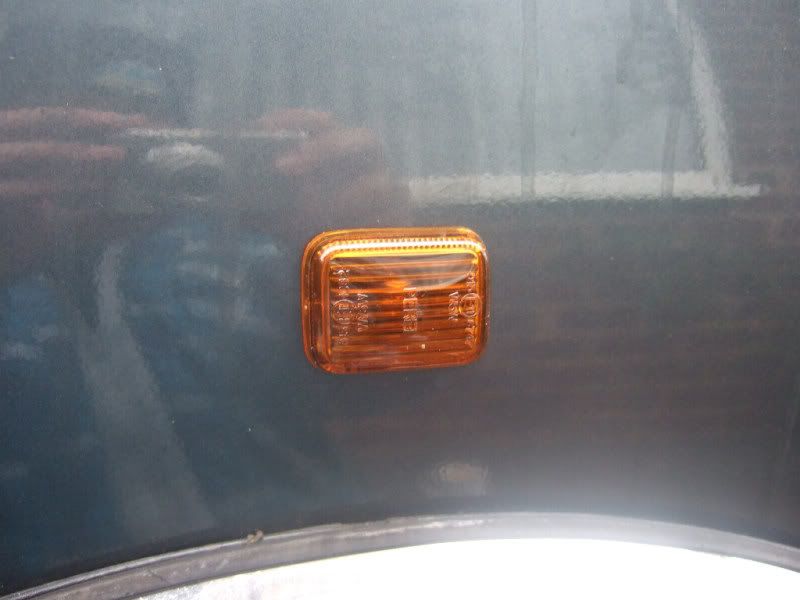
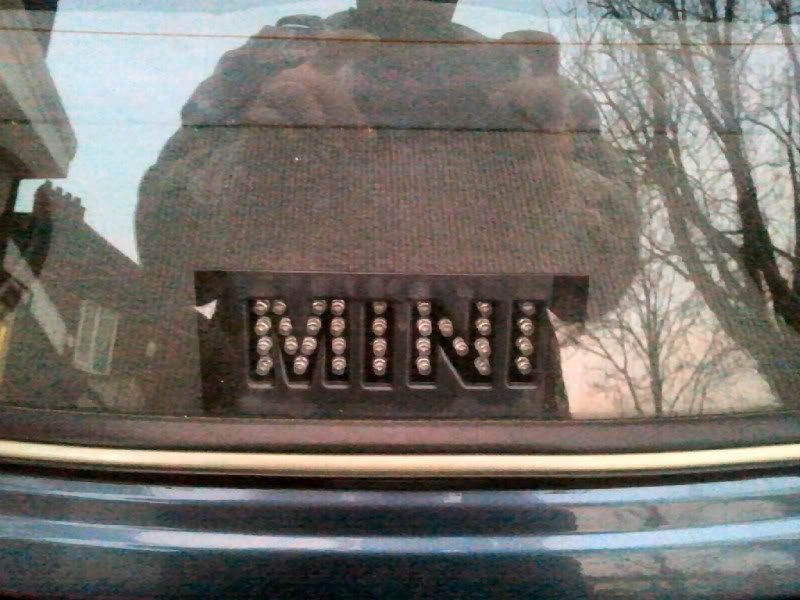
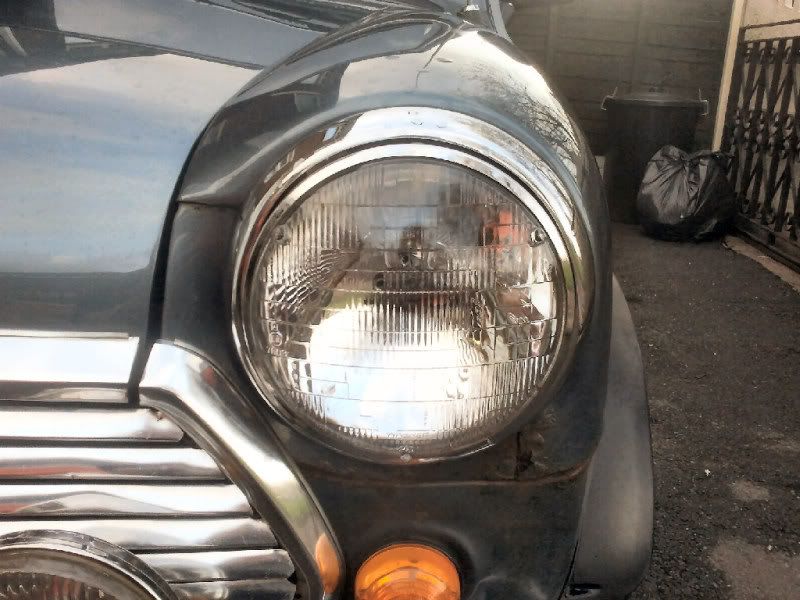
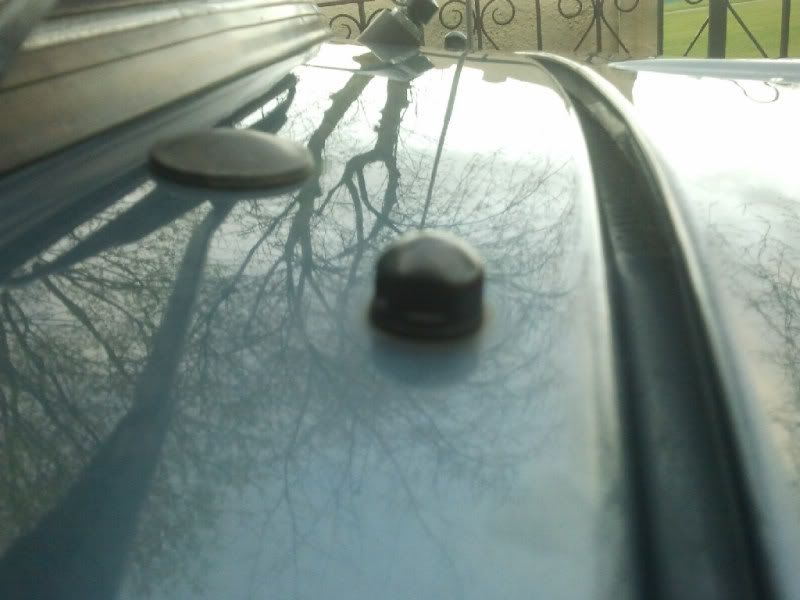
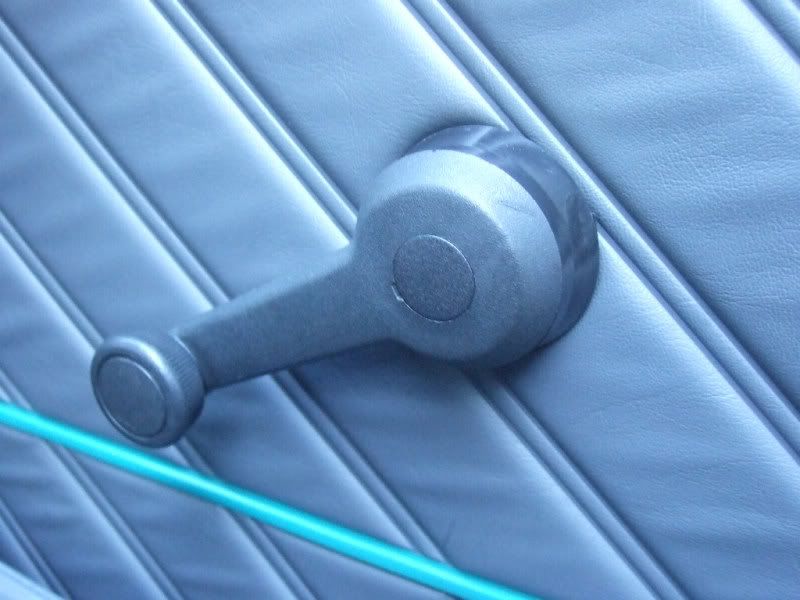
That was it until today when again I popped down to Mini Spares in my luch hour. I only intended to pick up two quarter light seals, a boot seal and a screw cap for the window winder but ended up coming out with a new grille as well to replace the battered Cooper one that was fitted.
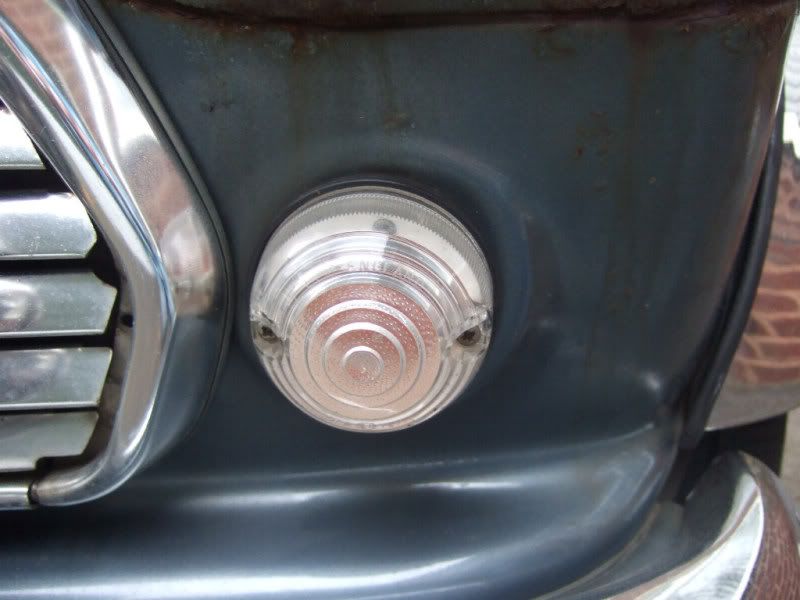
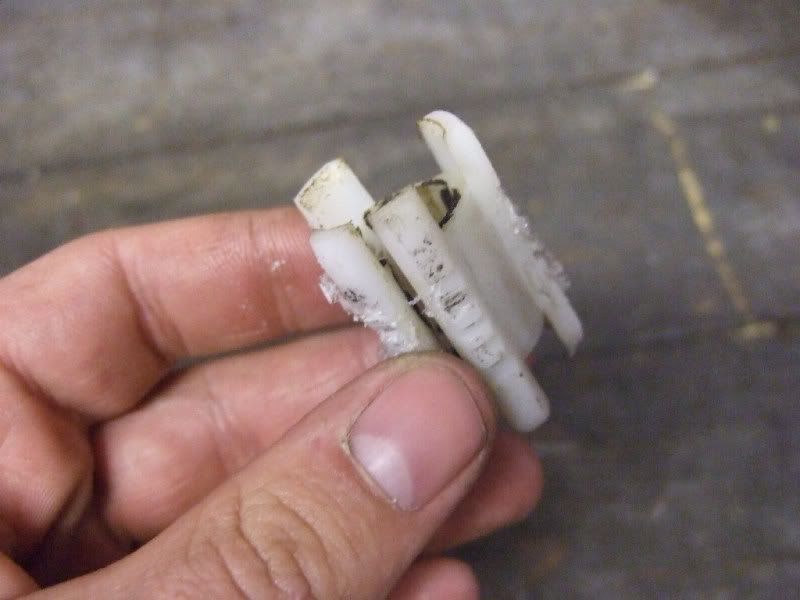
First up was the screw cover. Oddly enough this was the part I couldnt wait to fit. One of those small fiddly parts that drives you mad when its missing but makes such a difference when its replaced.
Posted Image

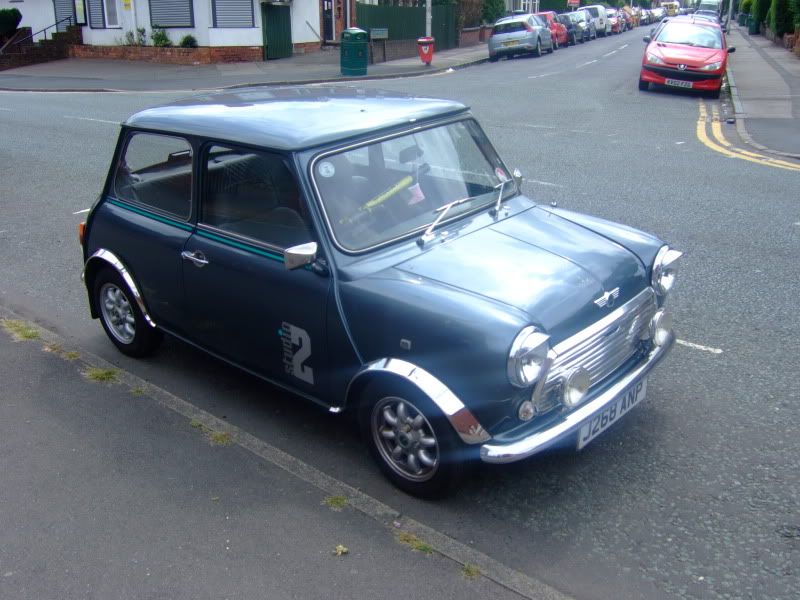
Next up, the battered cooper grille.....
Posted Image

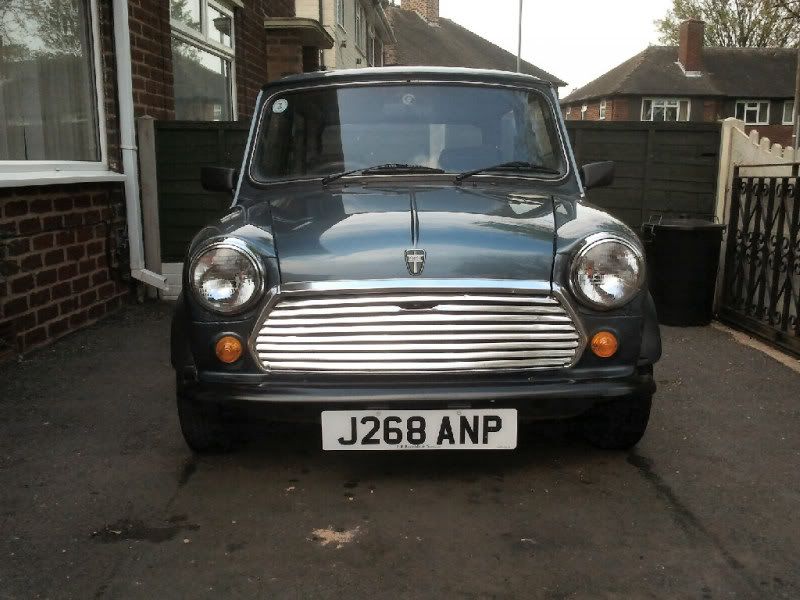
.....Makes way for the proper multi slat version. :thumbsup:
Posted Image
Posted Image

The quarter light seals and boot seal were also fitted but forgot to take pics of them. Doh!

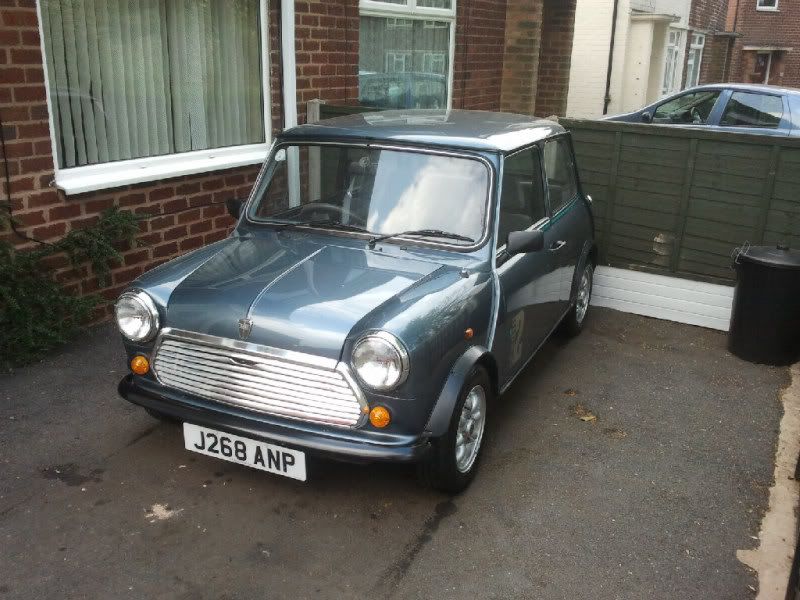
And thats it, bang up to date now. I would like to replace all the suspension bushes and subby mounts and so on before it returns to the road but ill have to see how the finances go.

#14 mars red mike

mars red mike

    Camshaft & Stage Two Head

  • Members
  • PipPipPipPipPipPipPipPip
  • 1,500 posts
  • Local Club: Bodge Speed Racing

Posted 20 April 2011 - 08:11 PM

Got in from work today and noticed that the Studio 2 was looking a little dusty and covered in blossom off the trees opposite my house so I decided a little detailling session was in order.
Posted Image

Cat evidence
Posted Image

So out comes the trusty Karcher and a good rinse of the bodywork to start
Posted Image

After the rinse, out comes the foam lance and a nice pre-wash soak to soften any muck on the car
Ready....aim......
Posted Image

FIRE!!!!
Posted Image

Ph Neutral Snow Foam doing its thing
Posted Image

While the car is soaking in foam, out comes the bucket and some Meguairs Gold Class Shampoo
Posted Image
Posted Image

Then I gave the car a proper wash down with plenty of luxurious suds
Posted Image

Then rinsed
Posted Image

And dried
Posted Image

While I was drying the grille, I notcied this
Posted Image

At first I thought my brand new grille was rusting but it was the underside of the bonnet lip reflecting on the grille. Cant have that so out comes the metal polish and after a bit of elbow grease
Posted Image

Not perfect but much better than before. After I had finished the Studio 2 I was going to pack up but when I looked over at the red Mini I got a sudden sense of guilt as I haven't done much to her for a while so she got a bath too.

Posted Image

Going to feel strange not driving her after this month but as she is coming off the road for some cosmetic work I'm sure she understands.

#15 mars red mike

mars red mike

    Camshaft & Stage Two Head

  • Members
  • PipPipPipPipPipPipPipPip
  • 1,500 posts
  • Local Club: Bodge Speed Racing

Posted 25 April 2011 - 05:52 PM

Took advantage of the sunshine over the past couple of days and got a couple more jobs done. Uncovered some more of the previous owners 'efforts' at repair and I use that term very loosely. The connections at the coil for the Lumenition module were frankly crap so I whipped the coil off to make them good again. Removed the coil from the car ok but couldnt get the bracket off the coil. I had to pretty much bend the bracket to get it off the coil. Heres why
Posted Image
Posted Image
Posted Image

The cowboy previous owner had the coil off at some point and when it was refitted he tightened the bracket far too tight and basically squashed the coil. Seems to work fine but I will replace it anyway just to be on the safe side.

Coil connections made sound
Posted Image

Stainless bracket fitted
Posted Image

Adjusted the valve clearences and fitted a freshly painted rocker cover and weather shield brackets. Didnt realise the paint was matt and not gloss until it started to dry but it looks fine so I will leave it as is.
Posted Image
Posted Image
Posted Image

Gave the washer bottle a clean inside and out. Wasnt actually too bad but was a little grubby here and there.
Posted Image

Brake fluid warning tag fitted, courtesy of Smiffys Mini Bits
Posted Image

Unipart rad sticker replaced
Posted Image

Replaced the steering column bushes. Good job too as they were past thier best i think
Posted Image
Posted Image

Managed to get everything done apart from the oil selector seal. Oh well got to save something for another day I suppose.


1 user(s) are reading this topic

0 members, 1 guests, 0 anonymous users