nice to seee original minis for a change
lovley work


Nordic Blue Studio 2 Rebuild
Started by
mars red mike
, Mar 22 2011 08:08 PM
32 replies to this topic
#17

RichardBrown
-

- Members
-

- 307 posts
Speeding Along Now
Posted 25 April 2011 - 10:33 PM
whats your plans for it knw?
#18
jagman.2003
-

- Members
-
- 1,307 posts
One Carb Or Two?
- Location: In the shed.
- Local Club: Owner of my own club of Minis
Posted 26 April 2011 - 07:27 AM
Nice work. Great attention to detail.
#19
mars red mike
-
- Members
-
- 1,500 posts
Camshaft & Stage Two Head
- Local Club: Bodge Speed Racing
Posted 26 April 2011 - 07:00 PM
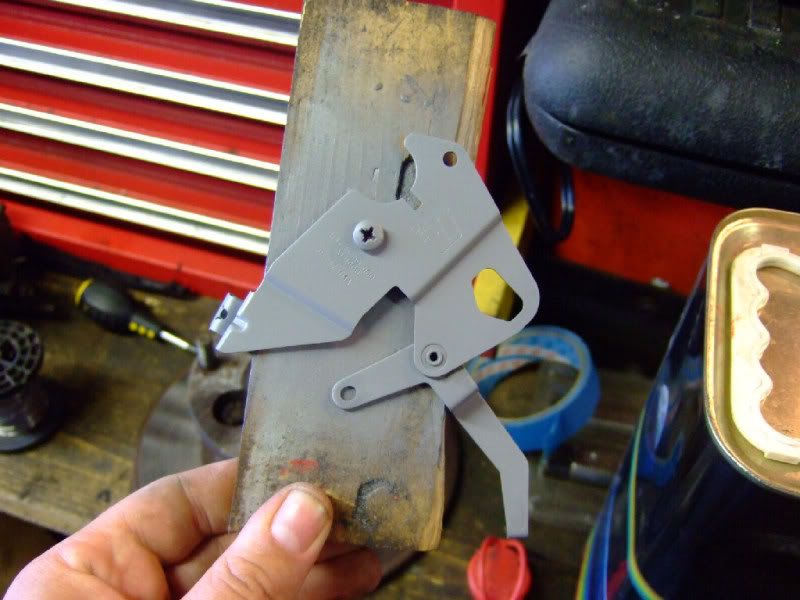
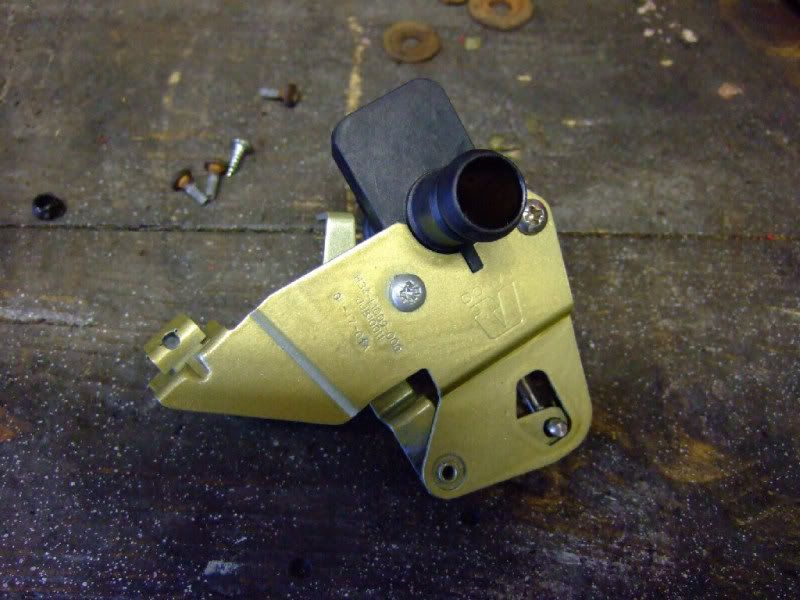
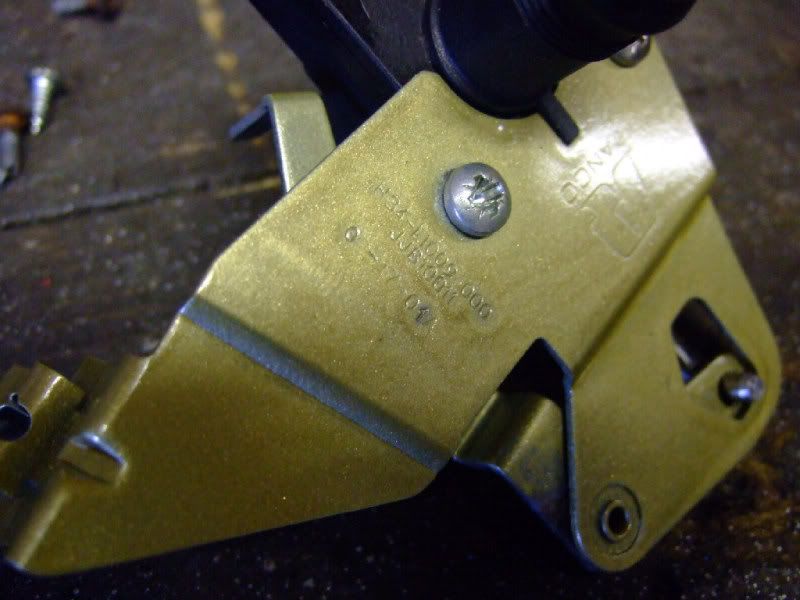
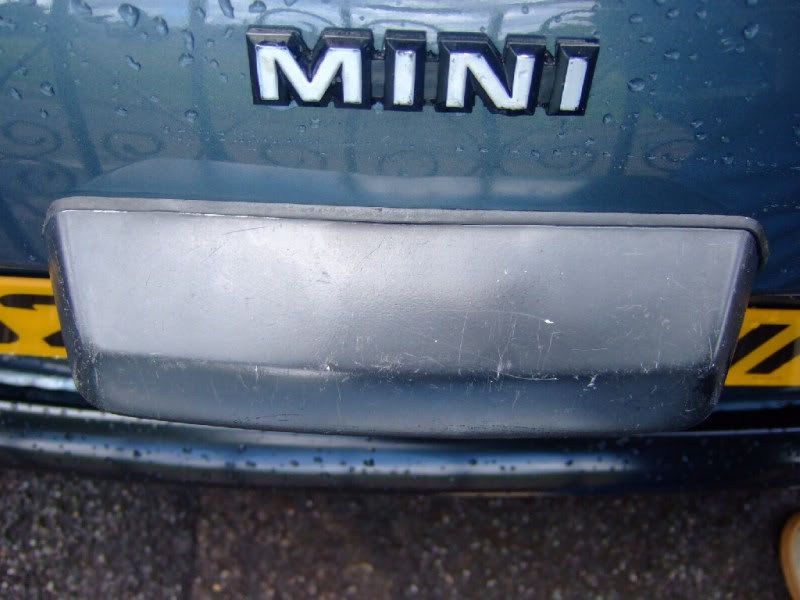
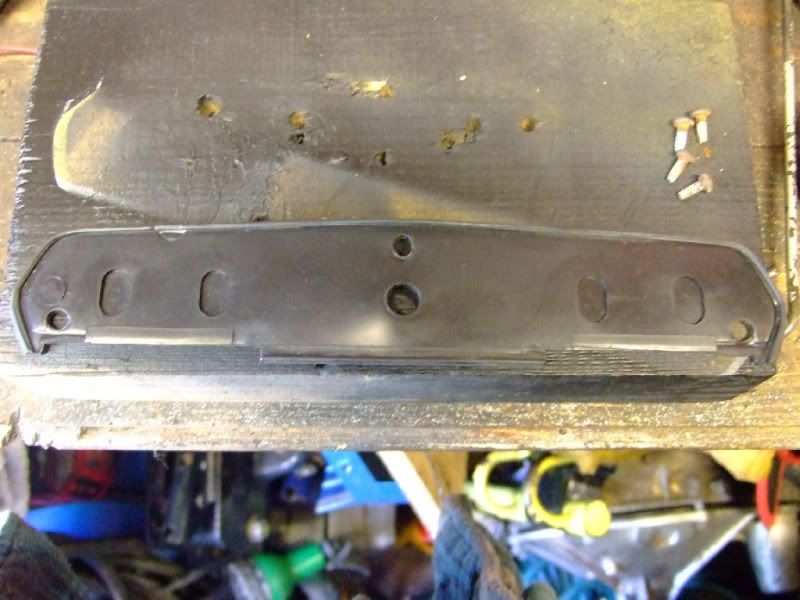
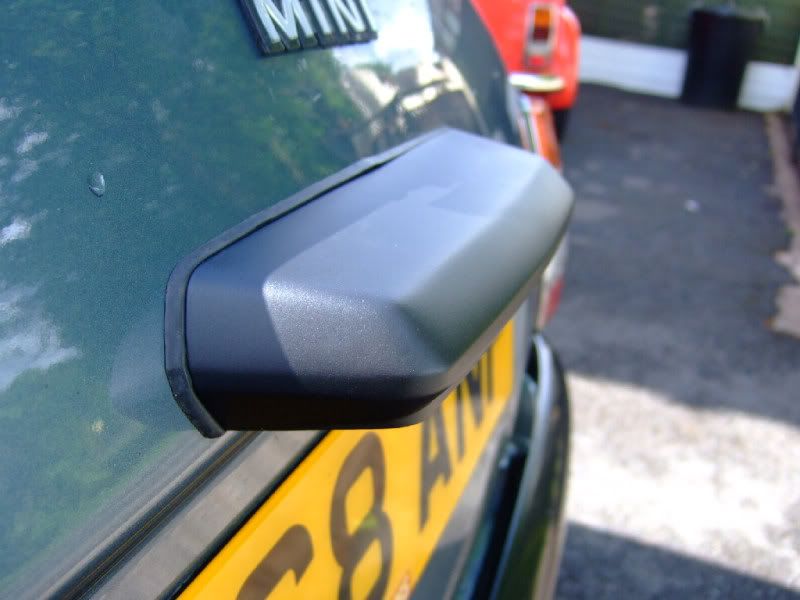
New foglight arrived today (cheers 79 Clubby) so I fitted it after work. Thought I was going to strike lucky and get the rusted screws out of the valance for the bracket but managed to snap one off  Heres the old non original one
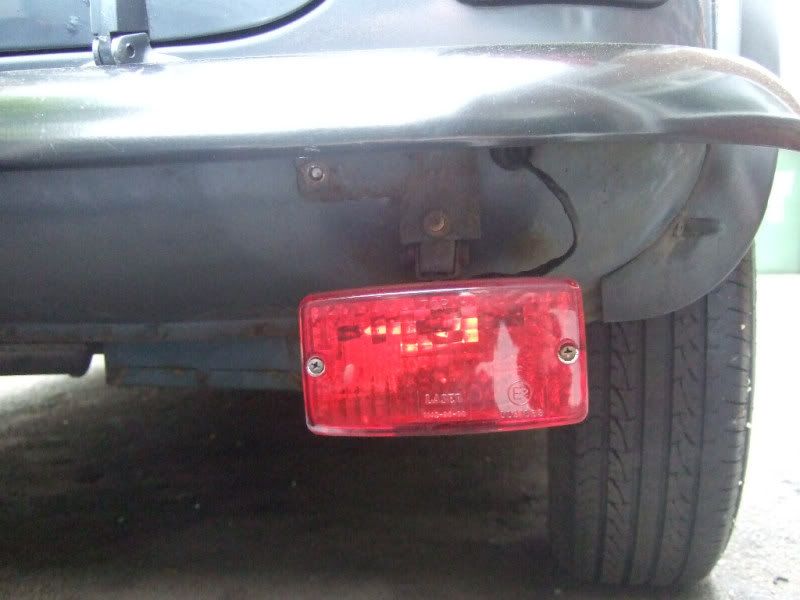
And the proper Rover one
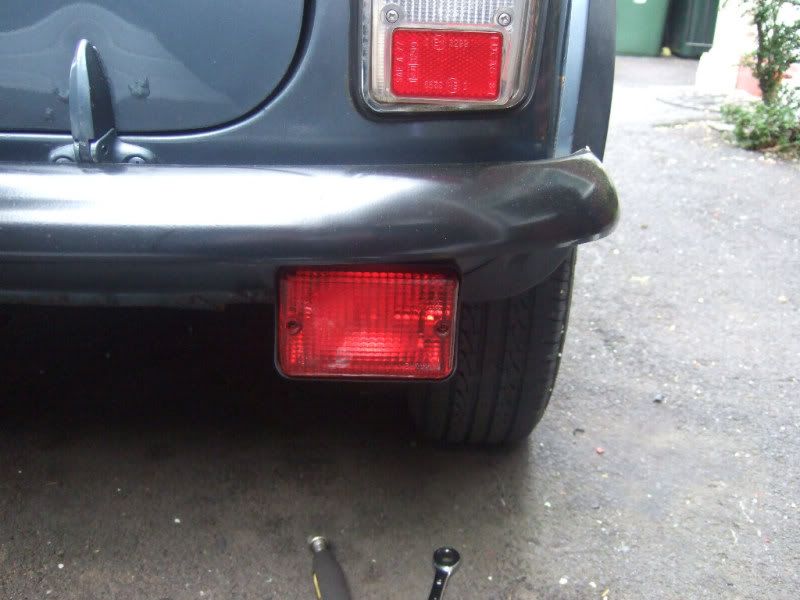
Looks much better dont you think?
Heres the old non original oneAnd the proper Rover one
Looks much better dont you think?
#20
mars red mike
-
- Members
-
- 1,500 posts
Camshaft & Stage Two Head
- Local Club: Bodge Speed Racing
Posted 26 April 2011 - 07:04 PM
whats your plans for it knw?
It is being pressed back into regular use at the end of the month while mt red one comes off the road for some cosmetic work.
#21
sonikk4
-

- Admin
-
- 16,080 posts
Twisted Paint Polisher!!!
- Name: Neil
- Location: Oxfordshire
Posted 26 April 2011 - 07:09 PM
That's a tidy looking beastie without too much rot lurking either which makes a change. 
#22
Midas Mk1
-

- TMF+ Member
-
- 5,787 posts
Crazy About Mini's
- Location: Manchester
- Local Club: S.U.N.M.C
Posted 26 April 2011 - 07:13 PM
I had that exact bigger foglight when I bought my Studio2!! maybe it was standard aftermarket Studio2 equipment 
Now its moved into the rear light units
Ive seen loads of Studio2's with factory sunroofs, and 12" GB's like mine, I think they were a dealer option at the time at loads of
garages? Looking good by the way, cant beat abit of Nordic Blue
Now its moved into the rear light units
Ive seen loads of Studio2's with factory sunroofs, and 12" GB's like mine, I think they were a dealer option at the time at loads of
garages? Looking good by the way, cant beat abit of Nordic Blue
Edited by Midas Mk1, 26 April 2011 - 07:14 PM.

#24
mars red mike
-
- Members
-
- 1,500 posts
Camshaft & Stage Two Head
- Local Club: Bodge Speed Racing
Posted 02 May 2011 - 06:10 PM
Update time 
Saturday morning the Studio 2 returned to the road after its short lay up and mini-makeover. Took it for a decent drive to Sedgley and it didnt miss a beat. Not that I thought it would but things tend to play up after a time off road. The drive did highlight a few niggles that needed attending to, first being there was a rather noticeable judder when braking. Secondly the ride was rather too choppy and bouncy for my liking so the dampers probably need replacing.
Didnt do owt else to it until Sunday when I decided to change the brakes. Was really expecting what I found when I took the wheel off.
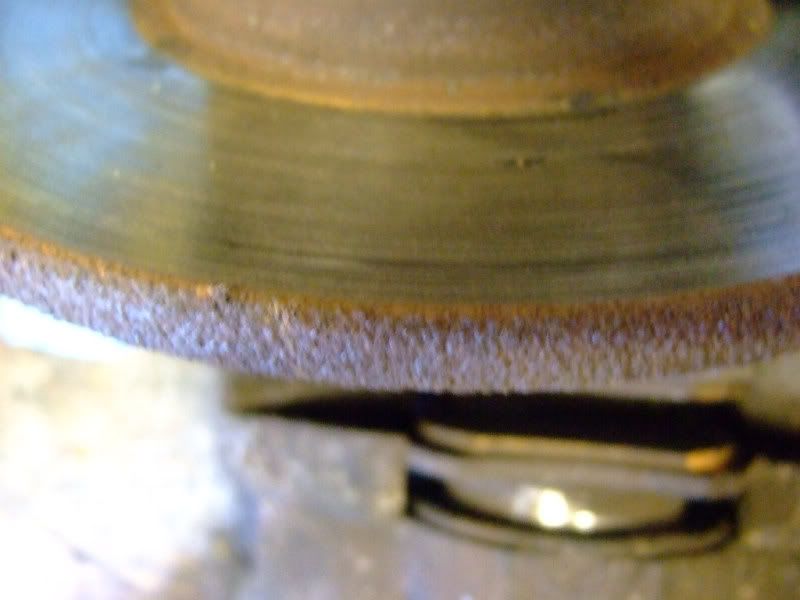
The discs were totally shot. Both were warped and had a big lip around the edge with plenty of score marks too
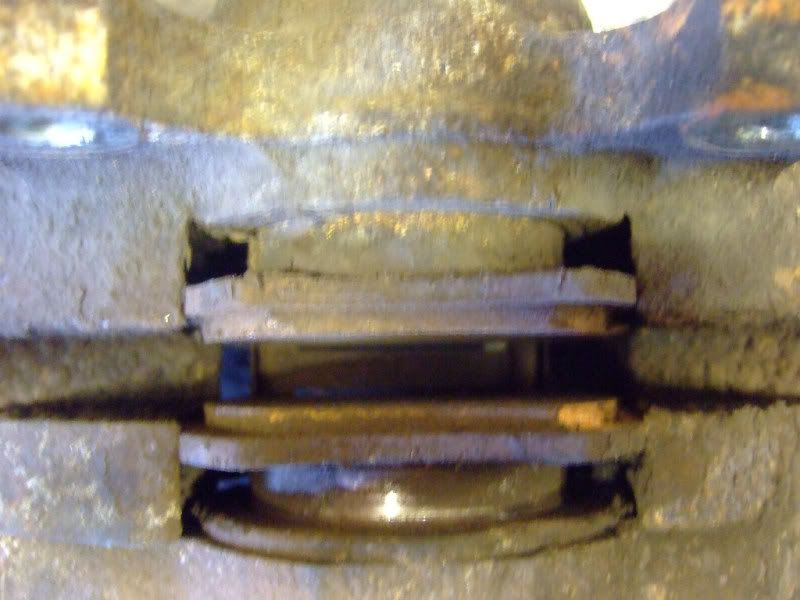
As you can see the pads were ready for the bin as well. The caliper pistons were in pretty poor condition too and I didnt fancy pushing them back into the caliper
to get the new pads in and wrecking the seals so I fitted a spare pair of calipers that I rebuilt a while back. On went a new pair of discs and some new standard brake pads.
While I had the wheels off I also replaced the top arm buffers. The old ones went in too bad a shape but seeing as I had some new-old stock ones kicking
about it would be daft not to fit them. Also replaced the tie bar bushes and fitted new washers and locknuts. The drivers side tie bar has a very slight bend to it but as I dont have a spare standard one it will have to wait for a bit.
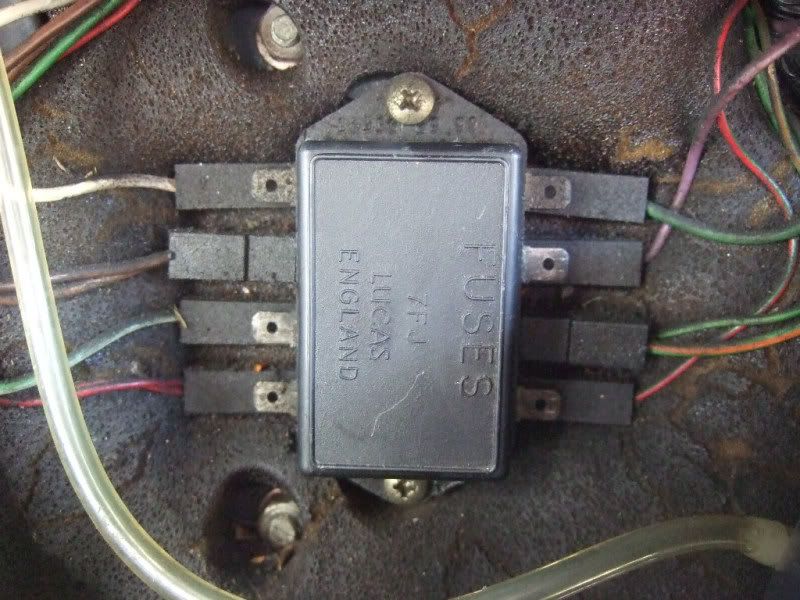
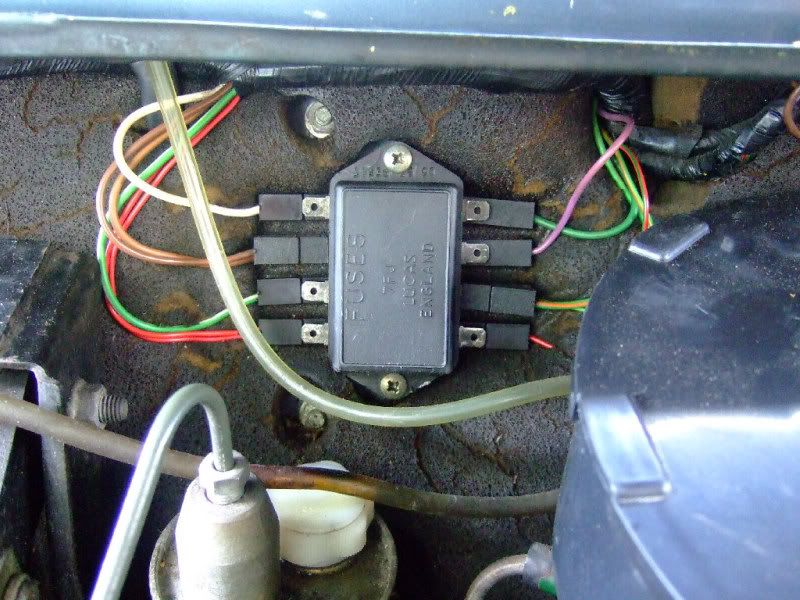
After I had finished doing the brakes, I decided to do a bit of what I call 'Preventative Maintenance', focusing on the fusebox and its connections. There wasnt actually anything wrong with it and everything was working as it should be but I wanted to make sure the electrics stay gremlin-free for as long as possible, plus it looked grubby and needed a good clean. All the used connections were coated with copper grease and the back of the fuse box too.
Before
And after
Saving the best till last, my Unpart Filter Replacement sticker arrived Saturday morning from Rimmer Bros.
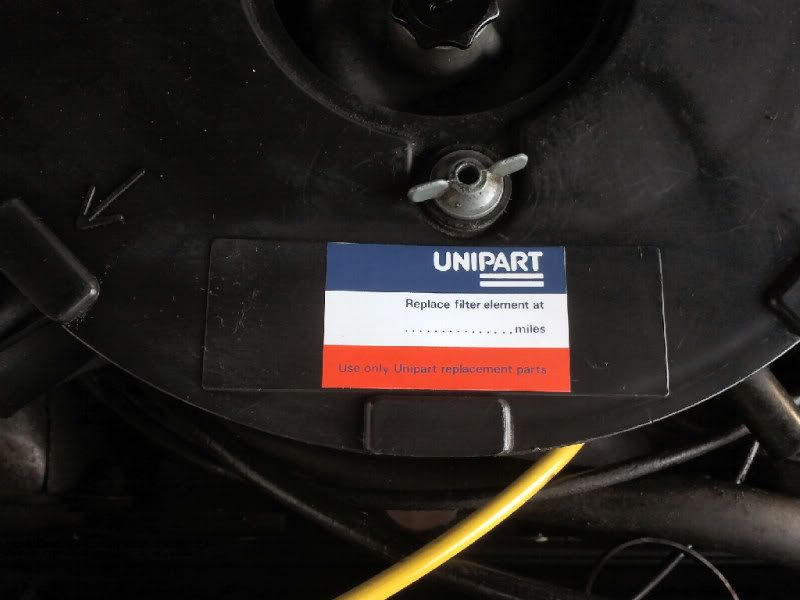
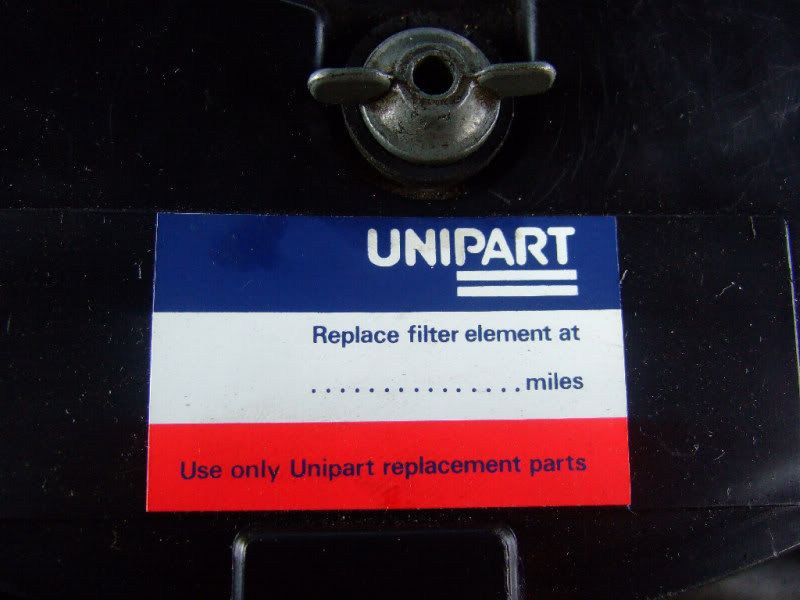
Can you tell Im easily pleased?
Saturday morning the Studio 2 returned to the road after its short lay up and mini-makeover. Took it for a decent drive to Sedgley and it didnt miss a beat. Not that I thought it would but things tend to play up after a time off road. The drive did highlight a few niggles that needed attending to, first being there was a rather noticeable judder when braking. Secondly the ride was rather too choppy and bouncy for my liking so the dampers probably need replacing.
Didnt do owt else to it until Sunday when I decided to change the brakes. Was really expecting what I found when I took the wheel off.
The discs were totally shot. Both were warped and had a big lip around the edge with plenty of score marks too
As you can see the pads were ready for the bin as well. The caliper pistons were in pretty poor condition too and I didnt fancy pushing them back into the caliper
to get the new pads in and wrecking the seals so I fitted a spare pair of calipers that I rebuilt a while back. On went a new pair of discs and some new standard brake pads.
While I had the wheels off I also replaced the top arm buffers. The old ones went in too bad a shape but seeing as I had some new-old stock ones kicking
about it would be daft not to fit them. Also replaced the tie bar bushes and fitted new washers and locknuts. The drivers side tie bar has a very slight bend to it but as I dont have a spare standard one it will have to wait for a bit.
After I had finished doing the brakes, I decided to do a bit of what I call 'Preventative Maintenance', focusing on the fusebox and its connections. There wasnt actually anything wrong with it and everything was working as it should be but I wanted to make sure the electrics stay gremlin-free for as long as possible, plus it looked grubby and needed a good clean.
All the used connections were coated with copper grease and the back of the fuse box too.Before
And after
Saving the best till last, my Unpart Filter Replacement sticker arrived Saturday morning from Rimmer Bros.
Can you tell Im easily pleased?
#25
mars red mike
-
- Members
-
- 1,500 posts
Camshaft & Stage Two Head
- Local Club: Bodge Speed Racing
Posted 08 May 2011 - 09:05 PM
Update time. Got a couple more jobs ticked off the to-do list. First up was the high idling speed. Even with the idle adjustment screw right out with idle would 'hang' at about 1100 rpm. Blipping the throttle would make the revs settle then rise back up again. Rather than faff about I whipped the carb off, stripped it down to its components and gave it the first proper clean its probably ever had since leaving Longbridge. Found a few little problems that needed sorting
* ALOT of sediment build up in the float bowl. Cleaned
* Gasket between float chamber lid and bowl perished. Replaced
* Fuel hose from pump to carb split. Replaced.
* Gasket between carb spacer and manifold failed and pulling air in. All gaskets replaced.
* Significant build up of gunk on intake side of throttle disc. Removed and cleaned.
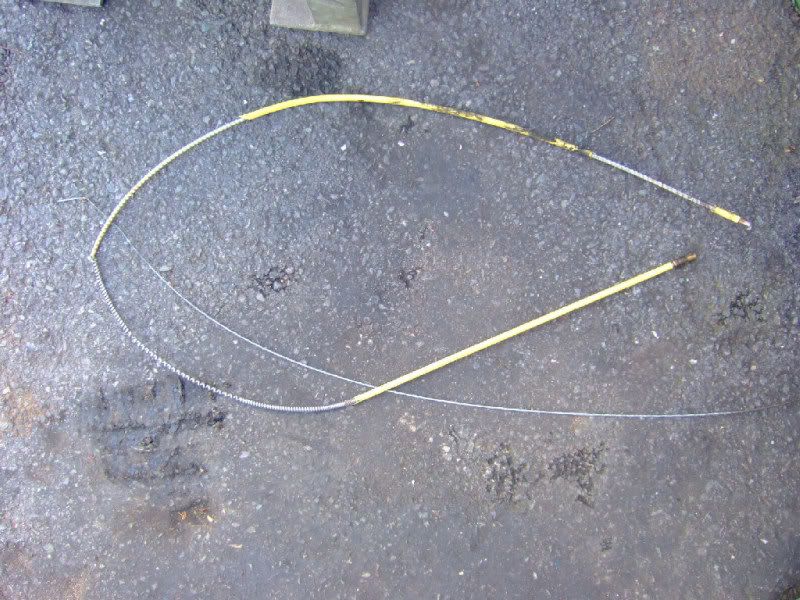
Once all the carb was back together I refitted it and also fitted a new throttle cable too. Typically the old one had become seized into the bulkhead so I had to knock it through from the drivers footwell with a drift.
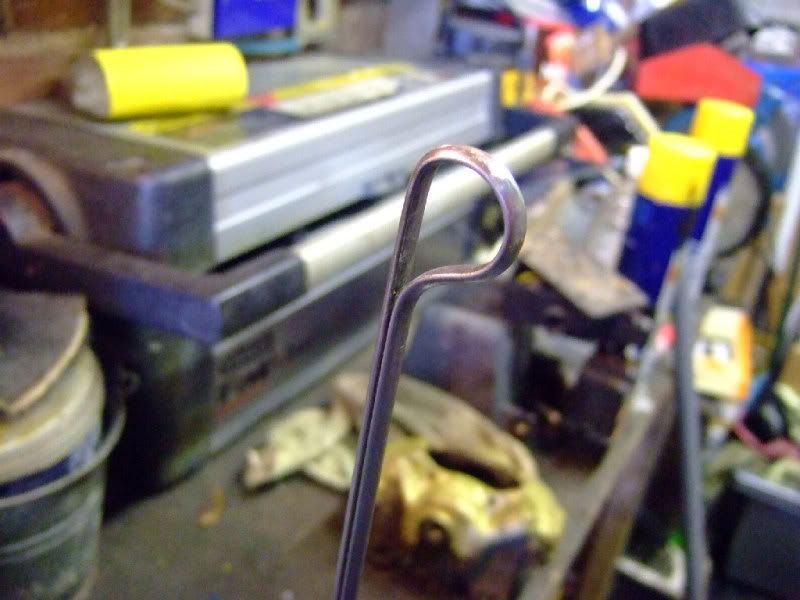
The state of the old cable once removed
Also replaced the air filter, which was long overdue by the looks of it
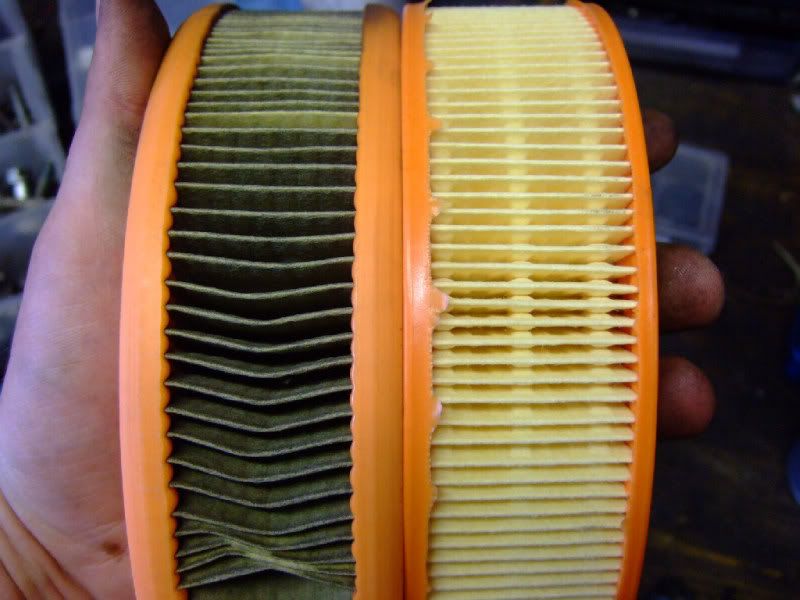
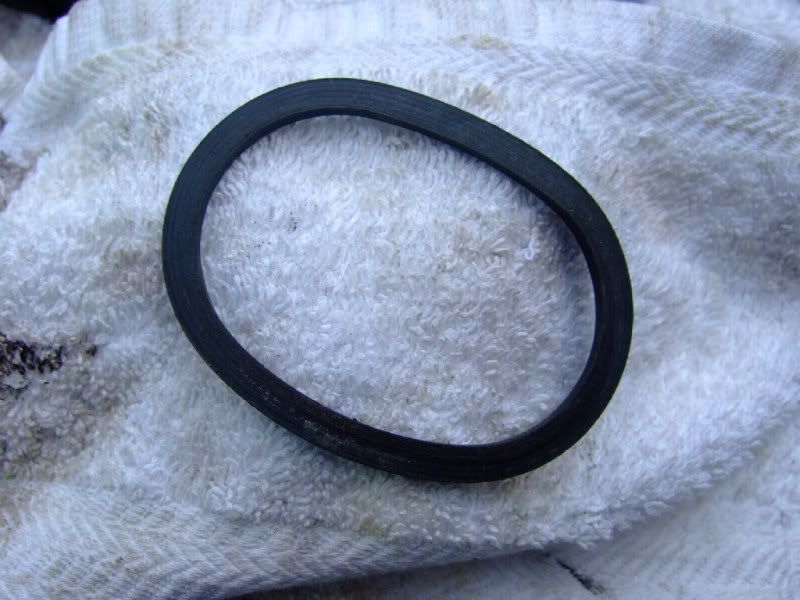
And the seal between the filter housing and the carb intake
Got it all back together and fired her up. Ticks over absolutley perfect once I had reset the idle speed. Job done.
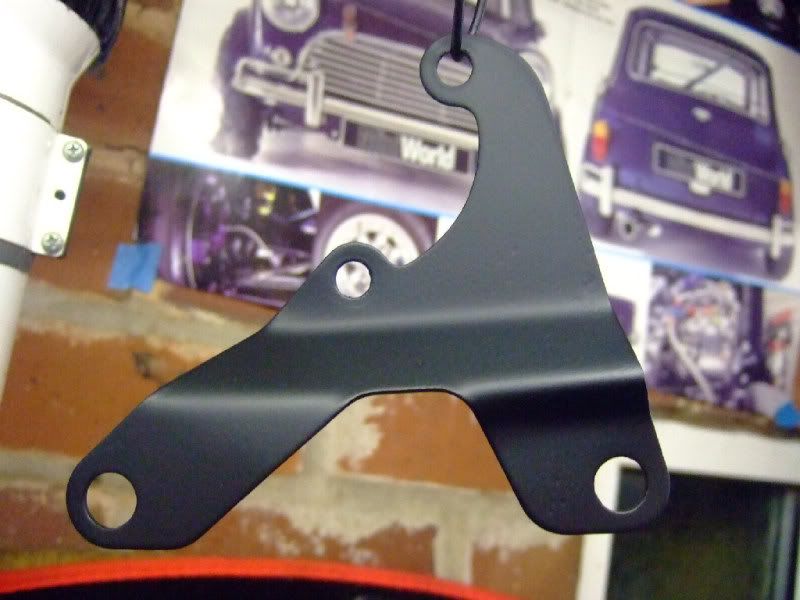
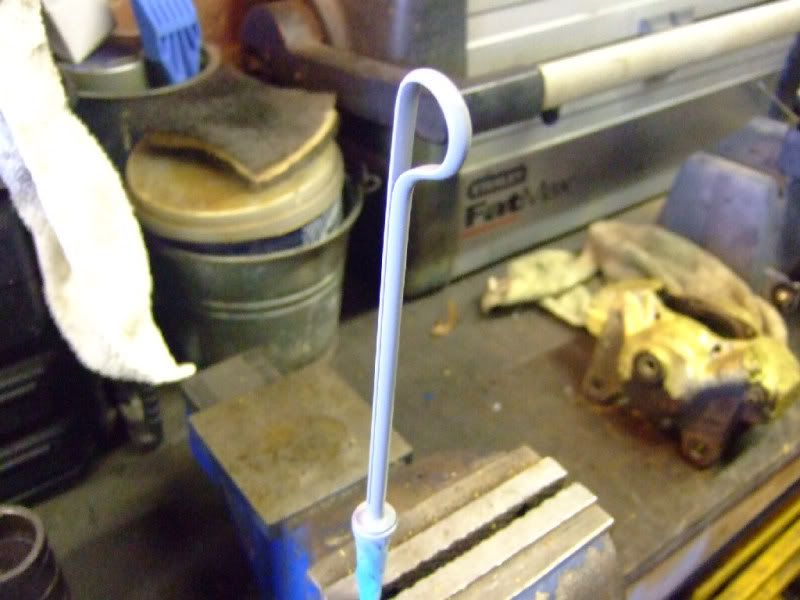
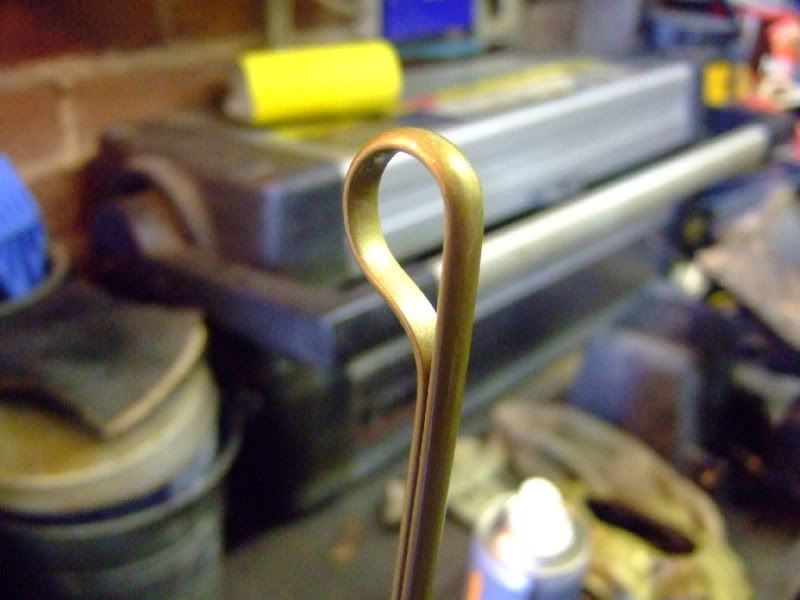
The other thing I have been doing is repainting alot of the brackets and such in their original finish, or as close as I can get. I started off with a spare rad bracket.
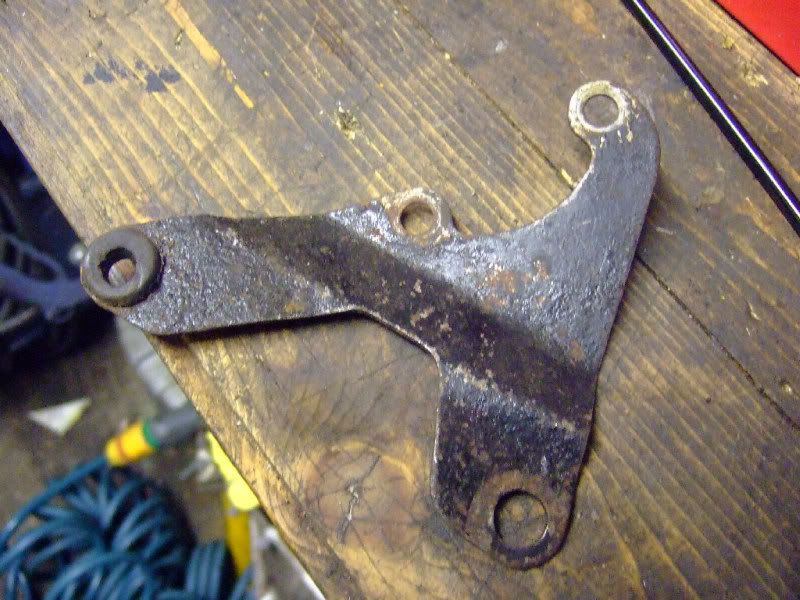
Rubbed it down with some 400 grit
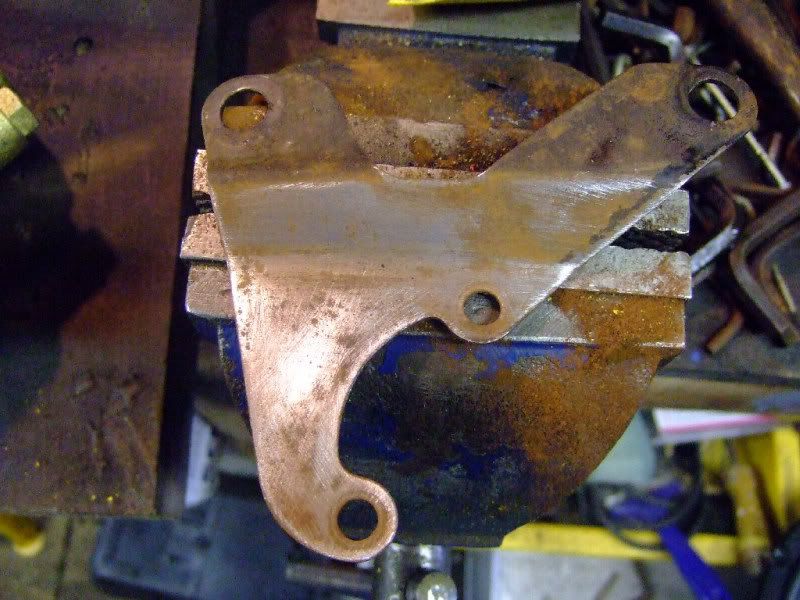
Primed with Zinc rich primer and painted matt black
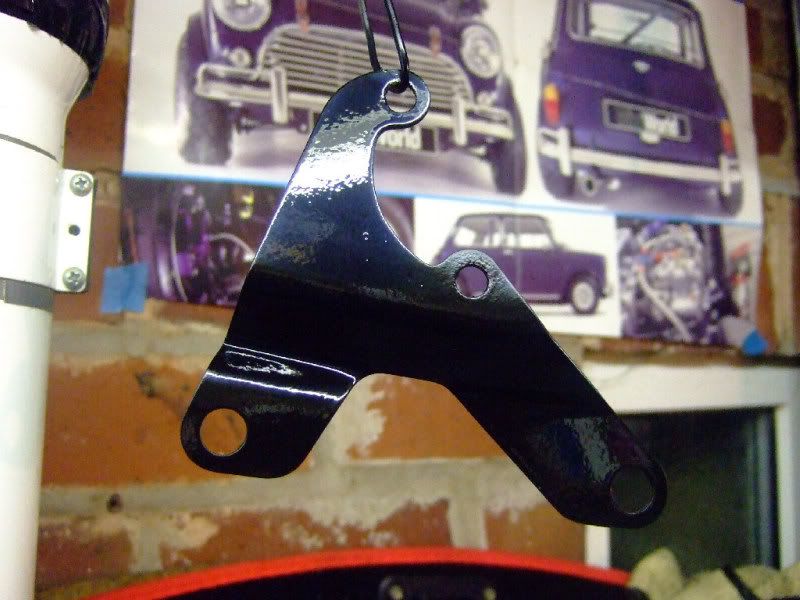
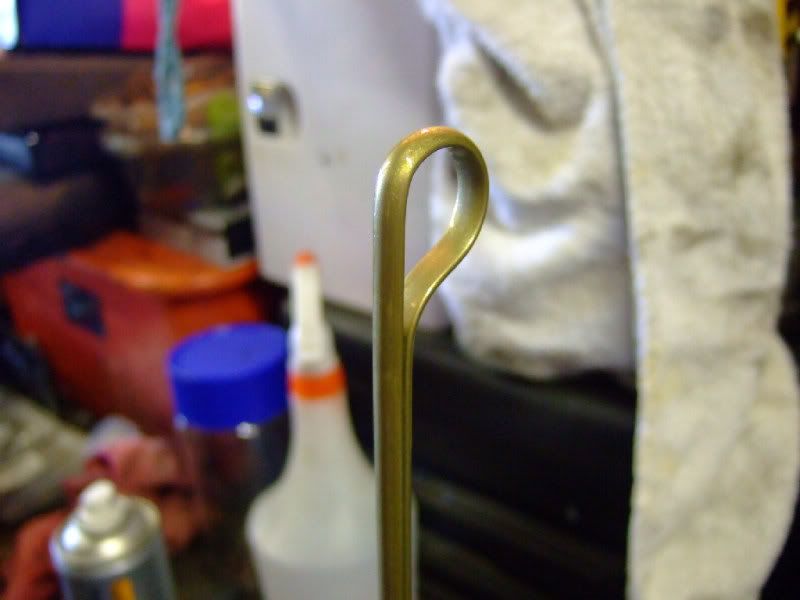
and when dry
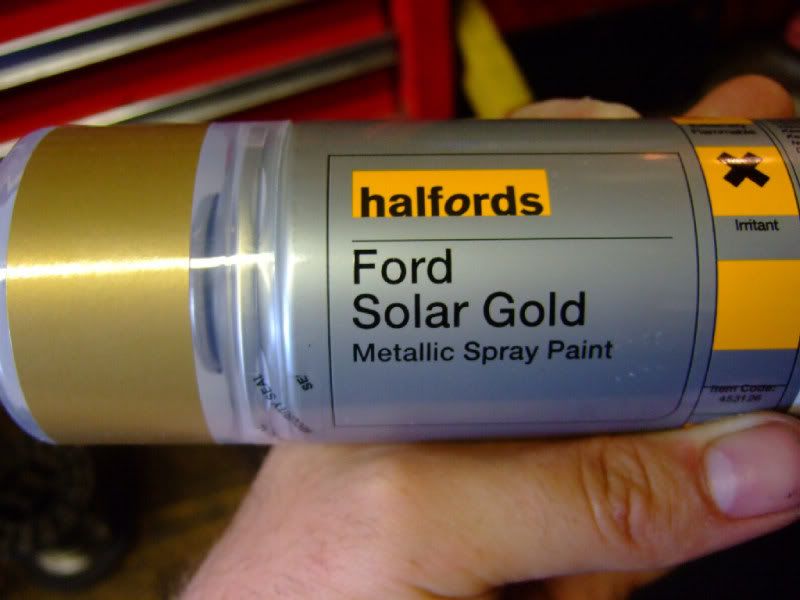
I am also trying to finish the parts that have a yellow passivate coating on them. I cant afford a plating kit at the moment so I am using paint instead. My two test pieces were a spare dipstick and a heater control bracket. The paint I am trying out is this
Rubbed down
Primed
and painted
Same with the heater valve bracket
Its not an exact match for the original finish but its good enough for me and its not an all-out concours car anyway so its fine. One little goody I picked up today was this
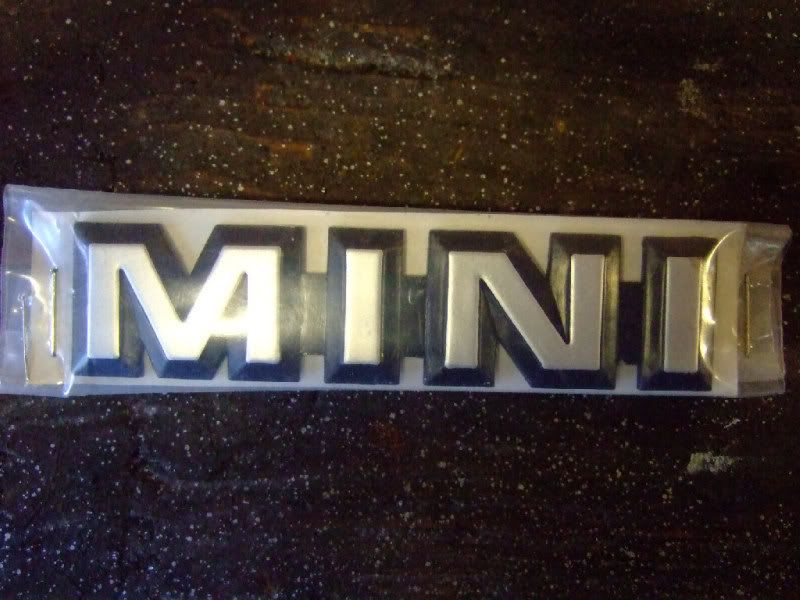
An original boot badge, still in its original packaging, all for a measely £2!! Bonus
* ALOT of sediment build up in the float bowl. Cleaned
* Gasket between float chamber lid and bowl perished. Replaced
* Fuel hose from pump to carb split. Replaced.
* Gasket between carb spacer and manifold failed and pulling air in. All gaskets replaced.
* Significant build up of gunk on intake side of throttle disc. Removed and cleaned.
Once all the carb was back together I refitted it and also fitted a new throttle cable too. Typically the old one had become seized into the bulkhead so I had to knock it through from the drivers footwell with a drift.
The state of the old cable once removed
Also replaced the air filter, which was long overdue by the looks of it
And the seal between the filter housing and the carb intake
Got it all back together and fired her up. Ticks over absolutley perfect once I had reset the idle speed. Job done.
The other thing I have been doing is repainting alot of the brackets and such in their original finish, or as close as I can get. I started off with a spare rad bracket.
Rubbed it down with some 400 grit
Primed with Zinc rich primer and painted matt black
and when dry
I am also trying to finish the parts that have a yellow passivate coating on them. I cant afford a plating kit at the moment so I am using paint instead. My two test pieces were a spare dipstick and a heater control bracket. The paint I am trying out is this
Rubbed down
Primed
and painted
Same with the heater valve bracket
Its not an exact match for the original finish but its good enough for me and its not an all-out concours car anyway so its fine. One little goody I picked up today was this
An original boot badge, still in its original packaging, all for a measely £2!! Bonus
#26
mars red mike
-
- Members
-
- 1,500 posts
Camshaft & Stage Two Head
- Local Club: Bodge Speed Racing
Posted 10 May 2011 - 05:27 PM
Not done as much as I would have liked over my holiday from work as I am trying to fight off a cold but I did get a few more parts painted up. First up was
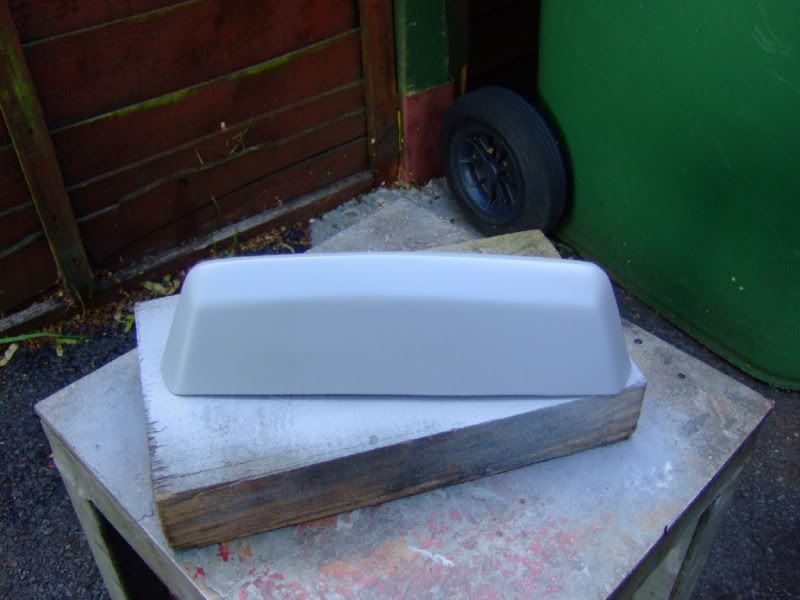
the number plate light housing. The one that was fitted was passable but could have been much better so I got to work on a spare one.
The original one
New one rubbed down and primed
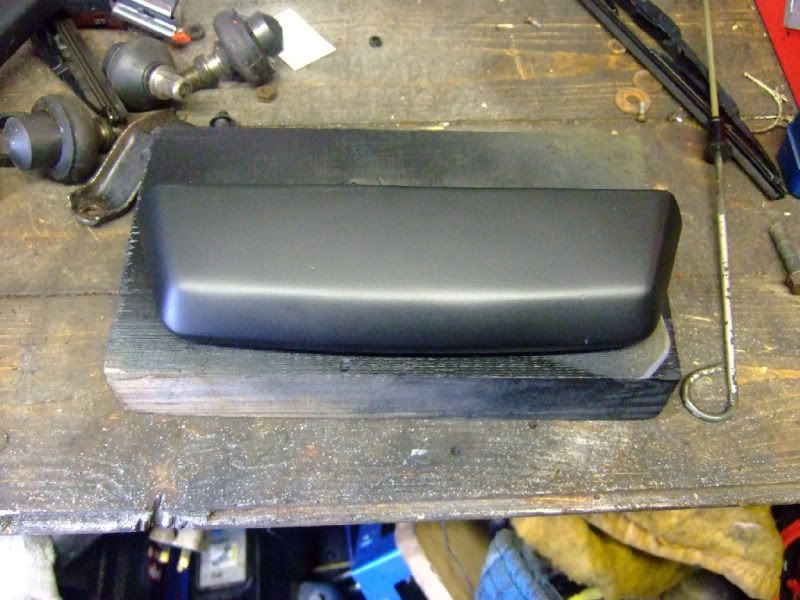
Three coats of matt back later
I gave the seal a good clean with some Megs APC....
and then fitted it along with the freshly painted light housing

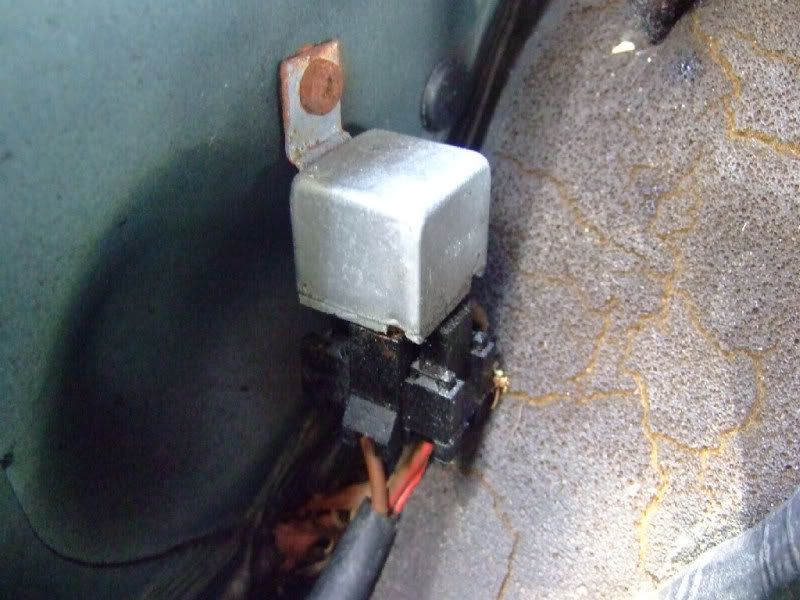
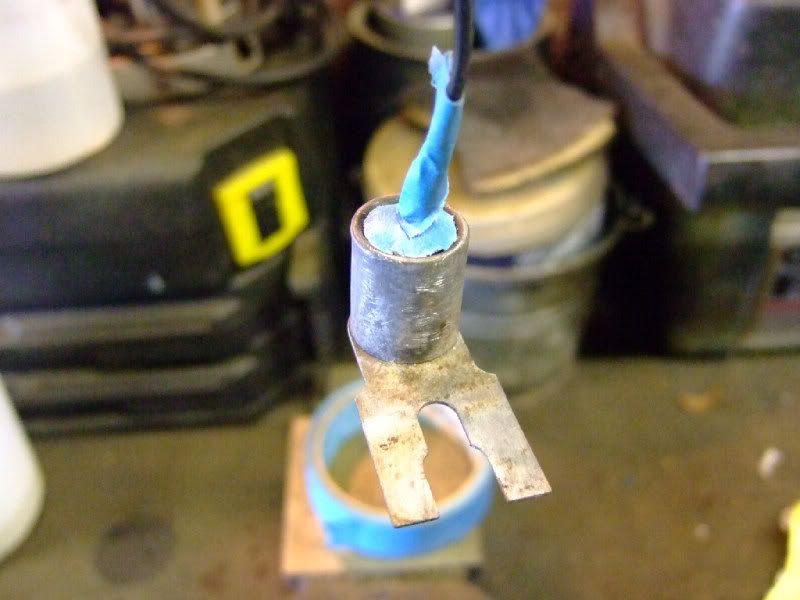
Continuing with my yellow passivate finish project, I painted a couple more small items. I dug out a spare starter relay and rubbed it down
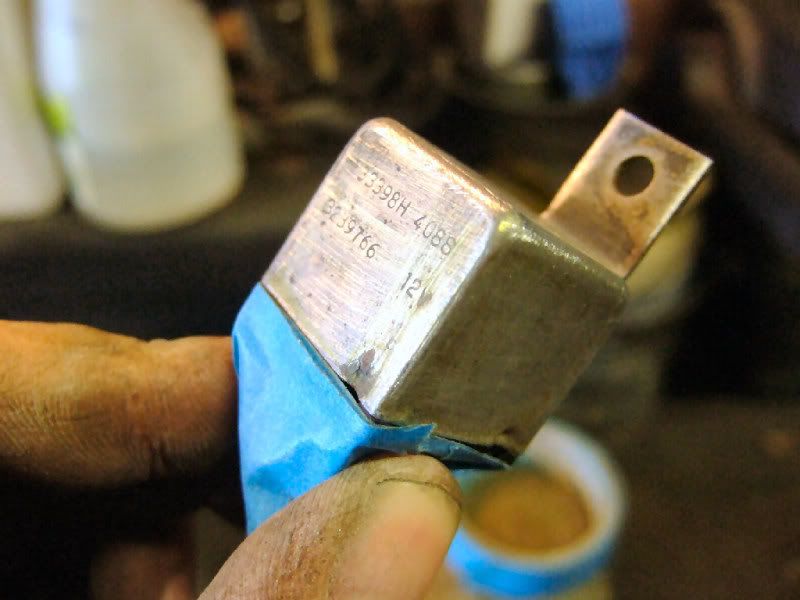
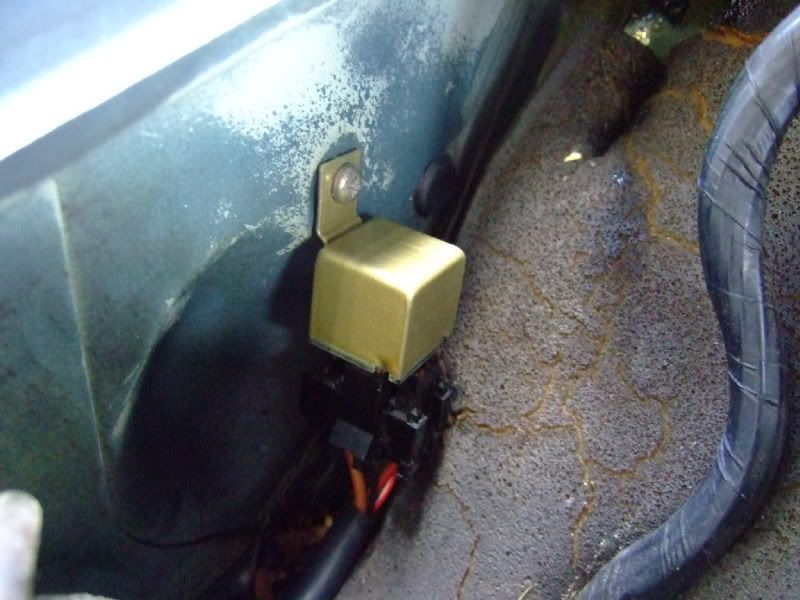
primed it, painted it and hung it up to dry on the shed door
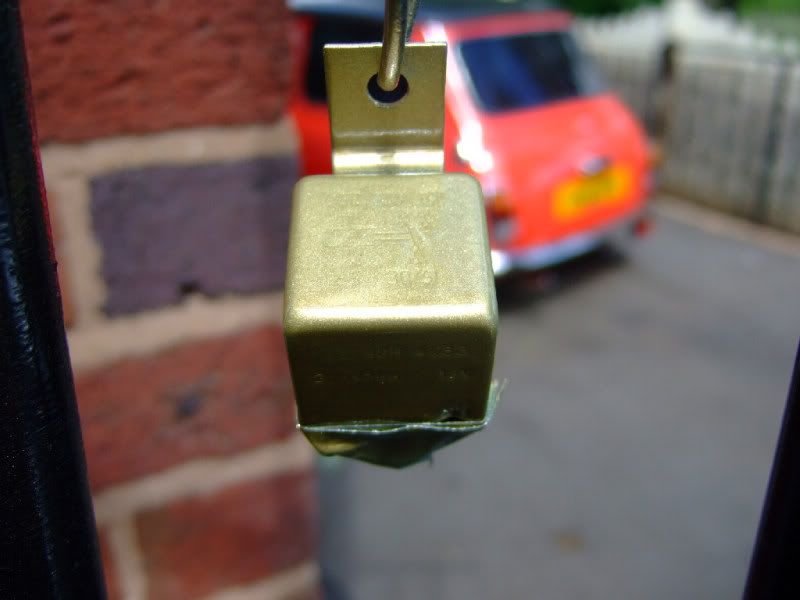
Then once it was dry it was swapped for the old one
I also replaced the rusty fixing screw and cleaned the wires and relay holder. The other item I painted up was a coil noise suppressor. Now my car doesnt actually need this fitted as I dont get any problems with interference but looking over some reference photos it did come from the factory with one so I had no choice really other than to fit one
rubbed down
Painted
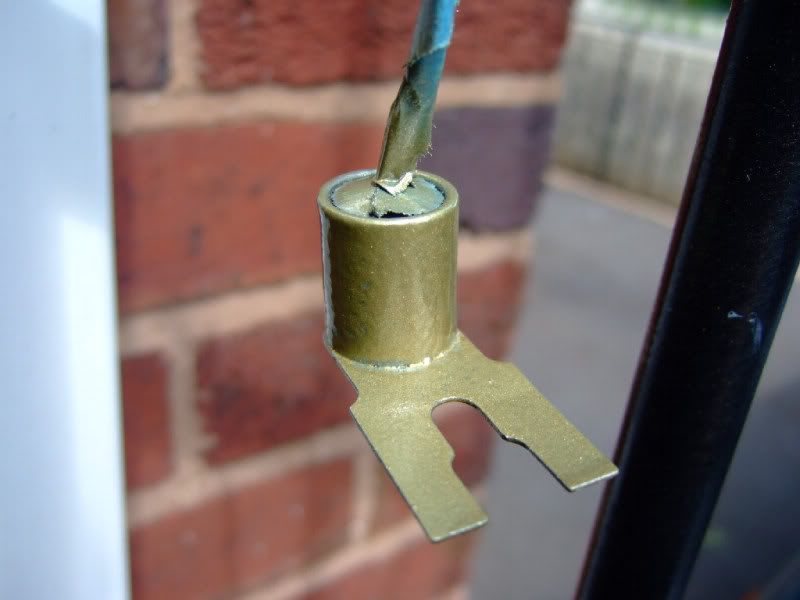
and fitted
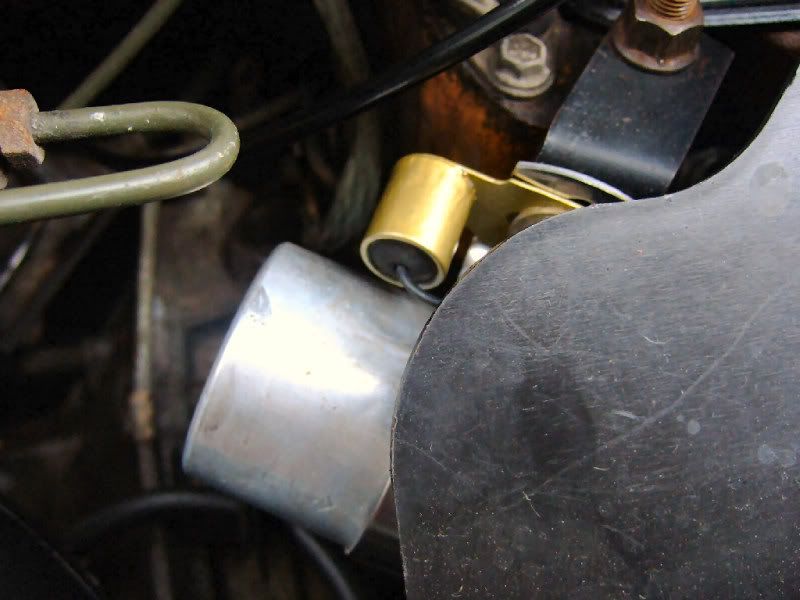
One other thing I have found out today is that the coil I have should be a Unipart one, not an Intermotor thats fitted so I will have to dig one out of the shed, paint it up and try to track down the correct sticker for it.
the number plate light housing. The one that was fitted was passable but could have been much better so I got to work on a spare one.
The original one
New one rubbed down and primed
Three coats of matt back later
I gave the seal a good clean with some Megs APC....
and then fitted it along with the freshly painted light housing
Continuing with my yellow passivate finish project, I painted a couple more small items. I dug out a spare starter relay and rubbed it down
primed it, painted it and hung it up to dry on the shed door
Then once it was dry it was swapped for the old one
I also replaced the rusty fixing screw and cleaned the wires and relay holder. The other item I painted up was a coil noise suppressor. Now my car doesnt actually need this fitted as I dont get any problems with interference but looking over some reference photos it did come from the factory with one so I had no choice really other than to fit one
rubbed down
Painted
and fitted
One other thing I have found out today is that the coil I have should be a Unipart one, not an Intermotor thats fitted so I will have to dig one out of the shed, paint it up and try to track down the correct sticker for it.
#27
Dev20
-

- Noobies
-
- 170 posts
Mini Mad
- Location: Birmingham
Posted 10 May 2011 - 05:55 PM
Great work mate. Was it your studio 2 I saw at Old Skool Mini's quite a few weeks ago? If so, it looks bloody mint!
Where abouts in Smethwick are you? I'm also in smethwick and will be cutting out floors, sills and all sorts in the summer for some fresh metal
Where abouts in Smethwick are you? I'm also in smethwick and will be cutting out floors, sills and all sorts in the summer for some fresh metal
#28
Boycie
-

- Members
-
- 1,978 posts
Camshaft & Stage Two Head
- Location: Kent/ East Sussex border
Posted 10 May 2011 - 05:57 PM
Loving this. I've got an original 'Studio2' brochure, will put up some scans of it if I can dig it out- very few of these left now, especially original like yours..
It's so much better than when it was covered in all the tat!!
It's so much better than when it was covered in all the tat!!
#29
mars red mike
-
- Members
-
- 1,500 posts
Camshaft & Stage Two Head
- Local Club: Bodge Speed Racing
Posted 10 May 2011 - 06:02 PM
Great work mate. Was it your studio 2 I saw at Old Skool Mini's quite a few weeks ago? If so, it looks bloody mint!
Where abouts in Smethwick are you? I'm also in smethwick and will be cutting out floors, sills and all sorts in the summer for some fresh metal
Im opposite Stoney Lane park mate
#30
mars red mike
-
- Members
-
- 1,500 posts
Camshaft & Stage Two Head
- Local Club: Bodge Speed Racing
Posted 10 May 2011 - 06:06 PM
Loving this. I've got an original 'Studio2' brochure, will put up some scans of it if I can dig it out- very few of these left now, especially original like yours..
It's so much better than when it was covered in all the tat!!
Cheers dude. Been meaning to track down a Studio 2 brochure but havent got round to it yet


1 user(s) are reading this topic
0 members, 1 guests, 0 anonymous users


