Jump to content


Photo
- - - - -

Auto Project Ya Baby Ya


  • Please log in to reply
44 replies to this topic

#16 087dave

087dave

    One Carb Or Two?

  • Members
  • PipPipPipPipPipPipPip
  • 952 posts
  • Location: In the living room

Posted 09 November 2012 - 05:04 PM

Well more progress first was the L/H boot floor i made my own panel and welded it in sorry i didnt take a photo of the panel
before but here it is in place
Posted Image

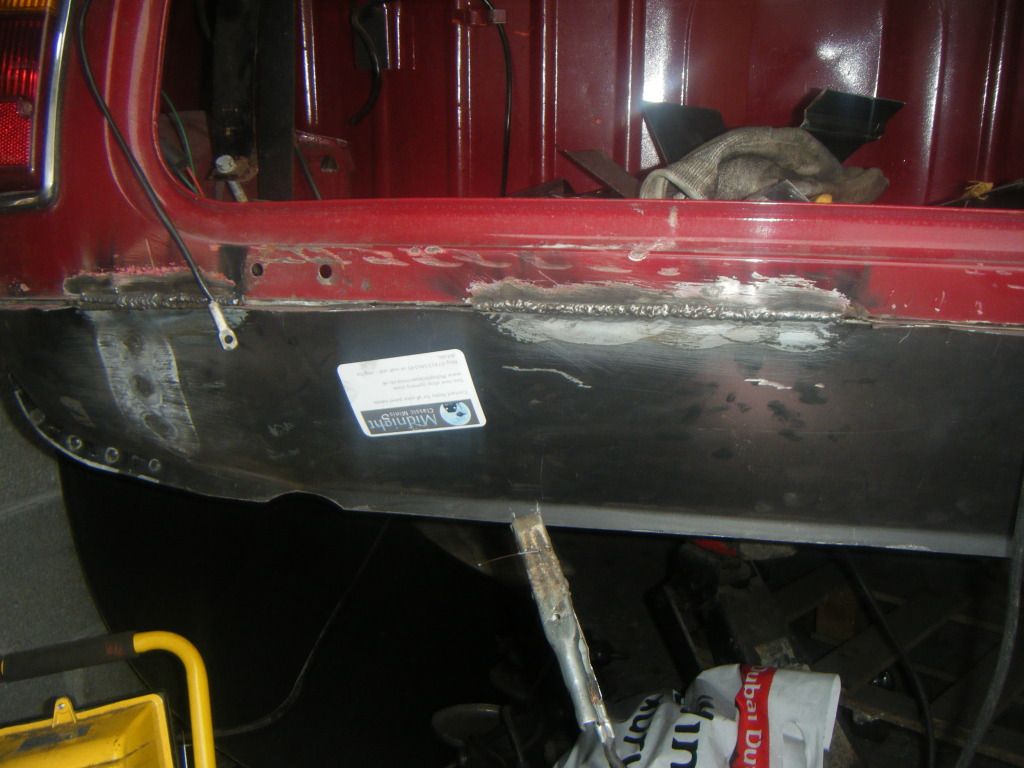
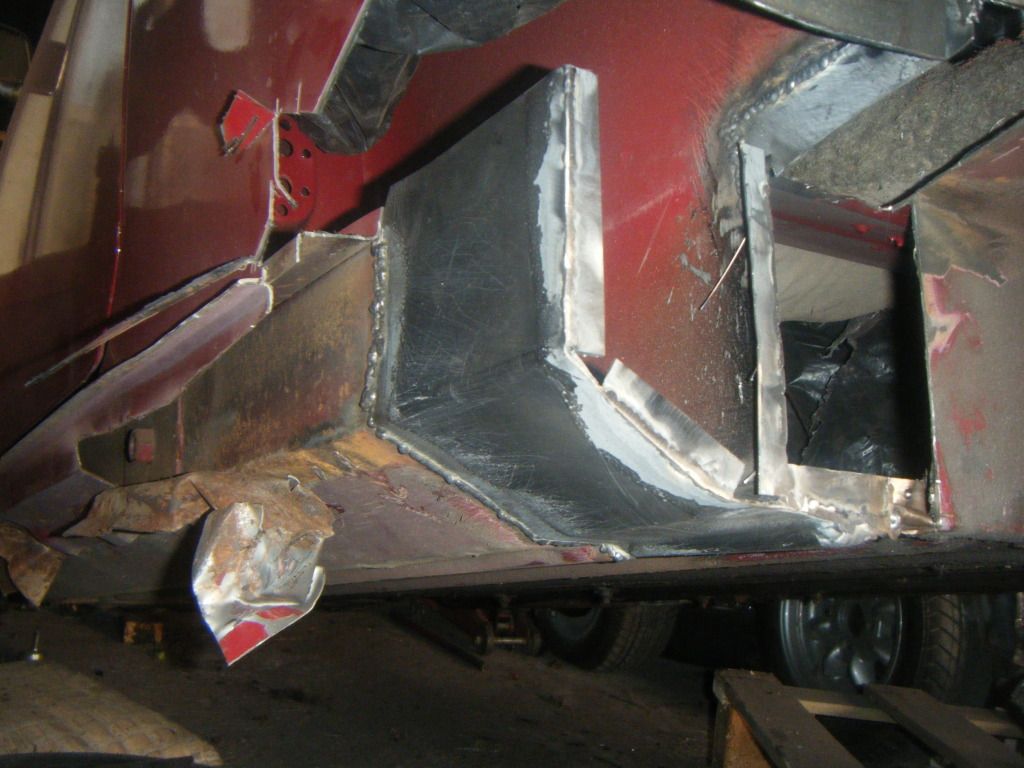
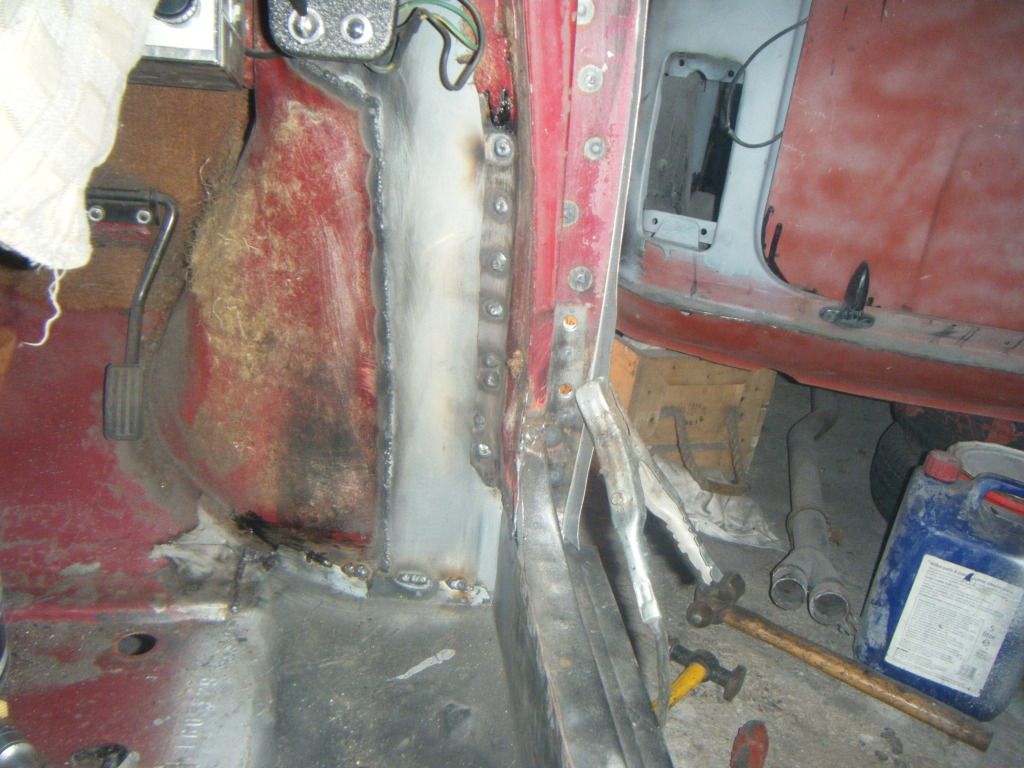
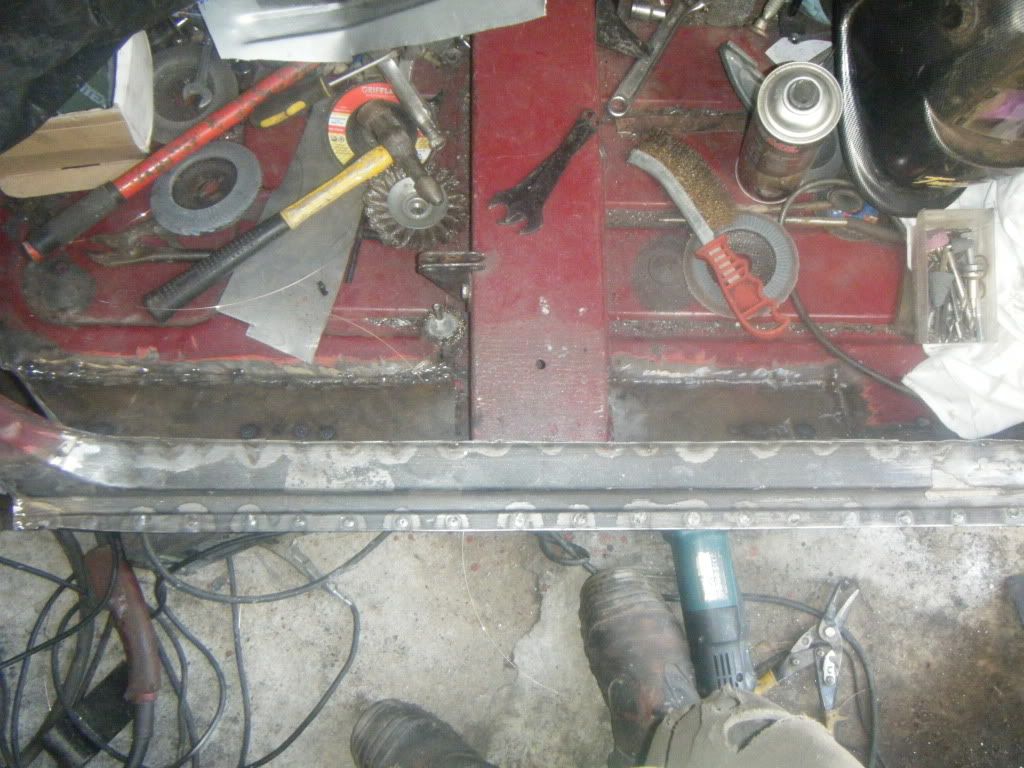
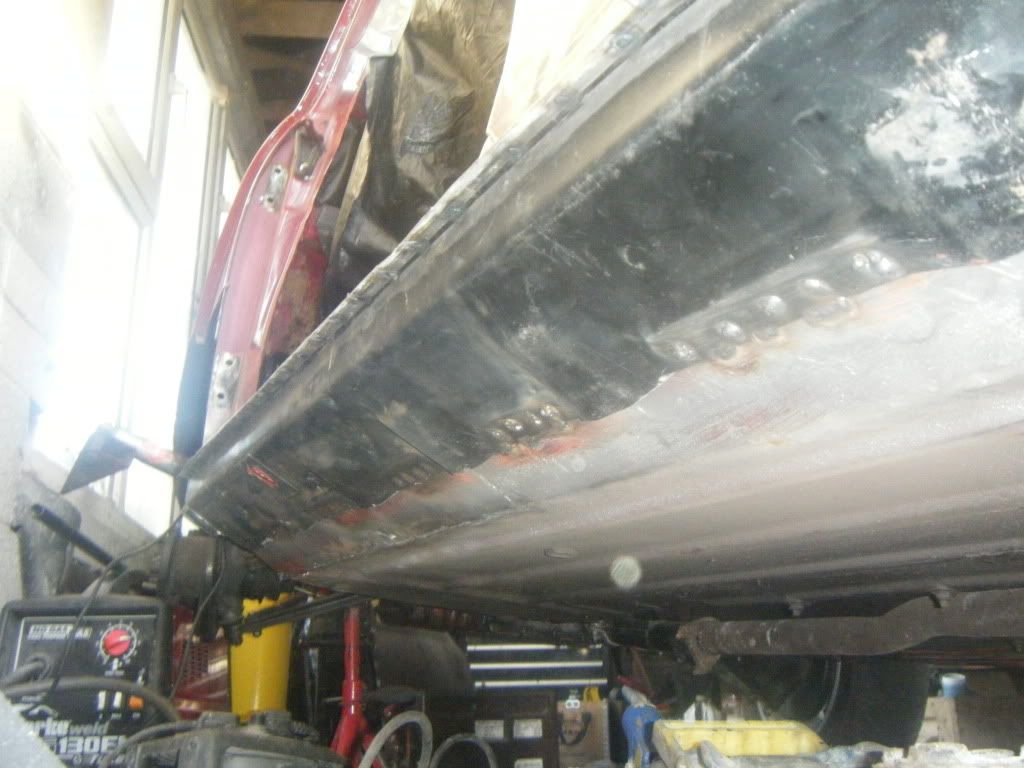
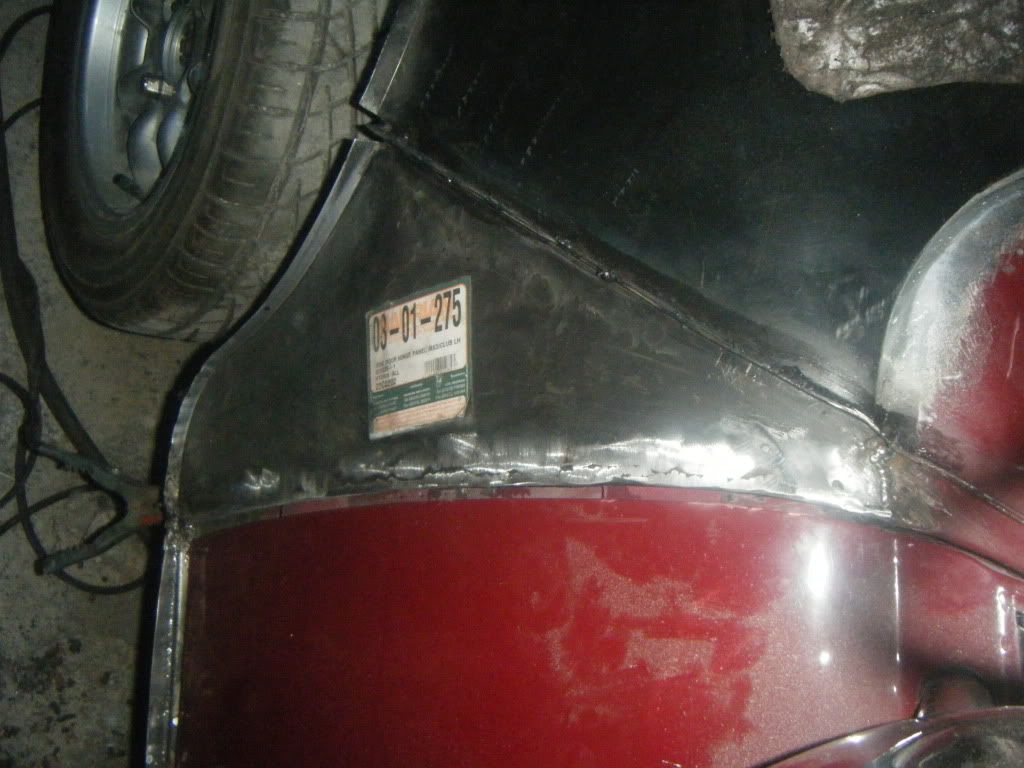
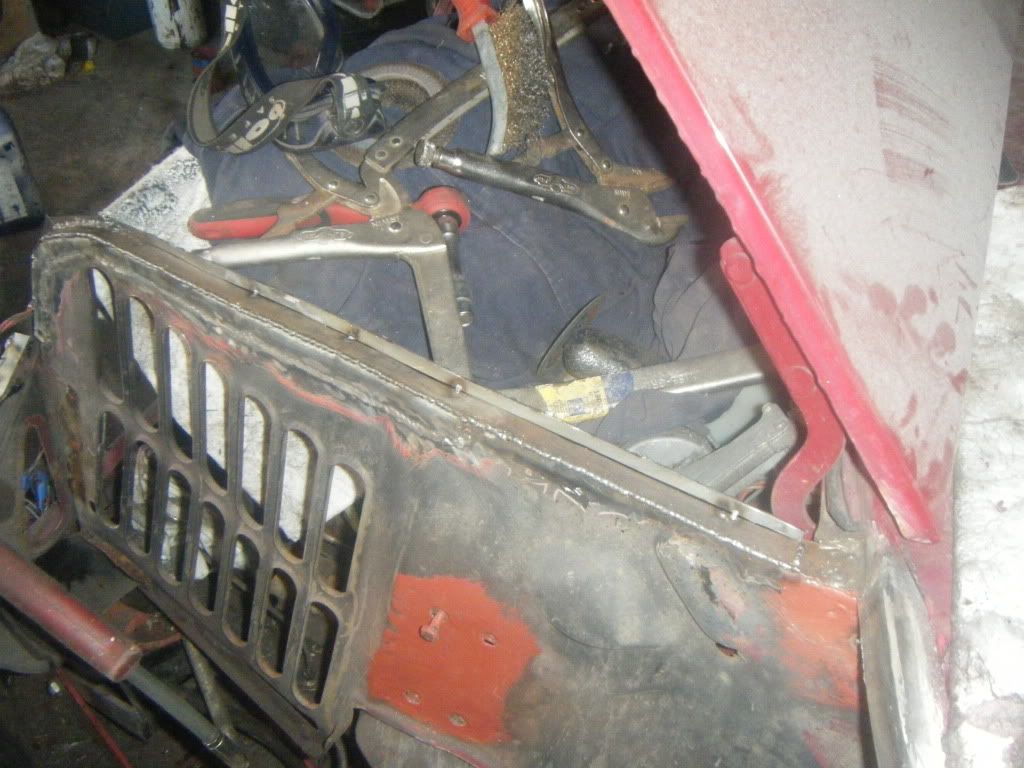
During the week i also made closing plates for the rear valance and from looking at
builds like my poor wee mini sky and 1979 rust heap clubman rebuilt for hints i also put two plates on top of thr
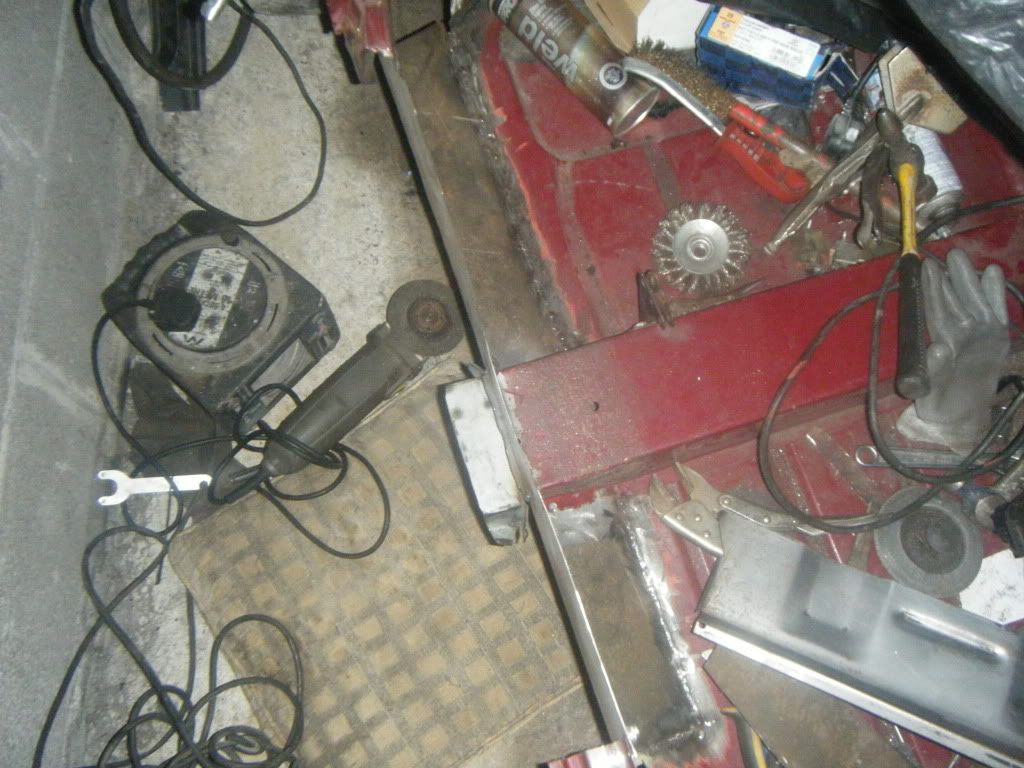
closing plates for extra strengh for the subframe
Posted Image

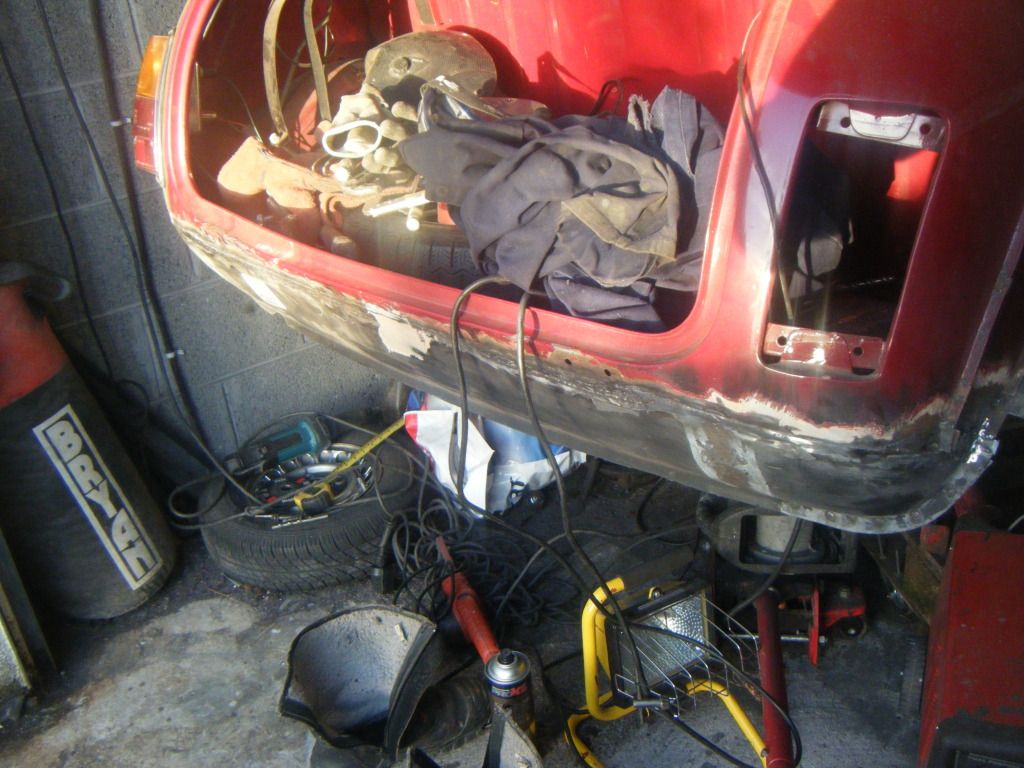
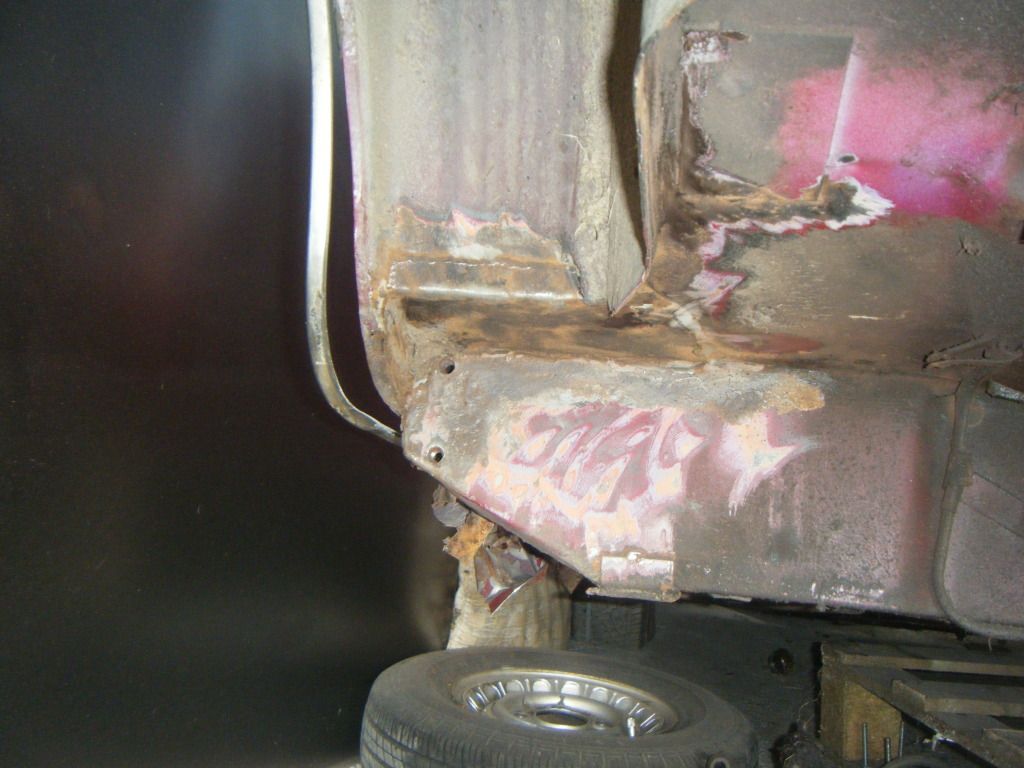
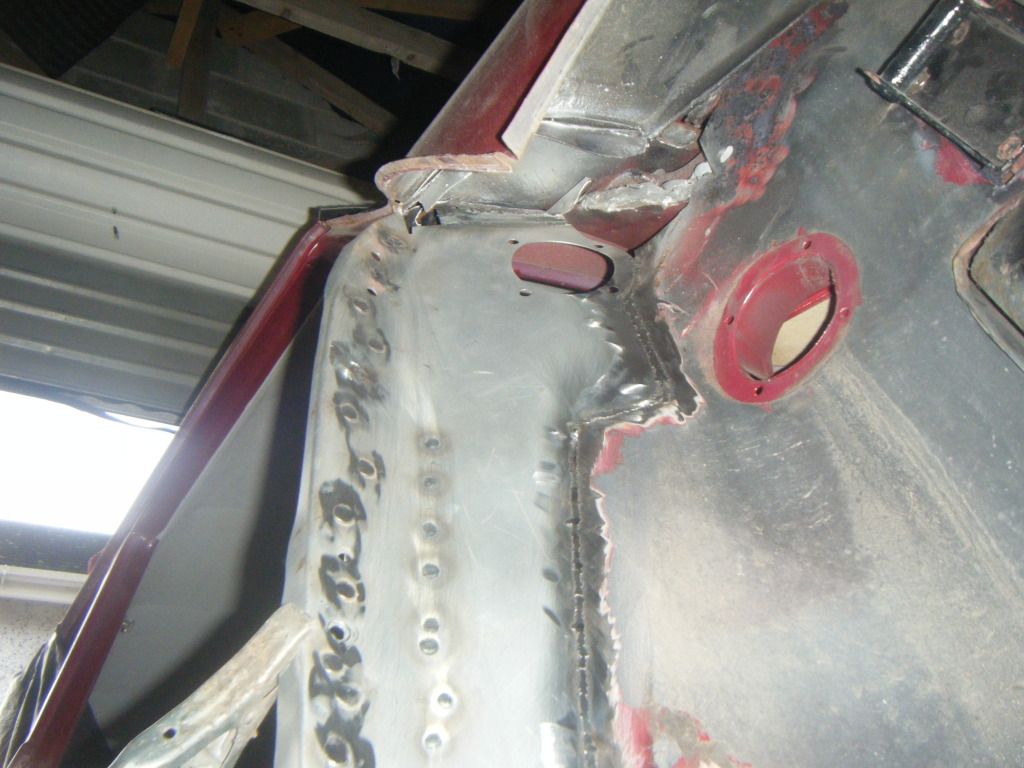
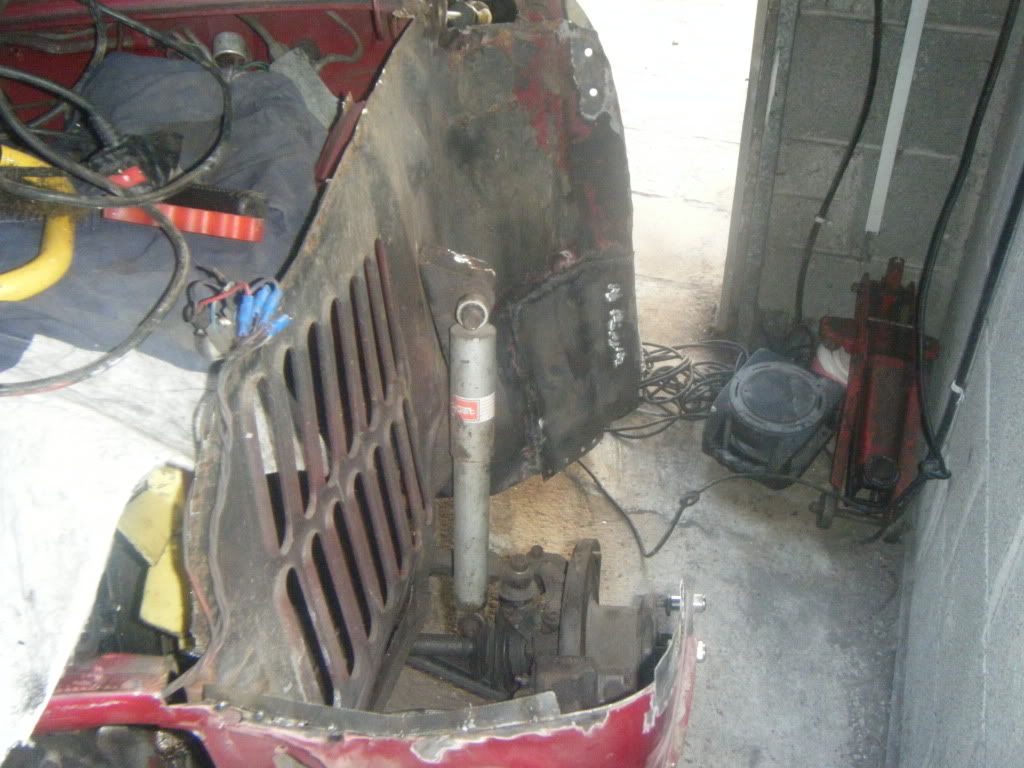
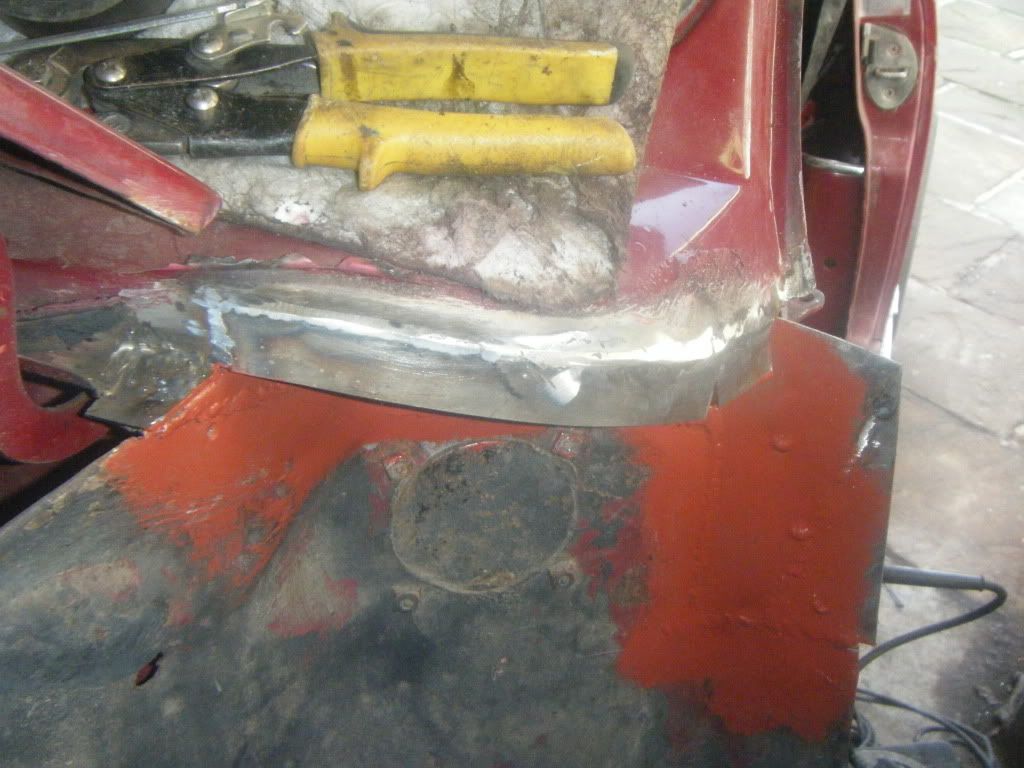
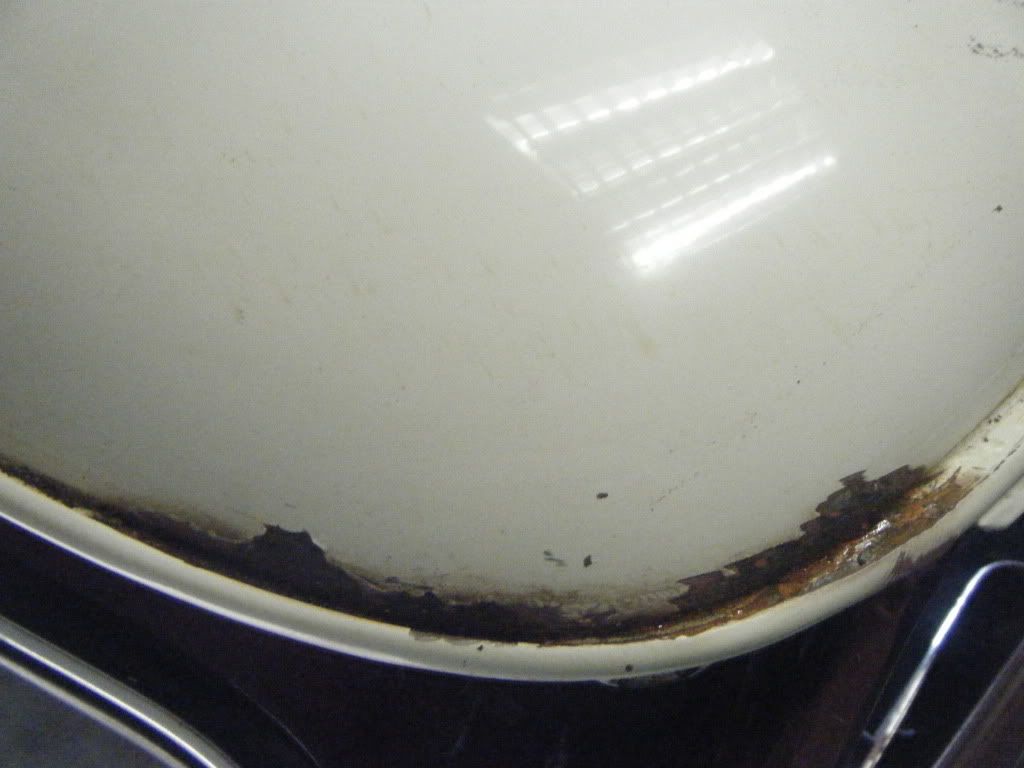
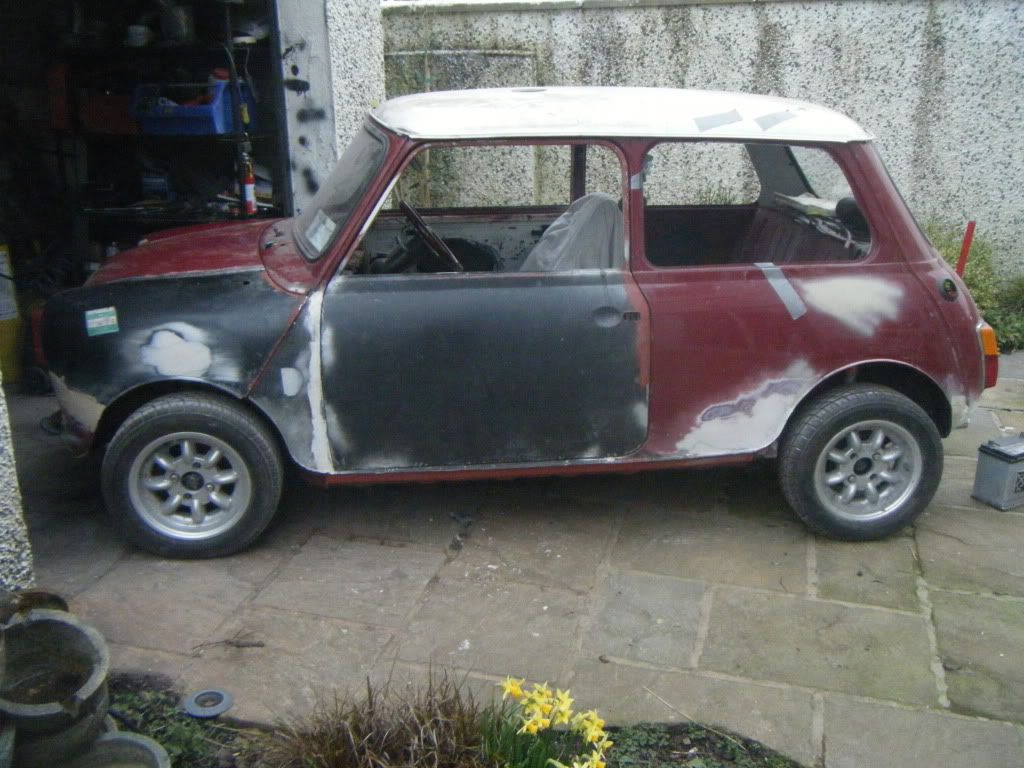
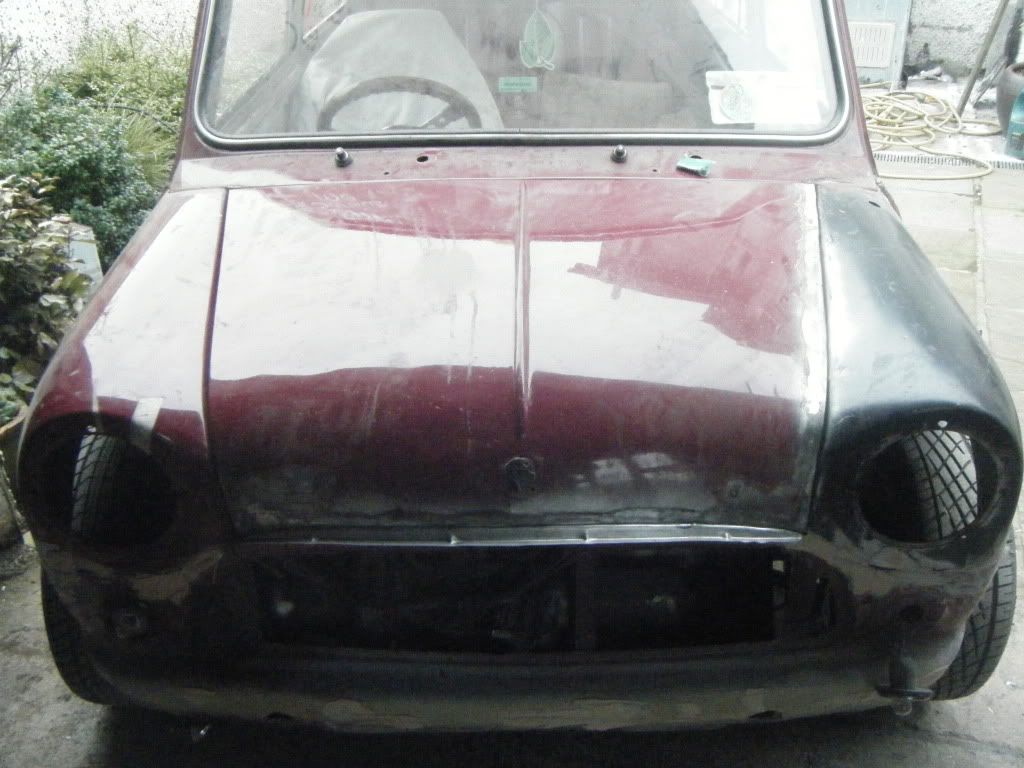
then i moved on to the rear valance i am going for the debumper look front and back it took a bit of work
but it looks cool when its all finished
Posted Image
Posted Image
Posted Image

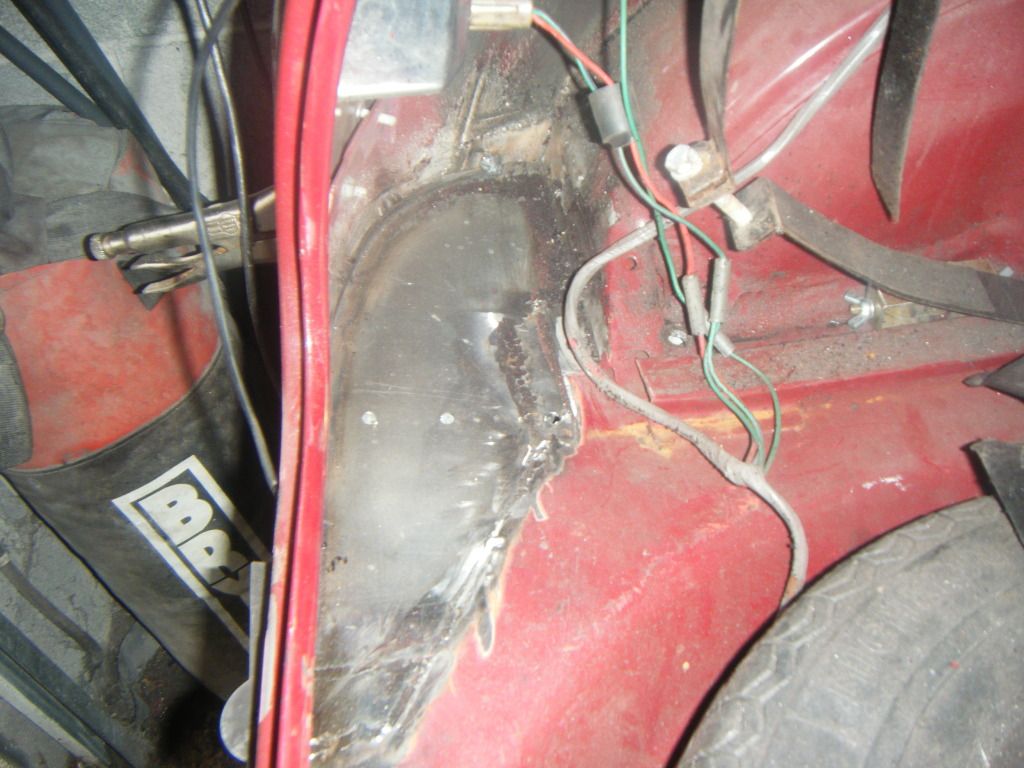
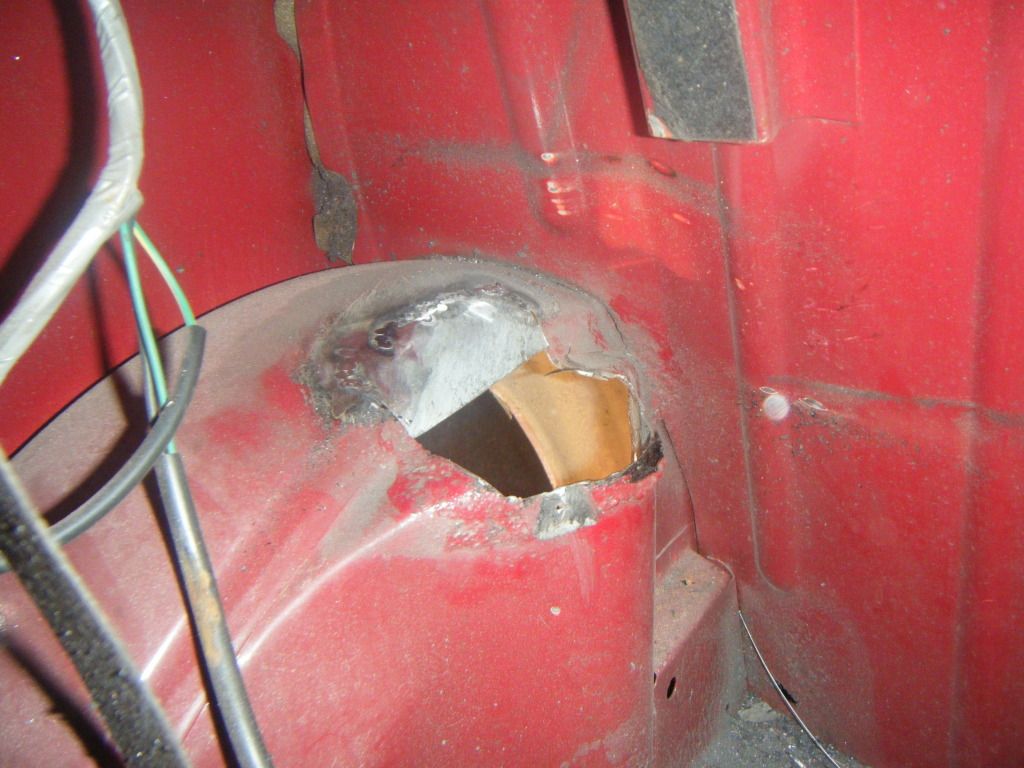
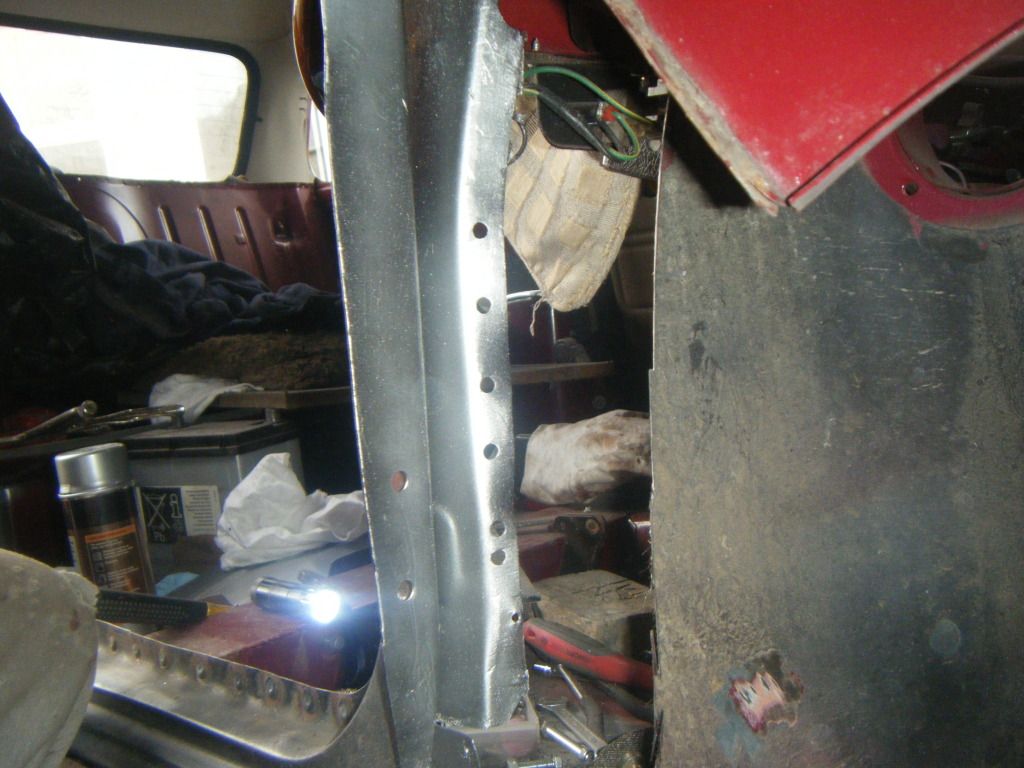
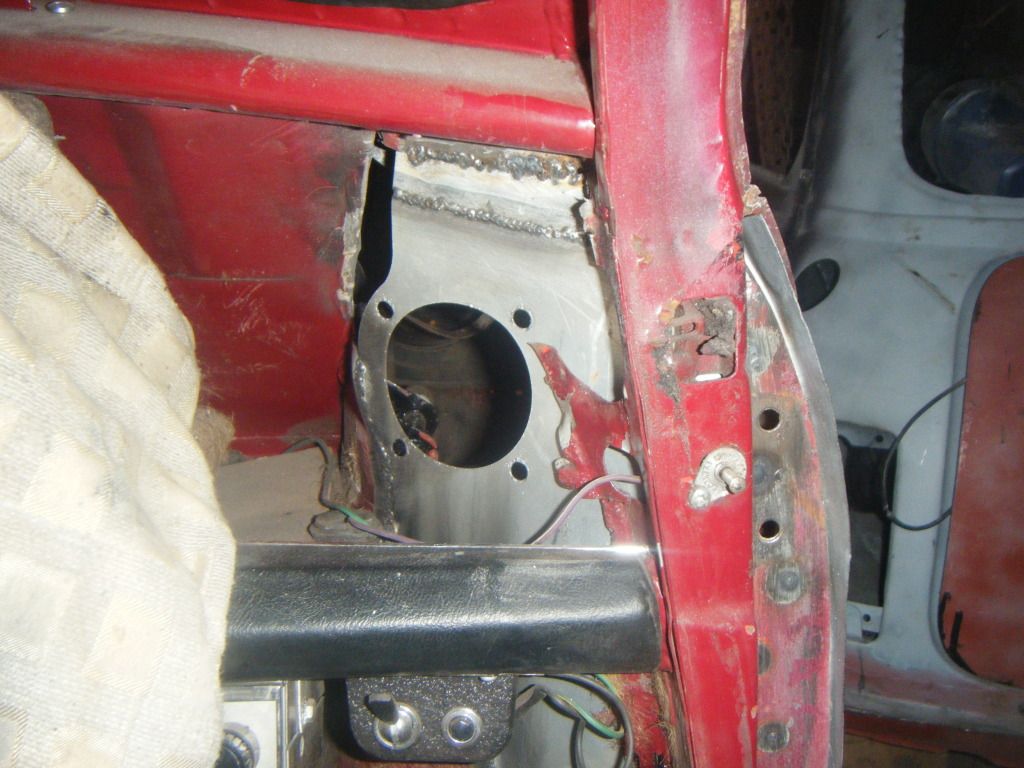
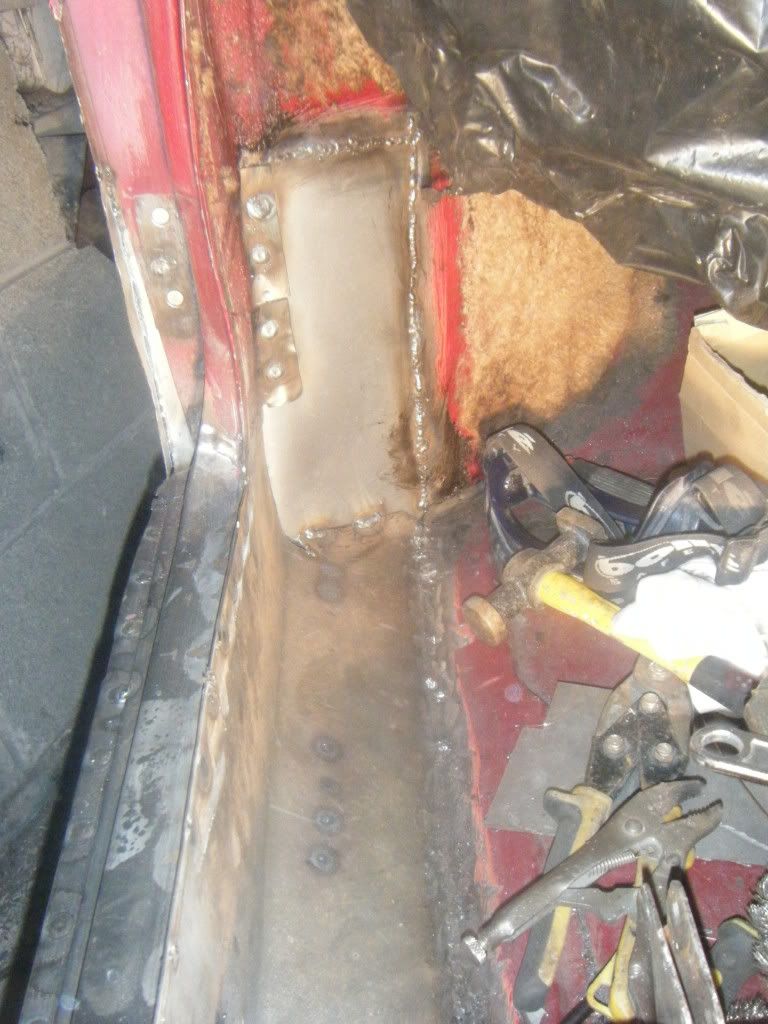
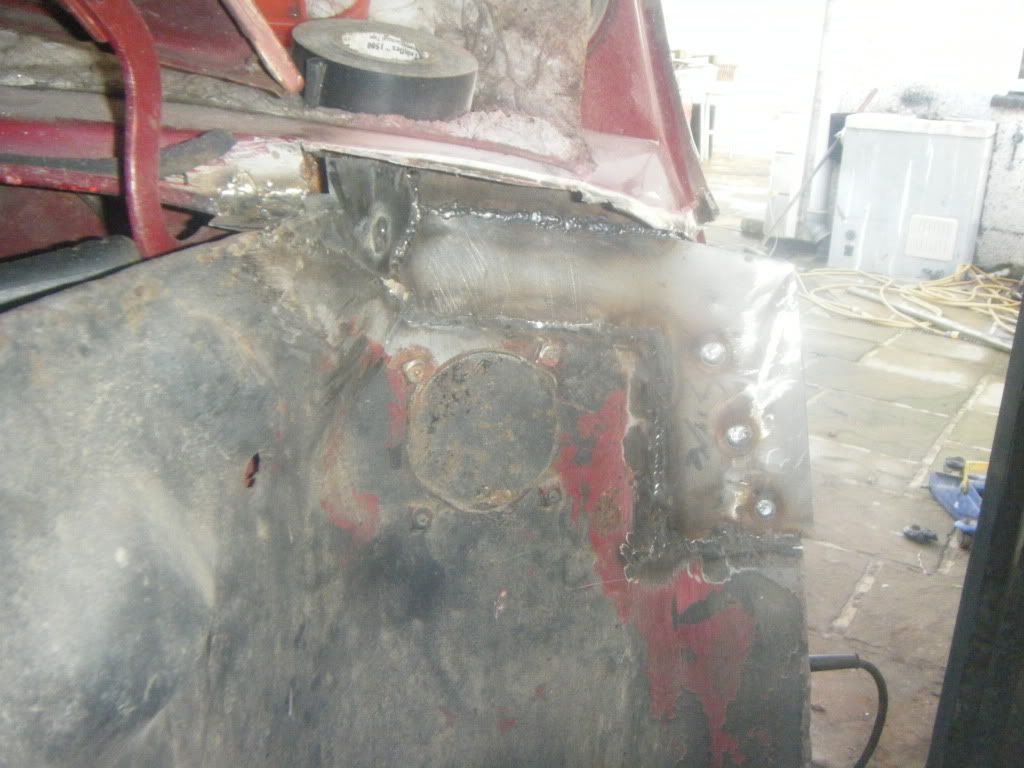
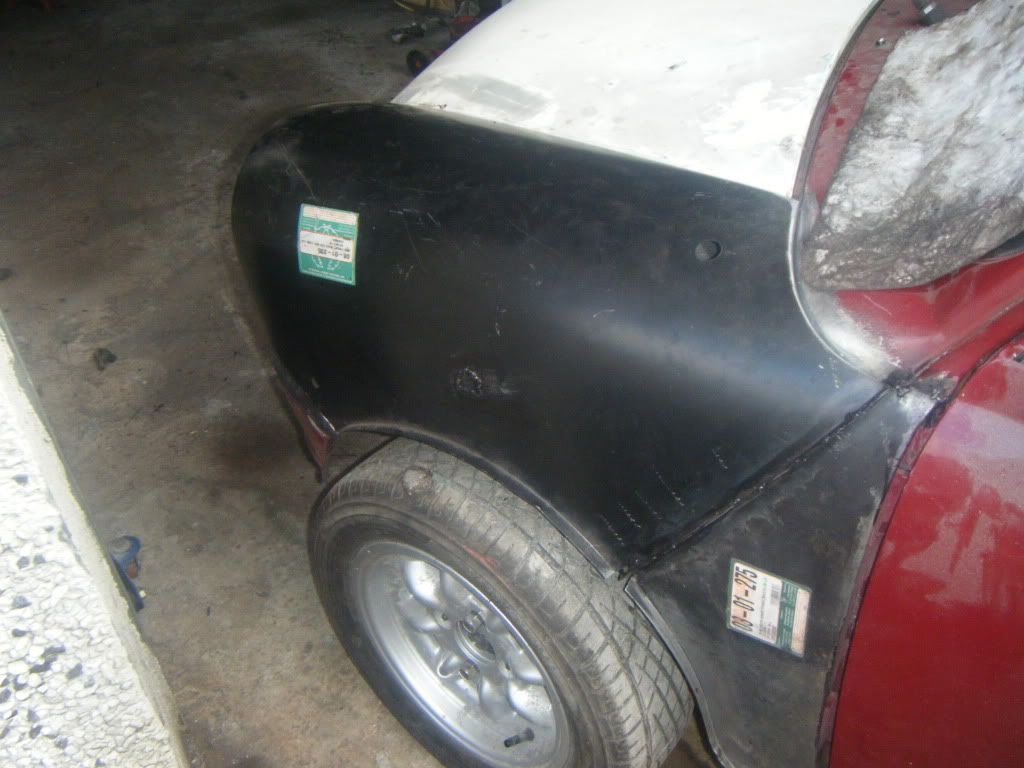
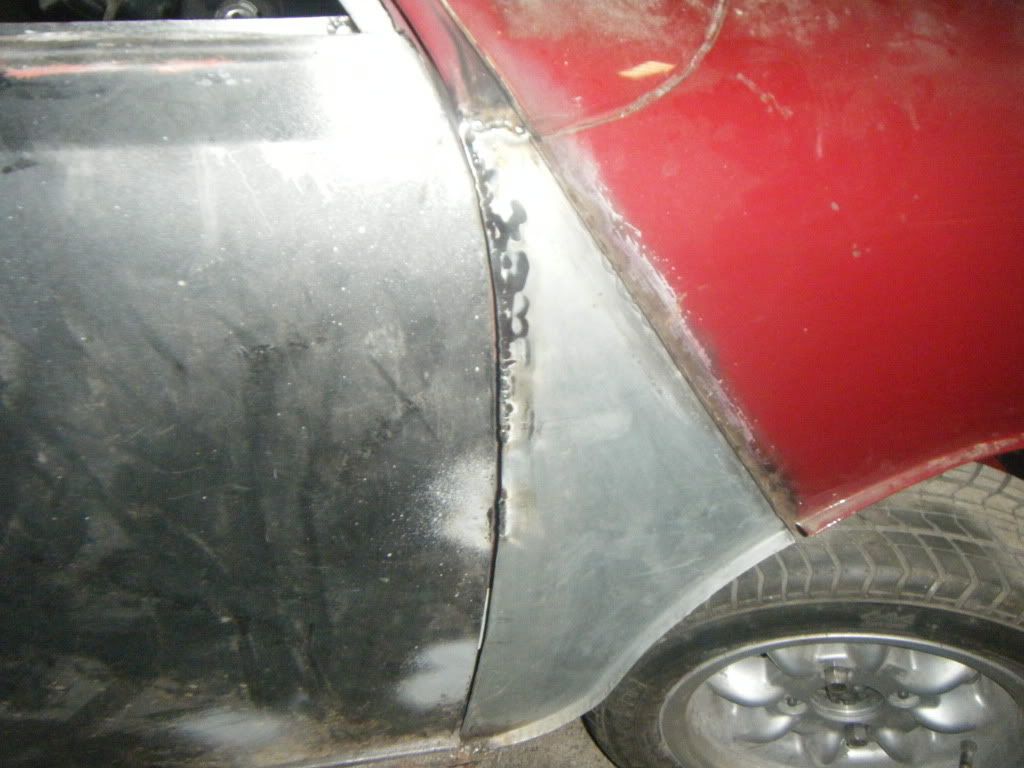
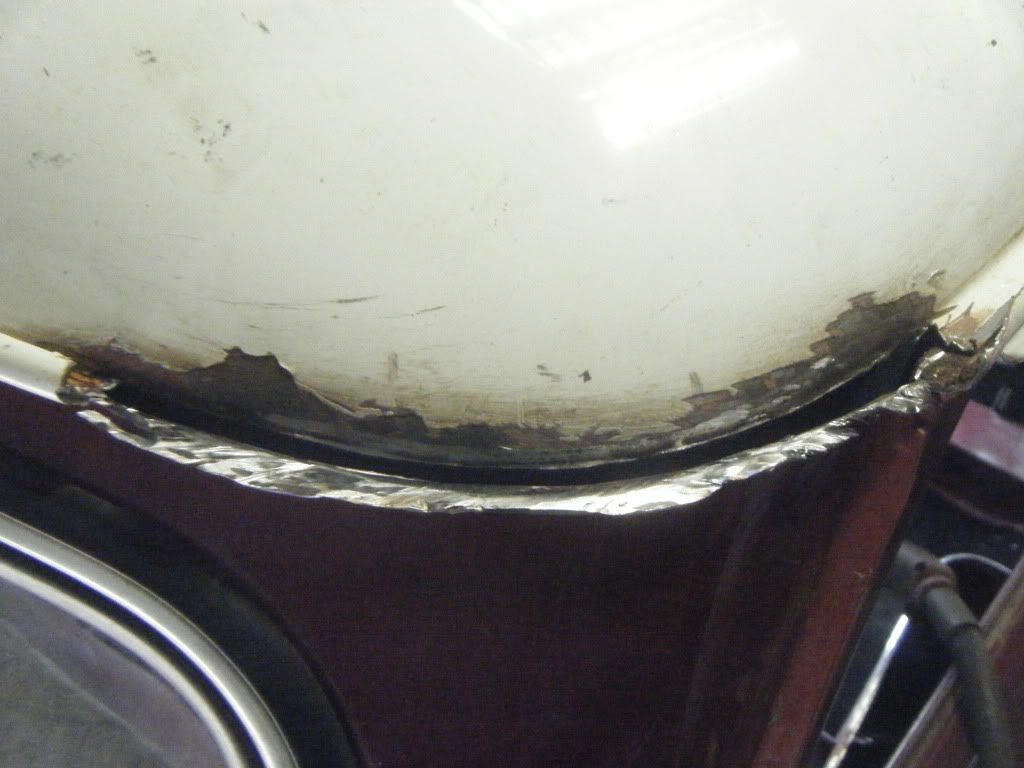
while i was at it the L/H wheel arch shock mounting had holes in it so it also was replaced
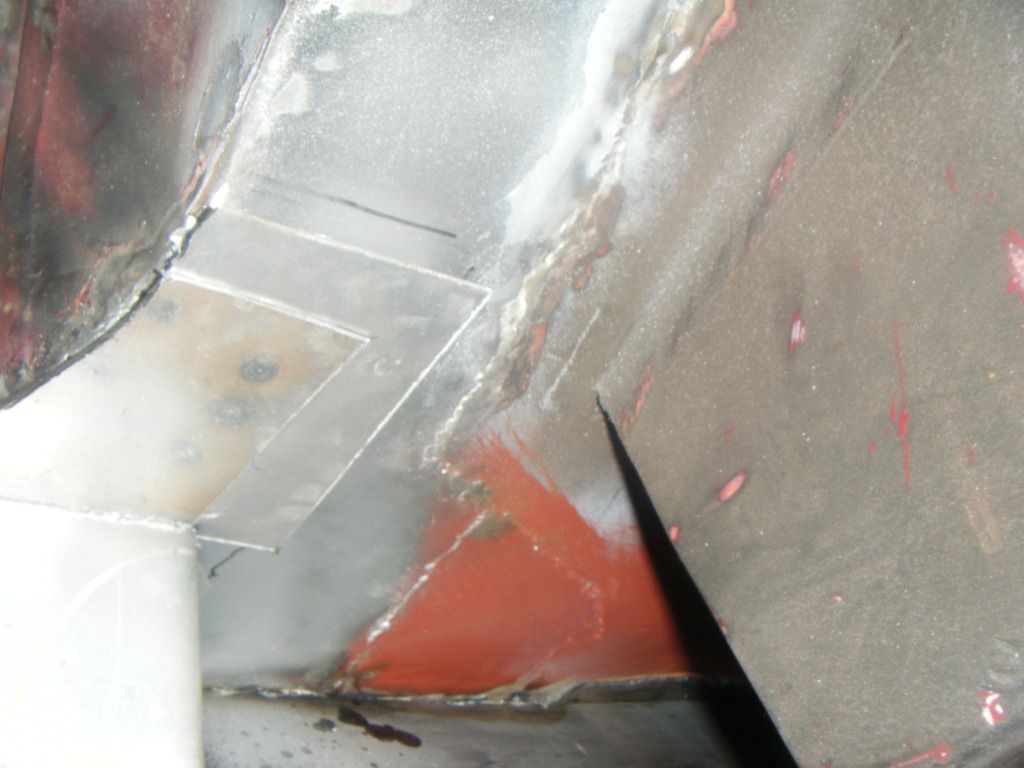
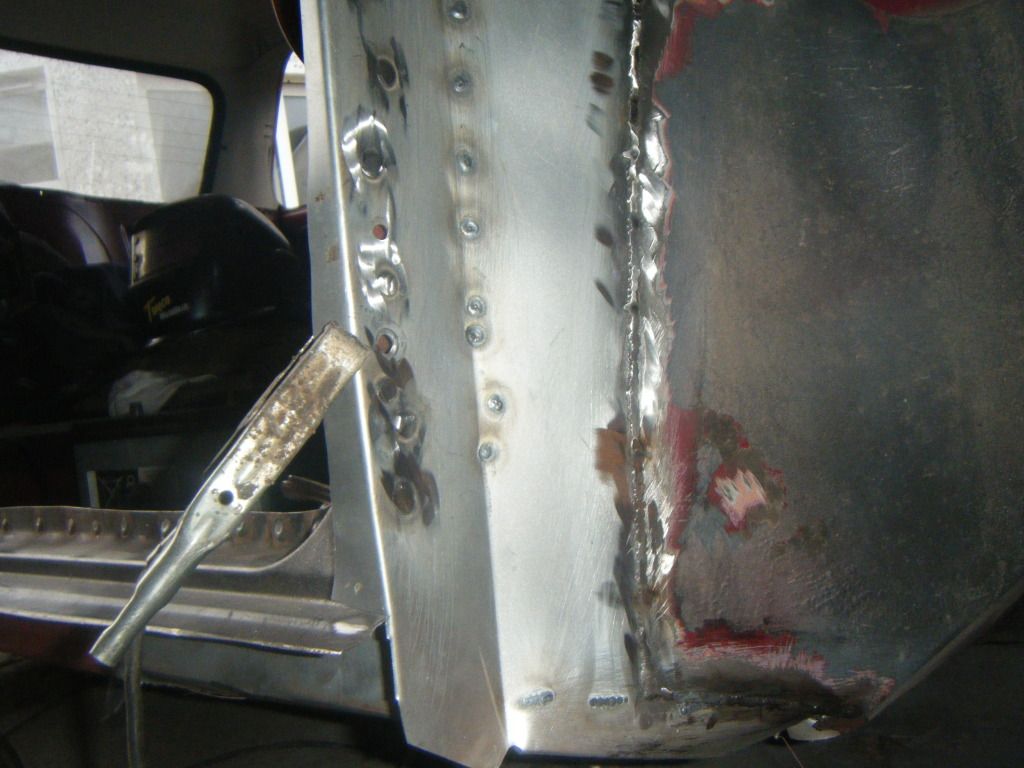
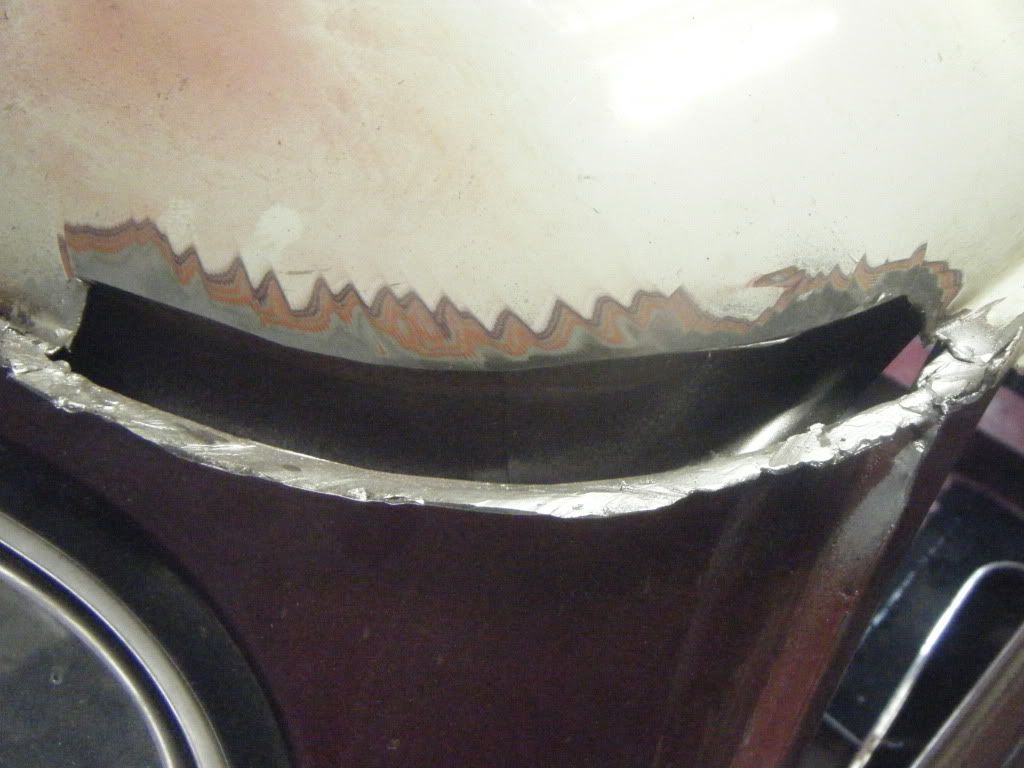
first i welded a plate for the wheel arch
Posted Image

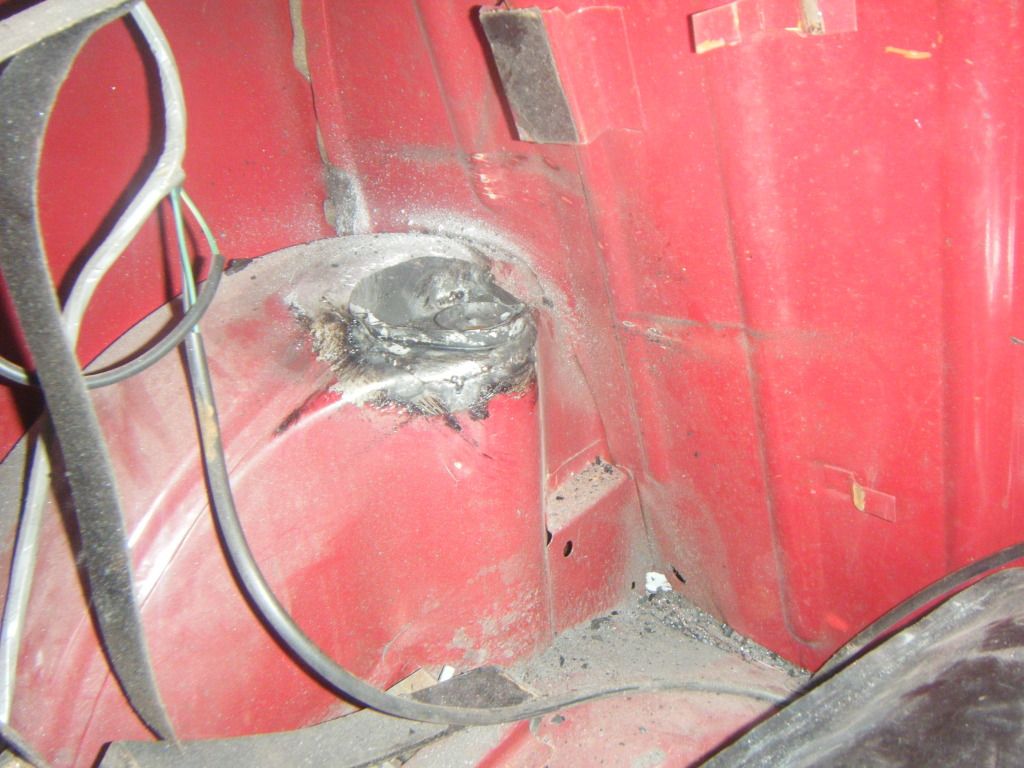
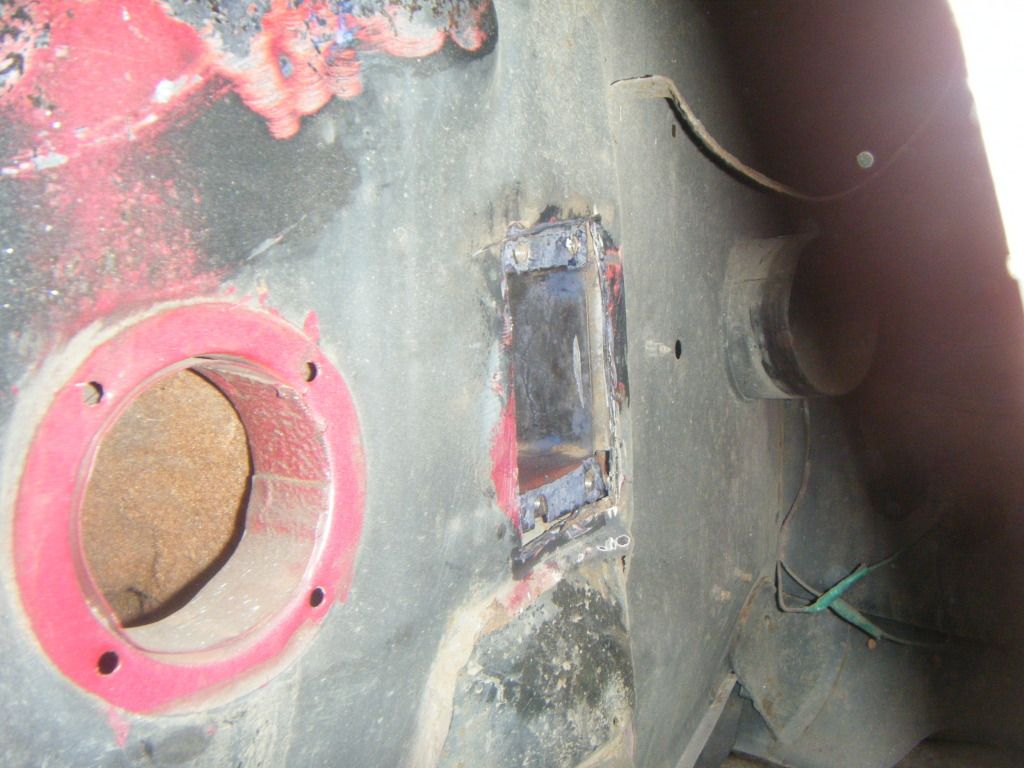
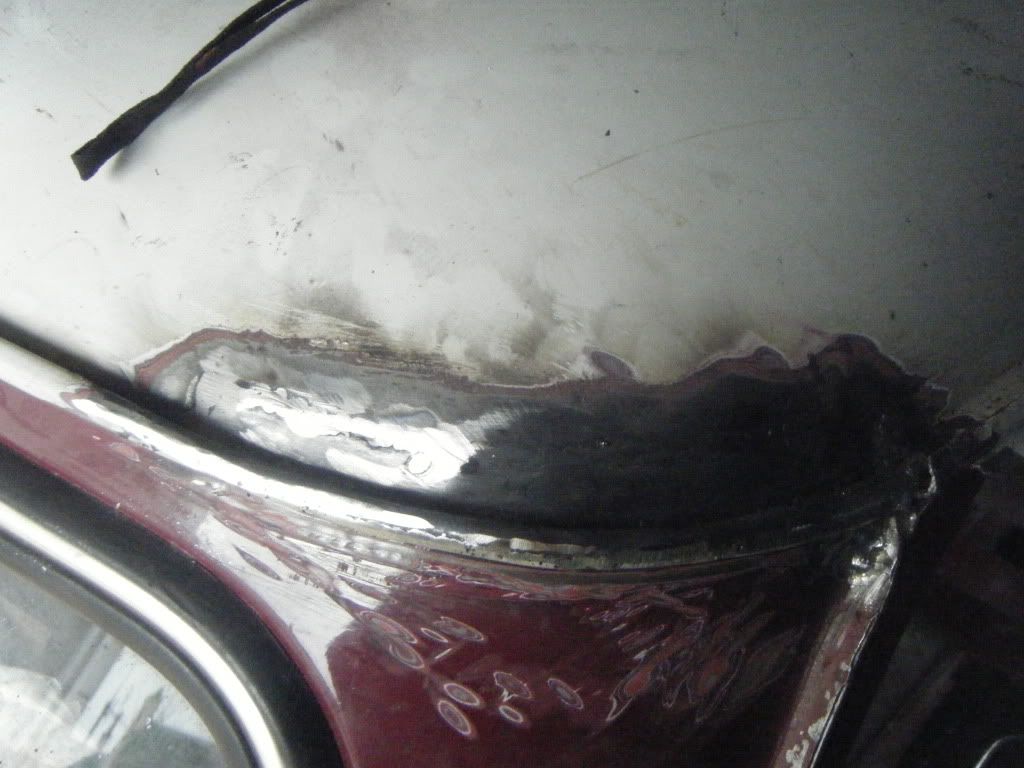
Then a top of a repair plate welded in place lovely
Posted Image

Thank for looking
Dave
<a href="http://www.mybannermaker.com" target="_blank"><img src="http://i.imgur.com/VoyXT.jpg" alt='Create your own banner at mybannermaker.com!' border=0 /></a><br>

Edited by 087dave, 10 November 2012 - 11:49 AM.


#17 087dave

087dave

    One Carb Or Two?

  • Members
  • PipPipPipPipPipPipPip
  • 952 posts
  • Location: In the living room

Posted 10 November 2012 - 08:52 PM

Hi all got a bit more done today i went at the L/H rear subframe mount, you can see where another owner has weld in a plate, not a good job at all
as it has rusted through
Posted Image

i got the welder out and welded in a new bit of floor section
Posted Image

moving along
cherrs for looking
Dave

Edited by 087dave, 11 November 2012 - 10:45 AM.


#18 087dave

087dave

    One Carb Or Two?

  • Members
  • PipPipPipPipPipPipPip
  • 952 posts
  • Location: In the living room

Posted 18 December 2012 - 07:56 PM

Hi all, its been awhile but been busy at work

so today got back at the auto i went at the drivers fitch panel i had removed it early so

Posted Image

lined up the new one at cut and welded it

Posted Image

Posted Image

from the inside

Posted Image

Posted Image


i also cut out the front shock mount and put some kurust in there for tomorrow

Posted Image


cherrs for looking any comments welcome


#19 scotty_1987

scotty_1987

    One Carb Or Two?

  • Members
  • PipPipPipPipPipPipPip
  • 874 posts
  • Location: Dublin, Ireland
  • Local Club: MiniBallers

Posted 18 December 2012 - 09:34 PM

good progress there dave keep it up :)

Nathan

#20 PNL629G

PNL629G

    On The Road

  • Noobies
  • PipPip
  • 48 posts

Posted 18 December 2012 - 09:37 PM

Nice repairs, may be on a budget, but you look like you're doing a great job. Nicely fitted repairs - should see it right for a few years! I had an auto years ago - loved it!

#21 087dave

087dave

    One Carb Or Two?

  • Members
  • PipPipPipPipPipPipPip
  • 952 posts
  • Location: In the living room

Posted 08 January 2013 - 07:59 PM

Hi all, got back on the Auto today i decided to make a start on the passenger side i have nt taken a photo
of the before because i didnt have the camera to hand ,but there was like all repairs on the car patched over rust

The only good thing is i have nt found fibreglass and filler
So i cut out the the inner sill i made my own from a sheet of steel and welded it in also made a jacking point
i then gave it a coat of red oxide paint

Posted Image

Then i moved on to the door step it is a non geniune and took a bit to get it right but looks ok now
Posted Image

After that it was on to the outer sill which went on fine
Posted Image

Then on to the fitch panel which i made from a sheet of steel all welded up
Posted Image

so thats it for today, hopefully more tomorrow

Thanks for looking any comments welcome
Dave

#22 Tomlad

Tomlad

    Passed Test

  • Noobies
  • PipPip
  • 34 posts

Posted 08 January 2013 - 09:44 PM

looking good mate I hope u can do half as good as you

#23 087dave

087dave

    One Carb Or Two?

  • Members
  • PipPipPipPipPipPipPip
  • 952 posts
  • Location: In the living room

Posted 10 January 2013 - 09:13 PM

Got back to work on the car today and from looking at the passenager inner wing from the inside i decided to take of the passenager wing
Posted Image

Then at the air vent end i removed more rust and welded in new steel
Posted Image

Then i repaired the scuttle lip and also made up a panel for underneath the scuttle and painted red oxidePosted Image

http://i1089.photobucket.com/albums/i356/087dave/DSCF4232.jpg[/IMG[IMG]http://i1089.photobucket.com/albums/i356/087dave/DSCF4232.jpg[/img]

On to the inner wing top lip
[img]http://i1089.photobucket.com/albums/i356/087dave/DSCF4235.jpg[/img]

repaired and tacked
[img]http://i1089.photobu...ve/DSCF4237.jpg

Thanks for looking
Dave

Edited by 087dave, 10 January 2013 - 09:18 PM.


#24 087dave

087dave

    One Carb Or Two?

  • Members
  • PipPipPipPipPipPipPip
  • 952 posts
  • Location: In the living room

Posted 24 January 2013 - 09:38 PM

Hi all i bit of a update was at it all week so here goes
i started finishing the inner wing than the wing a A panel it took a bit of messing around but got there in the end :highfive:
Posted Image

I welded a mild steel rod to the Apanel to close the gap
Posted Image
Heres the bonnet it is a fibreglass one dont know how to secure it when driving do any of you guys have one
how did you secure it??


Posted Image

I also got to the drivers side i reskinned the drivers door here a photo with it in place witha new A panel
Posted Image
Posted Image

At the top i have put some weld for the gap and will clean up tomorrow
Short one Thanks for looking
Any comments welcome
Dave

Edited by 087dave, 24 January 2013 - 09:43 PM.


#25 grahama

grahama

    Up Into Fourth

  • Members
  • PipPipPipPipPipPipPipPipPip
  • 2,442 posts
  • Location: Warrington
  • Local Club: None in my area !!

Posted 24 January 2013 - 09:44 PM

Hi,

nice progress on the front, but the passenger side looks to be too far forward, (a panel and wing), as the seam line doesn't appear to line up and the a panel edge looks to be stepped from the a pillar. Sorry if this is the photo ! Try the seam closer to see how it fits and if ok, then the a panel step can be made up with weld and ground back to create a good door gap as you have with the driver side.

Driver side looks great.

Graham

#26 malcs_miniturbo

malcs_miniturbo

    Super Mini Mad

  • Members
  • PipPipPipPipPipPip
  • 602 posts
  • Location: swindon

Posted 24 January 2013 - 10:38 PM

That's a great job your doing and nice repair work mate

#27 087dave

087dave

    One Carb Or Two?

  • Members
  • PipPipPipPipPipPipPip
  • 952 posts
  • Location: In the living room

Posted 18 February 2013 - 05:55 PM

Hi all. Thanks for the replys, just a small update for now, started to clean the roof and noticed this
Posted Image

so i cut it out
Posted Image
Posted Image

Posted Image


Thanks for looking any comments welcome

Edited by 087dave, 18 February 2013 - 05:57 PM.


#28 sonikk4

sonikk4

    Twisted Paint Polisher!!!

  • Admin
  • PipPipPipPipPipPipPipPipPipPipPip
  • 16,076 posts
  • Name: Neil
  • Location: Oxfordshire

Posted 18 February 2013 - 06:28 PM

Bloody hell Dave you are fairly cracking on with this. I like the way you are changing all of the flanges. That's one way of saving panels.

Good effort mate :D

#29 087dave

087dave

    One Carb Or Two?

  • Members
  • PipPipPipPipPipPipPip
  • 952 posts
  • Location: In the living room

Posted 26 February 2013 - 09:43 PM

Thanks for the reply neil, ya most of the panels i attacked had rust on the flanges so i replaced them
instead of a whole panel because i want to have the car on the road by the summer, plus doing this one on a budget

so i took the car into daylight ......... and upol fantastic has become my new best friend :highfive:
Posted Image

i also repaired the bottom lip on the bonnet and fixed a bigger gap at the R/H side
Posted Image

side view
Posted Image

Its now gone to the painters as i have nt got no more room in the garage to paint it, as i have another shell in there at present

anyways thanks for looking
any comments welcome
Dave

#30 Andy!

Andy!

    Speeding Along Now

  • Members
  • PipPipPipPipPip
  • 481 posts
  • Location: Suffolk
  • Local Club: N/A

Posted 26 February 2013 - 09:48 PM

Great skilled work gone on there! i've got a auto mini, they're still ALOT of fun to drive believe it or not haha :D


1 user(s) are reading this topic

0 members, 1 guests, 0 anonymous users