Jump to content


Photo
- - - - -

1989 Austin Mini 30 (First Mini)


  • Please log in to reply
38 replies to this topic

#1 webby0121

webby0121

    Mini Mad

  • Noobies
  • PipPipPipPip
  • 117 posts
  • Location: westmidlands

Posted 27 September 2012 - 07:59 PM

Hi this is my first mini build,

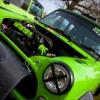
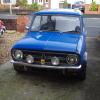
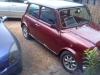
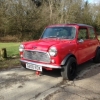
The car - Austin rover mini
Model - 30
Condition - :shifty: it's a mini

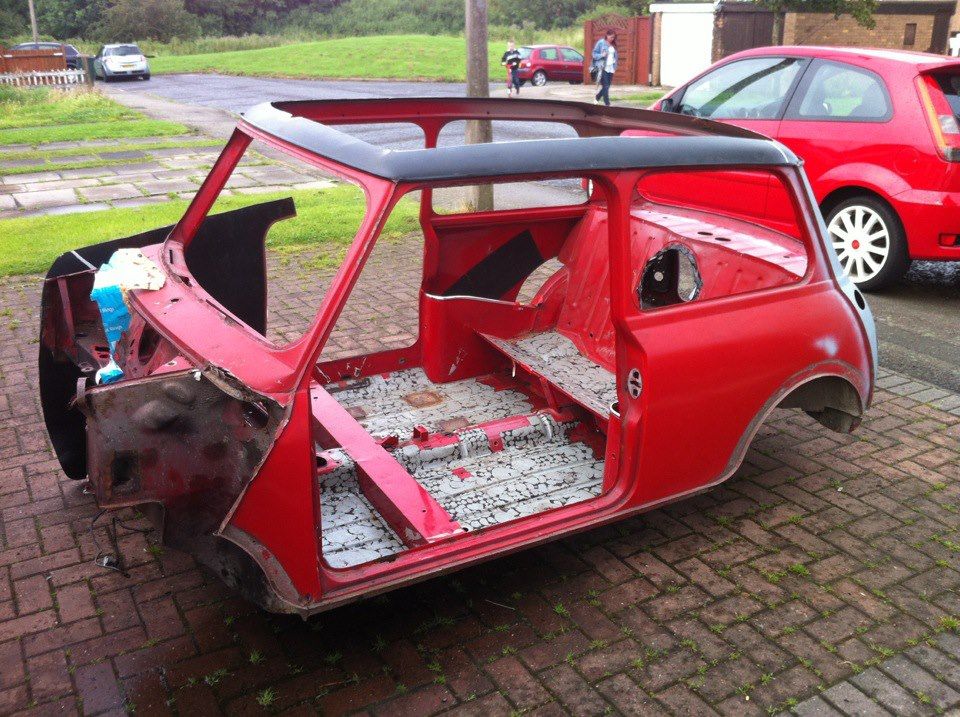
First of all i have introduced myself before but ill say again please forgive any nooby questions as i am only 15 and i am doing this alone.

So on to the mini!!!

The car-
Posted Image

Posted Image

Posted Image

More to follow!!

and sorry for the darkness as i'm doing these after school and into the night lol

#2 webby0121

webby0121

    Mini Mad

  • Noobies
  • PipPipPipPip
  • 117 posts
  • Location: westmidlands

Posted 27 September 2012 - 08:06 PM

The interior
Before-
Posted Image

After-
Posted Image

Now gutted the interior fully and found a little hole
Posted Image

This is the only one so far but soon to wire brush the interior and find more holes lol

#3 webby0121

webby0121

    Mini Mad

  • Noobies
  • PipPipPipPip
  • 117 posts
  • Location: westmidlands

Posted 27 September 2012 - 08:06 PM

Engine bay opened-
Posted Image

#4 webby0121

webby0121

    Mini Mad

  • Noobies
  • PipPipPipPip
  • 117 posts
  • Location: westmidlands

Posted 27 September 2012 - 08:17 PM

Also i found this plastic type stuff where your feet go,
Posted Image
What is it?

And yes its a photo of a photo

#5 BenH

BenH

    One Carb Or Two?

  • Members
  • PipPipPipPipPipPipPip
  • 742 posts
  • Local Club: CV1 Minis

Posted 27 September 2012 - 08:18 PM

Where abouts in the midlands are you? Best to probaby chisel off the sound deadening on the floors to see the condition underneath like this- thats whats in your hand
Posted Image
Then you'll probably find more holes but best to see them then hide them.
Impressed with your garage, loads of room!
whats the plans?

Edited by BenH, 27 September 2012 - 08:18 PM.


#6 webby0121

webby0121

    Mini Mad

  • Noobies
  • PipPipPipPip
  • 117 posts
  • Location: westmidlands

Posted 27 September 2012 - 08:24 PM

Thanks and i live in Sutton, my plans first get a solid shell lol but im gunna keep it classic but with modern touches. grey paint job, grey theme.

#7 BenH

BenH

    One Carb Or Two?

  • Members
  • PipPipPipPipPipPipPip
  • 742 posts
  • Local Club: CV1 Minis

Posted 27 September 2012 - 08:36 PM

Sounds good, that stuff chips off the floor real easy with a screwdriver/chisel Then just replace it with dyno mat or a similar sound proofing.

#8 webby0121

webby0121

    Mini Mad

  • Noobies
  • PipPipPipPip
  • 117 posts
  • Location: westmidlands

Posted 27 September 2012 - 08:38 PM

Ok thanks what is the stuff called?

#9 alex-95

alex-95

    I am THE CLAMP MAKER

  • TMF+ Member
  • PipPipPipPipPipPipPipPipPipPip
  • 6,042 posts
  • Location: l

Posted 27 September 2012 - 08:46 PM

Look's like a good project, I started mine when I was 14. Are you doing the welding yourself?
If you mean the sound deadning it's bitumen, Give it a few tap's with a hammer and chisel and you should be able to get a chisel under and lift it off in big chunks.

#10 BenH

BenH

    One Carb Or Two?

  • Members
  • PipPipPipPipPipPipPip
  • 742 posts
  • Local Club: CV1 Minis

Posted 27 September 2012 - 08:48 PM

I think its just the manufacturers sound deadening , on mine weve chipped it off and left it off,just painted the floors, it weighs just under 10kg if you collect it all in a bag so alot of people remove it to save weight. If you read through a few peoples full rebuilds youll see theyve had to do the same in order to completely remove the rust. Rust just gets worse and worse if left itll eat the whole car up!

#11 BenH

BenH

    One Carb Or Two?

  • Members
  • PipPipPipPipPipPipPip
  • 742 posts
  • Local Club: CV1 Minis

Posted 27 September 2012 - 08:50 PM

Look's like a good project, I started mine when I was 14. Are you doing the welding yourself?
If you mean the sound deadning it's bitumen, Give it a few tap's with a hammer and chisel and you should be able to get a chisel under and lift it off in big chunks.


ahhhh thats what its called, thats handy to know!

#12 webby0121

webby0121

    Mini Mad

  • Noobies
  • PipPipPipPip
  • 117 posts
  • Location: westmidlands

Posted 27 September 2012 - 09:06 PM

Thanks everyone and yes ill be welding, what could i use as sound proof? (cheap)

#13 miniBrain

miniBrain

    Mini Mad

  • Members
  • PipPipPipPip
  • 192 posts
  • Location: Preston

Posted 27 September 2012 - 09:09 PM

Hi mate,

Highly recommend you get yourself a spit / rotary jig once you have the car stripped. You can get to the underside by rolling the car onto its side on tyres or an old mattress. But a rotary spit lets you spin it round on your own to just about any angle. Have a look on ebay there's maybe half a dozen available. I got mine from MK2MANIA for £110 (IIRC) but had to weld it up myself. Might cost £150+ for a fully assembled one. Best £100+ quid I've spent.

Bob

#14 webby0121

webby0121

    Mini Mad

  • Noobies
  • PipPipPipPip
  • 117 posts
  • Location: westmidlands

Posted 27 September 2012 - 09:18 PM

Hi sounds like a good idea but the underneath is pretty solid and ive got very high axle stands but thanks anyway.

#15 joezone2001

joezone2001

    Speeding Along Now

  • Members
  • PipPipPipPipPip
  • 332 posts
  • Location: kirkby in ashfield

Posted 27 September 2012 - 09:54 PM

Thanks and i live in Sutton, my plans first get a solid shell lol but. im gunna keep it classic but with modern touches. grey paint job, grey theme.


hi Webby! great looking project. I have a mini 30 too in project form lol. I live in Kirkby so very close lol. will be watching this.
keep up the good work.
I think I saw this on eBay? maybe I'm wrong.. what colour did it used to be? black or cherry red?
joe


1 user(s) are reading this topic

0 members, 1 guests, 0 anonymous users