I had a bit of time today so I cleaned up the pot joints, painted, regreased and assembled them. I want to get some proper metal CV ties rather than the plastic zip ties that came in the kit.

The driveshafts also got a good scrub and coat of paint.


Up Into Fourth

Posted 29 June 2019 - 08:14 AM
I had a bit of time today so I cleaned up the pot joints, painted, regreased and assembled them. I want to get some proper metal CV ties rather than the plastic zip ties that came in the kit.
The driveshafts also got a good scrub and coat of paint.
Up Into Fourth
Posted 30 June 2019 - 06:42 AM
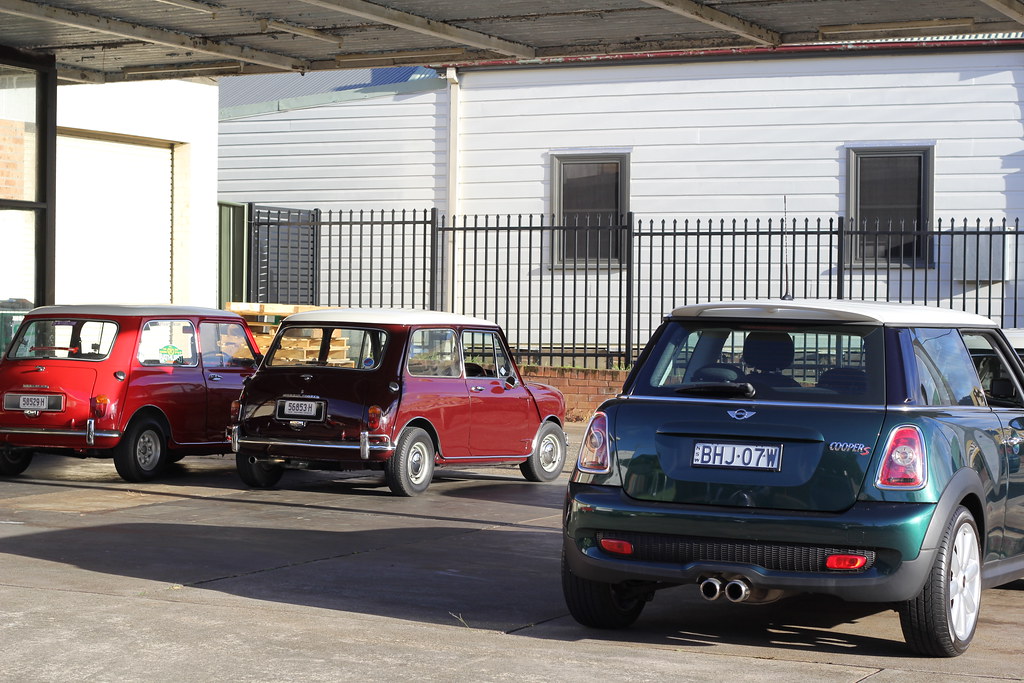
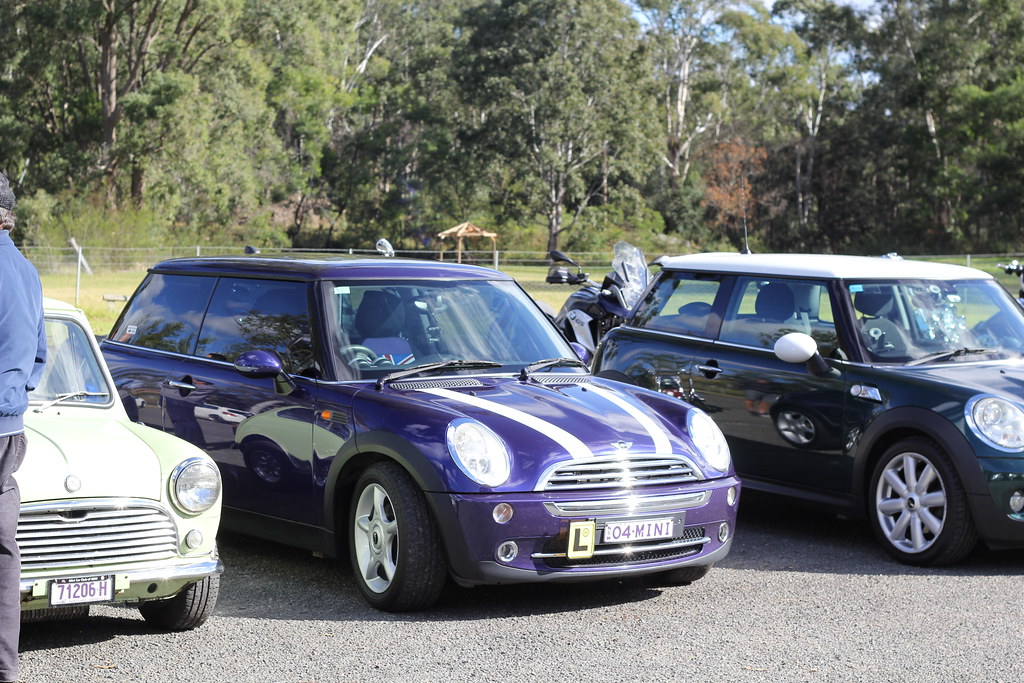
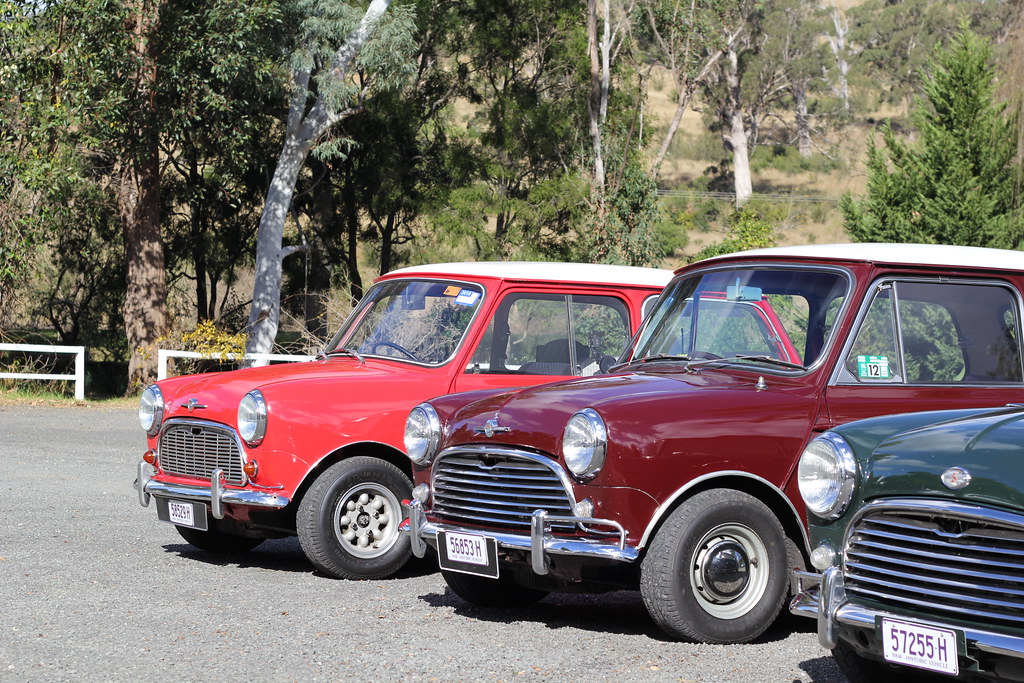
A few photos from our drive today


Edited by timmy850, 30 June 2019 - 06:43 AM.
Put's foolish ideas in peoples heads

Posted 03 July 2019 - 02:22 PM
Oooh, I like that Aussie Clubman! Wouldn't mind getting one just like that some day.
Up Into Fourth
Posted 04 July 2019 - 11:23 PM
Yep, it’s a nice original example of an Aussie Clubman!Oooh, I like that Aussie Clubman! Wouldn't mind getting one just like that some day.


Formally Known as NOT850

Posted 05 July 2019 - 05:48 AM
Up Into Fourth
Posted 05 July 2019 - 06:33 AM
It’s a bit scattered during the thread, but to summarise:Timmy what are the specs for your engine? Or have they already been posted?
Up Into Fourth
Posted 06 July 2019 - 10:22 AM
More cleaning and painting this afternoon..

Cleaning these, which you'll probably never see took nearly an hour. It makes me wonder what other people do with their free time!

It's fun finding some original green paint under several other layers  this piece had green, black, blue and red

Up Into Fourth
Posted 17 July 2019 - 11:21 AM
I found this grubby old rocker cover for sale. It looked like it'd come up OK with a polish and repaint and I'd never seen one like this before.

I was able to find one photo online at http://mk1-performan...ker_covers.html which says it's a Leyland Plusparts cover. With a quick degrease and wipe over it actually looks pretty reasonable. The paint still has a bit of shine to it

And something I've been meaning to do for a while was sort out the leaky fuel tank sender.

This is the early 6 screw type which uses a cork gasket between the sender and tank. It was pretty crusty and damp when I managed to remove it

I gave the sender and the tank surface a good clean up and I found a fuel resistant sealant which hopefully will prevent any leaks

The inside of the fuel tank was surprisingly clean. It needs 24 hours to cure properly so I'll be able to fill up the tank soon to see how it went..

Put's foolish ideas in peoples heads
Posted 17 July 2019 - 12:48 PM
That rocker cover does look good. What about wrinkle black with the fins polished?
Up Into Fourth
Posted 18 July 2019 - 01:03 AM
I’ve already got a minispares cover which is a similar style and it’s crinkle black and polished. I’m not sure if I want both the same or I’ll try something different with the new one.That rocker cover does look good. What about wrinkle black with the fins polished?

Stage One Kit Fitted

Posted 18 July 2019 - 10:30 AM
 C381CF02-468F-422F-B676-3AE42847A234.jpeg 56.17K
0 downloads
C381CF02-468F-422F-B676-3AE42847A234.jpeg 56.17K
0 downloads
Up Into Fourth
Posted 21 July 2019 - 08:16 AM
Thanks for the photo John, I had thought about painting it green too and it looks pretty nice. It'll have to wait for a while now as I've run out of green paint! I need to go back to the same store so I know it's the same colour - I don't think they can post spray cans but I'll ask as the shop is 3 hours away...
Update on the fuel tank, I filled the tanks up this morning (it took 40L) and no leaks of fuel smell in the boot now which is a relief.
I put the new rocker cover on the engine and the patina matches the current state of the engine bay. It all really needs a good clean, which I'll do when the engine comes out.

As I like messing around with things I changed a few things as well:
The first thing was removing the insulation blanket - it makes the Dellorto sound much better and isn't too loud for shorter trips.
The second thing I did was to remove the vacuum advance. I was curious as to how much difference it made - it definitely makes a difference at the lower end, but it also reduces the "chop" in the Dellorto sound stops the backfiring coming down hills. I guess normally that's a good thing but I like all the noises it makes!
The last and most important change was the addition of a choke bracket and cable. The car starts first press of the starter with the choke circuit activated even on cold mornings (under 10 deg C which is cold for here) which makes it just that bit nicer to live with

Up Into Fourth
Posted 22 July 2019 - 11:01 PM
I had 2 flywheels set aside and I was hoping to use one for this engine. The ring gear and friction surface were in decent condition, and the 2 piece ones are a bit lighter than the 1 piece ones. The 2 piece one got the go ahead for some further attention..

I got this back yesterday! It's been lightened, balanced and had the diaphragm height set. My friend James recently upgraded to an orange clutch diaphragm so his old blue dot will be put to good use

Up Into Fourth
Posted 01 August 2019 - 07:49 AM
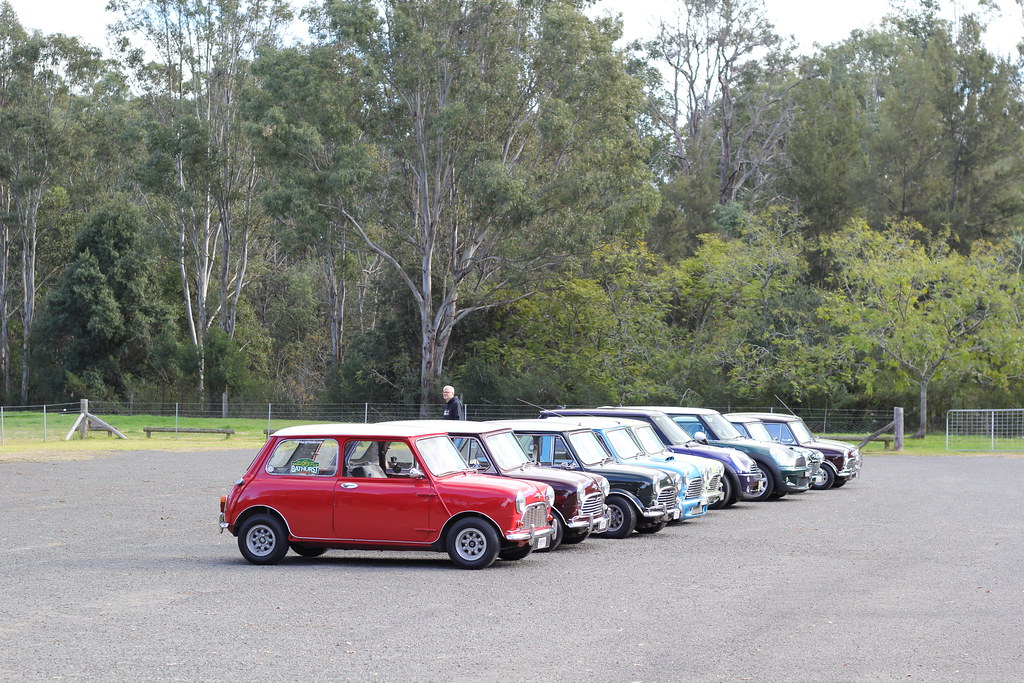
Last weekend we had a drive with the MITG crew. It was a perfect sunny day and we had some nice empty winding roads!


A new AP clutch plate arrived this week

Alongs with some nice new RHP bearings.

Up Into Fourth
Posted 11 August 2019 - 10:02 PM
I found this photo at my grandparents house last weekend. It was taken back when my dad owned the car, and the house was owned by my grandparents. It's always great to find more photos of the history of the car


We have the big annual Rylstone Classic rally on this coming weekend so I gave the car a check over and an oil change. All was OK, apart from the lower arm bush on the left..
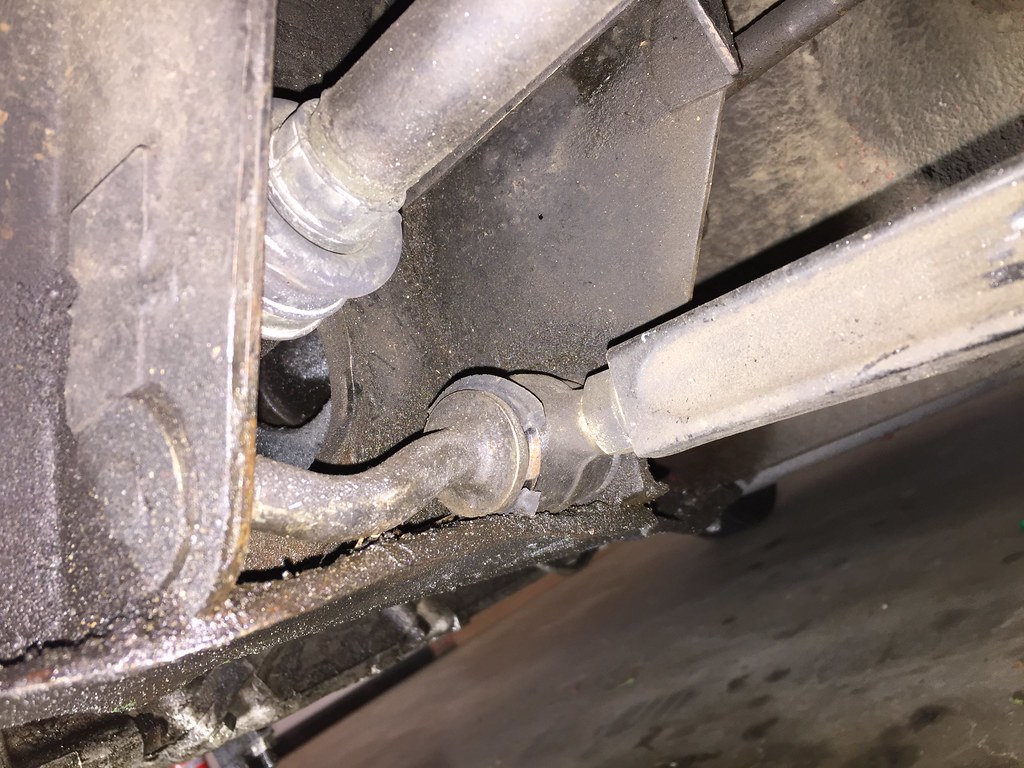
And the right side was even worse! New bushes are required ASAP - these were about 2 years old

Yesterday I was able to get a hand from Justin to get the end float right on the idler gear. Rather strangely I needed the two thinnest thrust washers in his stock to get it right.

I still need to shim the diff in, but once I can double check all my work and torque settings I can bolt the gearbox and engine together finally!

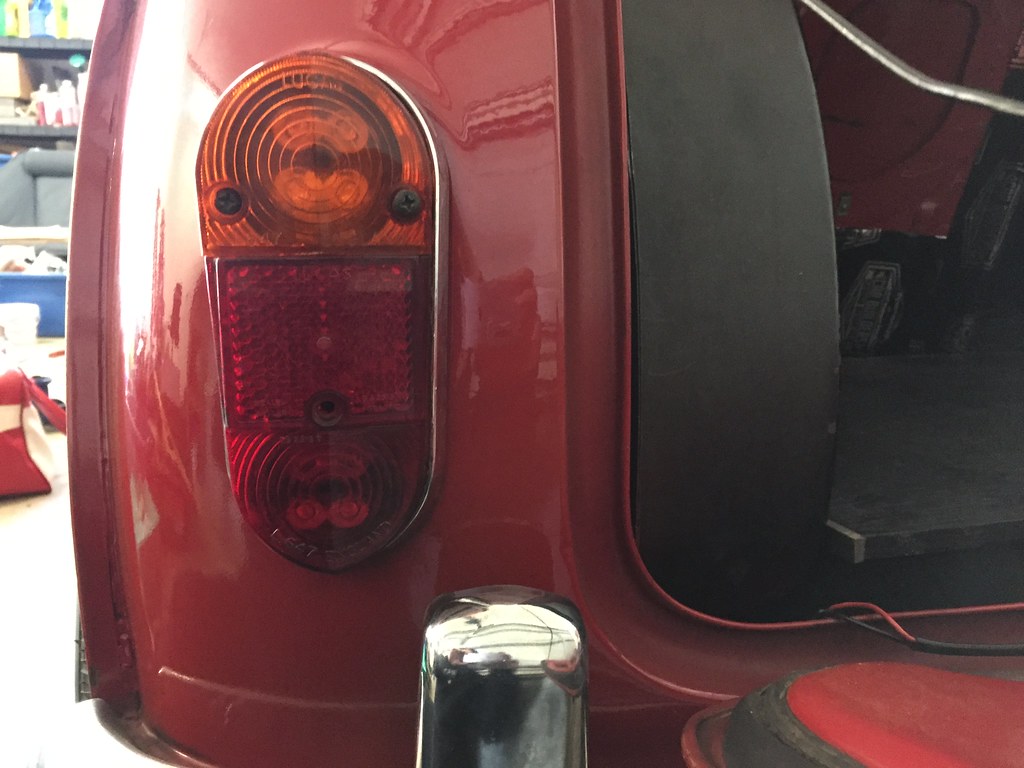
Something a bit different, I saw these LED light units originally designed for trailers. They looked to be a familiar shape & size and they were very cheap for the pair. The 2 year warranty didn't last long though, I popped off the lens cover and drilled a hole through the unit..

They are a perfect fit inside the Mk1 rear lights, they are super bright and just need to be wired in to see if they are any good. I'll get the Lucas style bullet connectors so it's 100% bolt/plug in with no changes to the car


0 members, 0 guests, 0 anonymous users


