Ok do not do anymore work to your car especially moving it. You need to put some bracing in there or you will have issues.
You need something like this


Twisted Paint Polisher!!!


Posted 14 January 2014 - 08:24 PM
Ok do not do anymore work to your car especially moving it. You need to put some bracing in there or you will have issues.
You need something like this
I am THE CLAMP MAKER

Posted 14 January 2014 - 08:25 PM
Like above they're not jacking points, should go on the sumbrame ideally. I would put some bracing into the bits that have been cut out, you don't want it moving.
EDIT - Again too slow...
Edited by alex-95, 14 January 2014 - 08:26 PM.
Learner Driver
Posted 14 January 2014 - 08:28 PM
These are the parts I ve already purchased. I see more options in the M-Machine panels but now it is too late to look for other options. I spent a lot of money in the ones you see
Manythanks for the photos and the sketch. It really helps me to understand how it goes.
It is a pity I biught parts in 2 stages because I could have buy floor panel and inner sill already joined. Now the bodywork garage will have to weld them together
Any other advises when doing the job?
I think I should start welding the door step in order to join again the car. After it, the inner sill with the floor panel.
Do you agree with it?
Then the sill covers are not needed
 IMG_1902.JPG 64.4K
55 downloads
IMG_1902.JPG 64.4K
55 downloads
Twisted Paint Polisher!!!
Posted 14 January 2014 - 08:28 PM
Looking at your picture you will need to remove the companion bin to get to the inner sill and stiffener


Doing that will save you having to remove the lower section of the quarter panel.
Twisted Paint Polisher!!!
Posted 14 January 2014 - 08:33 PM
These are the parts I ve already purchased. I see more options in the M-Machine panels but now it is too late to look for other options. I spent a lot of money in the ones you see
Manythanks for the photos and the sketch. It really helps me to understand how it goes.
It is a pity I biught parts in 2 stages because I could have buy floor panel and inner sill already joined. Now the bodywork garage will have to weld them together
Any other advises when doing the job?
I think I should start welding the door step in order to join again the car. After it, the inner sill with the floor panel.
Do you agree with it?
Then the sill covers are not needed
Yes getting the door step in will give you a place to start from. Its a shame you bought those panels as you now know you dont need all of them. And then the floor fitting.
With regards to the oversills you can cut them down to make standard short sills like this
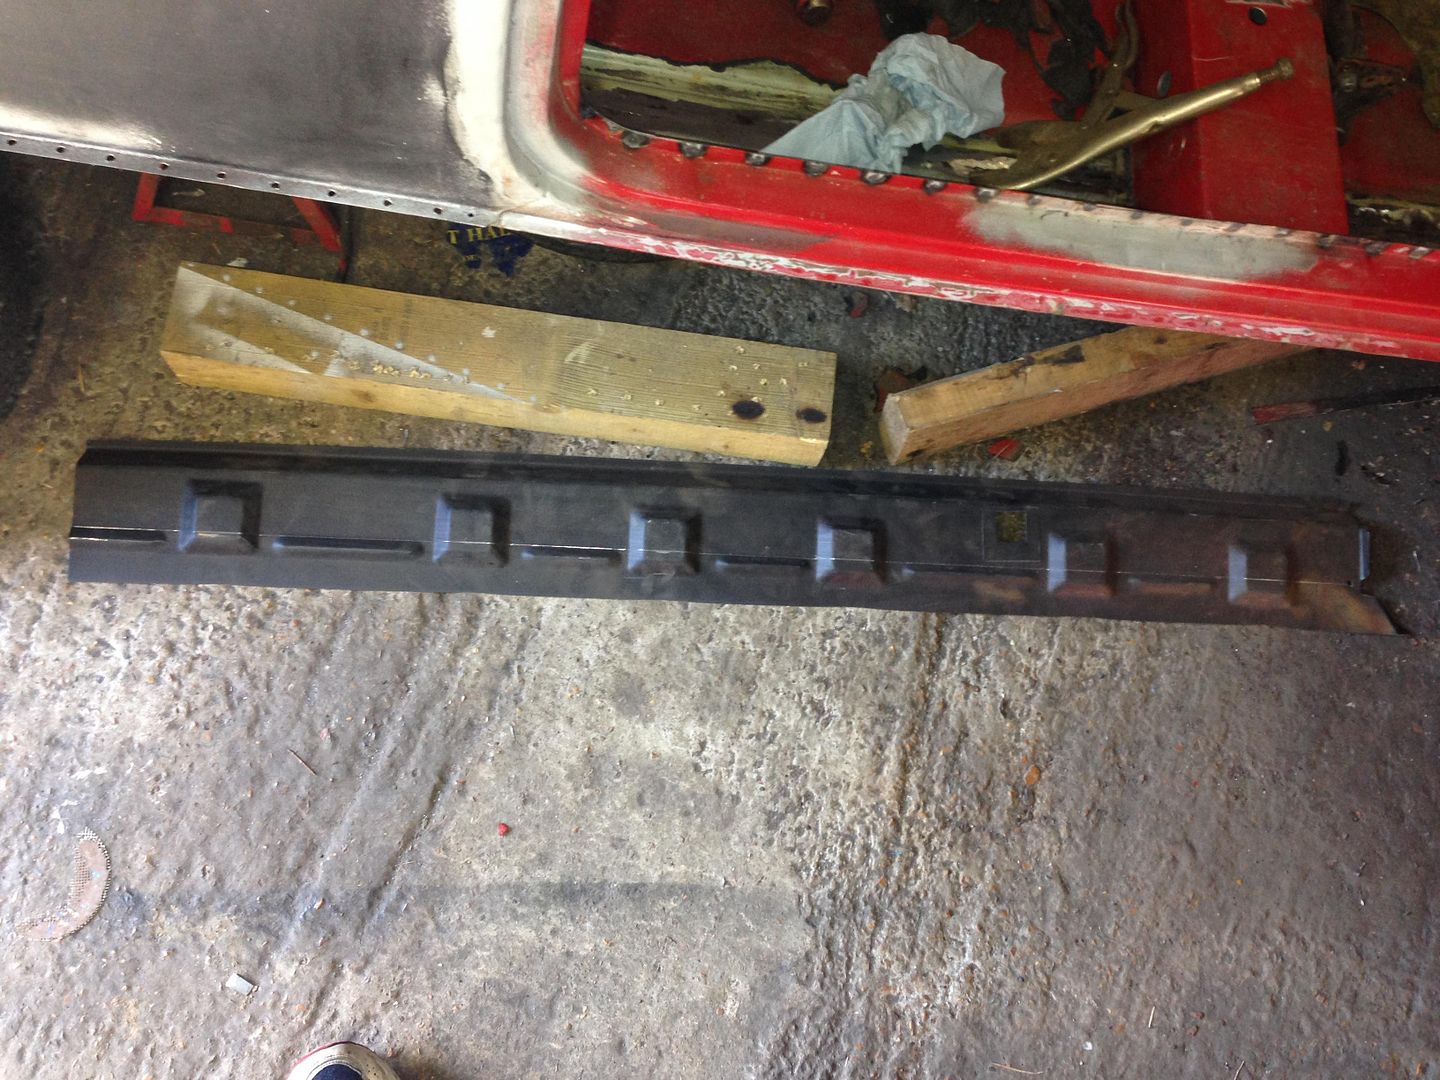
and the finished article
Learner Driver
Posted 14 January 2014 - 08:38 PM
ok.
Car is hanging now from the roof. I will ask him to prepare a bracing like the one you show
What about the seat belt anchorage point.
This should come in the inner sill, no?
Learner Driver
Posted 14 January 2014 - 08:40 PM
If I cut the sill cover like in yor photo, they will be open from the back and mud could enter there, no?
Is this how it was originally?
Twisted Paint Polisher!!!
Posted 14 January 2014 - 08:42 PM
Yes it might do but if not have you still got the old floor panel?? if so you maybe able to recover the the old seat belt mount.
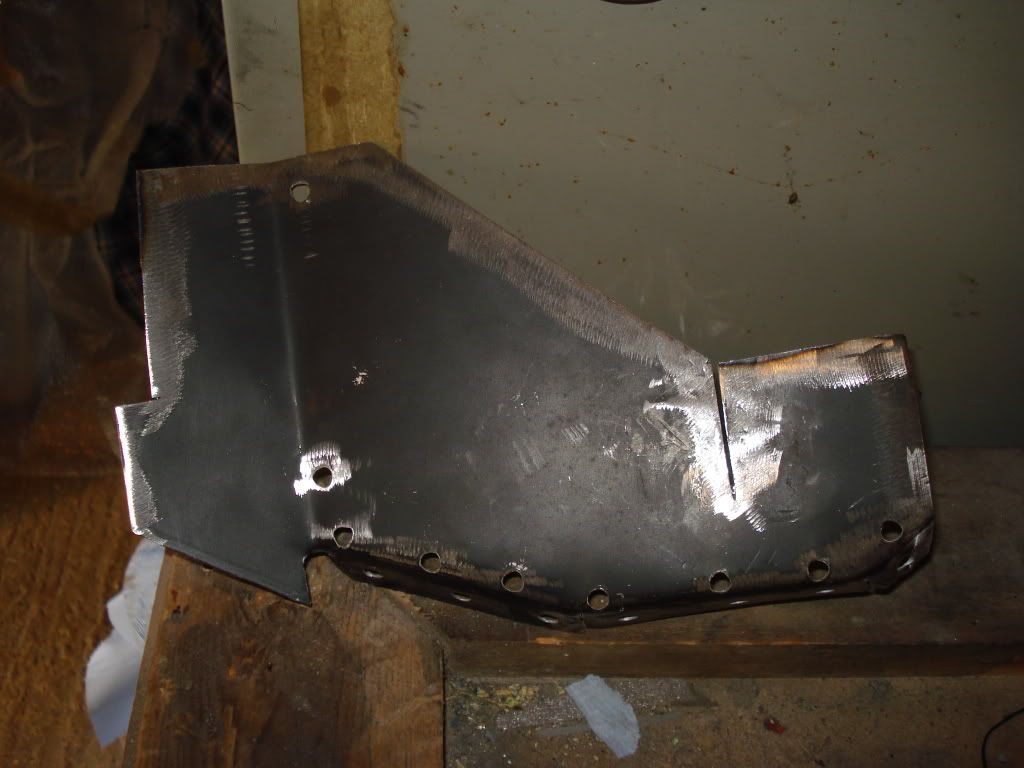
Something else you will probably need is the rear heelboard to inner sill mounting bracket. One of these
Twisted Paint Polisher!!!
Posted 14 January 2014 - 08:47 PM
If I cut the sill cover like in yor photo, they will be open from the back and mud could enter there, no?
Is this how it was originally?
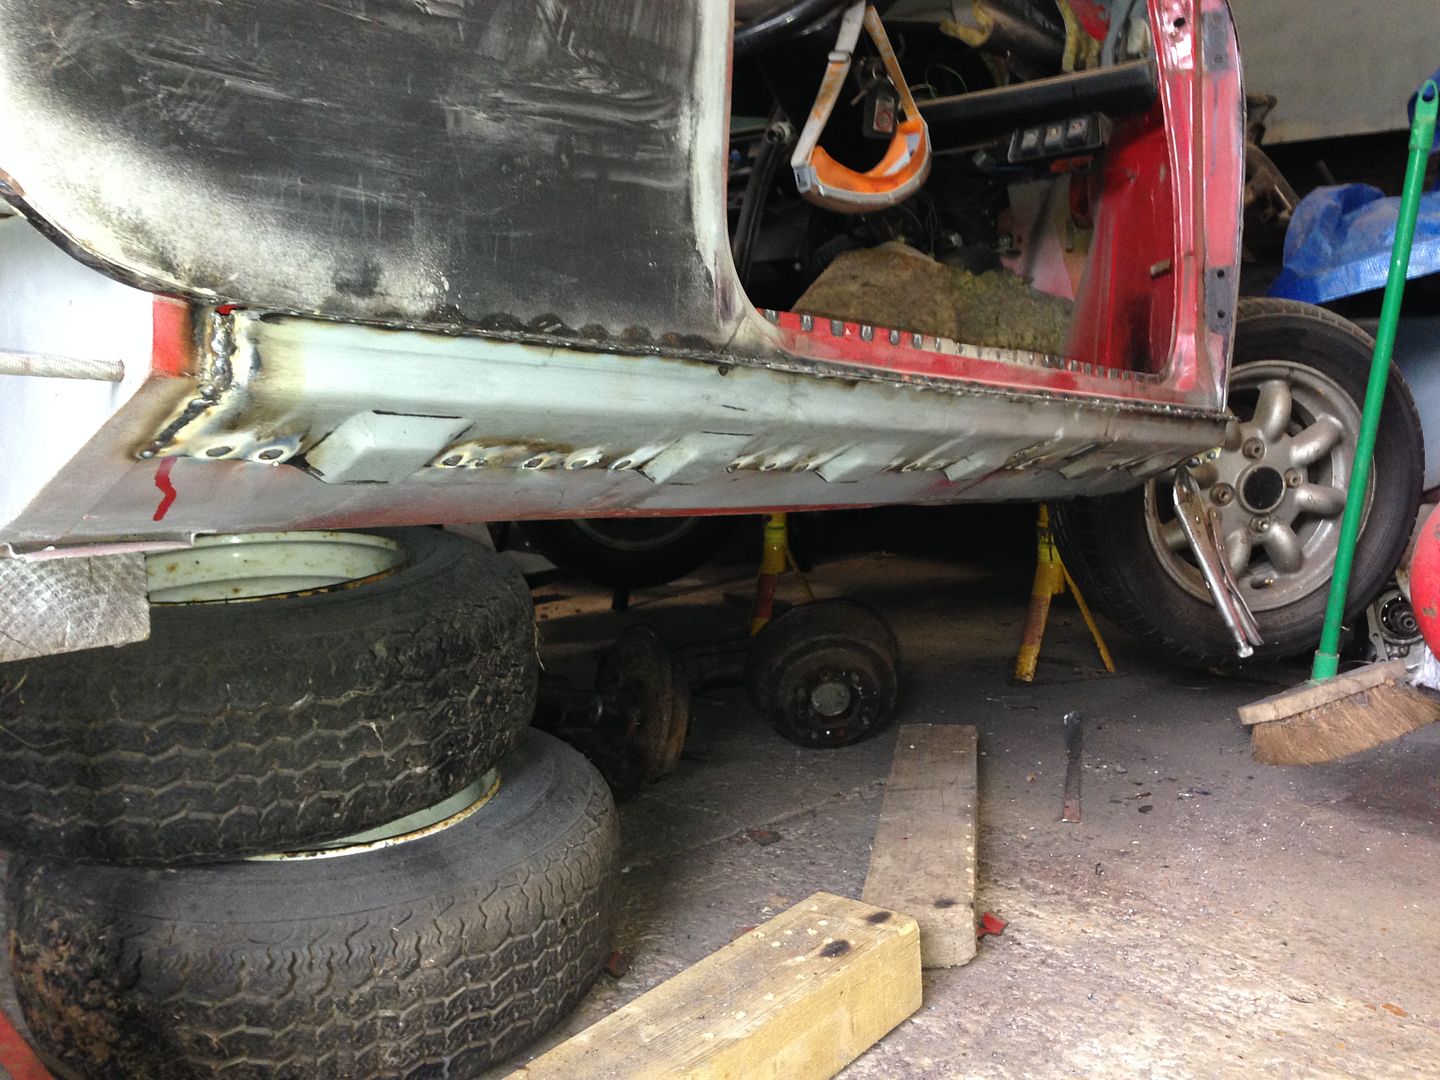
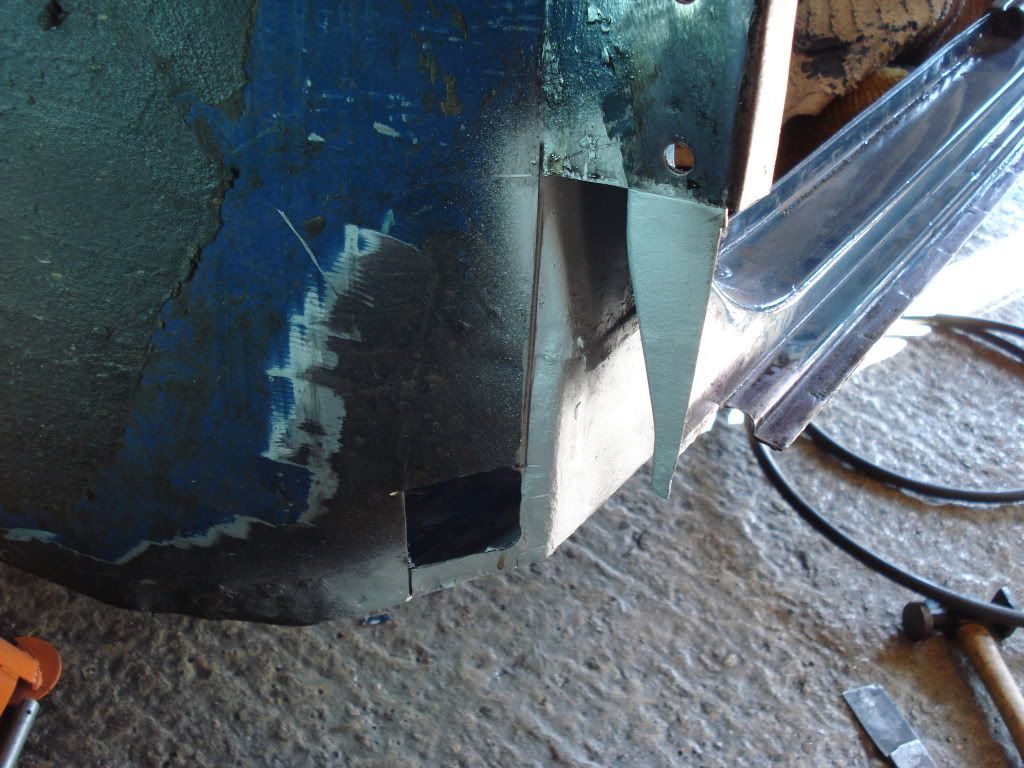
No not at all, with it being cut down the length and then fitted as per the picture its sealed at both ends. The heelboard end and at the front by the flitch panel like this, look to the left of the picture.
Twisted Paint Polisher!!!
Posted 14 January 2014 - 09:00 PM
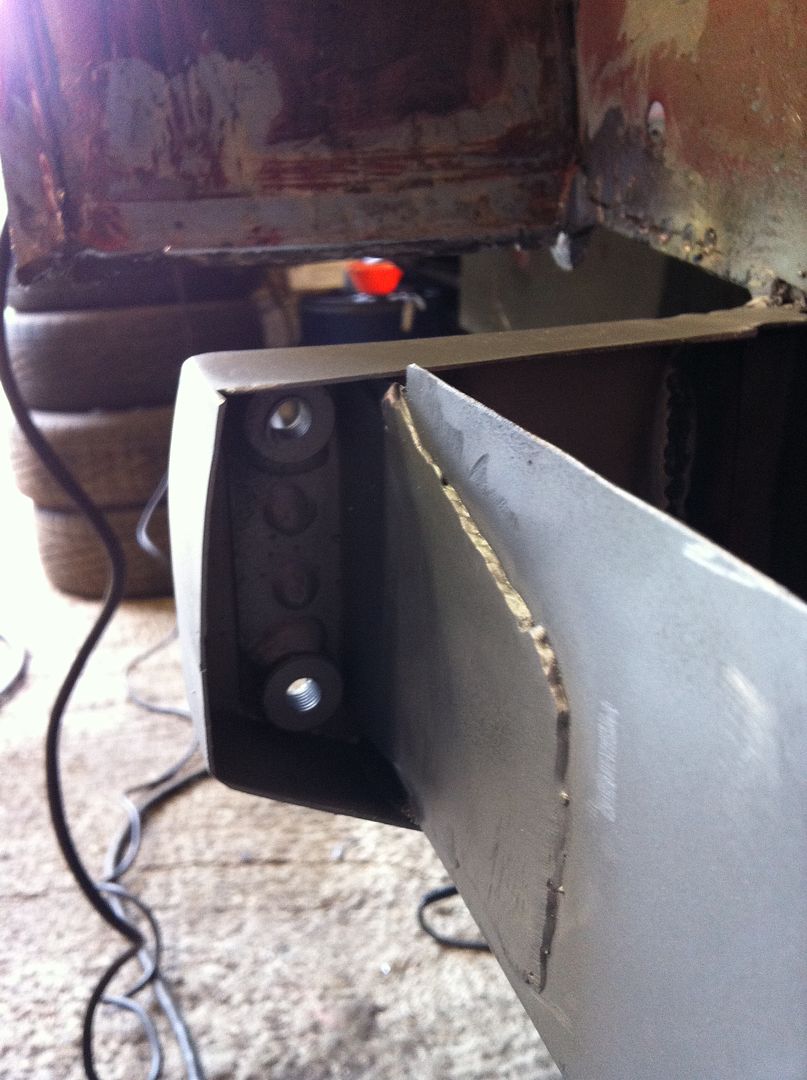
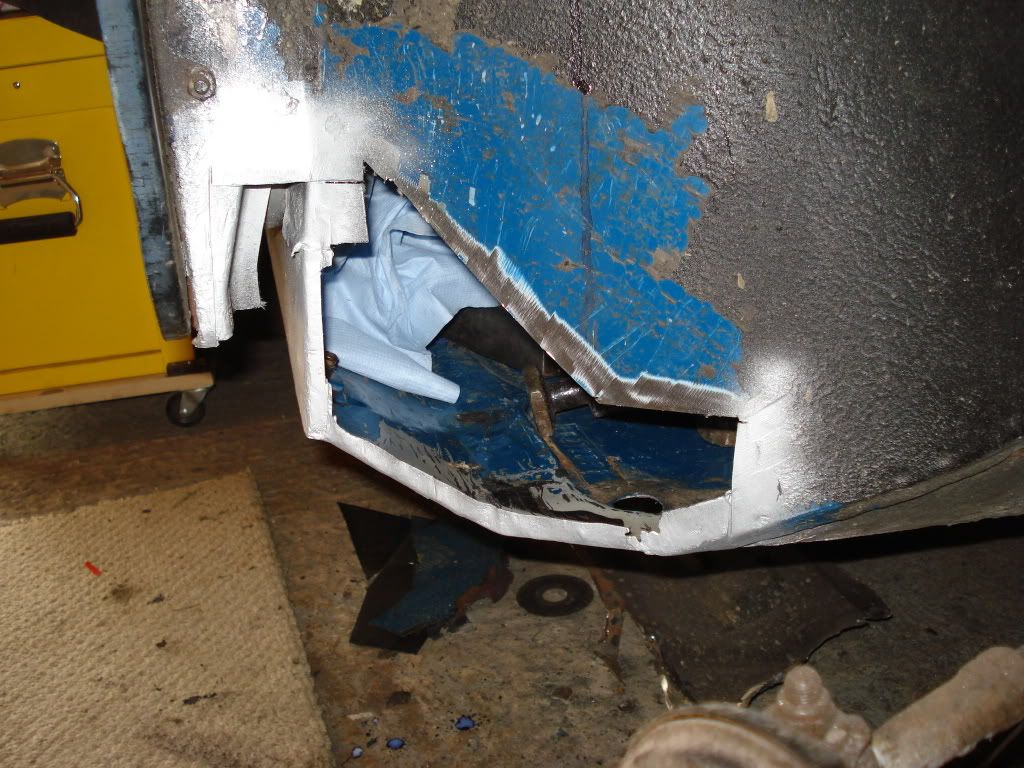
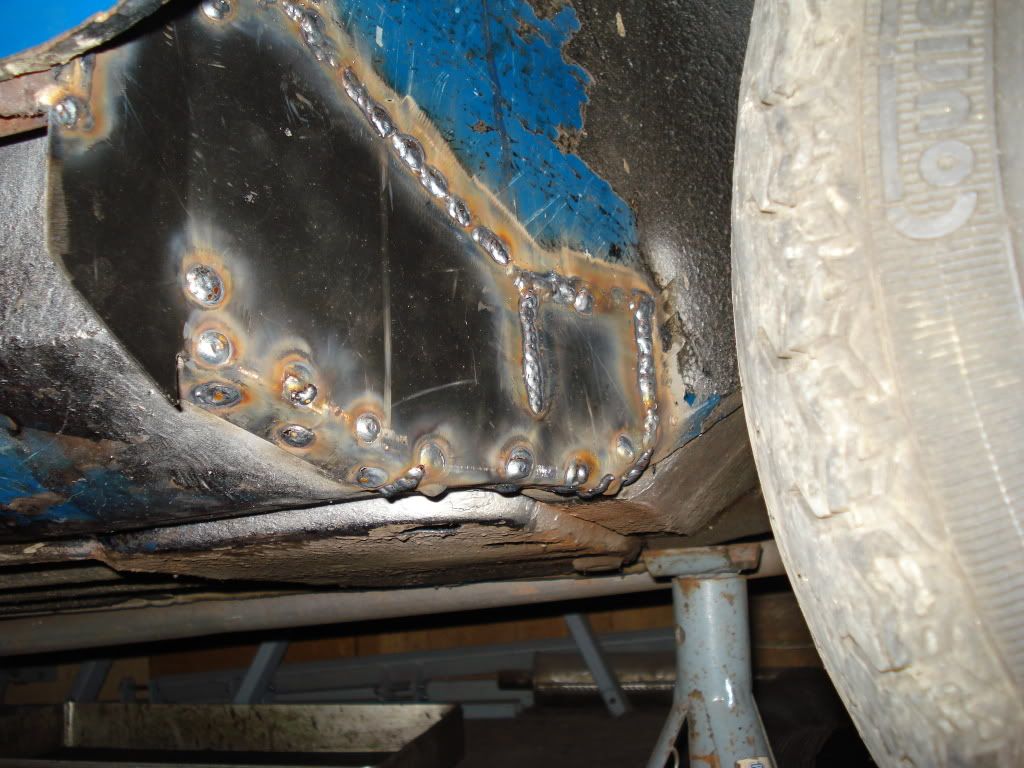
The flich on the r/h side is like this but just the lower section Funnily enough damaged due to having an oversill fitted. L/h side shown in these two pictures
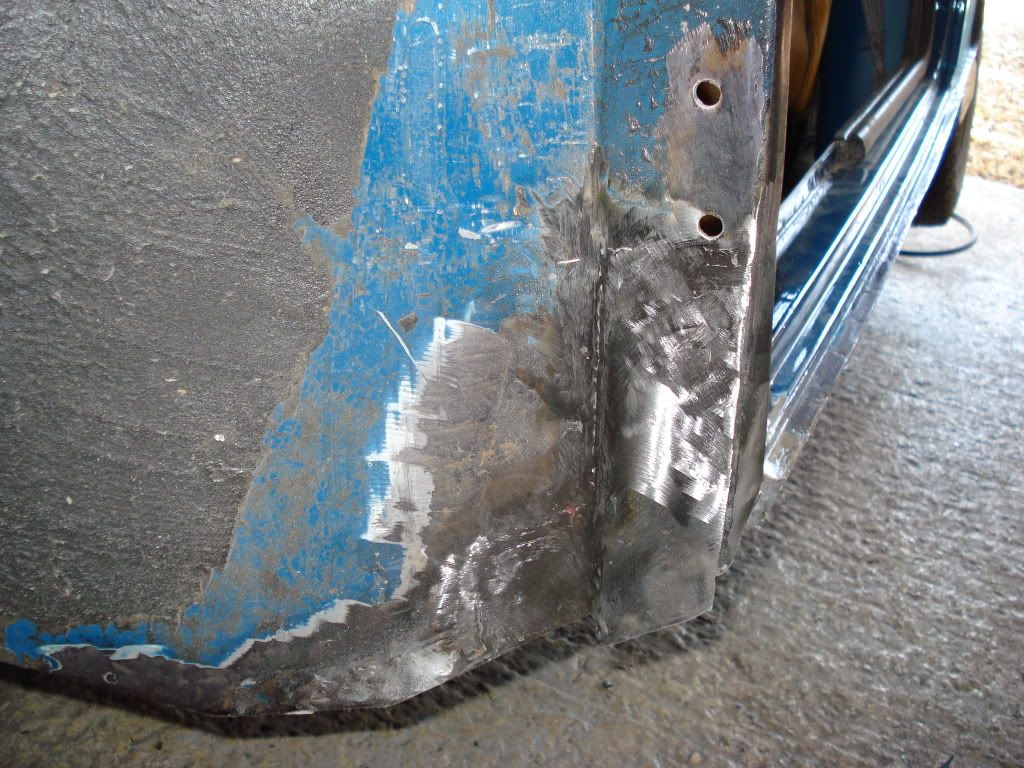
R/h side side lower flitch repair
welded in place
Learner Driver
Posted 14 January 2014 - 09:25 PM
Yes it might do but if not have you still got the old floor panel?? if so you maybe able to recover the the old seat belt mount.
Something else you will probably need is the rear heelboard to inner sill mounting bracket. One of these
This is the connection to the rear subframe. Isn´t it?
I think it is in good condition.
The interesting thing about the car is that apart of the full floor panel and sills, the rest of the car is in good condition. No rust.
Looks like it was only rusting the parts that where closer to the ground
Twisted Paint Polisher!!!
Posted 14 January 2014 - 09:29 PM
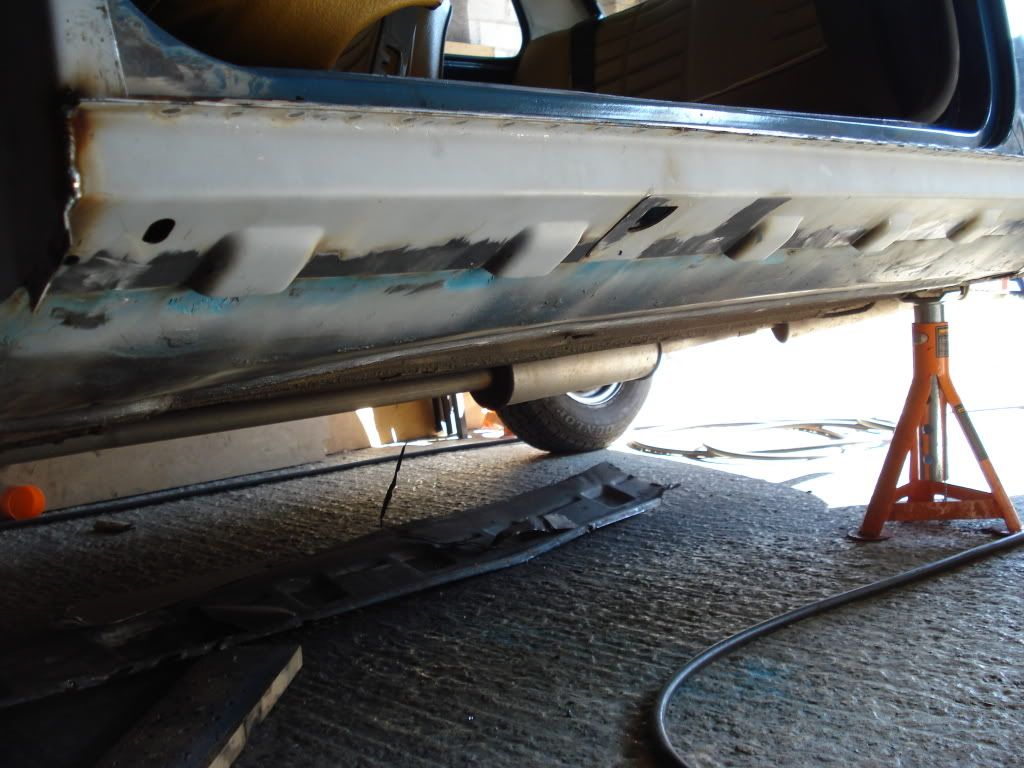
Thats good news then. The oversills will have had a lot to do with the corrosion on your car. They are what we call a bodge and a lot of garages and individuals used to stick these over rusty outer sills without removing any rusty ones. All that does is sandwich the rust and it just gets worse.
I was very lucky with my Clubman, they took the old sills off first but did not treat the surface rust. fortunately no real harm done. Any more questions just shout out.
Learner Driver
Posted 14 January 2014 - 09:51 PM
Thats good news then. The oversills will have had a lot to do with the corrosion on your car. They are what we call a bodge and a lot of garages and individuals used to stick these over rusty outer sills without removing any rusty ones. All that does is sandwich the rust and it just gets worse.
I was very lucky with my Clubman, they took the old sills off first but did not treat the surface rust. fortunately no real harm done. Any more questions just shout out.
Up Into Fourth

Posted 16 January 2014 - 07:35 PM


0 members, 0 guests, 0 anonymous users


