Jump to content


Photo
- - - - -

Leyland Clubman Resto


  • Please log in to reply
308 replies to this topic

#61 colinf1

colinf1

    One Carb Or Two?

  • Members
  • PipPipPipPipPipPipPip
  • 908 posts
  • Location: Dundalk

Posted 10 July 2014 - 04:22 AM

Gonna have to go stainless for this if I want to etch it, they cant do Aluminium to a good enough quality.
 
Mock up of dash - I haven't included the cut out for the speedo surround, will need to refit it to the car, get some dimensions and cut the stainless to suit. I decide to put a glovebox compartment in it too, but will need to size something to suit later on in the rebuild.
 
14430790448_175aa89833_b.jpg
 
Detail around speaker area. The speaker mesh will be glued to the backside of the stainless, then the L cut out will be glue to the mesh
 
14430810309_d6f203823a_b.jpg


#62 colinf1

colinf1

    One Carb Or Two?

  • Members
  • PipPipPipPipPipPipPip
  • 908 posts
  • Location: Dundalk

Posted 10 July 2014 - 04:31 AM

Also, does anybody know if I anybody does a boot badge that says Leyland Mini with the Leyland logo on the right?
Mini is faded, was thinking of getting a vinyl sticker made to stick over the top of it, like so..
 
14617456475_4833b16f00_o.jpg

Edited by colinf1, 10 July 2014 - 04:31 AM.


#63 timmy850

timmy850

    Up Into Fourth

  • TMF+ Member
  • PipPipPipPipPipPipPipPipPip
  • 3,004 posts
  • Location: NSW, Australia
  • Local Club: MITG

Posted 10 July 2014 - 05:00 AM

A bloke on here does them... this is his site

http://martincull.cr...ear-Badges.html

#64 megamini_jb

megamini_jb

    Crazy About Mini's

  • Members
  • PipPipPipPipPipPipPipPipPipPip
  • 5,491 posts
  • Name: Jamie
  • Location: -

Posted 10 July 2014 - 05:43 AM

The dashboard looks great!

#65 colinf1

colinf1

    One Carb Or Two?

  • Members
  • PipPipPipPipPipPipPip
  • 908 posts
  • Location: Dundalk

Posted 10 July 2014 - 05:46 AM

Excellent, thanks, will order one shortly, saves me messing about trying to restore this one!


#66 Jared Mk3

Jared Mk3

    Has a small thing but it does make a difference

  • Members
  • PipPipPipPipPipPipPipPip
  • 1,974 posts
  • Location: Kokstad, South Africa
  • Local Club: MOCKZN

Posted 10 July 2014 - 07:12 AM

Yes, Sticky Fingers do a really good job and are so helpful. They gave me free stuff as well when I ordered my things.


#67 colinf1

colinf1

    One Carb Or Two?

  • Members
  • PipPipPipPipPipPipPip
  • 908 posts
  • Location: Dundalk

Posted 10 July 2014 - 11:14 AM

14431852457_74e251a1f4_b.jpg


testing some chrome vinyl stripe. need to straighten a bit of the metal up,its a bit wonky in places!


#68 colinf1

colinf1

    One Carb Or Two?

  • Members
  • PipPipPipPipPipPipPip
  • 908 posts
  • Location: Dundalk

Posted 11 July 2014 - 04:07 AM

Test fit of the switch panel (printed card version), Looks like a snug fit! Will need to sort some brackets out for it to screw into.


14624978585_96830b52f3_b.jpg


Back to the boot lid, sanded down the outside, removing all visible surface rust. Onto the backside and gave it a quick going over with the wirebrush on the grinder, revealed some patchy bits of tinworm. Treating this at the minute with rust convertor, hopefully be able to fill it up with weld.


14622865144_74374f09a1_b.jpg


14438561627_29b8416f41_b.jpg


14624465762_b9140103a0_b.jpg


Will let the rust convertor do its thing for an hour or so, then hit it with a bit of etch and move onto stripping a door


#69 colinf1

colinf1

    One Carb Or Two?

  • Members
  • PipPipPipPipPipPipPip
  • 908 posts
  • Location: Dundalk

Posted 11 July 2014 - 08:06 AM

Started on the doors, decided to start with the drivers door. A nice thick layer of paint stripper and let it sit for a while. After 20 minutes are so the paint started lifting, only to reveal another layer of top coat red. So, used a scraper to remove what had lifted, then applied another layer of stripper. Covered it up with cling film this time.

Left it for another 20mins and still no reaction had taken place. Decided to get into it with the scraper, it started to peel off what looked like a plastic coat, followed by some nice yellow primer, followed by some filler and eventually the original paint and primer.


14602722096_fec3850b9f_b.jpg


14439075050_82463703cc_b.jpg


14439115989_26515533de_b.jpg


Passenger door was alot easier, although I still need to get down along the bottom edge, see if there is any rust holes.


14623621184_9bd8f51daf_b.jpg


14439360217_79b7b6c965_b.jpg


Boot lid got a sanding


14439078370_df1b99394b_b.jpg


#70 Jared Mk3

Jared Mk3

    Has a small thing but it does make a difference

  • Members
  • PipPipPipPipPipPipPipPip
  • 1,974 posts
  • Location: Kokstad, South Africa
  • Local Club: MOCKZN

Posted 11 July 2014 - 10:09 AM

That switch panel will look really good in there. Keep it up, enjoying the updates.


#71 colinf1

colinf1

    One Carb Or Two?

  • Members
  • PipPipPipPipPipPipPip
  • 908 posts
  • Location: Dundalk

Posted 12 July 2014 - 03:53 AM

Cheers mate, hopefully will get a price early this week coming.


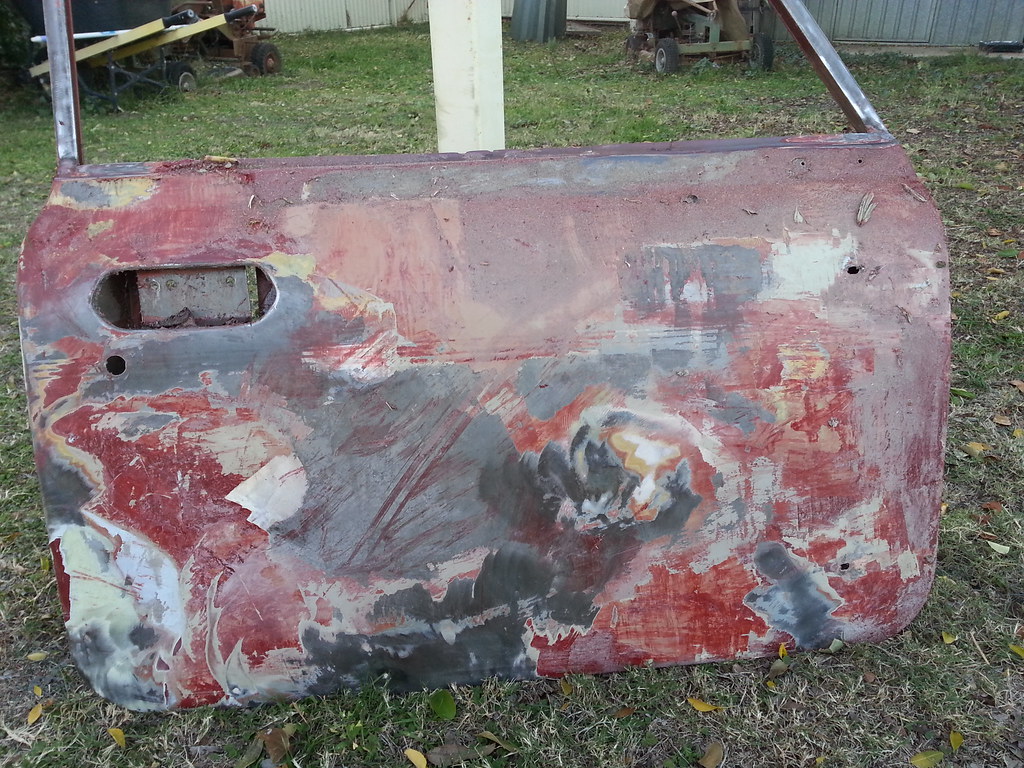
Back to the doors today, another 2 coats of stripper eventually got the drivers door in a state where I could attack it with the wire wheel on grinder.


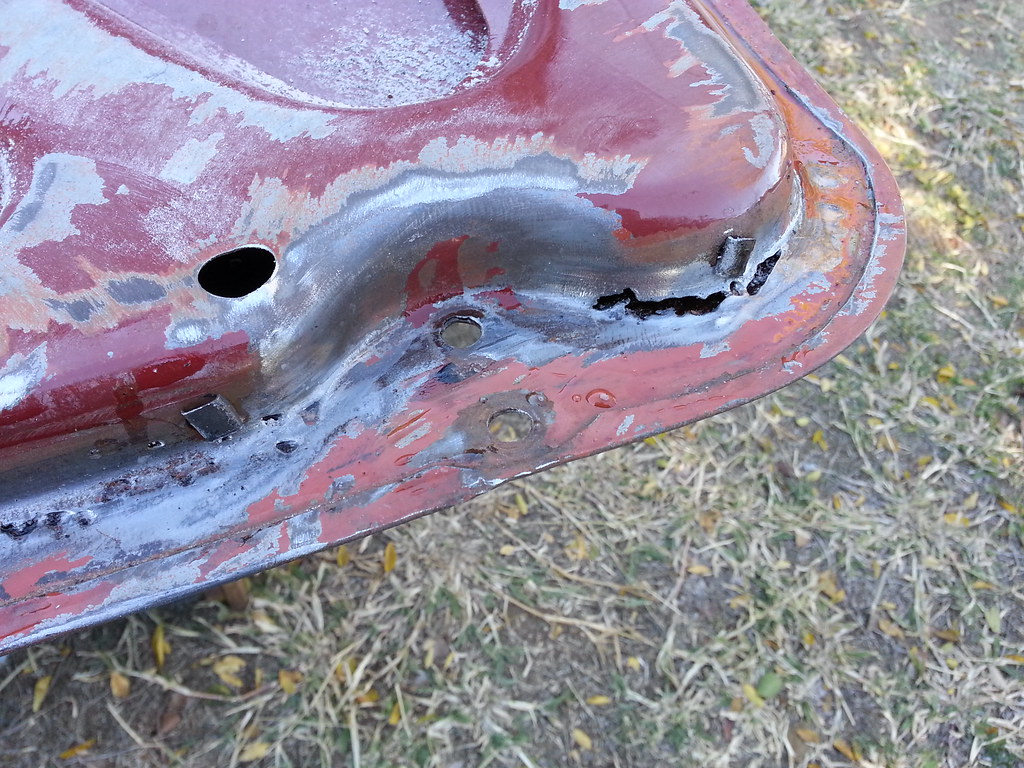
Have no idea why there was so much bog on it, no signs of any kinks or dents, a few rust holes along the bottom and side and around the hinges, but no reason for all the bog in the middle of the panel. Used the gloss of the wet etch to sight it for distorsion, but couldnt see anything obvious. A bit dinged along the top where the bottom window seal goes.


14445287940_7bd8eff9a0_b.jpg


14608944686_da7a65689f_b.jpg


14445784697_e6735114ff_b.jpg


14631741892_aa95011938_b.jpg


Passenger door cleaned up pretty good, again one or two rust holes along the bottom, but nothing major.


14608946516_eaebf0b105_b.jpg


14445538340_0f0060b664_b.jpg


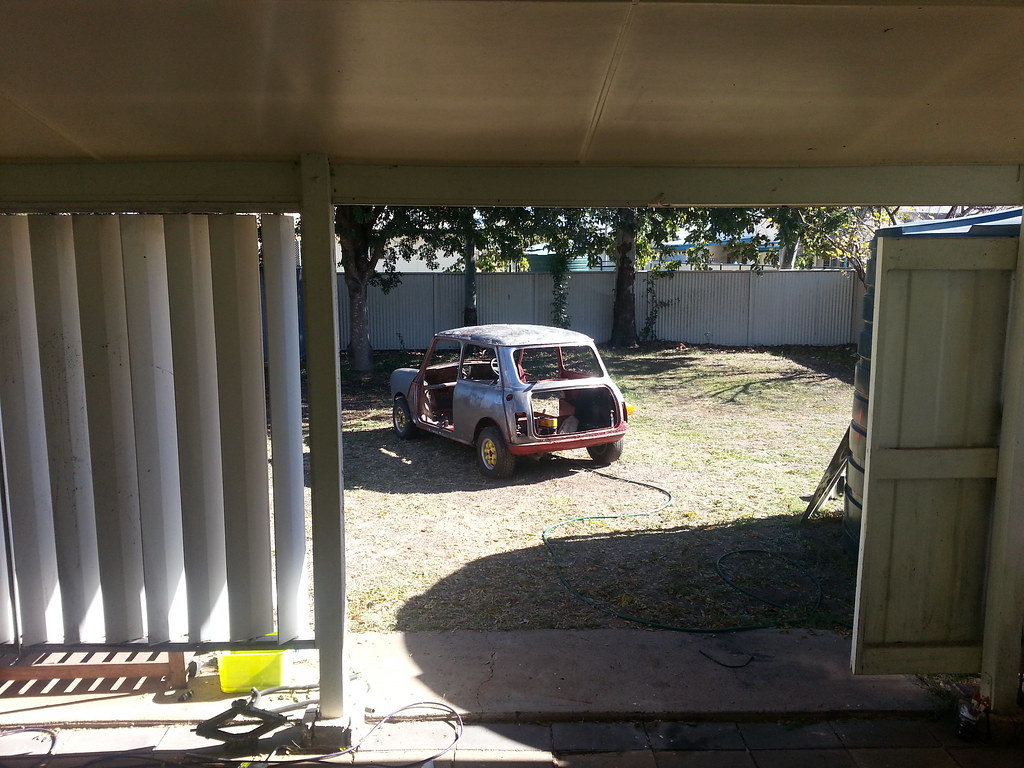
Got the boot lid etch'd up too,


14445580848_8d1eaa407f_b.jpg


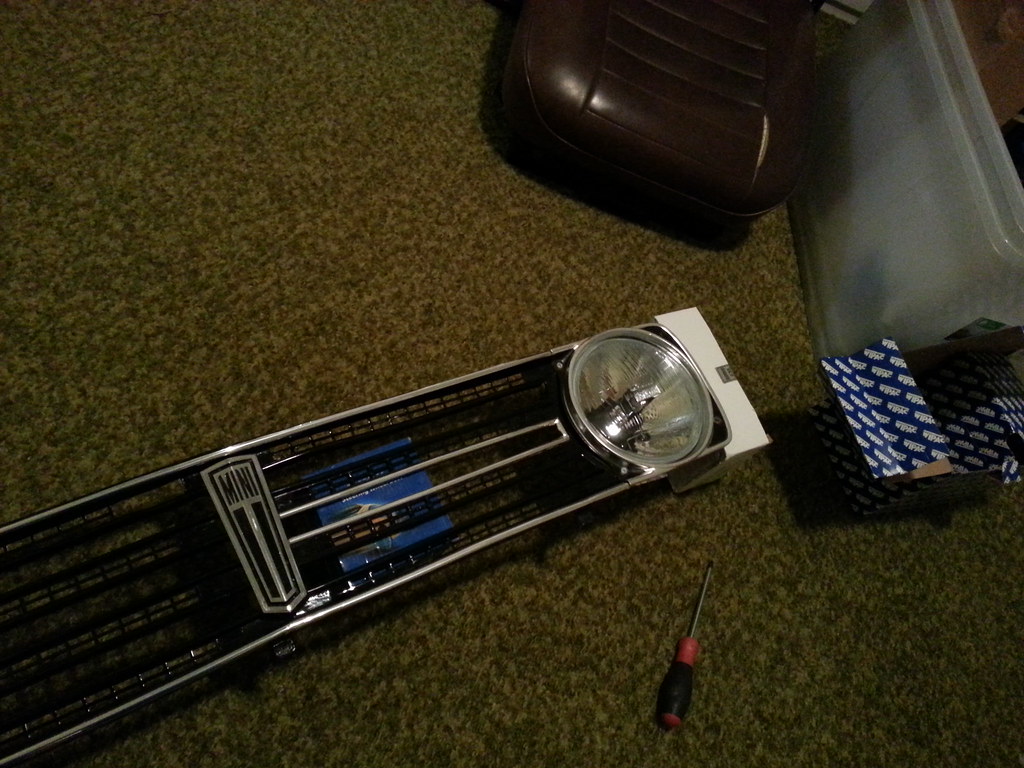
Another part cleaned up nicely, number plate light.


14445571499_18a52fe430_b.jpg


Salvaged these from a commodore, should fit ok, the metal on that was on the drivers door had worn the paint off, so as these are plastic, should be ok.


14445795137_152336ca24_b.jpg


Need to try and remove the piece of metal thats on the lower dash rail that you can see on that photo, possibly going to have to cut it off and plug weld it in behind, then smooth it all off.


#72 Ben_O

Ben_O

    Mill Road Garage

  • Paint Doctor
  • PipPipPipPipPipPipPipPipPipPip
  • 9,781 posts
  • Location: Isle of Wight

Posted 12 July 2014 - 12:45 PM

Nice work


#73 colinf1

colinf1

    One Carb Or Two?

  • Members
  • PipPipPipPipPipPipPip
  • 908 posts
  • Location: Dundalk

Posted 15 July 2014 - 06:46 AM

I got a bugle on the tunnel, I assume this is from the floor start on older models? I noticed the carpet set I got says it will sit proud on this bugle, i.e its not moulded to cover it nicely.


Could I, just cut it out and weld in a piece that is folded/bent to suit the profile of the tunnel?


#74 colinf1

colinf1

    One Carb Or Two?

  • Members
  • PipPipPipPipPipPipPip
  • 908 posts
  • Location: Dundalk

Posted 19 July 2014 - 07:32 AM

Got cracking a bit on it today, well had a bit of a tidy up 1st. Then I put the wheel back on, reattached the steering column and decided to take it outside to start stripping paint.


14502086818_9bd7bd580f_b.jpg


Pickup up a stripper disc for the grinder, its good, but it wears out pretty quickly. Leaves the metal nice and fresh tho.


14502087848_e5eb689c12_b.jpg


14502089598_6e9909f07f_b.jpg


Hopefully its a good day tomorrow, get it back outside and get the roof cleaned up.


#75 colinf1

colinf1

    One Carb Or Two?

  • Members
  • PipPipPipPipPipPipPip
  • 908 posts
  • Location: Dundalk

Posted 20 July 2014 - 12:15 AM

Pushed back into the garden this morning, another nice thick coat of stripper applied. Its a nice calm and sunny day here, so hopefully get a good run at it, hopefully have it all stripped and a quick coat of etch by end of today.


14694499165_53bbe0c651_b.jpg


Letting it sit in the sun with a 2nd coat applied


14714578353_272ff5d33d_b.jpg


Quick cuppa tea and this update then back to it!


0 user(s) are reading this topic

0 members, 0 guests, 0 anonymous users