Jump to content


Photo

71 Clubman Estate


  • Please log in to reply
242 replies to this topic

#91 country clubman

country clubman

    Mini Mad

  • Members
  • PipPipPipPip
  • 206 posts
  • Location: Paignton

Posted 03 March 2016 - 07:52 PM

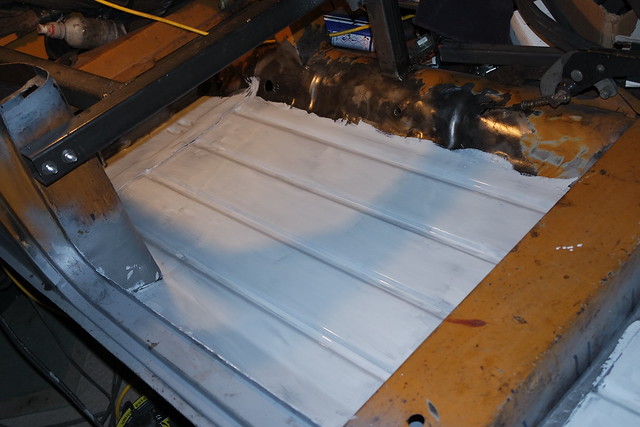
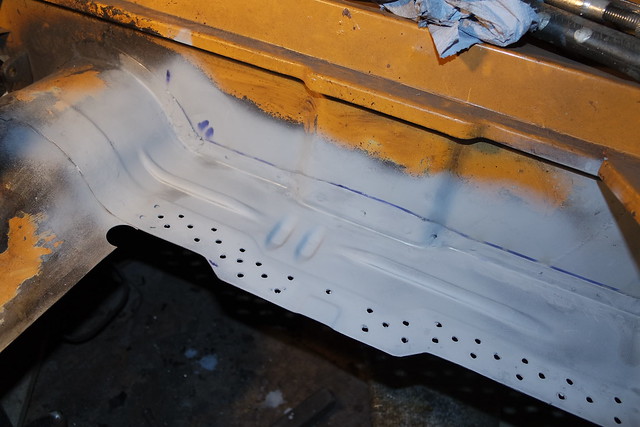
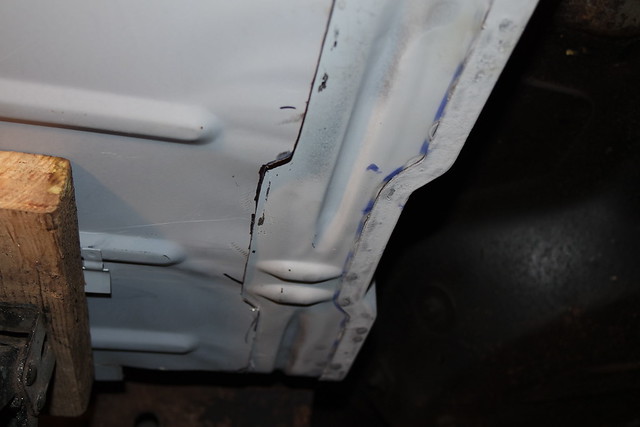
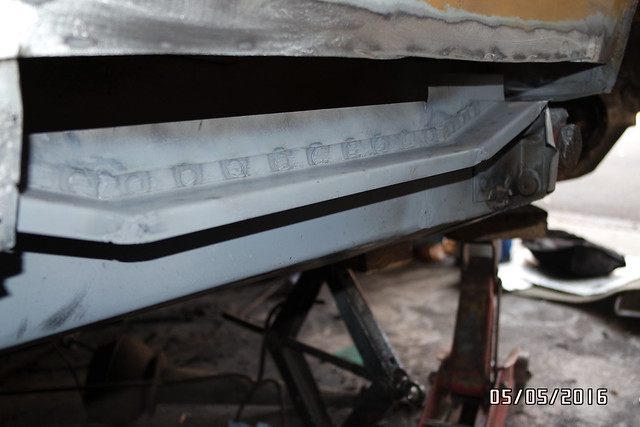
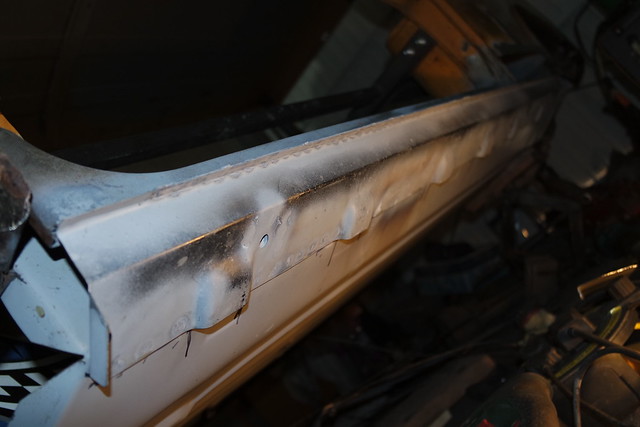
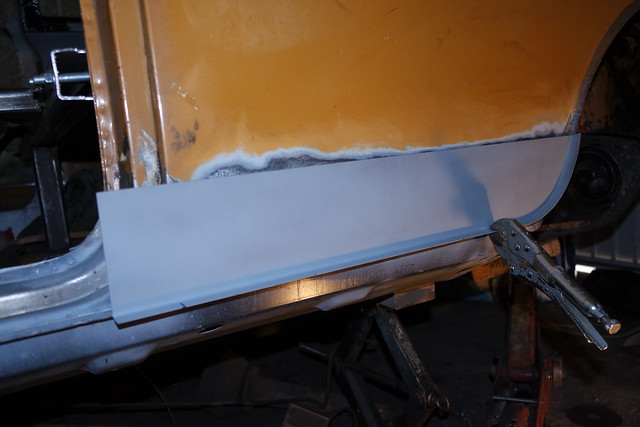
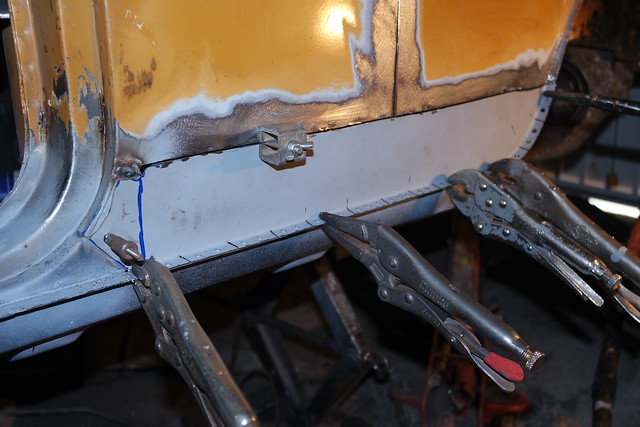
Been finishing off the side I'm working on, cleaning up welding and them little bits that needed doing, like adding a good bit of paint, the silver paint is 2k glass flake epoxy primer(similar stuff used on forth bridge so should be good!) and the white stuff is an epoxy primer from Blakes for metal work on Boats, so this should be more than enough rust protection! but a top coat will be added.


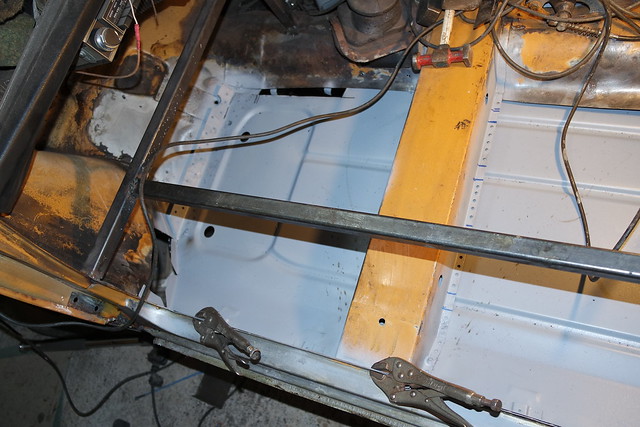
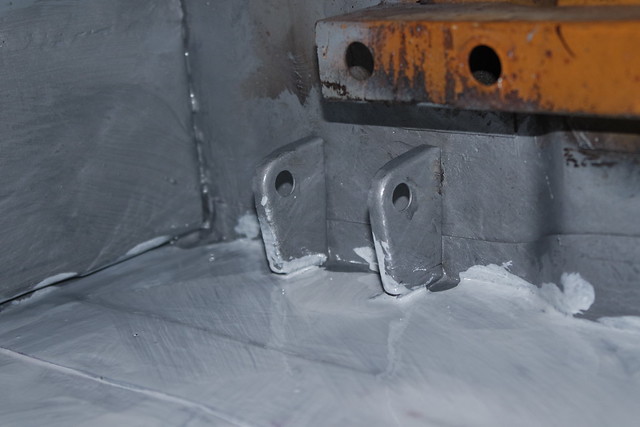
I refitted the battery brackets.


25385493191_fee6a119d7_z.jpg


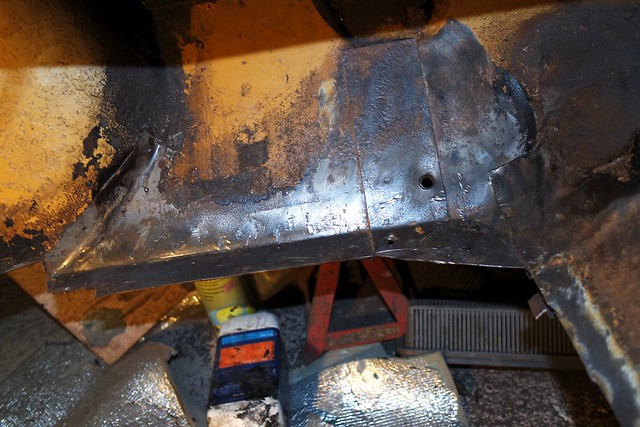
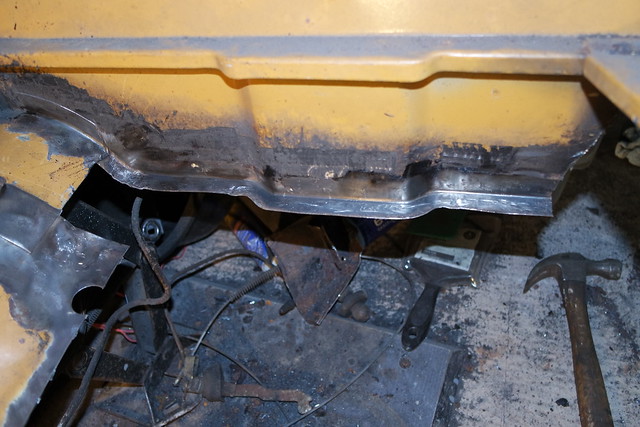
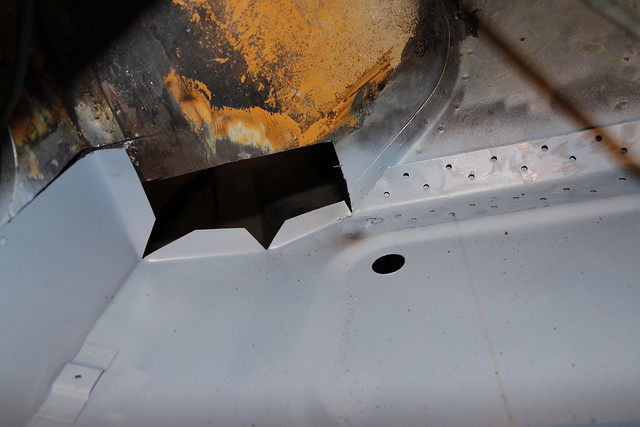
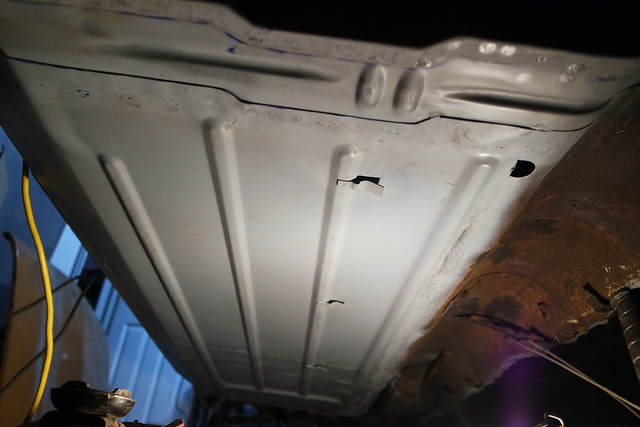
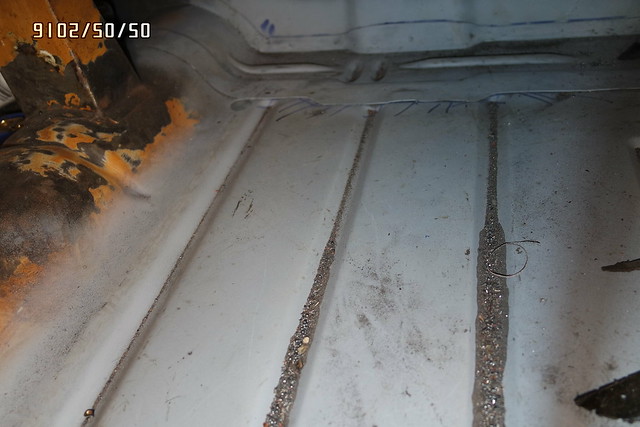
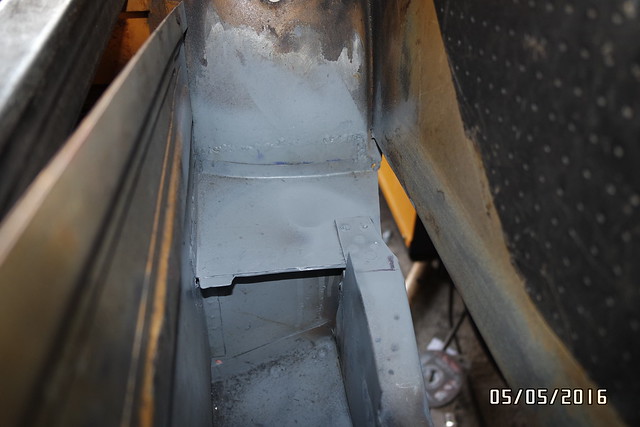
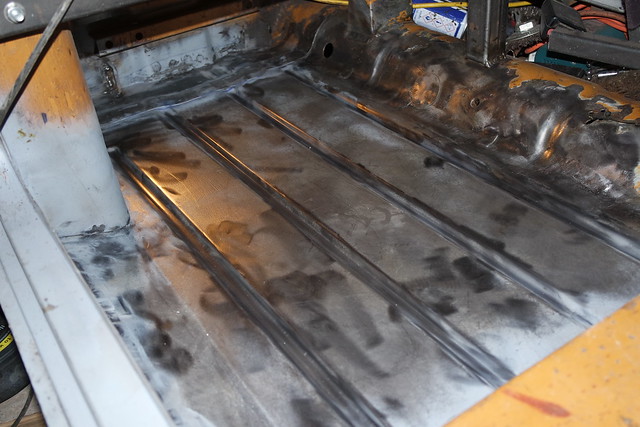
Cleaned floor up ready for painting.


25385571181_ddb71be6c7_z.jpg


25385533561_ed8cbee3f7_z.jpg


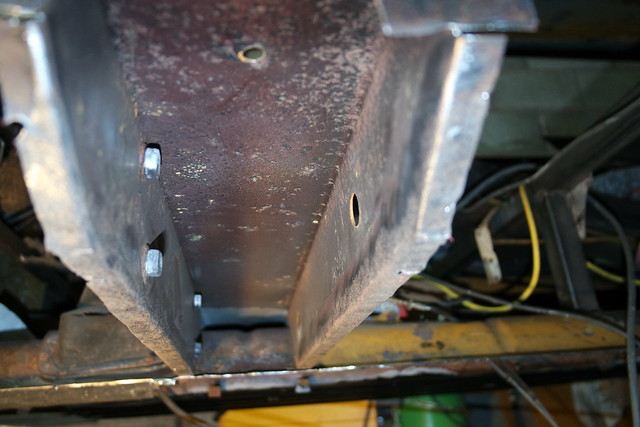
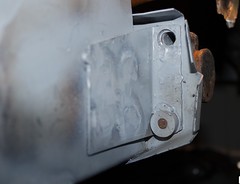
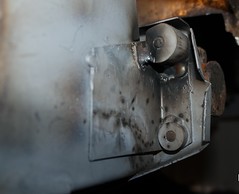
Drilled holes in the headlight bracket and made sure indicator fitted(needed to elongate the holes), then painted them up.


24851453633_79160d7c85_z.jpg


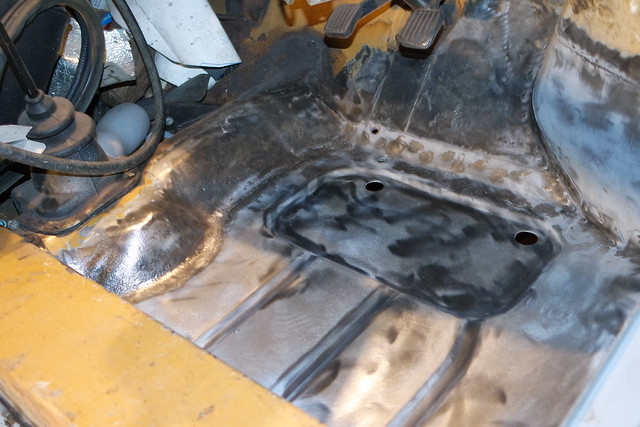
And finally a good lick of paint on the floor panel, just got to clean up underneath and paint that now!


25359871122_c00c93696f_z.jpg


#92 Vinay-RS

Vinay-RS

    Put's foolish ideas in peoples heads

  • Members
  • PipPipPipPipPipPipPipPipPip
  • 2,093 posts
  • Location: Cape Town

Posted 04 March 2016 - 12:59 PM

The bodywork is looking really good. Nice work on the rebuild so far :)


#93 Mr Frosty

Mr Frosty

    Mini Mad

  • Noobies
  • PipPipPipPip
  • 140 posts
  • Location: Maidstone, Kent

Posted 04 March 2016 - 02:22 PM

Looking Good!


#94 country clubman

country clubman

    Mini Mad

  • Members
  • PipPipPipPip
  • 206 posts
  • Location: Paignton

Posted 04 March 2016 - 04:41 PM

Cheers for comments, painting wise looks bit of a mess at moment but plan is repair it all first then tidy it up, but get fresh metal work painted/protected.


#95 country clubman

country clubman

    Mini Mad

  • Members
  • PipPipPipPip
  • 206 posts
  • Location: Paignton

Posted 24 March 2016 - 11:51 PM

Didn't get much done last week just little more paint slapped on it, but this week manage to make a start on the left hand floor panel/sill, much quicker when you know what you can chop, thankfully this side much better than other side, the key areas are pretty solid, the door step slight rust inside but solid, the cross member is little corroded at bottom but a but of cleaning up will be fine.


Front floor

25412897453_fbc05604e2_z.jpg


Rear

25742464330_94449f24dc_z.jpg


Inner Step

25410450744_7fed1ab9c8_z.jpg


Cross member

25922665212_9abf6fd964_z.jpg


#96 country clubman

country clubman

    Mini Mad

  • Members
  • PipPipPipPip
  • 206 posts
  • Location: Paignton

Posted 14 April 2016 - 08:34 PM

Been a couple of weeks since last worked on it due to Easter holidays, but back to it, managed to get the end subframe mounting panel fitted and the floor extension piece fitted, welded up and welds cleaned, hopefully get chance to put the floor in next week.


26365378801_d65c0a9d16_z.jpg


26339249512_d2453d3a99_z.jpg


#97 Mr Frosty

Mr Frosty

    Mini Mad

  • Noobies
  • PipPipPipPip
  • 140 posts
  • Location: Maidstone, Kent

Posted 15 April 2016 - 10:40 AM

moving along nicely. I will have to get my finger out or you will catch up.


#98 country clubman

country clubman

    Mini Mad

  • Members
  • PipPipPipPip
  • 206 posts
  • Location: Paignton

Posted 16 April 2016 - 01:34 PM

moving along nicely. I will have to get my finger out or you will catch up.

I don't think there's much chance I'll be catching up, you've got yours stone chipped already!


#99 country clubman

country clubman

    Mini Mad

  • Members
  • PipPipPipPip
  • 206 posts
  • Location: Paignton

Posted 22 April 2016 - 10:50 PM

Managed to get the floor in place and cross member painted and repaired but not fully welded it in, just getting it aligned isn't the easiest, how people manage to get away with just doing half the floor and aligning it properly. The problem with these mini machine floors is the angled piece dips up a bit making the sill harder to fit and if you knock it flat then moves the floor angles out of shape a little so trickier to fit it to the cross member at the end.


25980426643_23d797d6a3_z.jpg


Getting the front end corner bit aligned is an important bit.

26310240860_58bb21b0d2_z.jpg


The front subframe bolt holes had to be elongated, shows how much it was out or the holes put in wrong place, shows you can't rely on pre set markers.

26490783872_c2bf91a800_z.jpg


Then there is the rear end of floor that needed cutting down to shape, as it was full length floor for estate.

26583511345_3ee8fd7749_z.jpg


#100 country clubman

country clubman

    Mini Mad

  • Members
  • PipPipPipPip
  • 206 posts
  • Location: Paignton

Posted 28 April 2016 - 10:45 PM

Got the floor welded in this week, and welding cleaned up underneath, just got inside welding to clean up then can move on to next bit, not the most exciting posts as just repeating oposite side, so will keep it short.


26701711785_710a912458_z.jpg


#101 country clubman

country clubman

    Mini Mad

  • Members
  • PipPipPipPip
  • 206 posts
  • Location: Paignton

Posted 05 May 2016 - 10:46 PM

Cleaned floor welds up.


26567319730_a0608db3d0_z.jpg


The subframe mounting holes had to be checked, I welded the end repair on without trial fitting, just easier to do it with just measuring up, don't have subframe in way when welding etc. but when came to check fitting, the lower bolt went in fine but the upper one was out a little, at this stage easy to sort. Photo below of the subframe mounting panel inner.


26805931316_a9542197f2_m.jpg


Got die grinder on it and took the bush insert out and opened up hole a little, it was 1mm out or something.

26805933556_8d6b409f37_m.jpg


Had a new bush insert welded in, big enough but as didn't need it for lower part as well didn't need to cut it in half.

26235493003_bdc82c6798_m.jpg


After that sorted could finish companion closing panels and lower arch repaired, might be able to see cut the arch closing panel to make it easier to align. Next week hopefully get the sill on!

26234628414_a371429811_z.jpg


26235487773_fc8c980b62_z.jpg


#102 Mr Frosty

Mr Frosty

    Mini Mad

  • Noobies
  • PipPipPipPip
  • 140 posts
  • Location: Maidstone, Kent

Posted 06 May 2016 - 08:12 AM

Looking good. Nice save on the subframe fixing.

Mine was a real pain to sort out after the fact!!


#103 country clubman

country clubman

    Mini Mad

  • Members
  • PipPipPipPip
  • 206 posts
  • Location: Paignton

Posted 06 May 2016 - 09:42 AM

Looking good. Nice save on the subframe fixing.

Mine was a real pain to sort out after the fact!!

Well learnt that little trick from doing the other side, I did struggle a little when doing the other side but this way was so easy, as when doing by just measurement alone so easy to be out just a smudge, and the subframe mounts aren't that forgiving!


#104 Mr Frosty

Mr Frosty

    Mini Mad

  • Noobies
  • PipPipPipPip
  • 140 posts
  • Location: Maidstone, Kent

Posted 06 May 2016 - 10:23 AM


Looking good. Nice save on the subframe fixing.

Mine was a real pain to sort out after the fact!!

Well learnt that little trick from doing the other side, I did struggle a little when doing the other side but this way was so easy, as when doing by just measurement alone so easy to be out just a smudge, and the subframe mounts aren't that forgiving!


I made a jig from threaded rod and two angle brackets which i bolted to the subframe and adjusted to fit, I then transferred to the heal board before welding the end that was knackered due to being in the wrong place and some one trying to force it to fit. Was only out by 5mm or so!!!!

This was a lot easier than trying to take the subframe on and off as I had it so high on the rotary stand.

All fitted OK once completed which was a relief. 


#105 country clubman

country clubman

    Mini Mad

  • Members
  • PipPipPipPip
  • 206 posts
  • Location: Paignton

Posted 12 May 2016 - 11:00 PM

Sill fitted


26977741945_c3858b2d06_z.jpg


Wheel arch closing panel corner fitted and knocked into shape.


26373526403_7951da61fa_z.jpg


Then made a start on lower repair, just managed to cut it to size, not had chance to fit it.


This is how it comes from shop


26944191436_f729e30bf3_z.jpg


Then after cut down to size


26373569143_7a152c0c74_z.jpg


0 user(s) are reading this topic

0 members, 0 guests, 0 anonymous users