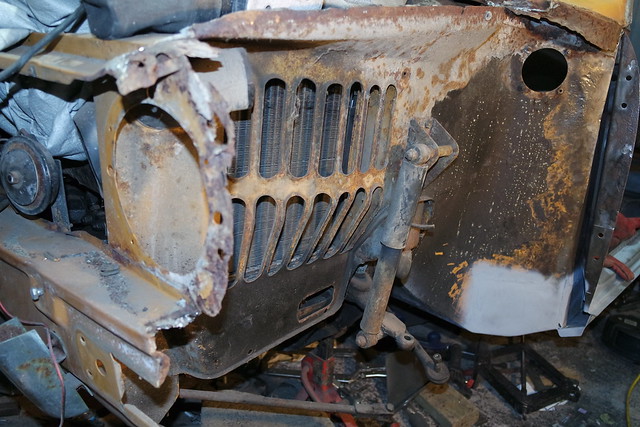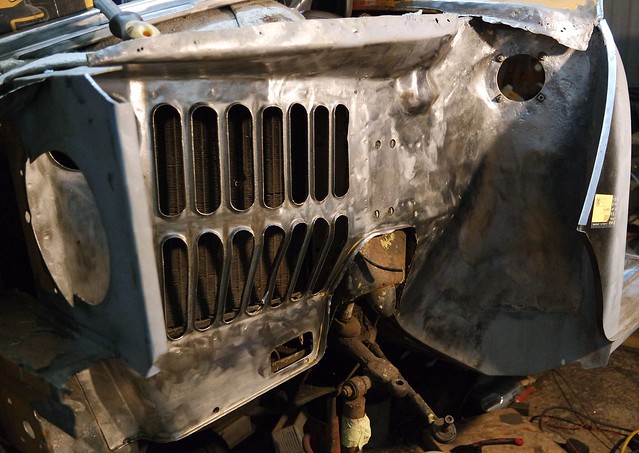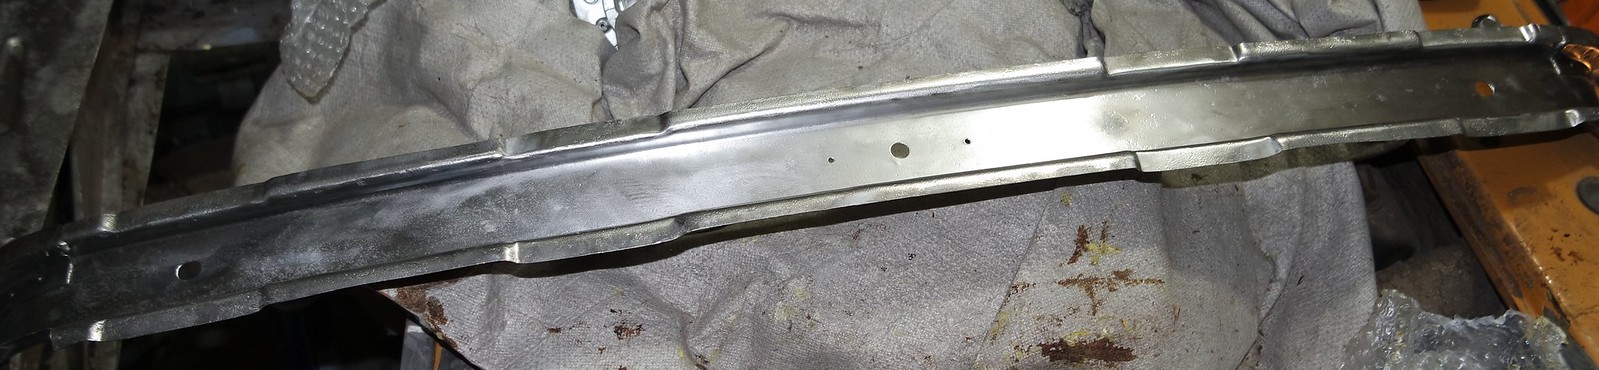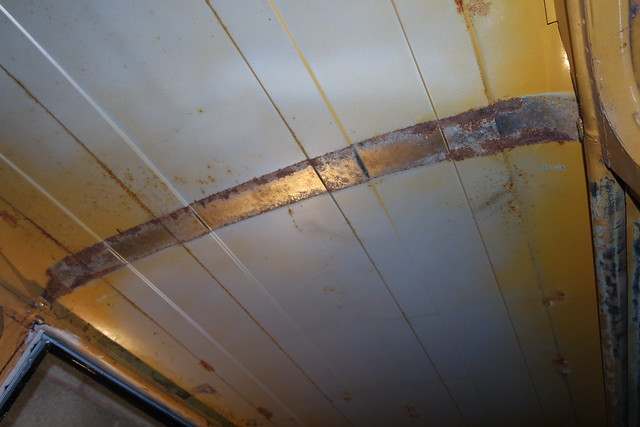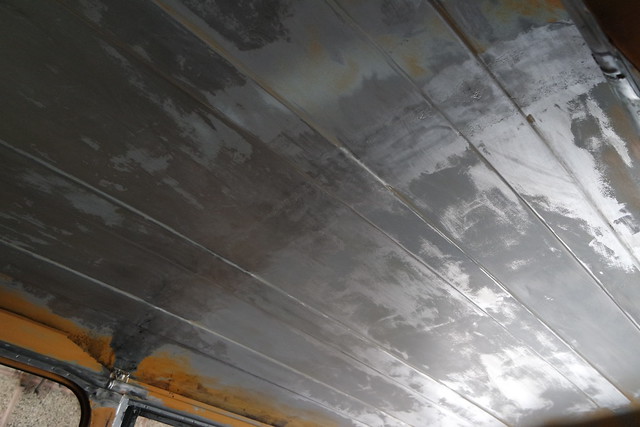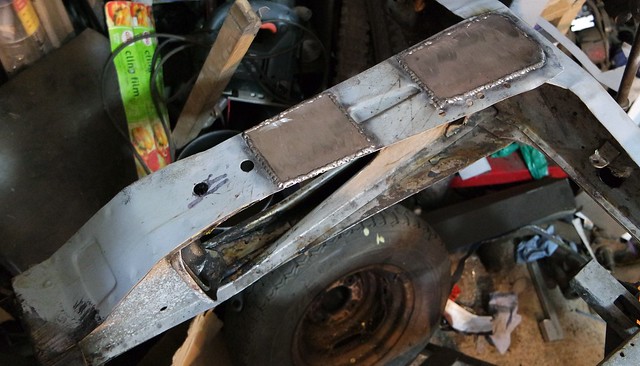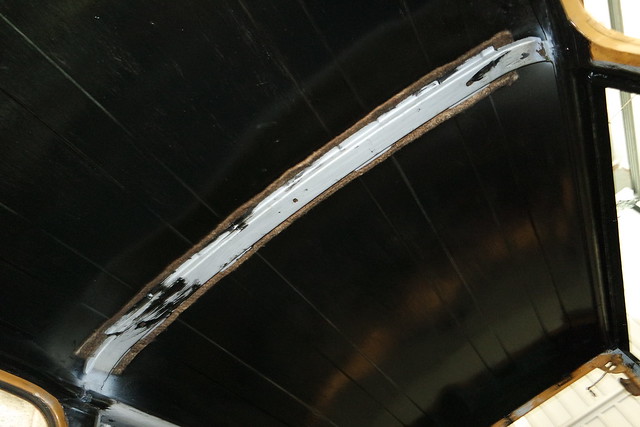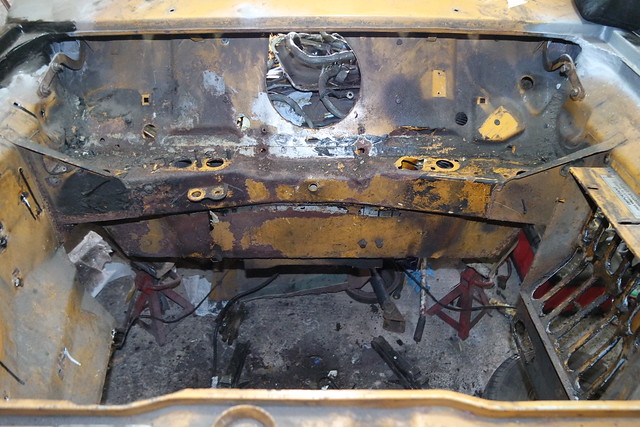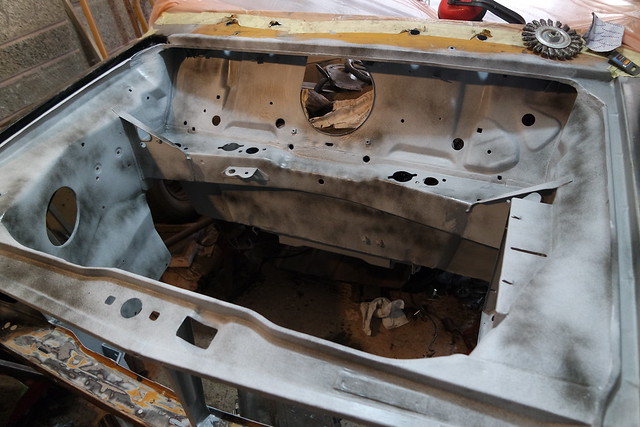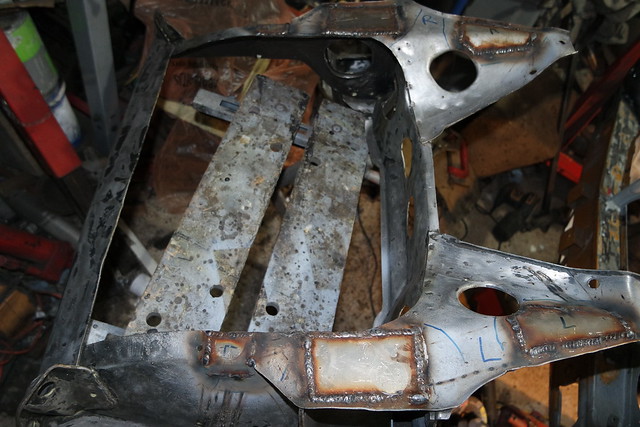

Does that bracing plate get welded in? If so, maybe it was done when assembling the shell before paint and that was why there isn't any paint under it.
Yes it was welded in, so sure your right must have been done in assembly then painted so missed out, must have had some kind of treatment on the metal as still clean in parts, not good but don't spose they expected people to still to be using them 40 years on!