
bad ass work. Well done

Cooper Mpi Restoration - My Second Mini Project
Started by
LukeH
, Dec 18 2014 12:13 PM
196 replies to this topic
#152

LukeH
-
- TMF+ Member
-

- 1,004 posts
One Carb Or Two?
- Location: Norwich, Norfolk
Posted 21 April 2016 - 07:48 PM
Question to anyone with an R1 engine already fitted or who had an R1 for that matter.....can you tell me what signal comes from the neutral wire? I assume it's a voltage either when in neutral or not in neutral.
I'm hoping to finish off my gear position gauge and I would like to commit to a PCB. I'm guessing I'll need to add a voltage divider for the neutral sense if it is a voltage and if its higher than 5v the Arduino can handle on its input pins.
Any help appreciated. Thanks
I'm hoping to finish off my gear position gauge and I would like to commit to a PCB. I'm guessing I'll need to add a voltage divider for the neutral sense if it is a voltage and if its higher than 5v the Arduino can handle on its input pins.
Any help appreciated. Thanks
#153
LukeH
-
- TMF+ Member
-
- 1,004 posts
One Carb Or Two?
- Location: Norwich, Norfolk
Posted 23 April 2016 - 07:26 PM
With my new found obsession of Arduinos I have been looking for further ways to utilise them. I recently stumbled across an excellent open source project by "Chippernut" and his Arduino rev gauge.
This project is simply brilliant. It's a fully programmable led rev gauge using Neopixels. The colours, led segmentation, shift, flash, pulses per rev, brightness etc.. Is programmable using a rotary encoder and 7-segment display. Upload the code and away you go.
So here is my prototype breadboarded. I'm using dark grey tinted acrylic to diffuse the brightness. The led array will be installed in my centre speedo just above the speedo.
https://youtu.be/CjGFJc0iLjo
#154
LukeH
-
- TMF+ Member
-
- 1,004 posts
One Carb Or Two?
- Location: Norwich, Norfolk
Posted 24 April 2016 - 06:53 PM
A couple of work in progress pics of the gear indicator circuit build.
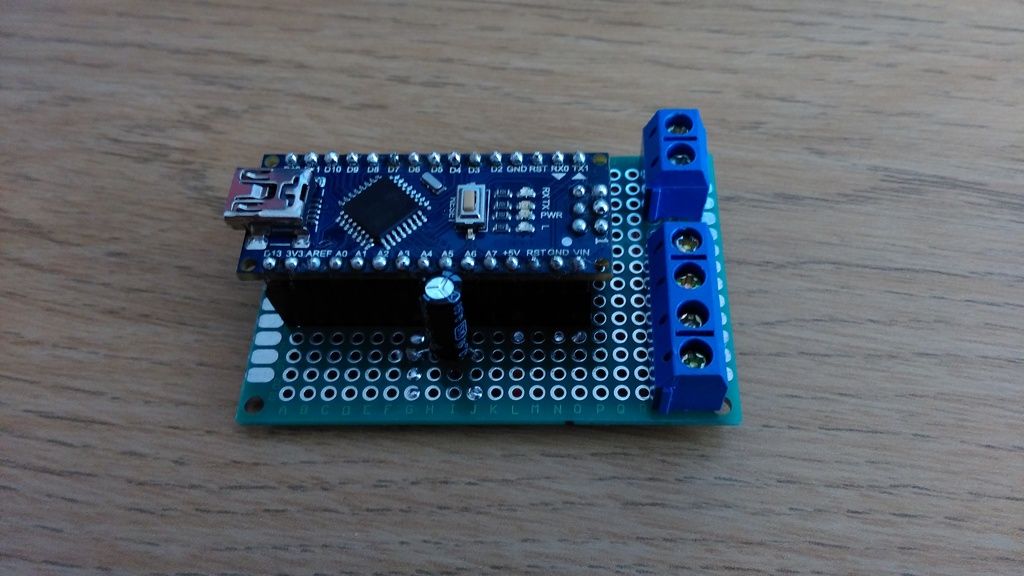
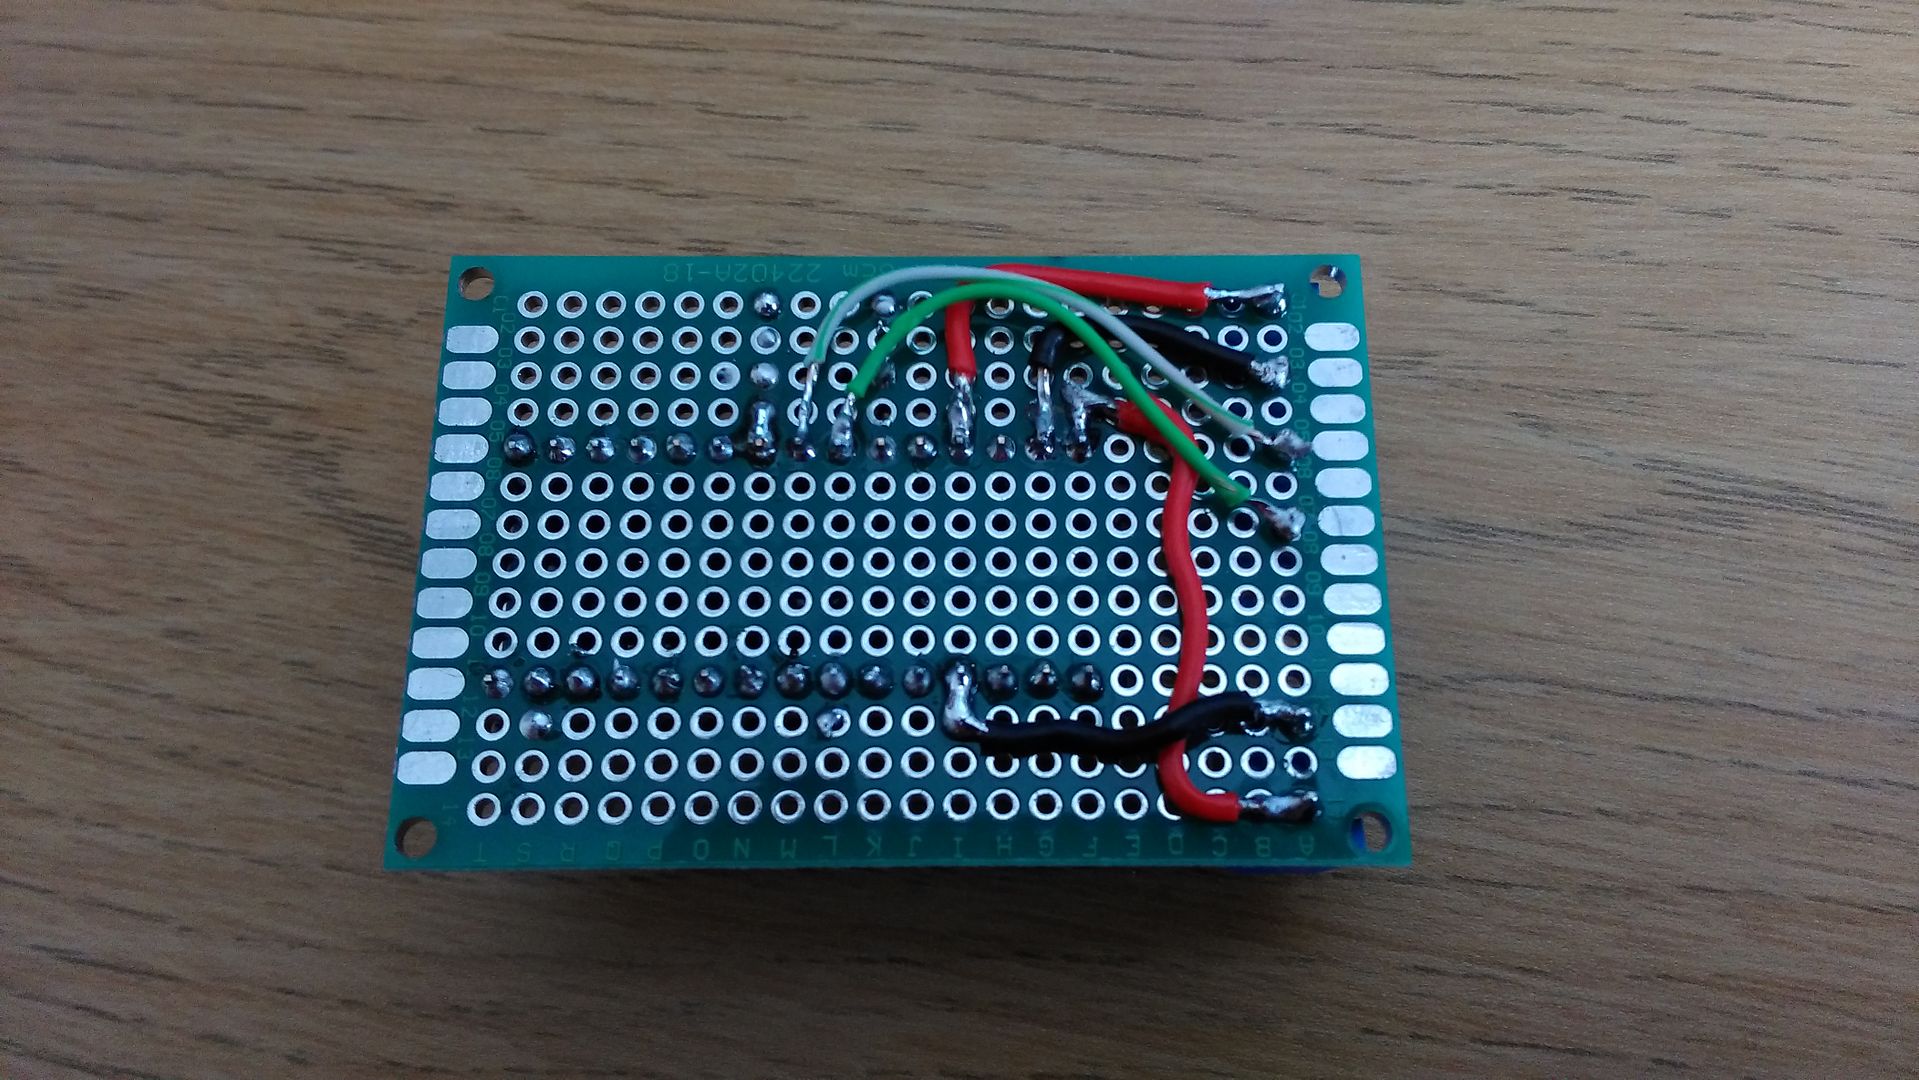
It is my first time using a proto board and I'm quite pleased how it's turning out.
The capacitor is for the voltage divider for the neutral sense input. I don't have the correct resistors so I'll add them later. The cap helps smooth out the signal for a consistent reading.


It is my first time using a proto board and I'm quite pleased how it's turning out.
The capacitor is for the voltage divider for the neutral sense input. I don't have the correct resistors so I'll add them later. The cap helps smooth out the signal for a consistent reading.
#155
LukeH
-
- TMF+ Member
-
- 1,004 posts
One Carb Or Two?
- Location: Norwich, Norfolk
Posted 10 May 2016 - 08:02 AM
Not a huge amount to report in terms of progress on the engine install. I have been busy working on adding a programmable rev gauge to my centre speedo when I've found spare time from decorating our lounge.
The basis of the rev gauge is Chippernut's excellent work (link below). The code is very well written as I mentioned in a earlier post. I have now built a finished circuit using protoboard and I've mounted the Neopixels in my carbon binnacle.
Chippernut code;
https://www.chippern...m/forums.html#/
The original design has an integrated 7-seg display used for displaying RPM and for programming. I only wanted the LEDs so I made a removable programmer that attaches via a CAT5 data connection.


Next job was cutting a piece of dark tinted acrylic in the same shape as the Neopixels. Seen on the bench in this picture. I then used that as a template for cutting the hole in the carbon binnacle. No turning back at this point!


Some masking tape was used to secure a flat piece of wood as something to press against ensuring the acrylic was flush with the binnacle face whilst being glued.


and finally a video of it in action using a RPM generator (another Arduino)
#156
Midas Mk1
-

- TMF+ Member
-
- 5,836 posts
Crazy About Mini's
- Location: Manchester
- Local Club: S.U.N.M.C
Posted 10 May 2016 - 09:43 AM
Love this! Great ideas, top work for doing it yourself too!
#157
LukeH
-
- TMF+ Member
-
- 1,004 posts
One Carb Or Two?
- Location: Norwich, Norfolk
Posted 10 May 2016 - 12:24 PM
Love this! Great ideas, top work for doing it yourself too!
Cheers. The only problem with having ideas is it adds to the complexity of the project and keeps extending the deadline! 
#158
racerlike
-

- Members
-
- 443 posts
Speeding Along Now
Posted 10 May 2016 - 06:45 PM
Some cracking ideas with the electronics. Think the modern and classic styles work really well together. Gona look ace when it's all installed
#159
LukeH
-
- TMF+ Member
-
- 1,004 posts
One Carb Or Two?
- Location: Norwich, Norfolk
Posted 17 May 2016 - 08:15 PM
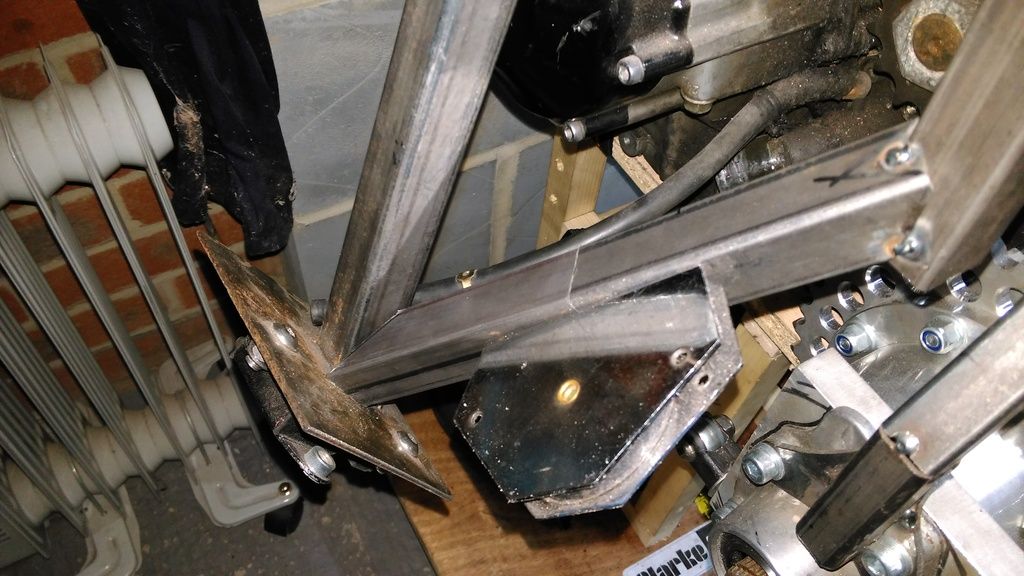
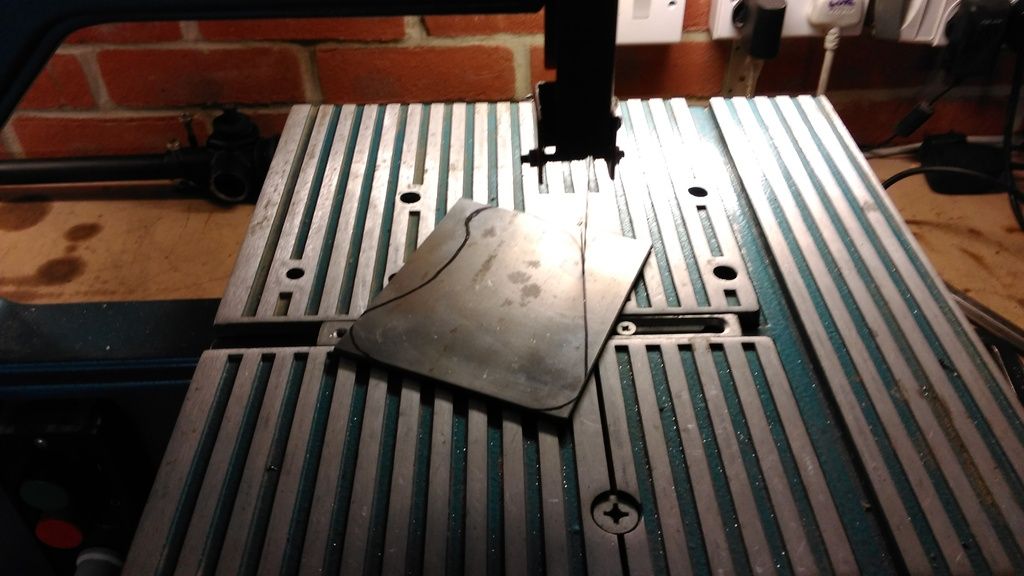
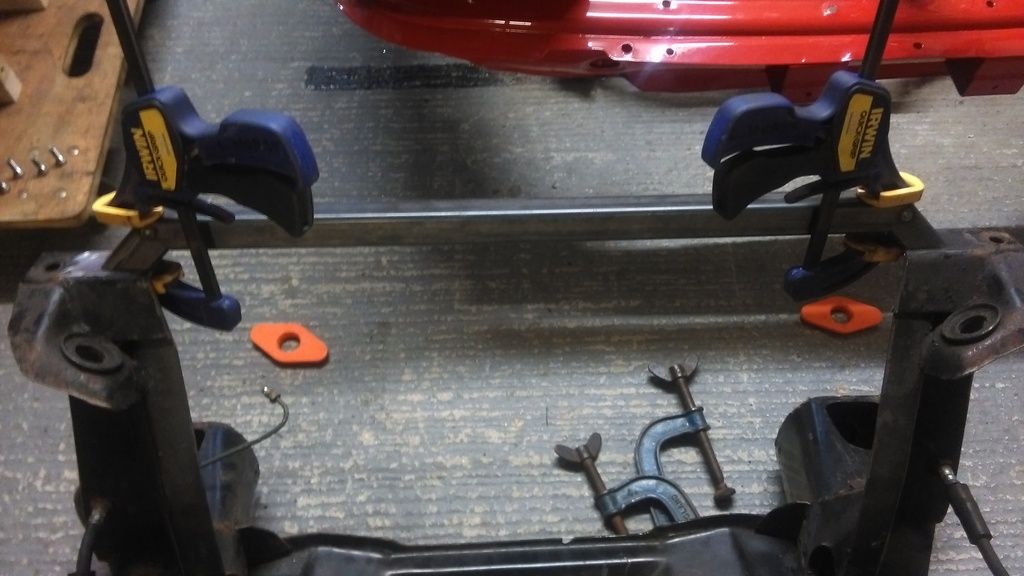
A very small update but quite an important one. I've attempted this mitre joint a number of times and kept getting it wrong so change of approach. It's a significant update due to it being the final major piece on the craddle.
The mitre needs to join a number of pieces all in different angles. I solved the problem by cutting cardboard strips the same width as one side of the box section. I worked out the cut for each side and then taped it all together into a template that I transferred to the metal box section.
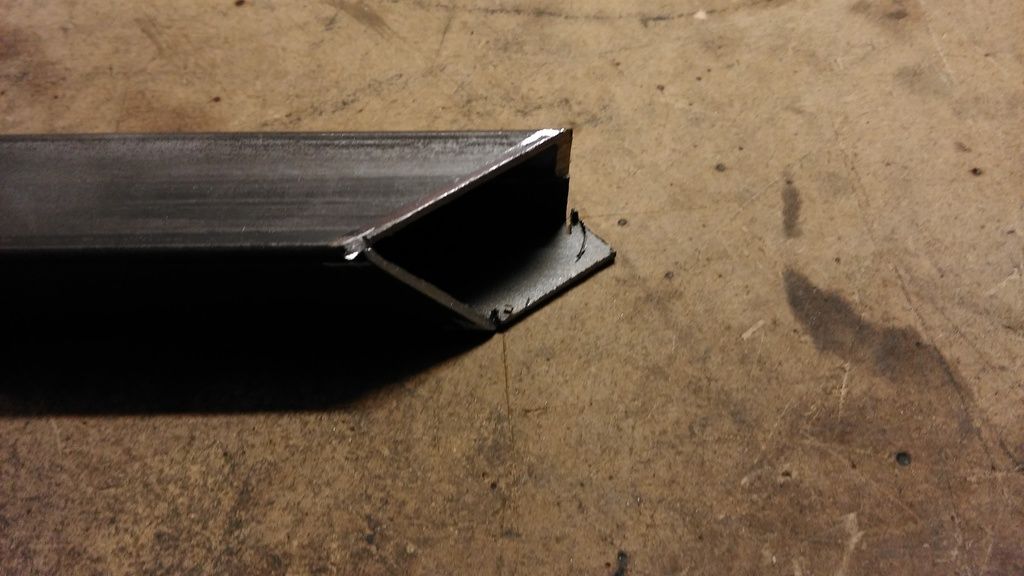
It's the bottom-left piece in this picture. Left of the magnet.
The mitre needs to join a number of pieces all in different angles. I solved the problem by cutting cardboard strips the same width as one side of the box section. I worked out the cut for each side and then taped it all together into a template that I transferred to the metal box section.


It's the bottom-left piece in this picture. Left of the magnet.

Edited by LukeH, 17 May 2016 - 08:17 PM.
#160
LukeH
-
- TMF+ Member
-
- 1,004 posts
One Carb Or Two?
- Location: Norwich, Norfolk
Posted 20 May 2016 - 07:40 PM
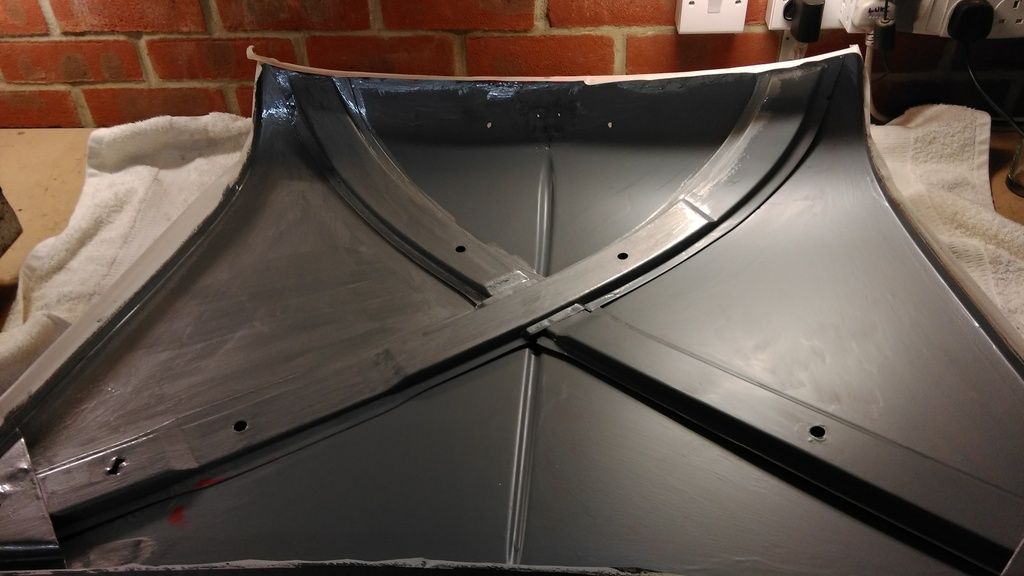
Slowly ticking the jobs off the list. Decided to paint the underside of the bonnet in what will be the engine bay colour.
I gave the whole thing a rub down with 400 grit sandpaper followed by a hoover and wipe with cleaning cloths.
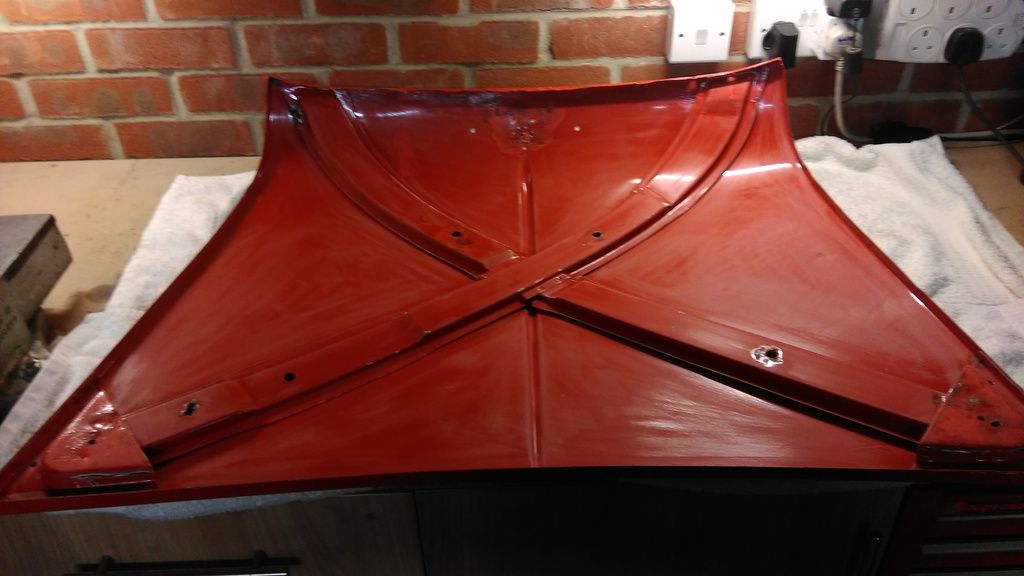
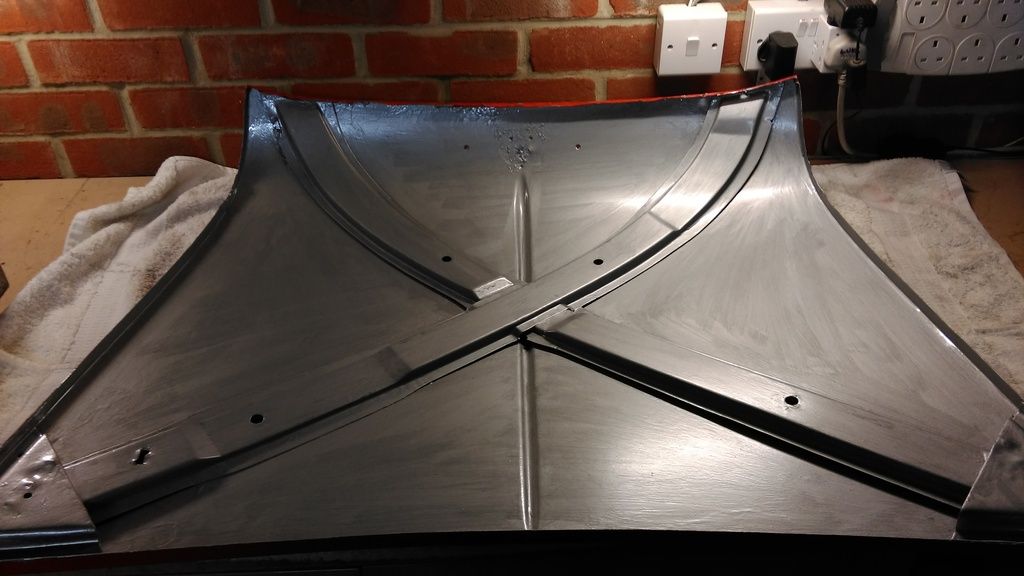
A coat of zinc primer next. This picture actually shows the start of the too coat going on. I forgot to take a picture before starting
Top coat of silver smooth hamerite
I gave the whole thing a rub down with 400 grit sandpaper followed by a hoover and wipe with cleaning cloths.

A coat of zinc primer next. This picture actually shows the start of the too coat going on. I forgot to take a picture before starting

Top coat of silver smooth hamerite

#161
LukeH
-
- TMF+ Member
-
- 1,004 posts
One Carb Or Two?
- Location: Norwich, Norfolk
Posted 26 May 2016 - 07:39 PM
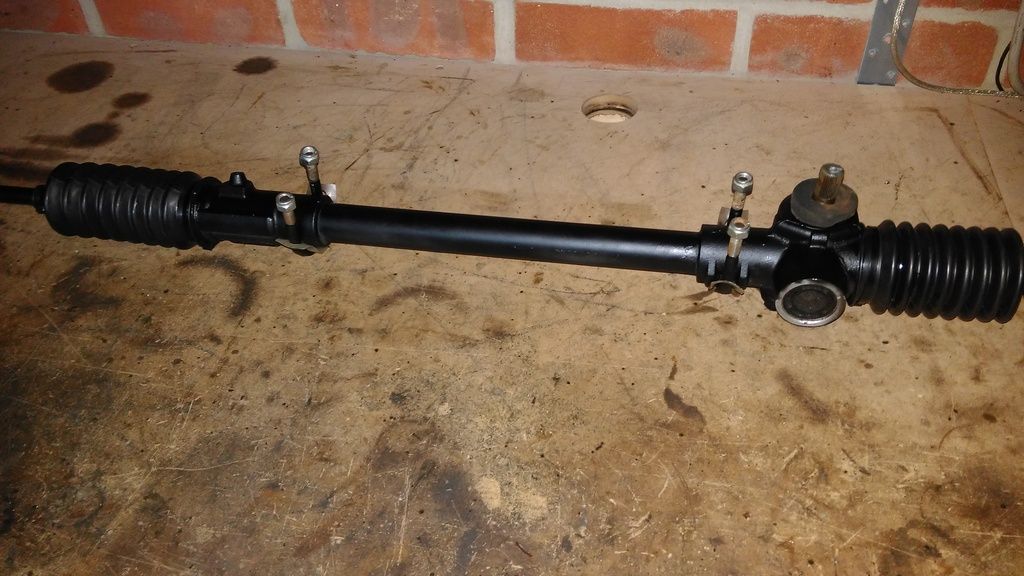
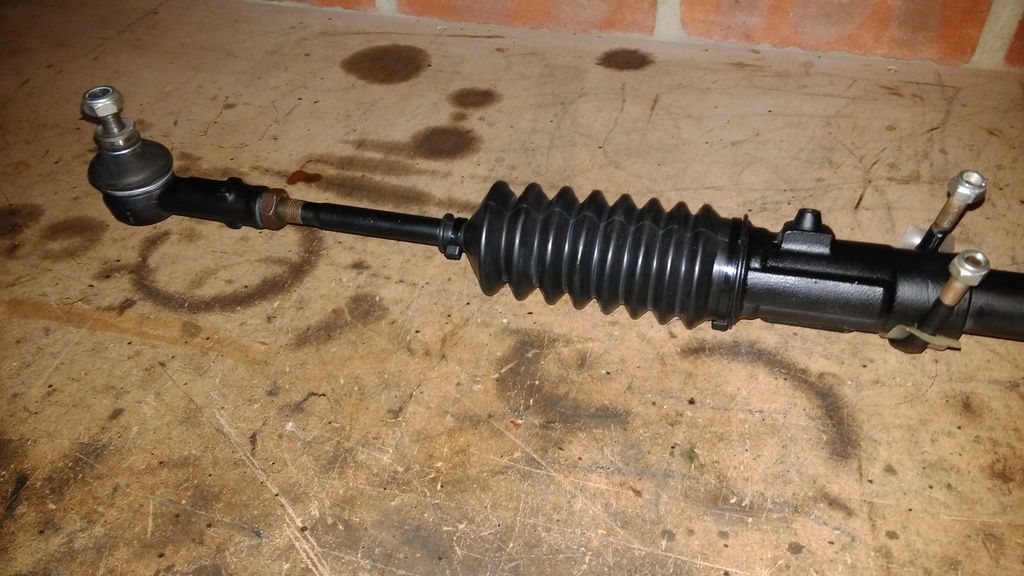
Steering rack overhaul is complete. I thought it was worth doing whilst removed and I discovered a split gaitor so fitted some new ones.


#162
LukeH
-
- TMF+ Member
-
- 1,004 posts
One Carb Or Two?
- Location: Norwich, Norfolk
Posted 30 May 2016 - 08:41 PM
Got another job ticked off. Made an engine steady for the right hand side. I will be buying a pre-made link bar. The metal tube was used for mock up.


#163
LukeH
-
- TMF+ Member
-
- 1,004 posts
One Carb Or Two?
- Location: Norwich, Norfolk
Posted 03 June 2016 - 12:58 PM
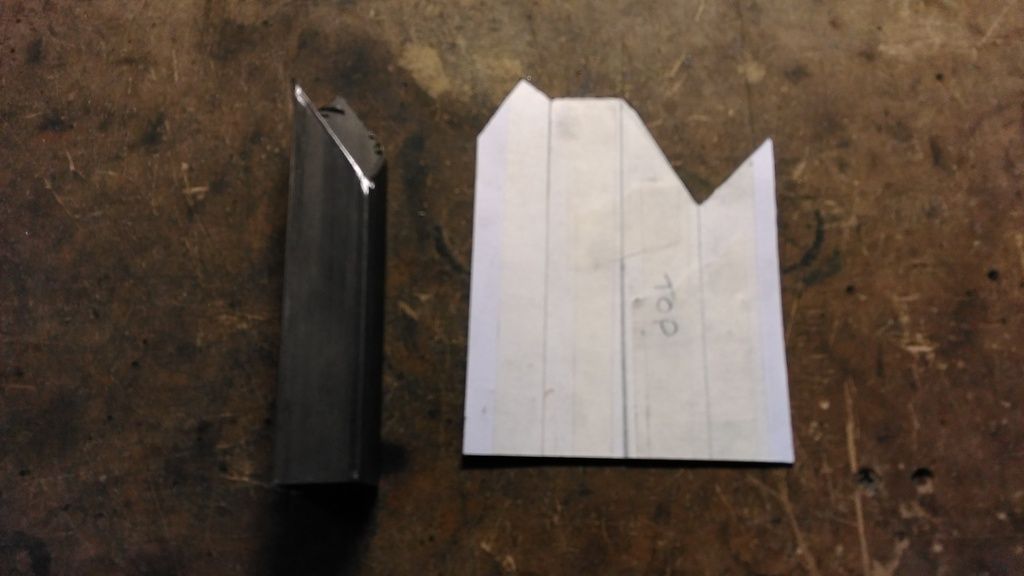
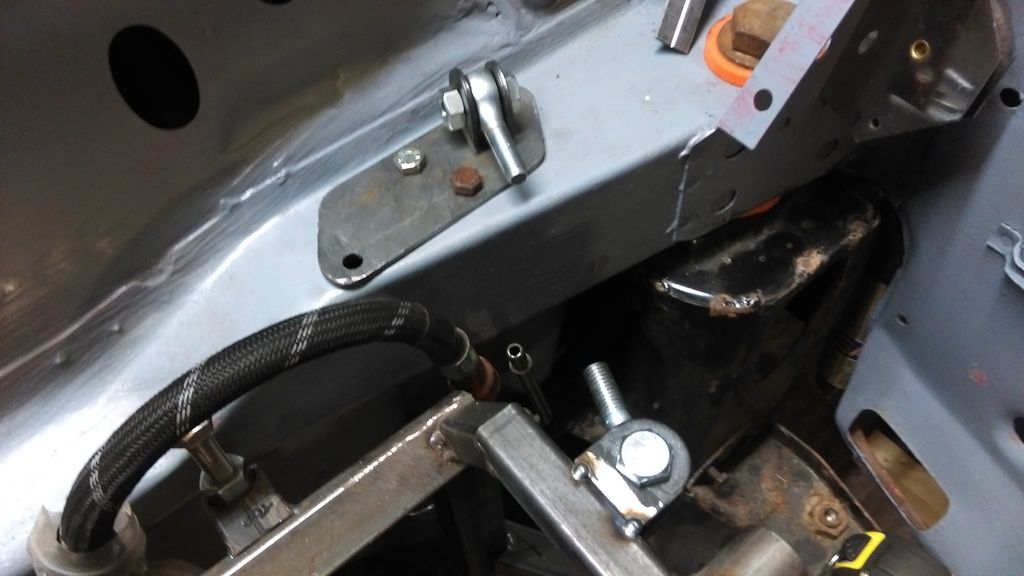
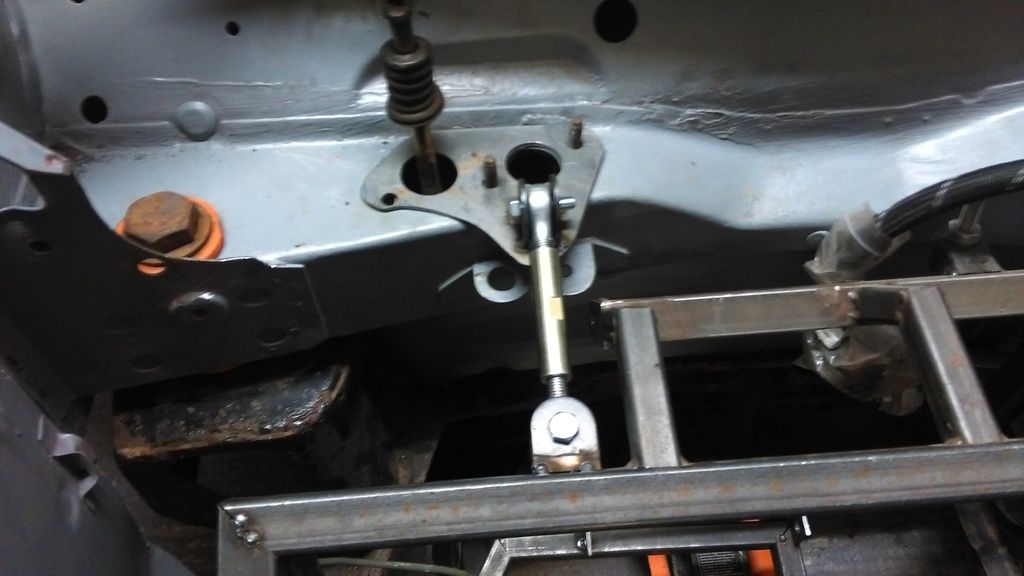
A bunch of money later and some shiny link bars arrived from McGill Motorsport. I've ordered enough to do the engine steady links and the bottom two chain diff links.

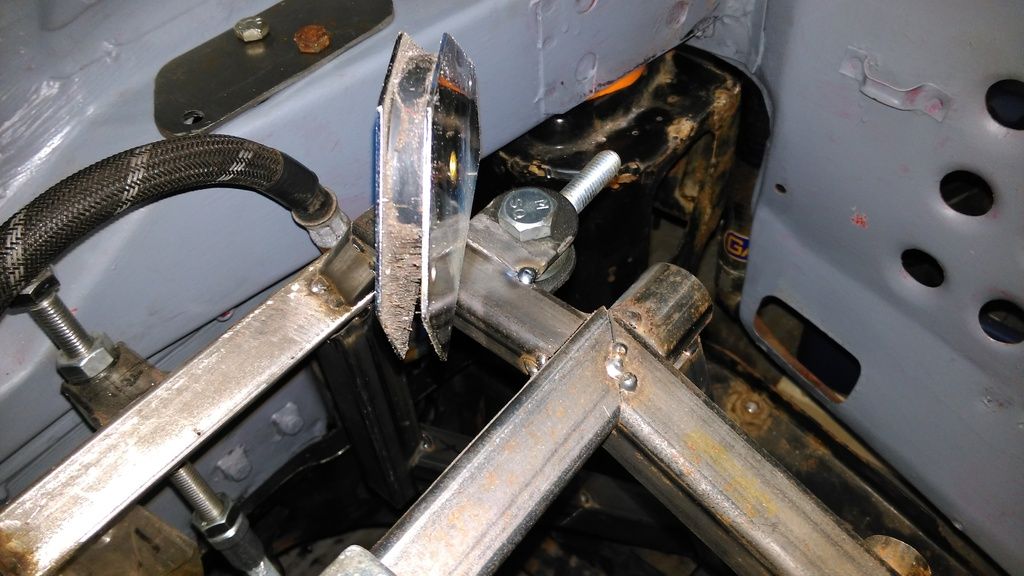
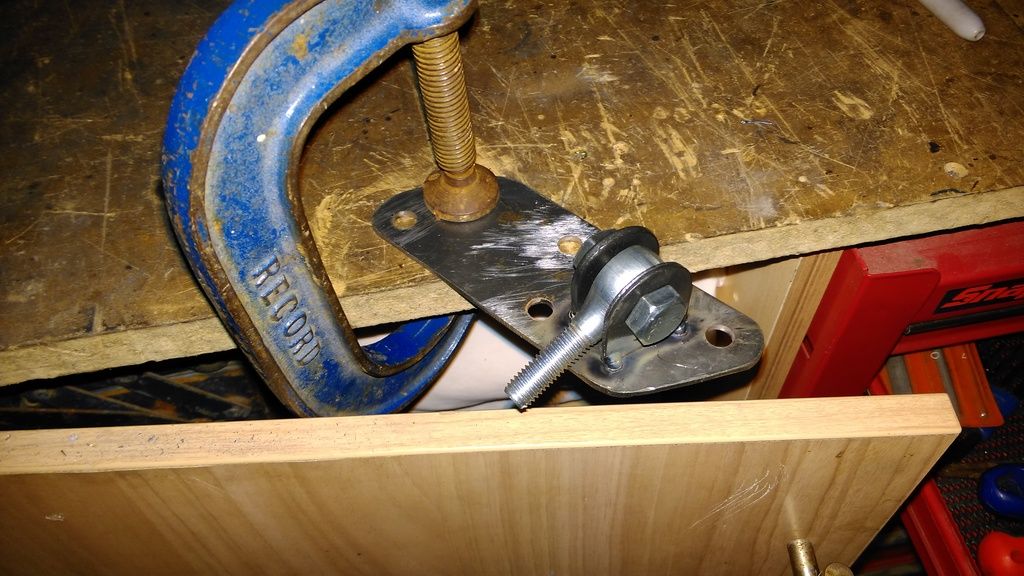
Here is a picture of the right-hand upper engine steady. The rose joints are M10 and I still need to purchase some locknuts.

and here is a picture of the template I've made for the left-hand upper engine steady.

#164
LukeH
-
- TMF+ Member
-
- 1,004 posts
One Carb Or Two?
- Location: Norwich, Norfolk
Posted 10 June 2016 - 07:40 PM
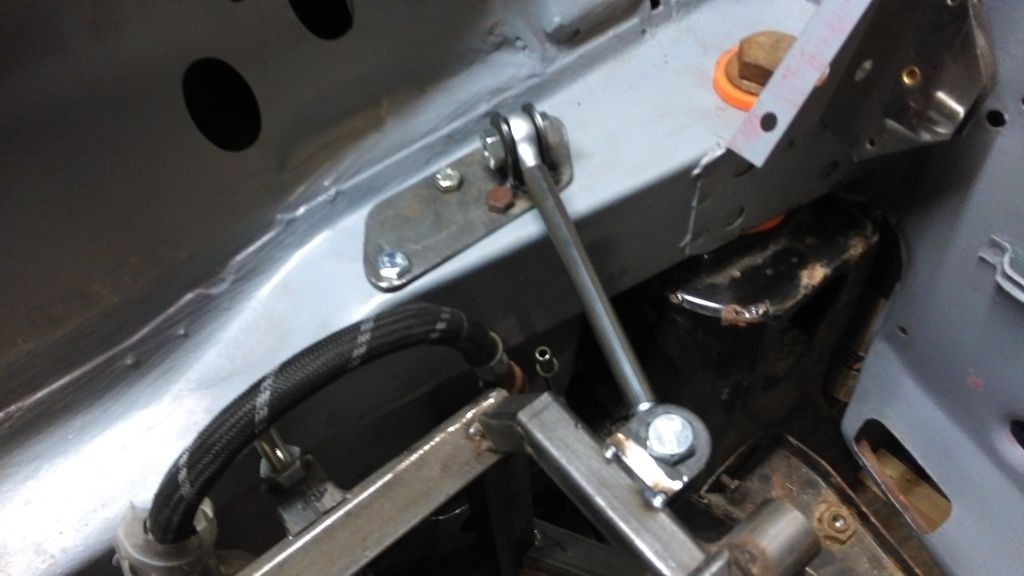
I've just put the finishing touches on the other top engine steady. The job was made easy by purchasing a bandsaw that I then fitted a metal blade to.
I used the cardboard template made earlier to mark out and drill the holes. The large ones were a little tricky.
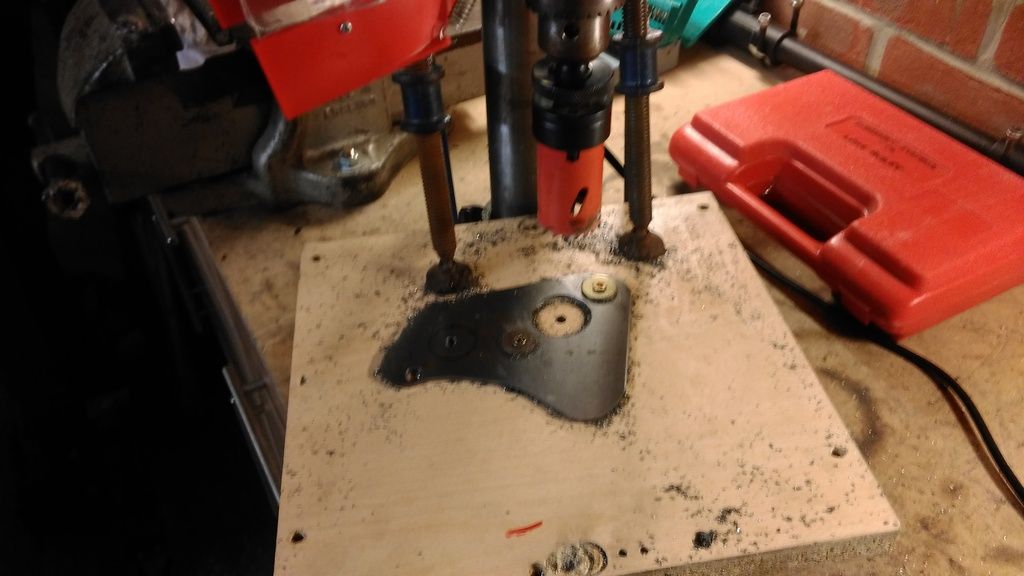
Other news. I picked up a vac former today from a school that was surplus. It's huge and will do up to 6mm thick plastic. I plan to make a custom airbox with it and perhaps an air duct for the rad. Watch this space....

I used the cardboard template made earlier to mark out and drill the holes. The large ones were a little tricky.


Other news. I picked up a vac former today from a school that was surplus. It's huge and will do up to 6mm thick plastic. I plan to make a custom airbox with it and perhaps an air duct for the rad. Watch this space....
Edited by LukeH, 10 June 2016 - 07:43 PM.
#165
LukeH
-
- TMF+ Member
-
- 1,004 posts
One Carb Or Two?
- Location: Norwich, Norfolk
Posted 11 June 2016 - 04:39 PM
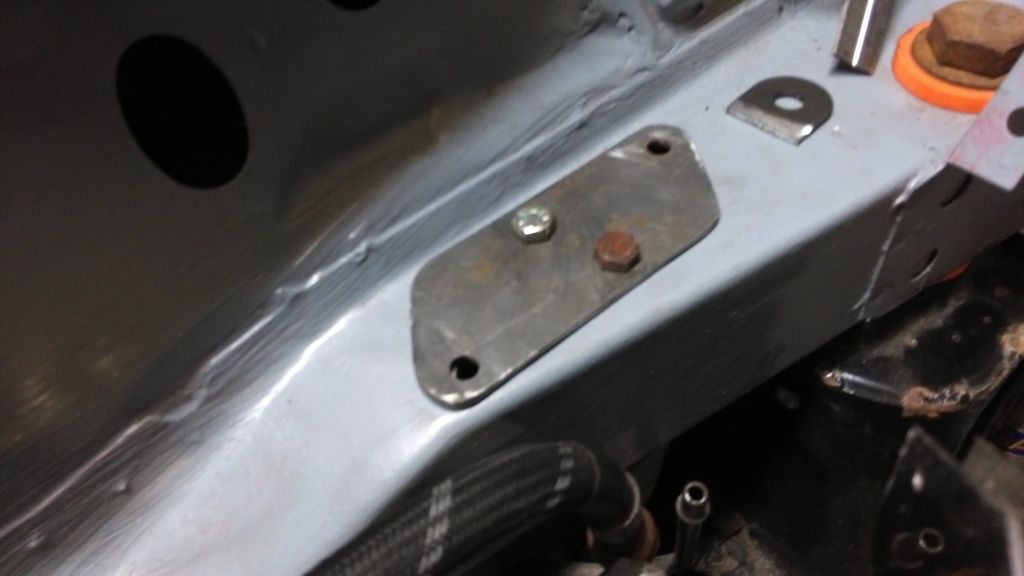
Front subframe mods complete. New front cross bar fabricated and tacked into place.
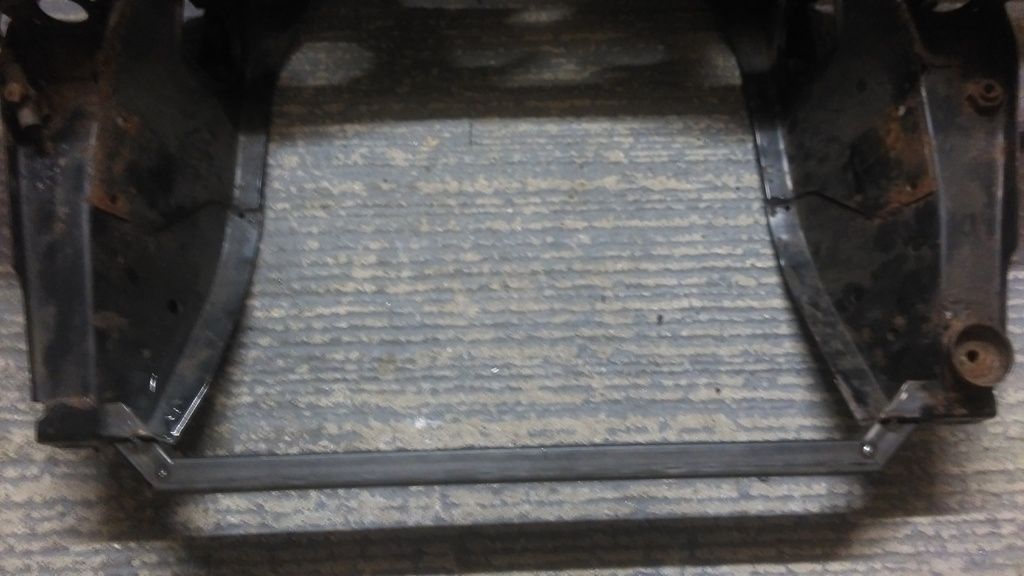
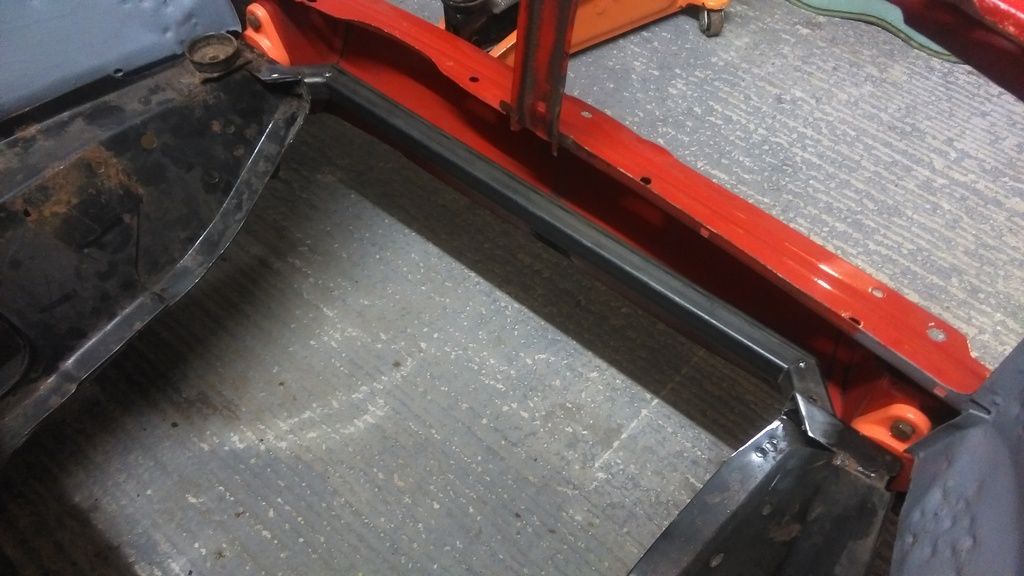
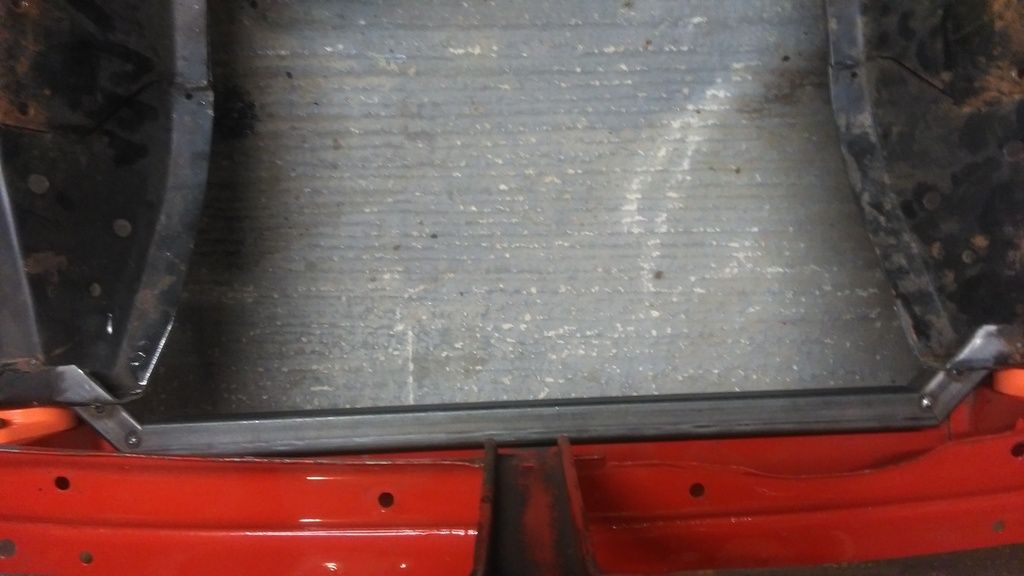
I've got to add a mount for a front engine steady and I'll also add a mount for the rad.


I've got to add a mount for a front engine steady and I'll also add a mount for the rad.


0 user(s) are reading this topic
0 members, 0 guests, 0 anonymous users


