Keeps me occupied in the evenings and weekends lol. Just need to save for the shell's restoration!


2000 Cooper Sportspack Turbo
Started by
Steve220
, Jan 15 2015 10:32 AM
861 replies to this topic
#61

Steve220
-
- TMF+ Member
-

- 5,058 posts
Crazy About Mini's
- Location: Shropshire
- Local Club: BMC
Posted 08 February 2015 - 10:07 AM
#62
domdee
-

- Members
-
- 1,183 posts
Formally known as dominicdee
- Location: hull
- Local Club: hull clubs on FB
Posted 08 February 2015 - 11:54 AM
Looks like a grand mini you have. Running restorations are great.
#63
Smuffy
-
- Noobies
-
- 76 posts
Stage One Kit Fitted
- Location: Telford, Shropshire
- Local Club: Minifinity/TMF
Posted 08 February 2015 - 06:24 PM
I will send mine down to you then Steve lol
#64
The Clubby Hubby
-

- Members
-
- 555 posts
Super Mini Mad
- Location: south bucks
- Local Club: Friends with minibitz
Posted 11 February 2015 - 08:54 PM
Looks great I have Landrover wipers 😄
#65
Steve220
-
- TMF+ Member
-
- 5,058 posts
Crazy About Mini's
- Location: Shropshire
- Local Club: BMC
Posted 12 February 2015 - 06:56 PM
More updates coming soon, just need time to sort the dial surround. Got to glue all the peeled veneer down, sand it back, fill and repaint :) Should look much better!! My steering wheel lowering bracket arrived however i wasn't in to sign for it now its at the post office during a time i can't get visit  Arse.
Arse.
#66
Steve220
-
- TMF+ Member
-
- 5,058 posts
Crazy About Mini's
- Location: Shropshire
- Local Club: BMC
Posted 15 February 2015 - 08:53 PM
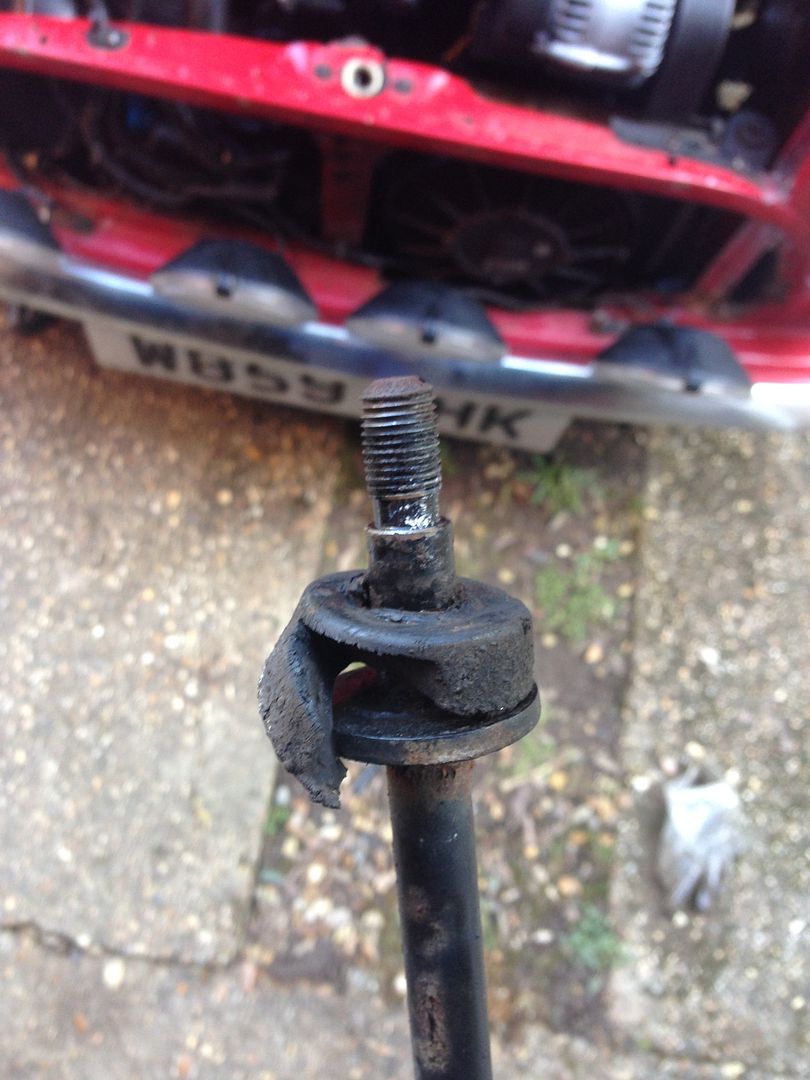
Minor update, hopefully i'll have the car back on the road mid-week. Replaced the tie rod bushes for polybush black's - looked like it was about time too!
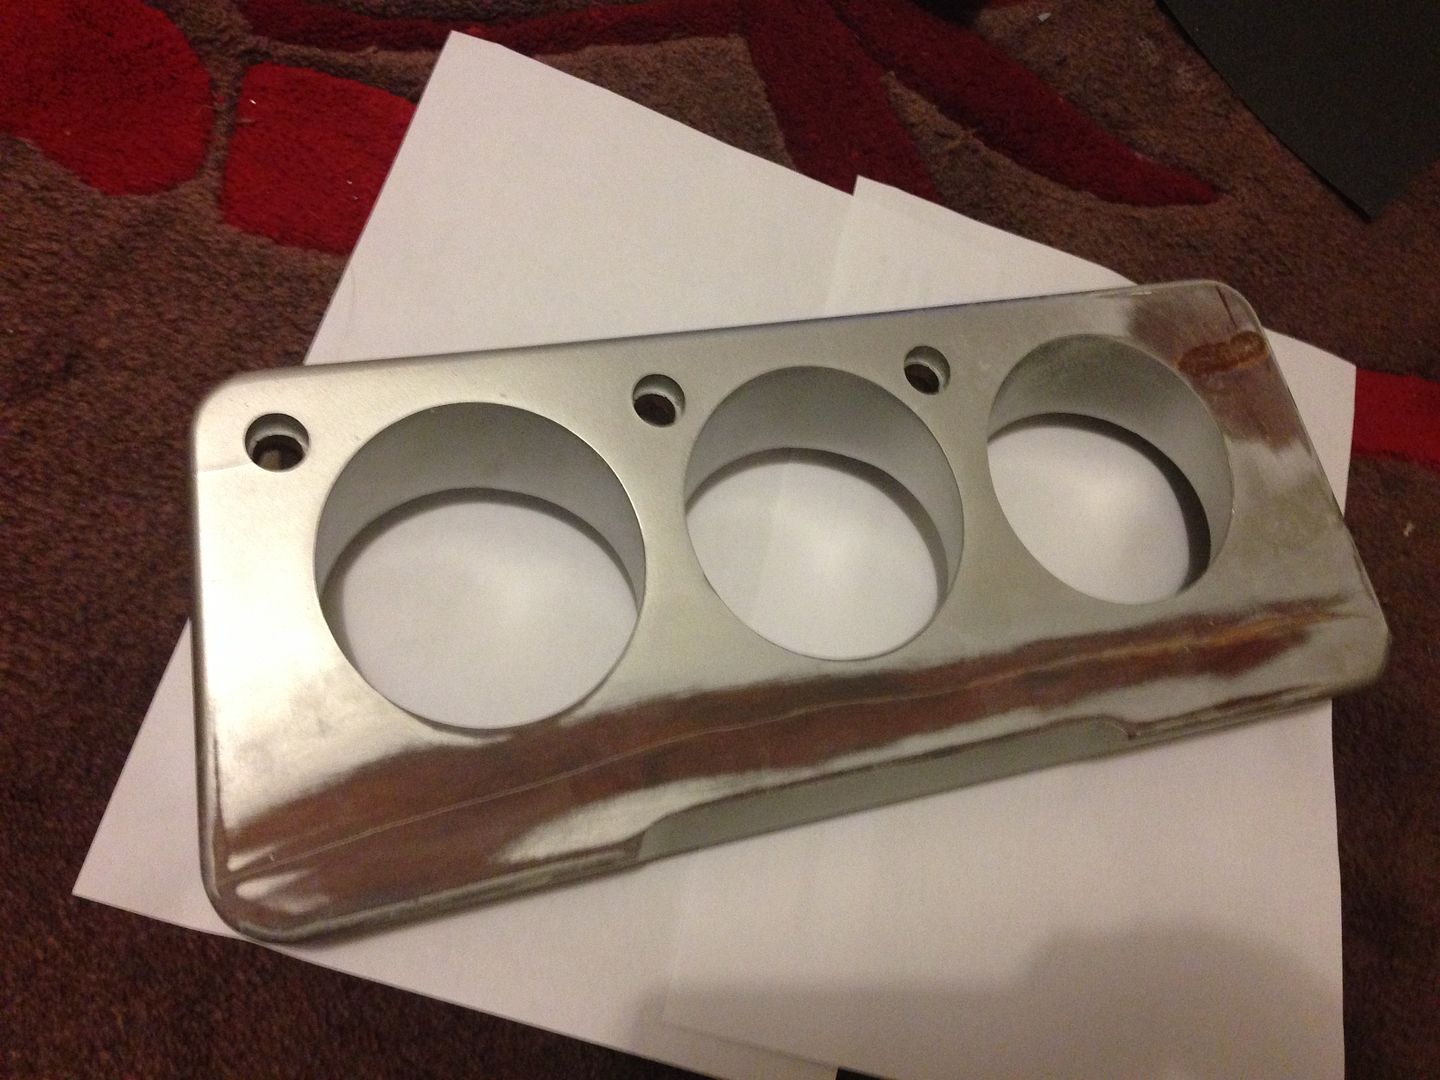
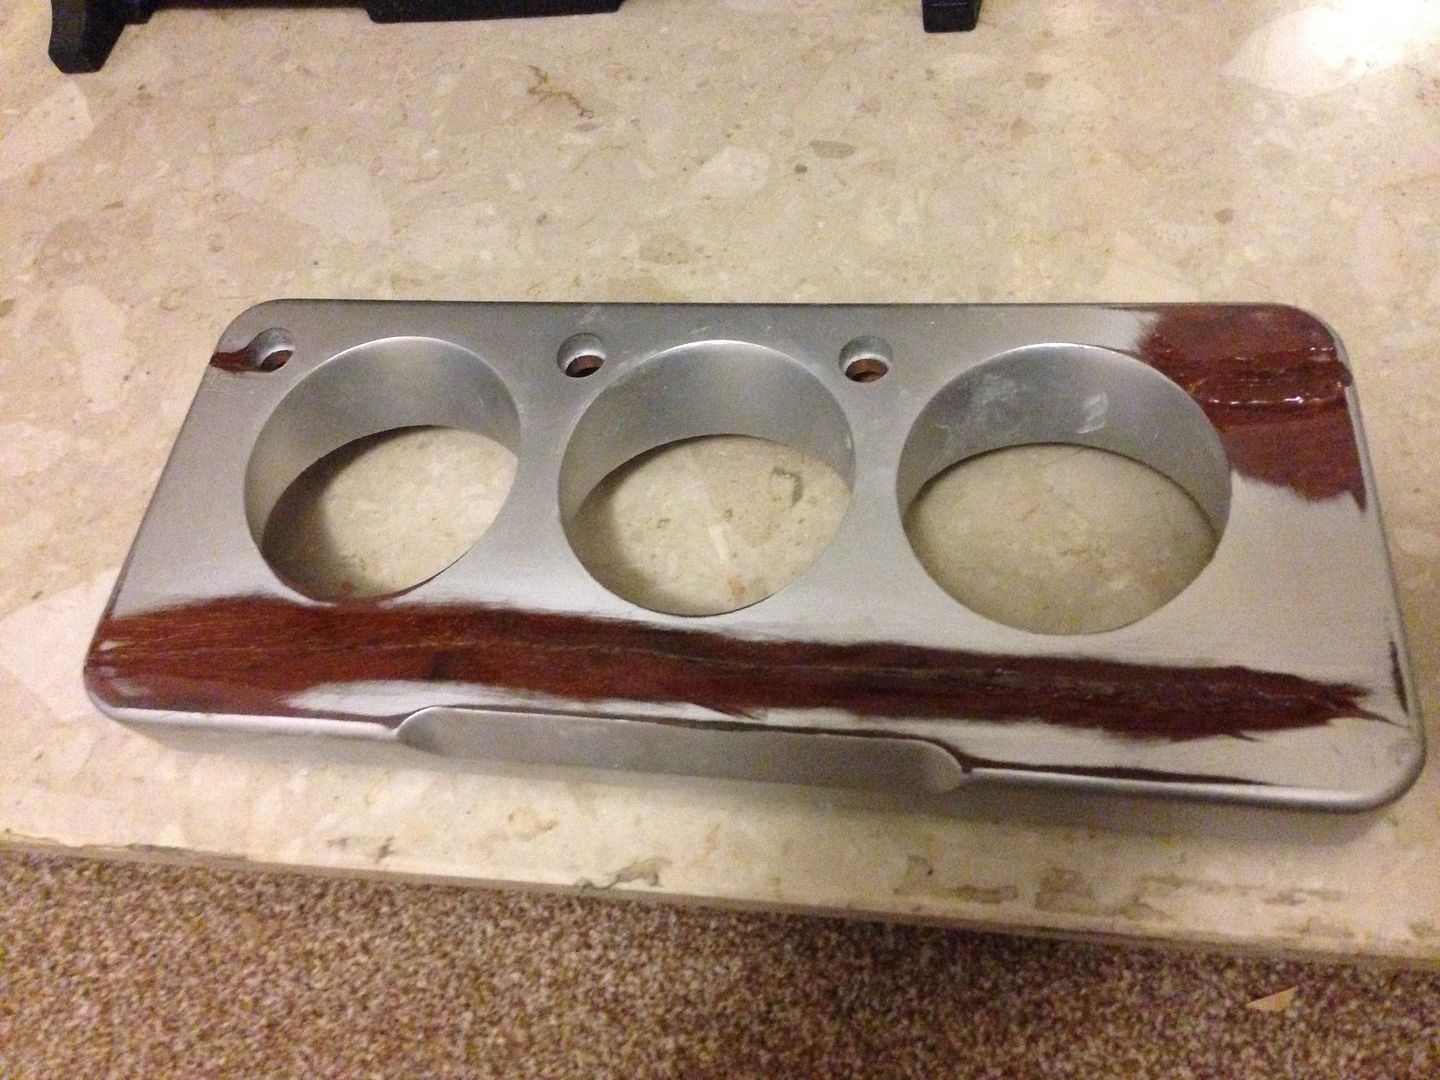
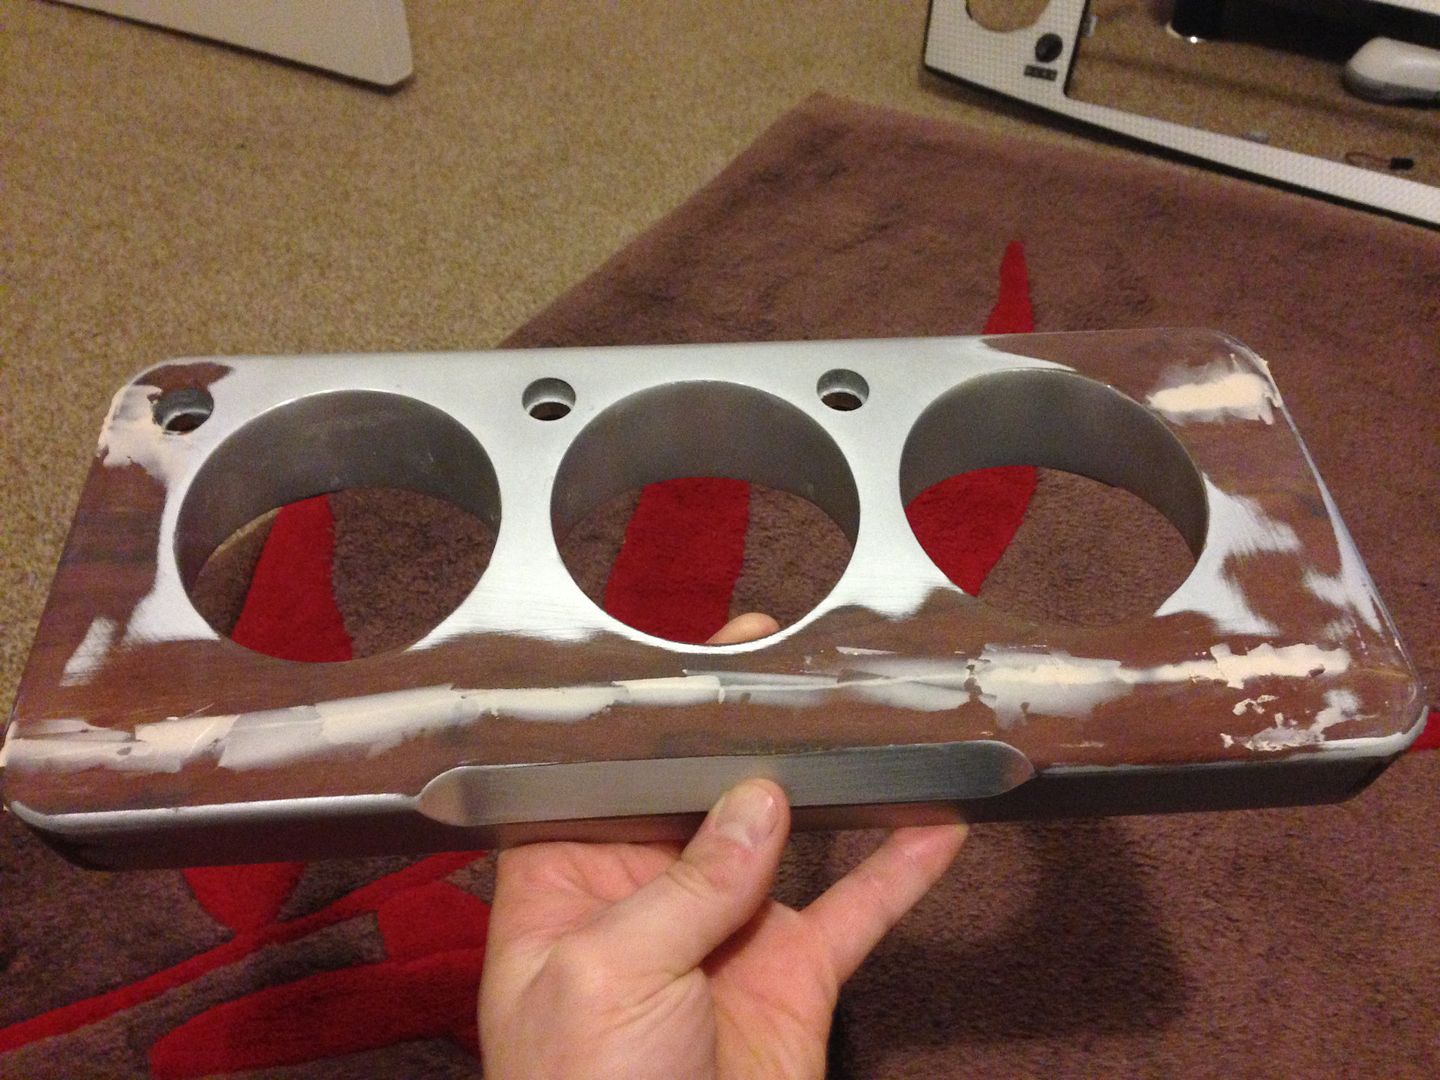
Now, the gauge surround. The amount of people that truely think these things are rare and worth loads is amazing. Get yourself a tin of Rover Quicksilver and spray up your dash lol. As you'll see in the next couple of pics - I've taken back the paint to see where the laquer has cracked which has revealed its a walnut dash underneath. I gave them a quick skim of epoxy resin to try and seal any last bits. Plan is then to sand back, fill, flat then spray up :)
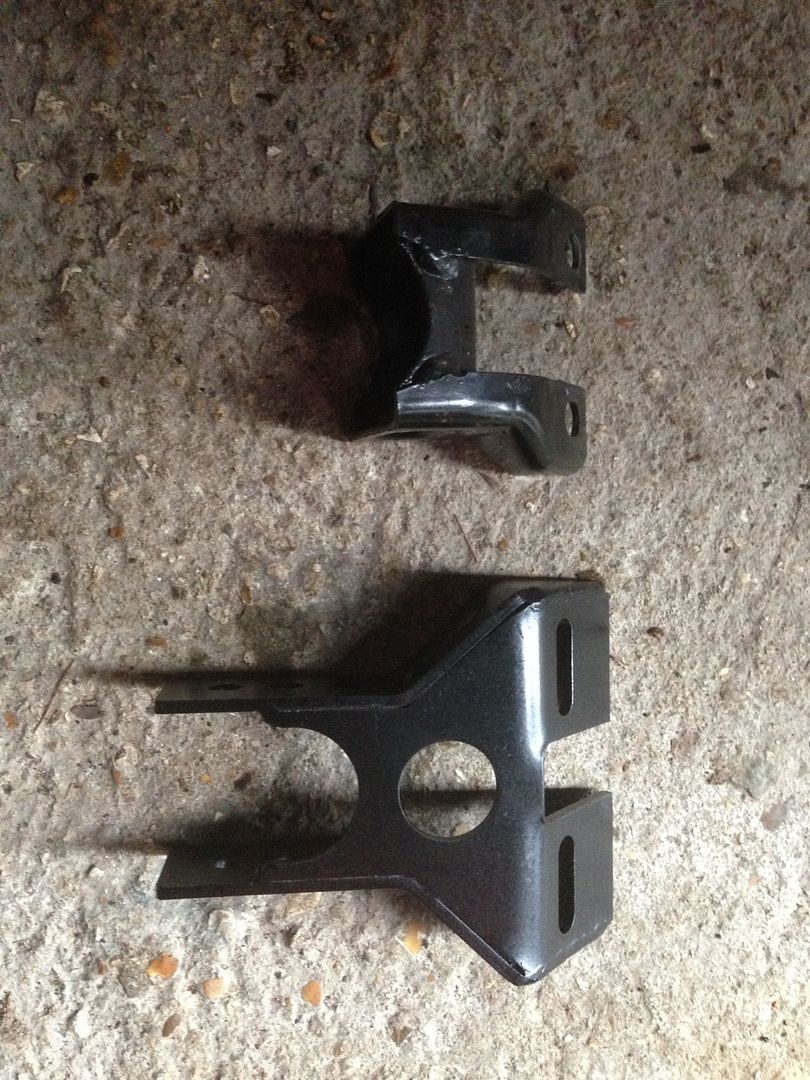
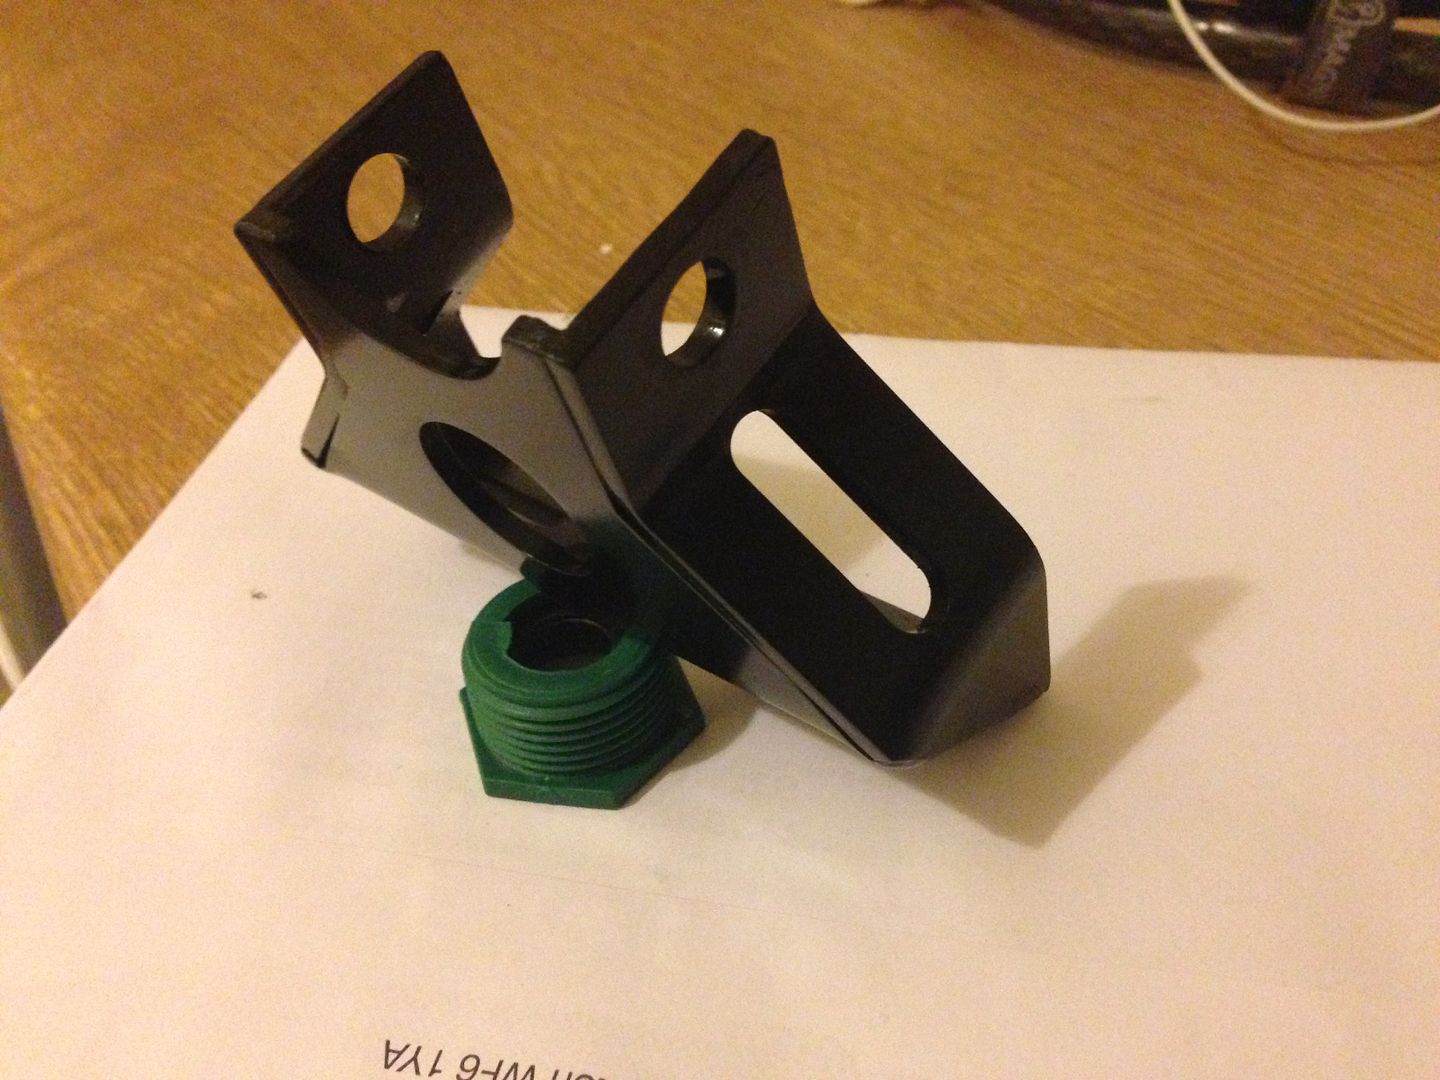
The new steering wheel lowering bracket arrived, however it is VERY low on the first setting. So will need cutting back to allow use of the other holes.
#67
Steve220
-
- TMF+ Member
-
- 5,058 posts
Crazy About Mini's
- Location: Shropshire
- Local Club: BMC
Posted 17 February 2015 - 01:37 PM
So the car is almost back on the road. The dash is still out the car and i've finally repaired the surround despite ending up gluing my favourite mug to the table. The steering wheel lowering bracket needed some work so i could actually sit down in the car. The wheel was that low i couldn't get my thighs past it!
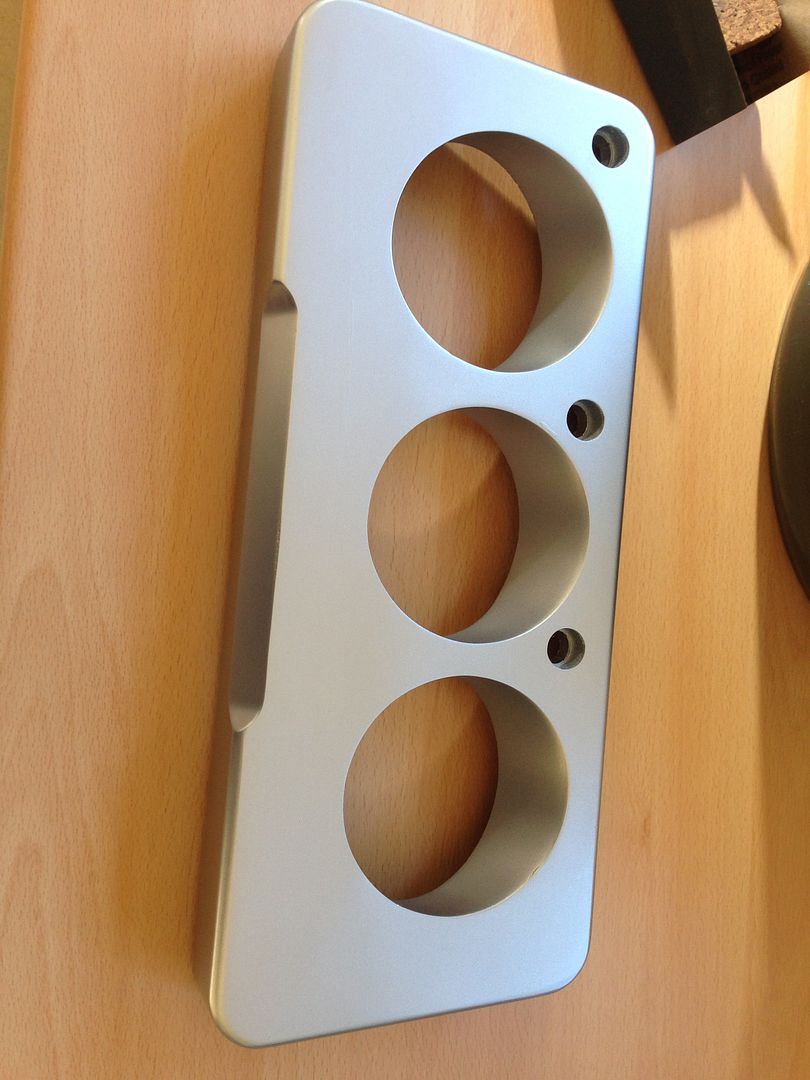
It isn't complete, i wasn't happy that i could still see some of the filler marks through the paint, so added a few more layers of base coat, allowed to dry and flat back down. I'll keep doing this until it is perfect. The paint match is outstanding from a halfords rattle can! The lowering bracket is trimmed and painted. With it fitted its at an ideal height for me to drive the car like a go kart :)
#68
big-jay
-

- Members
-
- 518 posts
Super Mini Mad
- Location: Birmingham
- Local Club: British Mini Club
Posted 19 February 2015 - 03:34 PM
Looking great Steve, can't beat an MPI Sportspack !
Interested to know how you modified your steering bracket, could possibly be something I need to do with mine.
Jay.
Interested to know how you modified your steering bracket, could possibly be something I need to do with mine.
Jay.
Edited by big-jay, 19 February 2015 - 03:35 PM.
#69
Steve220
-
- TMF+ Member
-
- 5,058 posts
Crazy About Mini's
- Location: Shropshire
- Local Club: BMC
Posted 19 February 2015 - 03:50 PM
hi Jay,
I bought the bracket from eBay however it has 3 pairs of holes down the side. To get it to fit I had to cut it back for the column to reach the upper holes. Once done, primed and sprayed! It's a much better position now. The car is back on the road now although I think I need the seat to go back further!
I bought the bracket from eBay however it has 3 pairs of holes down the side. To get it to fit I had to cut it back for the column to reach the upper holes. Once done, primed and sprayed! It's a much better position now. The car is back on the road now although I think I need the seat to go back further!
#70
Midas Mk1
-

- TMF+ Member
-
- 5,783 posts
Crazy About Mini's
- Location: Manchester
- Local Club: S.U.N.M.C
Posted 19 February 2015 - 03:52 PM
Hope the airbag isnt connected now! Is that a jb fabrication bracket? Waiting for them to come back in stock for my MPi :)
#71
big-jay
-
- Members
-
- 518 posts
Super Mini Mad
- Location: Birmingham
- Local Club: British Mini Club
Posted 19 February 2015 - 04:17 PM
hi Jay,
I bought the bracket from eBay however it has 3 pairs of holes down the side. To get it to fit I had to cut it back for the column to reach the upper holes. Once done, primed and sprayed! It's a much better position now. The car is back on the road now although I think I need the seat to go back further!
Cheers Steve,
Smiffys Bits sells some polished stainless seat extenders in his eBay shop, they look great - http://www.ebay.co.u...=item27f82fc95d
Jay.
#72
Steve220
-
- TMF+ Member
-
- 5,058 posts
Crazy About Mini's
- Location: Shropshire
- Local Club: BMC
Posted 19 February 2015 - 04:29 PM
Hope the airbag isnt connected now! Is that a jb fabrication bracket? Waiting for them to come back in stock for my MPi :)
The air bag is still connected and is, in my opinion, a better angle and position than OEM. In fact after just measuring it, it is in a similar position and angle to my neighbour's micra. If I went for the first setting on the bracket it would have gone off in my stomach in an impact!
#73
Steve220
-
- TMF+ Member
-
- 5,058 posts
Crazy About Mini's
- Location: Shropshire
- Local Club: BMC
Posted 28 February 2015 - 06:08 PM
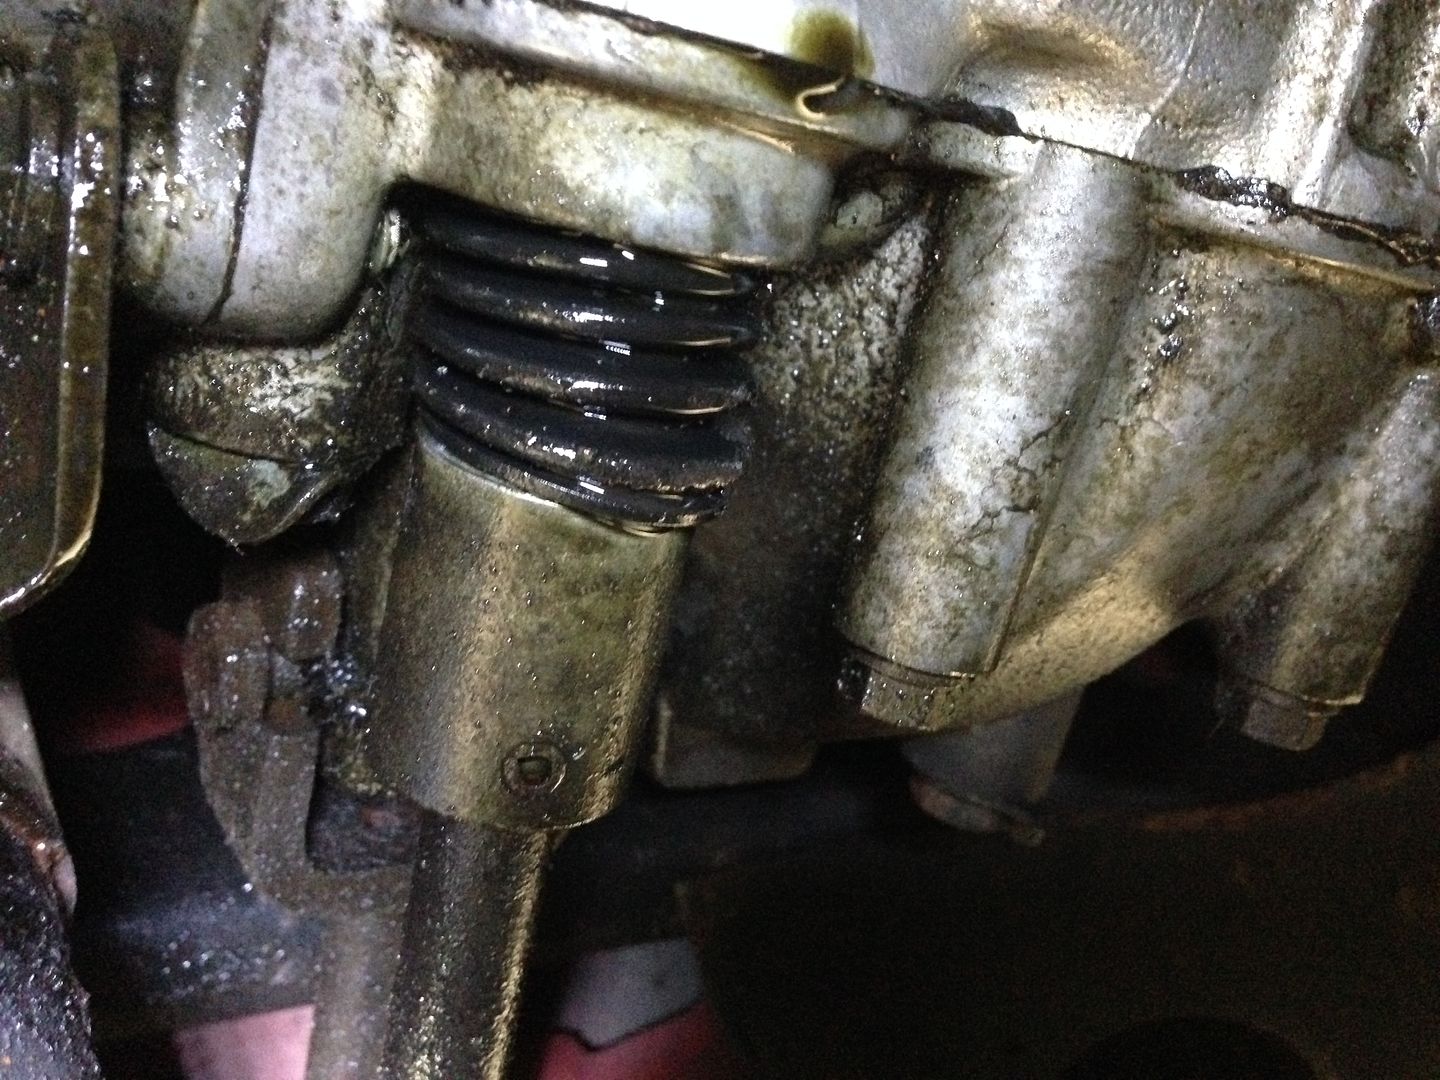
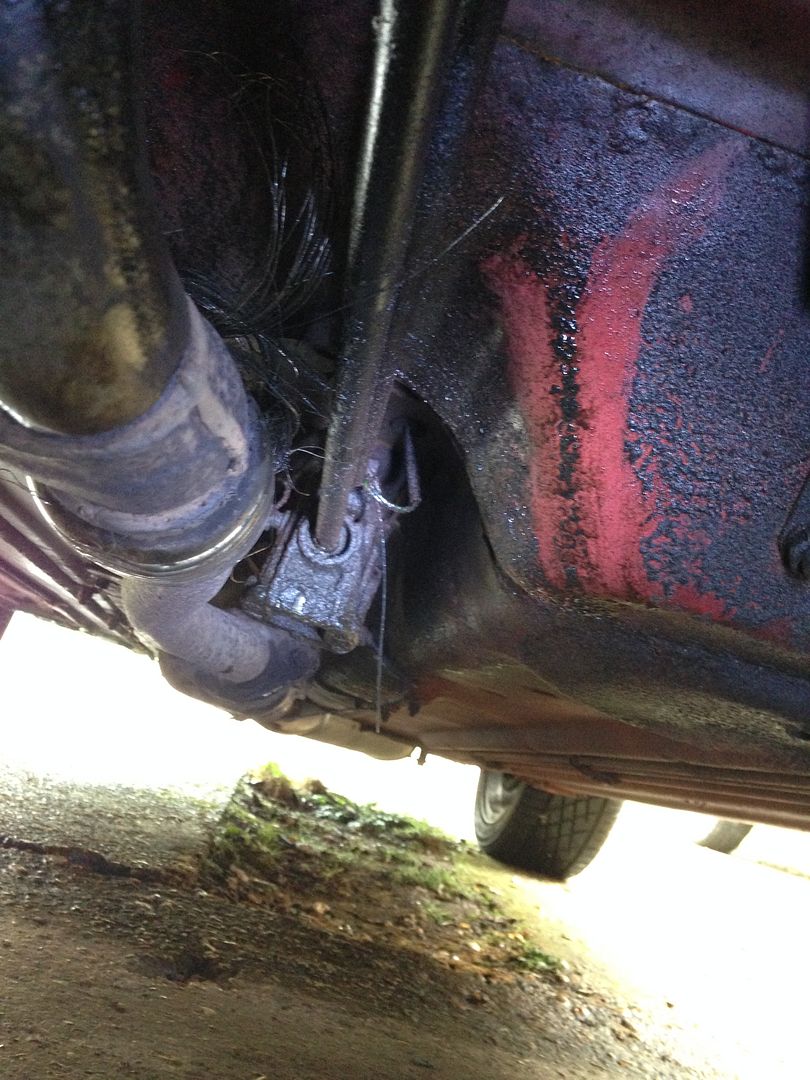
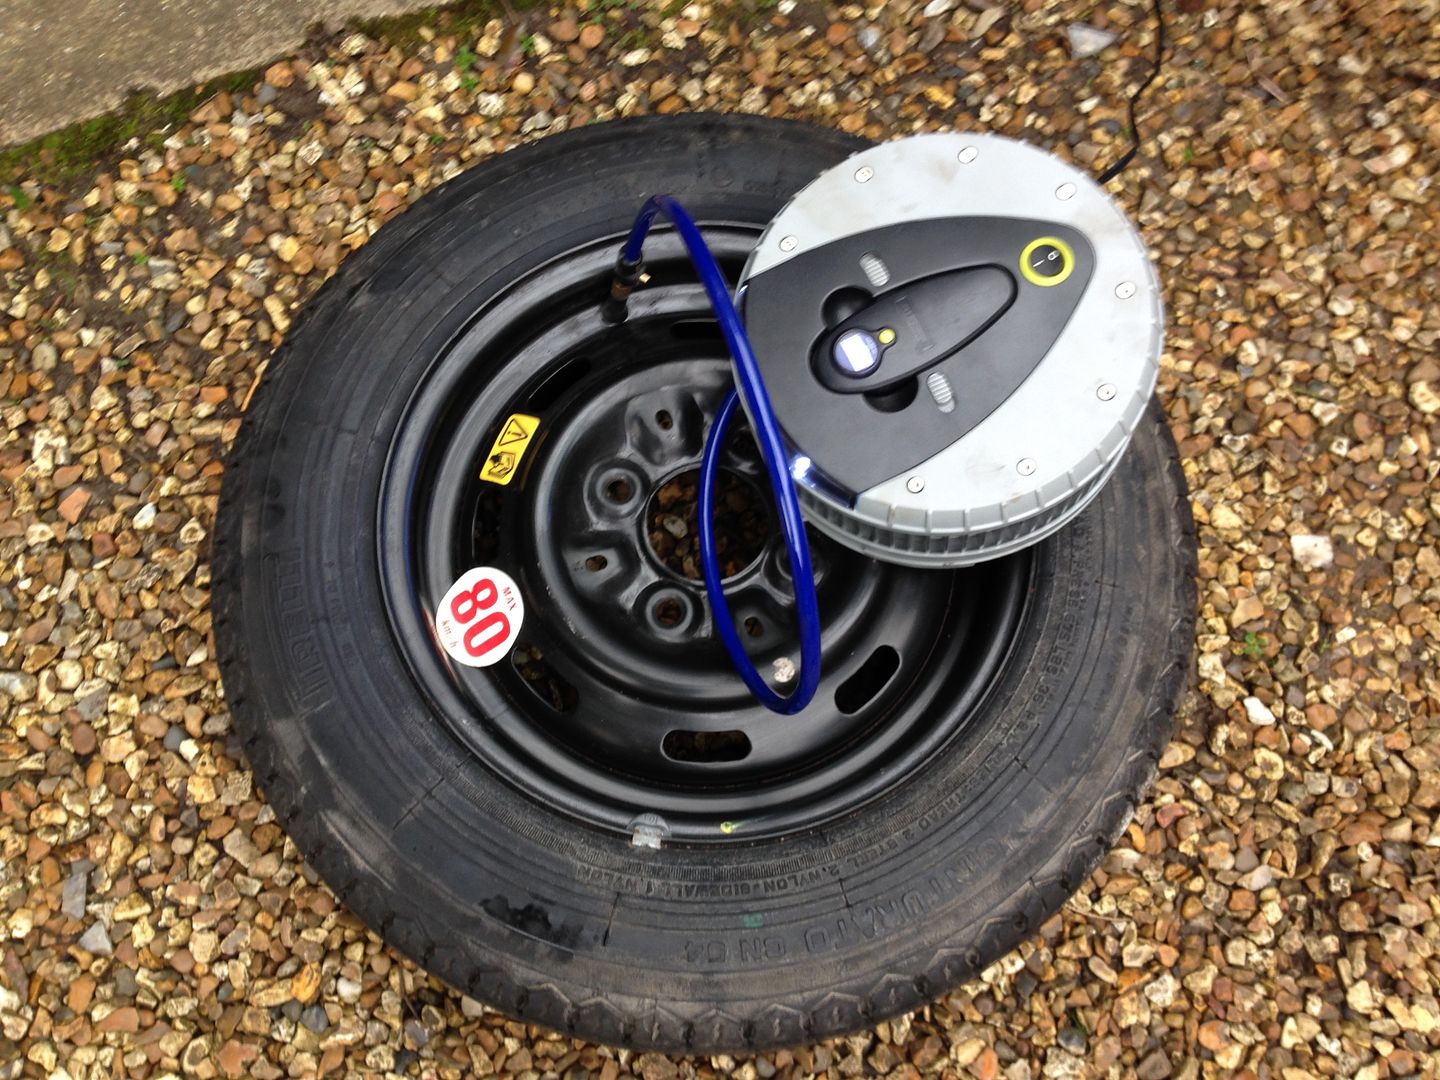
So been a busy week. Finally found what was causing the smell of fuel in the car, got so sick of my eyes stinging and driving with the windows open - Got home, kept the car running and checked from the boot backwards to find the high pressure hose from the fuel tank was spraying fuel over all over the place! The pic shows it running down the back and onto the spare wheel.
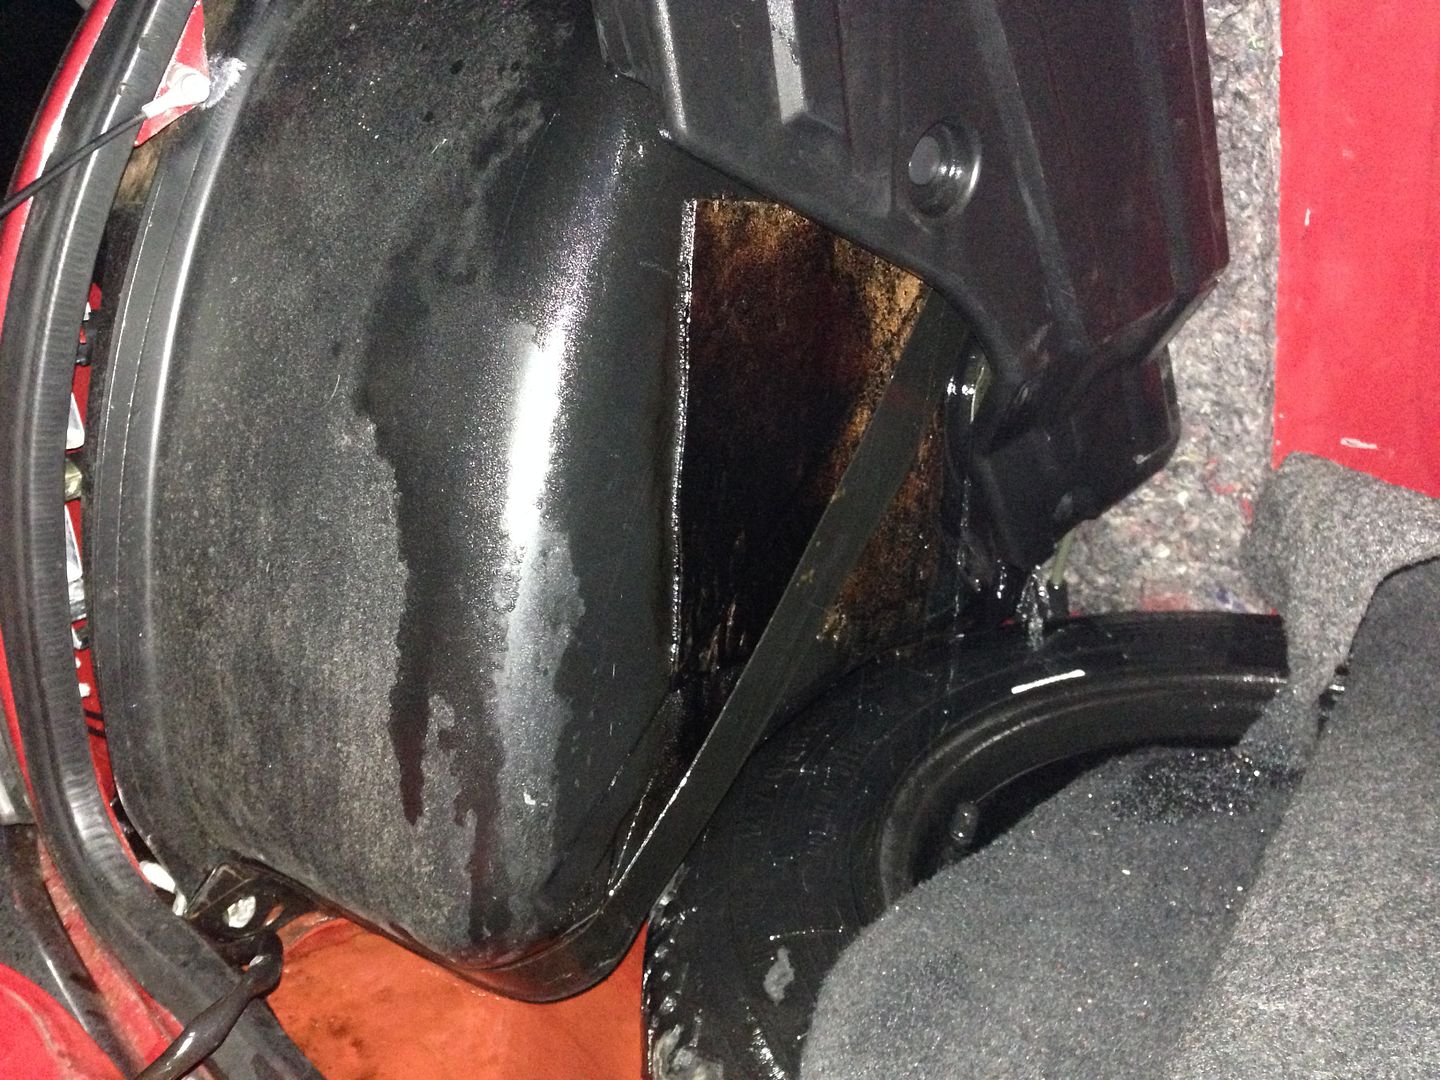
Fuel in the boot coupled with what it had dissolved of the sound proofing pad on the tank
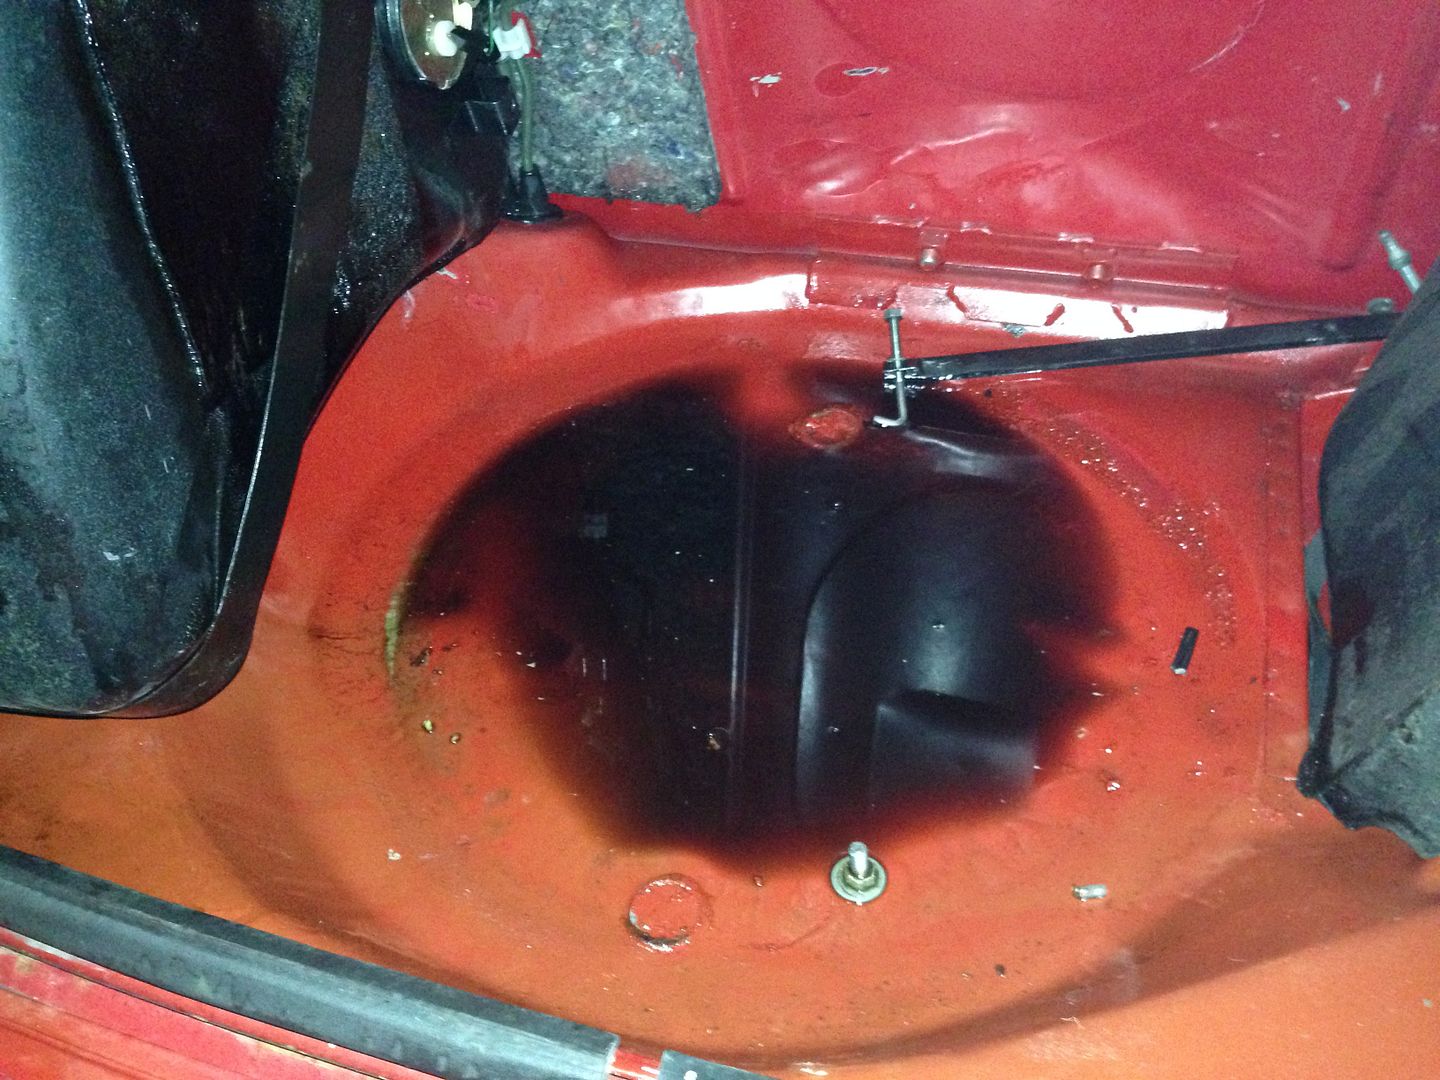
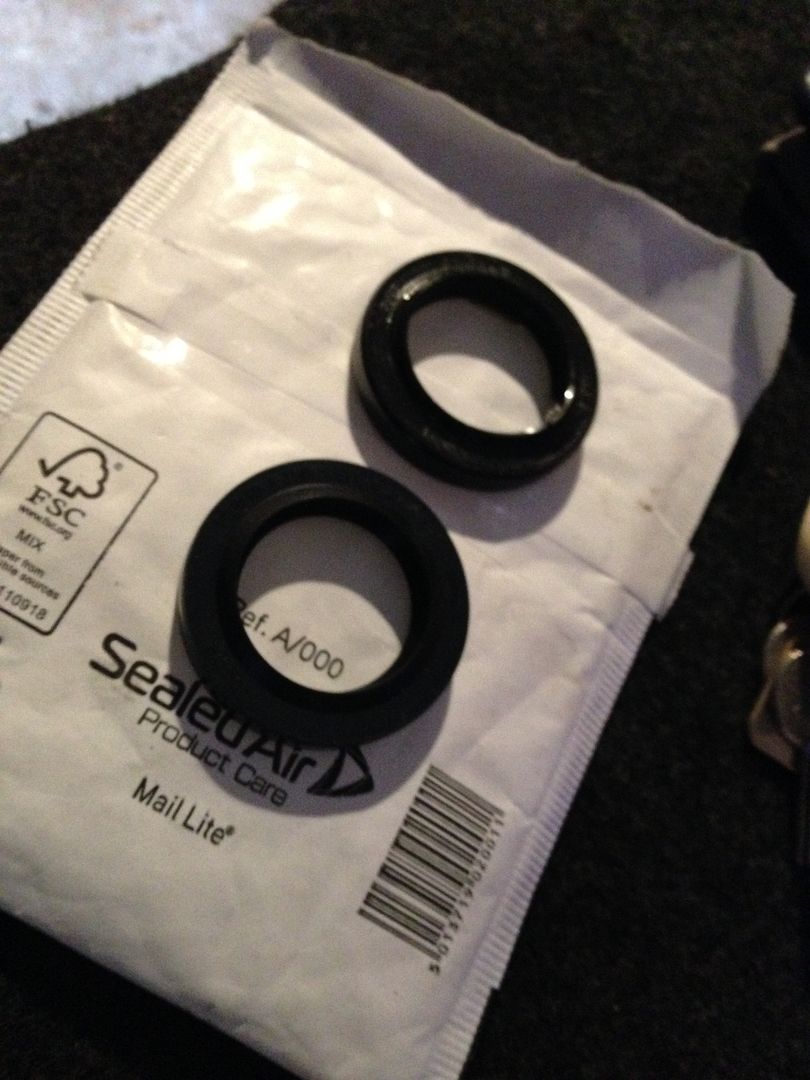
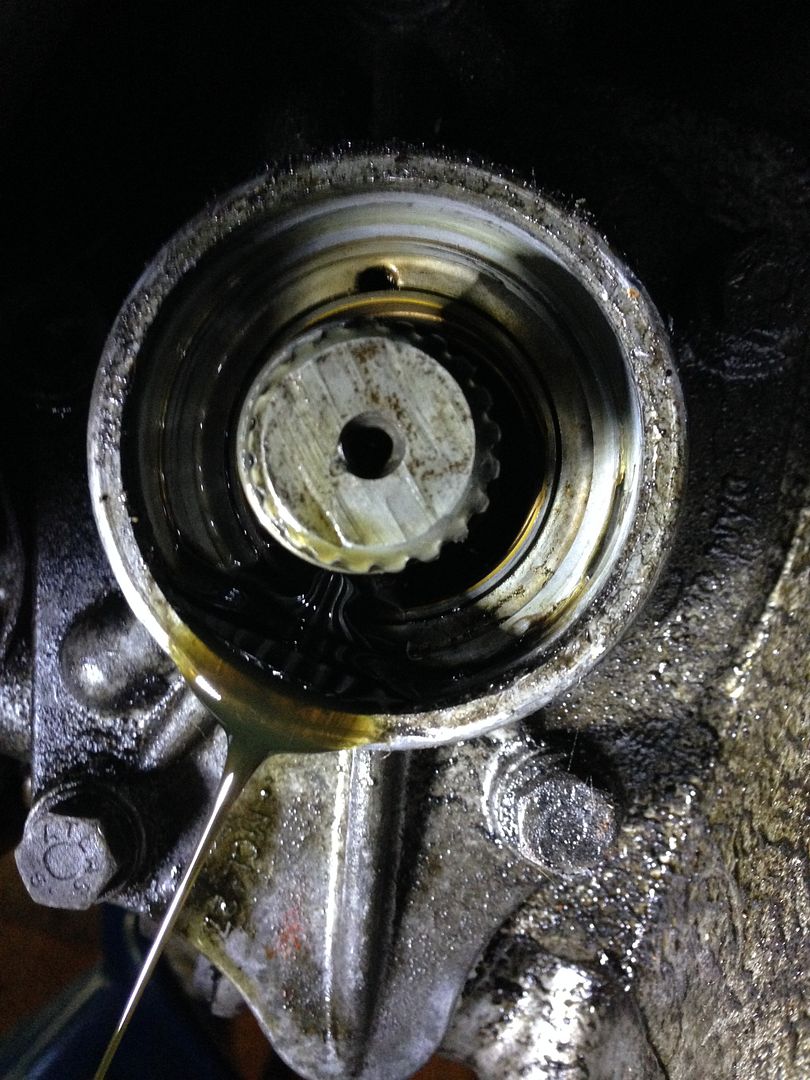
The boot was completely stripped, cleaned and rebuilt with new 8mm ID high pressure hose and seems to be running fine now! Right, so onto the inevitable oil leak. I had one from the usual changer rod and one from the driver's side drive shaft seal. So got on with it!
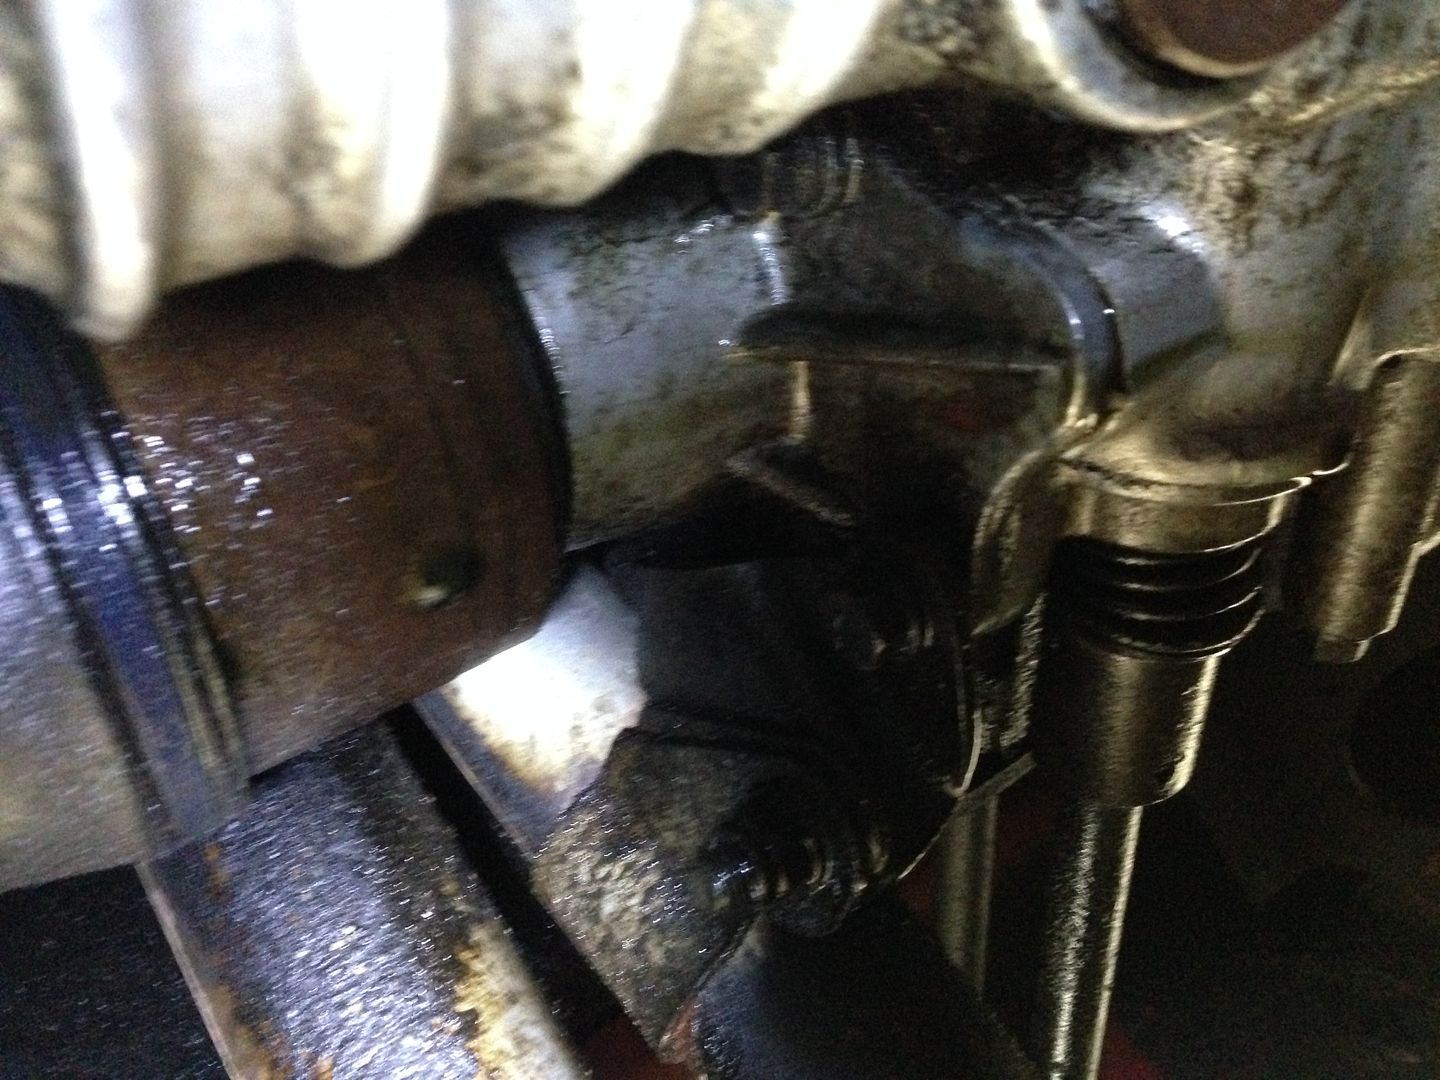
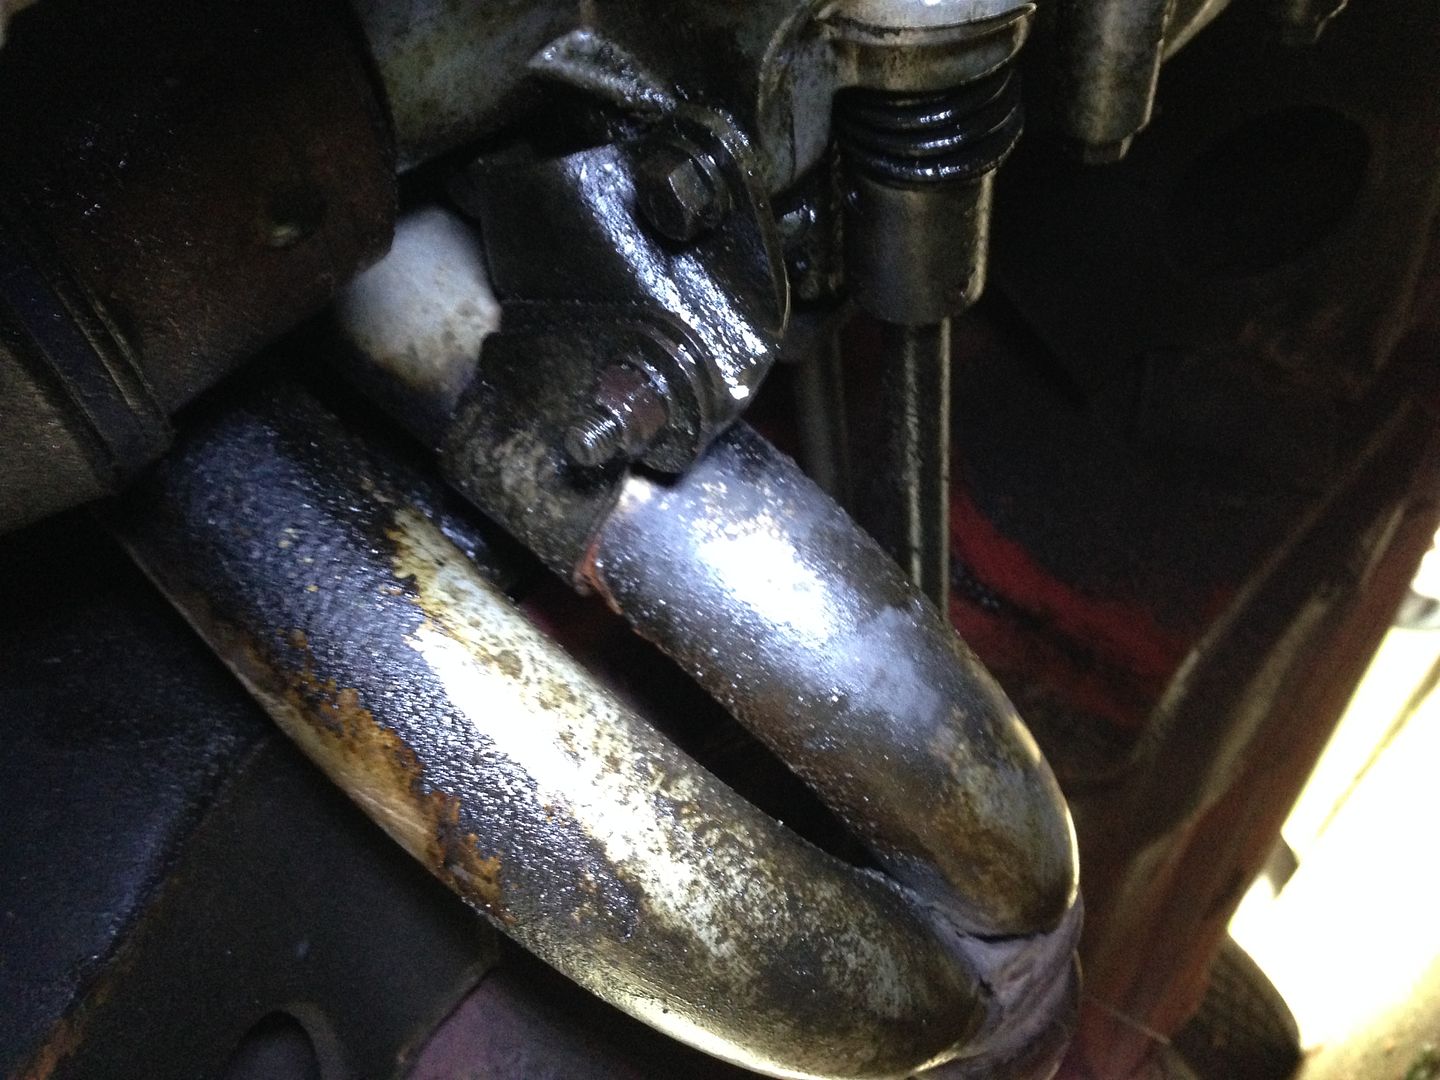
Old and new
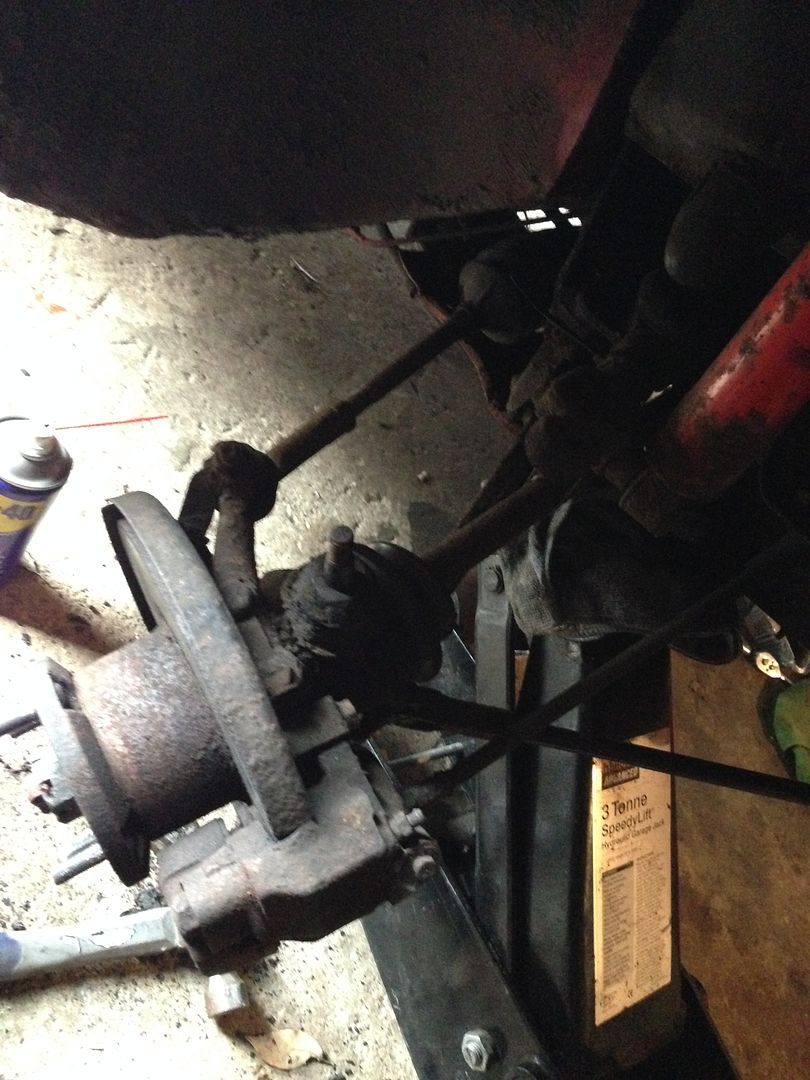
Then put it all back together. Very haynes manual-esk.
Boot going back together.

Spare wheel had no pressure in, so pumped that up and refit into the boot
Right. There's one thing that's been bugging me since i bought the car, the awful centre console. Its a 'custom console' although its been forced to fit and frankly i think these things are cheaply built and over priced. So i took the liberty to customise it a little. So this is what I had...
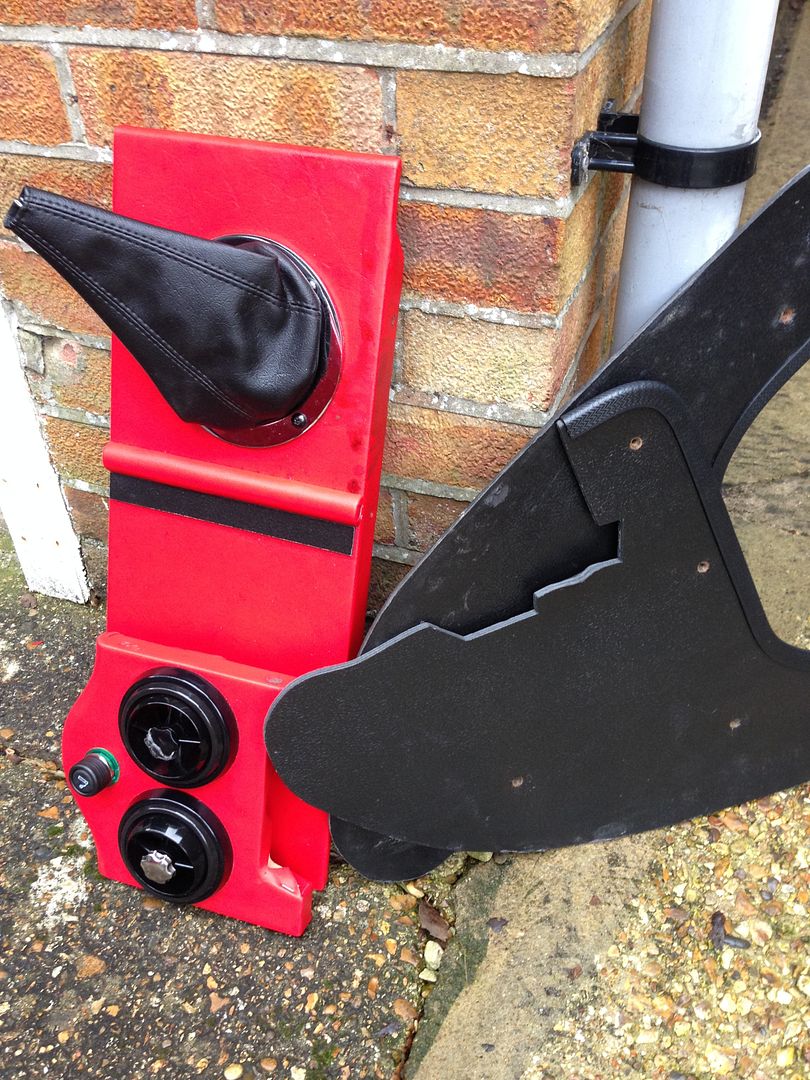
Started to strip the cheap vinyl
All vinyl off!
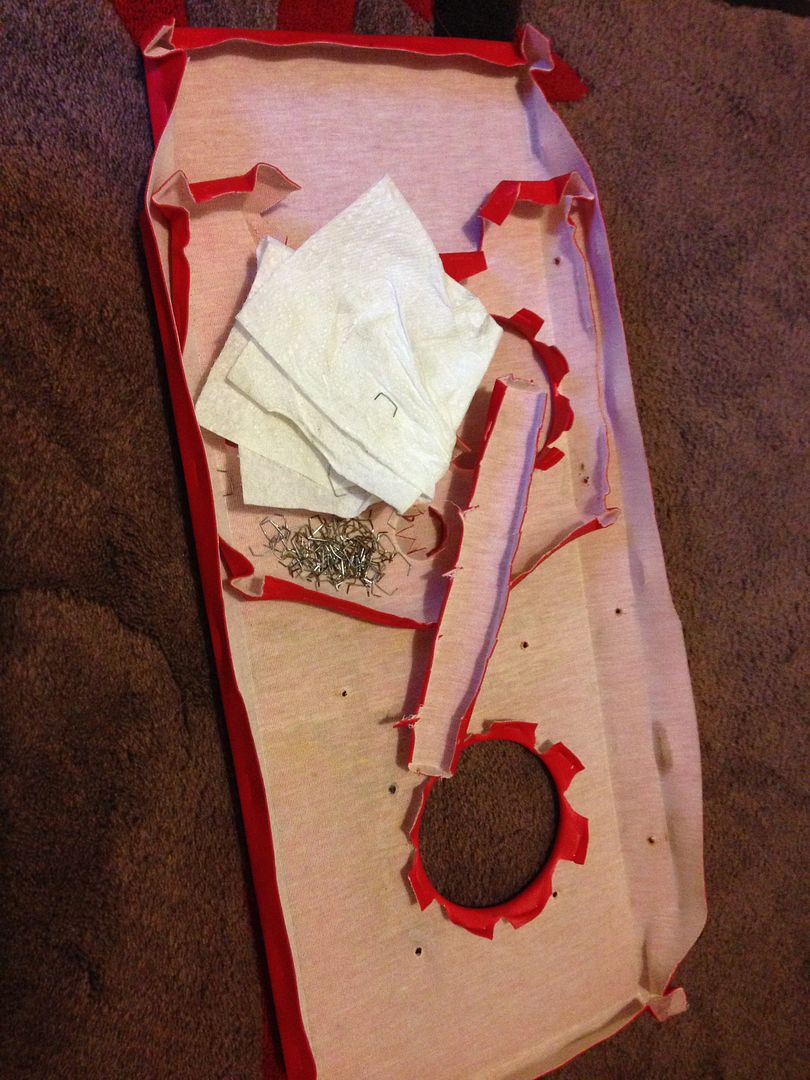
What I was left with :) Now to wait for my new material to arrive! My plan is to remake the side parts using MDF although i will be shaping the console on the driver's side to allow more room to put my left foot.
#74
Steve220
-
- TMF+ Member
-
- 5,058 posts
Crazy About Mini's
- Location: Shropshire
- Local Club: BMC
Posted 02 March 2015 - 06:52 PM
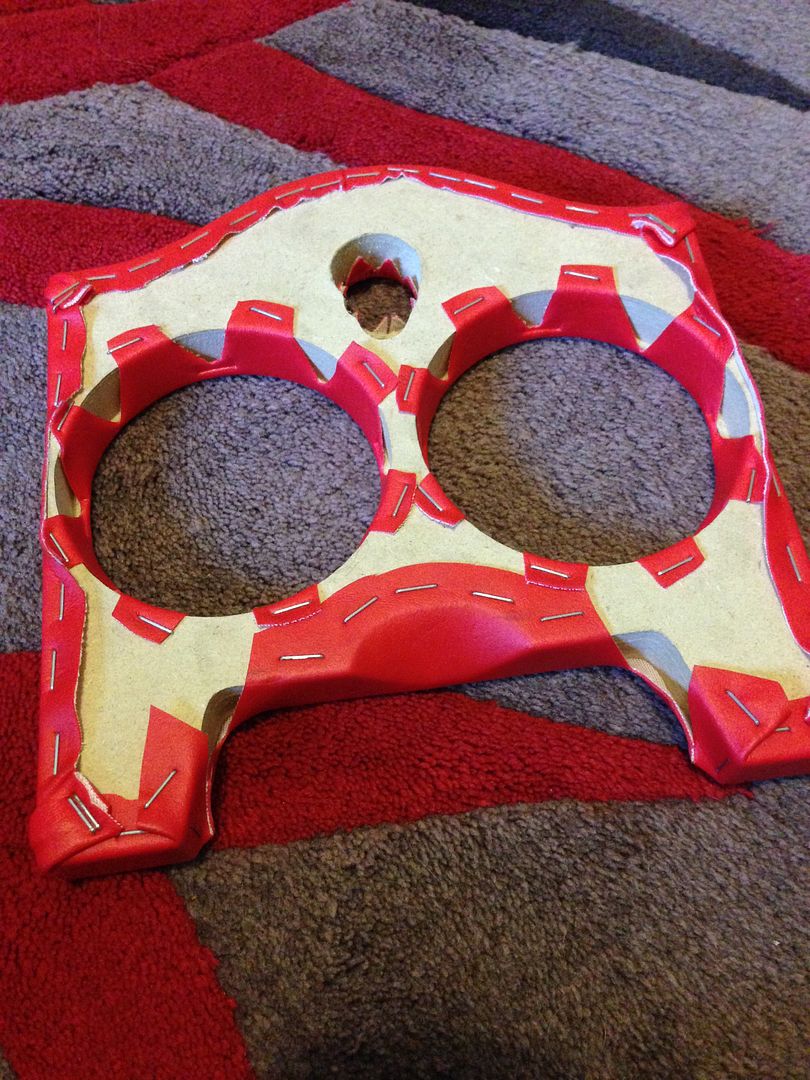
So got my suede today and got cracking!
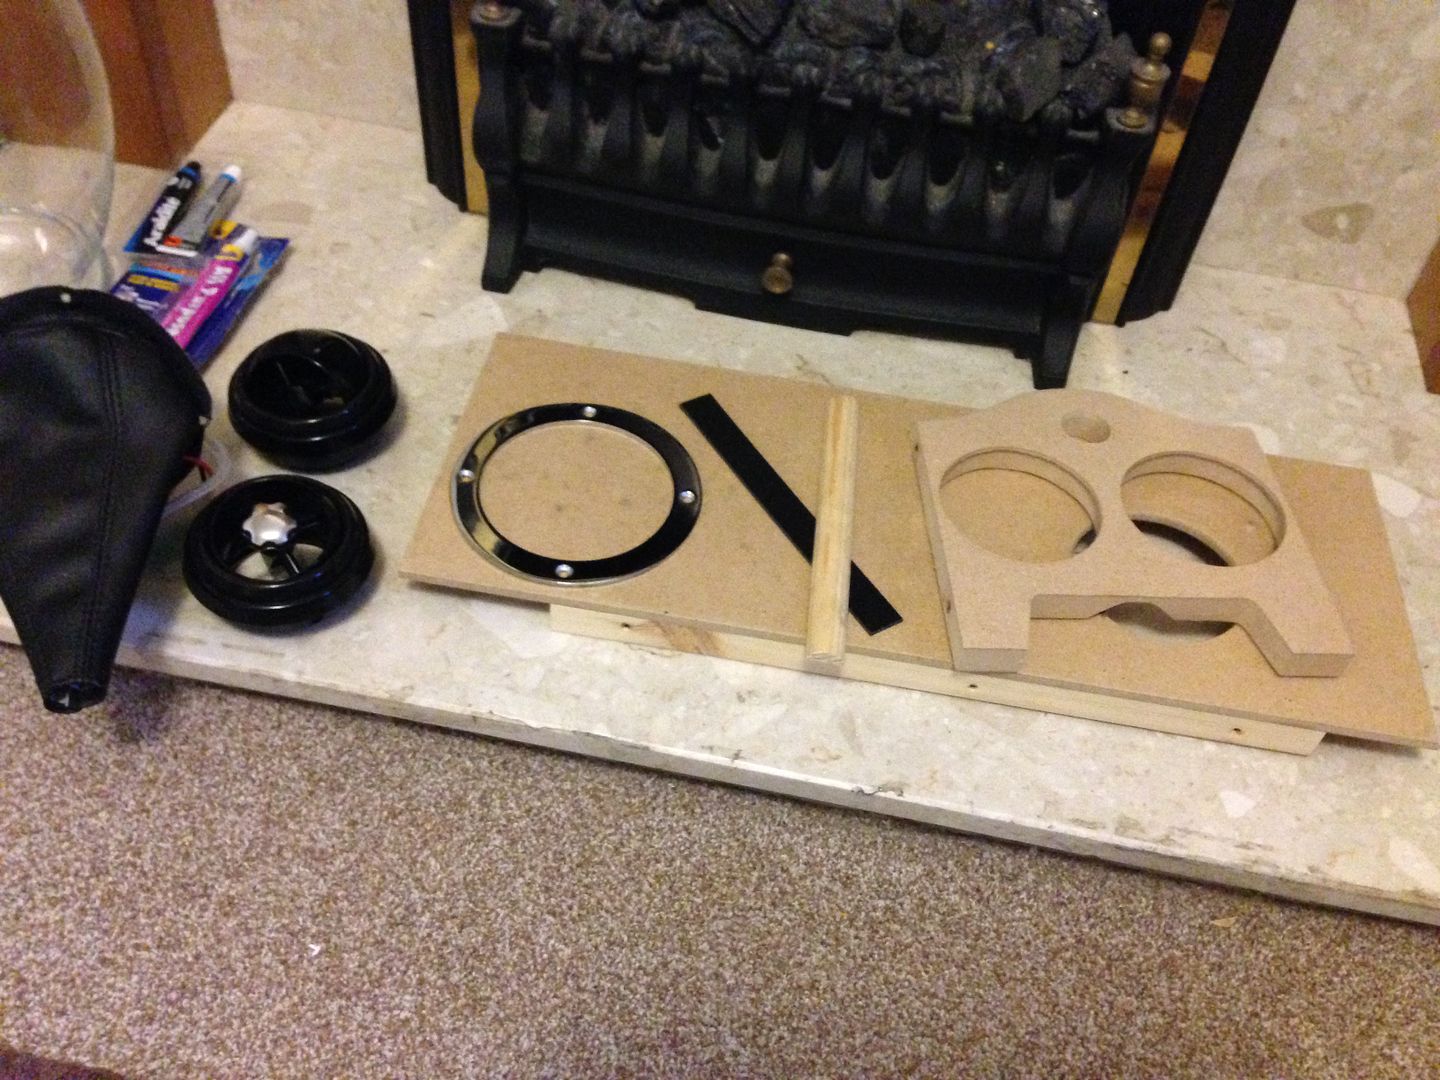
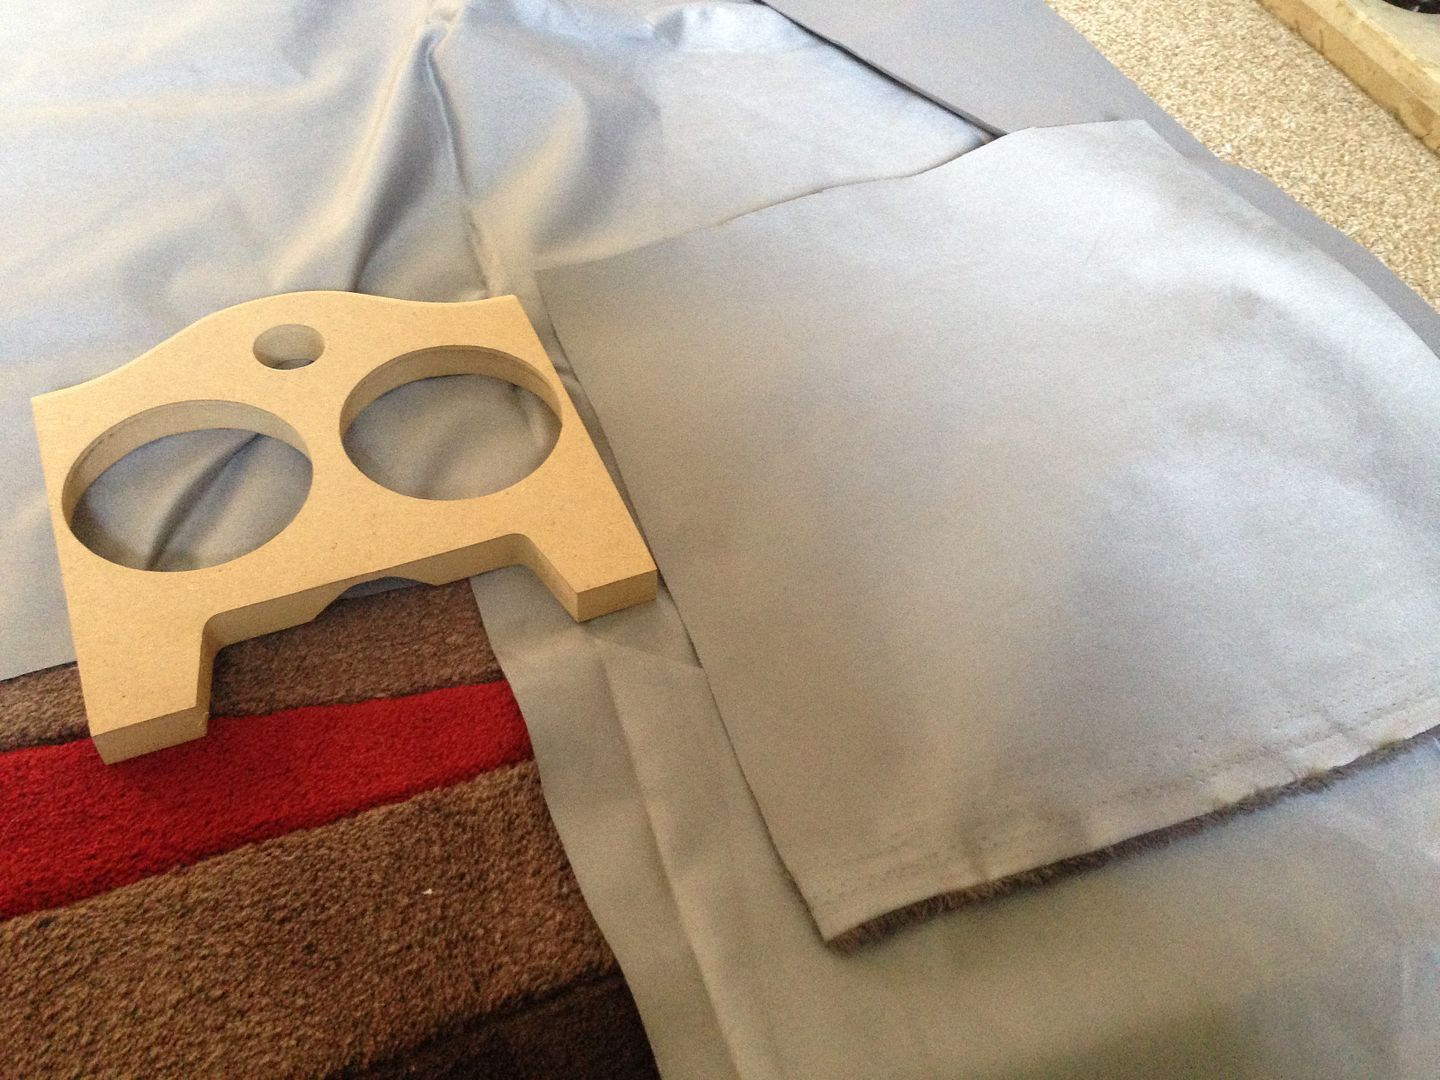
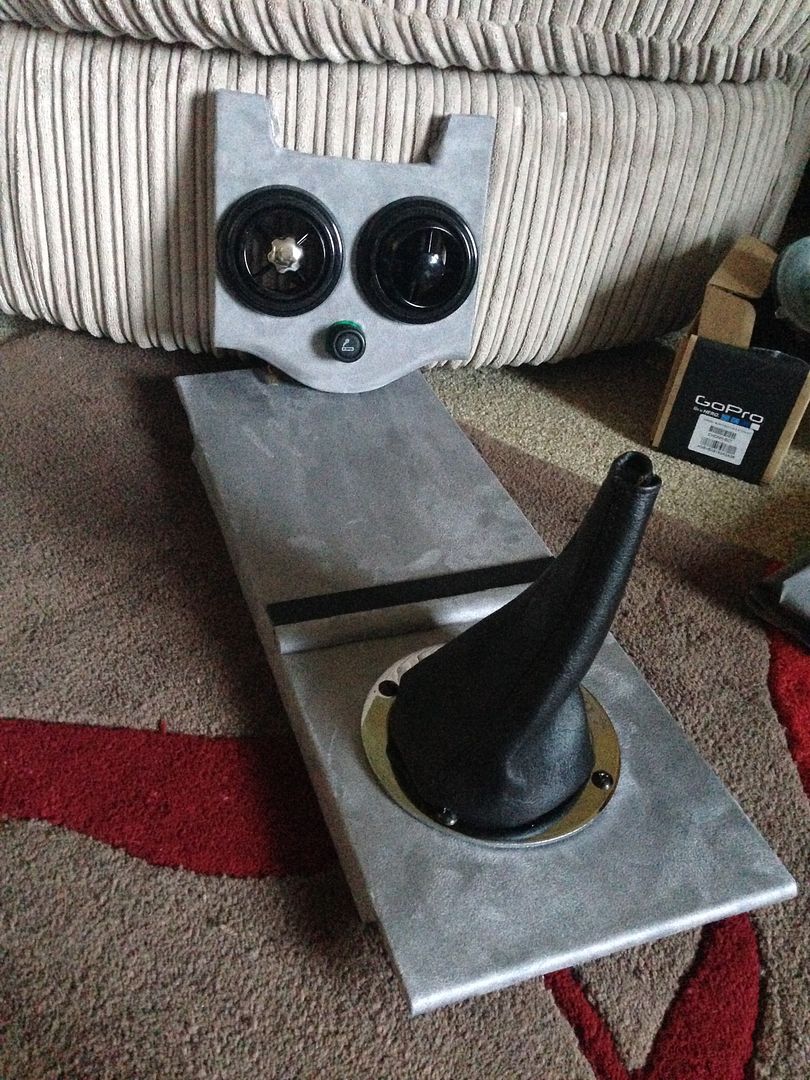
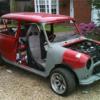
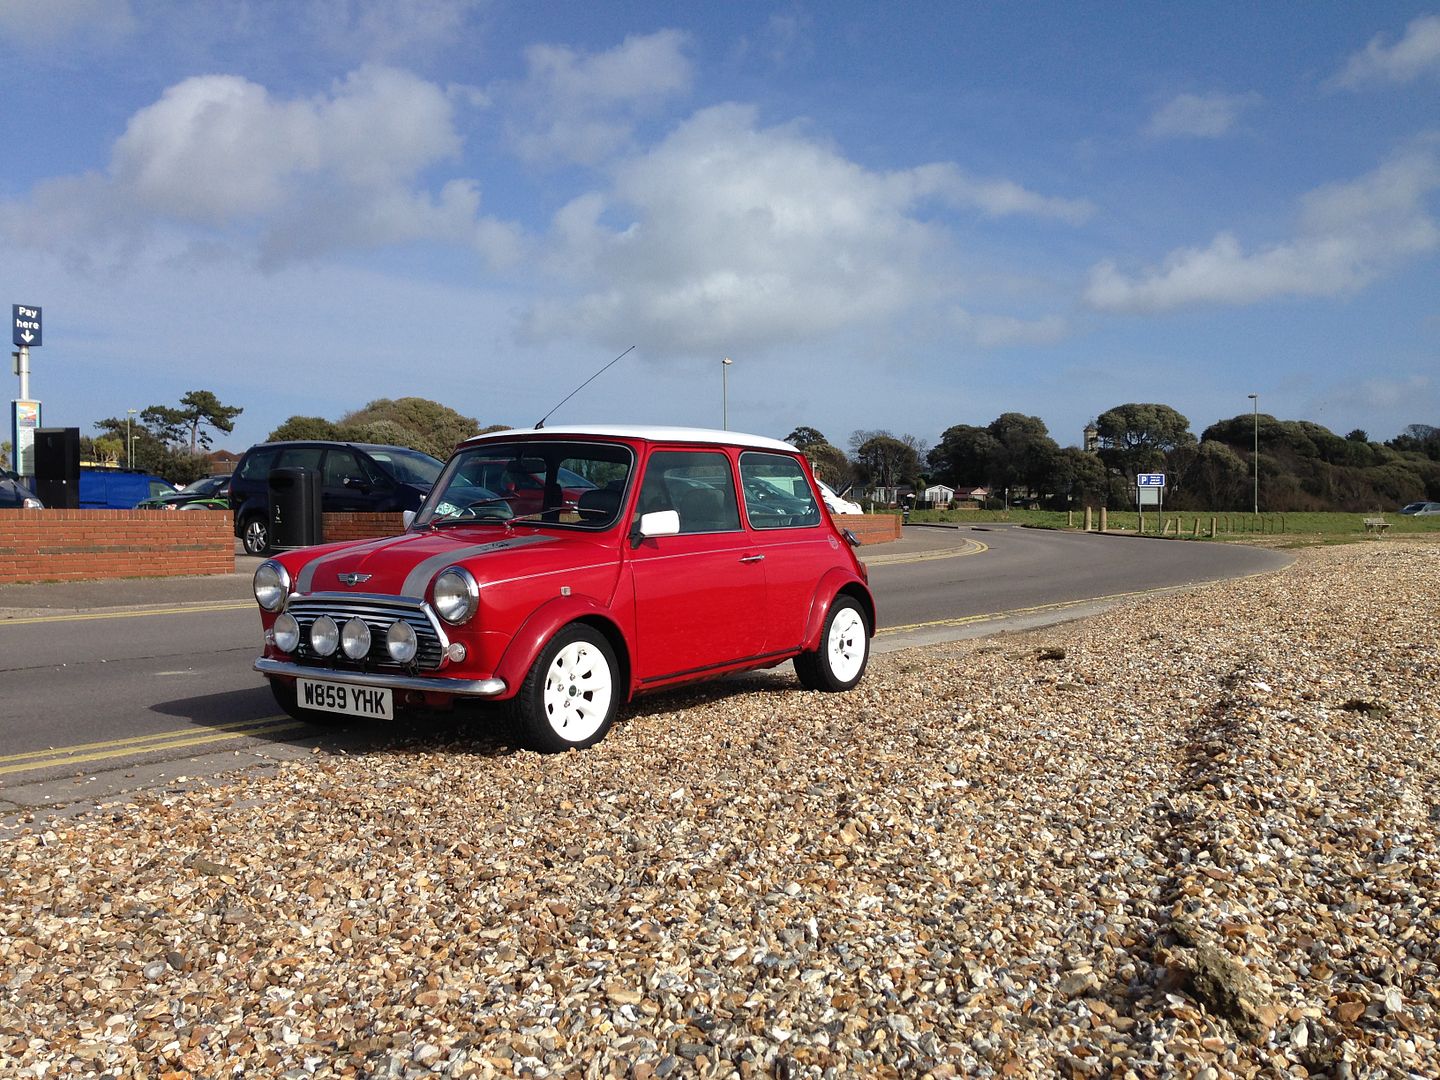
Now just to get the MDF and get it covered! Also got some pics of the car!
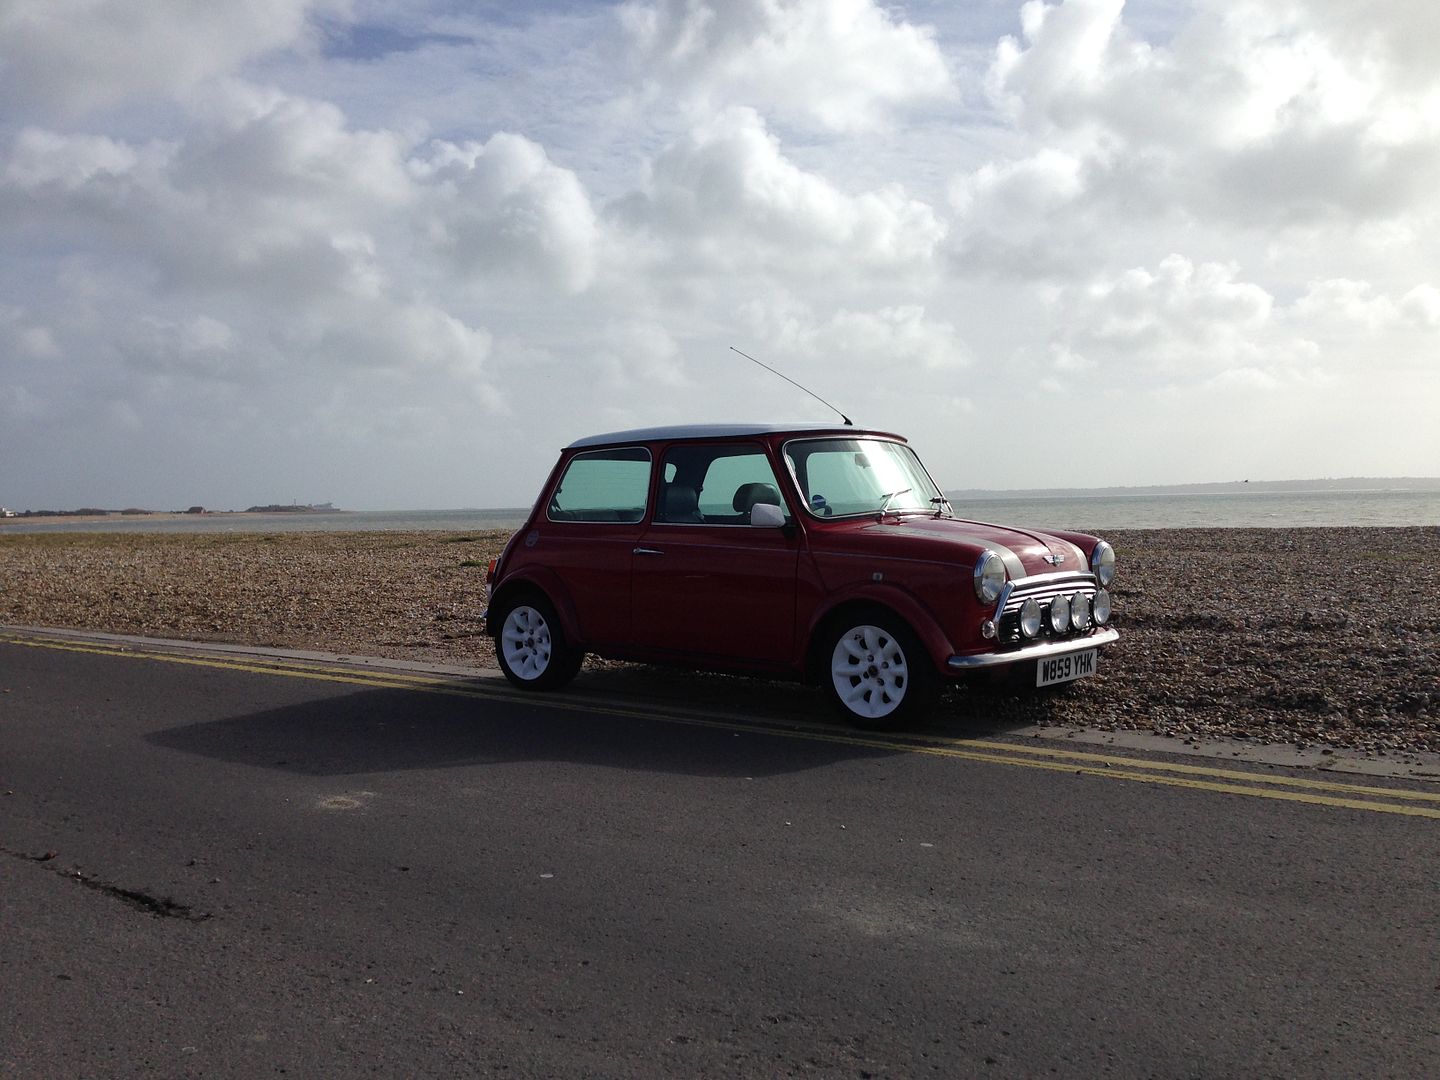
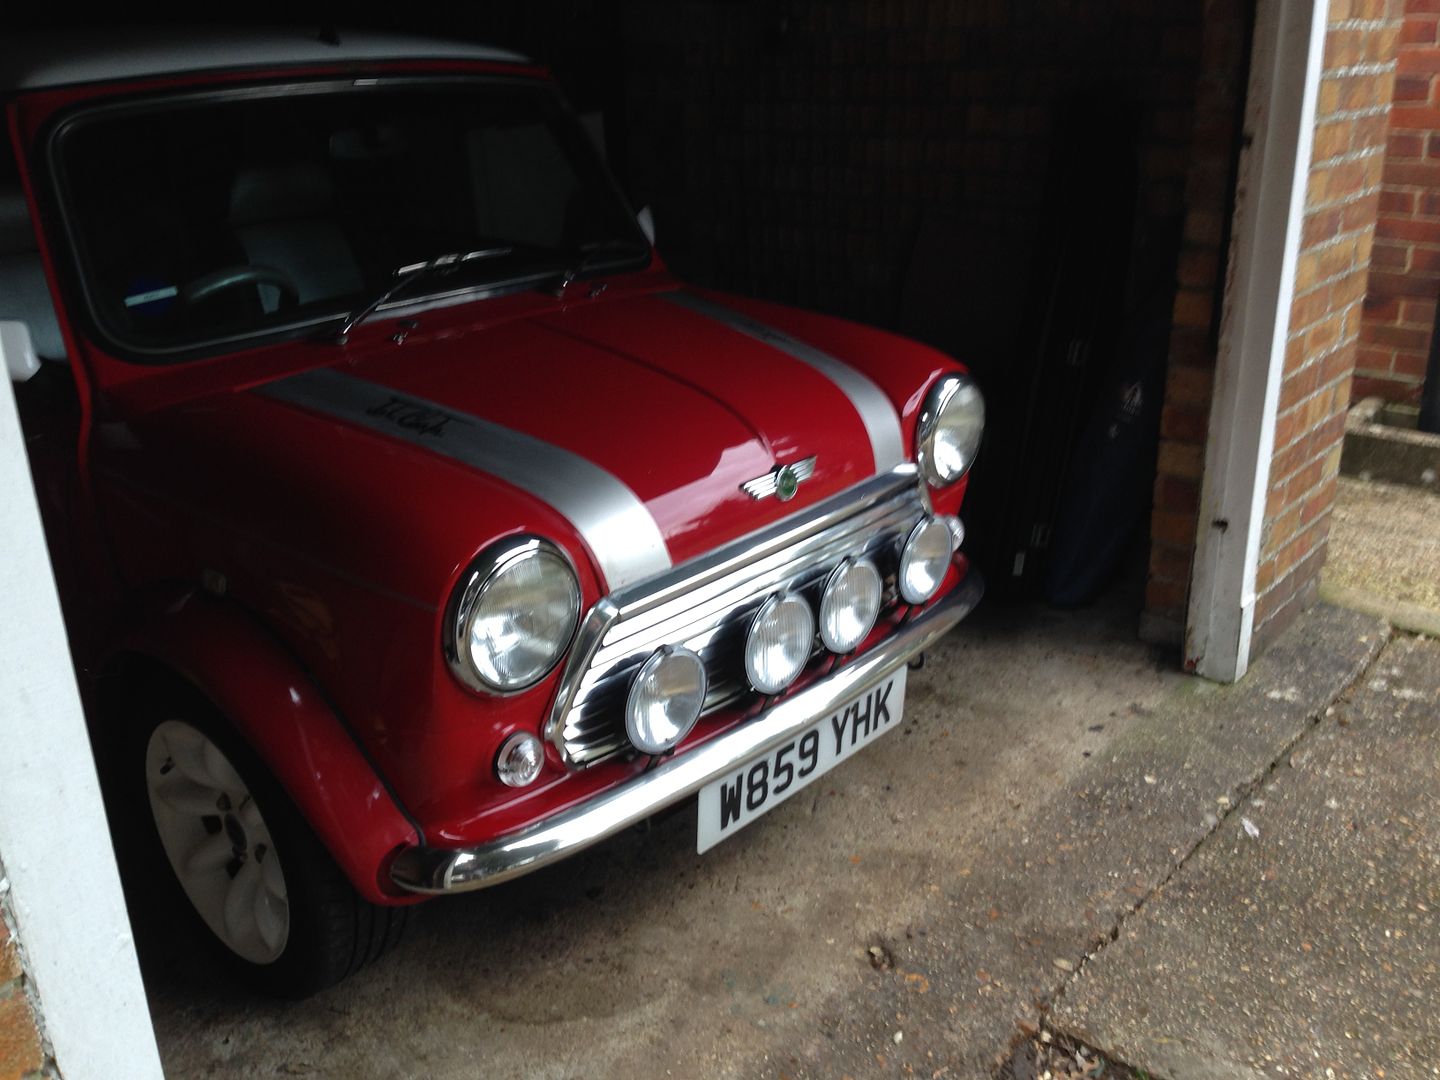
And now tucked away :)
#75
big-jay
-
- Members
-
- 518 posts
Super Mini Mad
- Location: Birmingham
- Local Club: British Mini Club
Posted 02 March 2015 - 08:20 PM
Those white wheels look sooo good against the red bodywork, car looks mint mate !


1 user(s) are reading this topic
0 members, 0 guests, 0 anonymous users
-
Bing (1)


