Jump to content


Photo
- - - - -

Yet another Z cars haybusa mini


  • Please log in to reply
100 replies to this topic

#16 oli79

oli79

    Mini Mad

  • TMF+ Member
  • PipPipPipPip
  • 144 posts
  • Local Club: none

Posted 21 February 2007 - 08:14 PM

Hi all just a few small updates,managed to get some garage time in this week,got as far as i can while waiting for the big fire up so just fitted the z cars rear brake lines not connected the tee to the rear line yet though,have tie wrapped everything to give an idea of where to put things but will replace these with p clips when im happy with everything :P

Posted Image

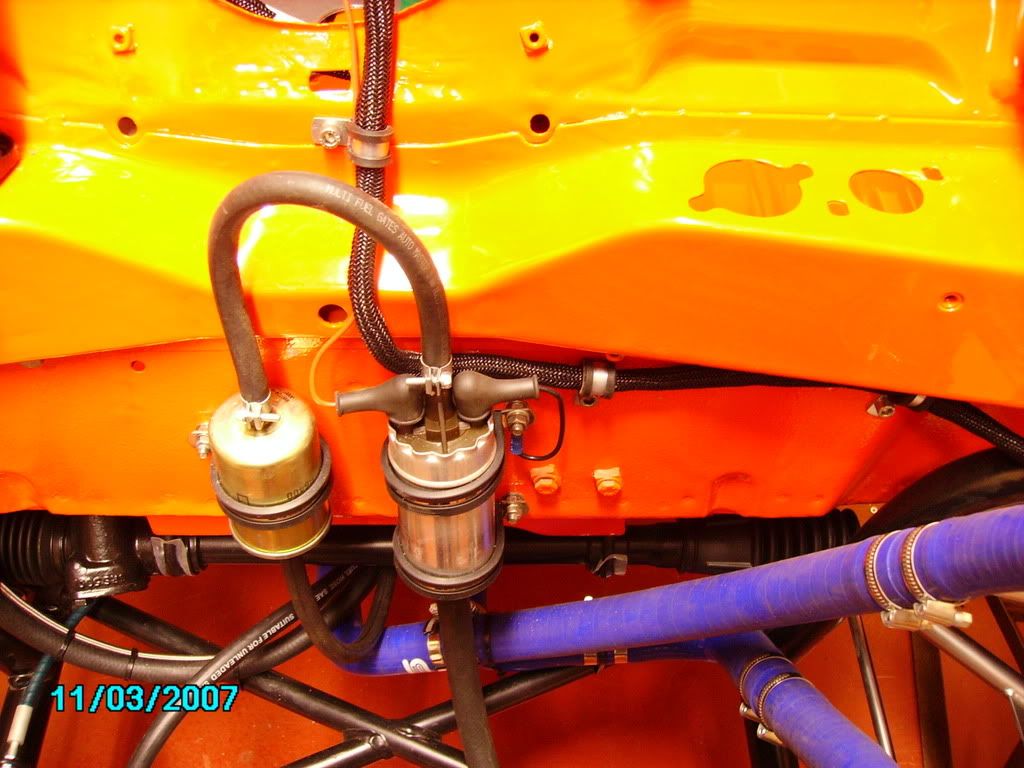
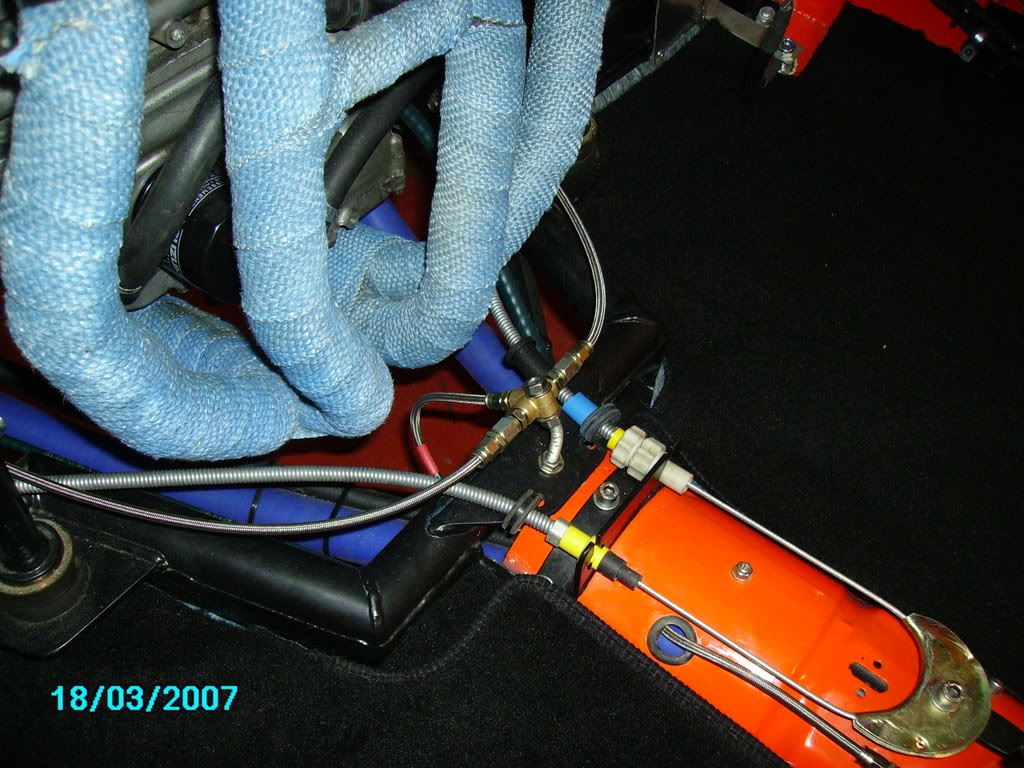
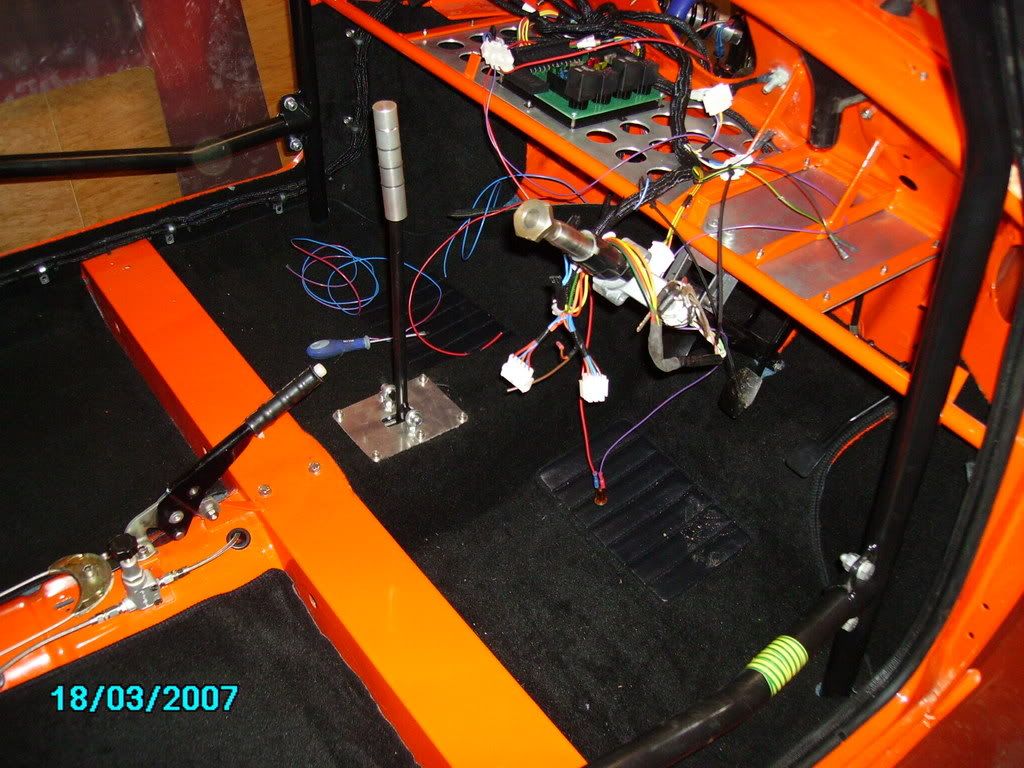
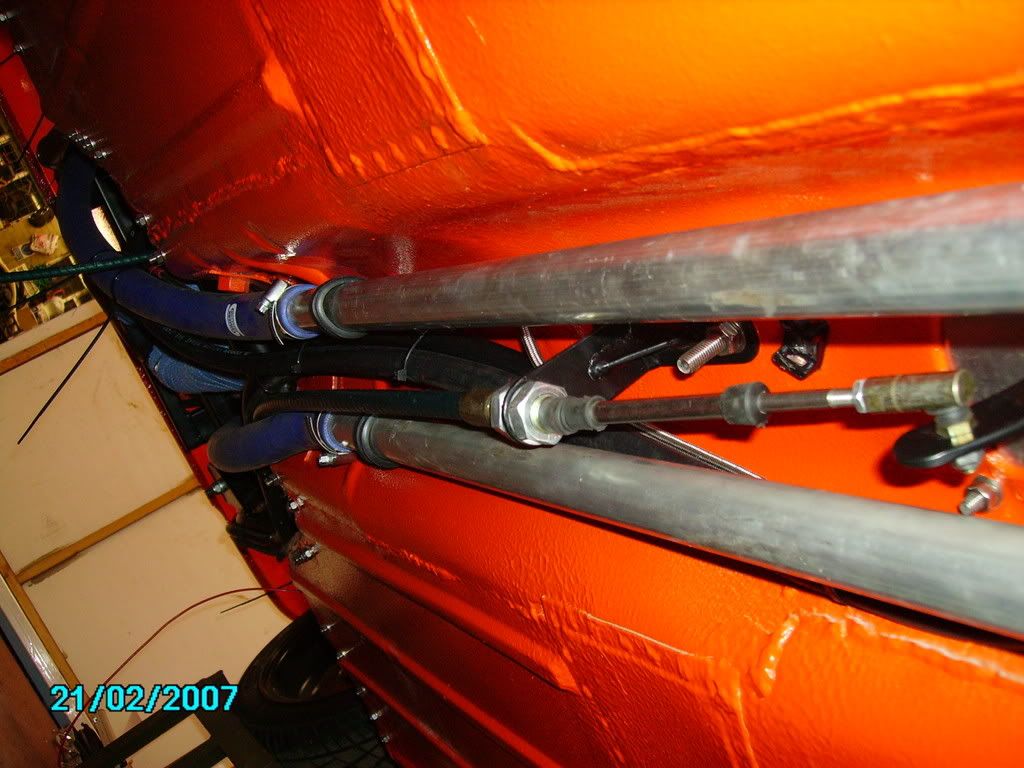
also finally got all the fuel feed and return lines ect measured to length and run through the tunnel so have tie wrapped everything all together neatly to some tie wrap bases already bolted in the tunnel

Posted Image

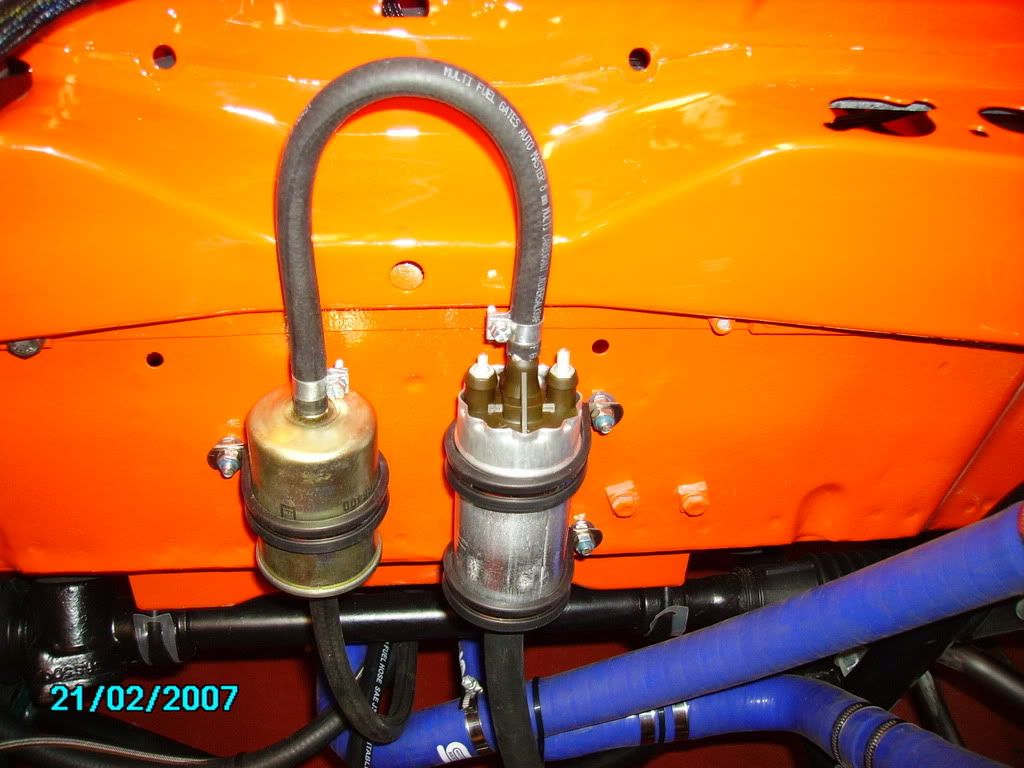
fitted the fuel pump and high pressure filter under the bonnet and connected one end of the fuel line to this

Posted Image

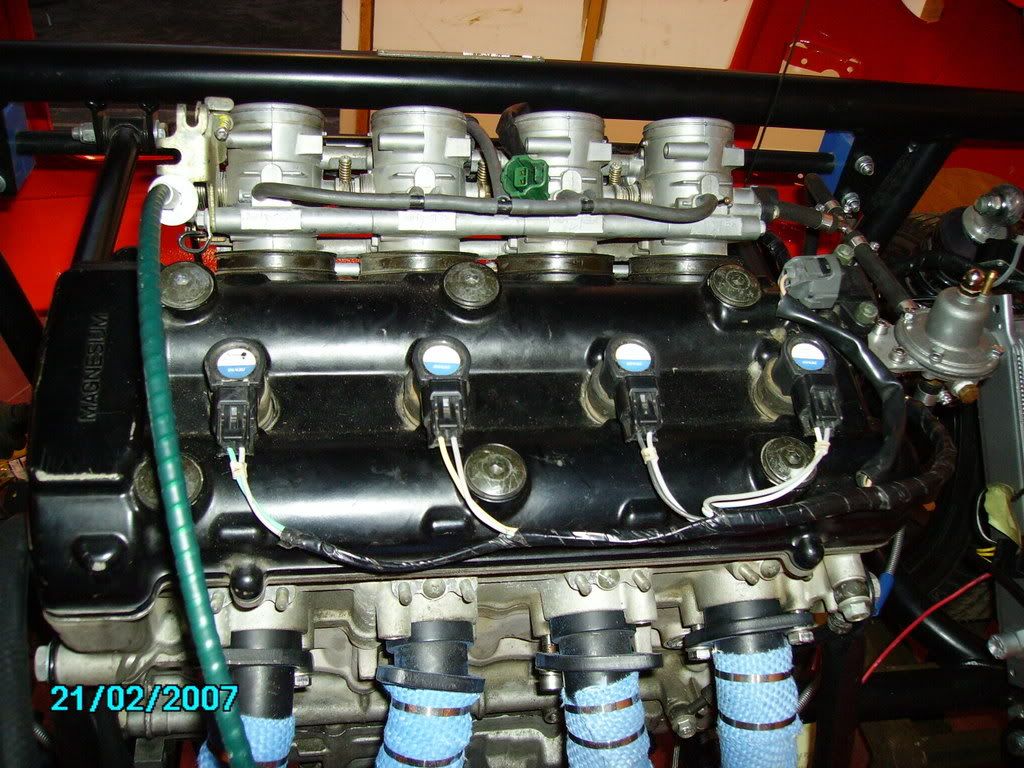
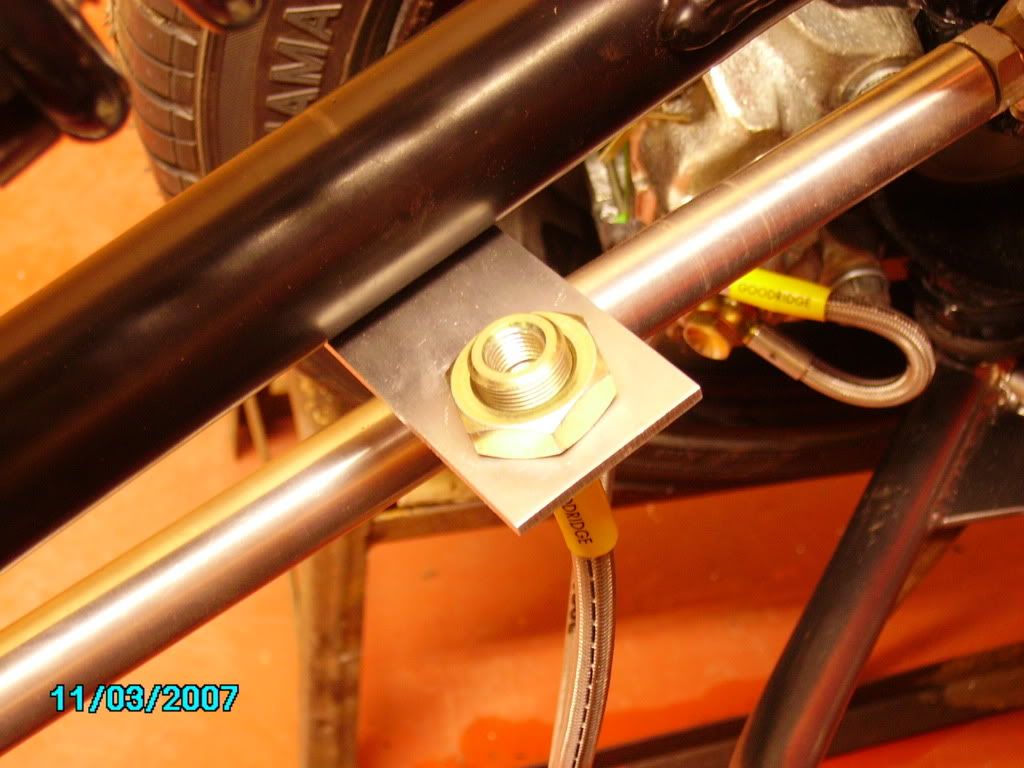
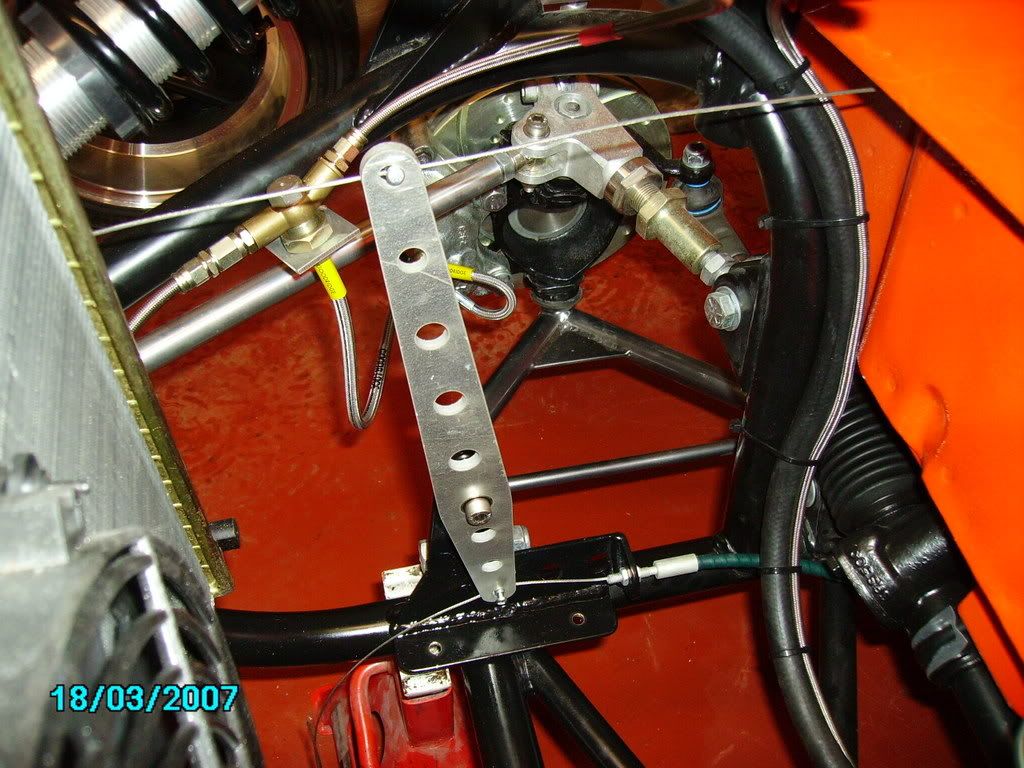
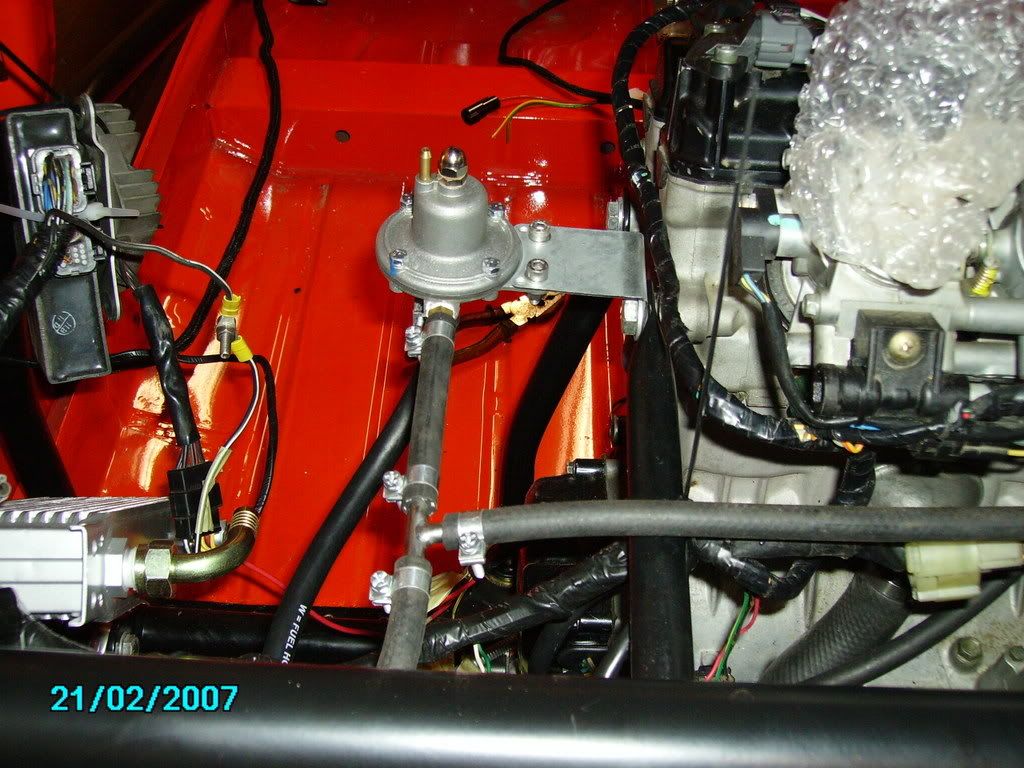
and fitted the fuel pressure regulator at the rear,and connected this to the engine

Posted Image

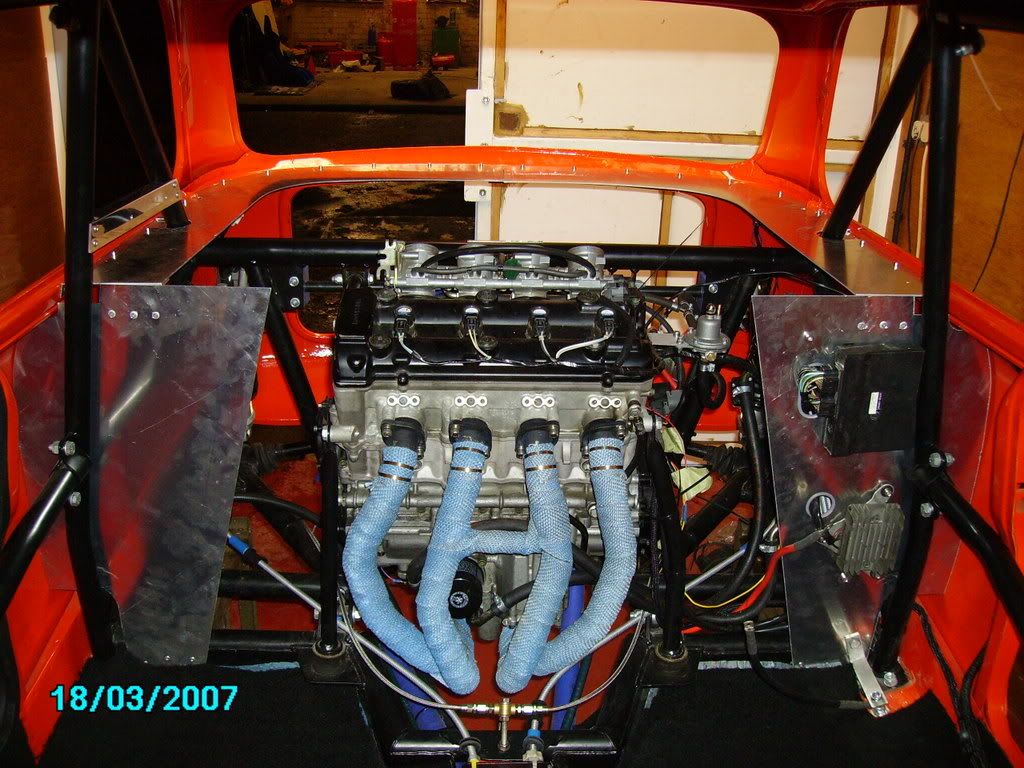
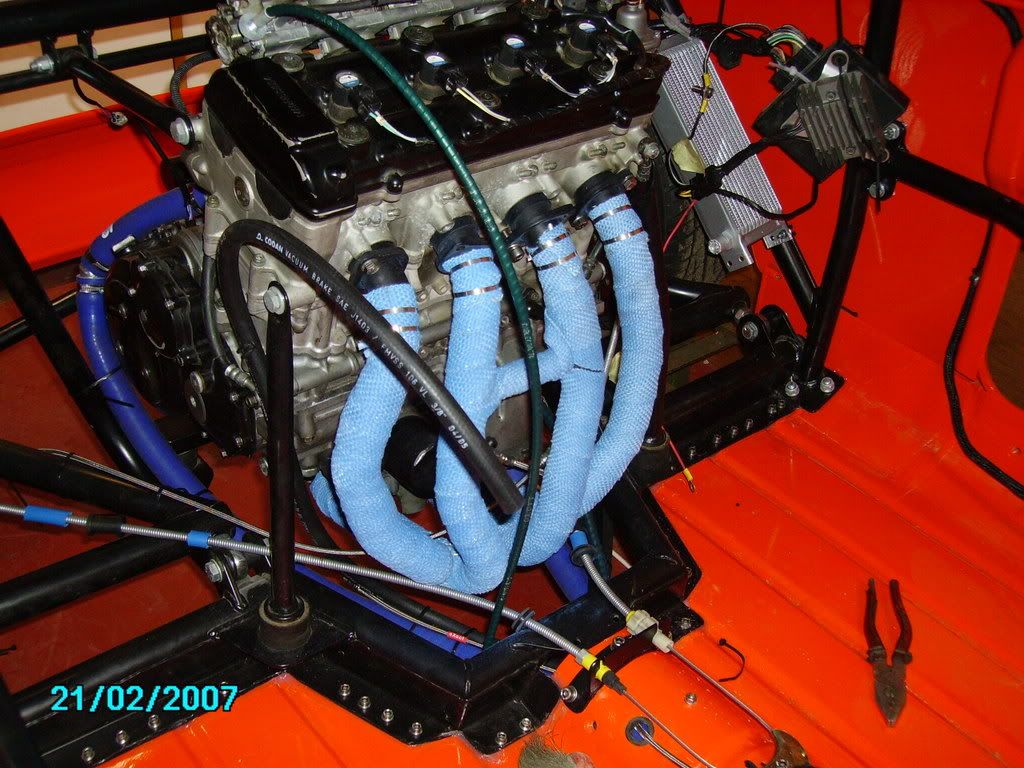
fitted me exhaust manifold,need to get some more bolts for this though

Posted Image

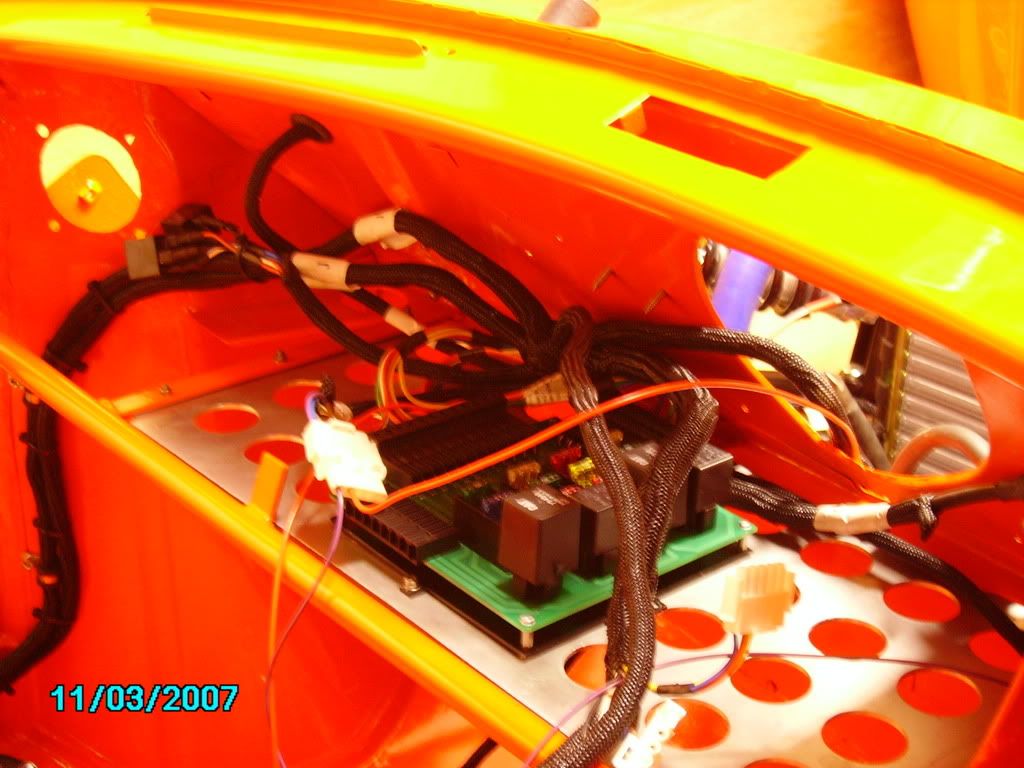
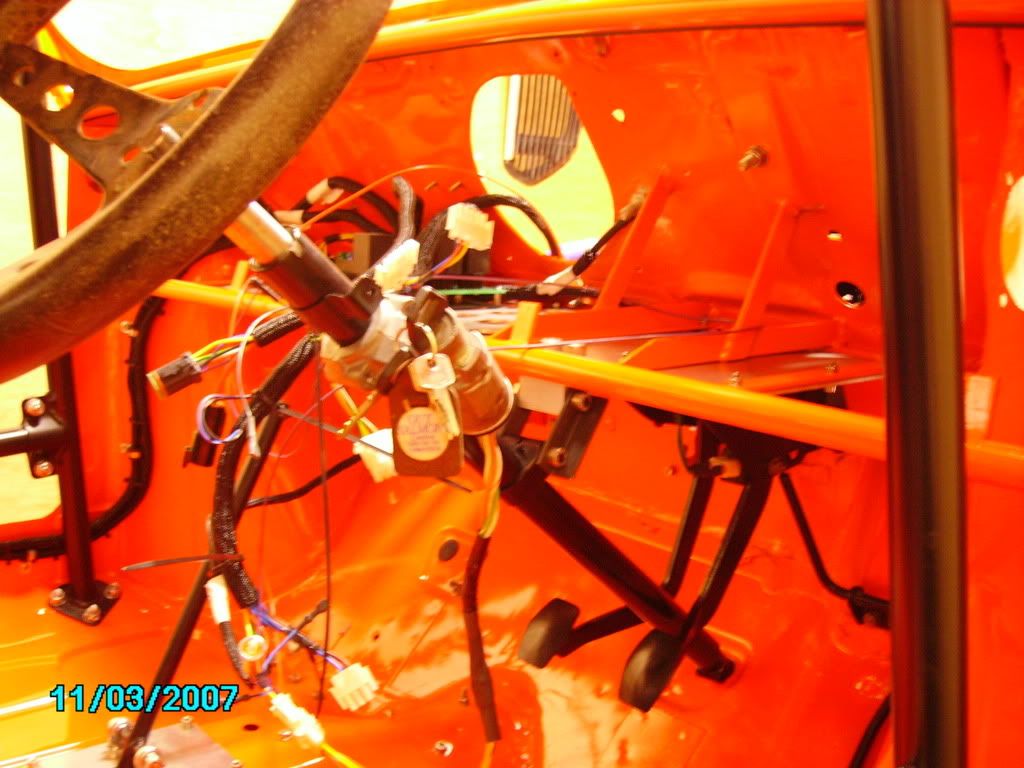
and made a start on fitting the z cars loom,everything hides behind the dash which allows you to put the fusebox underneath and it has all the gauge feeds ect here,and then there are just 2 that go to the rear one for rear lights and one for the engine and 2 that go forwards one for the front lights and one for the front battery power,fan,horn,fuel pump ect

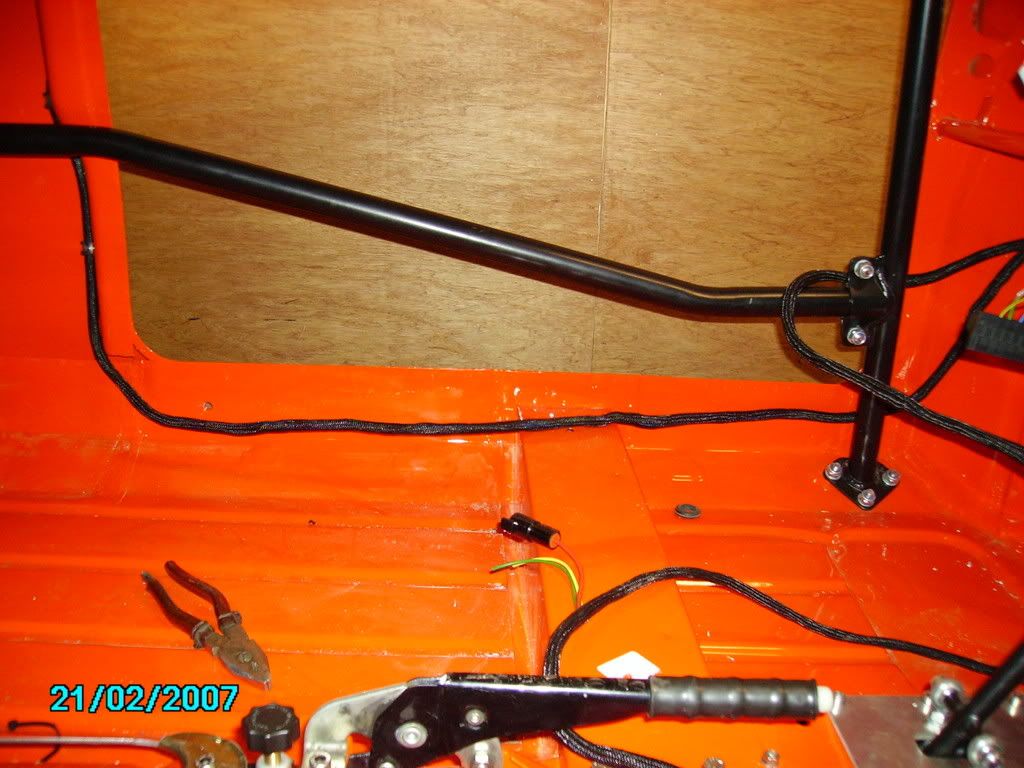
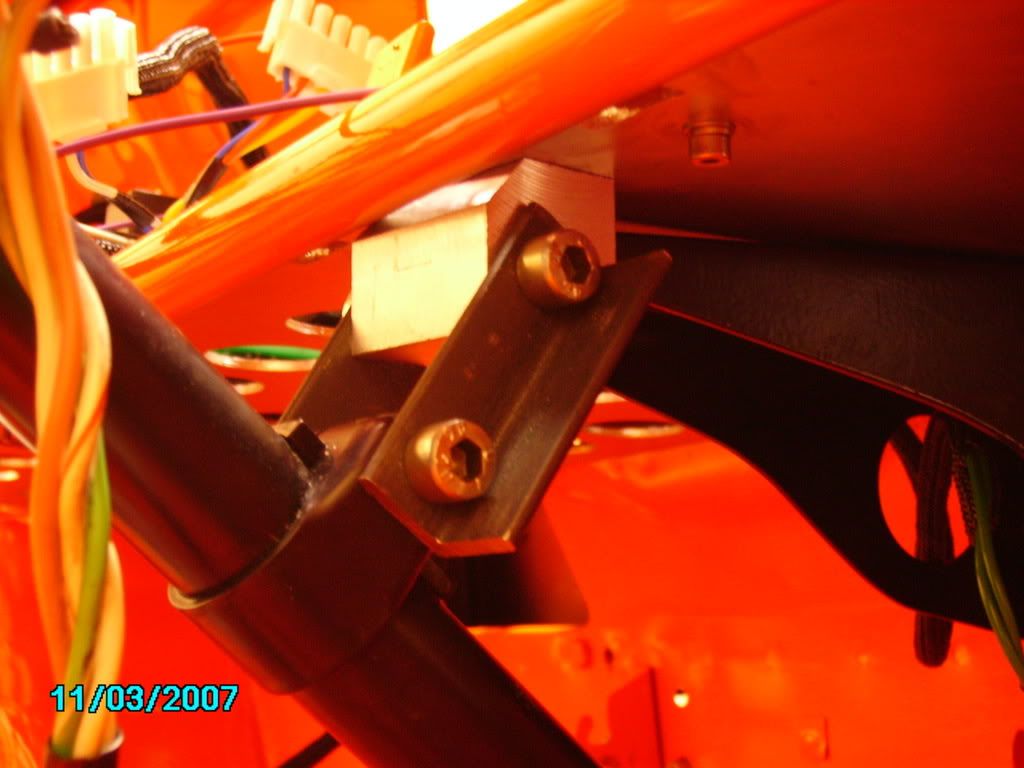
made a start clipping the rear lights in,decided to hide it under whats left of the parcel shelf and pop rivet the clips in so i can fit the bulkhead over the top
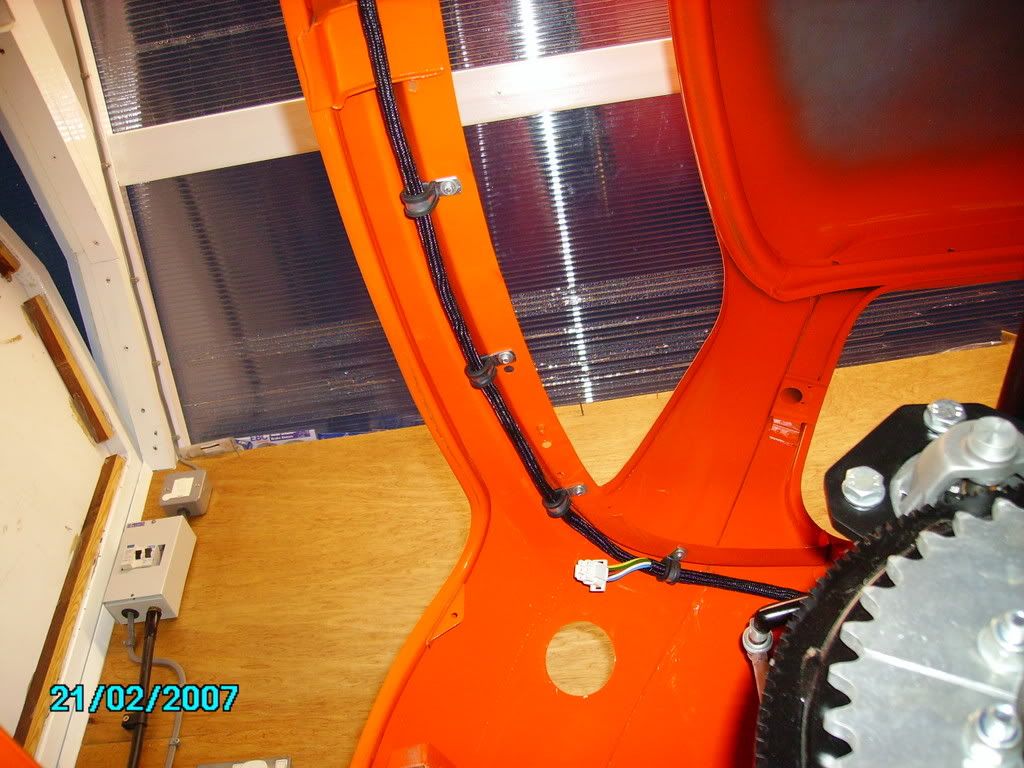
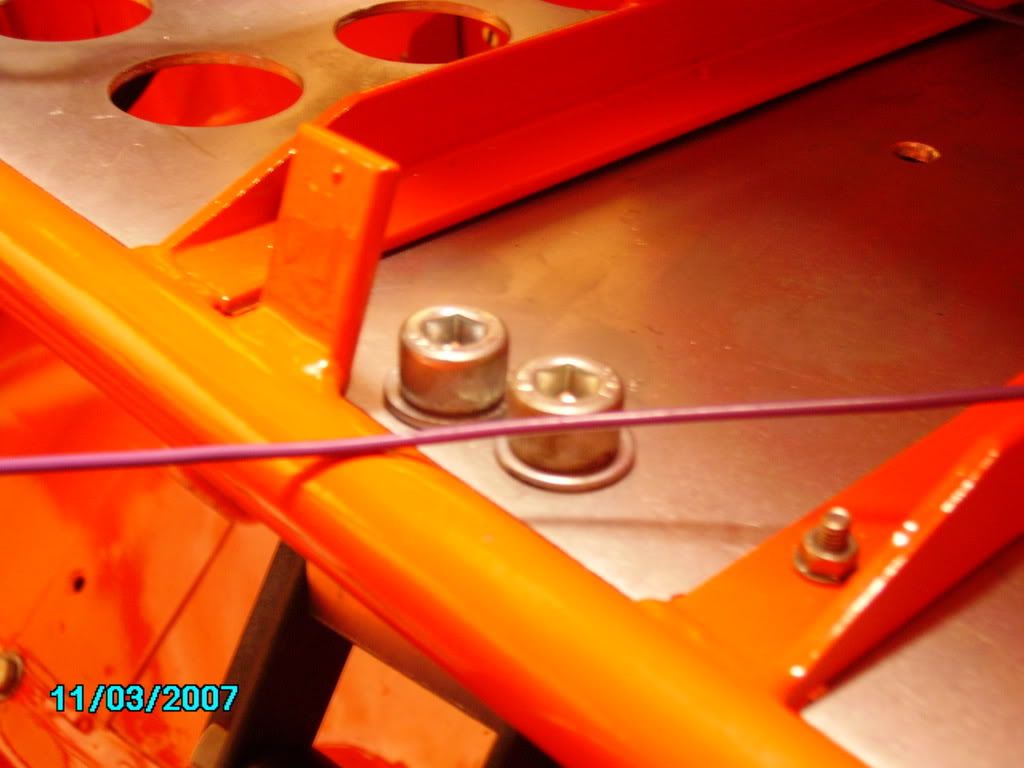
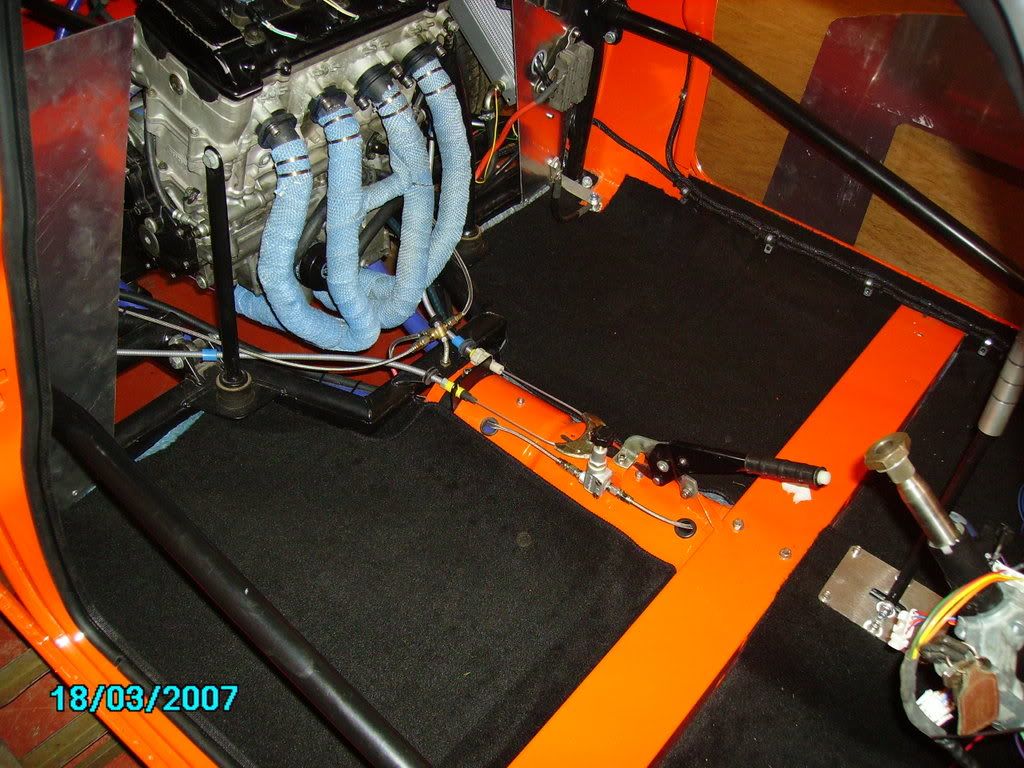
Posted Image

and down here

Posted Image

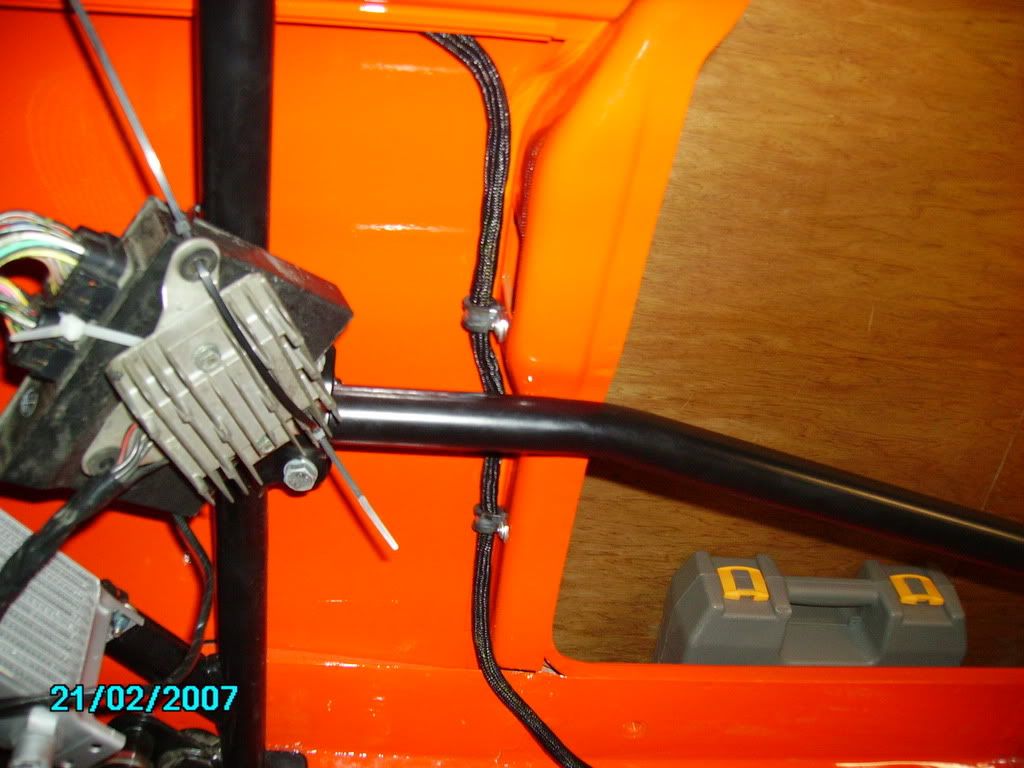
not sure what to do here though, there is another one to go to the engine down here dont know whether to put the carpet in and p clip them both on top or maybe put some sort of thin aluminium sheet boxing down here pop riveted to the inner sill and floor.Maybe ive been working on sites too long-could put a nice mdf boxing with skirting on the front! hmm :)

Posted Image

#17 TOMMO0302

TOMMO0302

    Camshaft & Stage Two Head

  • Members
  • PipPipPipPipPipPipPipPip
  • 1,688 posts

Posted 21 February 2007 - 08:20 PM

Looks awesome Oli, congratulations on the build and good luck with the fire-up!

#18 oli79

oli79

    Mini Mad

  • TMF+ Member
  • PipPipPipPip
  • 144 posts
  • Local Club: none

Posted 21 February 2007 - 08:24 PM

Looks awesome Oli, congratulations on the build and good luck with the fire-up!


Thanks tom,going to try and get a video of the first time i crack it up to post on here,never run it :P so might end up with egg on me face!! :)

#19 gilles

gilles

    Starting My Mini Up

  • Noobies
  • Pip
  • 2 posts

Posted 22 February 2007 - 08:23 PM

looks nice,..... I like to see nice work :)

!!! only watch out for you brake line in your first picture, can give problems,....

looks nice mate

succes

#20 Renessy

Renessy

    Speeding Along Now

  • Members
  • PipPipPipPipPip
  • 306 posts
  • Local Club: minisevenclub Holland

Posted 22 February 2007 - 10:27 PM

Car looks absolutely great. You can be proud of yourself!

Keep it up!

René

#21 ginigwunkle

ginigwunkle

    Up Into Fourth

  • Members
  • PipPipPipPipPipPipPipPipPip
  • 2,018 posts
  • Local Club: sheffield mini club

Posted 22 February 2007 - 10:51 PM

lookin awesome!!!

keep up the good work!

#22 jacko299

jacko299

    On The Road

  • Noobies
  • PipPip
  • 49 posts

Posted 24 February 2007 - 05:34 PM

Great looking car mate! where did you get your air filter from? did it come with a blank base plate because were looking to use one for an r1 :D keep up the good work!

Jacko299

#23 oli79

oli79

    Mini Mad

  • TMF+ Member
  • PipPipPipPip
  • 144 posts
  • Local Club: none

Posted 24 February 2007 - 07:33 PM

Thank you to everyone your all very kind,building it is the easy part, its paying for it thats difficult!! :'(

#24 oli79

oli79

    Mini Mad

  • TMF+ Member
  • PipPipPipPip
  • 144 posts
  • Local Club: none

Posted 24 February 2007 - 07:38 PM

Great looking car mate! where did you get your air filter from? did it come with a blank base plate because were looking to use one for an r1 :D keep up the good work!

Jacko299


Hi jacko got the air filter from z cars when i ordered a load of other stuff, the base plate wasnt blank it had 4 holes already in it,however i has to open them all out slightly to get the rubber rings in for me busa, but obviously they do R1 kits as well suggest posting in technical questions so z cars chris sees it, he will know a lot more than me, good luck with the build!

#25 Boab

Boab

    Camshaft & Stage Two Head

  • TMF+ Member
  • PipPipPipPipPipPipPipPip
  • 1,610 posts
  • Local Club: E*S*M*O*C

Posted 24 February 2007 - 11:20 PM

This must be one of the best 'detailed' projects to date. Pictures speak a thousand words. Top of the class Oli. Loving the colour's.

#26 adyzr1

adyzr1

    Mini Mad

  • Members
  • PipPipPipPip
  • 257 posts

Posted 24 February 2007 - 11:50 PM

hi oli ,
just noticed that you are from sheffield! whereabouts ? im just down the road in chesterfield, fancy a cuppa?

#27 oli79

oli79

    Mini Mad

  • TMF+ Member
  • PipPipPipPip
  • 144 posts
  • Local Club: none

Posted 25 February 2007 - 07:14 PM

hi oli ,
just noticed that you are from sheffield! whereabouts ? im just down the road in chesterfield, fancy a cuppa?


Hi ade, been working in dronfield today by coincidence!, i live in crosspool mate -a cuppa sounds very nice, im about next wk end,saturday if thats any good,pm me ya number - ill send mine your also welcome to come up if you want cheers oli

#28 enneaitch

enneaitch

    Stage One Kit Fitted

  • Noobies
  • PipPipPip
  • 69 posts
  • Location: Cumbernauld
  • Local Club: Miniclan Scottish mini

Posted 26 February 2007 - 03:57 PM

thats an awesomely clean build think thats amazing. what you can do with some tools and the know how.

#29 oli79

oli79

    Mini Mad

  • TMF+ Member
  • PipPipPipPip
  • 144 posts
  • Local Club: none

Posted 19 March 2007 - 10:59 PM

Hi all its been a while because ive been really busy, but been beavering away in the workshop when i can-had the engine running at the weekend and she sounds sweet,almost couldnt believe it fired first time-only problem is the video was deleted by accident so you will have to make do with my recent updates,set myself a deadline to get it driveable enough to drag race for the minis vs beetles day on easter sunday (april 8th =] ) at york,got it booked in at z cars for the suspension setting on the fri before so i need to get my finger out!

Started by connecting my modded bike loom

Posted Image

Tidied the loom a bit in here and decided it was better to put the fuseboard inside the dash here to make it easier to connect,will make an ally panel over the old speedo hole so i can get in to change to fuses ect should the need arise

Posted Image
Connected the fuel pump


Posted Image
And fitted the header tank
Posted Image


Also fitted the steering column and ignition switch

Posted Image

Made a new mount to fit my modded dash arrangment from a machined alloy block and a pair of hangers,these are just temporary when i have seats in ect i can make these any length to lower column and will paint them!
Posted Image

That whole lot is bolted through the dash like so, and its all totally solid now,unlike to standard arrangment which floats around the dash somewhat!

Posted Image
As i had an early front subby,mine had no hose mounts for the front brakes so pop rivited these on to hold the hoses..

Posted Image
And fitted the callipers and pads ect

Posted Image

Also finally connected rear brake lines and tonight filled and bled them with automec silicone brakes fluid

Posted Image

At the rear have made a start on the bulkhead which i got on a recent trip to z cars,and mounted the ecu and regulator

Posted Image
And as you can see fitted some floor carpets and sound proofing at the rear

Posted Image
And at the front including redrilling my gearlever which was wrong, and is now all connected so i have gears!

Posted Image
Also have fitted this bit so i have a throttle

Posted Image

And while at the front decided to slap a fan in and wired it in

Posted Image

Oh and while we are wiring fitted the rear lights
Posted Image

Phew thats enough for a bit, need to get some wiper stalks, doors ,a front end, lights bootlid ect fitted now

Edited by oli79, 19 March 2007 - 11:06 PM.


#30 gizmo

gizmo

    Mini Mad

  • Noobies
  • PipPipPipPip
  • 132 posts

Posted 20 March 2007 - 01:52 AM

one quick sugestion, I would put another fuel filter before fuel pump, just to save it from any grime from tank. Had that happen once & cost a costly pump. Car it looking very good


0 user(s) are reading this topic

0 members, 0 guests, 0 anonymous users