Jump to content


Photo
- - - - -

QUANT-ifiably rusty


  • Please log in to reply
35 replies to this topic

#1 Awlred Drives a Quant

Awlred Drives a Quant

    Mini Mad

  • Noobies
  • PipPipPipPip
  • 145 posts
  • Local Club: Tyred and Exhausted

Posted 24 April 2007 - 01:05 PM

So, for my 17th birthday my dad said he'd buy me a car, which I'll admit got me quite excited, when he told me it was a mini I was even more excited, since seeing The Italian Job when I was a nipper I've loved them and had it set that my first car would be either a Mini or a VW Camper Van. So we go over and collect a Diamond White 1988 Mini Designer (with a special edition metallic red door). Over the next couple of weeks I learned my dads idea of 'doing up' a car is to sand off the rust and replace the 3" gaps with filler, I didn't know any better and without the recourse to welding equiptment or panels or even any knowledge of the following classic minis have I put up with it.

Nearly 2 years later I passed my test first time and started driving around my little quant. I spent a year driving it around doing small bits and bobs to keep it going and hold it together, but my first aniversary of driving around loomed, I realised, that there was no way on earth that my rusty mini would get through another MOT without some serious work being done, and while I'm doing that I might aswell get it into a reasonable condition to get it looking good.

So far I have a reasonable list of jobs to do;
--Panels to replace:
Battery Box, A-panels, Scuttle, under scuttle corners, Inner sills, Outer Sills, Passenger side foot well, Filler hole corner, rear wheel arches, both wings, front panel, inner side of passenger side rear bin.
--Other bits
Drivers side quarter panel has been dropped down and needs beating out, Rear Subframe needs checking probably replacing, cluth plate replacing, front subby hard mounted, flip-up front (metal), full dash, all upholstry valet, center console

I'm probably forgetting a few things but it'll come back to me

Pics....
Pic from my wedding
Posted Image
With chrome trim
Posted Image
Driver Side Floor Repair
Posted Image


Areas where work need to be done...
Posted Image
Posted Image
Posted Image
Posted Image

And the work begins:
Posted Image

#2 TOMMO0302

TOMMO0302

    Camshaft & Stage Two Head

  • Members
  • PipPipPipPipPipPipPipPip
  • 1,688 posts

Posted 24 April 2007 - 01:41 PM

Good luck with it all! Where are you in the last photo?

#3 MINIMON

MINIMON

    Speeding Along Now

  • Members
  • PipPipPipPipPip
  • 454 posts

Posted 25 April 2007 - 05:04 PM

where on earth are you in that last photo ?????

fear bit a wrk to do aswell

#4 1984mini25

1984mini25

    Crazy About Mini's

  • Members
  • PipPipPipPipPipPipPipPipPipPip
  • 8,784 posts
  • Location: -

Posted 25 April 2007 - 05:37 PM

Ah so you got it down the unit then. :lol:

--Panels to replace:
Battery Box, A-panels, Scuttle, under scuttle corners, Inner sills, Outer Sills, Passenger side foot well, Filler hole corner, rear wheel arches, both wings, front panel, inner side of passenger side rear bin.


The rear arches on yours looked in pretty good nick from what I can remember and any surface rust that has formed from when I welded those patches on should grind off with a wire brush/grinder combo.

Although it’s not even half as bad as what my 25 was, although I’ve only ever seen it post fillered, shouldn’t be that bad though.

Should also be able to pop by at the weekend if you want a hand. :ermm:

#5 Bean

Bean

    Queen of 'shoppin, Voted Miss TMF 2011

  • Members
  • PipPipPipPipPipPipPipPipPipPip
  • 8,054 posts
  • Name: Jean
  • Location: Malvern

Posted 25 April 2007 - 05:58 PM

Posted Image

That's one of the best pics i've seen in a project thread! :lol:

#6 Awlred Drives a Quant

Awlred Drives a Quant

    Mini Mad

  • Noobies
  • PipPipPipPip
  • 145 posts
  • Local Club: Tyred and Exhausted

Posted 25 April 2007 - 08:01 PM

That photo is also in the For Sale section under "Flintstone Braking System"

Thanks again to 1984Mini25 for the work done on that.

Thanks for all the encouragment guys, the front wings are off now, the the front panel is yet to come off as I was having issues relating to time and a rather unused ratchet and a spread about collection of tools. Should be up there again on sunday to start working and take photos of the front sans panel work

Scared myself stupid with it as I nearly took the entire drivers side wing off with solely a small flathead screwdriver.

#7 CanadianMiniFan

CanadianMiniFan

    Camshaft & Stage Two Head

  • Members
  • PipPipPipPipPipPipPipPip
  • 1,591 posts

Posted 26 April 2007 - 03:01 AM

looking good! love the foot throught the floor. who needs a handbrake.

#8 Awlred Drives a Quant

Awlred Drives a Quant

    Mini Mad

  • Noobies
  • PipPipPipPip
  • 145 posts
  • Local Club: Tyred and Exhausted

Posted 30 April 2007 - 10:33 AM

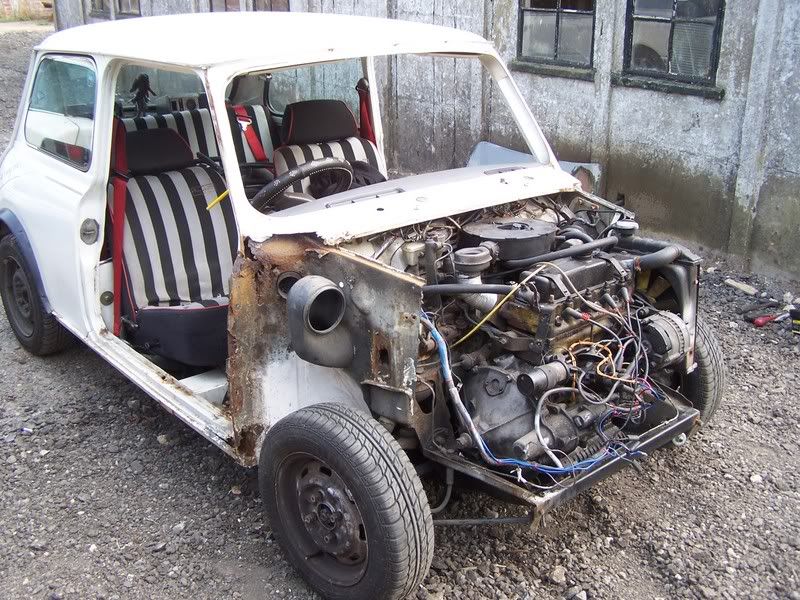
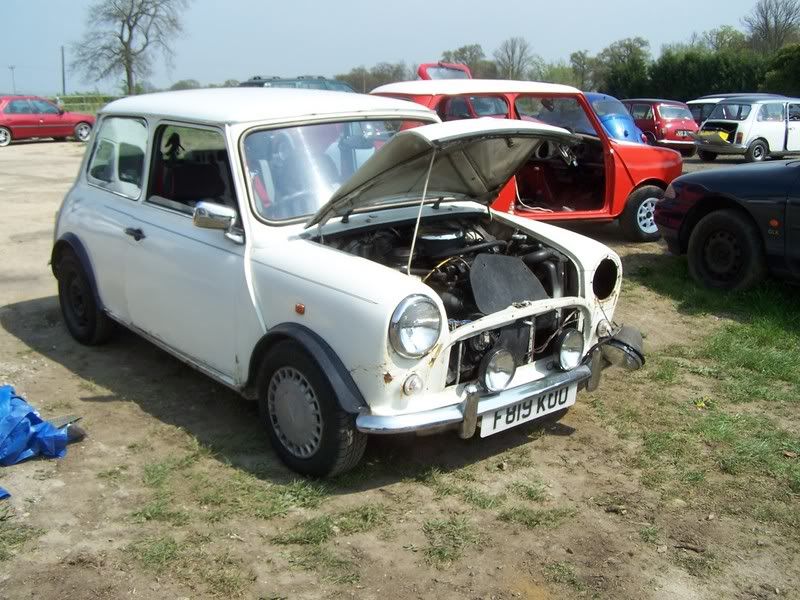
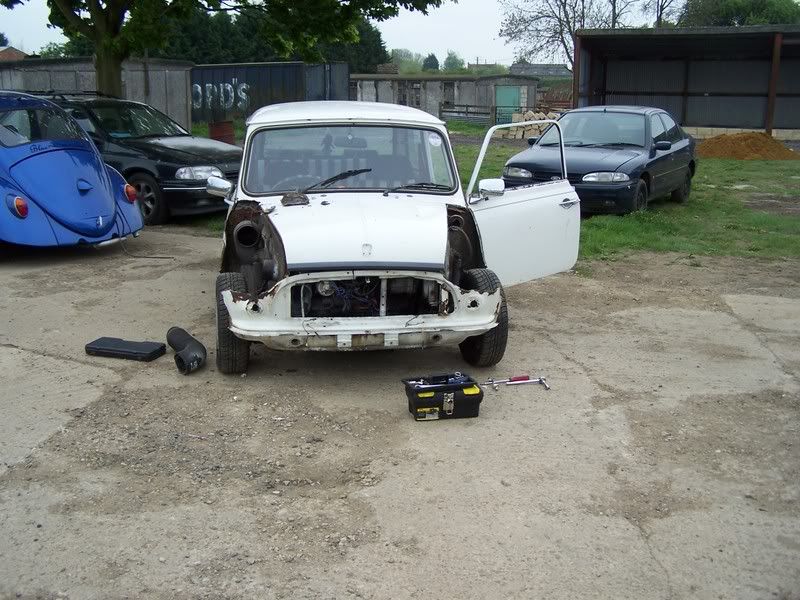
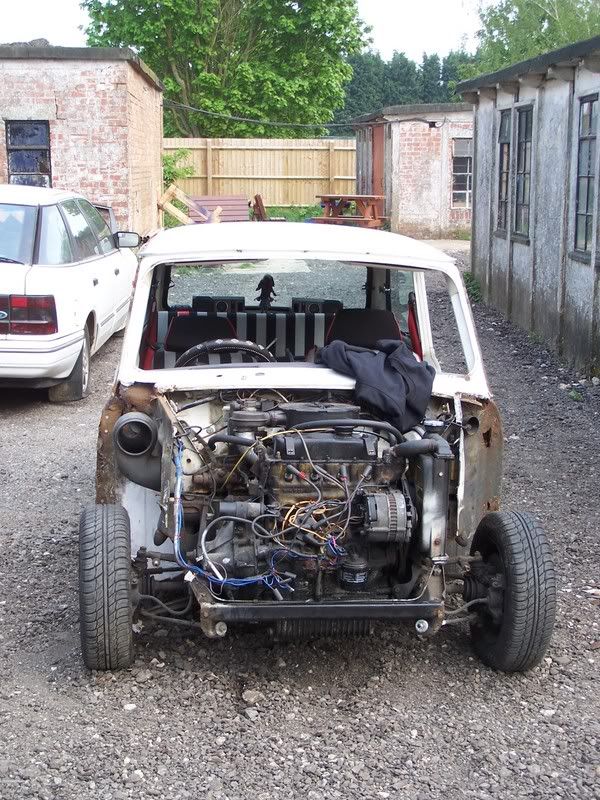
Okay so the first few hours there releived the car of its wings, a slightly scary discovery being that the drivers side wing was held on my a small braze on the lip from the inner wing and half a ton of filler from the front panel, which explained why my scuttle rotted through so much. Anyway the result was this:
Posted Image
Posted Image

Yesturday I went up again and started taking off more metal...
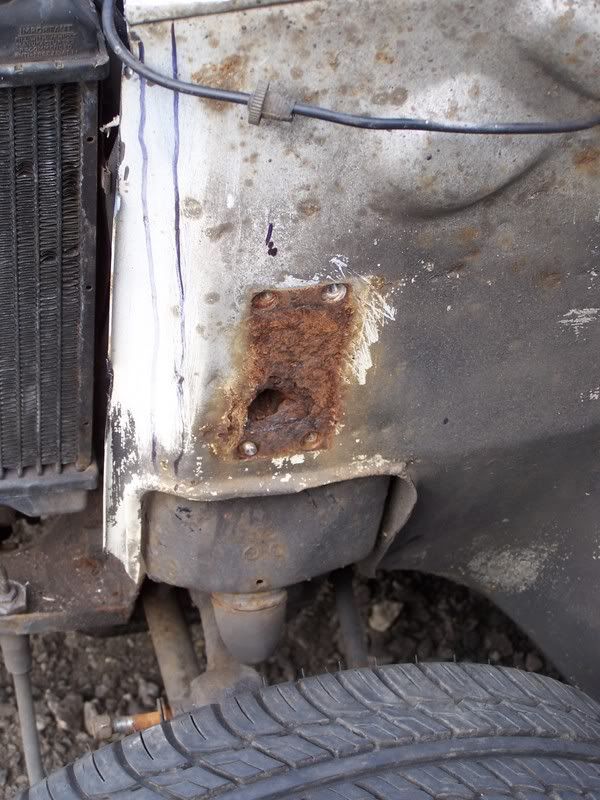
Front Panel:
Posted Image
Posted Image

Aswell as the front, the a-panels came off, with a bit of help from a grinder and a chisel. I also trimmed back the inner wings where someone else had put on a new front without treating the wings which meant I had corrosion coming from the bottom corner of them, so off they came. Took off my damper mounts, hoping for a bit of luck underneath them, which ofcourse, I didn't get, 2 nice big matching holes, and I think a total of 5 snapped bolts, something I'm not looking forward to remedying.
Posted Image

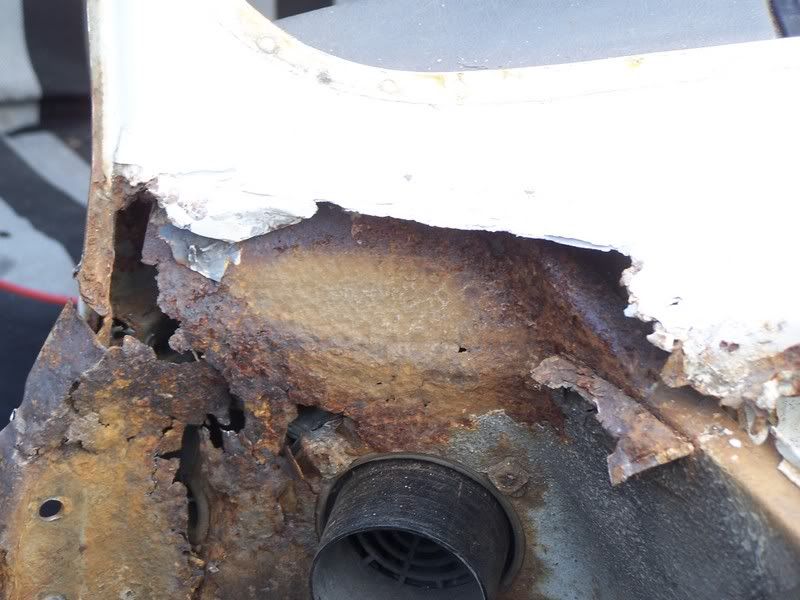
Also discovered how bad the condition of the top of my flitch panel is, hopefully won't be too bad to fix.
Posted Image
Posted Image
In the effort to remove my windscreen my mate managed to crack it right down the middle, thank god it was laminated and not a hardened one, it still came out in one peice...after cutting the rubbers away (they had perished anyway. )

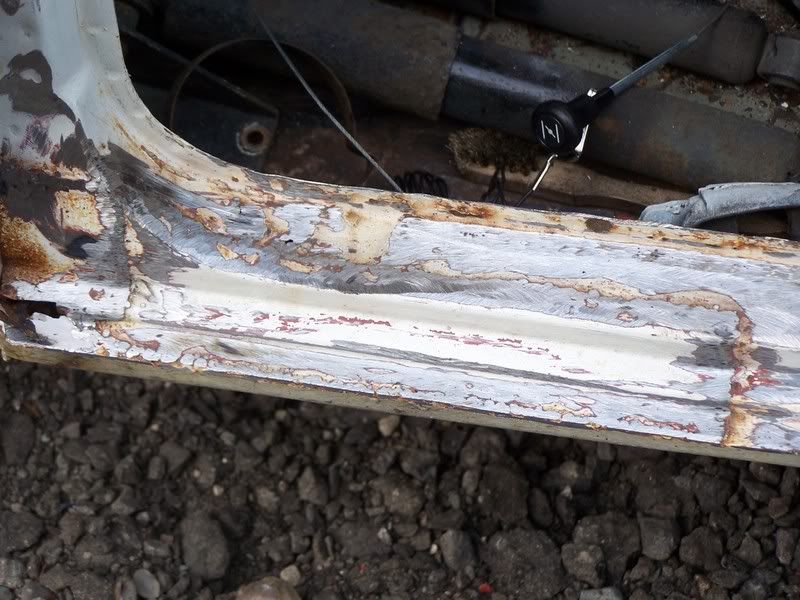
Cleaned up a few patchs that its had to keep it going over the last year
Posted Image

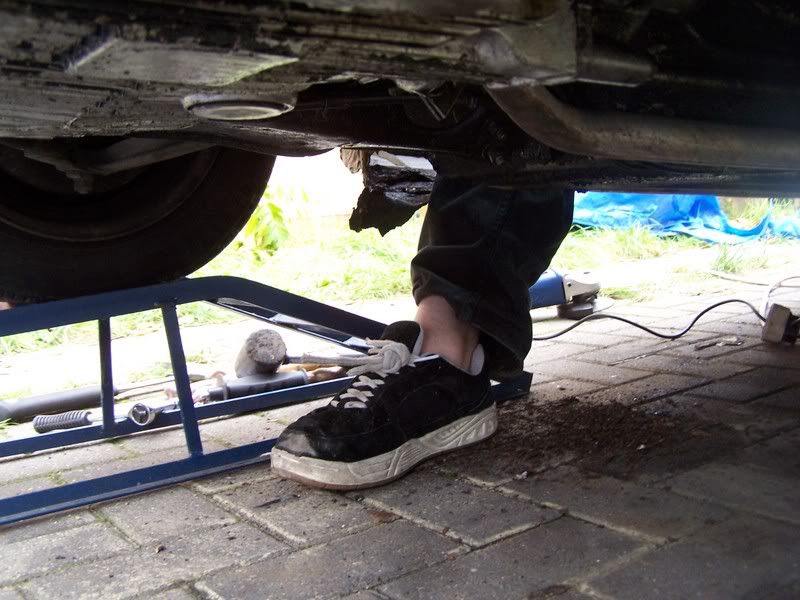
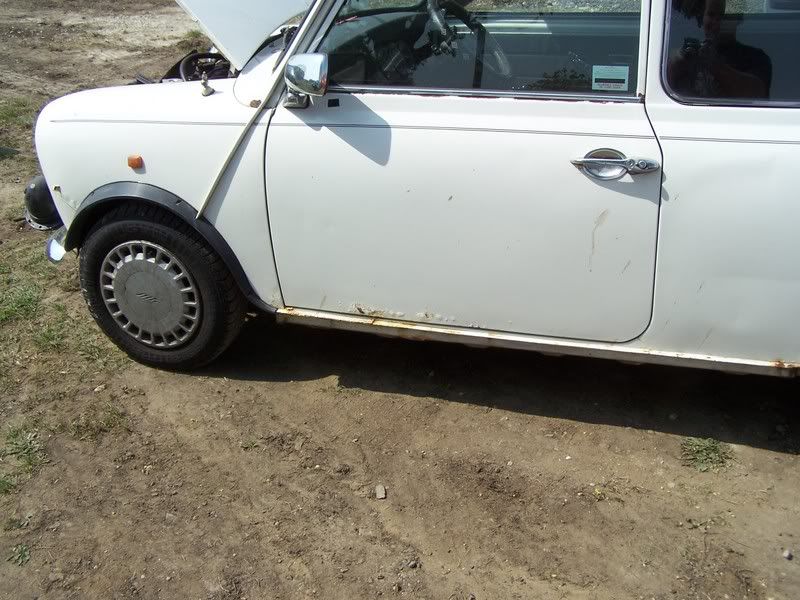
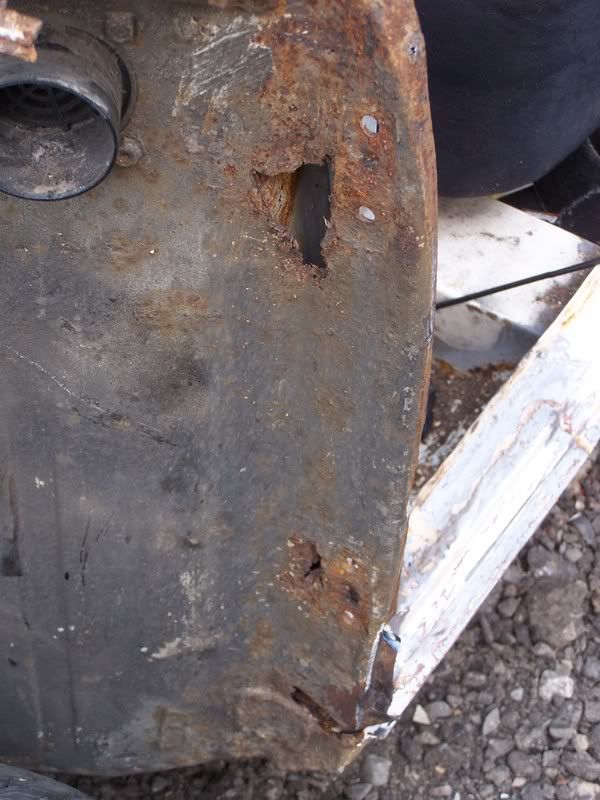
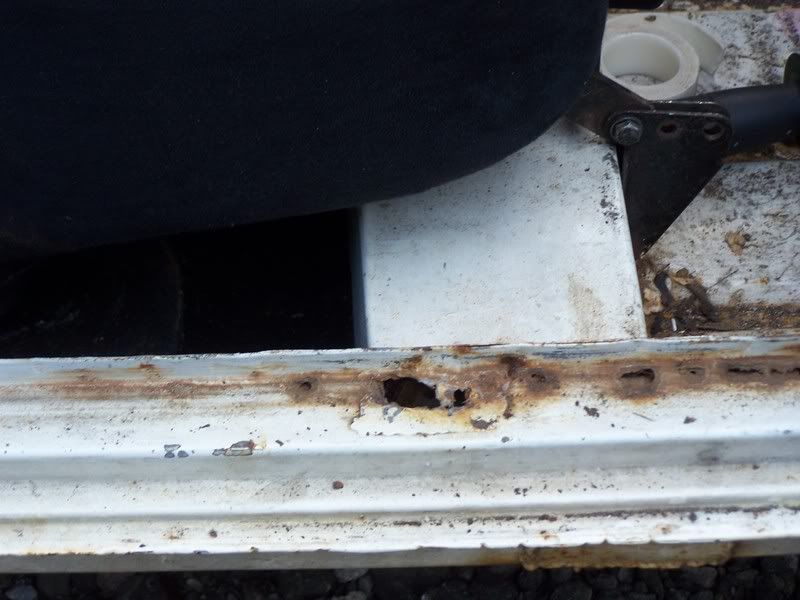
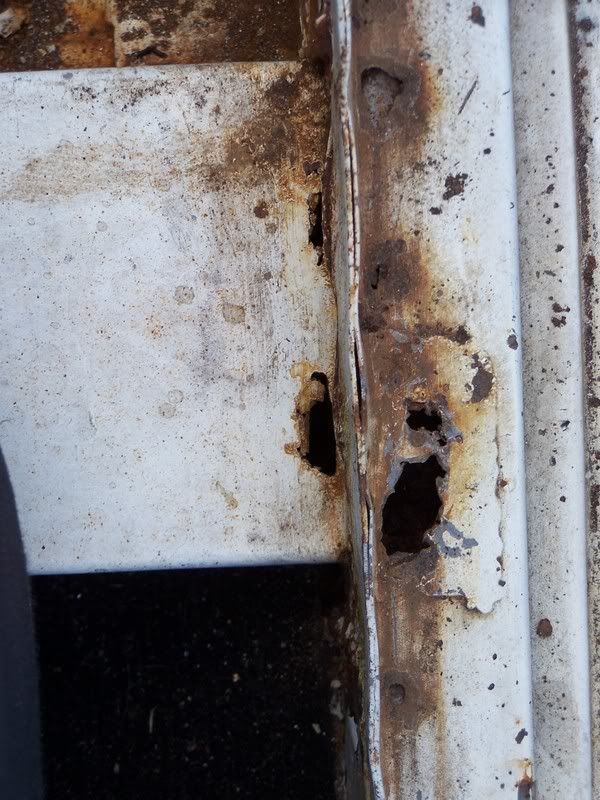
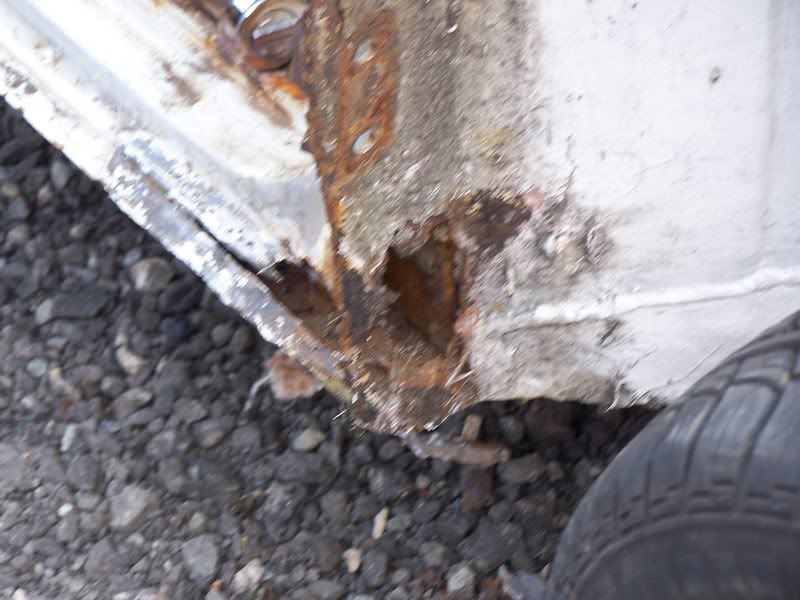
Also started poking at other holes and discovered the bugger on my drivers side doorstep which explains the condition of my sills, but has also got into my crossmember, so thats needing an end peice repair.
Posted Image
Posted Image
Posted Image
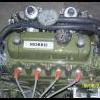
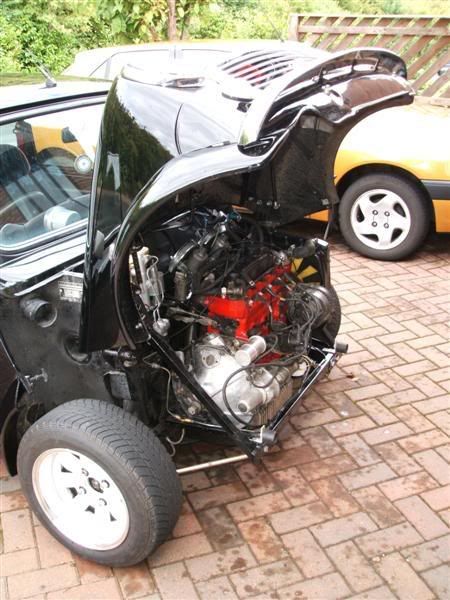
Front Subframe looks in good condition, which is a releif, saying that, its coming off so I can just clean up a little bit of surface rust thats started to apprear at the top of the suspension tower and so I can hard mount it, one of the tear drop mounts is currently on backwards. Also the Enginebay crossmember has a good collection of surface rust, thankfully it doesn't look like its anything more than that so when the subby is out the enginebay is getting nitromor'd back to its metal, then the rust is getting a going over with the wirebrush cup on my grinder and then its all gonna get repainted with a few <b>THICK</b> coats of Hamerite so I hopefully never have to do it again. While the engines out thats gonna need a clean and the wiriing for the front is gonna be craftily hidden in my bracebars and under the lip of the subframe, to keep it dry but also keep my engine bay looking neat.

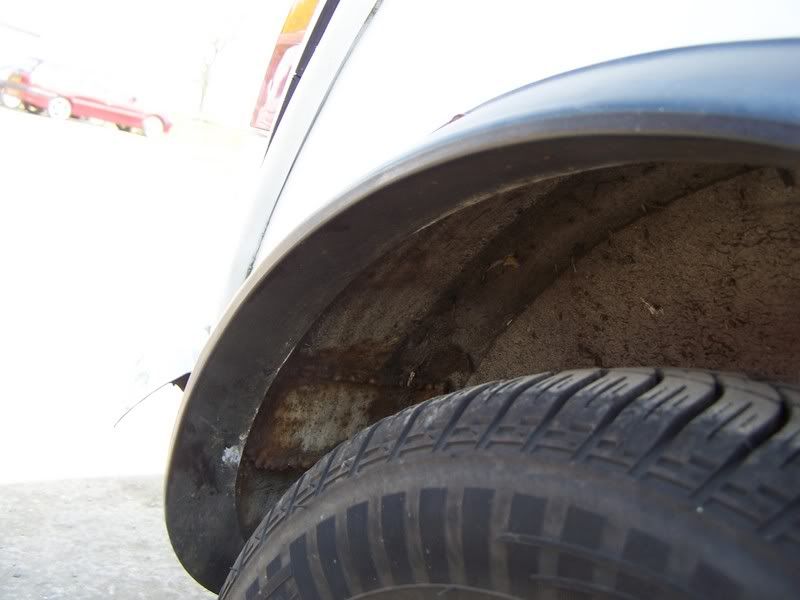
Rear end of the car is in okay condition, ripple as I mentioned before in the quarter panel needs sorting but this is mostly a de-rustifing project for now, with a few little addons for my own tastes. The battery box is a complete write off so will be coming out towards the end of the job and whipping a new one in.

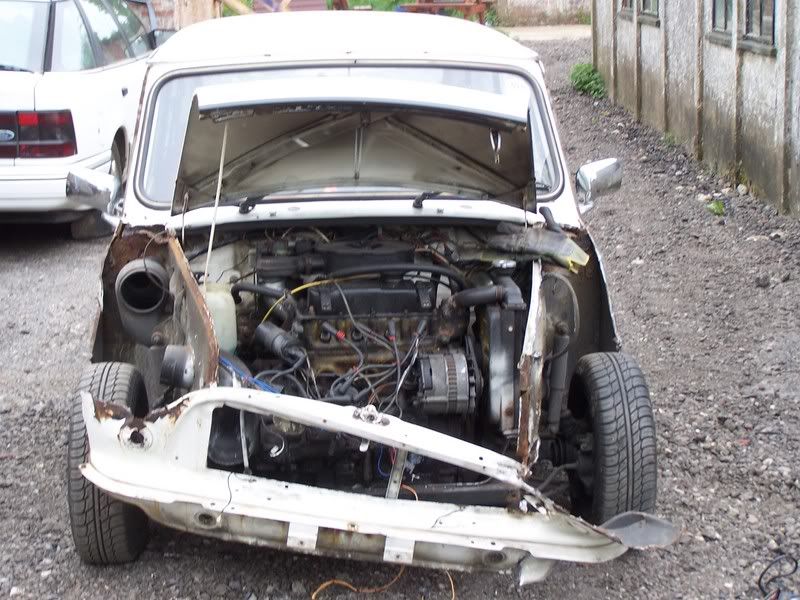
By the end of yesturday my beloved mini looked like this:
Posted Image

#9 Bean

Bean

    Queen of 'shoppin, Voted Miss TMF 2011

  • Members
  • PipPipPipPipPipPipPipPipPipPip
  • 8,054 posts
  • Name: Jean
  • Location: Malvern

Posted 30 April 2007 - 10:41 AM

Looks like the same as mine, what you've found under the wings! And under the damper brackets :closed: Are you flip-fronting?

Also - the beetle in the background's caught my eye! :proud:

#10 Awlred Drives a Quant

Awlred Drives a Quant

    Mini Mad

  • Noobies
  • PipPipPipPip
  • 145 posts
  • Local Club: Tyred and Exhausted

Posted 30 April 2007 - 12:46 PM

Yes, I'm planning on Flip fronting, if not, atleast a removable one. The idea I reaaaally like is how they do on the Civic conversions where the front lifts up from the front, but because I want to keep it steel, I'm gonna have to get some hinges from something like a Merc/BMW book at some gas struts.

#11 Bean

Bean

    Queen of 'shoppin, Voted Miss TMF 2011

  • Members
  • PipPipPipPipPipPipPipPipPipPip
  • 8,054 posts
  • Name: Jean
  • Location: Malvern

Posted 30 April 2007 - 12:55 PM

Ooh, just if you need the reference, JetBLICK's done one of those flip fronts... Clicky

Posted Image

That the sort of thing you mean?

#12 Awlred Drives a Quant

Awlred Drives a Quant

    Mini Mad

  • Noobies
  • PipPipPipPip
  • 145 posts
  • Local Club: Tyred and Exhausted

Posted 30 April 2007 - 01:02 PM

Yeah thats the look I'm going for, but Blick used a Composite front, which is a lot lighter than the steel, I doubt those brackets would hold the weight of a steel front end, unfortunaty. So I'm gonna look at a bespoke solution for it, might involve me tr4ekking around a few scrapyards looking at the larger booted luxury saloons

#13 Mincento

Mincento

    Speeding Along Now

  • Members
  • PipPipPipPipPip
  • 443 posts
  • Location: Stoke-On-Trent

Posted 30 April 2007 - 01:18 PM

Another mini in aboput the same condition as mine :proud: its quite scary when you see how little of the car is actually held together isnt it?

on the flip up front idea im also thinking of doing this as the normal flip forward conversions i have found to be quite impractical aseverything you need is at the front where you cant get to, have you looked at the kit from america? in one of the pics id say it uses a steel front

if you do so your own (like myself probably) make sure you dont have too heavy gas struts or youll bend the front end if it fires up too quick

wayne

#14 1984mini25

1984mini25

    Crazy About Mini's

  • Members
  • PipPipPipPipPipPipPipPipPipPip
  • 8,784 posts
  • Location: -

Posted 30 April 2007 - 07:30 PM

Took off my damper mounts, hoping for a bit of luck underneath them, which ofcourse, I didn't get, 2 nice big matching holes, and I think a total of 5 snapped bolts, something I'm not looking forward to remedying.

I wasn't having much luck with those stupid bolts, as i got all 4 on the drivers side almost out till the heads snaped off, shouldn't be that hard to remove whats left though. (I hope)

In the effort to remove my windscreen my mate managed to crack it right down the middle, thank god it was laminated and not a hardened one, it still came out in one peice...after cutting the rubbers away (they had perished anyway. )

it wasn't me it was the :) :P :), just remind me when you come to refit the scren or any glass on that mini of of yours, i'm keeping well out the way.

Should be able to bring the welder down with me next weekend, so we can start filling in all these holes that have appeared. :genius:

Looks like the same as mine, what you've found under the wings! And under the damper brackets :blink: Are you flip-fronting?

Also - the beetle in the background's caught my eye! :closed:

Next time i'm down there i'll get some picks of the beetle just for you. :proud:

#15 Spannermonkey6464

Spannermonkey6464

    Super Mini Mad

  • Members
  • PipPipPipPipPipPip
  • 587 posts

Posted 30 April 2007 - 08:24 PM

Wow you have got your work cut out looking good tho, interested to where your photo with all the other minis in the background is!


1 user(s) are reading this topic

0 members, 1 guests, 0 anonymous users