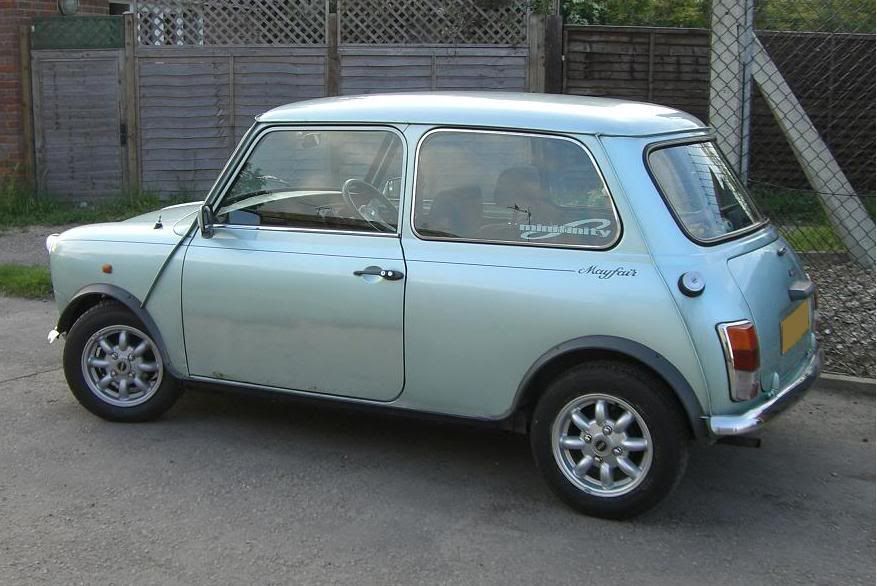


I've had my mini, Minty, for about 7 months now so thought I'd put up a little project page showing what I've done to him. He was only ever a tidy-up job because, to put it nicely, I know nothing!
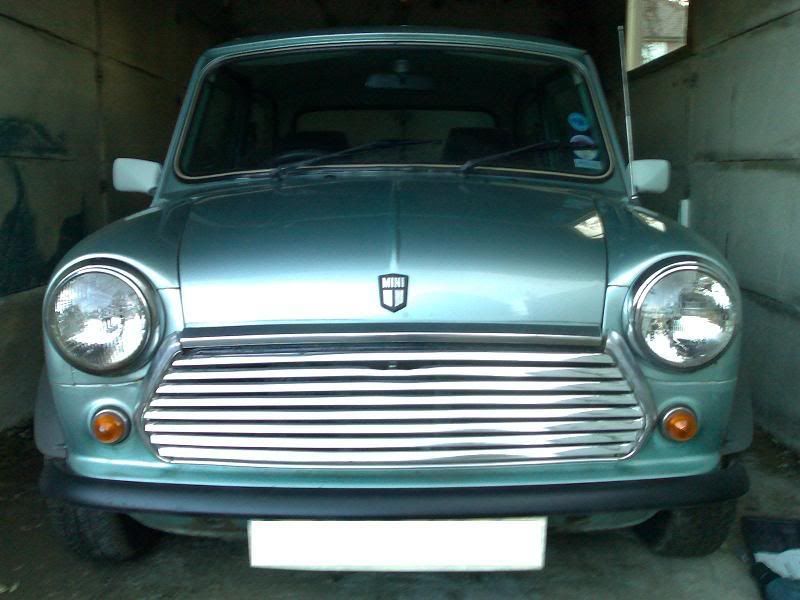
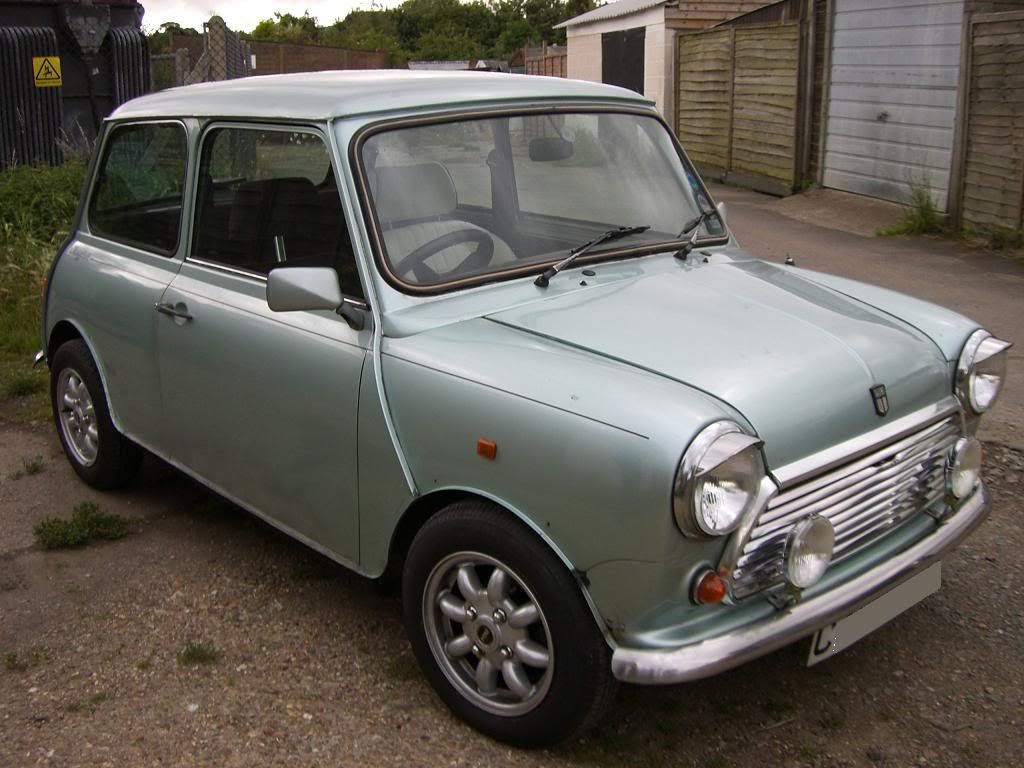
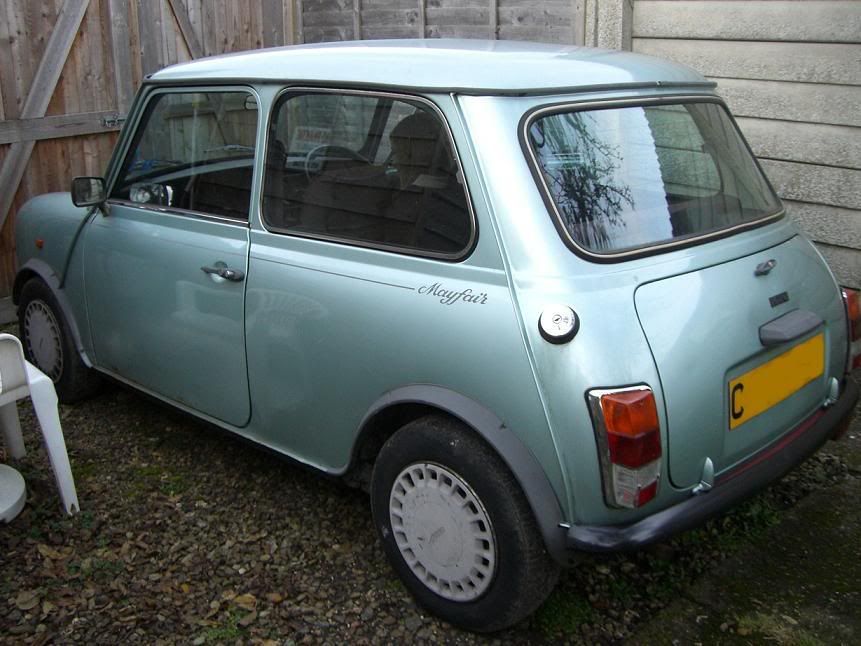
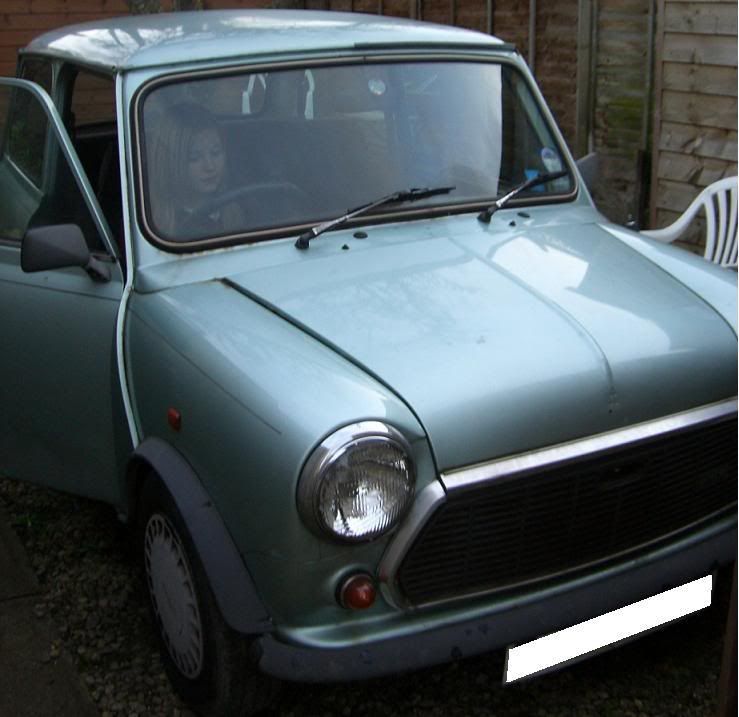
Firstly this was him when we got him:
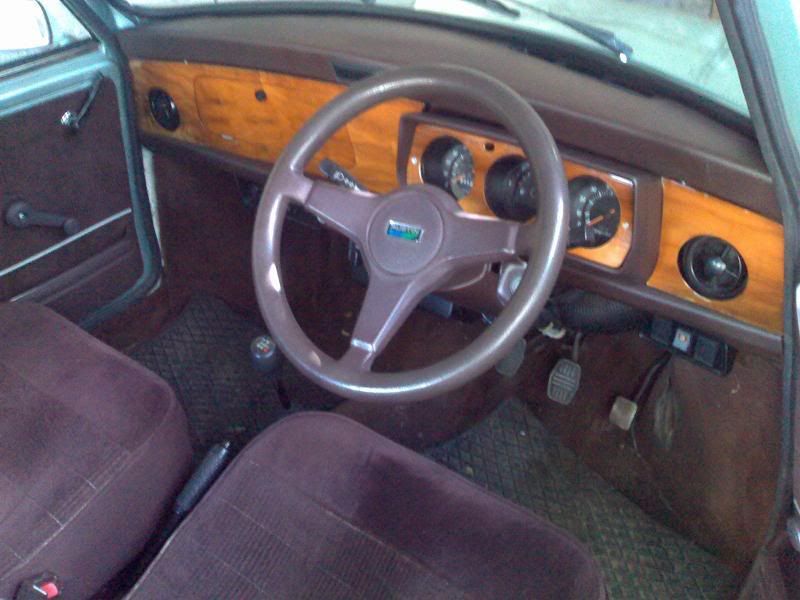
(that's my sister trying him out)
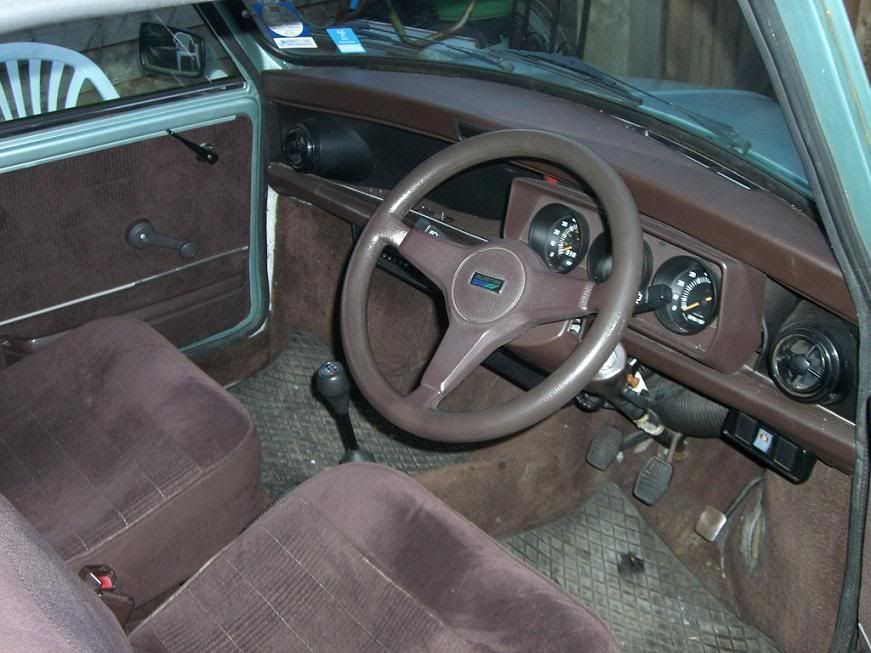
Lovely interior!
 LOL!
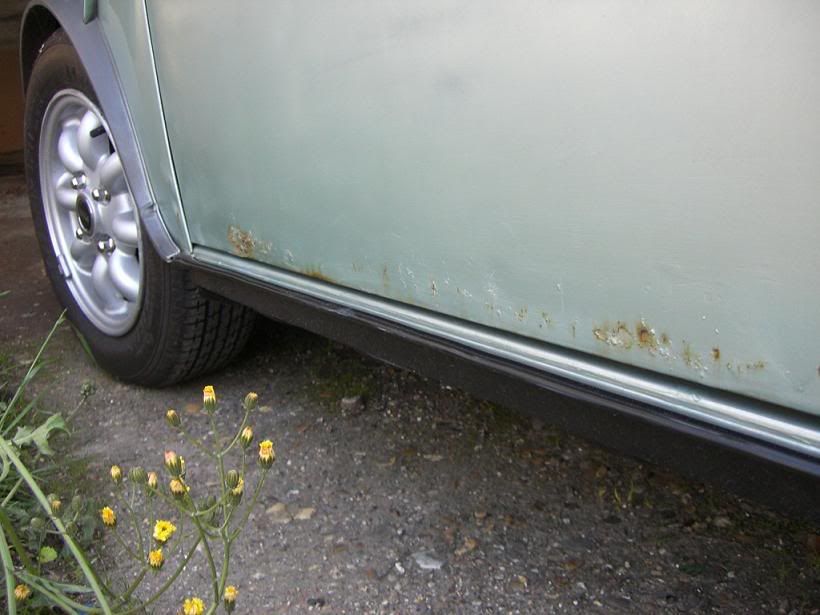
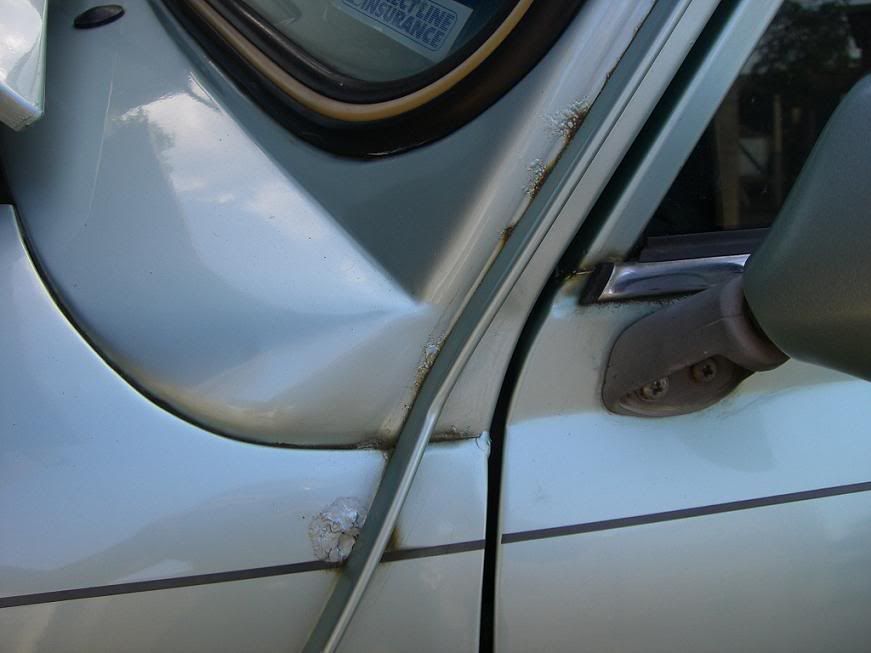
LOL!He was a bit tatty looking, and had pretty manky wheel trims. Apparently they would have started silver

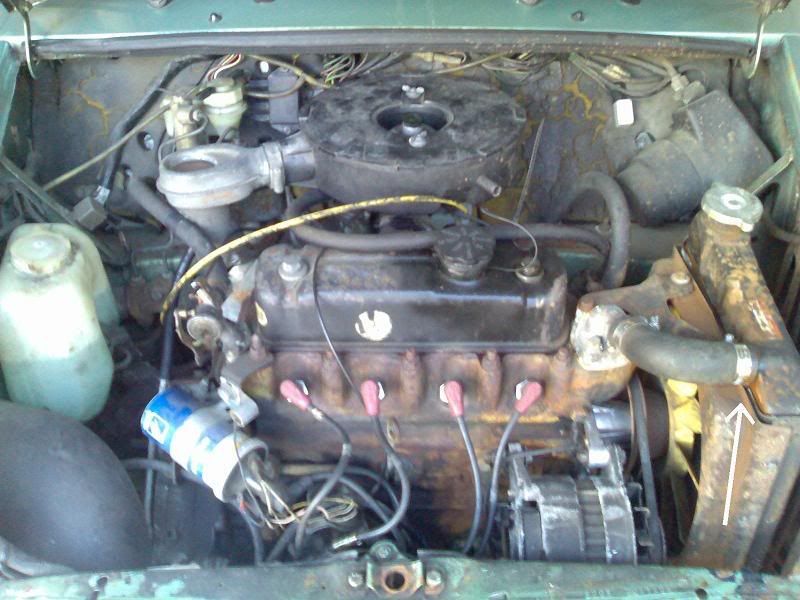
He also ran awfully, the timing was way out, he'd been run on unleaded with no engine adjustment, and there was something up with the points - the previous owner "fixed" them... so well that they barely did whatever it is they do. He limped home (slowly) from Watford though (about 20 miles) so we were pleased with him!
So job number one was send him down the garage to have the timing sorted and the points actually fixed. £40 later he ran much better

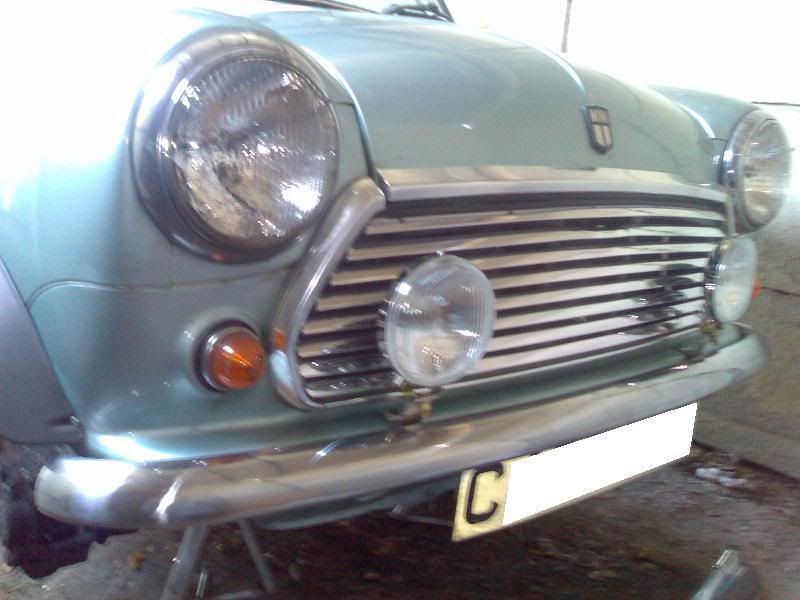
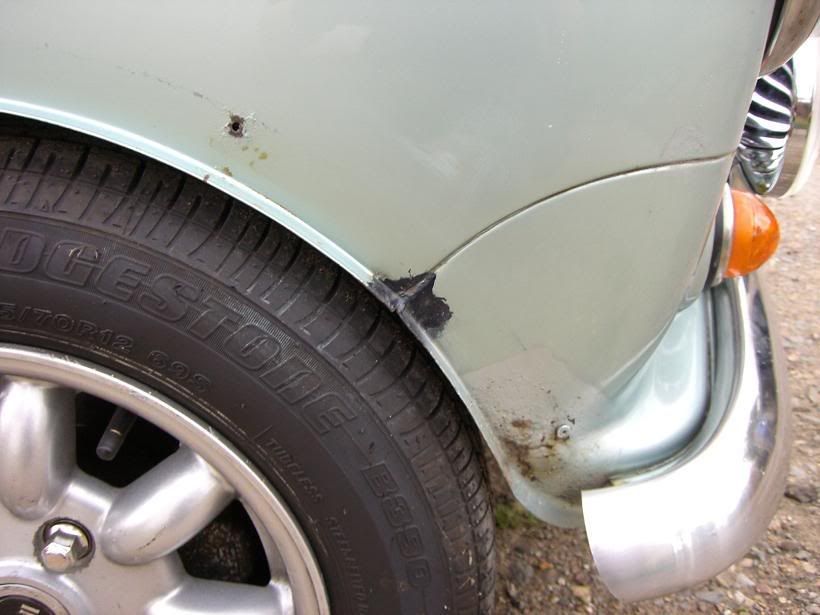
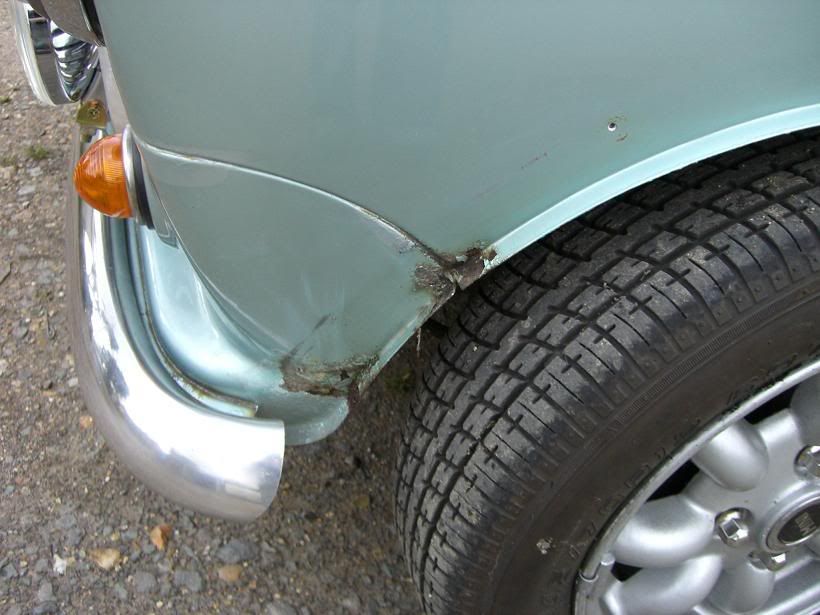
We then set about doing a few small touch-up jobs on the paint, lining up that bonnet, giving him a good clean and polish, and improving the wheel trims (they went yellow when he washed him), so a lick of white paint was called on... We also sprayed the front bumper black as it was a funny greyish colour with black splodges where the previous owner had touched up the rust


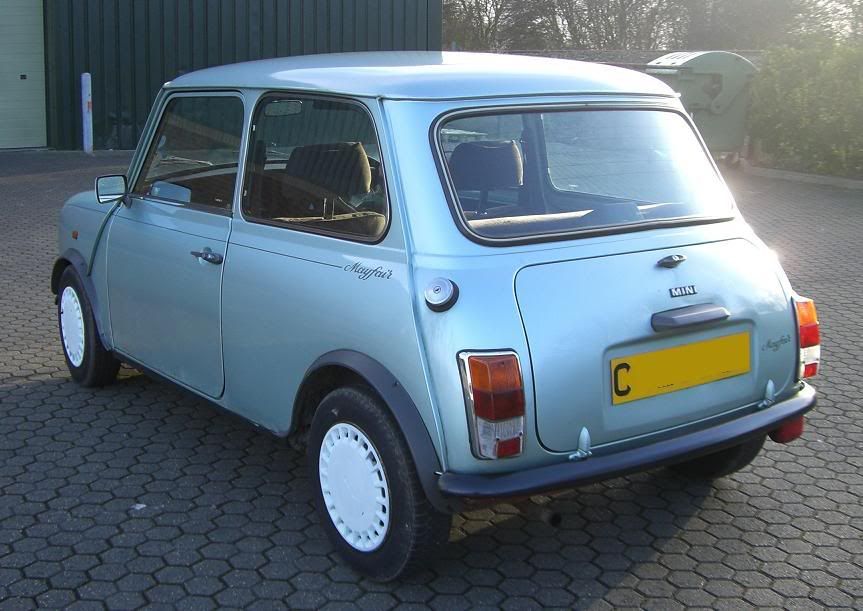
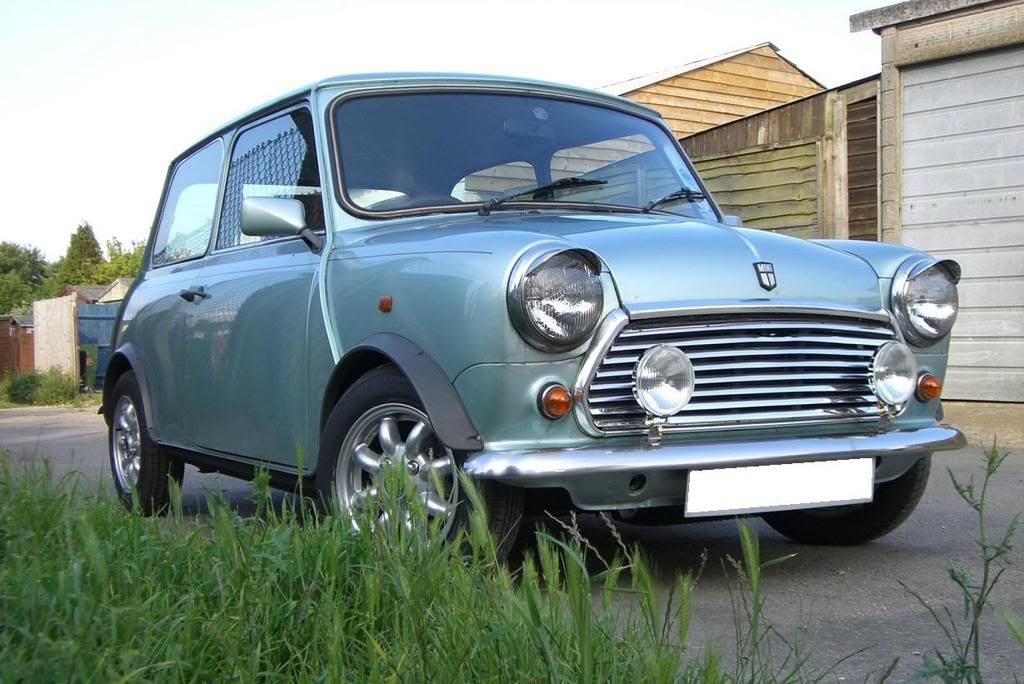
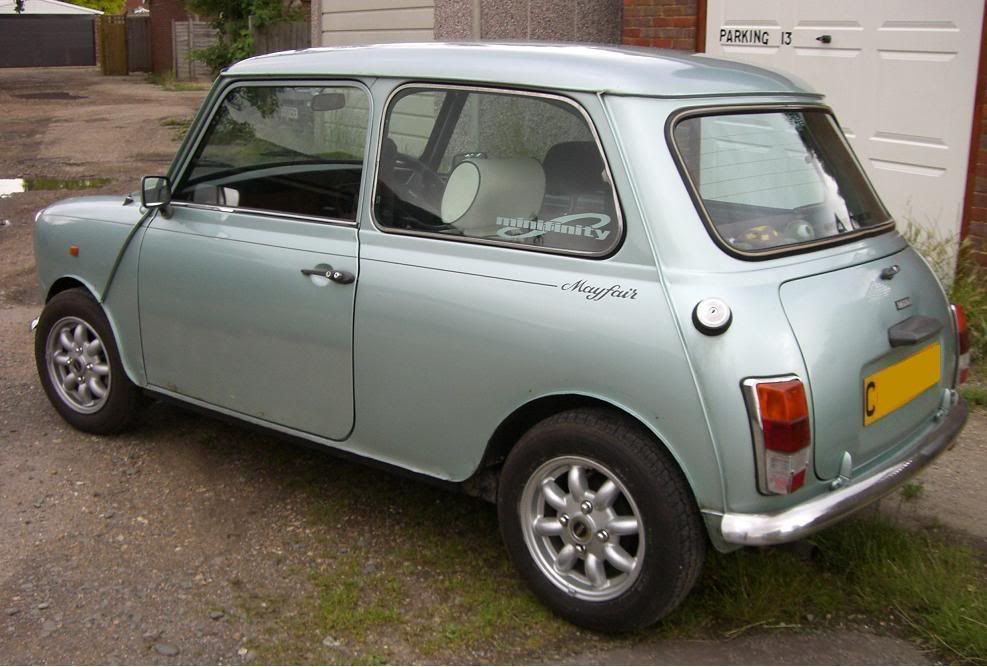
Much better
 .........
(more to come)