Jump to content


Photo
- - - - -

Bringing Another Mini Back


  • Please log in to reply
232 replies to this topic

#1 Daveuk

Daveuk

    Speeding Along Now

  • Members
  • PipPipPipPipPip
  • 429 posts
  • Location: Lowestoft
  • Local Club: friendly with any mini people

Posted 02 September 2007 - 05:28 PM

after 7months!! i decide to post this build thread!

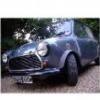
Hi all here's pip. I bought her with my heart and not my mind quiet a FEW months back (in February :P) off one of ours members jonesy :wub:

well like i said bought with my heart and not my mind i set out to get her back on the road.

now she's been staying all over the place recently there was my ex's house

Posted Image

she stayed there for some months and i started to strip her down slowly ready to fix her up and put a 1275 in :).... well our relationship soon ended and i had to get her out of there...

so it ended up at my place as the parents were away for a month in june time and i set myself a goal of at least trying to get her road worthy within that time.......
(yer its harder that what i thought..... once again thinking with my heart and not my mind!!)

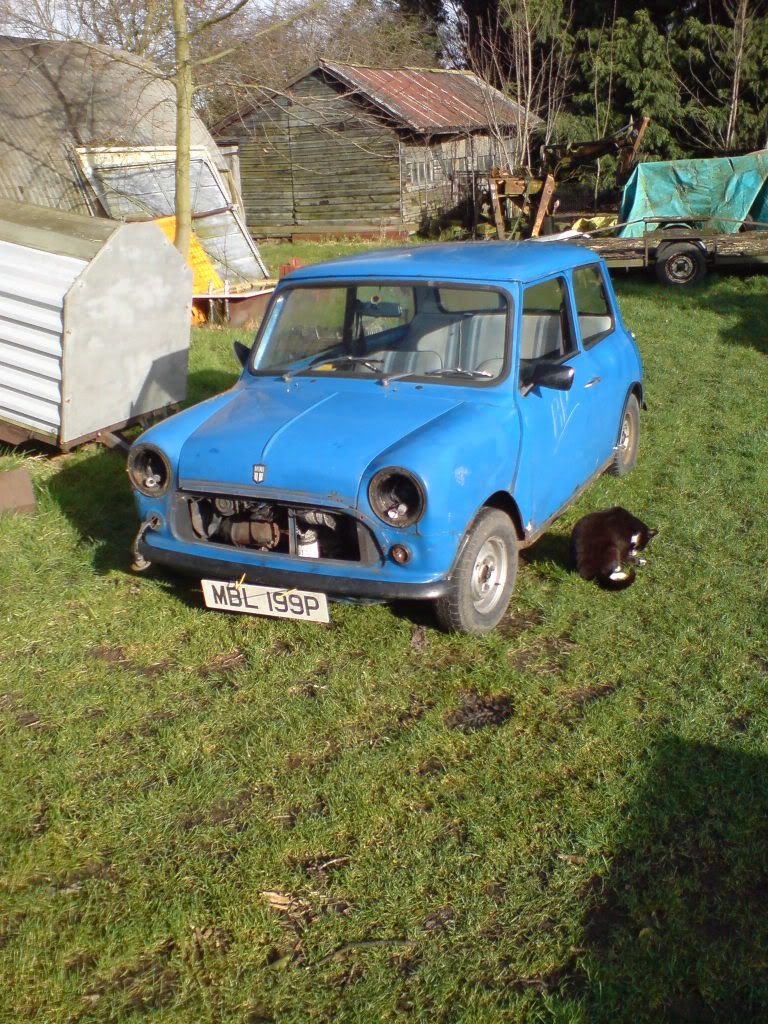
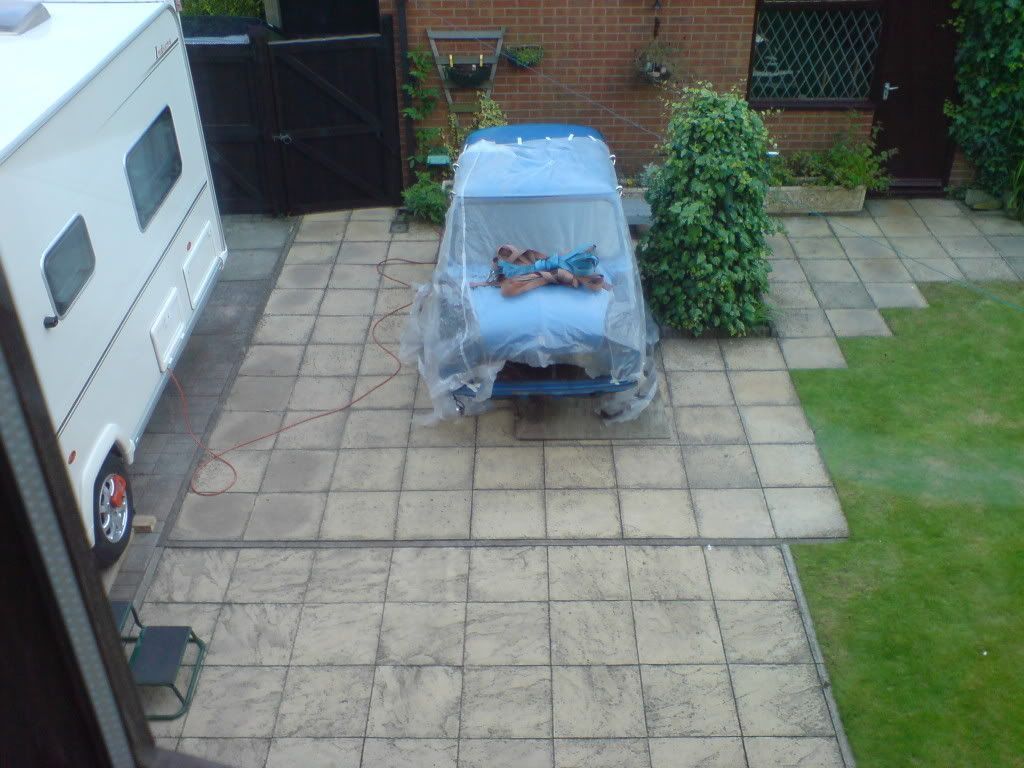
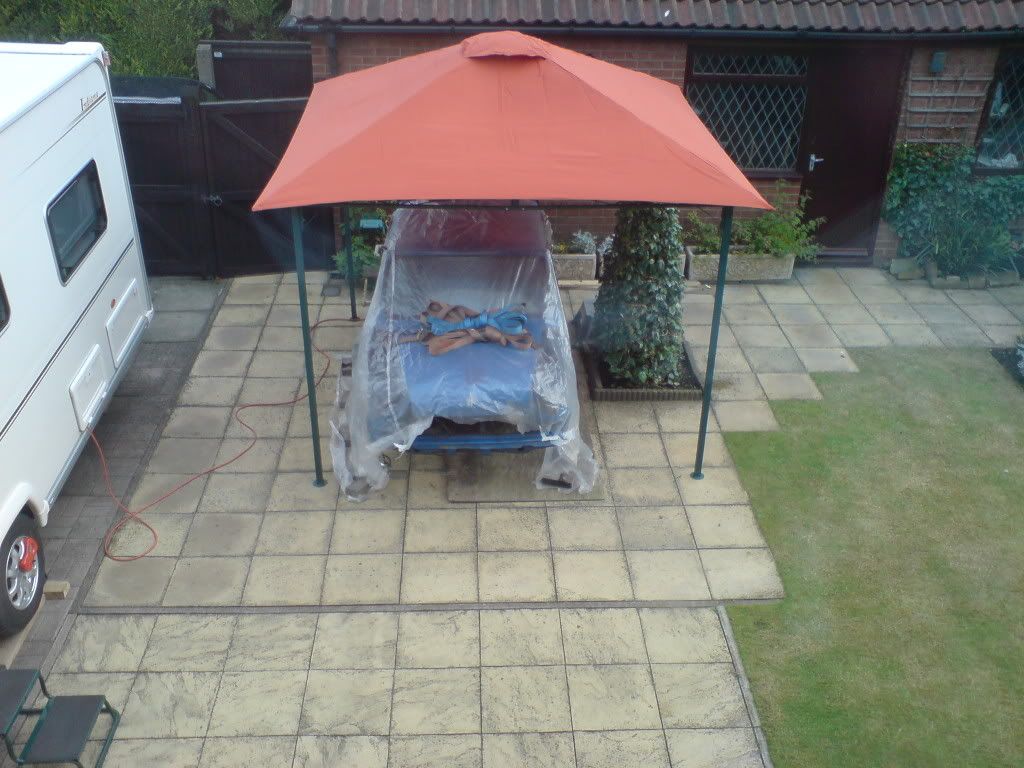
so here she is in my yard and me and my mate wayne have already dropped the engine within 20mins (note this is where the caravan goes..... and parents wont be too happy when they come home)

Posted Image

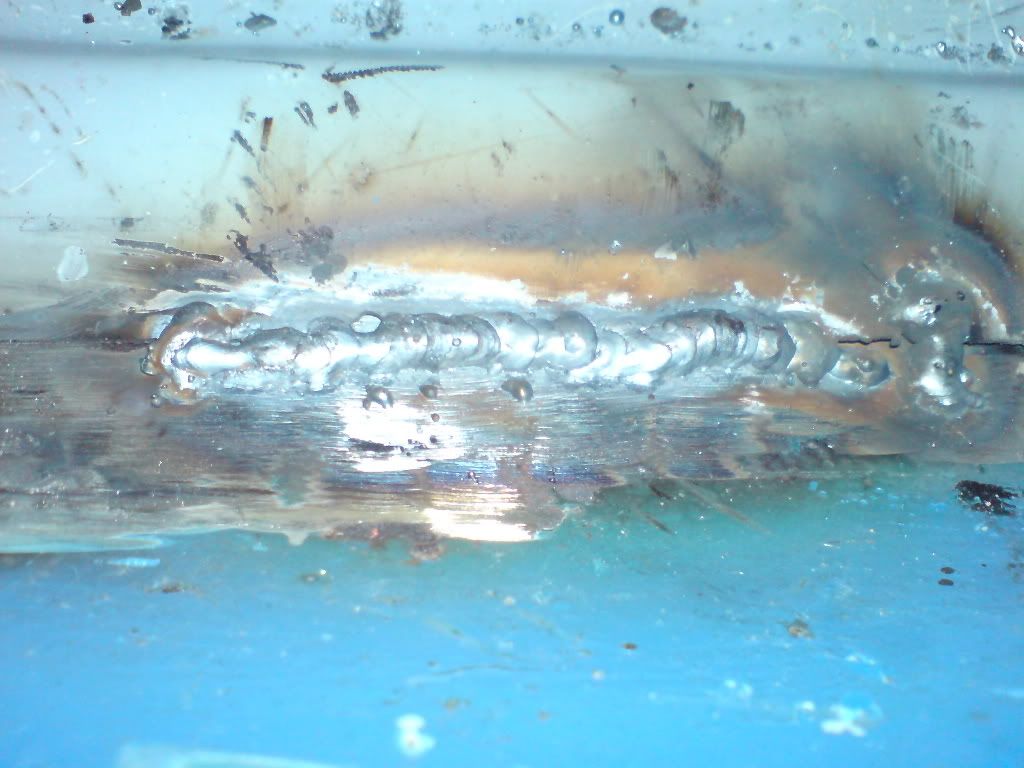
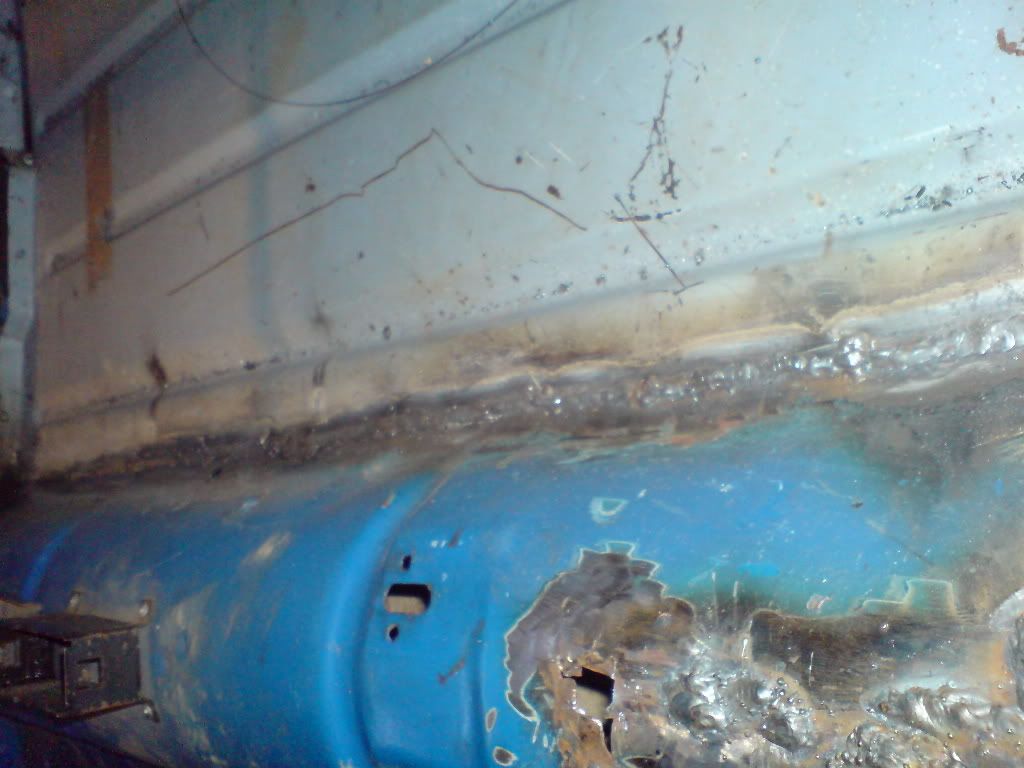
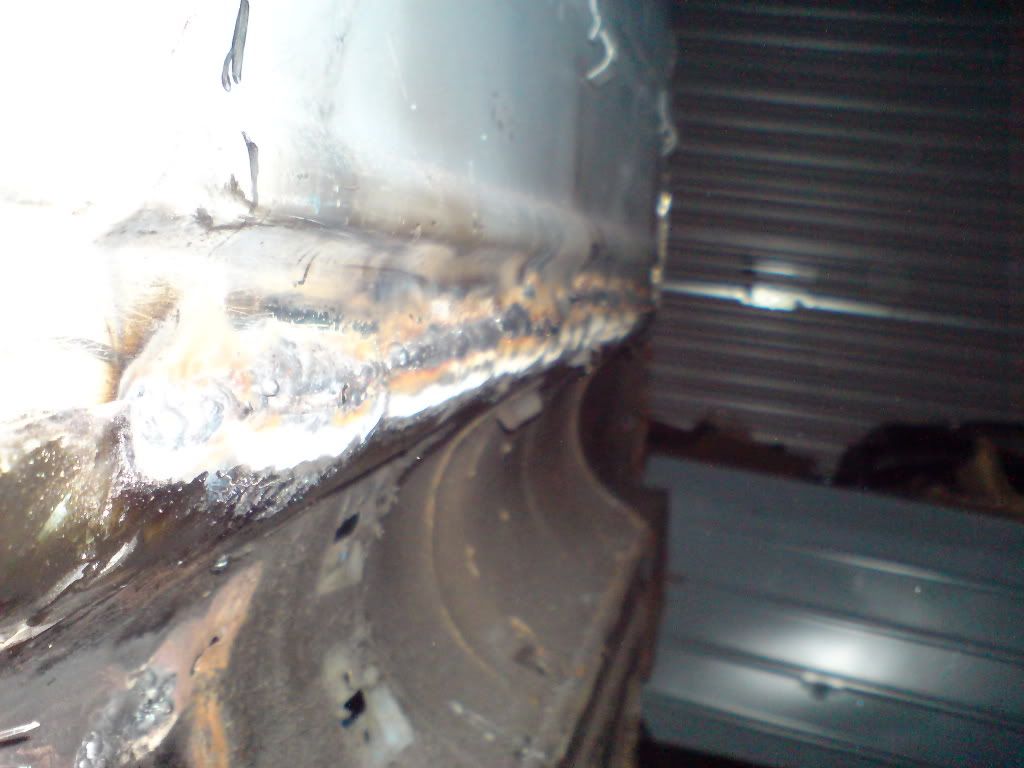
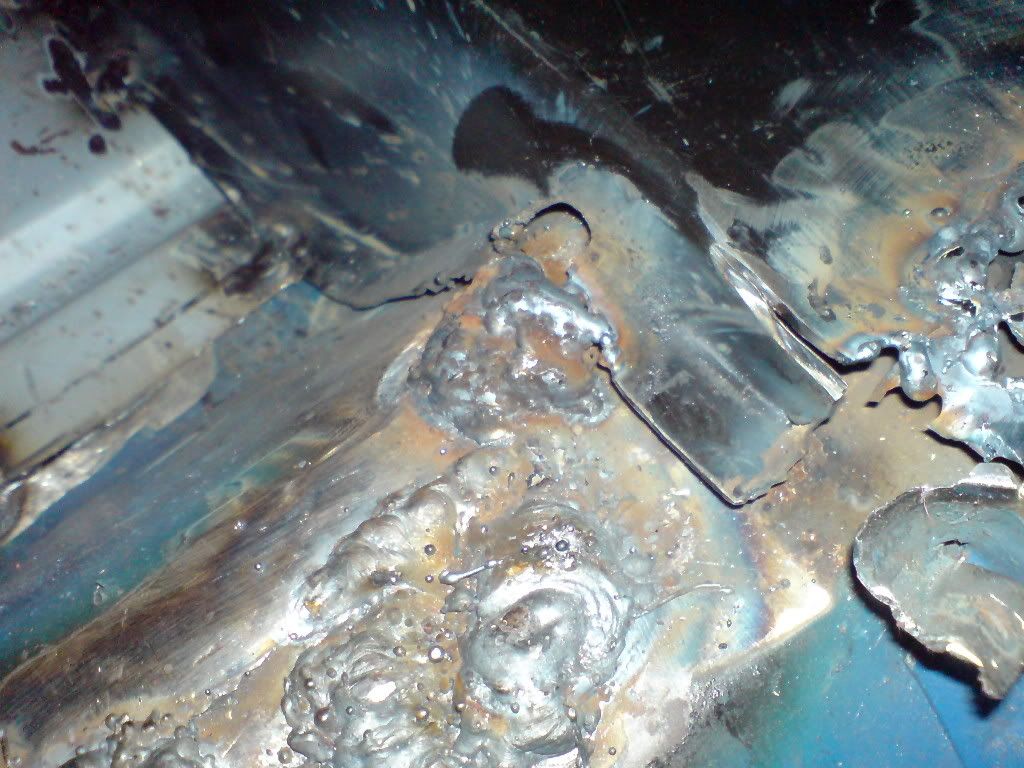
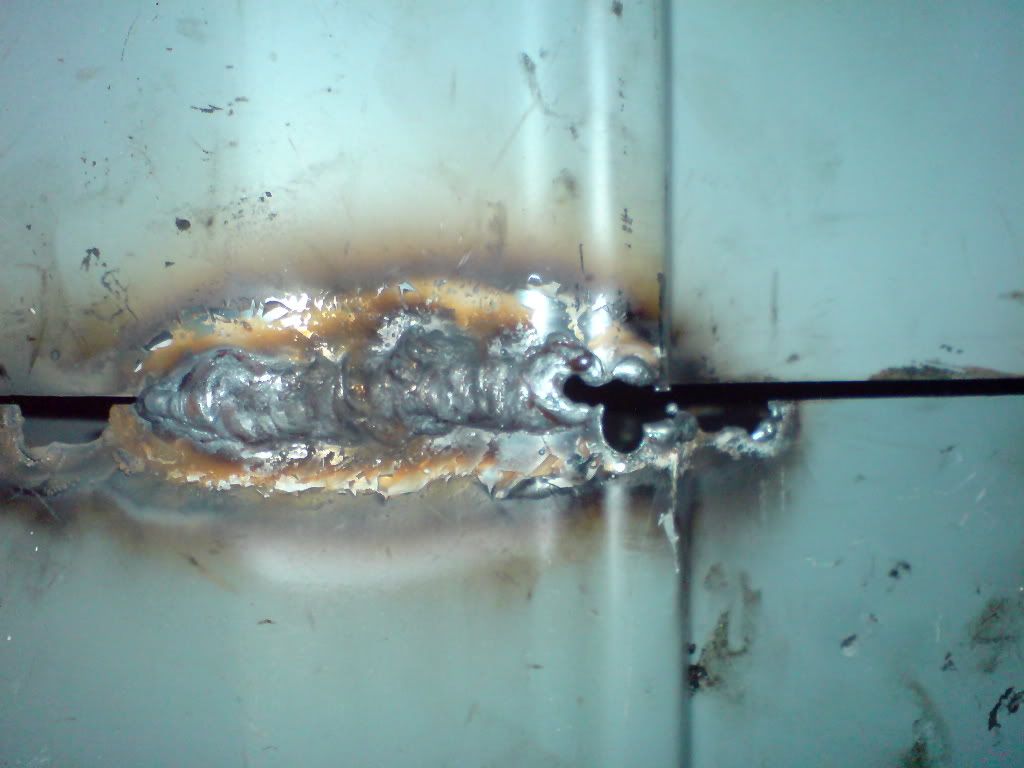
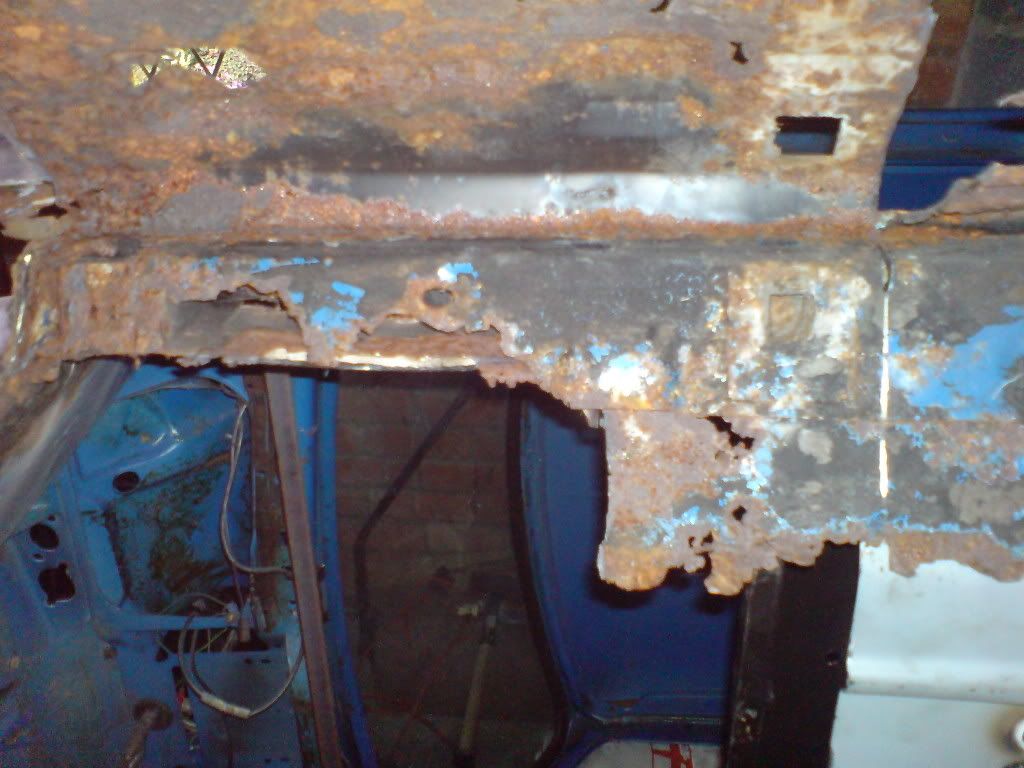
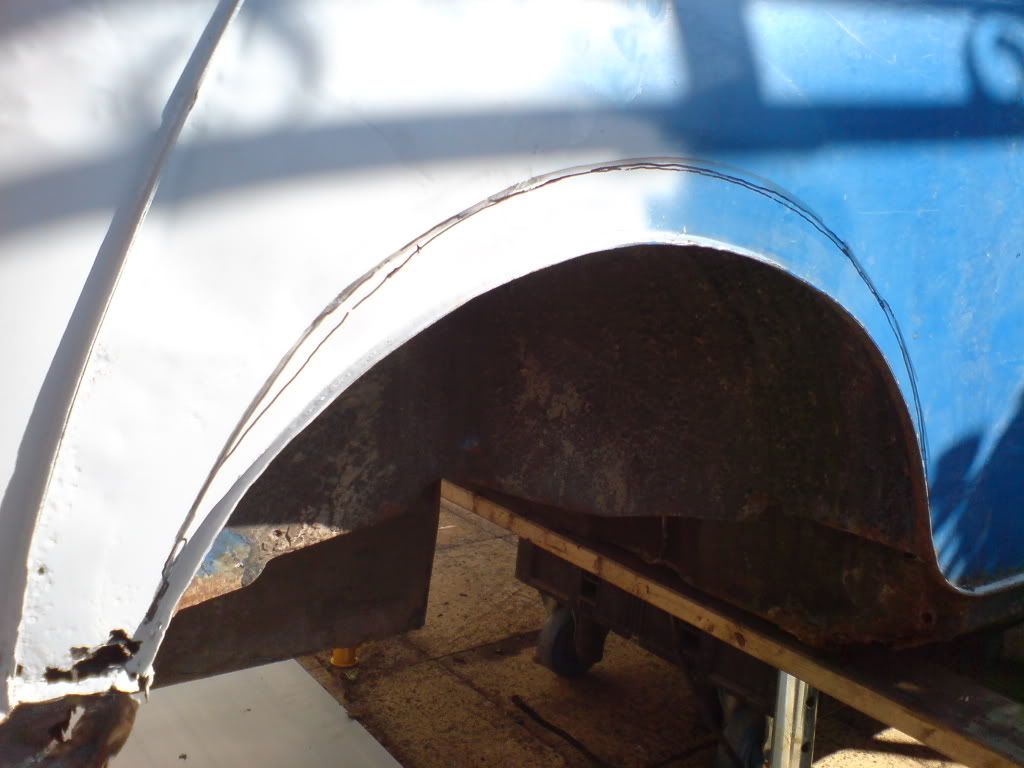
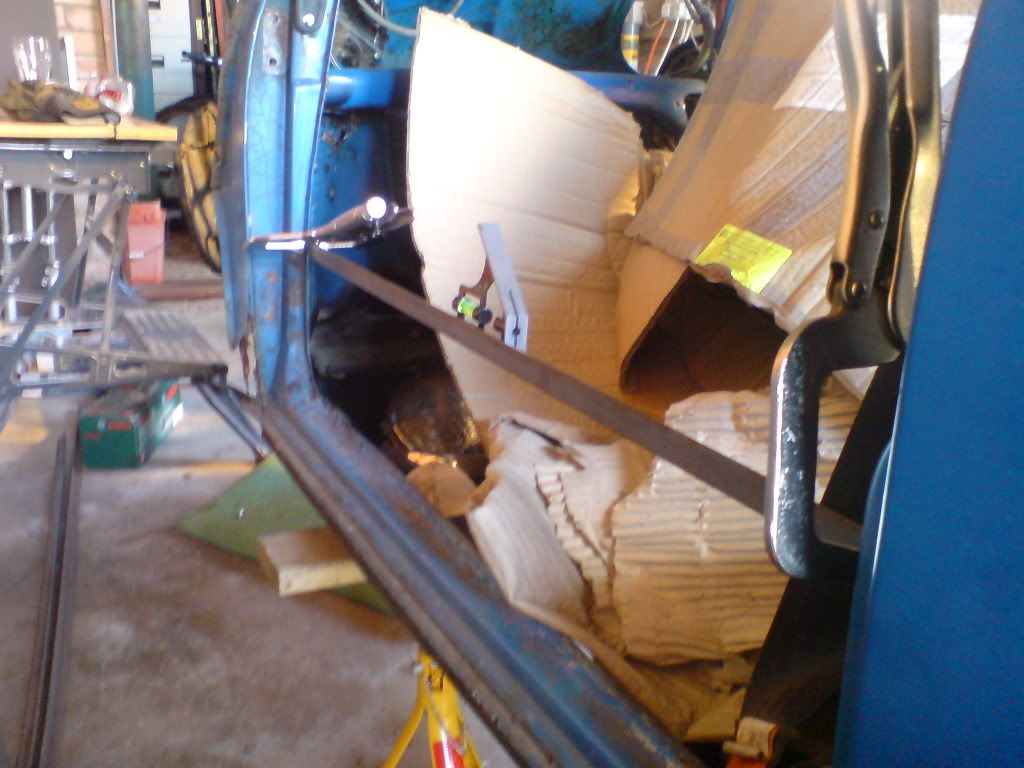
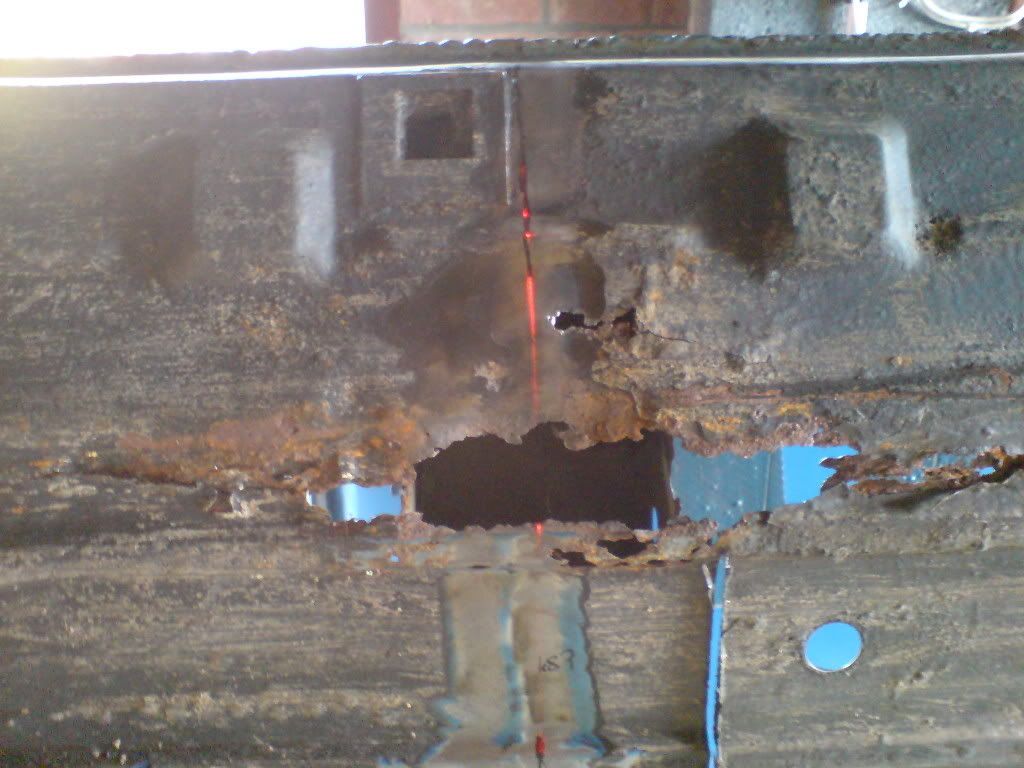
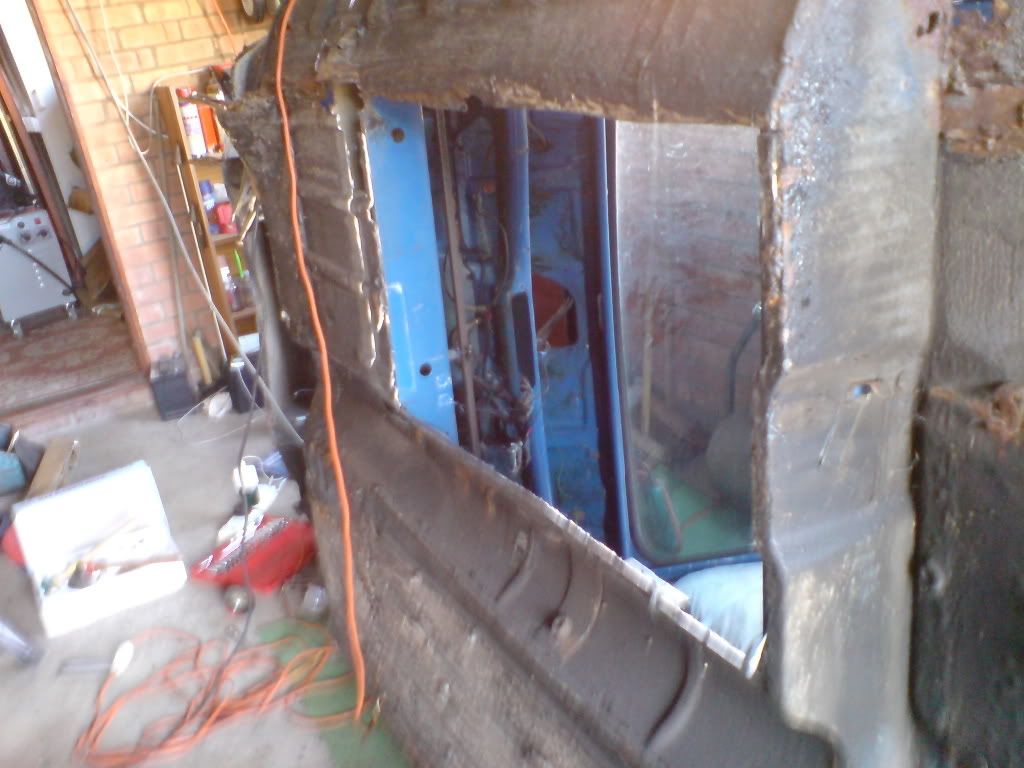
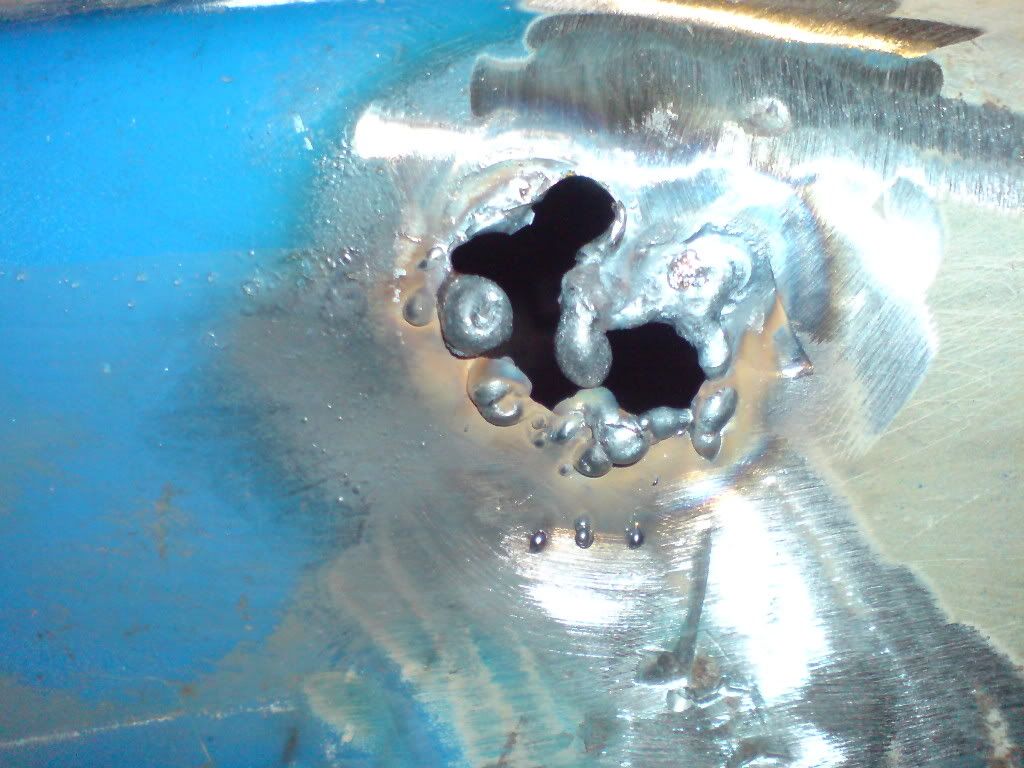
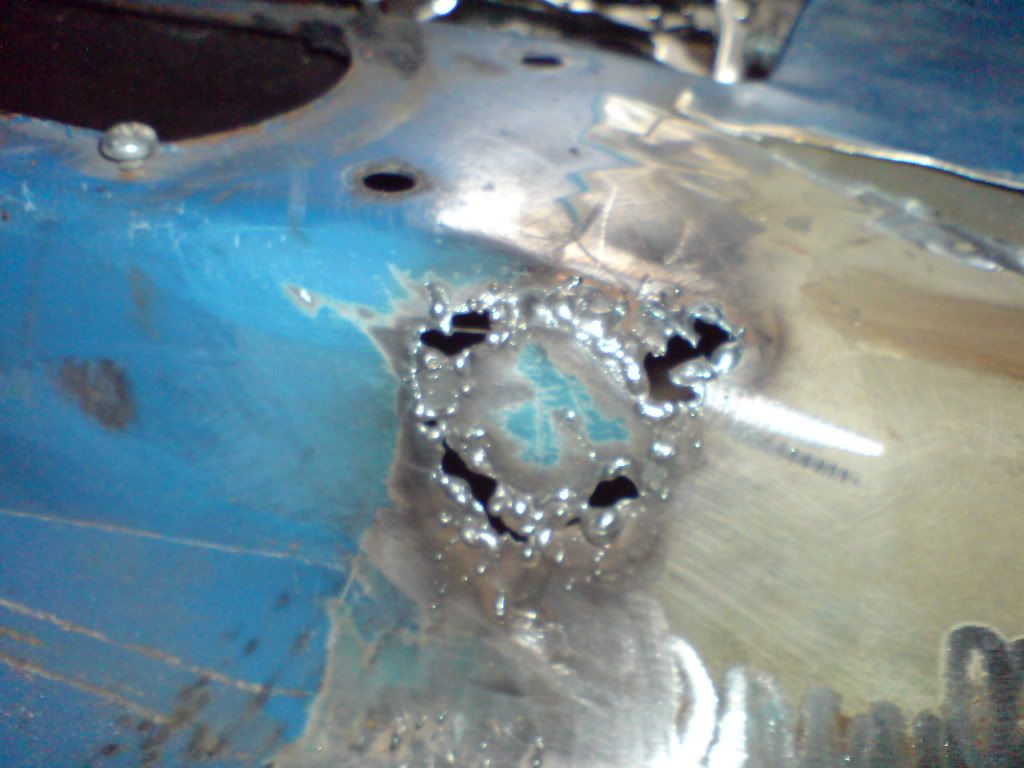
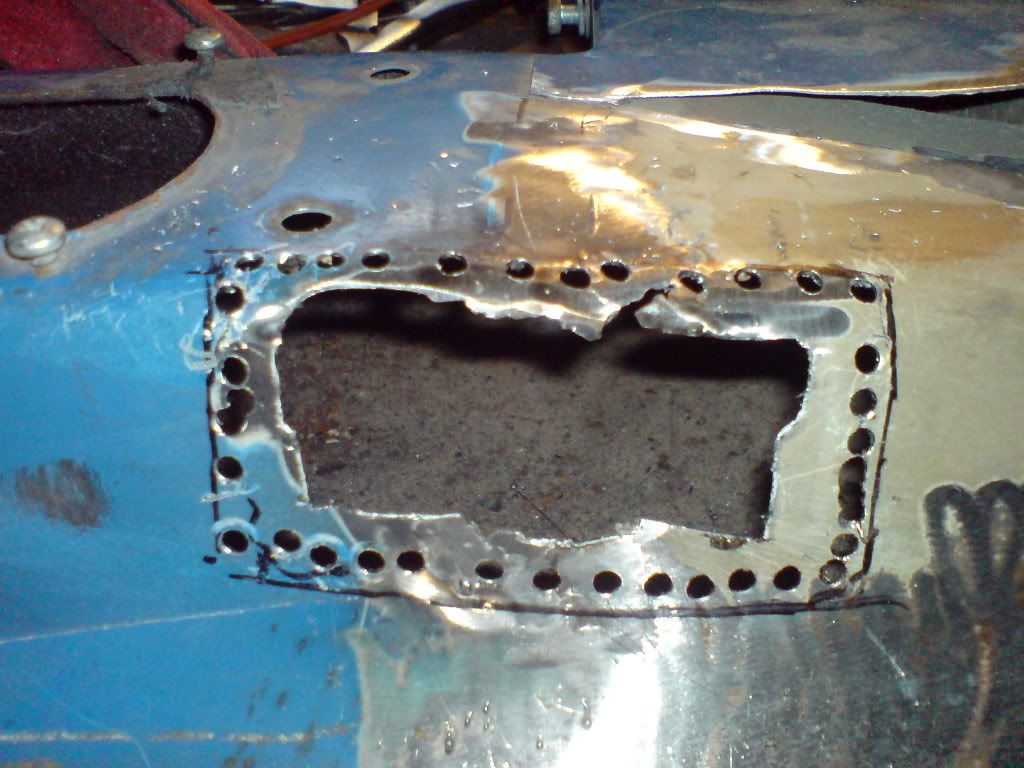
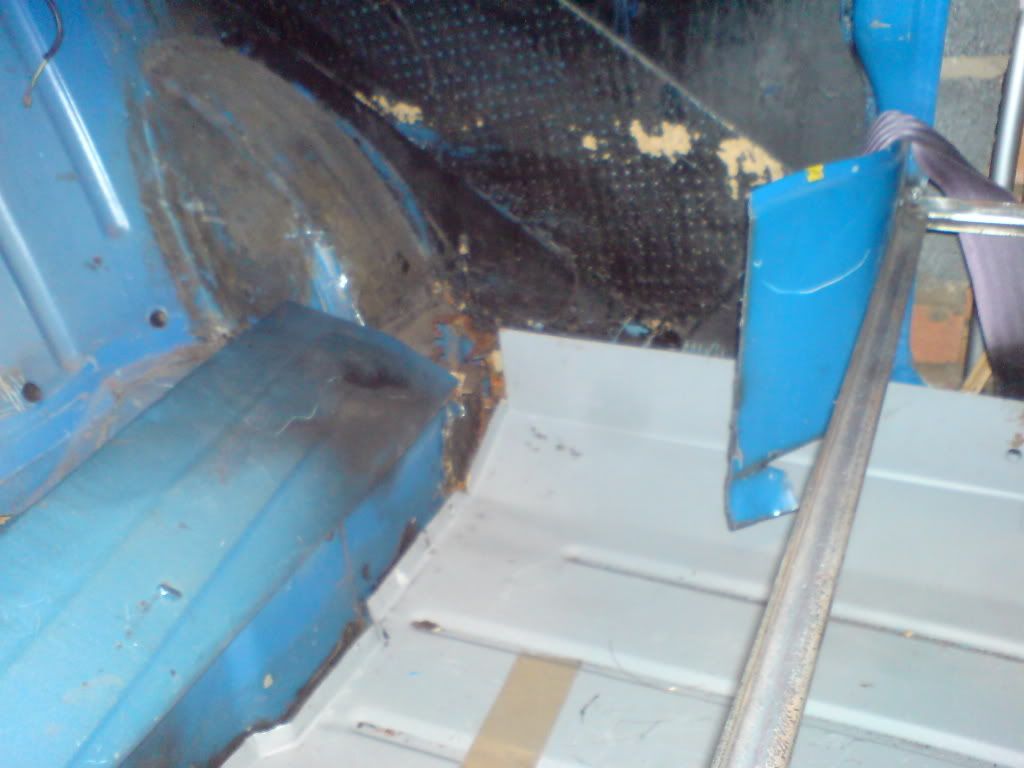
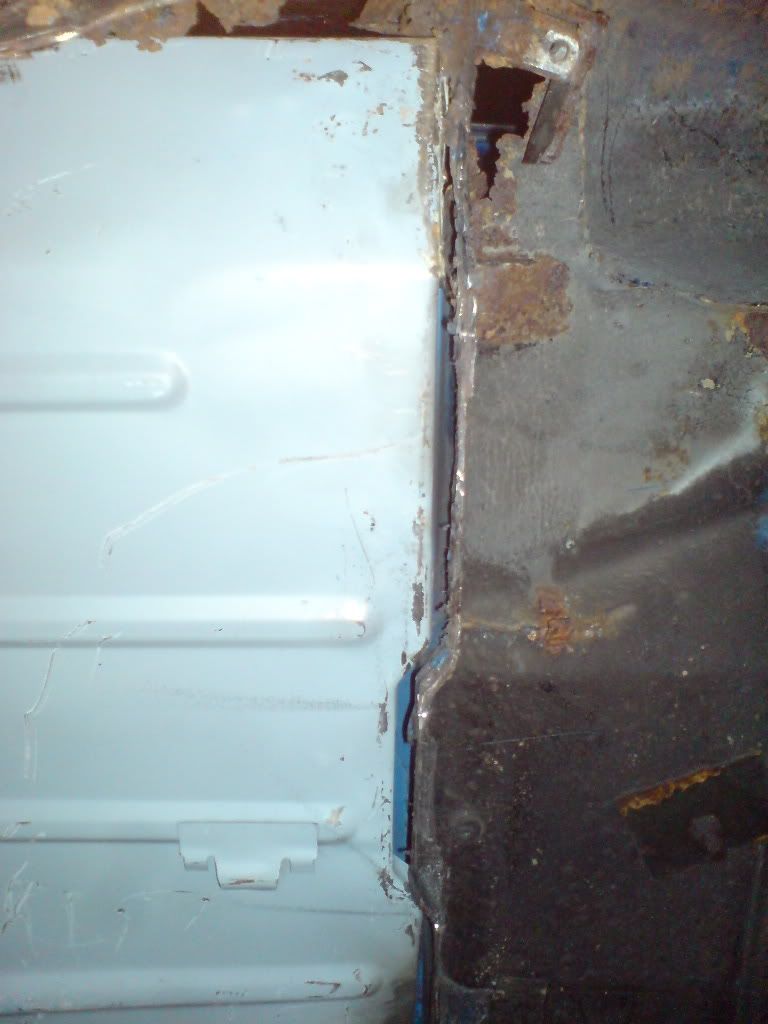
so after stripping her i asses the damages....
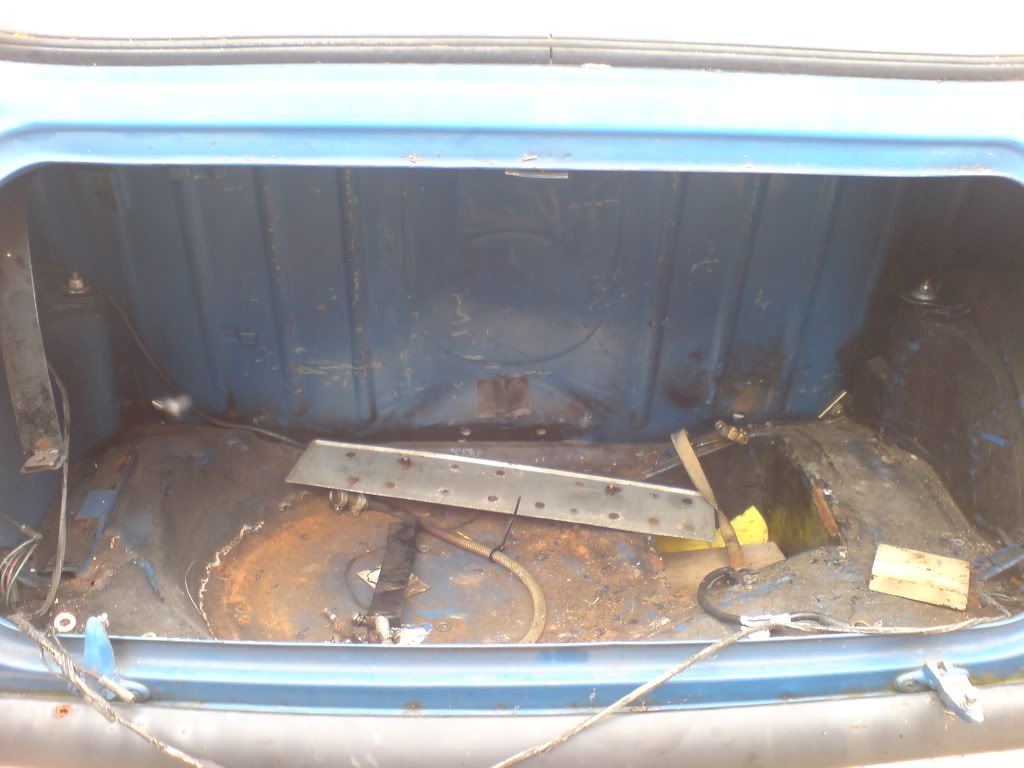
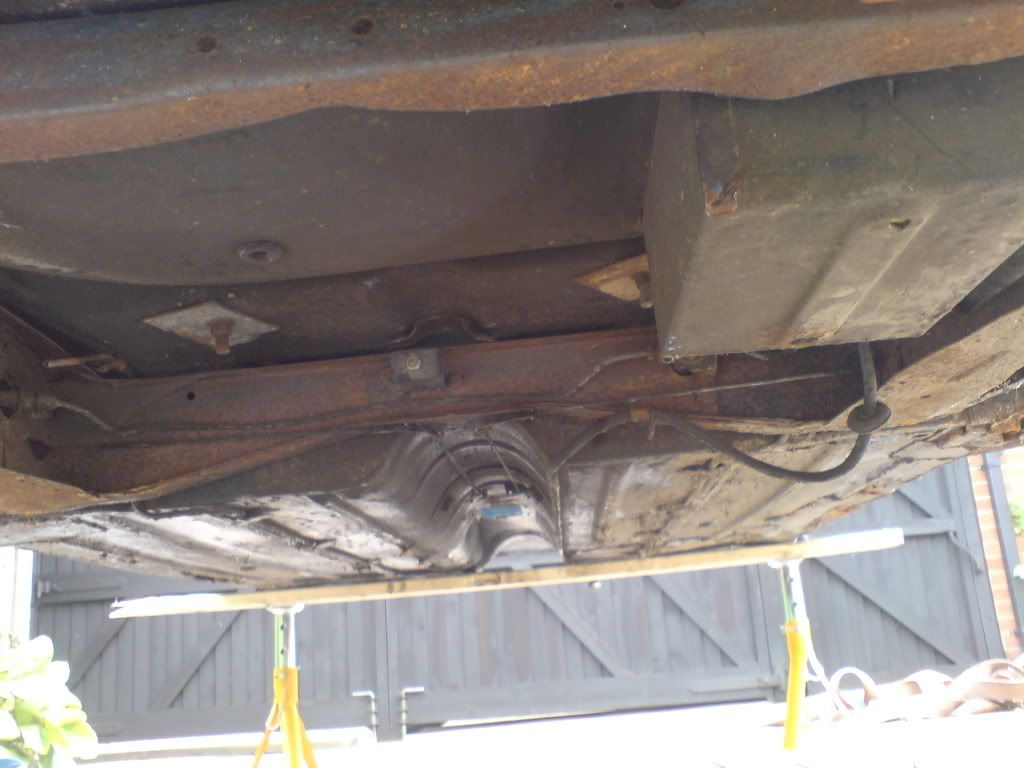
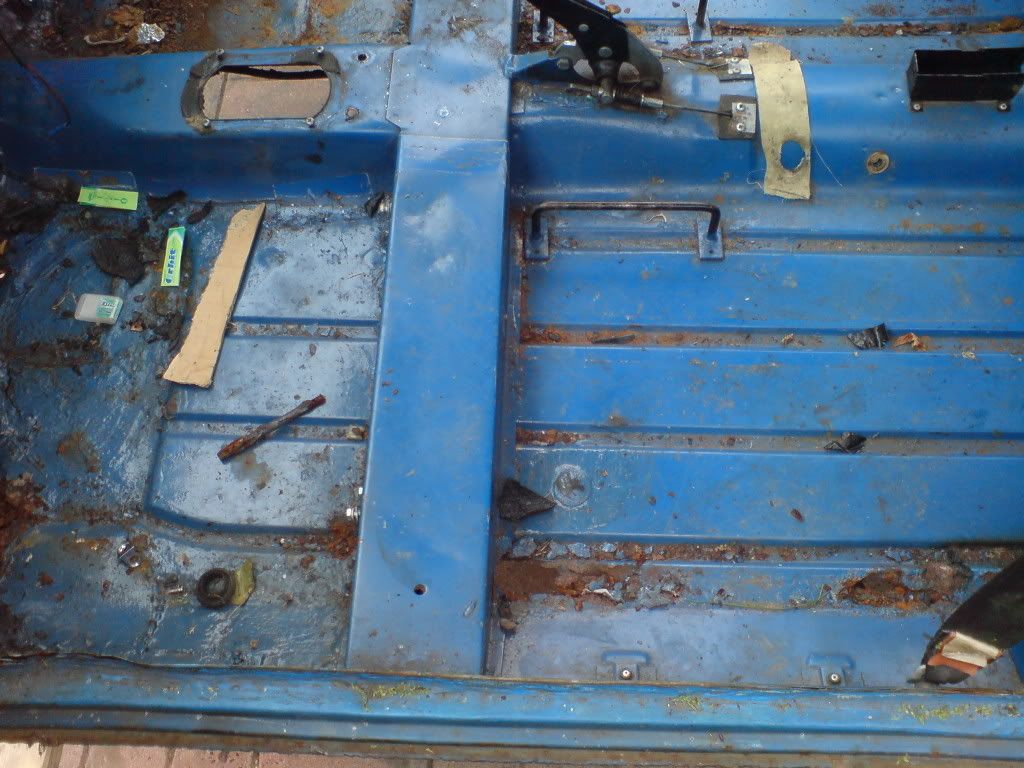
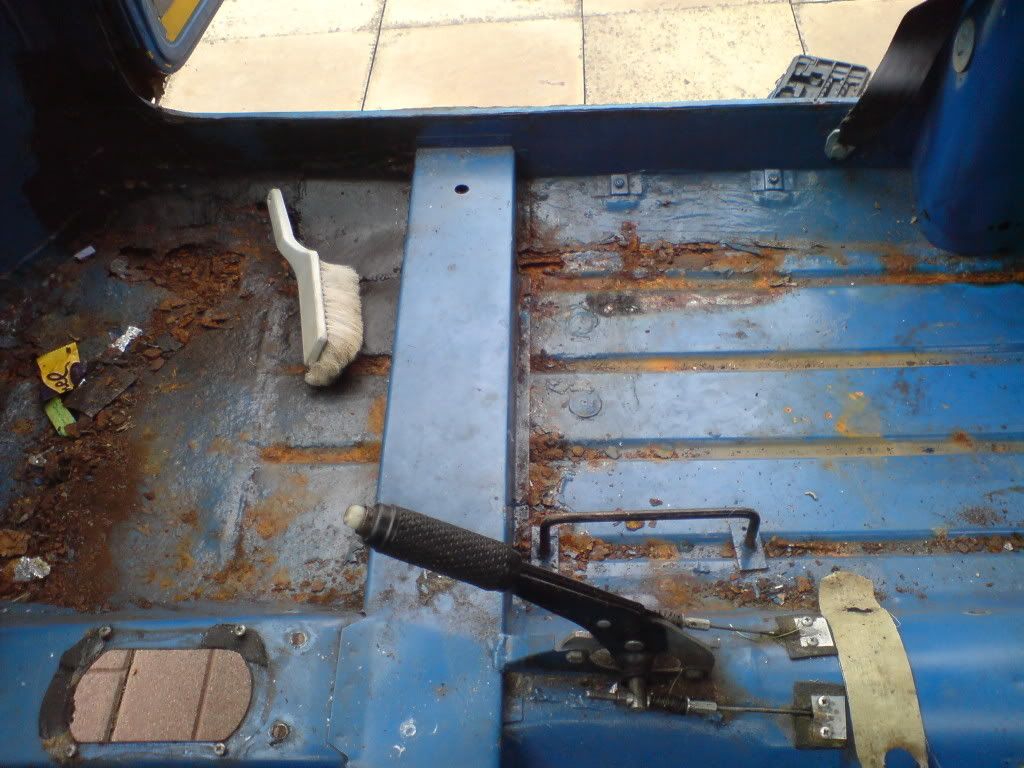
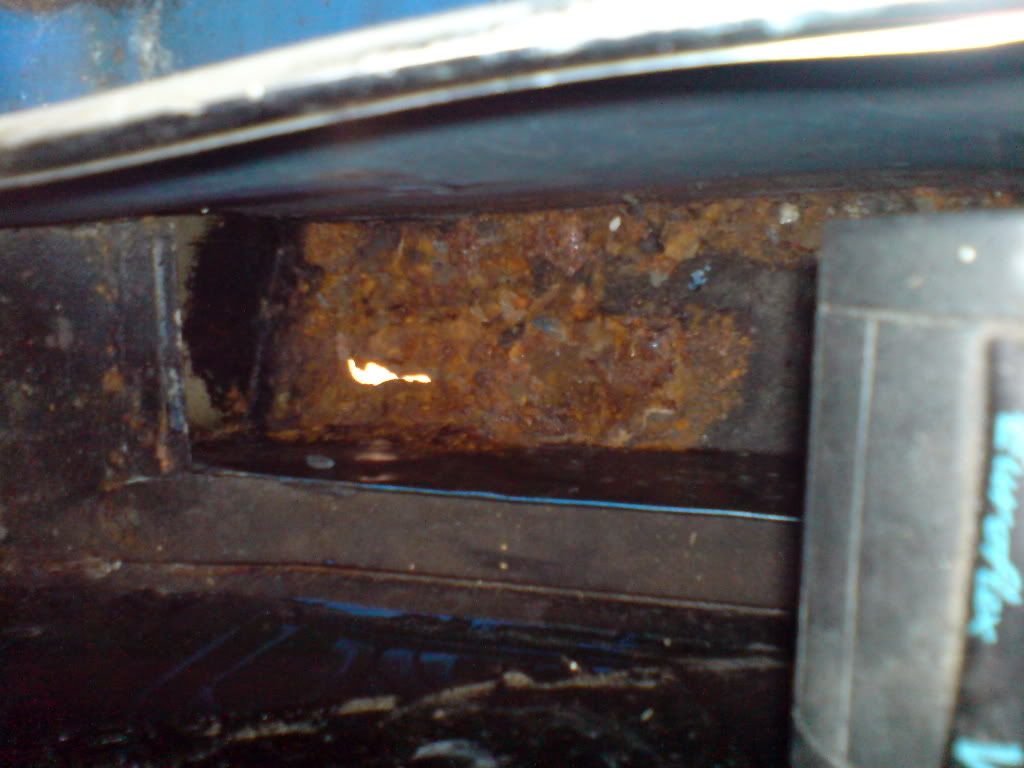
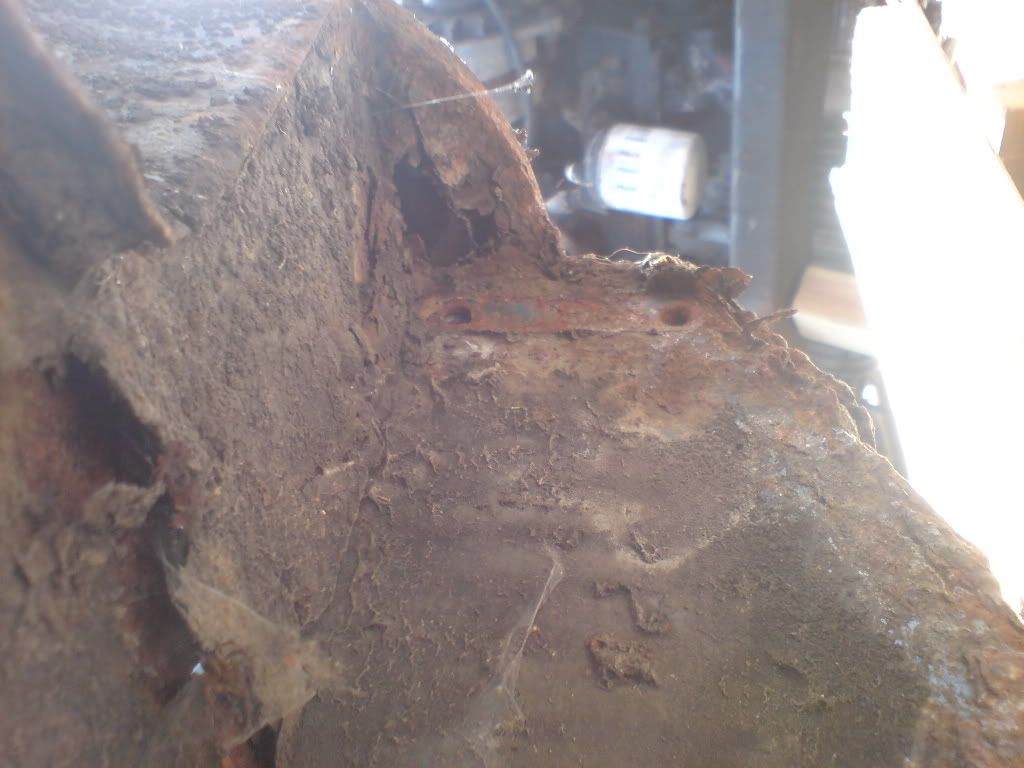
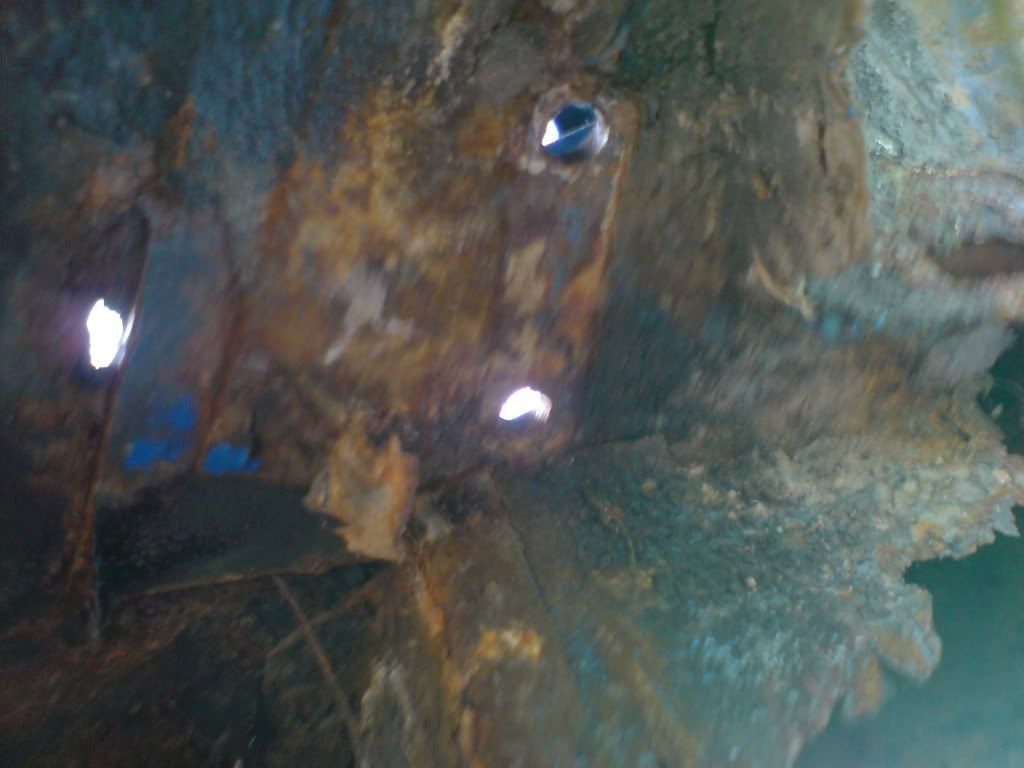
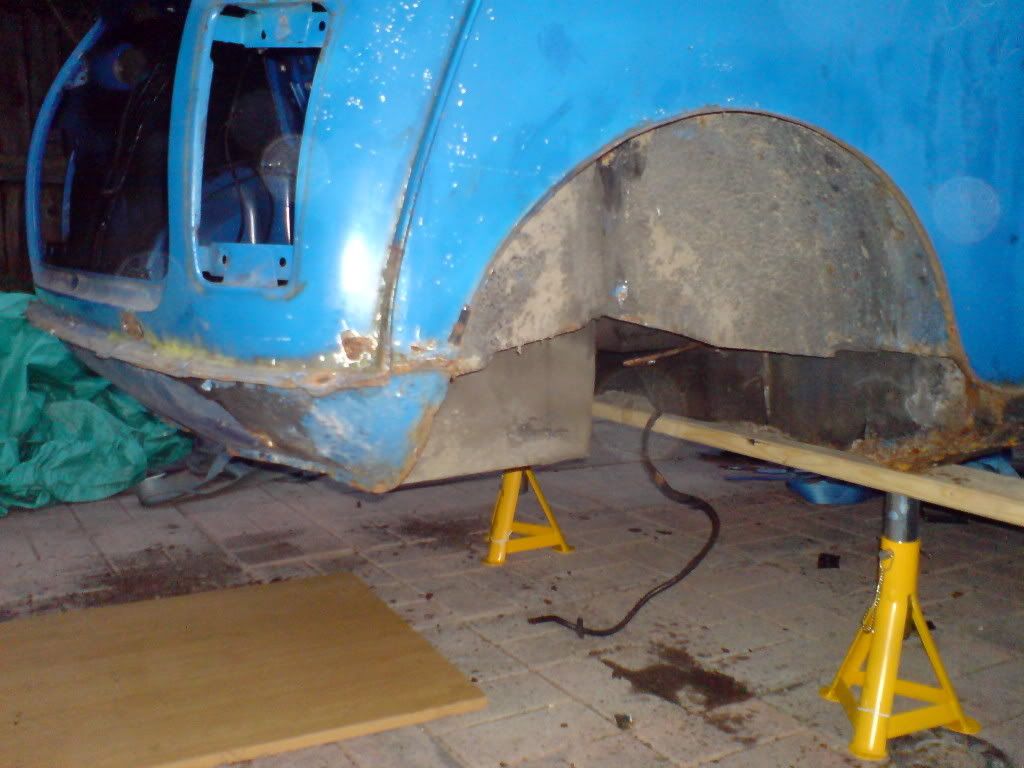
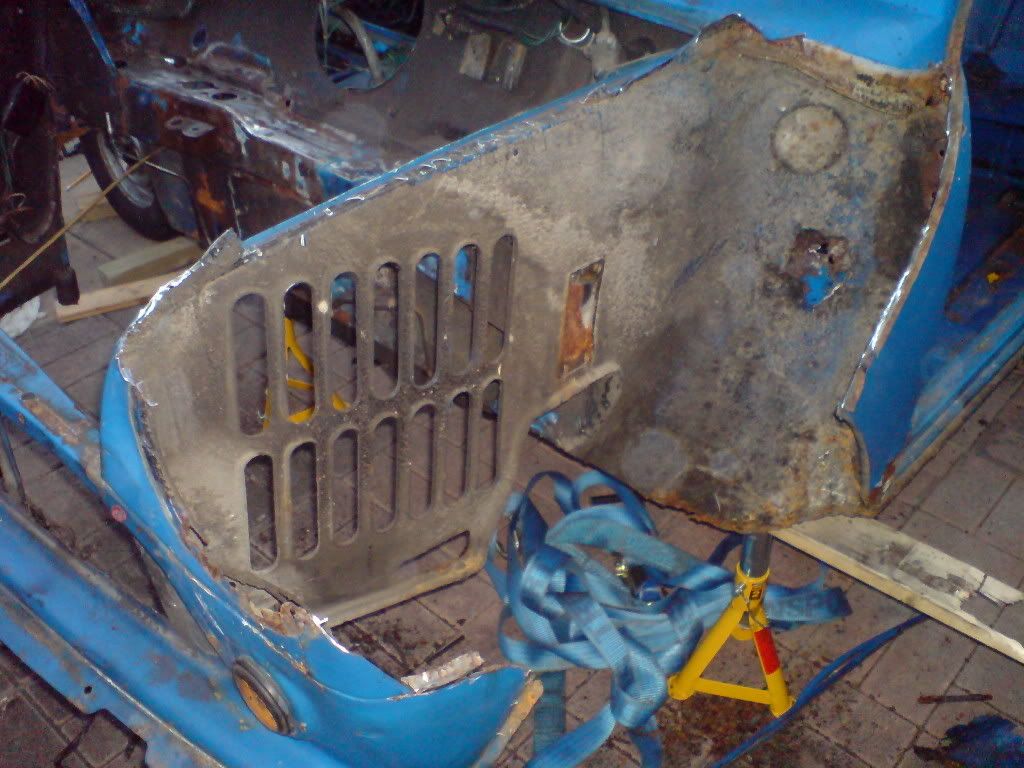
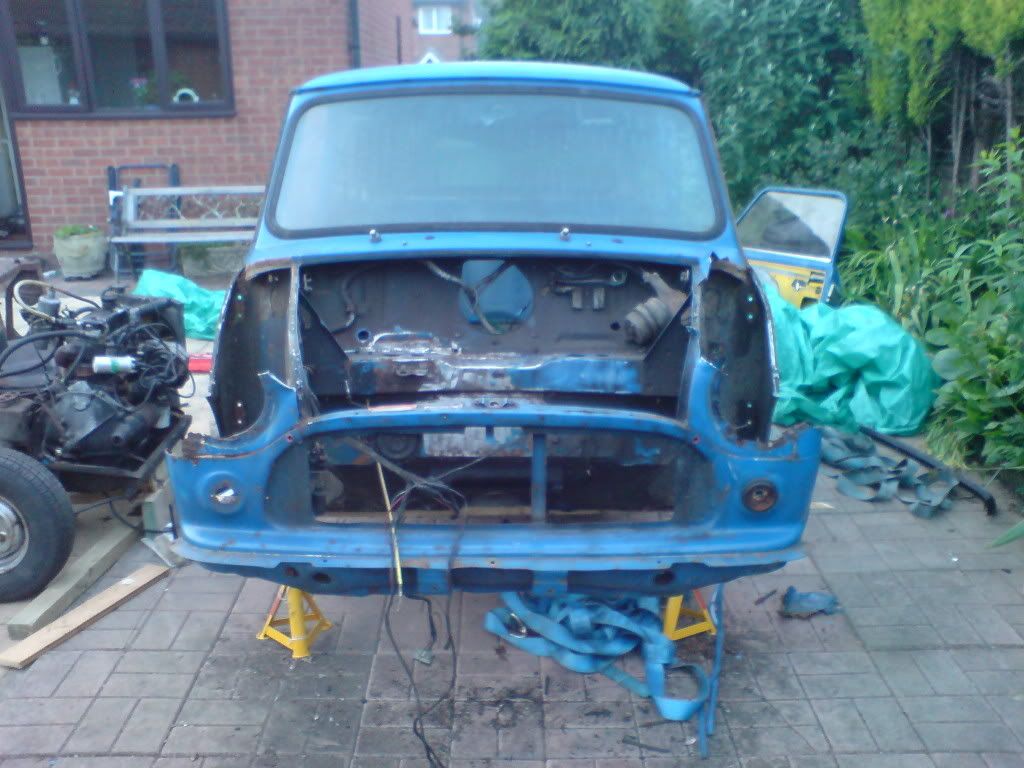
Posted Image
Posted Image
Posted Image
Posted Image
Posted Image
Posted Image
Posted Image
Posted Image
Posted Image
Posted Image
Posted Image
Posted Image
NOT GOOD! :gimme:

mess everywhere!
Posted Image

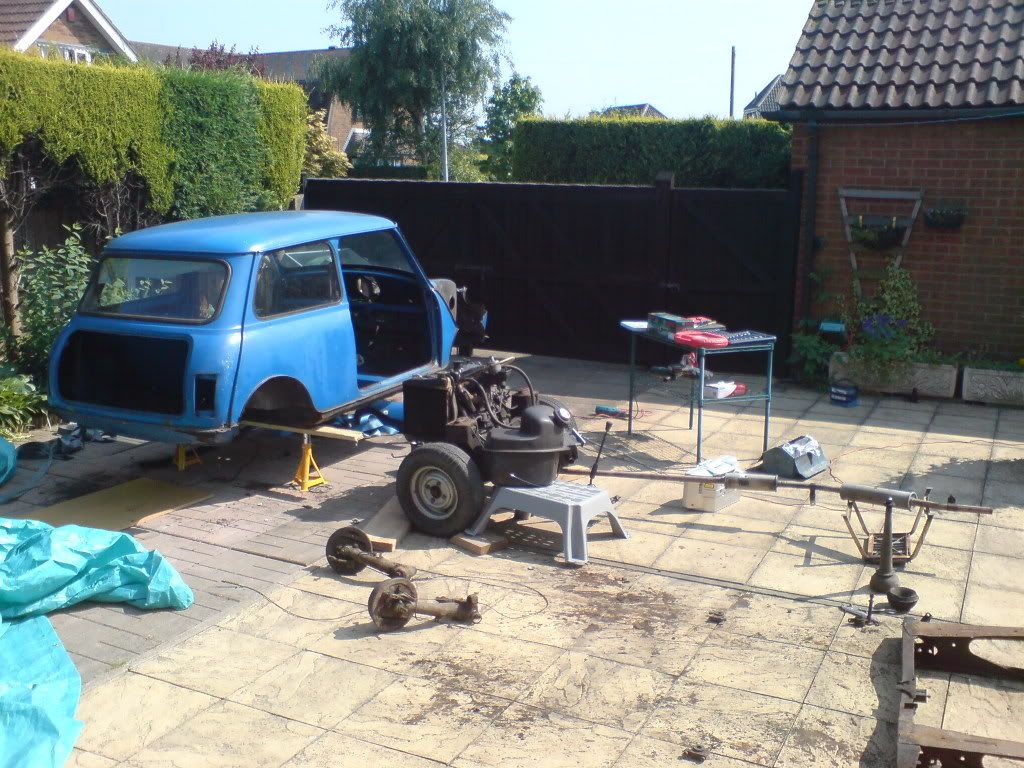
so the weather was good to me over june/beggining july then the storms hit us :gimme: couldnt do anything and parents were coming back!
action time

works ldv van great for the mini :) has a tail lift really helpful.... also forklifts are just a god send for stuff like this!
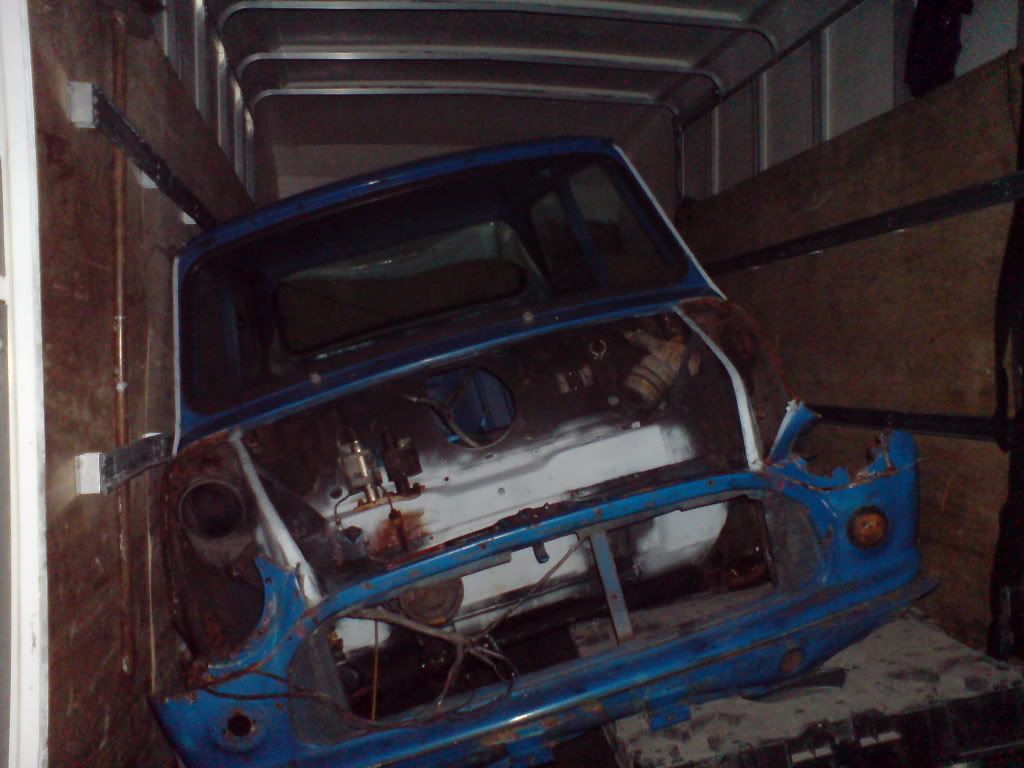
Posted Image
loads of room :o
Posted Image
Posted Image
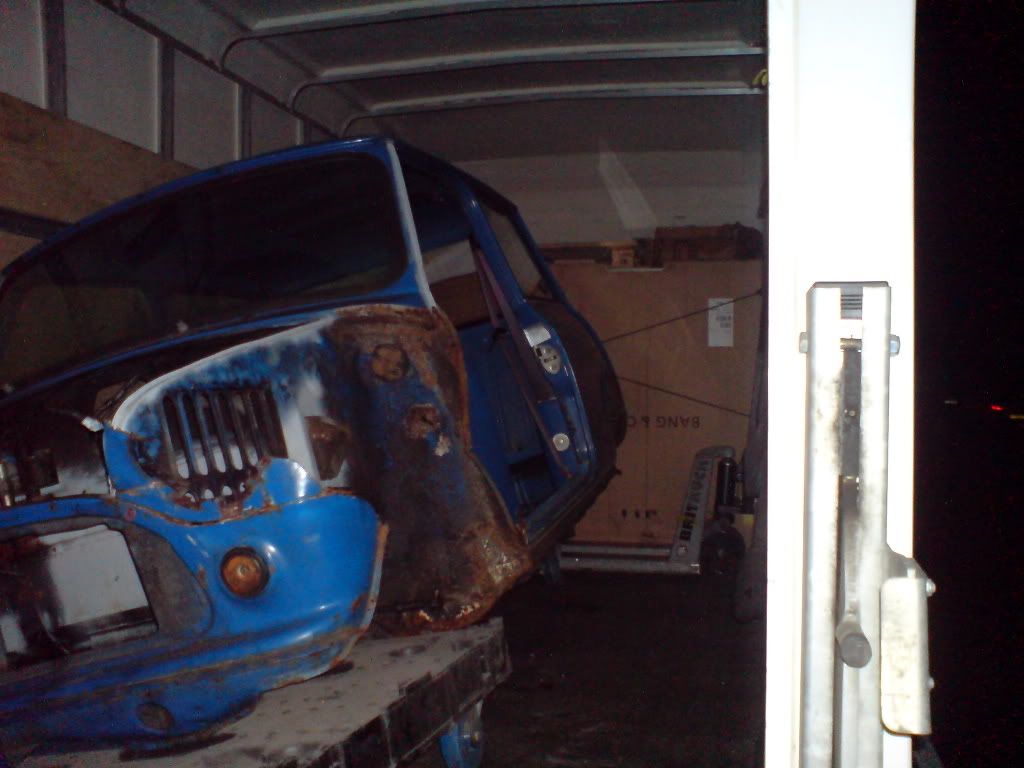
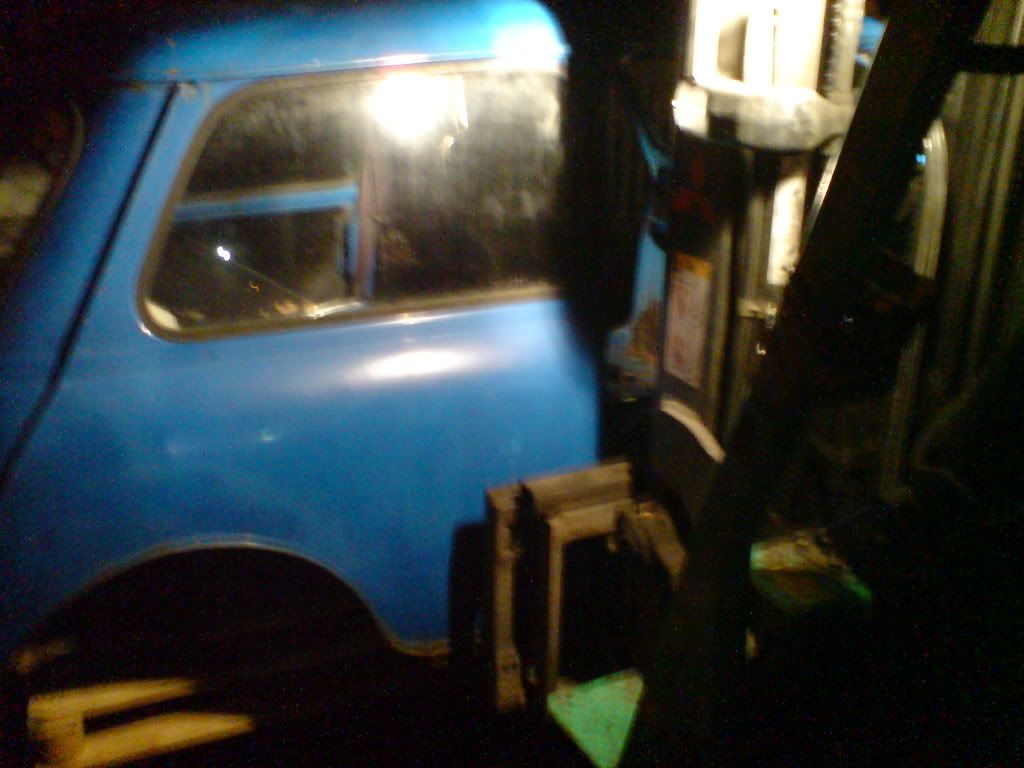
so i gets the car out of the yard and think where can i take it...... i know!! pip's lugged off to my work......

*NOTE* people get permission to bring mini's that you are working on to work.... lets just say they weren't impressed!!

so anyway parents come back and ask me what ive been up to in the yard.....

so i tell them the truth and they weren't happy aswell......

what is it about people!!! anyway back to the build (well moving atm!)

so pips been carried from joneys to my ex's house, then from the ex's to my house, then it's from there to my work, and now! parents say she's allowed to come back home!! yer i was knackered after this! late nites!!

at this point you would have expected your mate that helps you out to turn round and say f**k off aswell but he's a good friend and helped me move the car about

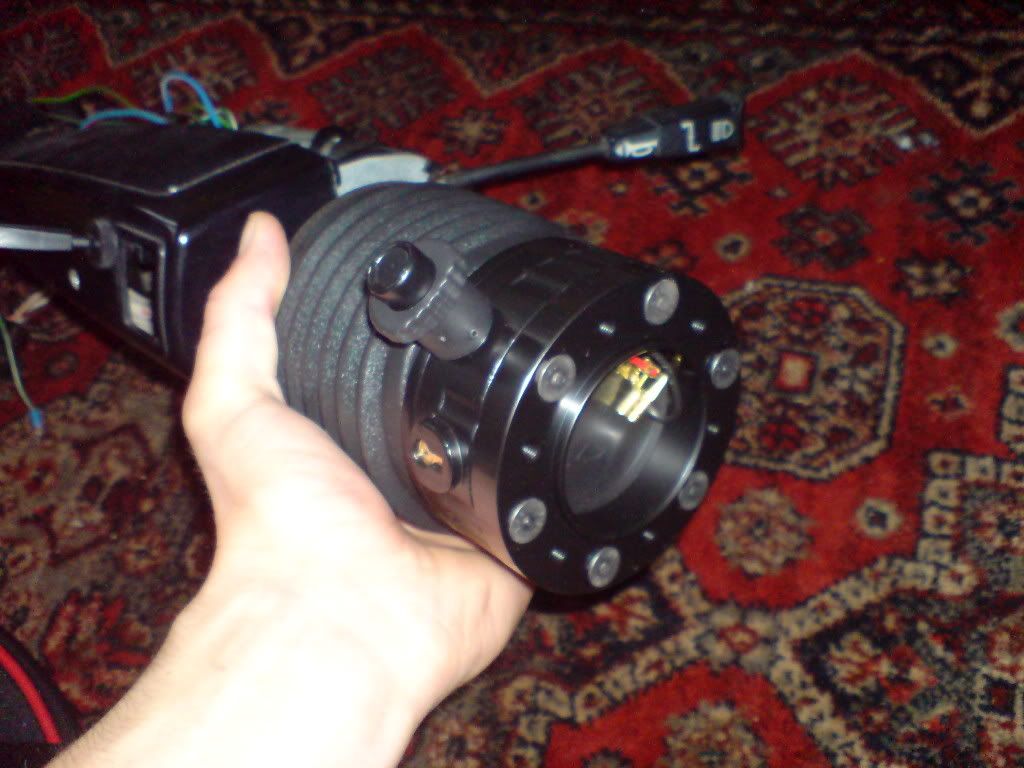
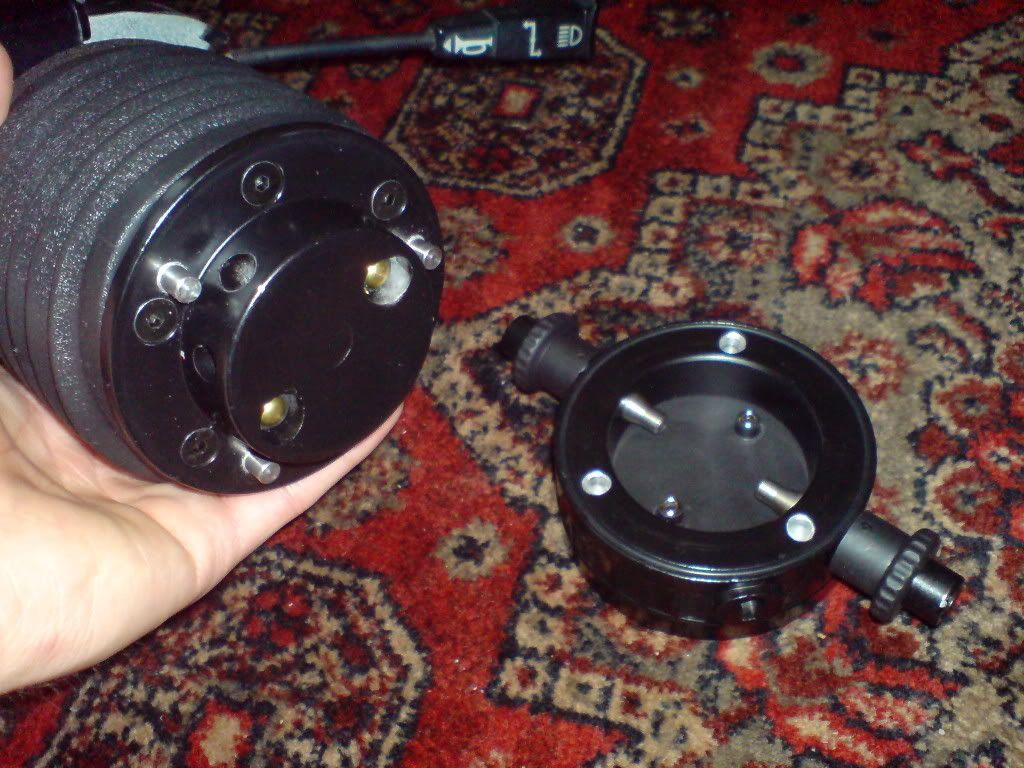
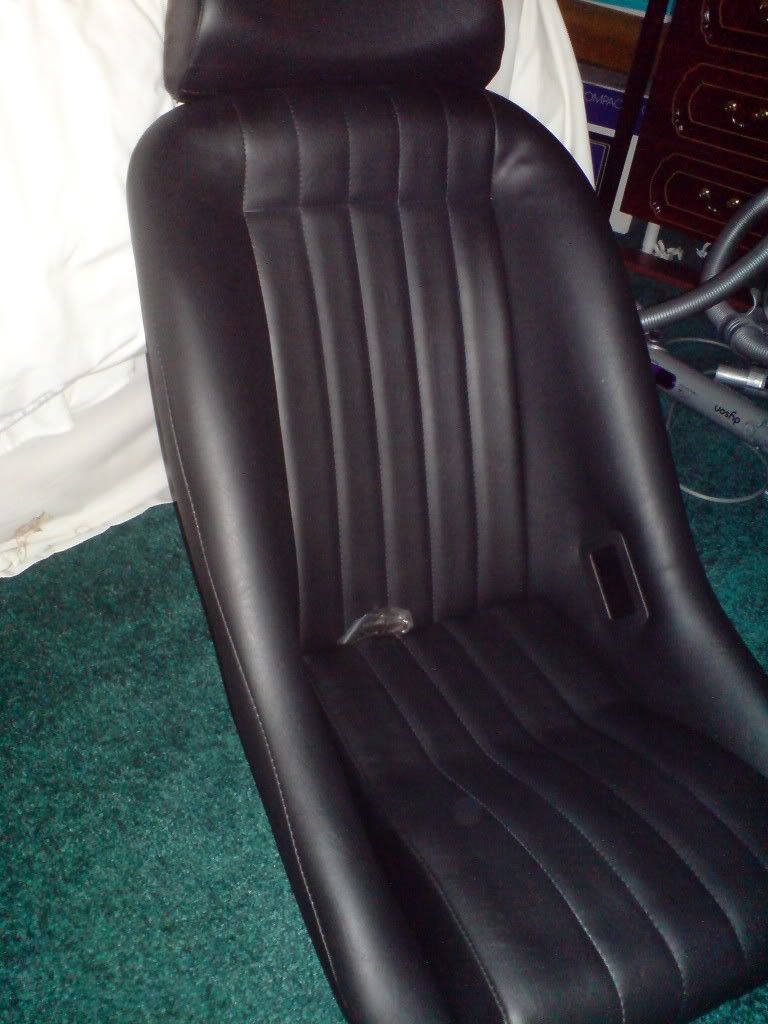
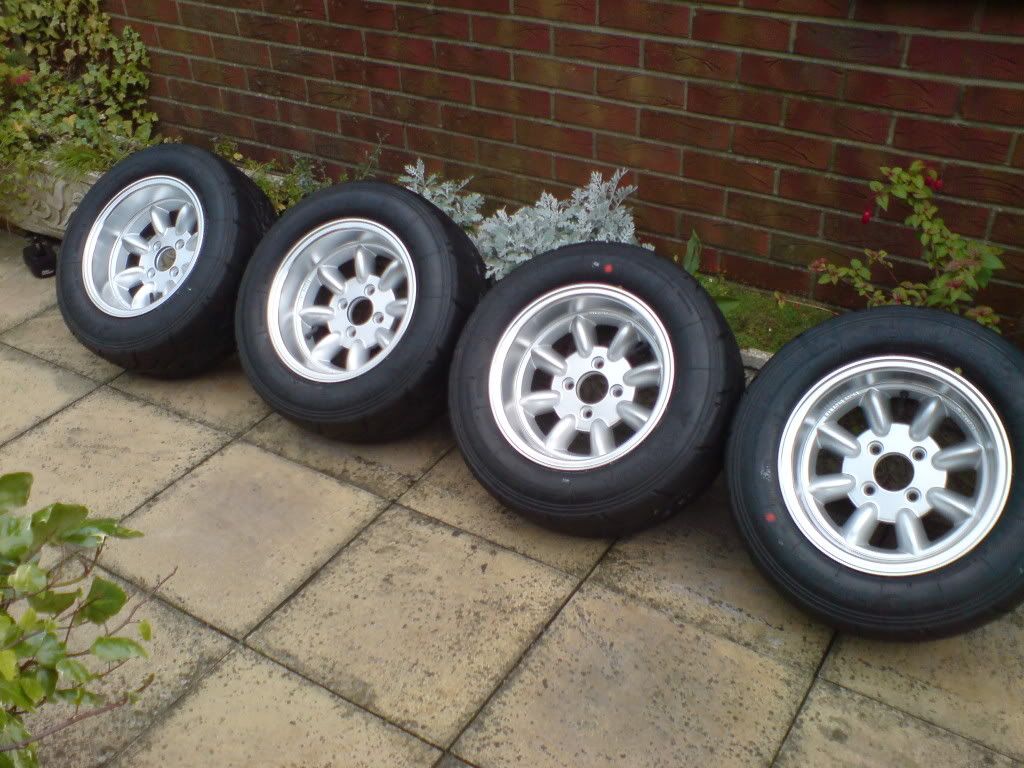
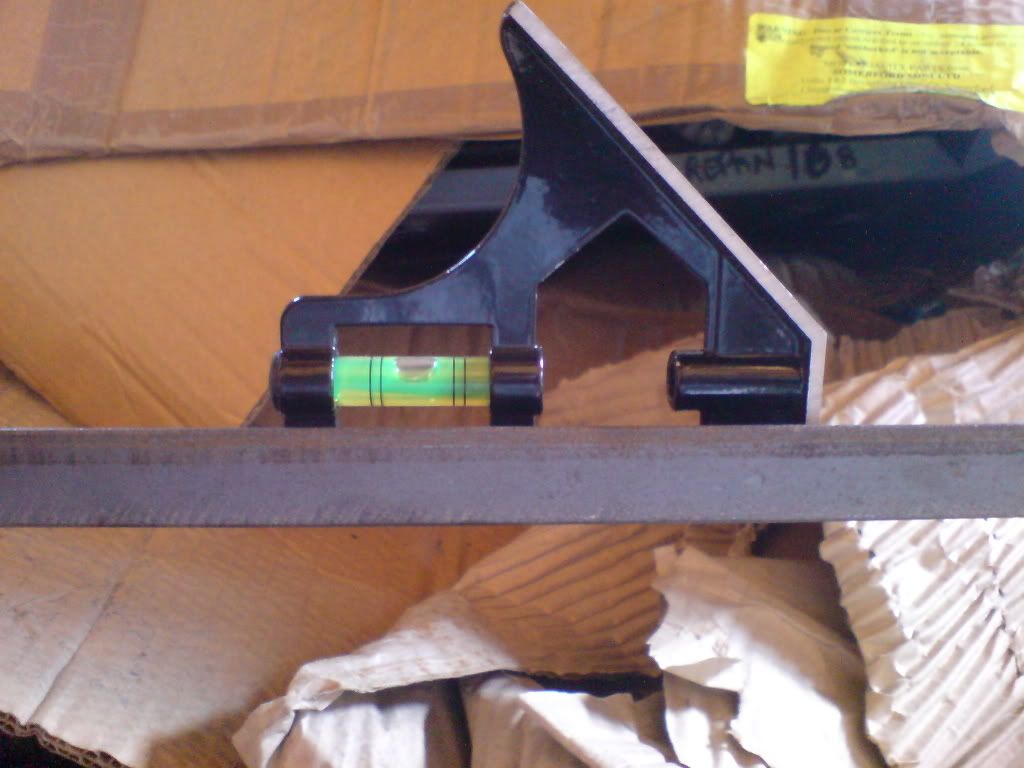
oh while the parents were away i bought a few toys as i foolishly thought i could get the car back on the road so here's my toys for her :D 
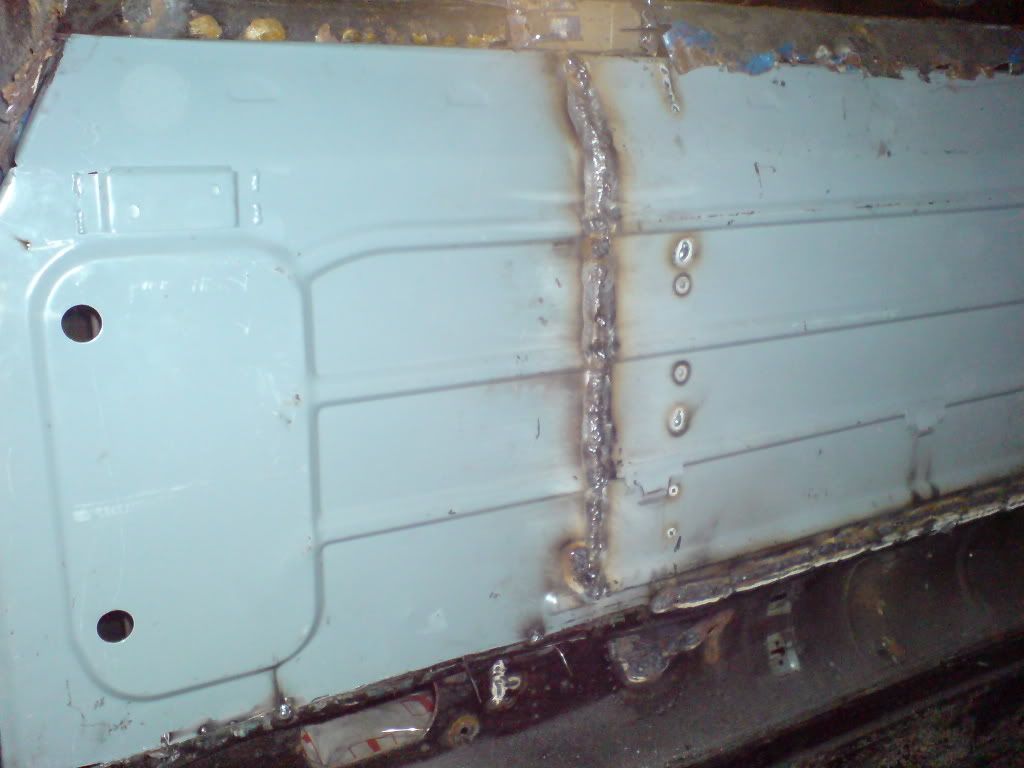
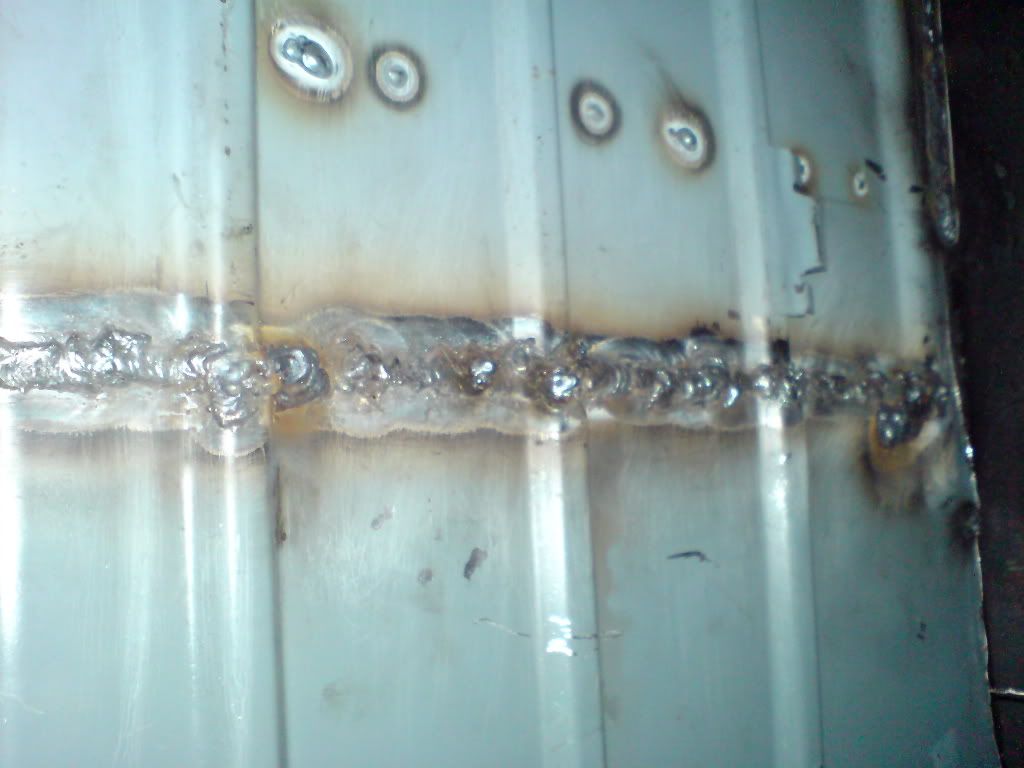
and i bought about 600 quids worth of panels.......

to be contd in next post..........

Edited by Daveuk, 09 November 2008 - 09:44 PM.


#2 Daveuk

Daveuk

    Speeding Along Now

  • Members
  • PipPipPipPipPip
  • 429 posts
  • Location: Lowestoft
  • Local Club: friendly with any mini people

Posted 02 September 2007 - 05:30 PM

Carrying on.....


boss hub with snap off kit :wub:
Posted Image
Posted Image

seats mmmm
cobra classic cs (harness in the side)
Posted Image

suspension :gimme:
Posted Image

wheels (pic doesnt do it justice! they are alot meaner in real life!)
Posted Image
by the way they are 205/50/13's... and will fit somehow :S just get to that bridge when i cross it!


isn't she pretty
Posted Image
ok as you can see where the caravan is and there's not much room in the yard as it is!!
Posted Image
^ parents idea about the gazzebo! (they are now supporting my on this project!)

so up to now the cars mainly been moved and stripped!

up till 2weeks ago there hasn't been much done on her as of the weather and the hours i work

so the parents once again tell me that she can now go in the garage!! (something i never thought would happen!!)
Posted Image

and last week i start work on her! and again i bought panels that i thought i was going to put on but are now on the landing in the house!! lol

so what have i been doing.....

well lets see

started to tubb the arches with a template made out of cardboard double thick so it won't bend......

Posted Image
Posted Image

and now arches marked out
Posted Image

this was done just before the car got moved into the garage.

Me dads car moved into the yard lol something i would have never had thought i would see!!!
Posted Image

the first thing to do is brace the car.... well its recomended
£10 for about 7meters of angline but ended up with more as the guys couldnt be arsed on a saturday to cut it to length :gimme:

Posted Image
nice and level
Posted Image

the cars braced and also cleared the inside out so all them panels inside are moved out and the floor cleaned up... turns out to be worse now that it was before :D

right now thats all done i started on replacing the passenger rear floor panel.... a task i am still stuck on today :s (oh dear...)

so mark it all out with the help of a laser :)
Posted Image

and end up with this
Posted Image

oh yer i also turned the car onto it's side (helpful on working underneath) but that didnt last long as i needed to put the car back on it's base again so the cars back to where it is started apart from it being on axel stands she's on blocks of wood....

but now ive found out the cross member needs doing first!!! god this is a pain in the arse doing one thing and being lead another way!

so cross member is off however i drilled to far and created a hole.... time to weld it up.....

********************WARNING MAJOR F**K UP BELOW********************


Posted Image

i screwed up...

Posted Image

and now it's ended up being a big hole to repair!!! all from blowing holes!

Posted Image

so today its taken me a good few hours to write this post up and get all the pics sorted, hope you all have enjoyed my story of this year so far.....

future plans well.... get this body work sorted out and then decide what engine i'm putting in :o

thanks all

Dave and pip

#3 Daveuk

Daveuk

    Speeding Along Now

  • Members
  • PipPipPipPipPip
  • 429 posts
  • Location: Lowestoft
  • Local Club: friendly with any mini people

Posted 04 September 2007 - 05:28 PM

update for you all.

yesterday got more done :)

got the floor pan and passenger crossmember tacked in, just need align it in for final weld then on to the sills

pic coming later as im at work atm

later

Dave

************* Here's the pics as promised. *************

Not much done over the past few days as i've been working random shifts and the time i finish work it's late and the neighbours wouldn't like the noise :lol:
Posted Image

Posted Image

Edited by Daveuk, 11 September 2007 - 01:12 AM.


#4 miniallsort

miniallsort

    Up Into Fourth

  • Members
  • PipPipPipPipPipPipPipPipPip
  • 4,723 posts

Posted 07 September 2007 - 10:21 AM

wow great work mate looks wkd alreaddy love the wheels

#5 Daveuk

Daveuk

    Speeding Along Now

  • Members
  • PipPipPipPipPip
  • 429 posts
  • Location: Lowestoft
  • Local Club: friendly with any mini people

Posted 07 September 2007 - 02:44 PM

cheers mate brought a smile to my face as today i just had enough of the car!!

it's getting this to to fit flush up to the rear!!

Posted Image

As you can see there's a gap which needs closing, it's about 5-7mm gap :wacko: =] so i'm not a happy bunny

idiot me has tacked the panel in place and it won't budge even after trying to get the welds off! lol also i spent most of the 2 hours i worked on the car moving it onto it's side again....

anyone got their spare A frames knocking about i can borrow, i'm on nights tonight and wont be getting up early tomorrow so nipping down to the metal merchant is not possible

anyway cheers

Dave

#6 Daveuk

Daveuk

    Speeding Along Now

  • Members
  • PipPipPipPipPip
  • 429 posts
  • Location: Lowestoft
  • Local Club: friendly with any mini people

Posted 10 September 2007 - 06:47 PM

ok so i was pissed off with the car so i left it for the weekend (that and the fact i was getting up at 2 in the afternoon ;) )

so today i thought id better get back on track

this is about 5 hours work done on the car, took the floor pan out finally got it cut down abit and re alined it fitted better this time, tack in place and then started my first attempts at welding...... it went from good to bad to worse to ok to good to oh god!!!! but no holes blown this time :o:D:D:D and the panel is in :ermm: :P

oh and also turn the car back off its side then back again!! it's getting easier or im just tooo use to flipping this car over now!

Posted Image

Posted Image

Posted Image

also patched some holes i blew last time with the welder ;)

Posted Image

and the roof had some surface rust so i thought while the panel cools down i grind them down and apply some primer over to tidy it up. also the gutter was given a hand wire brush and hover

:thumbsup:

well happy today

Dave

#7 Bungle

Bungle

    Original Spamster

  • Members
  • PipPipPipPipPipPipPipPipPipPipPip
  • 28,971 posts
  • Location: Cornwall
  • Local Club: cornish mini club

Posted 10 September 2007 - 07:58 PM

is it just 3 of us that can see this project ?

keep up the good work

#8 Cactus

Cactus

    Stage One Kit Fitted

  • Noobies
  • PipPipPip
  • 74 posts

Posted 10 September 2007 - 11:26 PM

Well done for bringing an old un back to life :o What mk/model is she? I'd be guessing at a mk2 by the rear lights and center dials?

#9 Daveuk

Daveuk

    Speeding Along Now

  • Members
  • PipPipPipPipPip
  • 429 posts
  • Location: Lowestoft
  • Local Club: friendly with any mini people

Posted 11 September 2007 - 01:13 AM

bungle
what you mean just the 3 of us seeing this project? hope everyone can see her!!!! or else all my effort im showing is goin to waste!

cactus
she is a 1976 leyland mini 850cc the cross over point from mk2 to mk3, i was lucky to not have hydro elastic suspension on her! :o

oh by the way people if you notice the white speckles on the rear near the back lights it is filler........... about 2inch's of it! think the car had been in an accident! and they tried to hide it! but also got speckles on the passenger rear quarter.... so im expecting the worst.... when i get rouhnd to that panel i'll let you all know.

Dave

#10 Daveuk

Daveuk

    Speeding Along Now

  • Members
  • PipPipPipPipPip
  • 429 posts
  • Location: Lowestoft
  • Local Club: friendly with any mini people

Posted 11 September 2007 - 06:59 PM

ok so another day at the office :gimme: i mean car and i finally got the front panel in :xxx: :gimme: so that the passenger side of the floor done, well just need to well the floor in on the inside but im cuffed at the amount of work i did.

welding starting to go well (thought i was getting the hang of it then i started blowing holes :gimme:

Posted Image

chop chop thats how bad it is under there!

Posted Image

job done :w00t:

Posted Image

Posted Image

(althou it looks worse than in the photo :)

now it's on to the inner and outer sills

#11 miniallsort

miniallsort

    Up Into Fourth

  • Members
  • PipPipPipPipPipPipPipPipPip
  • 4,723 posts

Posted 11 September 2007 - 08:39 PM

wow great work mate

#12 Mephiston

Mephiston

    Speeding Along Now

  • Members
  • PipPipPipPipPip
  • 386 posts
  • Local Club: London and Surrey

Posted 11 September 2007 - 08:50 PM

wow your really getting stuck in with this, keep at it those welds are looking better - and go over and grind them down after and they will look all pretty :xxx:

#13 Guest_ratty_*

Guest_ratty_*
  • Guests

Posted 12 September 2007 - 08:15 AM

Posted Image


To help to stop blowing holes, get the gap between the panels much closer together before welding. Then get someone to hold a heavy metal block behind the join as you tack weld (a lump hammer will do) this will disipate the heat from welding and helps to stop burning through

If your not already using .6mm welding wire do so as you need less current

When cleaning the surface to weld use a knot wire brush on the grinder instead of a grinding disc as it wont reduce the thickness of the metal you wish to weld

Pulse the welder on thin panels instead of trying to weld a continous seam, do an inch then stop and repeat after its cooled

Finally setting up the welder turn all switches to their lowest settings and gradually turn up the wire feed until you get a good weld on a test piece, if you cant get a good weld by the time the wire feed is at 50%, lower the feed turn one switch up and then repaet until you can get a good weld with the lowest settings of the welder

Good luck with the mini

#14 Daveuk

Daveuk

    Speeding Along Now

  • Members
  • PipPipPipPipPip
  • 429 posts
  • Location: Lowestoft
  • Local Club: friendly with any mini people

Posted 12 September 2007 - 01:49 PM

cheers people :w00t:

yer i want to crack on with her and get this body sorted out then relax.

just been grinding the welds down roughly then i will be going over with a 80 grit flap disc, I've stopped atm as me ears are hurting (really should find then ear defenders before i start again)

Ratty cheers for the advice mate REALLY appreciated and helpful, you've reminded me of what needs doing for a proper weld

Pulse the welder on thin panels instead of trying to weld a continuous seam, do an inch then stop and repeat after its cooled

this is the technique I've been shown and it works well but yer I'm trying to find the sweet spot settings and i think i have it it's just now and again I'm doing a quality weld but it will then blow holes!!! think its down to the panels being apart like you said. i do hammer them together and also push down on them to tack them close.

i know i should clean and prep the metal but i haven't done that :gimme: :xxx: i think i should from now on!

once again thank you guys this has lifted me again :) was hoping to get another panel on today but it's more down to tidying the welds i have done today/yesterday up

pics to follow later

#15 Cactus

Cactus

    Stage One Kit Fitted

  • Noobies
  • PipPipPip
  • 74 posts

Posted 12 September 2007 - 06:36 PM

oh by the way people if you notice the white speckles on the rear near the back lights it is filler........... about 2inch's of it! think the car had been in an accident! and they tried to hide it! but also got speckles on the passenger rear quarter.... so im expecting the worst.... when i get rouhnd to that panel i'll let you all know.


Oh good old POS (Previous Owner Syndrome) at work then! :) Thats how my wings ended up being PAPER MACHE on Sid, the poor bugger...

Its certainly inspiring to see someone who's never welded just have at it and restore a shell that, in all fairness, was pretty well gone. I'm in the same position as you, need to pull my finger out and get cracking on with the welding, but i've had loads of trouble with my auto-dim mask breaking, just gonna shell out for regular one i think so i can get cracking.

Well done :P


1 user(s) are reading this topic

0 members, 1 guests, 0 anonymous users