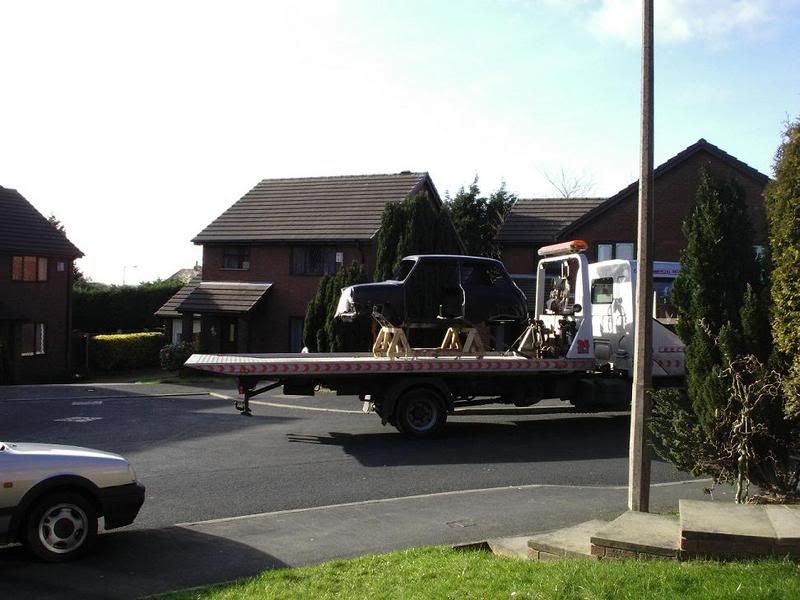
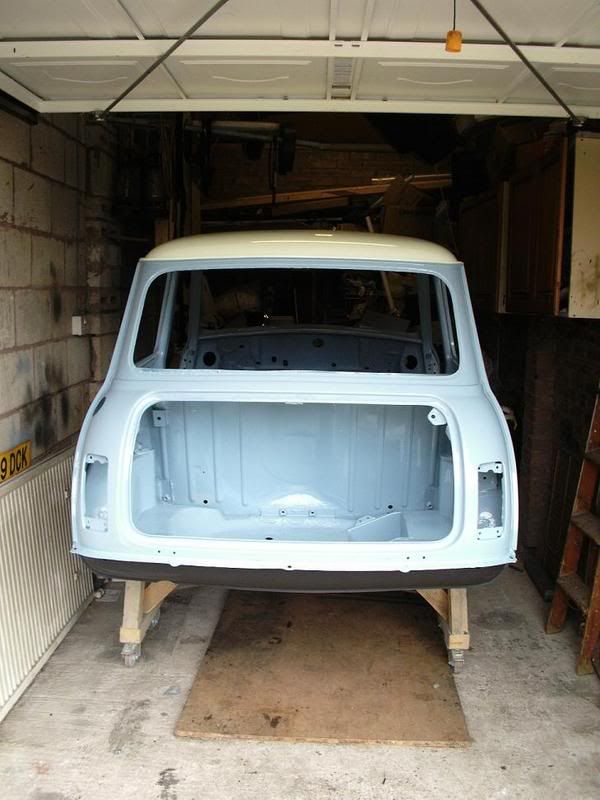
This is how it orginally looked, it was taken off the road for door steps and the front end.


It started to look alot worse than i was expecting.


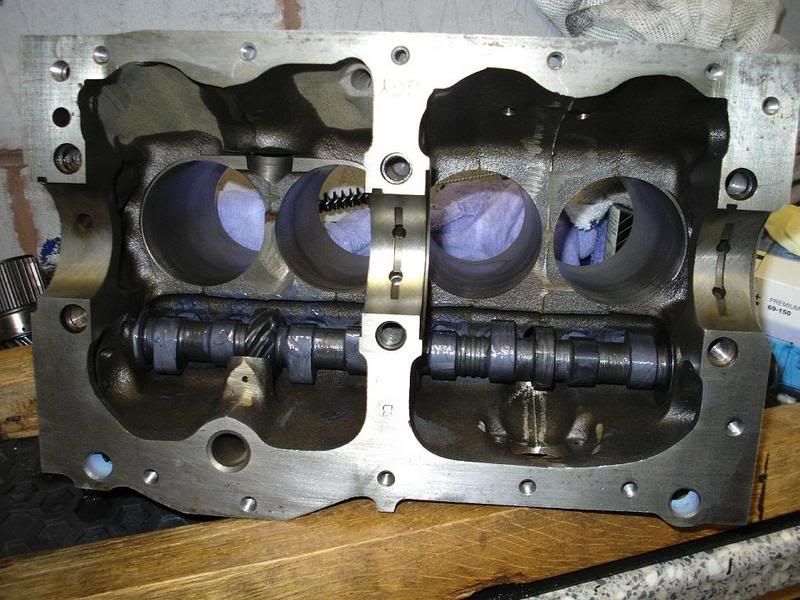
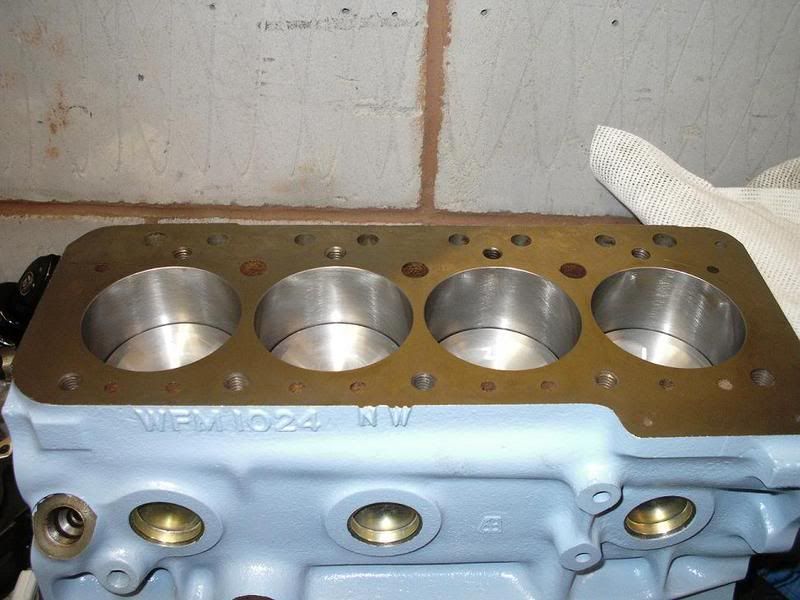
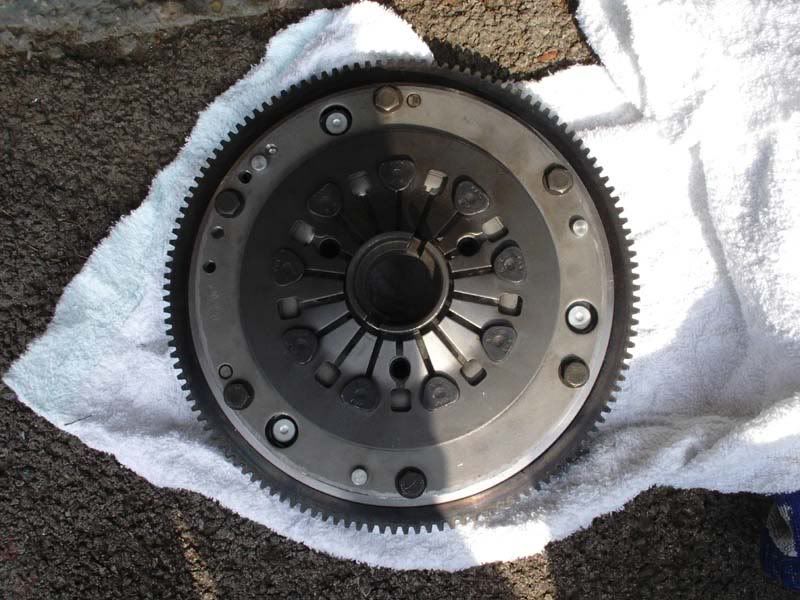
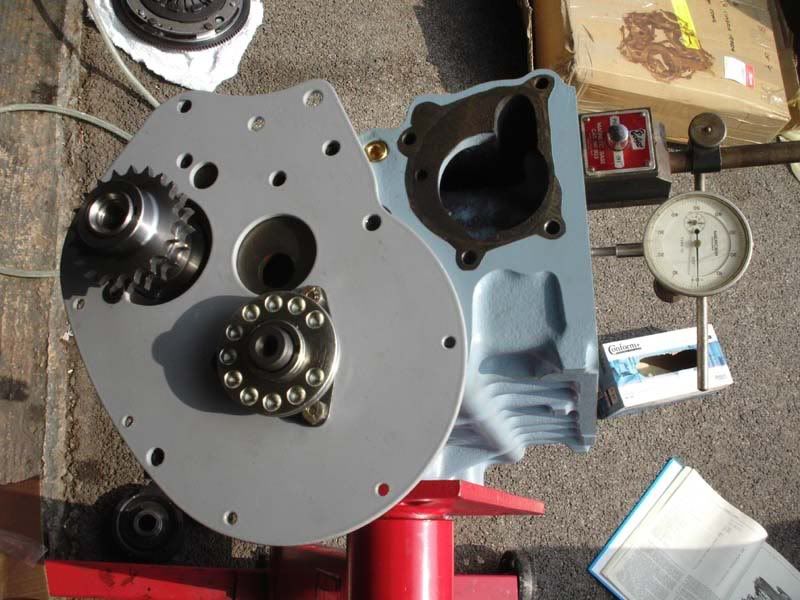
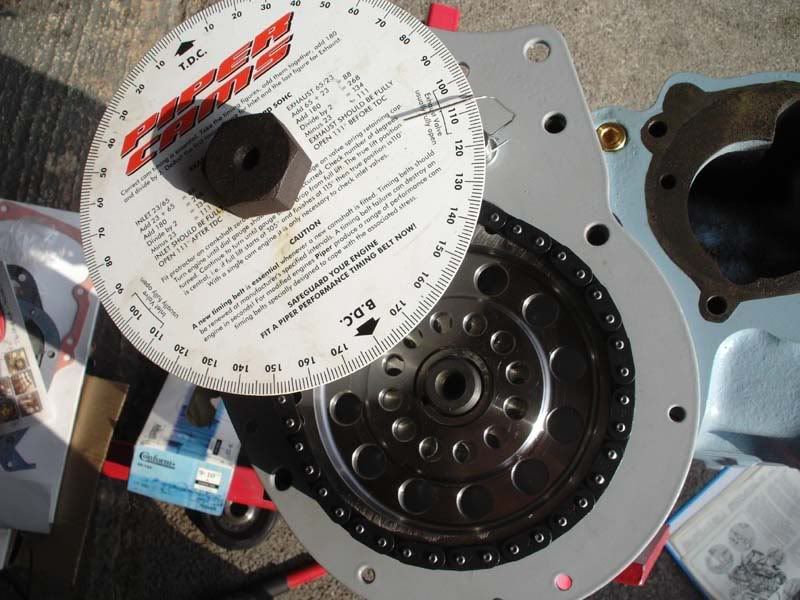
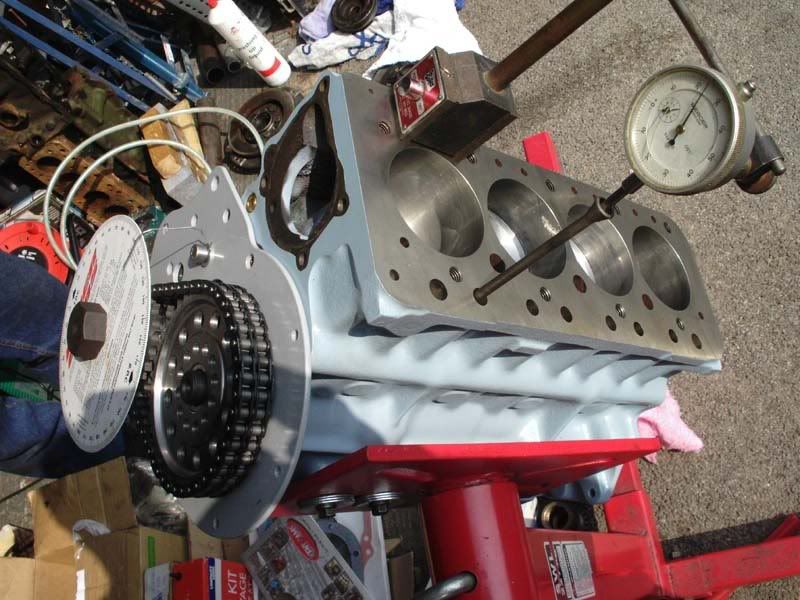
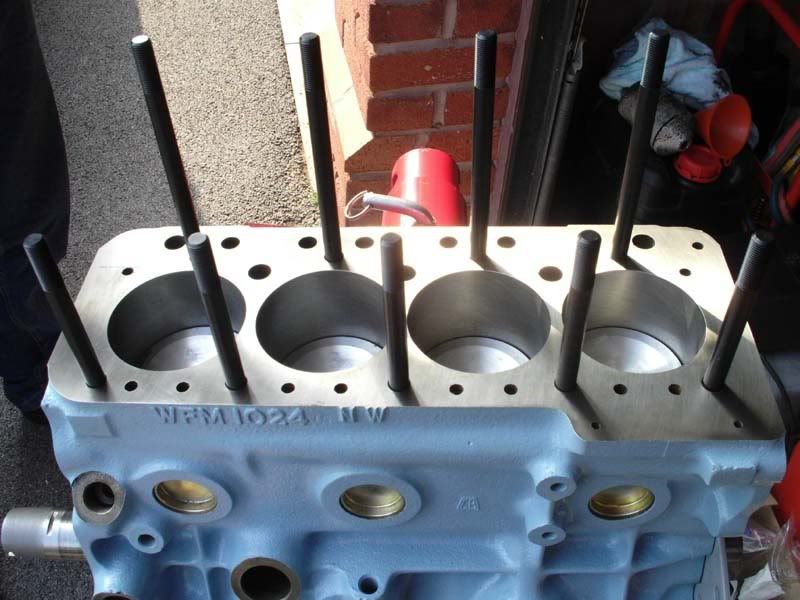
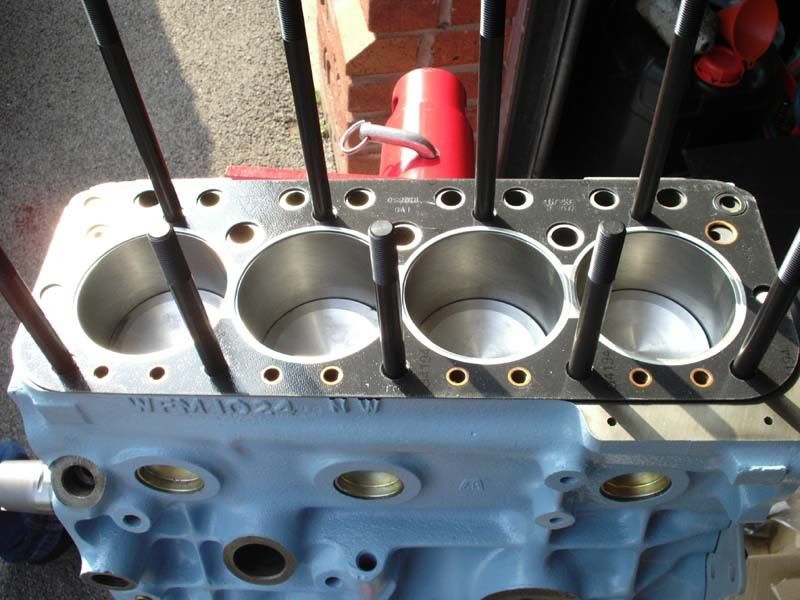
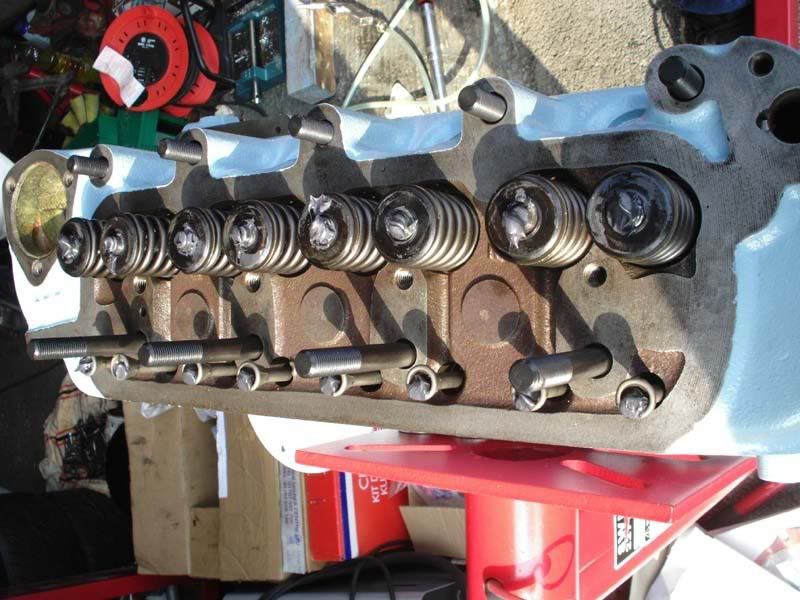
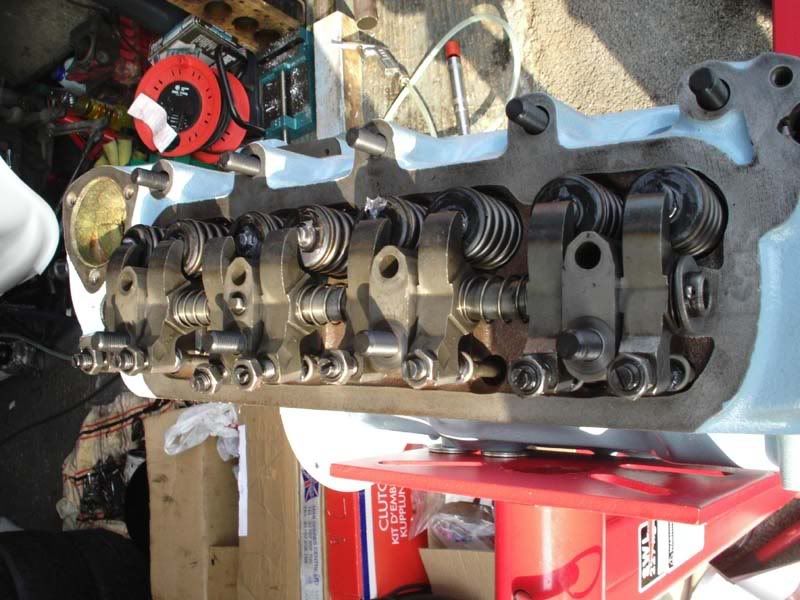
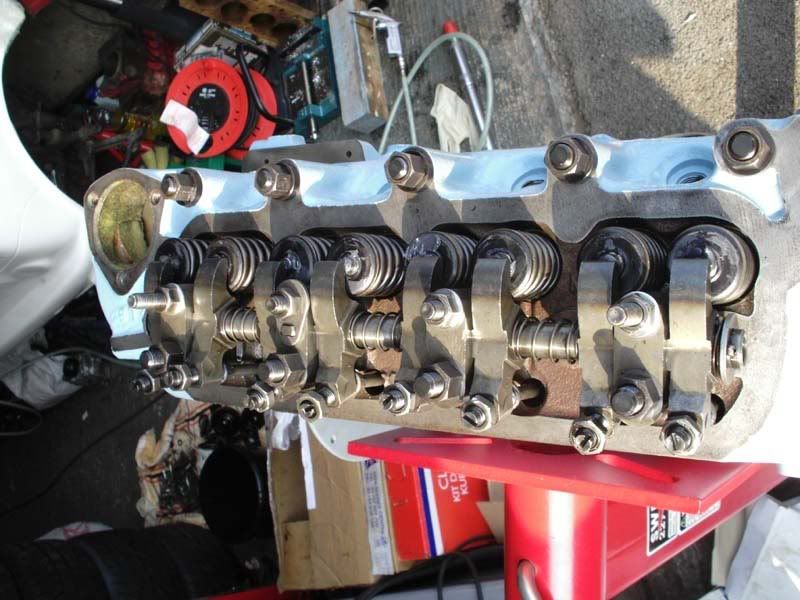
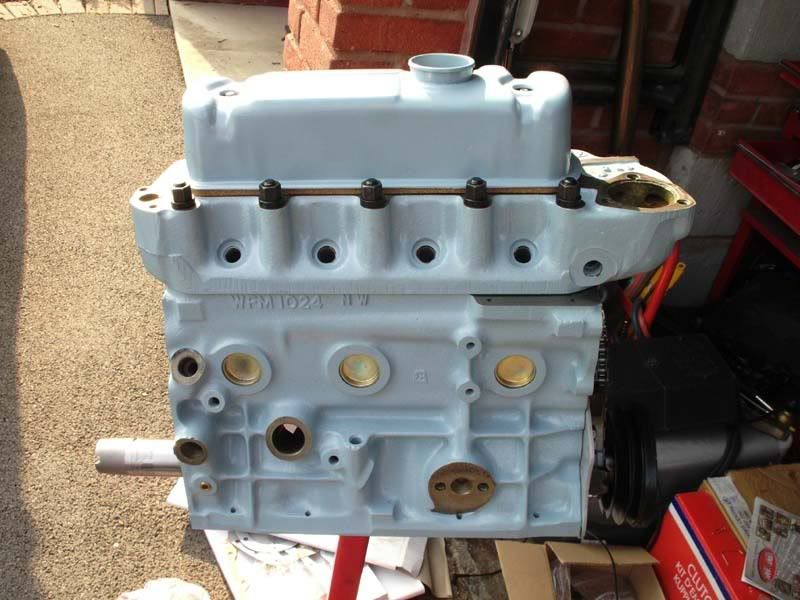
I then carried on inspecting the car and removed the engine as there was major problems with the newly rebuilt engine and would not run well at all.

Anyone want another sill?

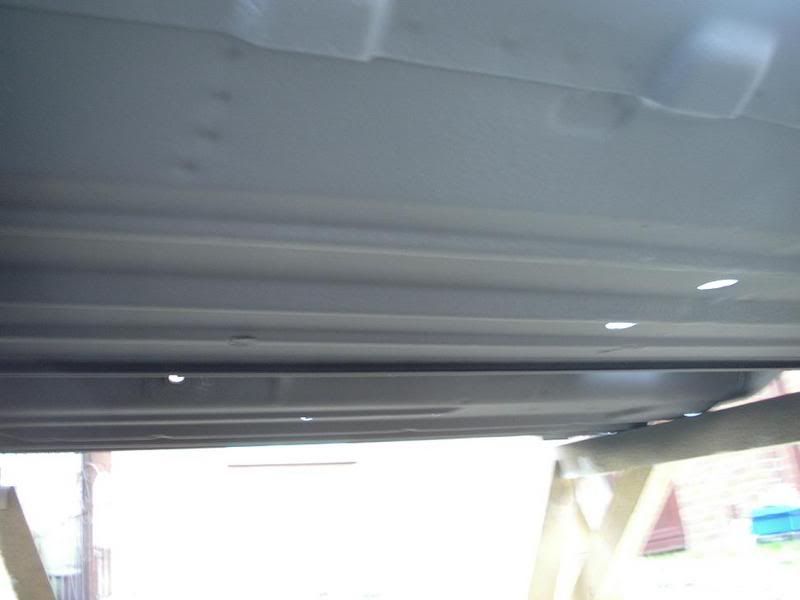
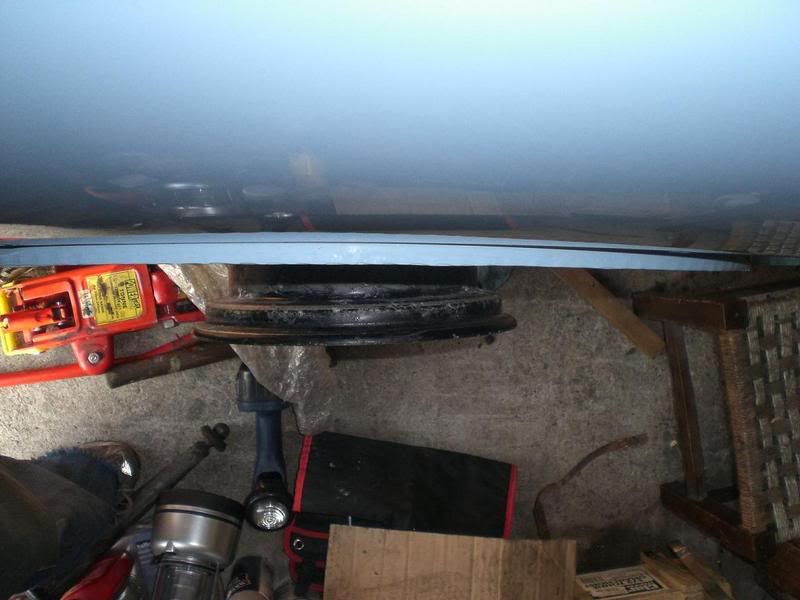
Rust.

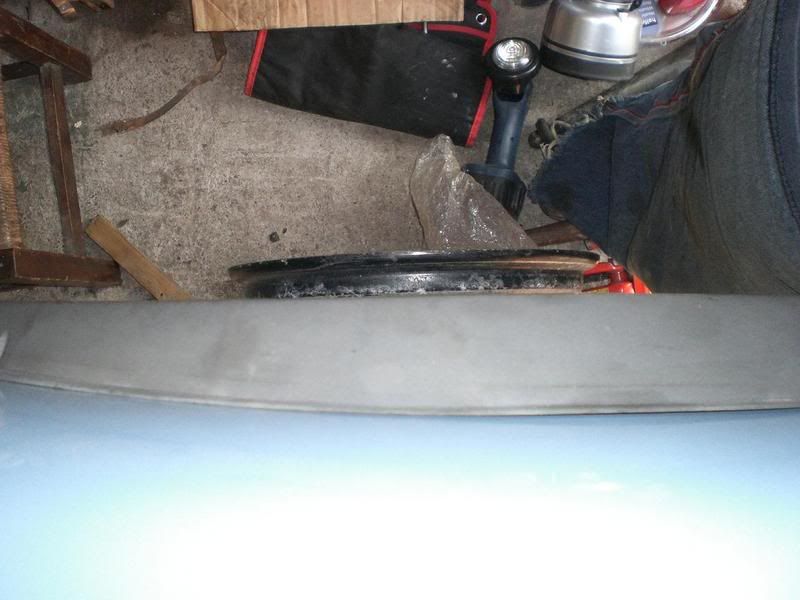
More Rust

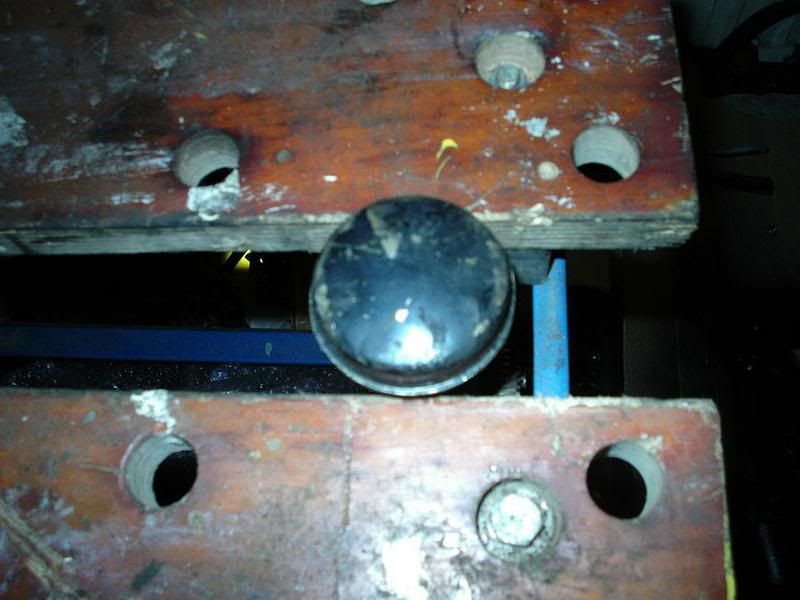
Hole
 Was filled with fibreglass.
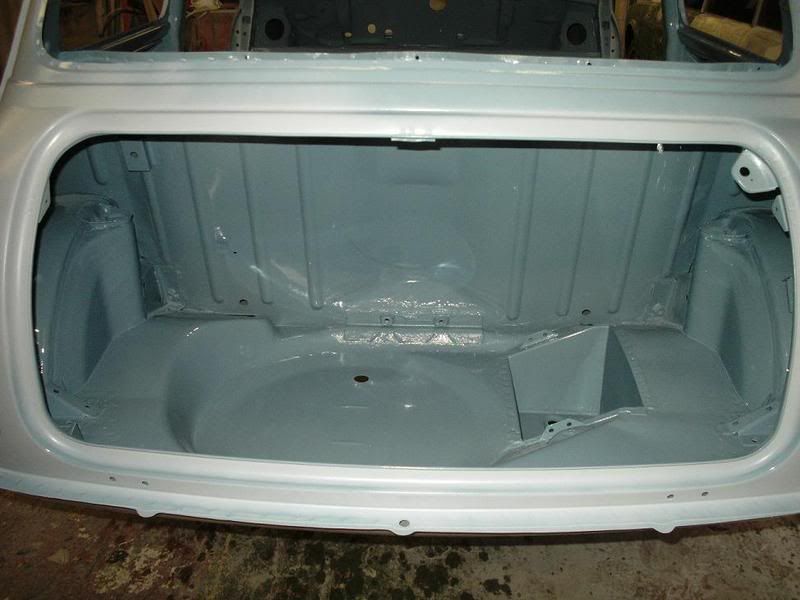
Hole in boot floor.

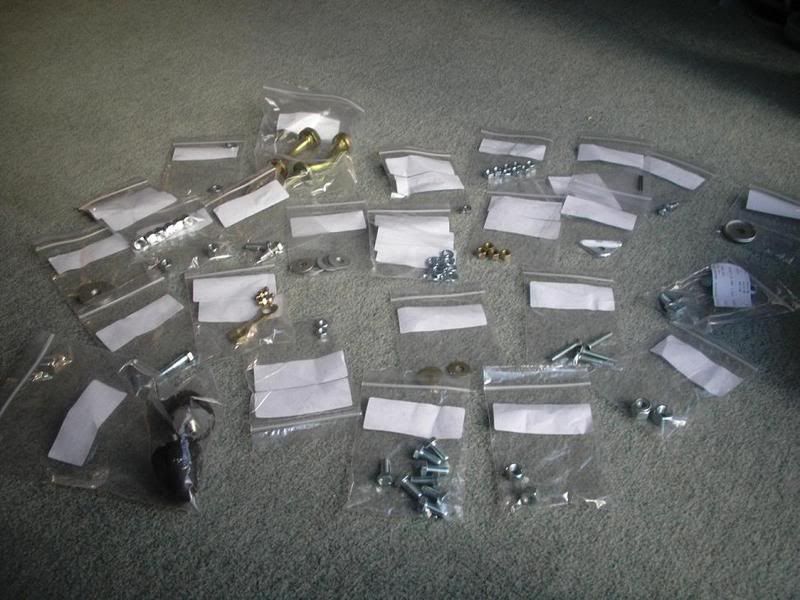
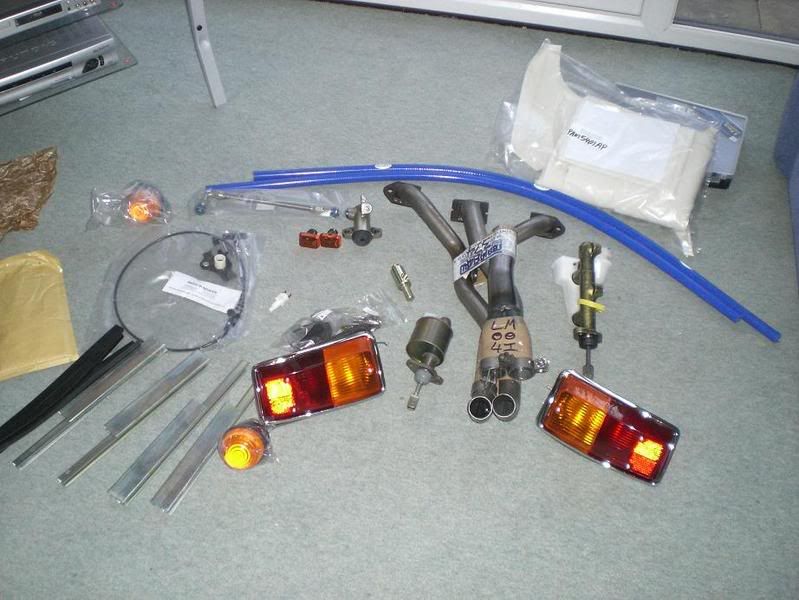
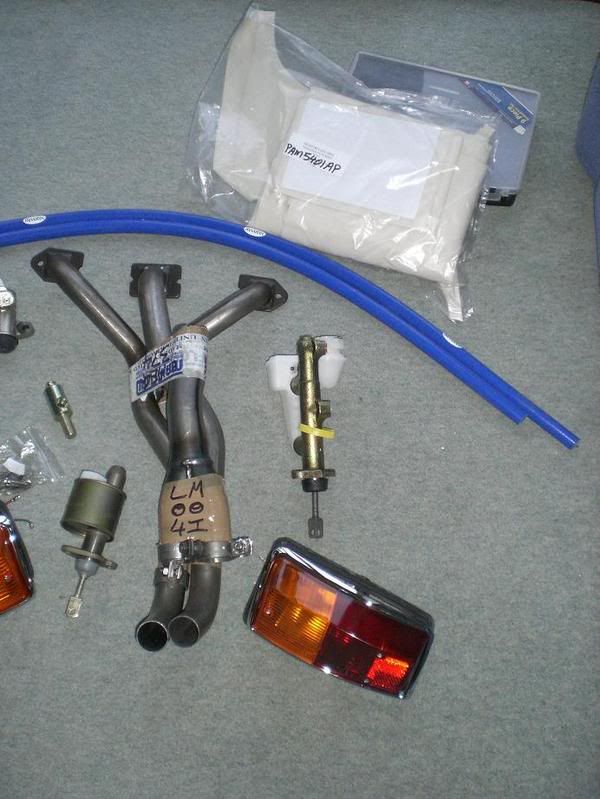
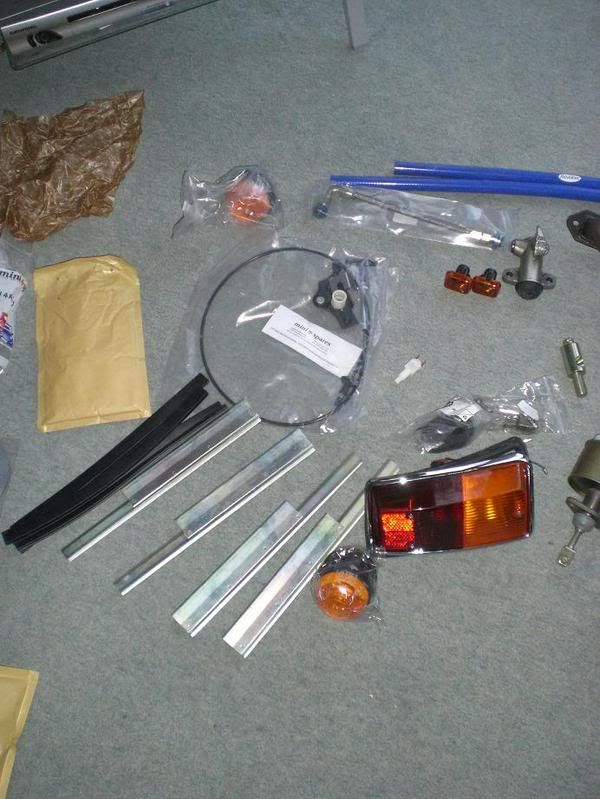
Yard Sale Anyone?

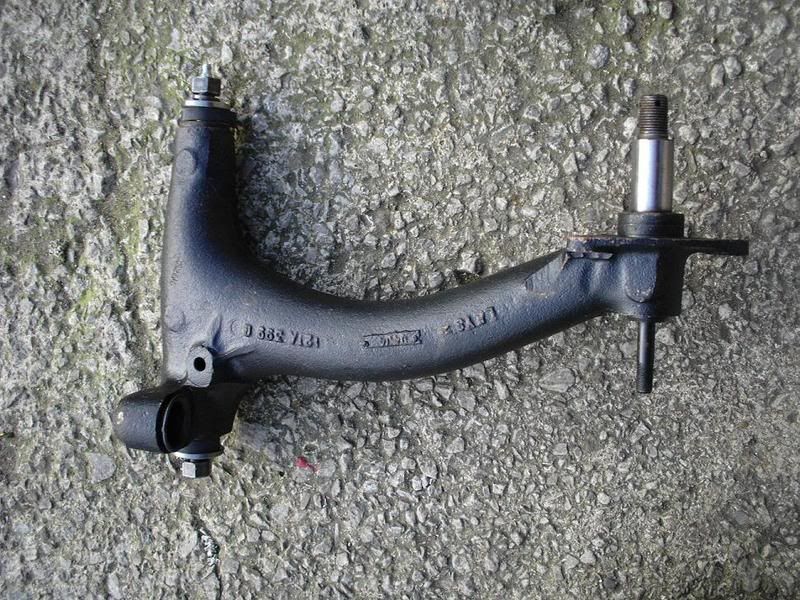
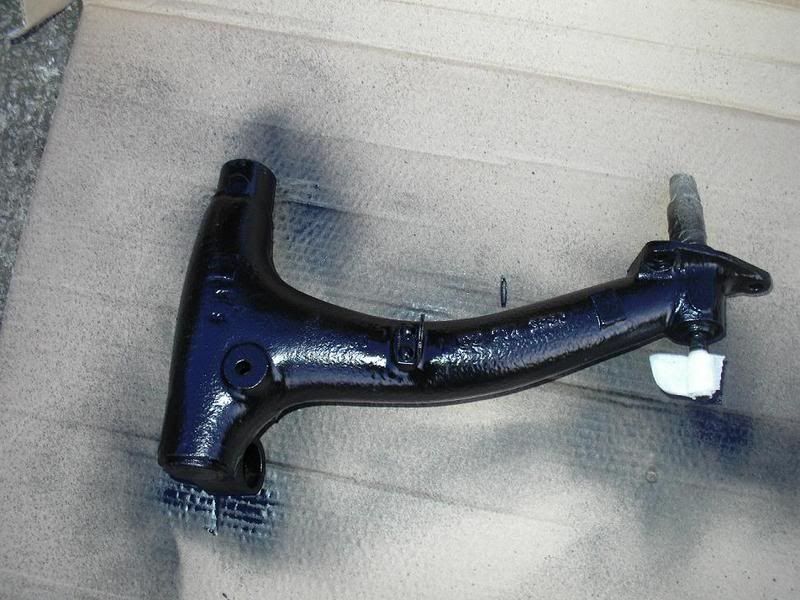
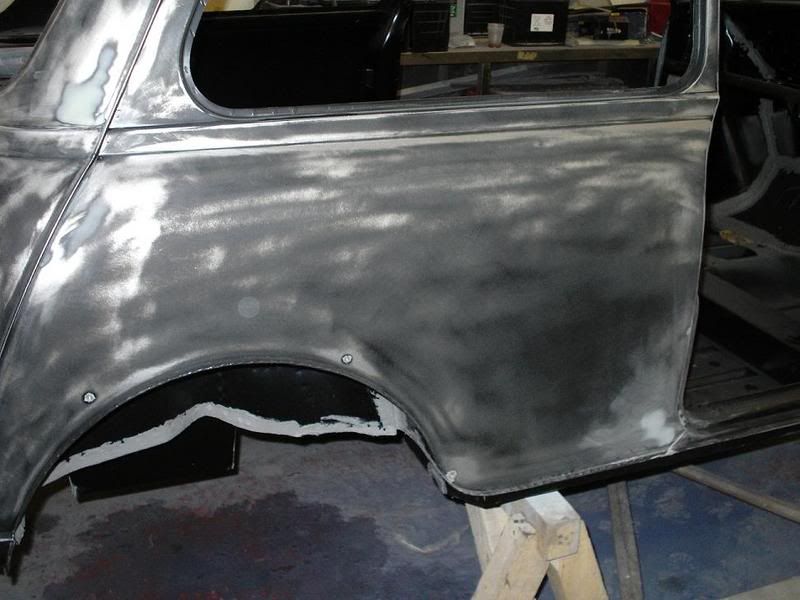
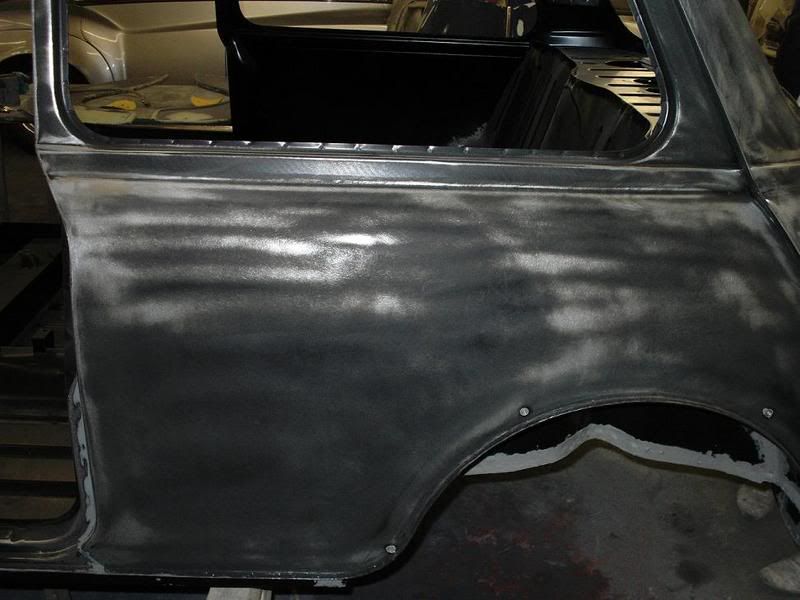
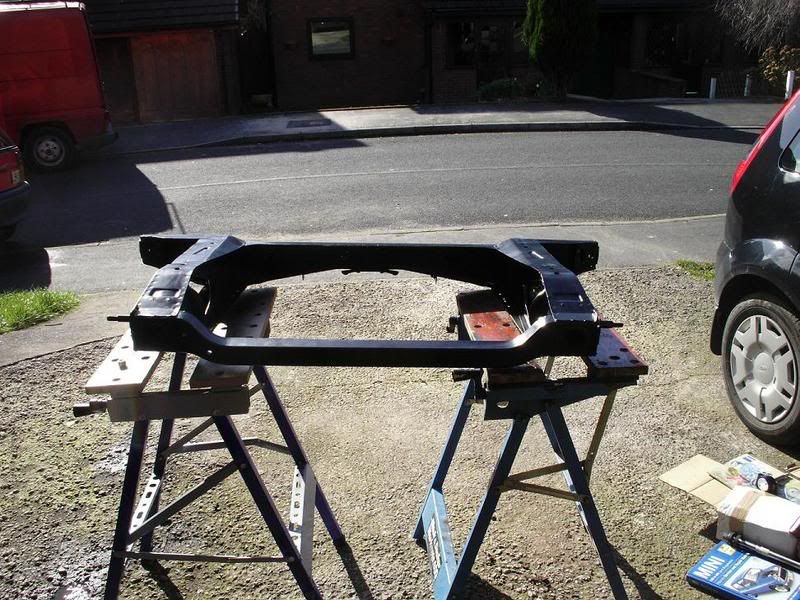
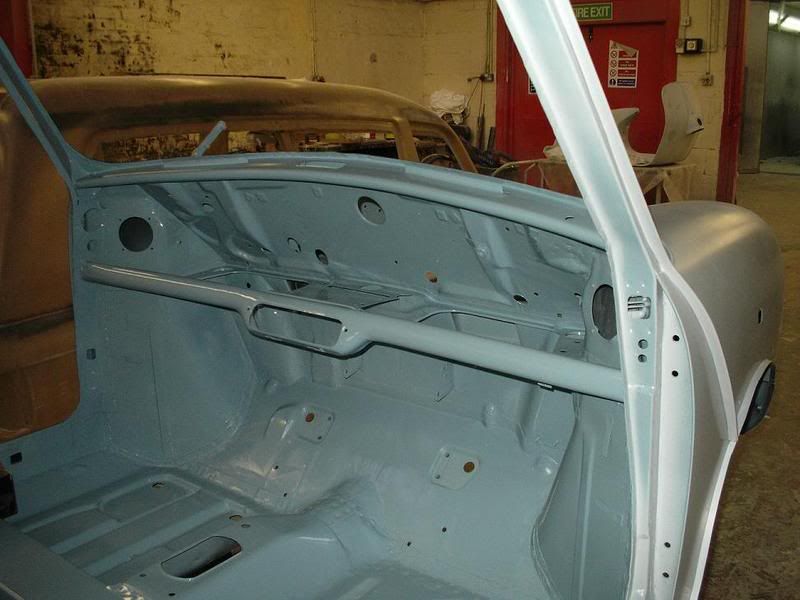
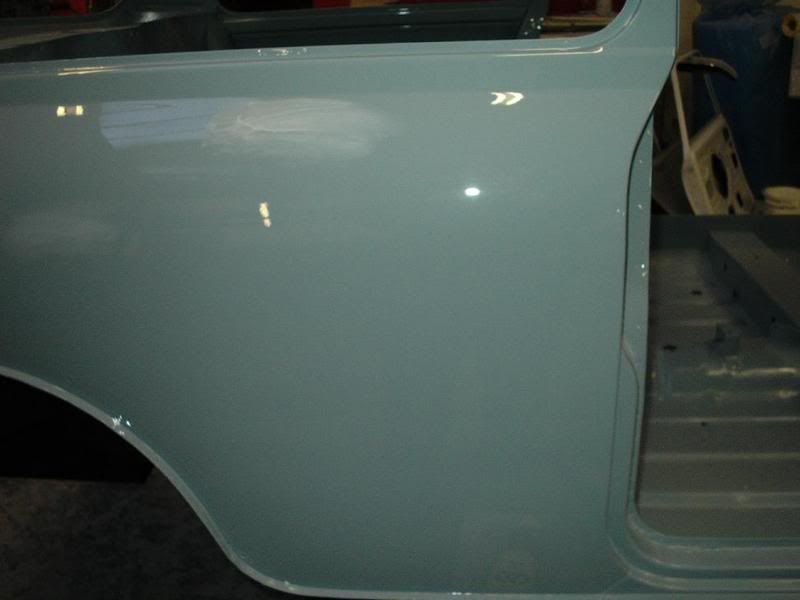
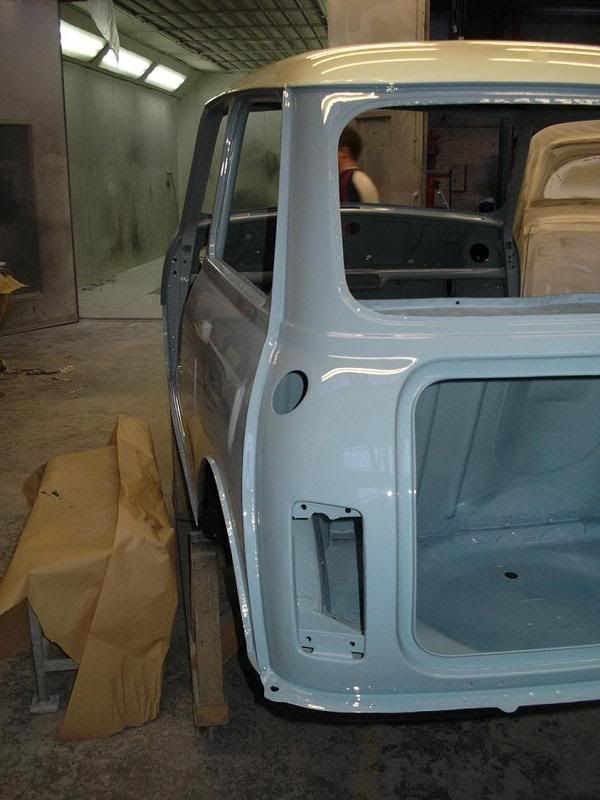
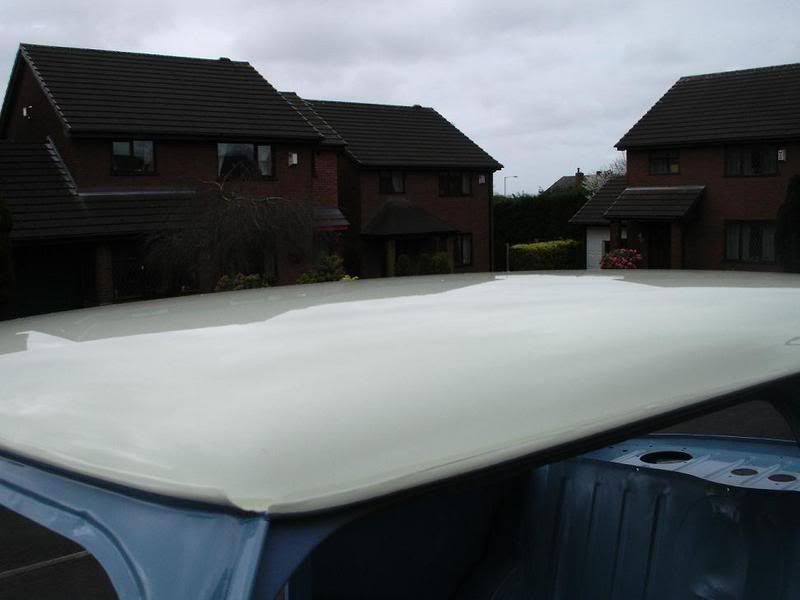
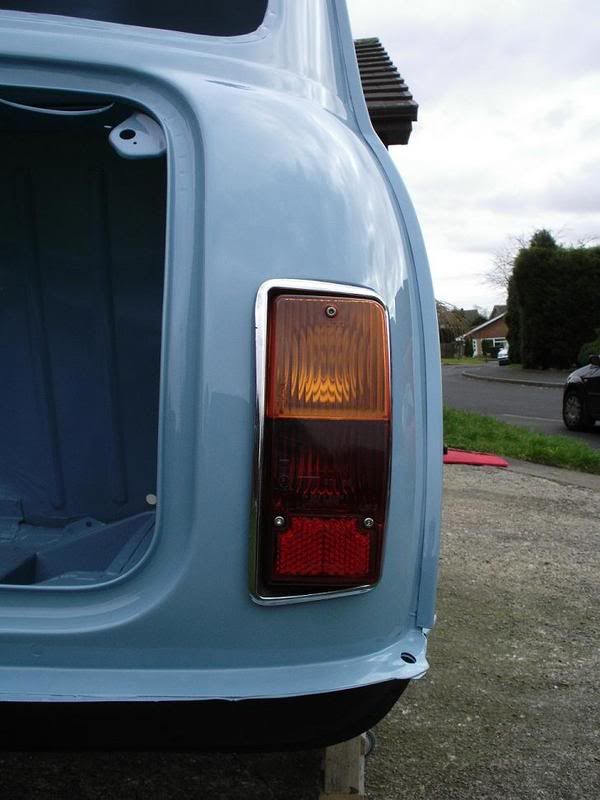
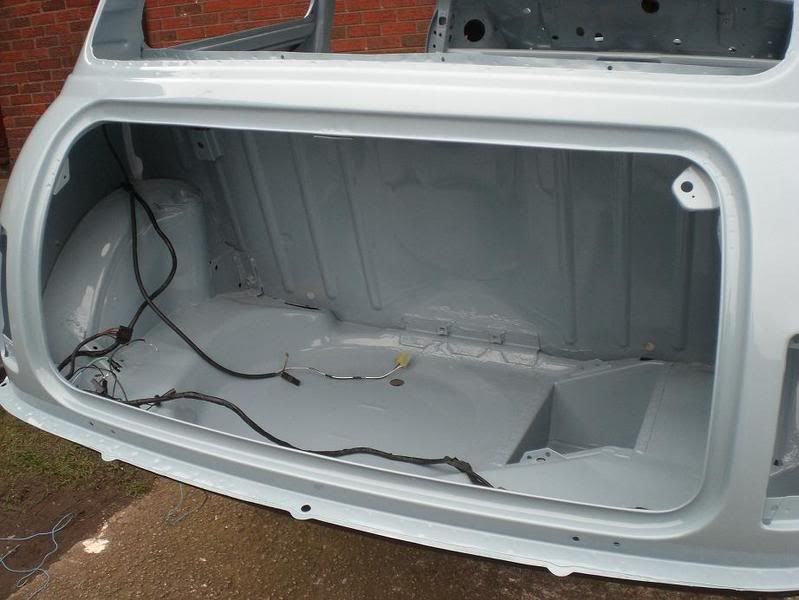
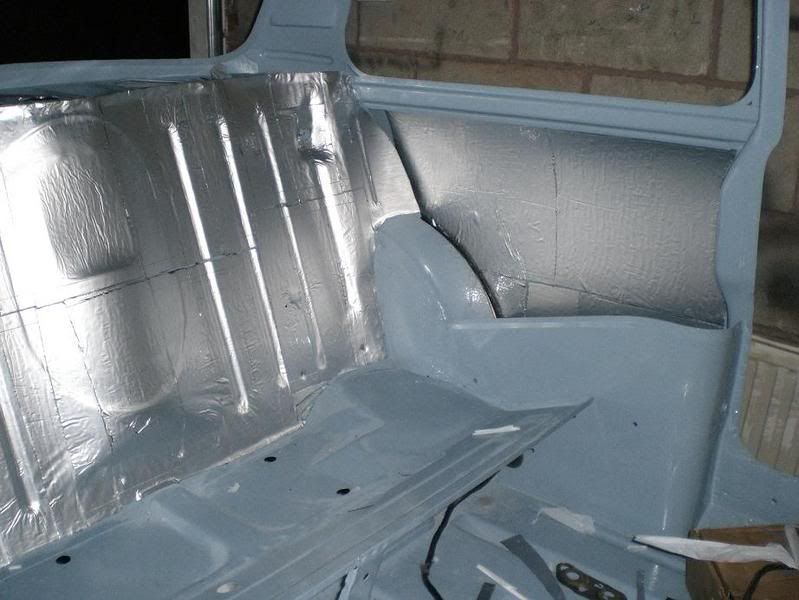
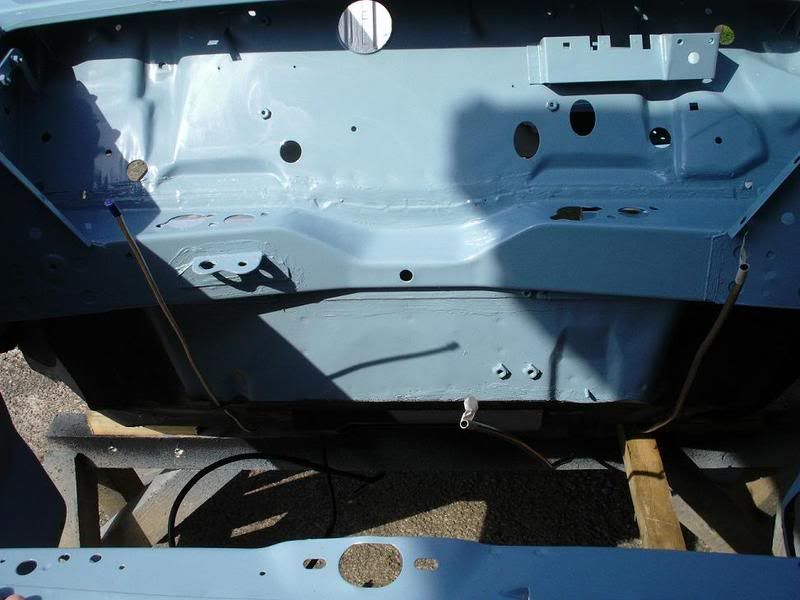
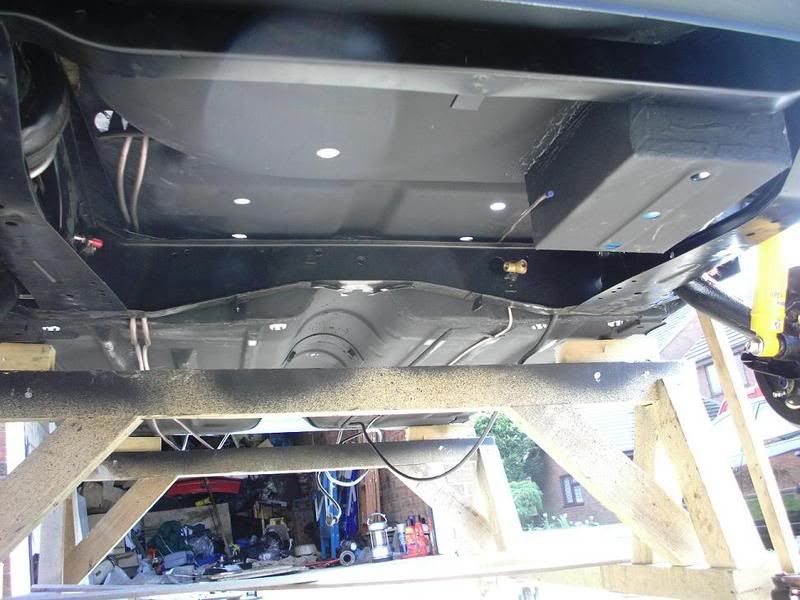
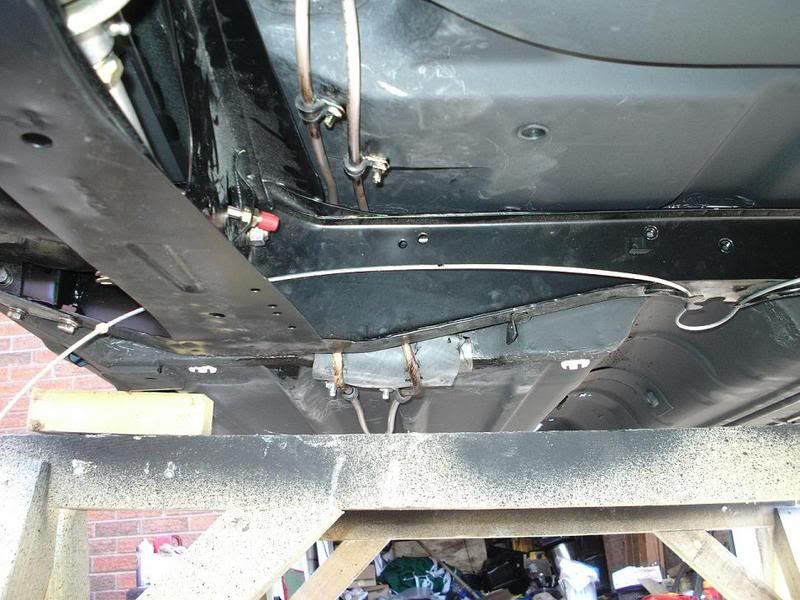
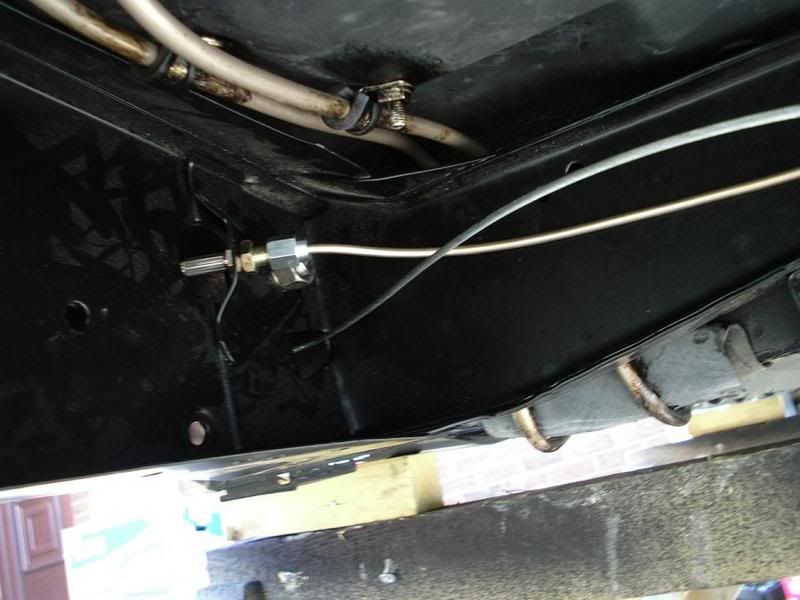
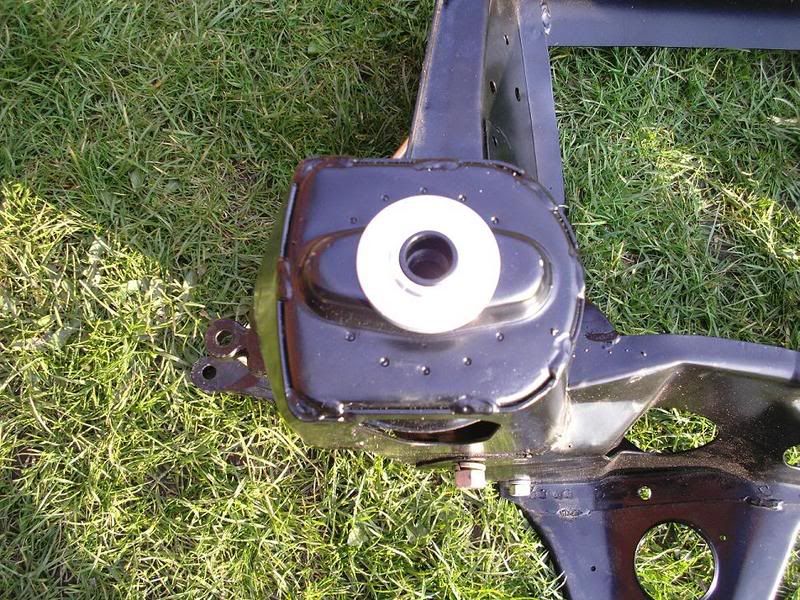
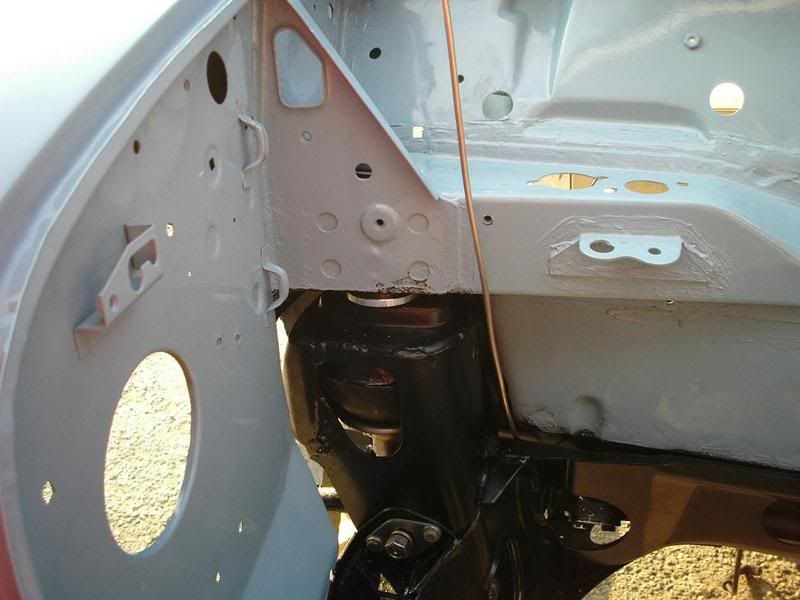
Looks ok.

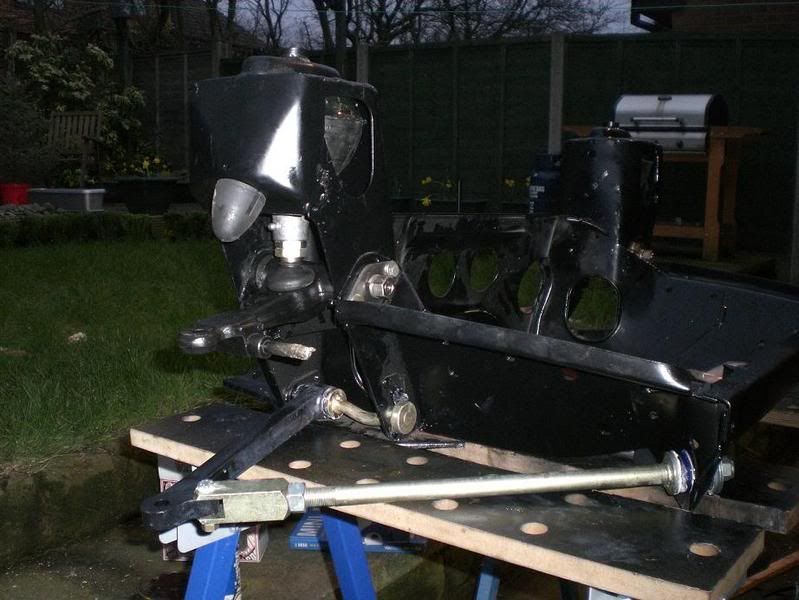
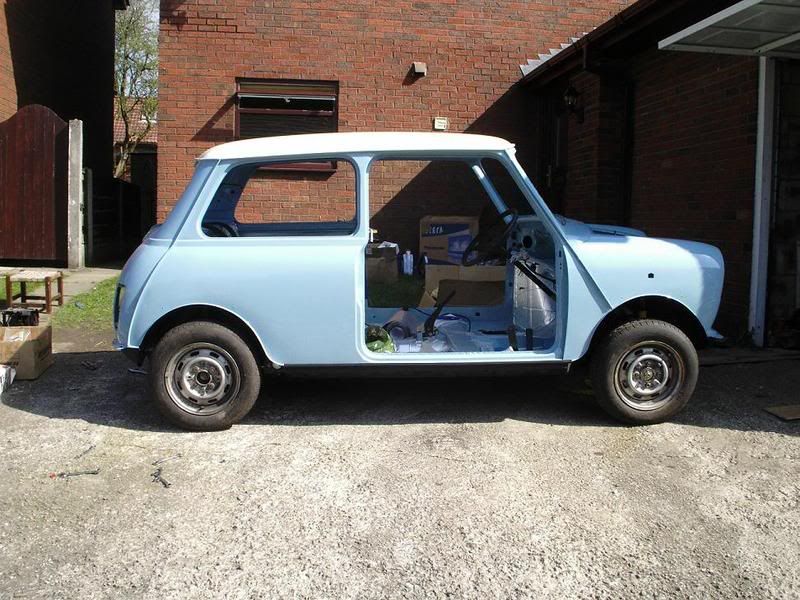
Engine In

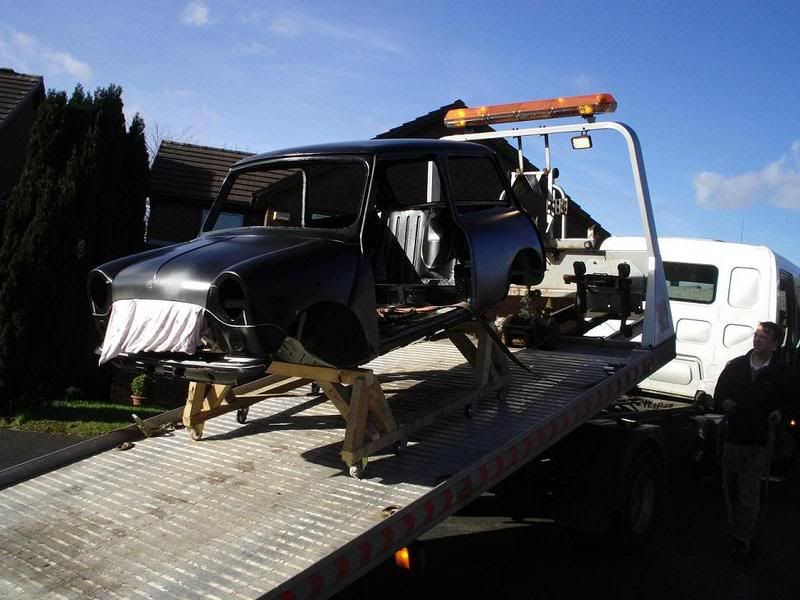
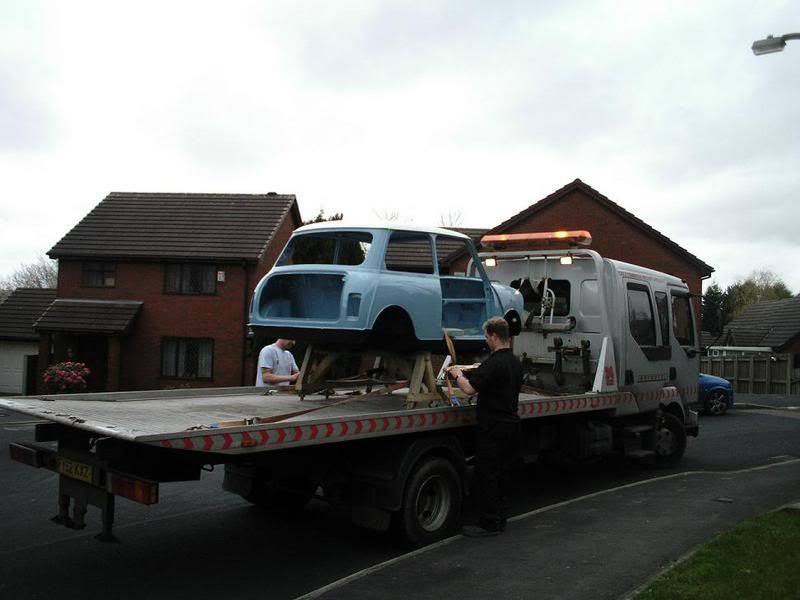
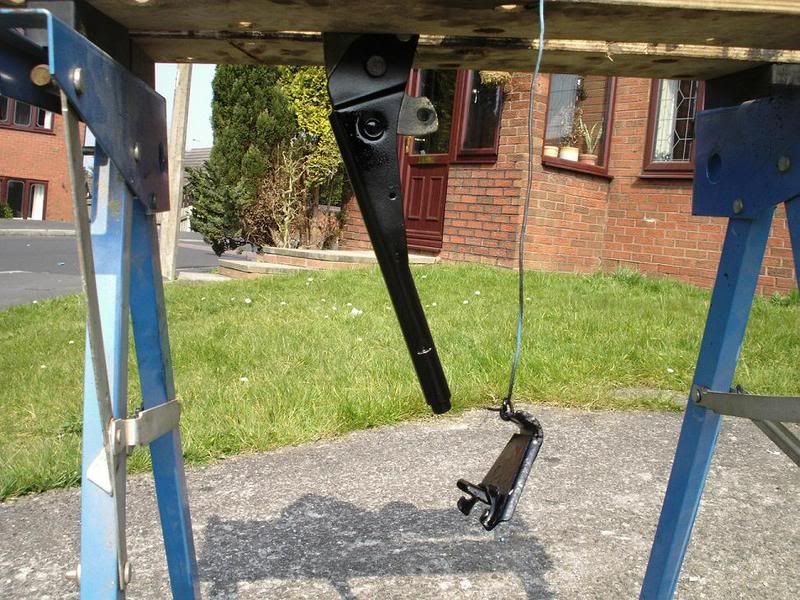
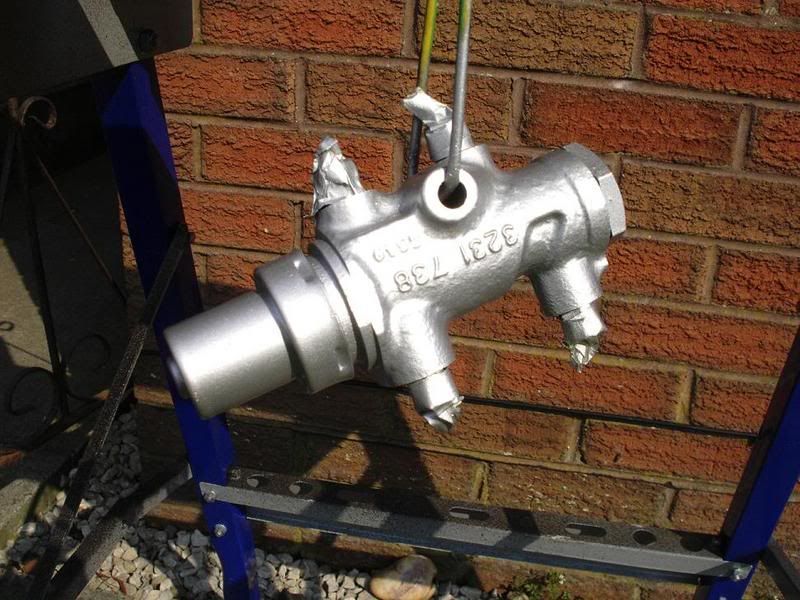
On its way.

Out.

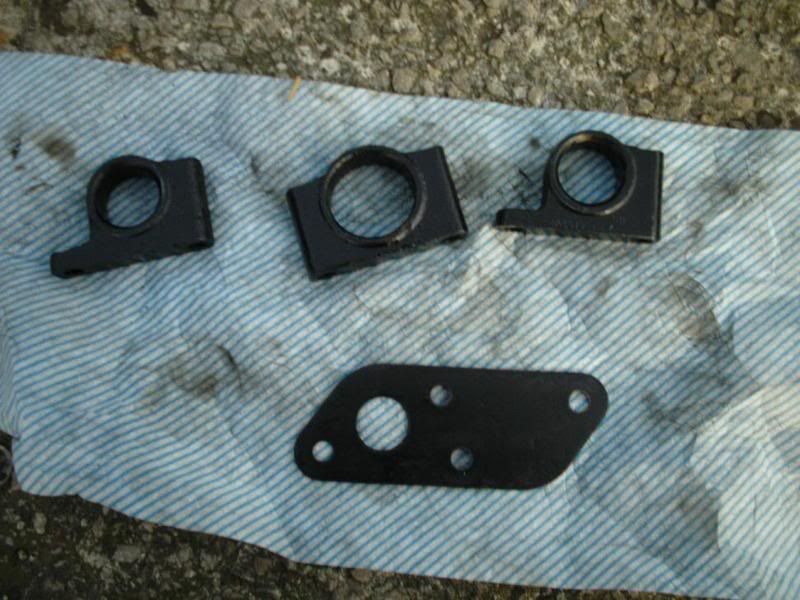
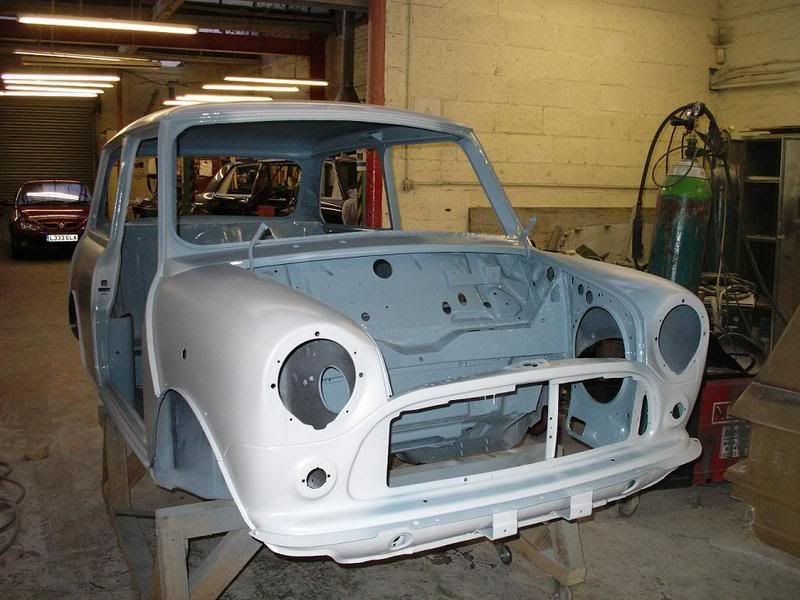
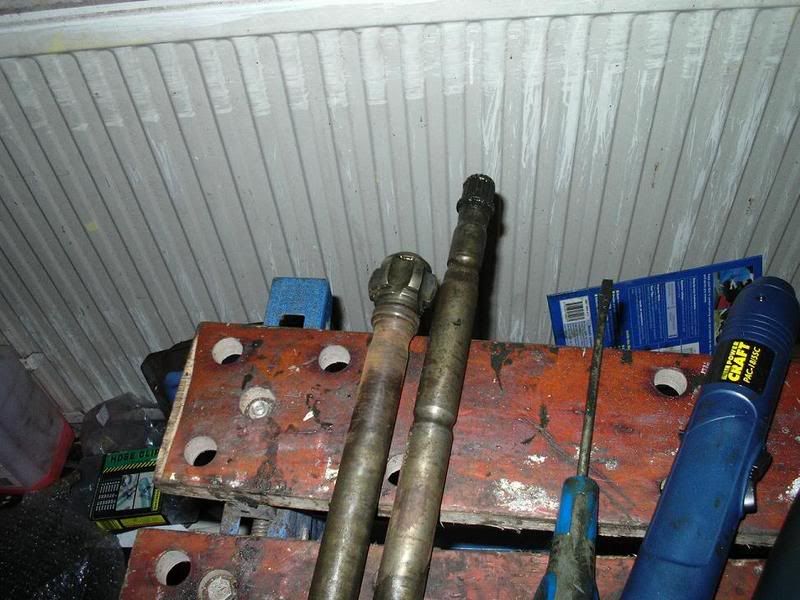
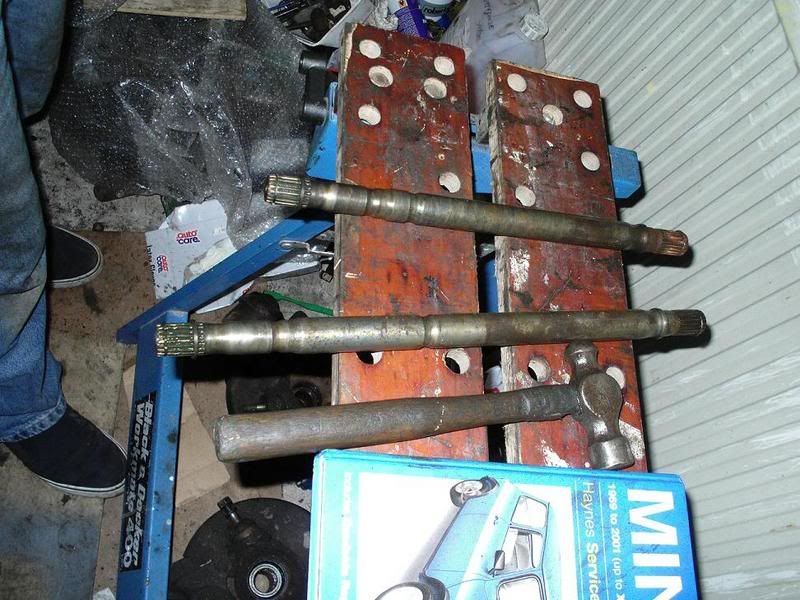
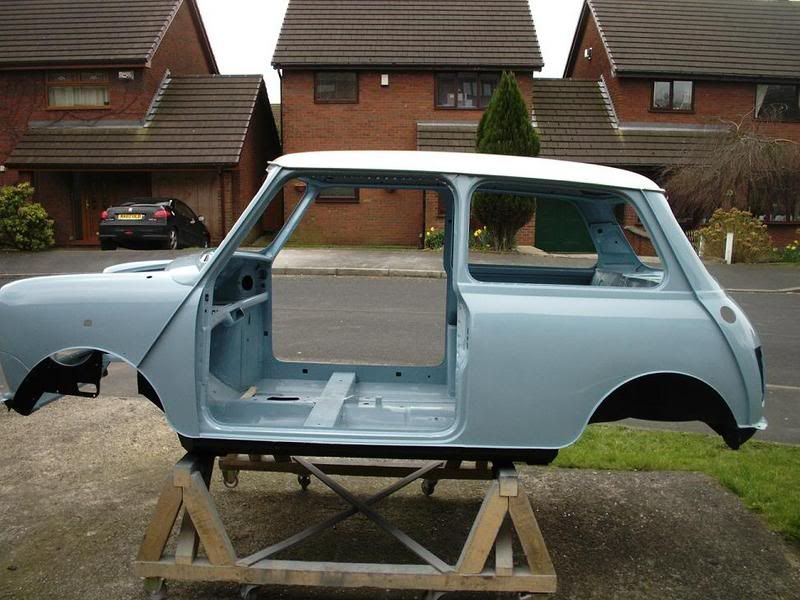
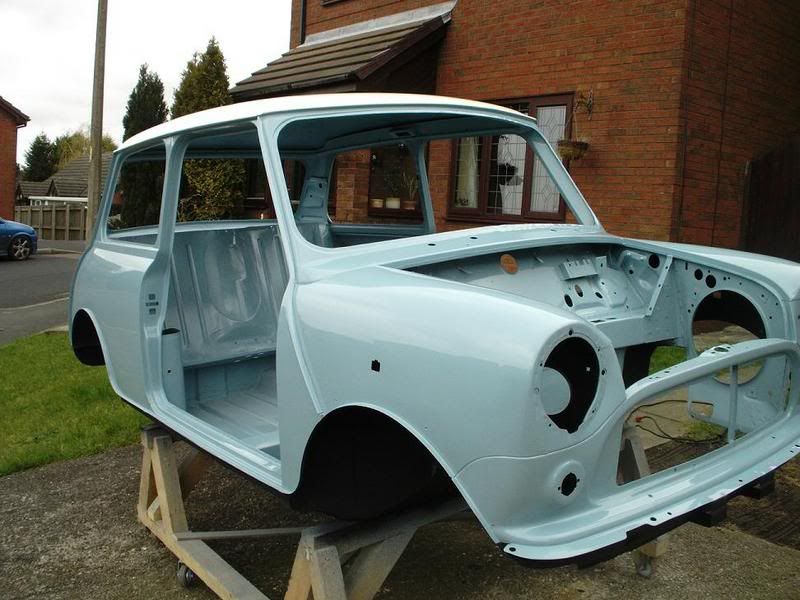
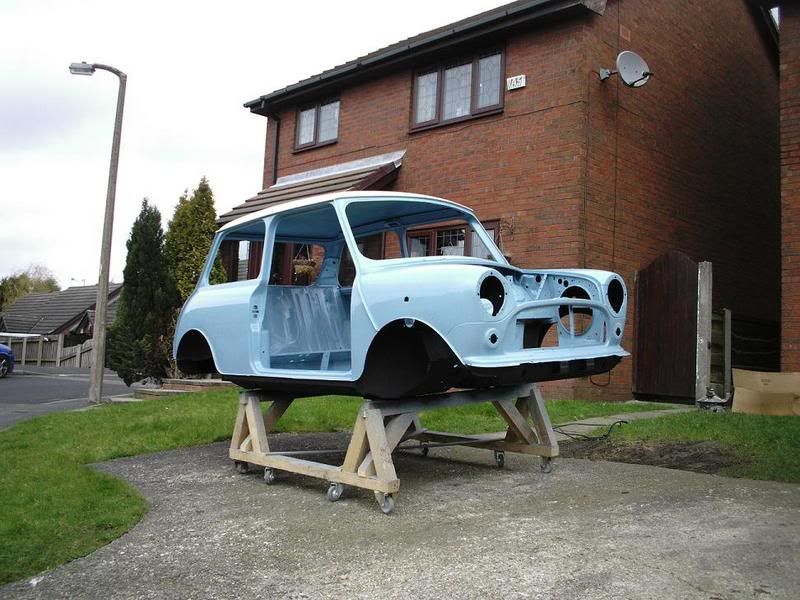
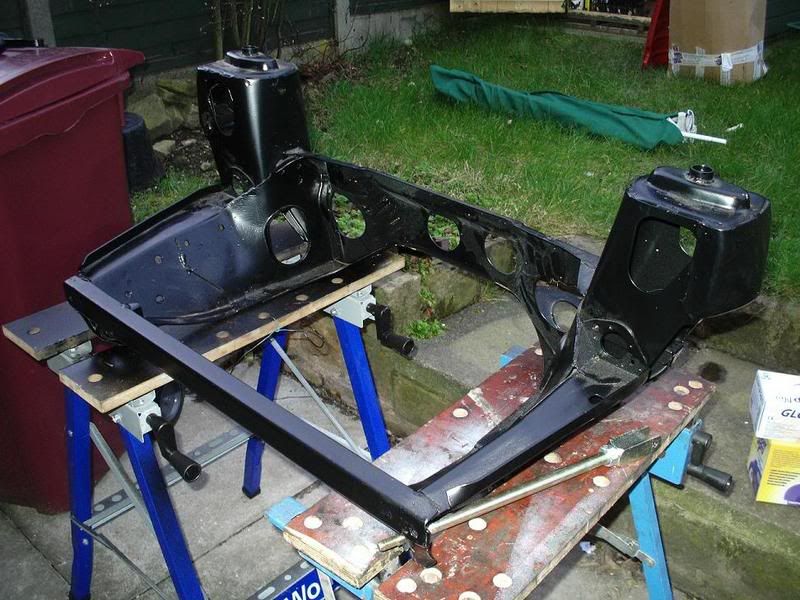
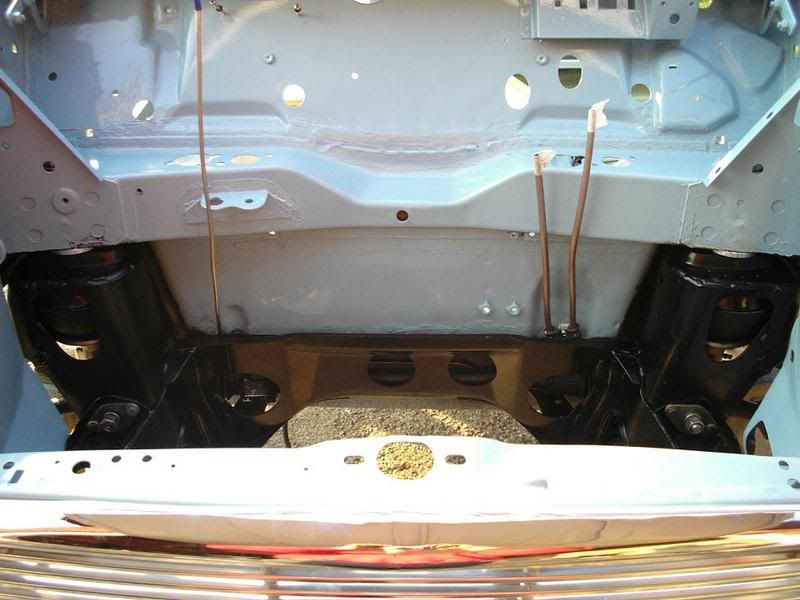
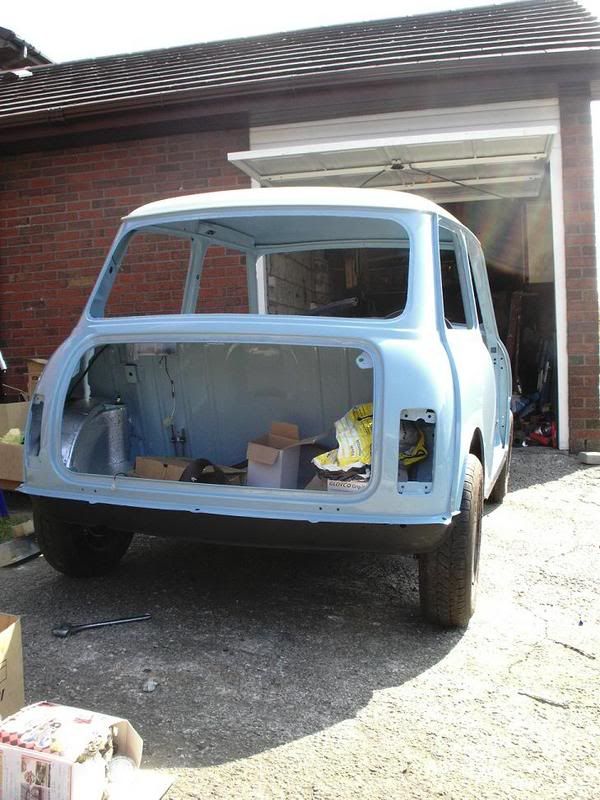
Missing Engine


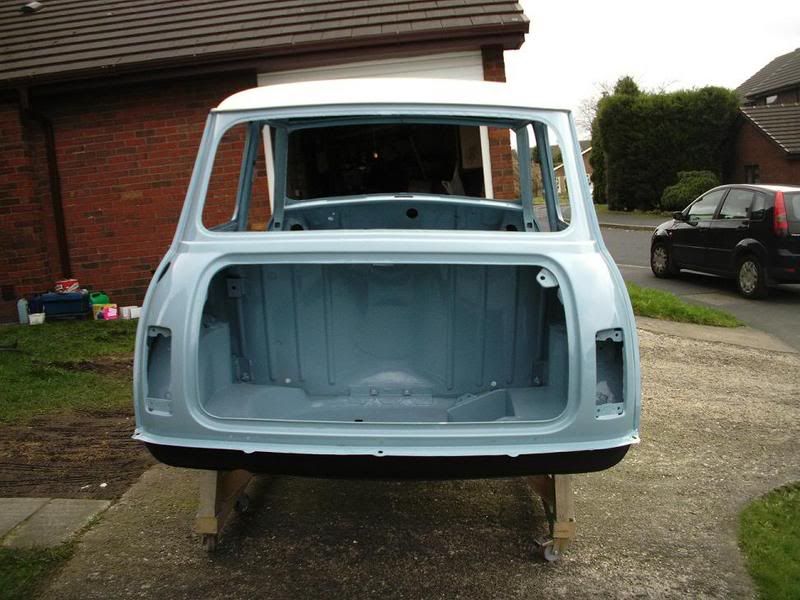
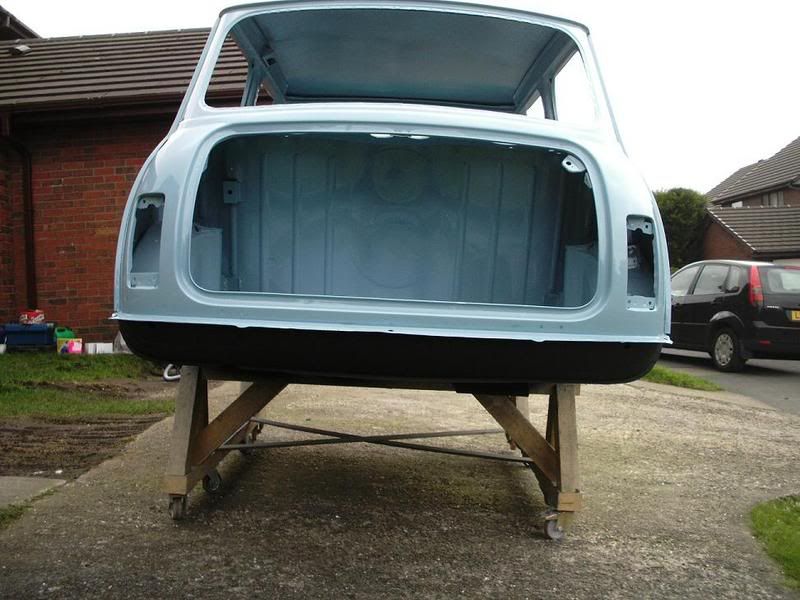
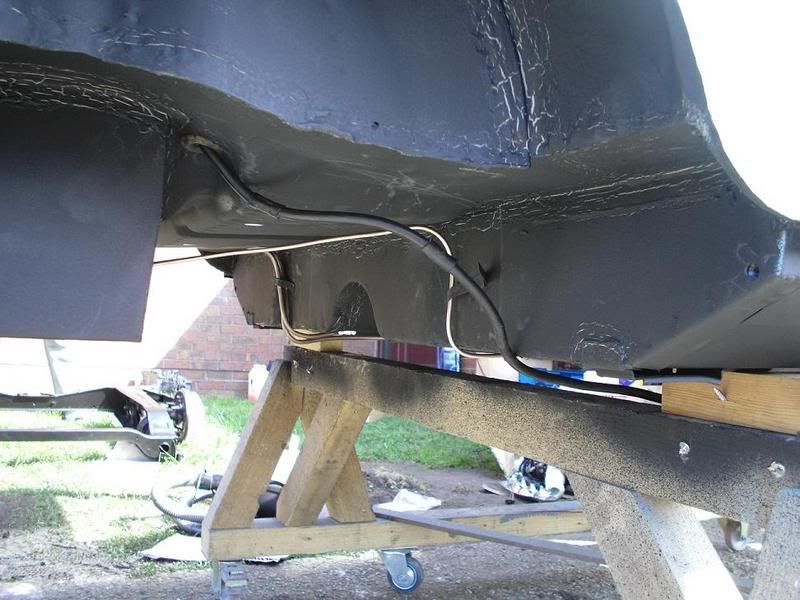
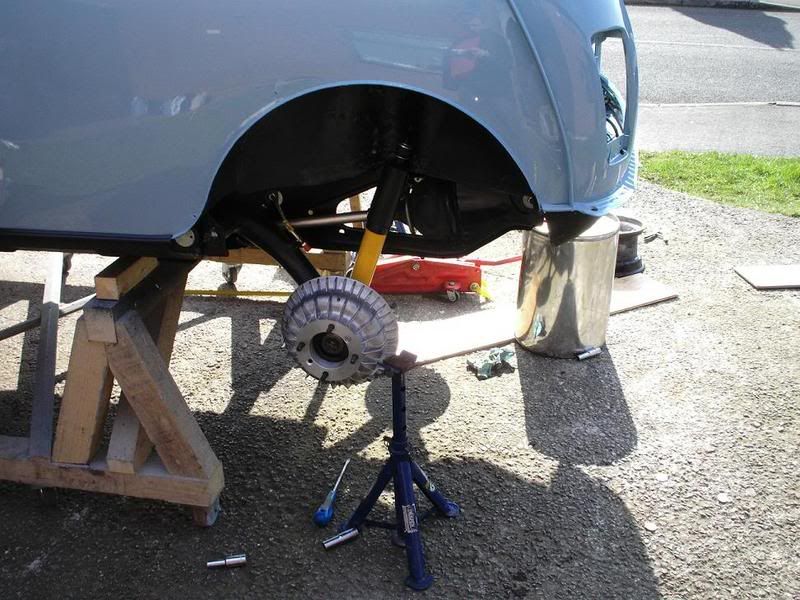
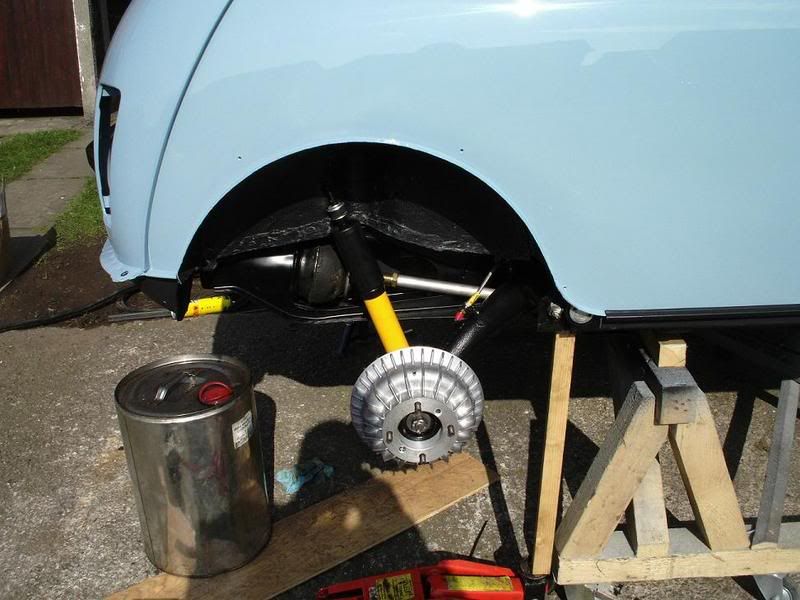
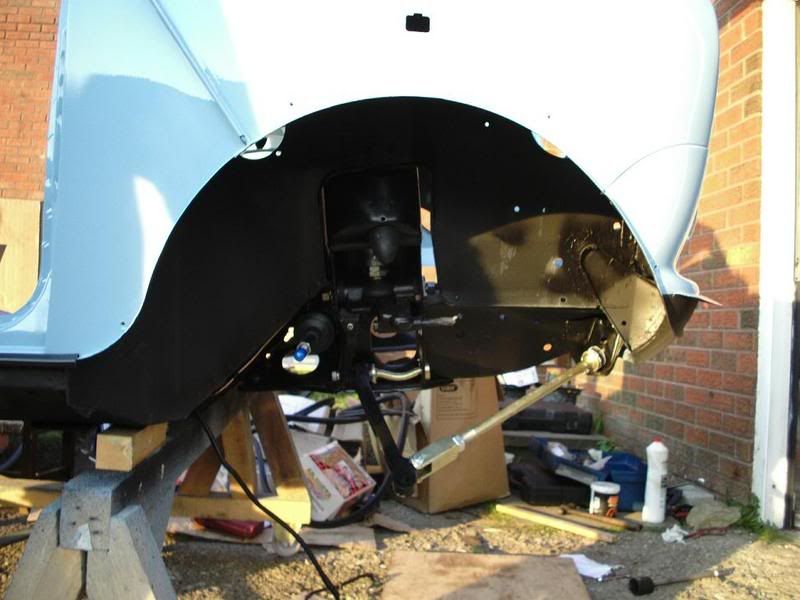
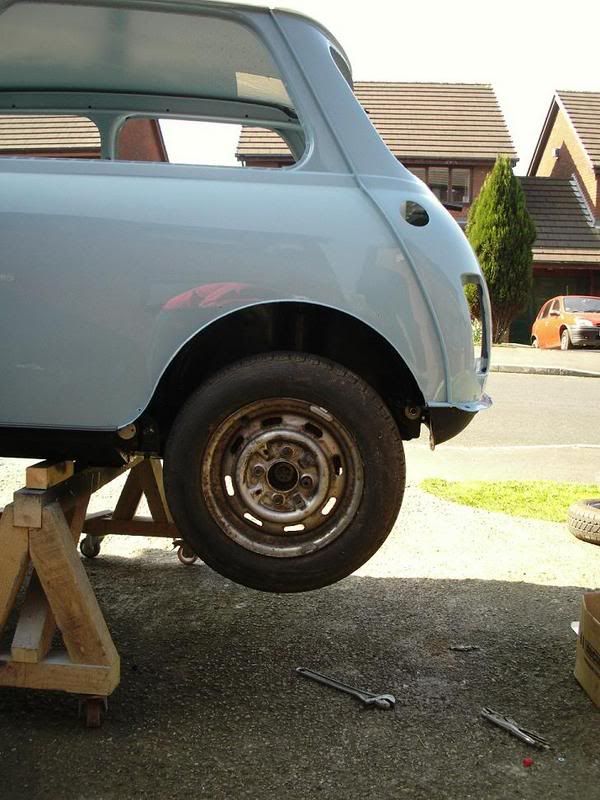
A bit High.
Edited by Jackman, 05 February 2008 - 11:09 AM.