Jump to content


Photo
- - - - -

City E Custom Rebuild


  • Please log in to reply
93 replies to this topic

#16 Jackman

Jackman

    Up Into Fourth

  • Members
  • PipPipPipPipPipPipPipPipPip
  • 4,053 posts

Posted 05 February 2008 - 10:34 AM

This week i have stripped and cleaned my SPI inlet and throttle body.

Posted Image

Posted Image

Posted Image

Posted Image

Posted Image

Posted Image

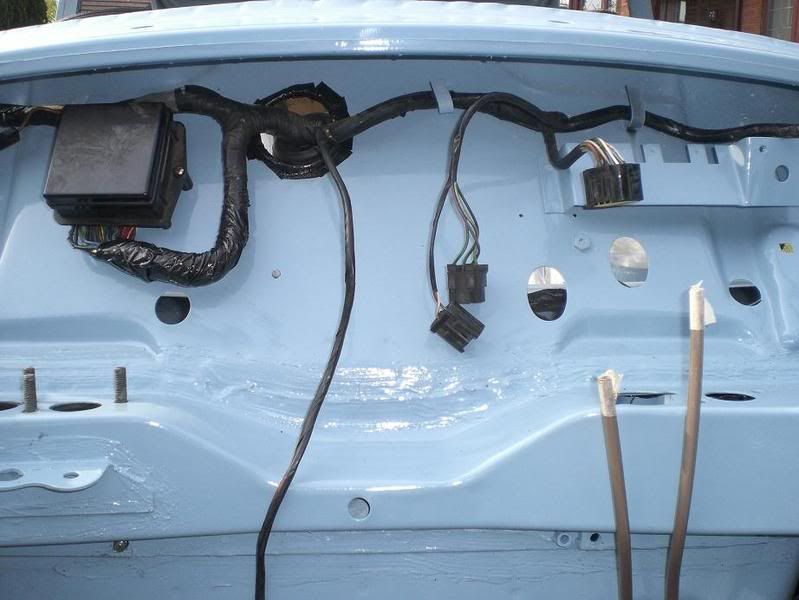
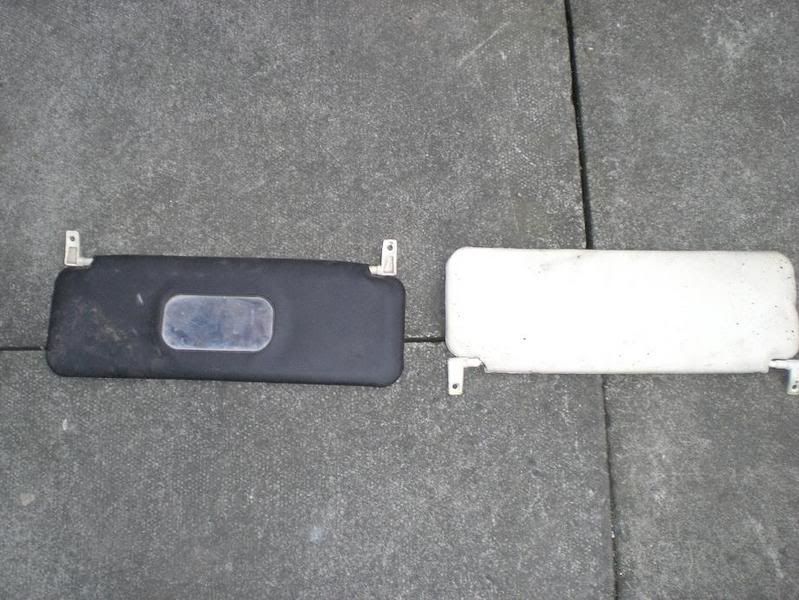
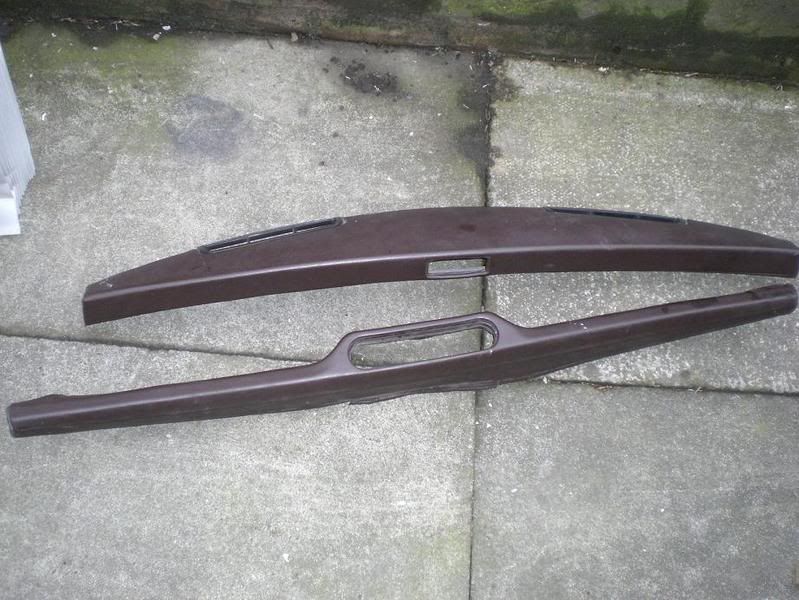
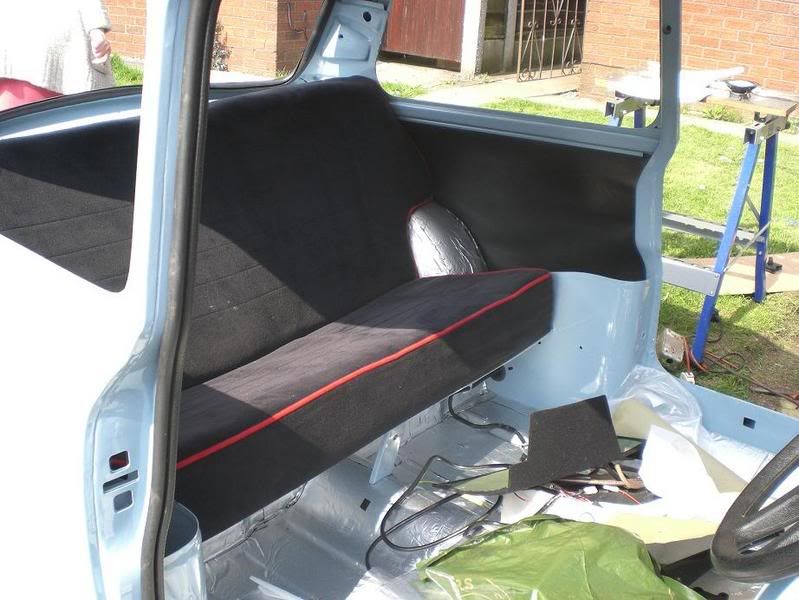
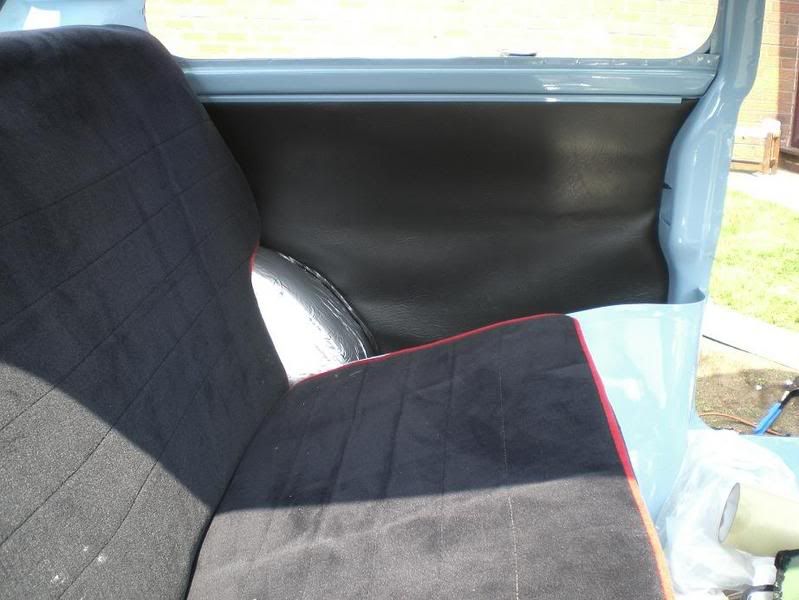
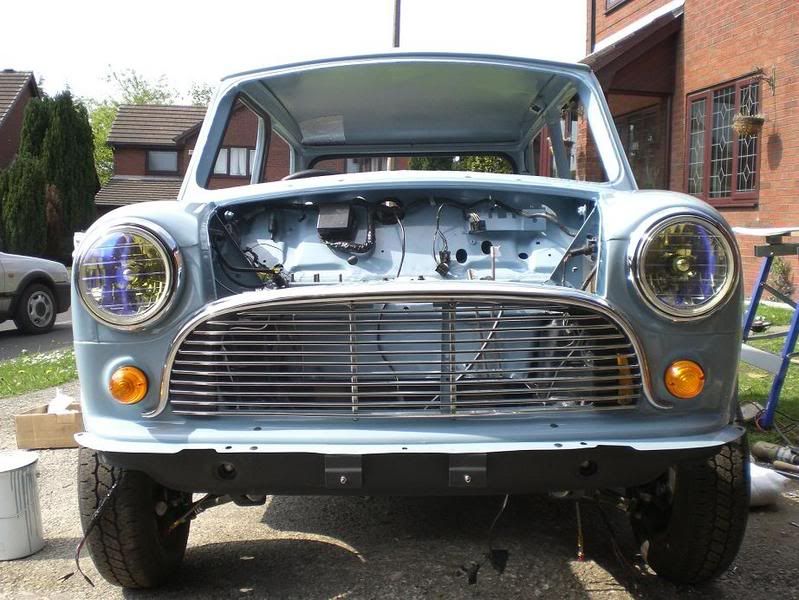
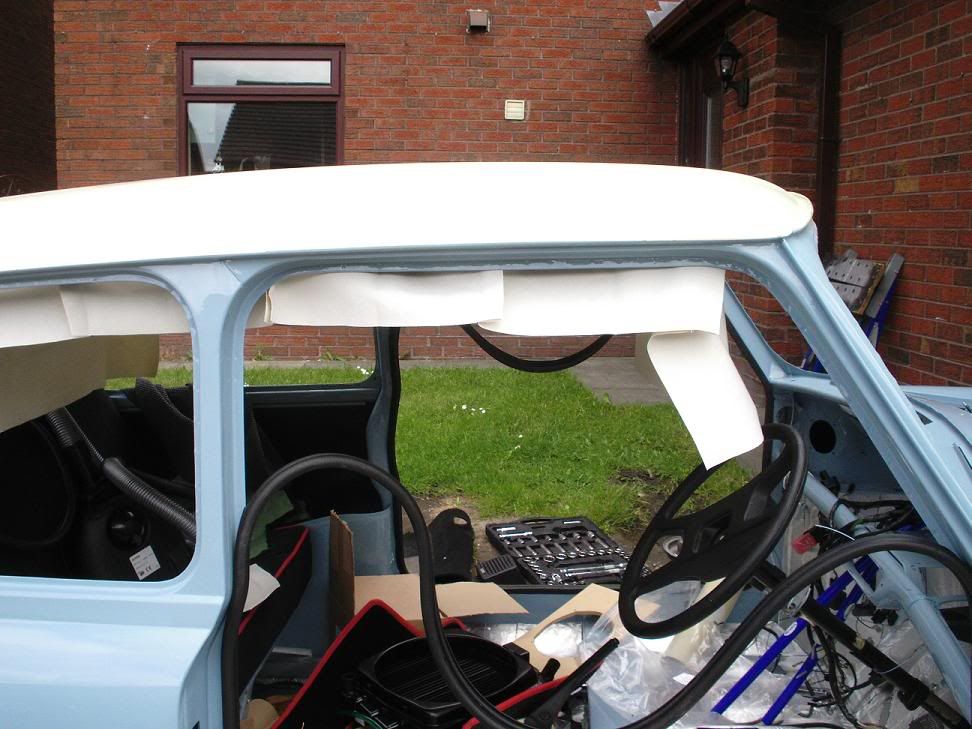
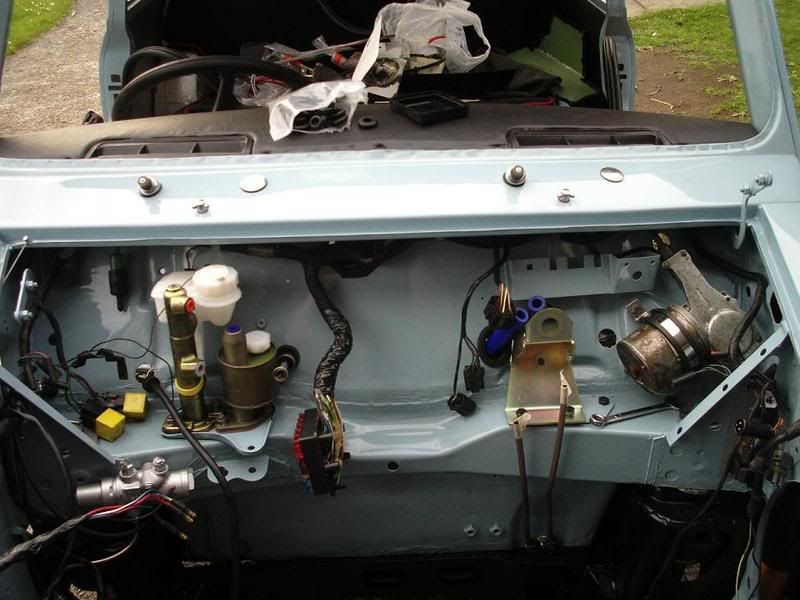
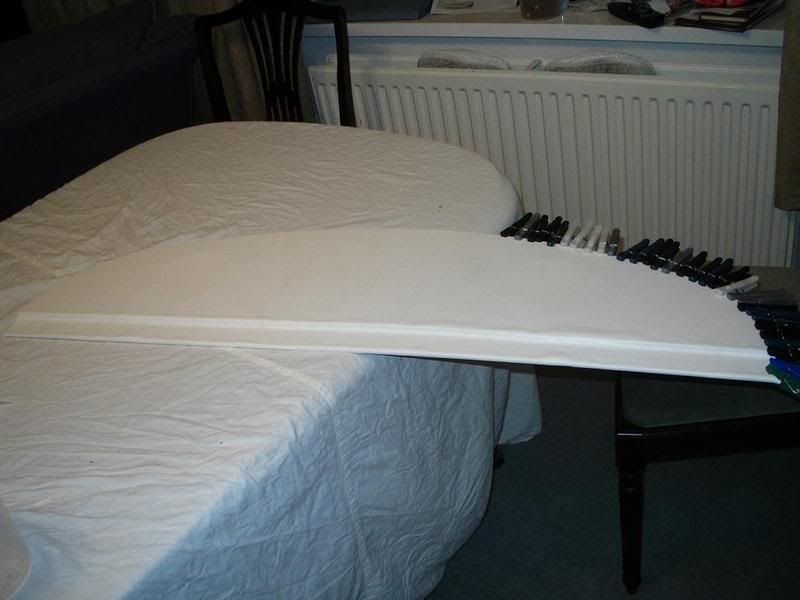
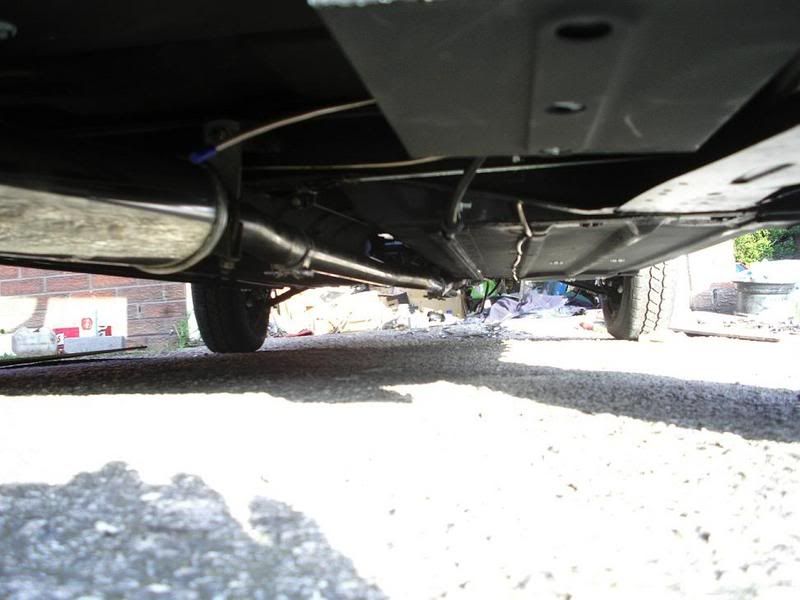
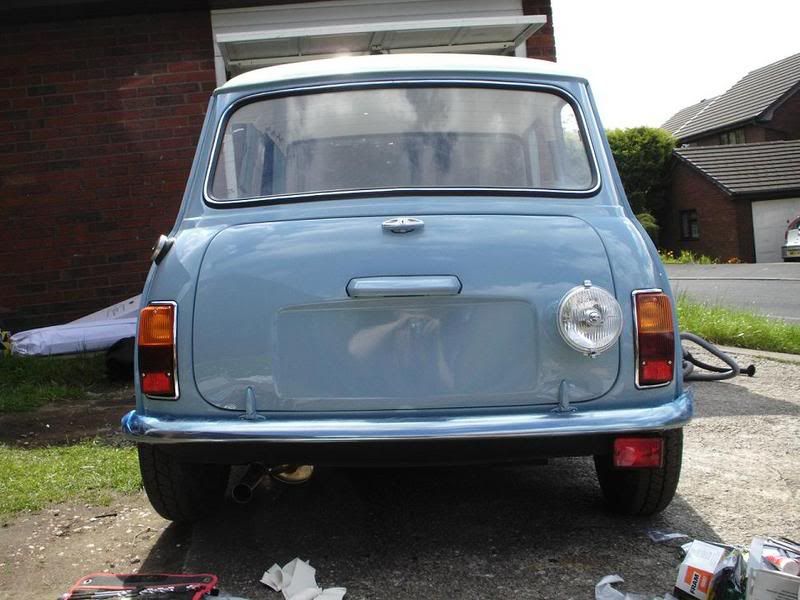
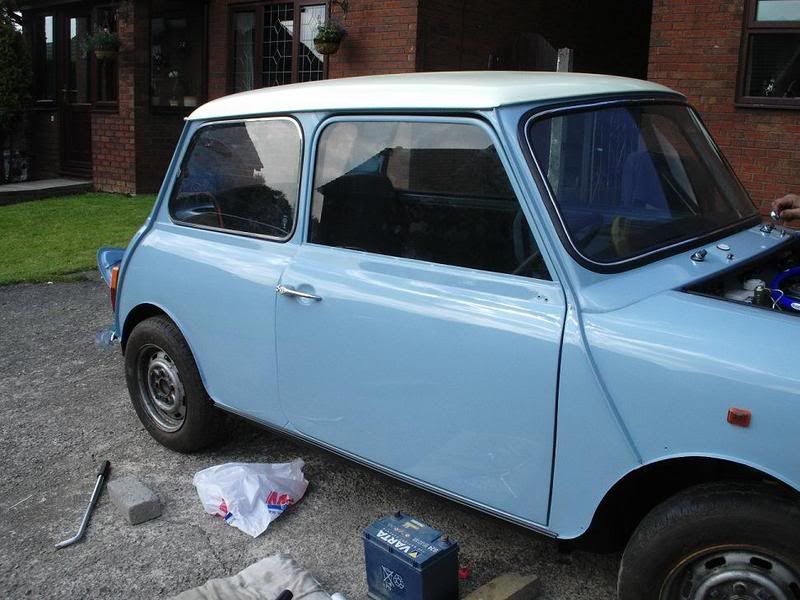
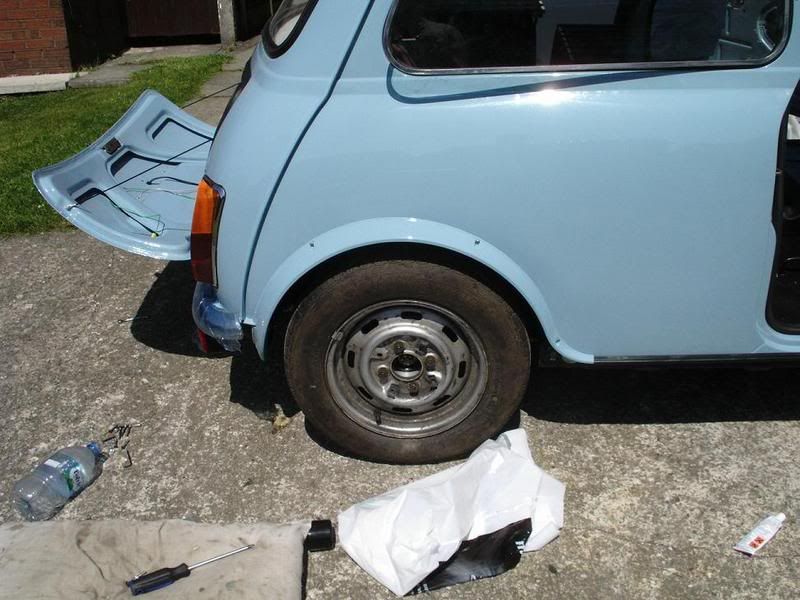
Also today, i have done the brake lines (no pics with them connected) and tidied up the loom.

Posted Image

Posted Image

Posted Image

Posted Image

#17 Jackman

Jackman

    Up Into Fourth

  • Members
  • PipPipPipPipPipPipPipPipPip
  • 4,053 posts

Posted 05 February 2008 - 10:34 AM

More pics from the engine rebuild

Diff built up

Posted Image

Posted Image

Transfer Gear

Posted Image

Posted Image

Diff in box ;)

Posted Image

Idler Gear

Posted Image

OOOO

Posted Image

Engine pics

Posted Image

Posted Image

Gearbox on

Posted Image

Posted Image

#18 Jackman

Jackman

    Up Into Fourth

  • Members
  • PipPipPipPipPipPipPipPipPip
  • 4,053 posts

Posted 05 February 2008 - 10:35 AM
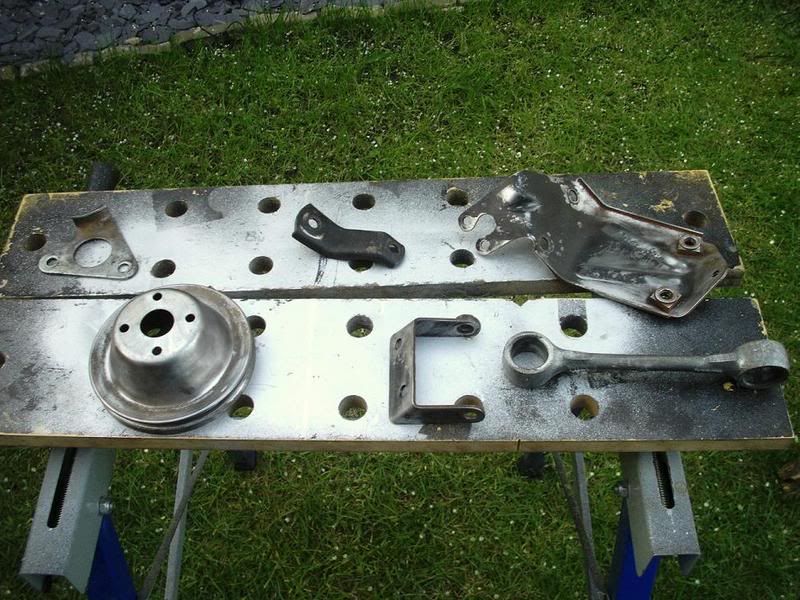
Done some of the interior. Here are a few pics.

Before

Posted Image

Posted Image

Posted Image

Posted Image

Stripped

Posted Image

Posted Image

Prep

Posted Image

Posted Image

Starting to stick

Posted Image

Posted Image

Final Product

Posted Image

Posted Image

Posted Image

Posted Image

Posted Image

Posted Image

Not too bad, hopfully will go right when its dry.

#19 Jackman

Jackman

    Up Into Fourth

  • Members
  • PipPipPipPipPipPipPipPipPip
  • 4,053 posts

Posted 05 February 2008 - 10:36 AM
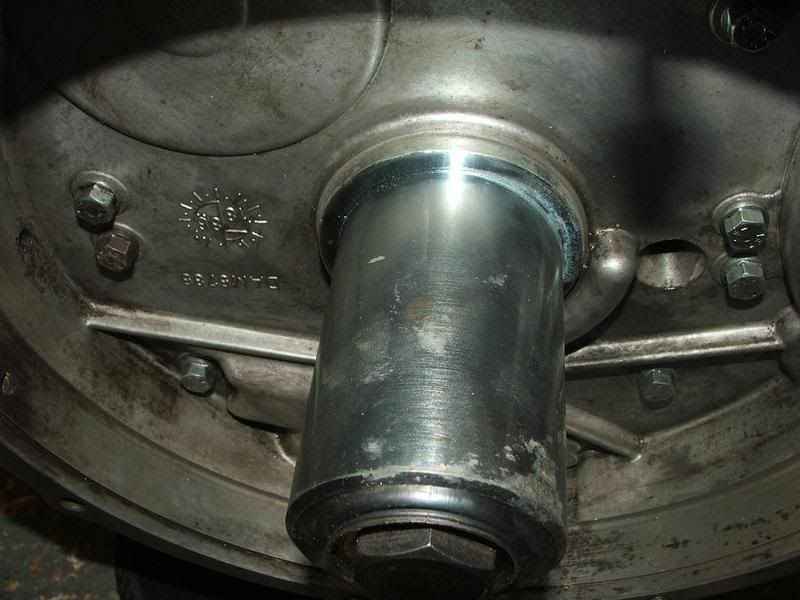
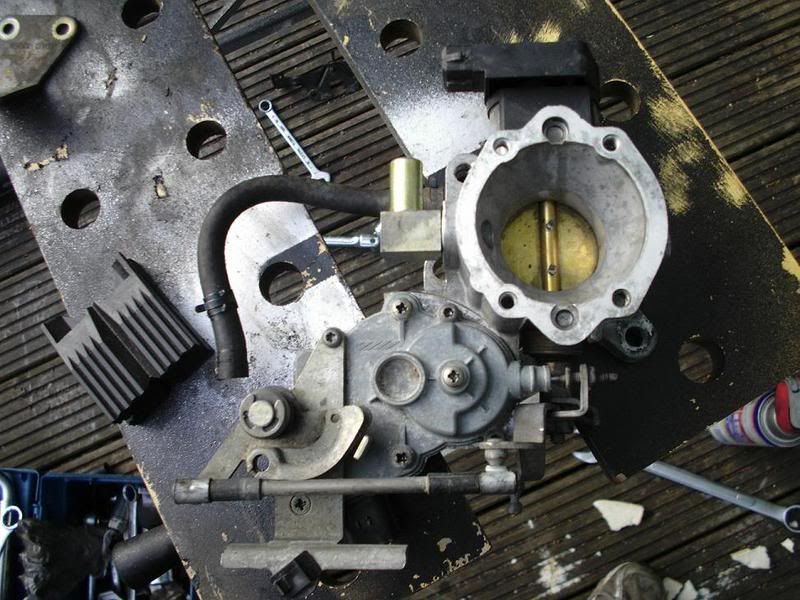
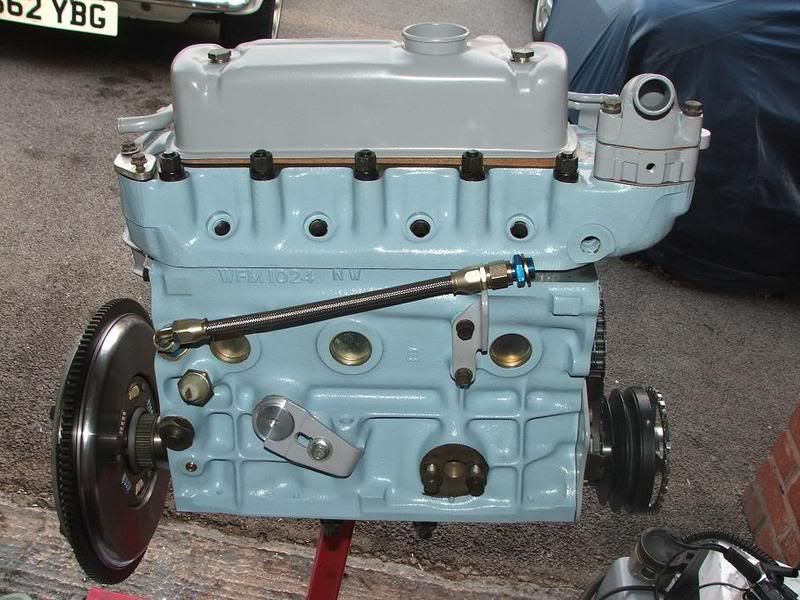
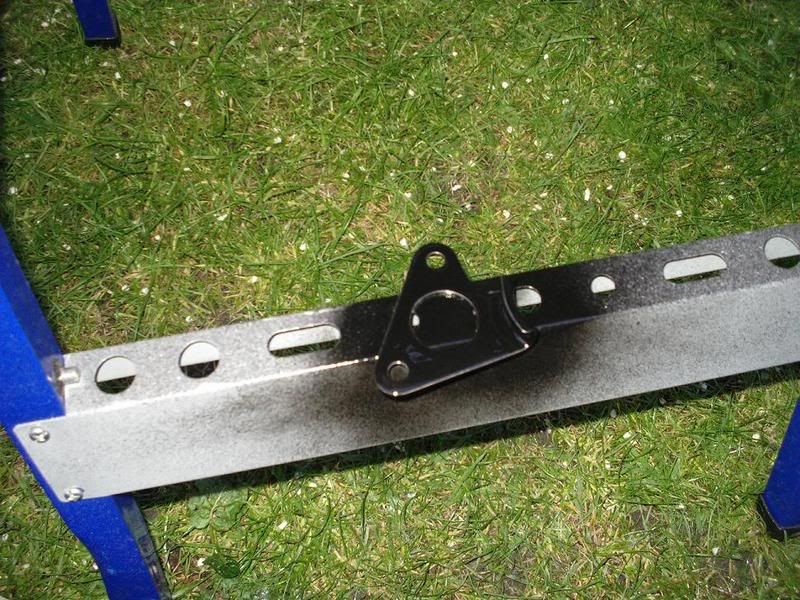
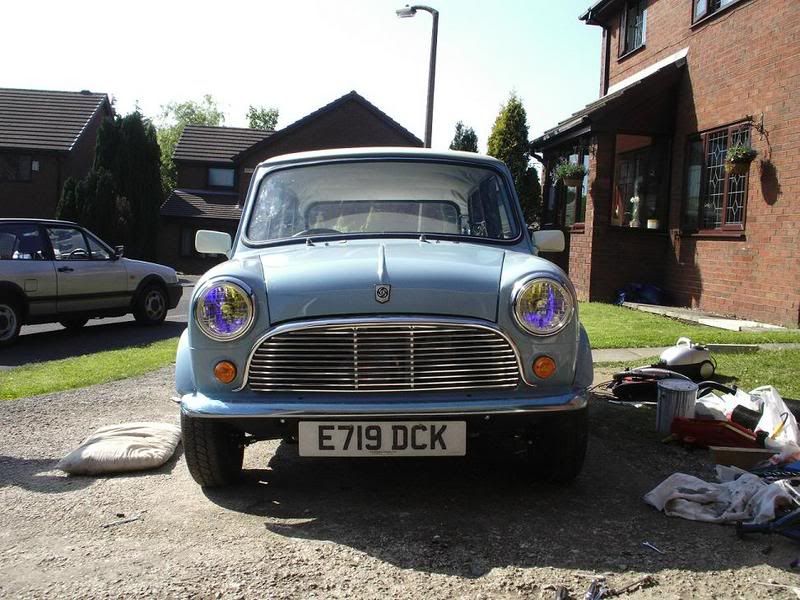
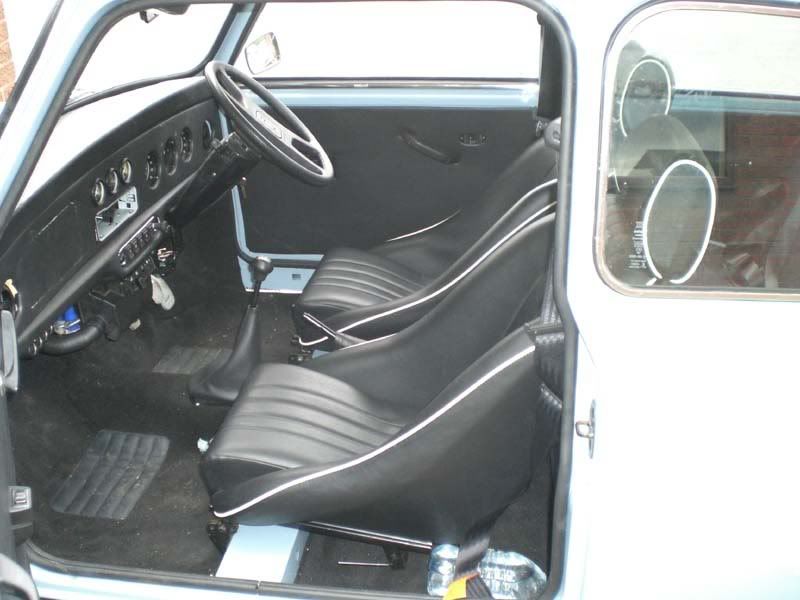
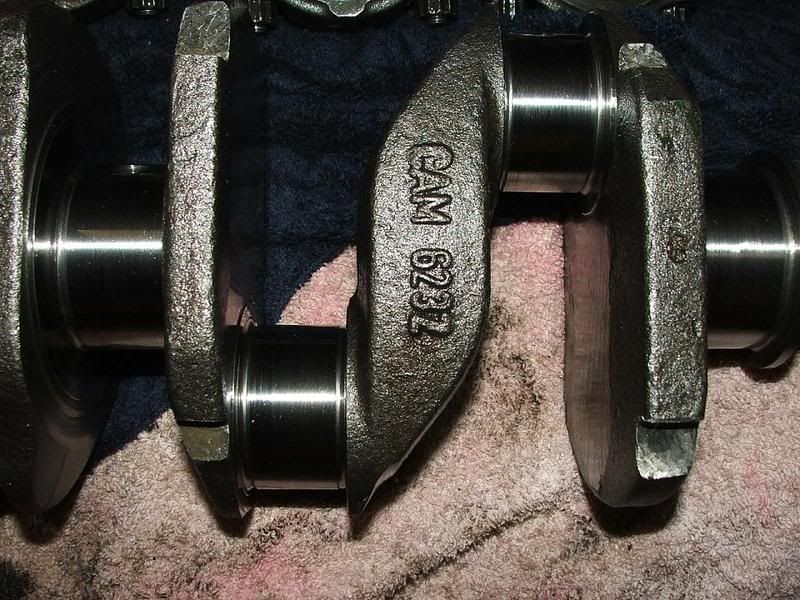
Engine Pics ;)

Clutch oil seal going in

Posted Image

Posted Image

In
Posted Image

Clutch going on

Posted Image

Posted Image

Hidden from sight :angel:

Posted Image

Posted Image

Well there it is the engine is built :D

Had to put the rear seats in to make my rear shelf up so decided to put a door card in too :cry:
Posted Image

Posted Image

Also put the headlights on and did the brake lines proper so they are connected

Posted Image

#20 Jackman

Jackman

    Up Into Fourth

  • Members
  • PipPipPipPipPipPipPipPipPip
  • 4,053 posts

Posted 05 February 2008 - 10:38 AM
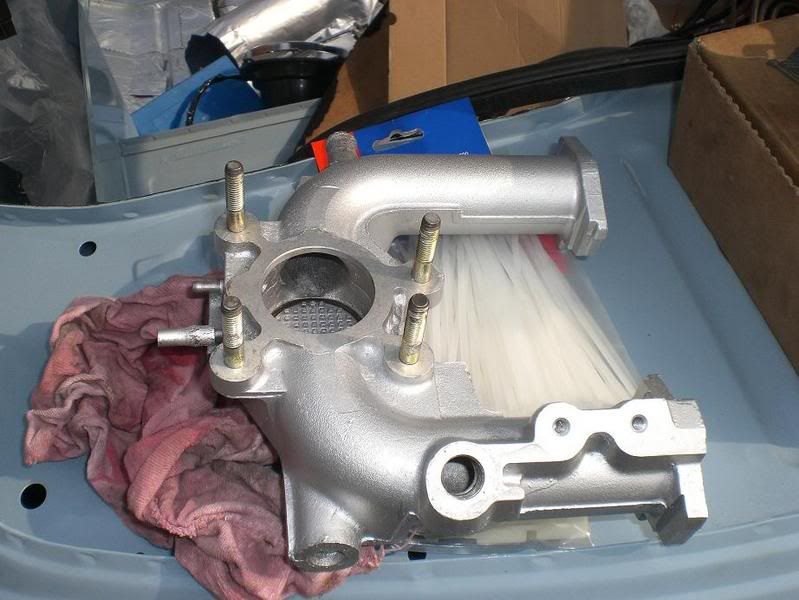
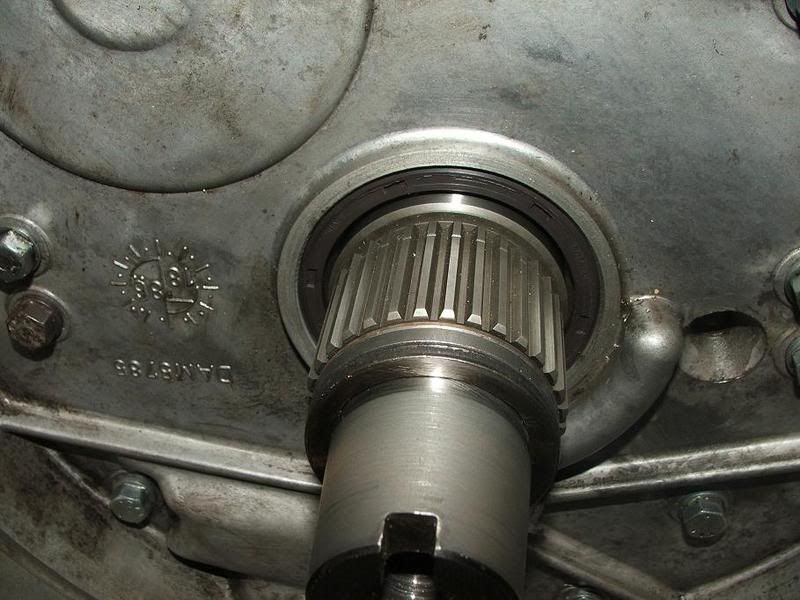
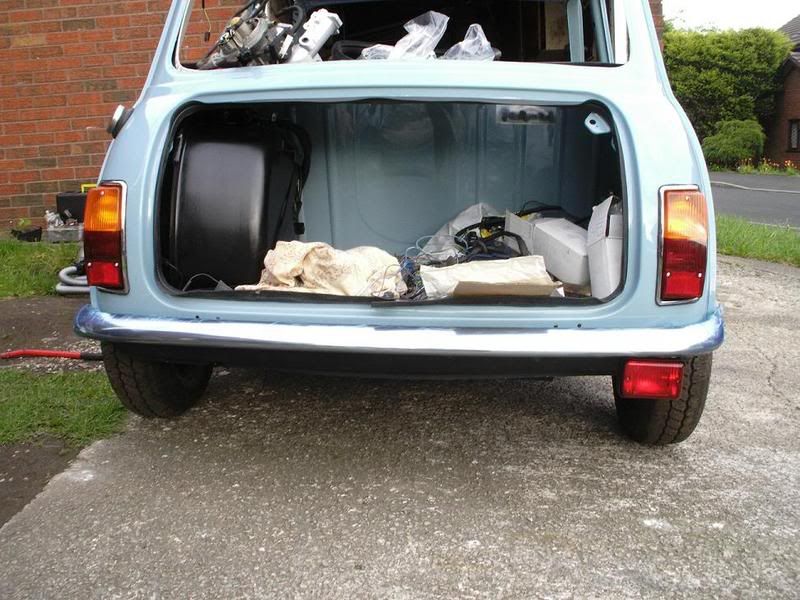
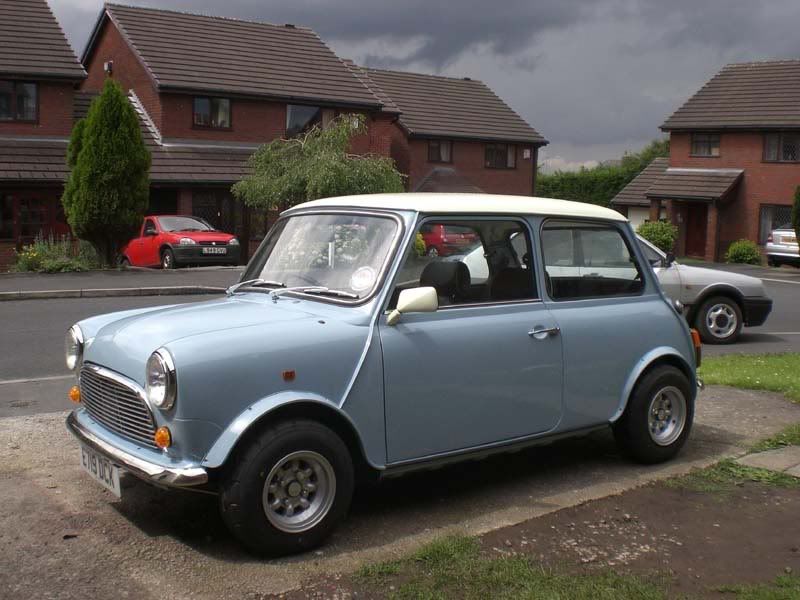
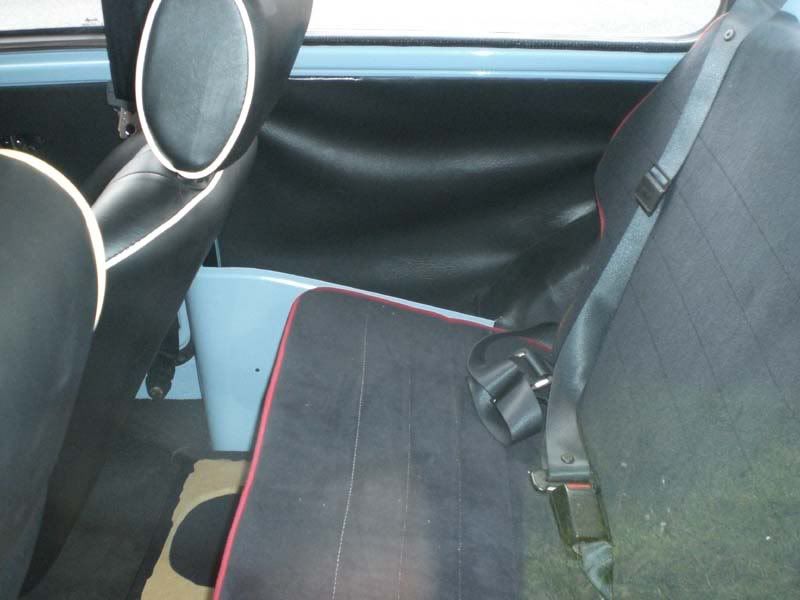
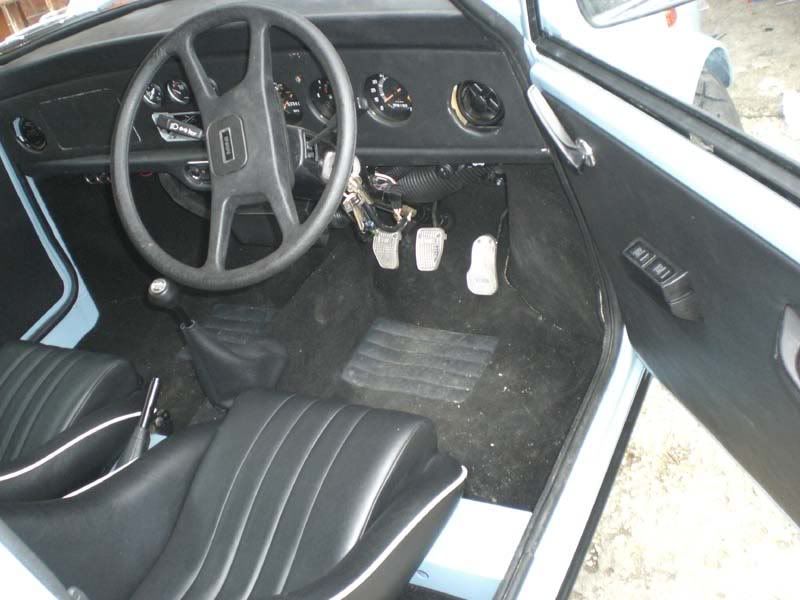
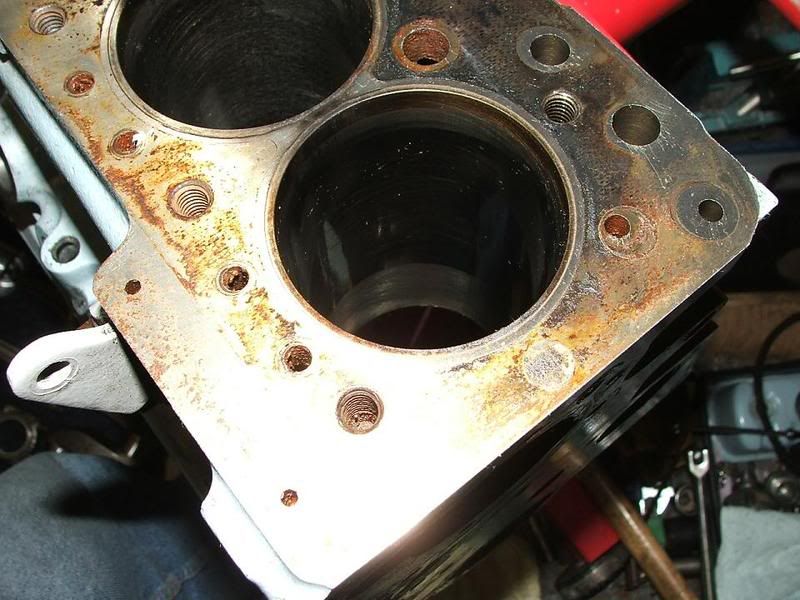
Wheels Arrived.

Posted Image

Posted Image

Posted Image
Bit over exposed...

Posted Image

Finally put the calipers on
Posted Image

Test fitted the new wheels
Posted Image

Posted Image

Posted Image

Headlining Went in then came out as i am going to trim it first.
Posted Image

Exhaust was cleaned and polished ready.

Posted Image

Posted Image

#21 Jackman

Jackman

    Up Into Fourth

  • Members
  • PipPipPipPipPipPipPipPipPip
  • 4,053 posts

Posted 05 February 2008 - 10:39 AM

Posted Image

Done more stuff, getting ready for the engine now.

Posted Image

Posted Image

Posted Image

Bumpers, foglight, wiper motor and other components in place.

Posted Image

Posted Image

Finishing off the interior.

Posted Image

Here are some pictures ;) :D :angel: 
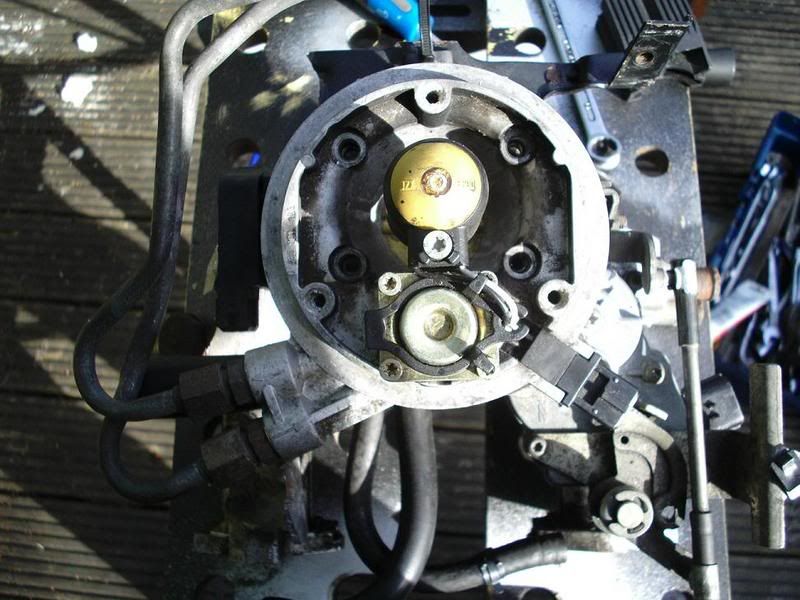
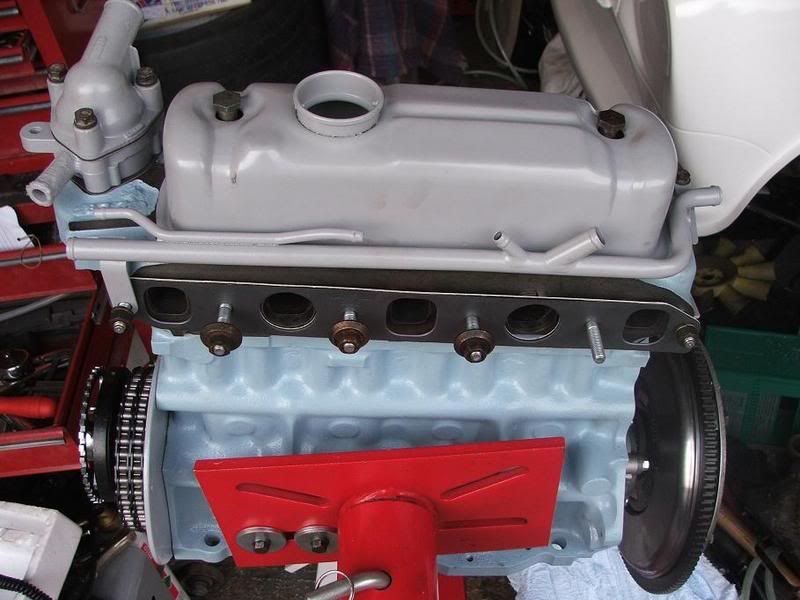
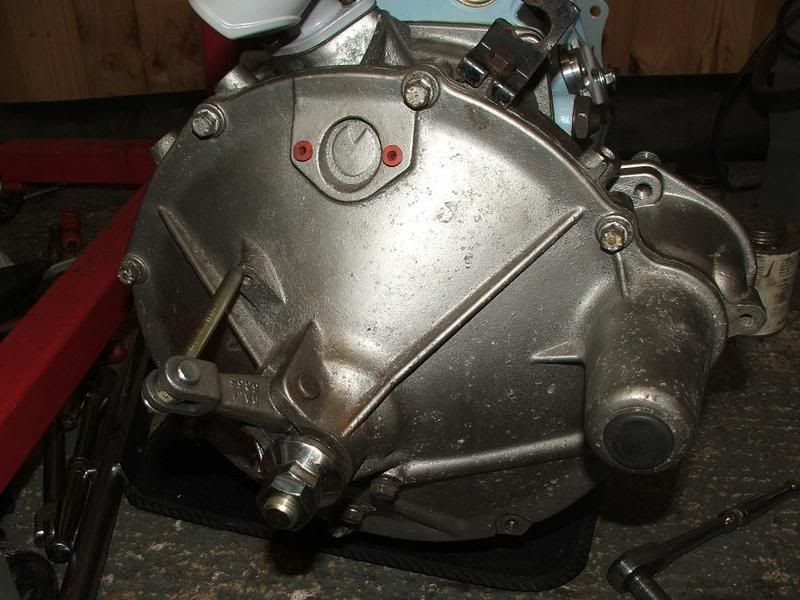
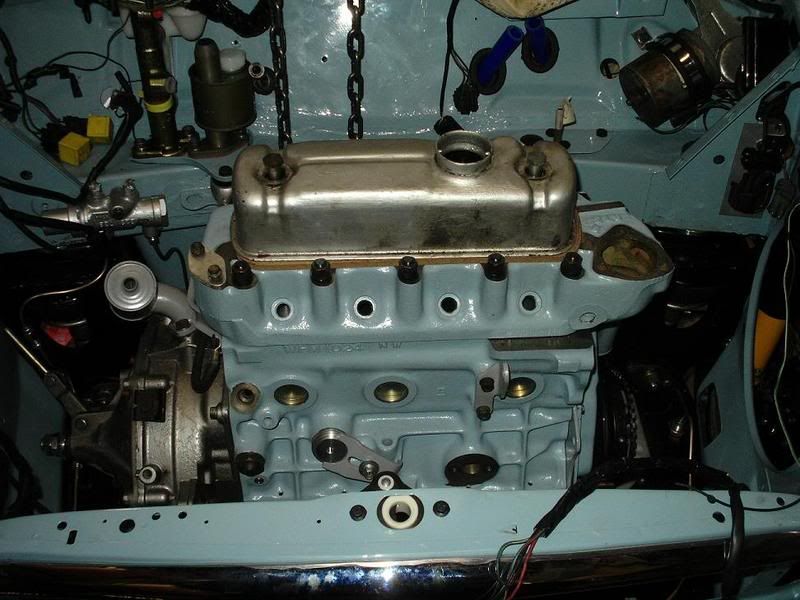
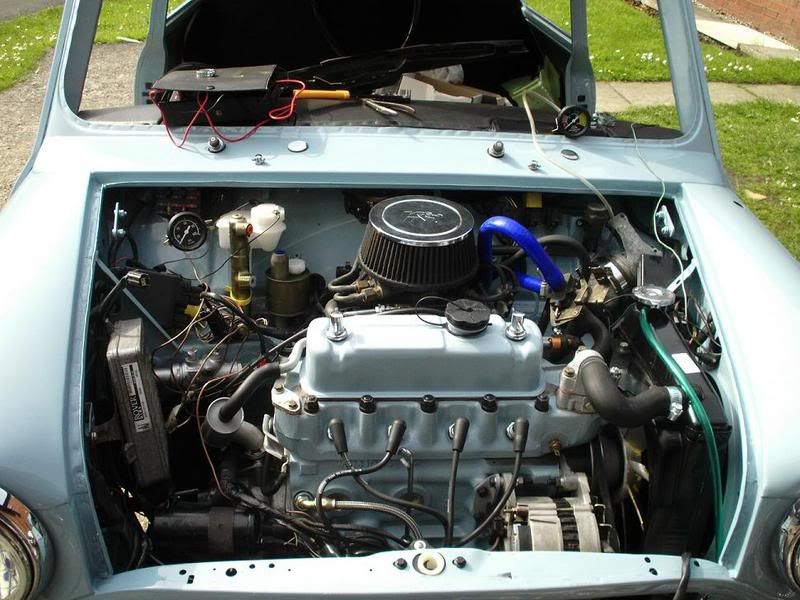
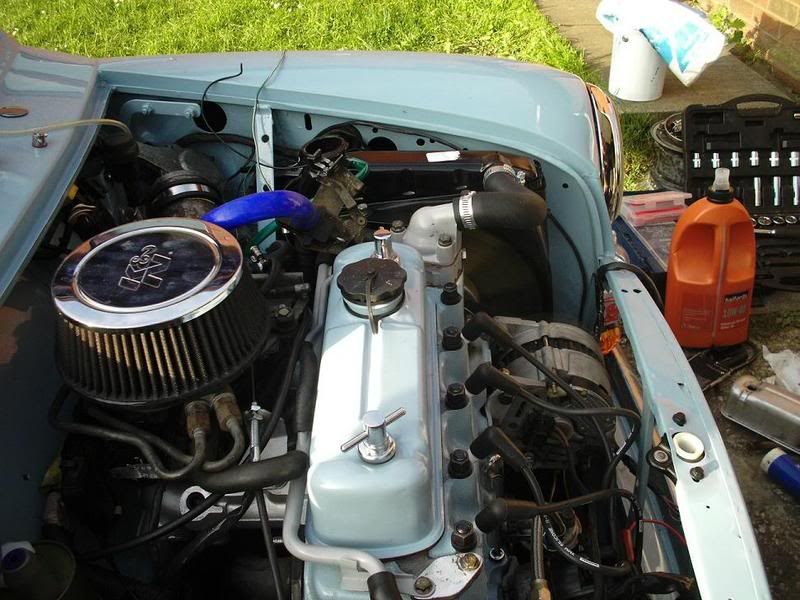
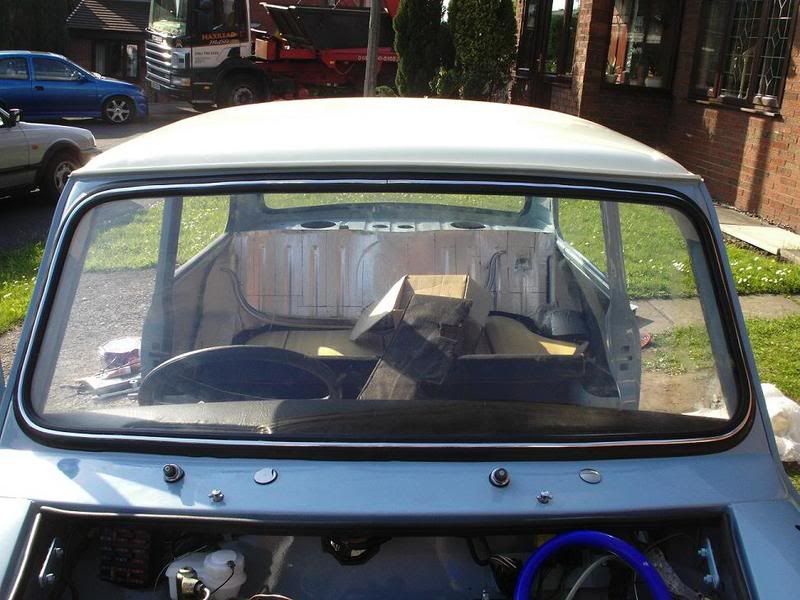
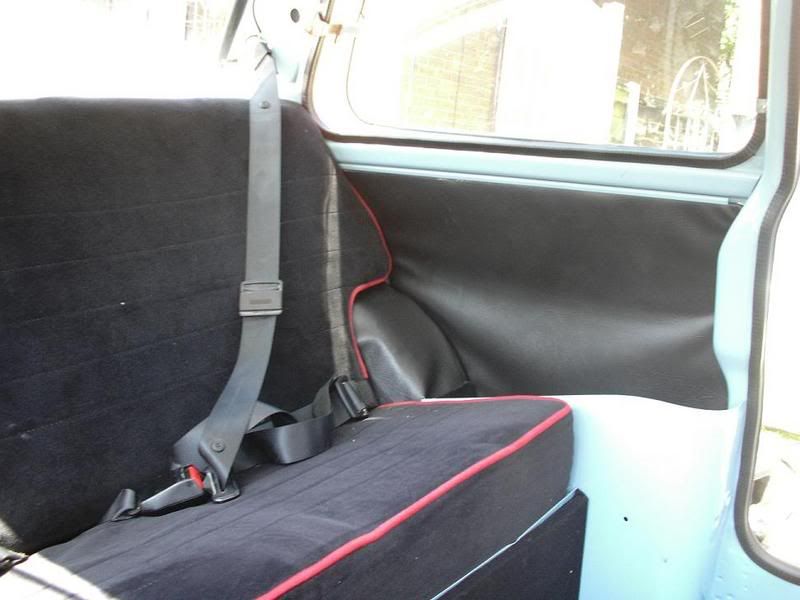
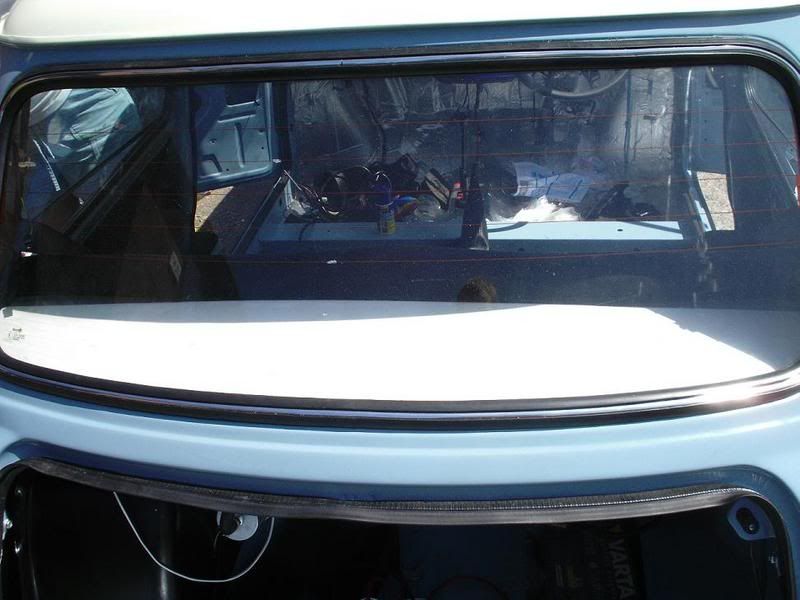
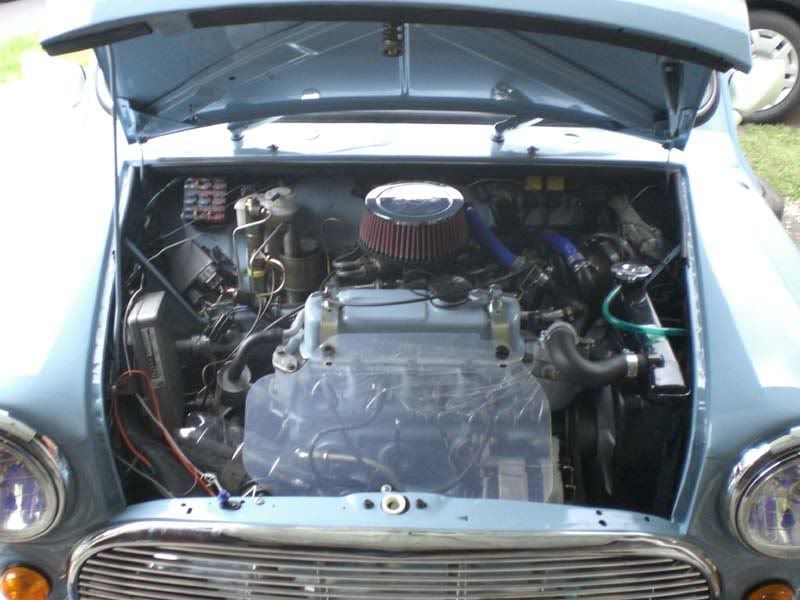
(by the way the rocker cover is just one for protection atm)
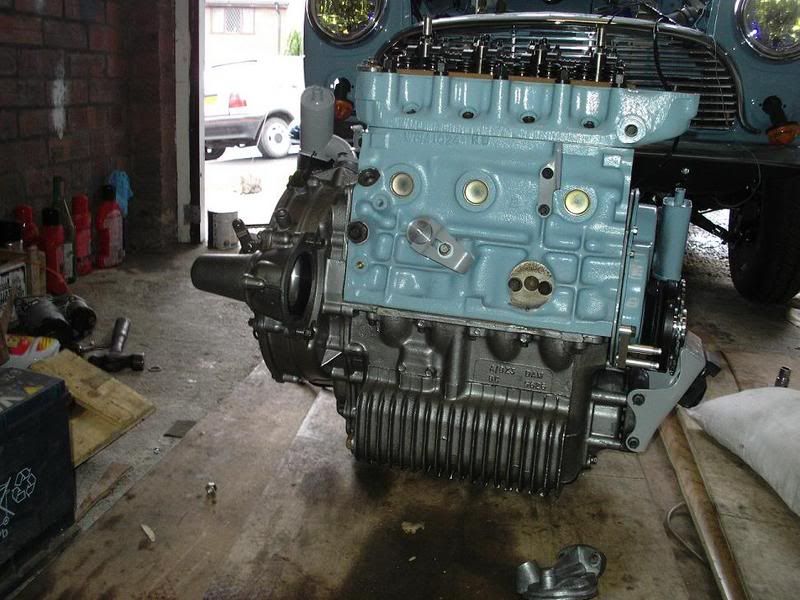
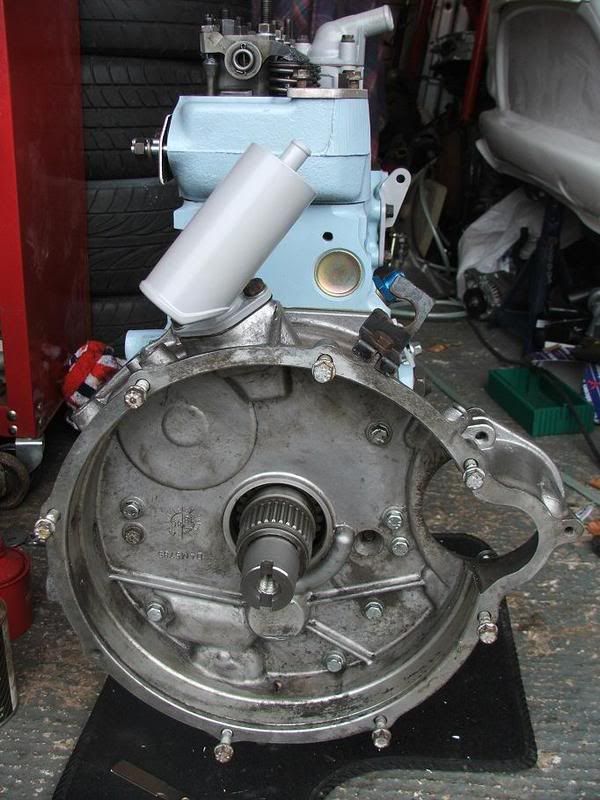
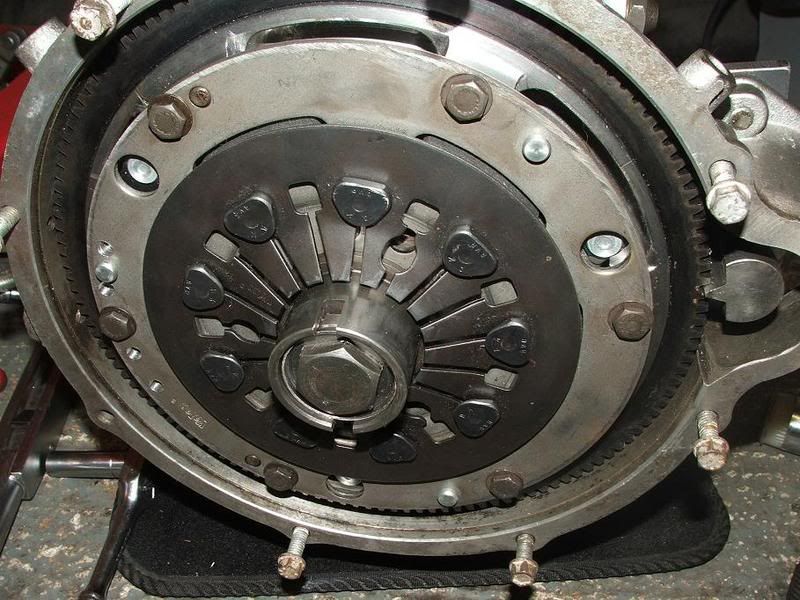
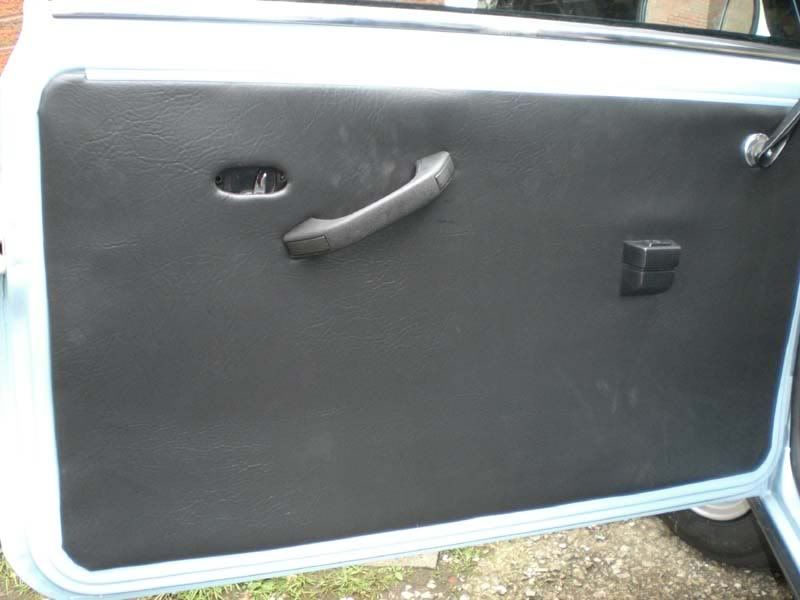
The engine sitting ready to go in :cry:
Posted Image

Posted Image

Posted Image

Its in ;)
Posted Image

Parts connected up ready :strongsad:
Posted Image

Posted Image

And the exhaust with handprints.
Posted Image

Posted Image

#22 Jackman

Jackman

    Up Into Fourth

  • Members
  • PipPipPipPipPipPipPipPipPip
  • 4,053 posts

Posted 05 February 2008 - 10:40 AM
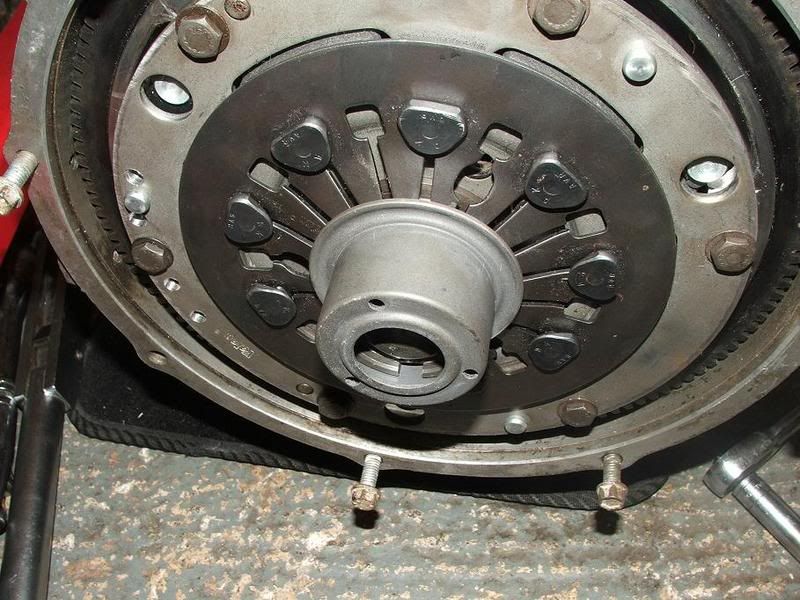
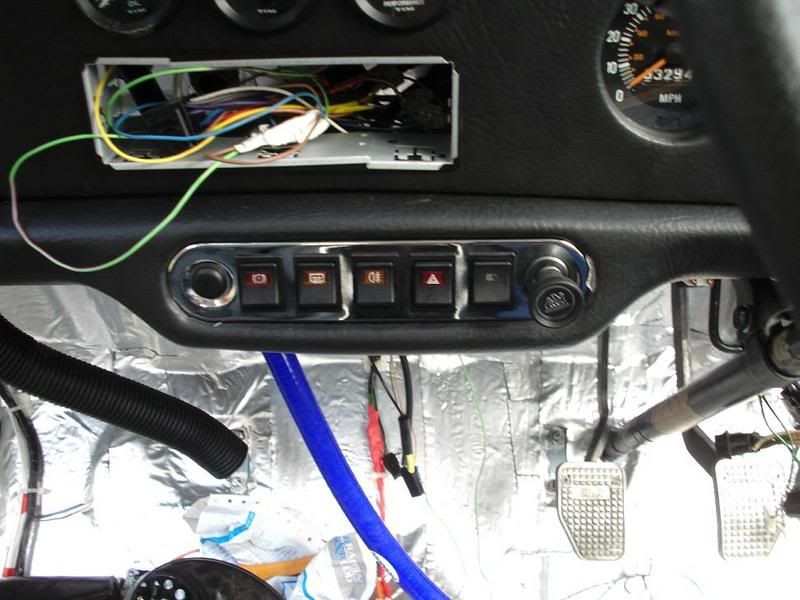
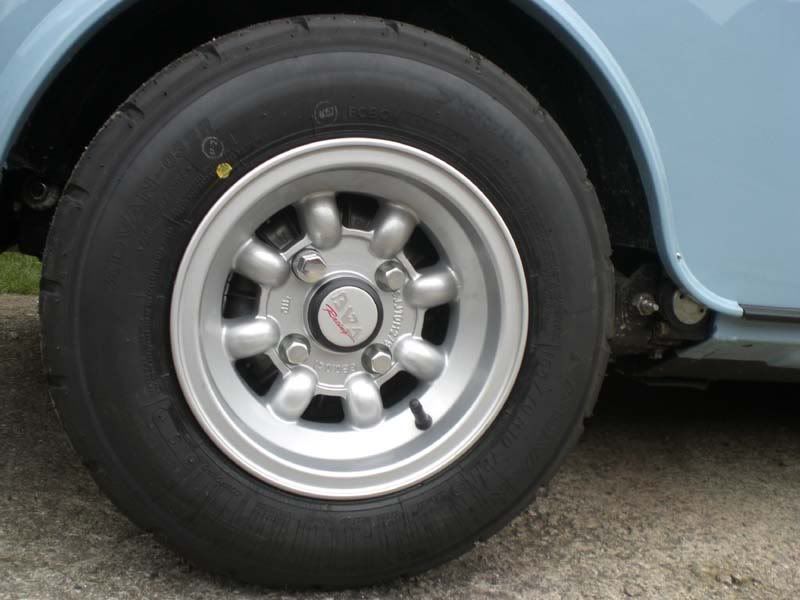
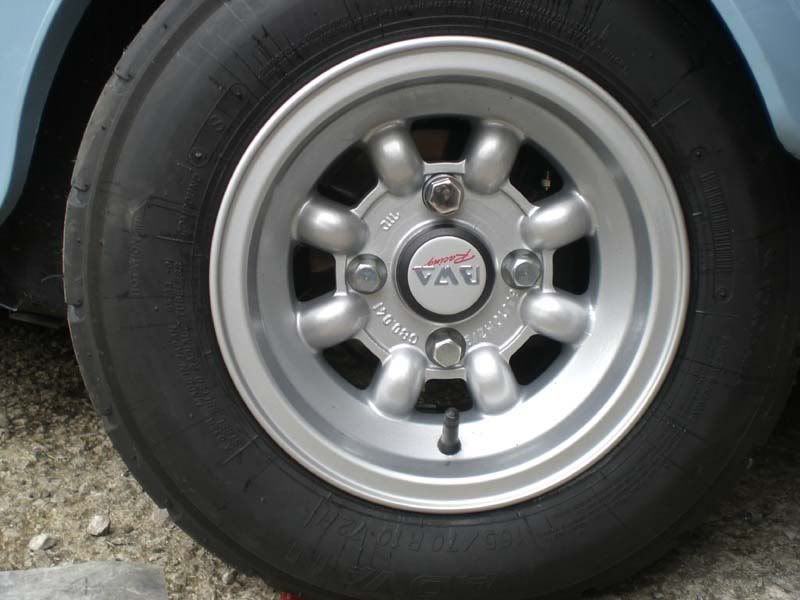
Well today was a good day... ITS ALIVE... here are the pics and the vid, there was a few problems however.

Everything there
Posted Image

The startup
Posted Image

Bedding the cam in.
Posted Image

Running ;)
Posted Image

MMM need to make the spring shorter i think.
Posted Image

Its upto temp.
Posted Image

Aftermath :D
Posted Image

The engine started first time after getting oil pressure up, this drained two batteries (both dead) but when we went to start the engine, as you saw it just came alive, was such a good feeling to know its working, the oil psi gave a problem, seems to have caused the main galery plug to leak which is why the psi went down after that, we thought it was sorting itself out.

Also it did not idle right as there was a problem with the lambda but in all it was a very good weekend.

#23 Jackman

Jackman

    Up Into Fourth

  • Members
  • PipPipPipPipPipPipPipPipPip
  • 4,053 posts

Posted 05 February 2008 - 10:41 AM

More pictures of the progress, Interior work ;) 
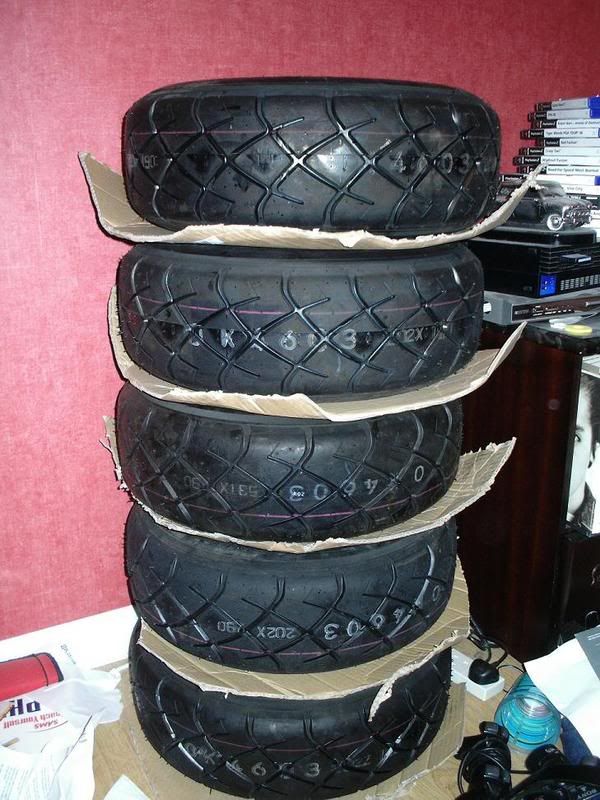
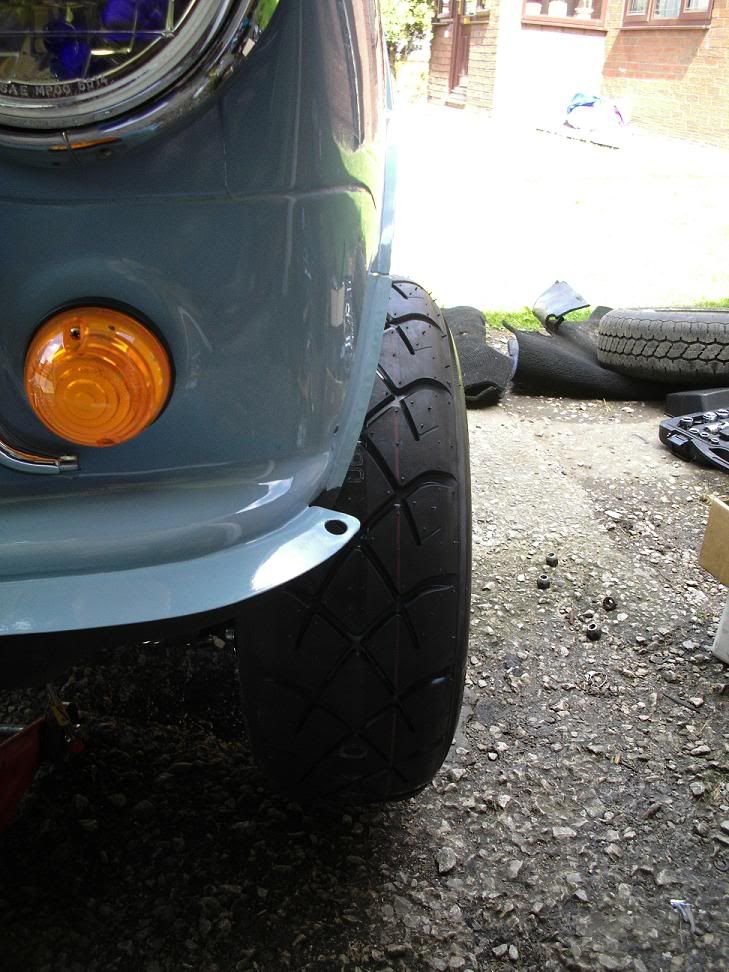
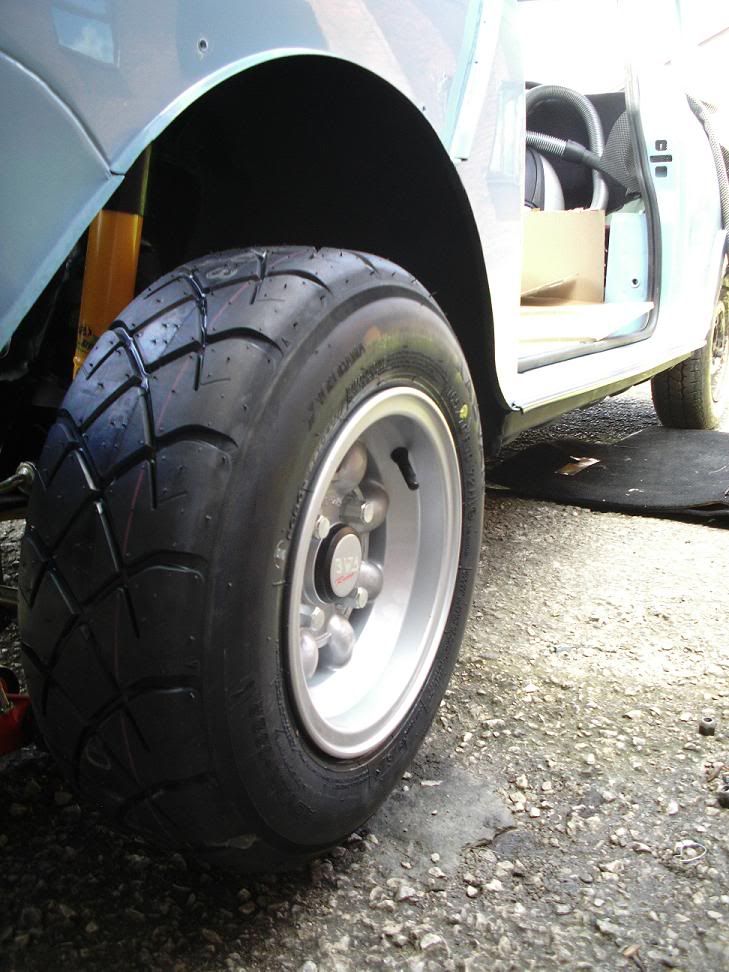
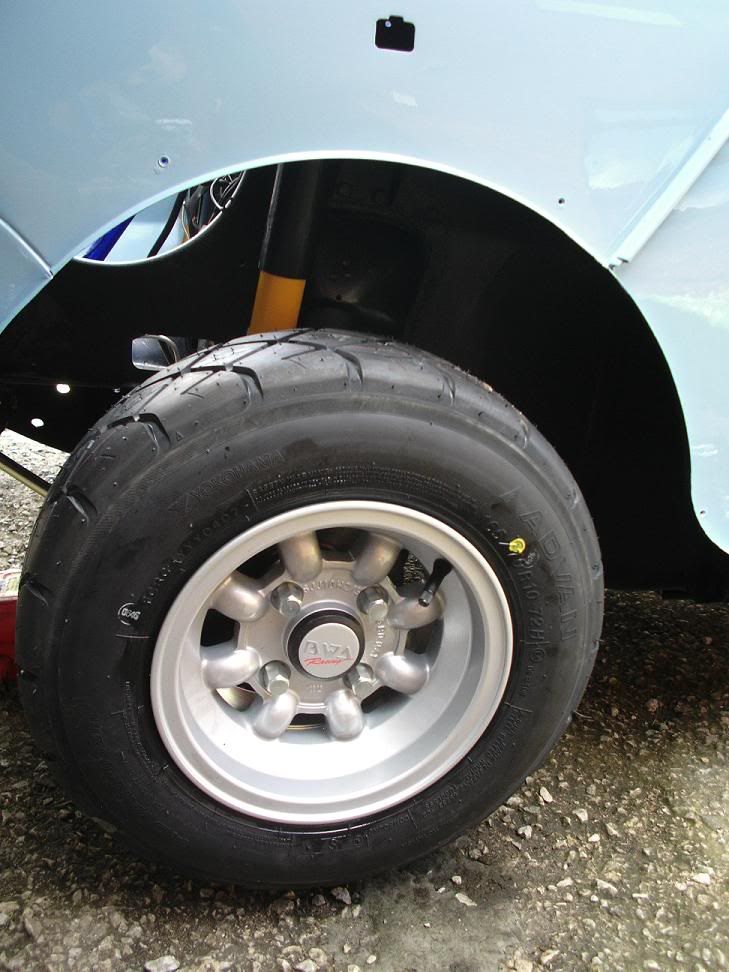
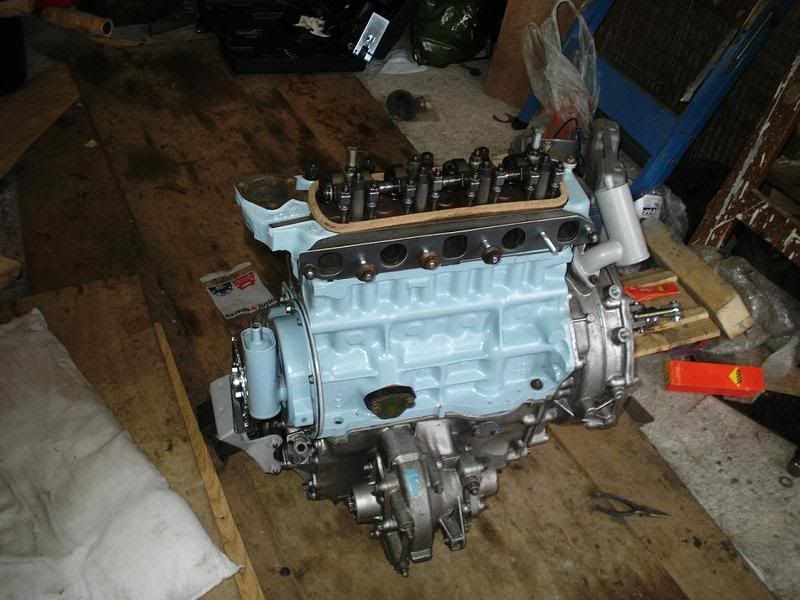
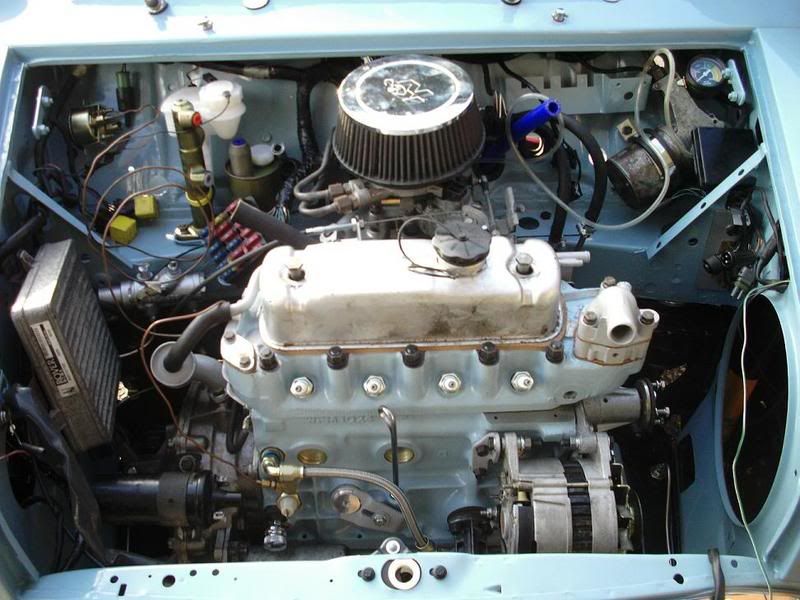
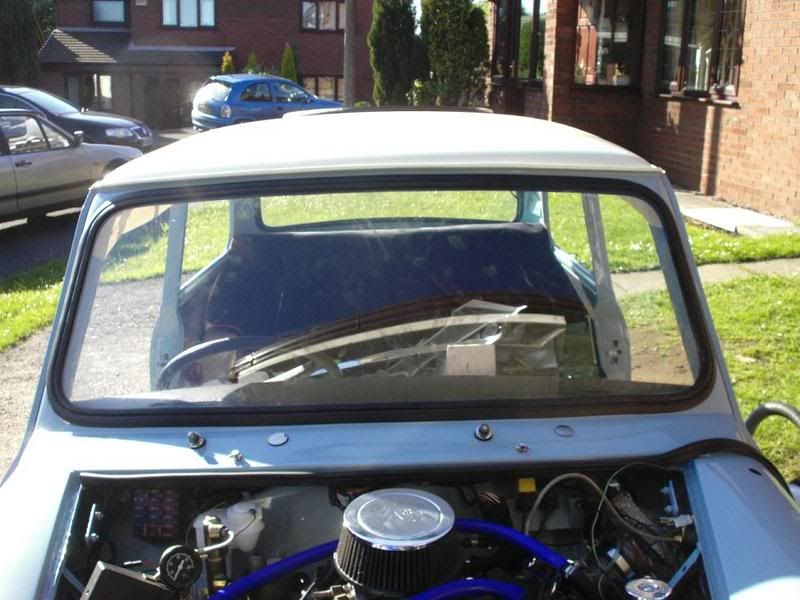
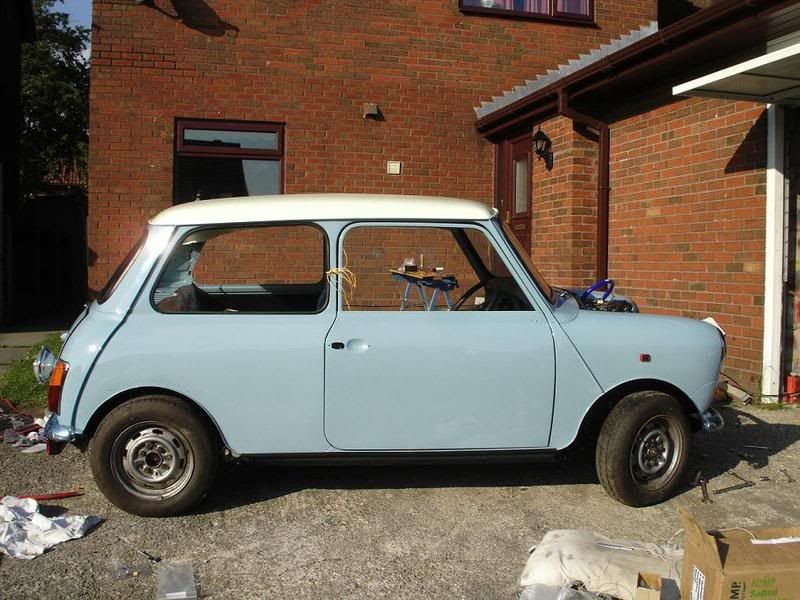
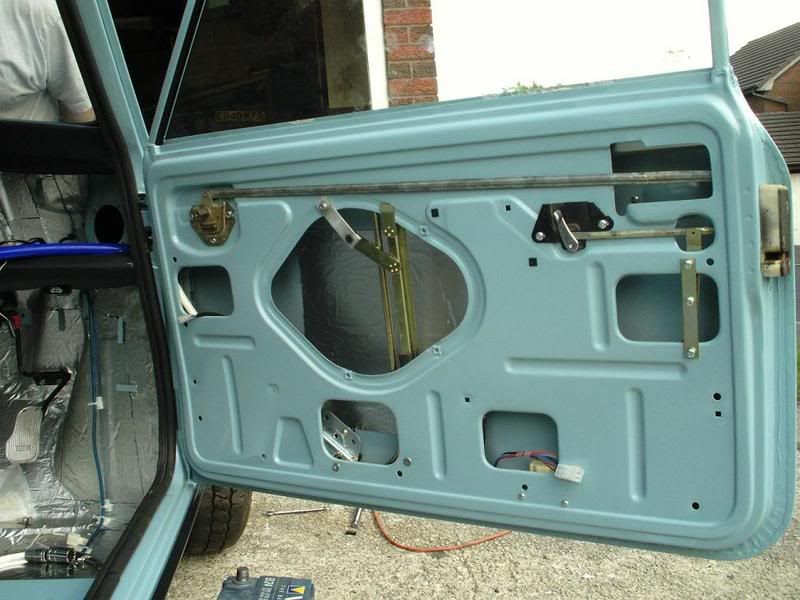
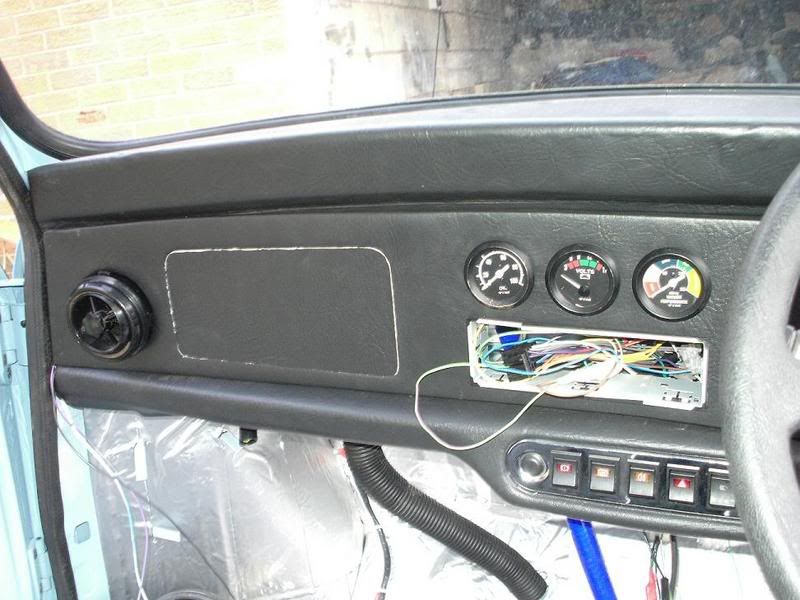
Also my Fan and Filter arrived.
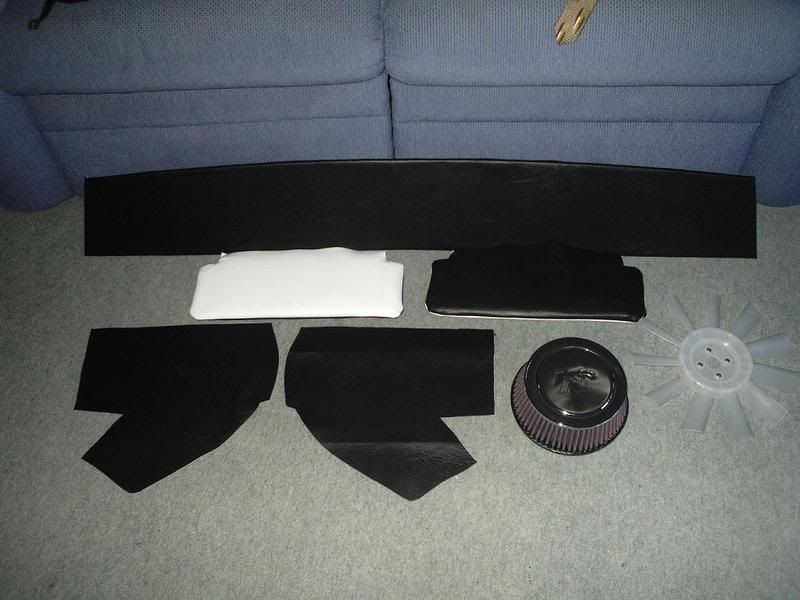
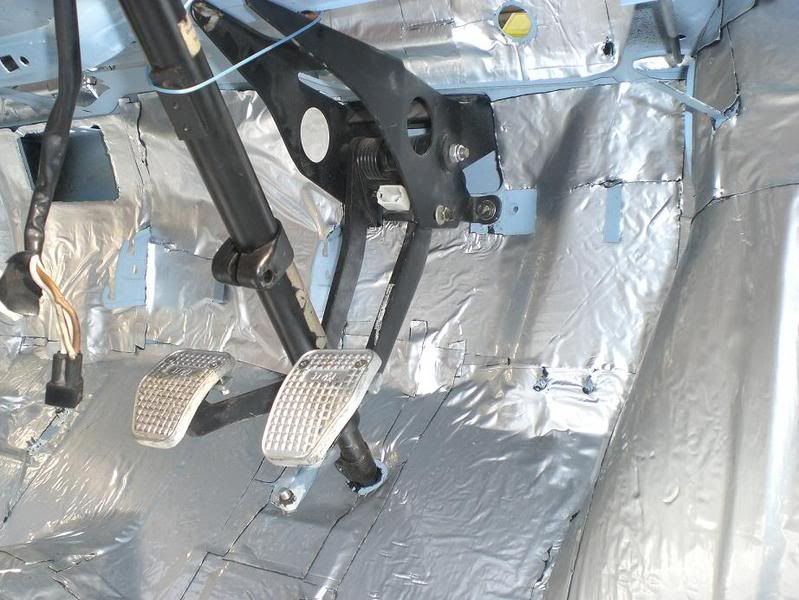
Posted Image

Windows and Headlining are in, but headlining isnt finished.

Posted Image

Posted Image

Posted Image

Posted Image

Posted Image

Posted Image

Last bits from paint now too.

Posted Image

Posted Image

Now im off work for a week, time to get cracking :D

#24 Jackman

Jackman

    Up Into Fourth

  • Members
  • PipPipPipPipPipPipPipPipPip
  • 4,053 posts

Posted 05 February 2008 - 10:42 AM
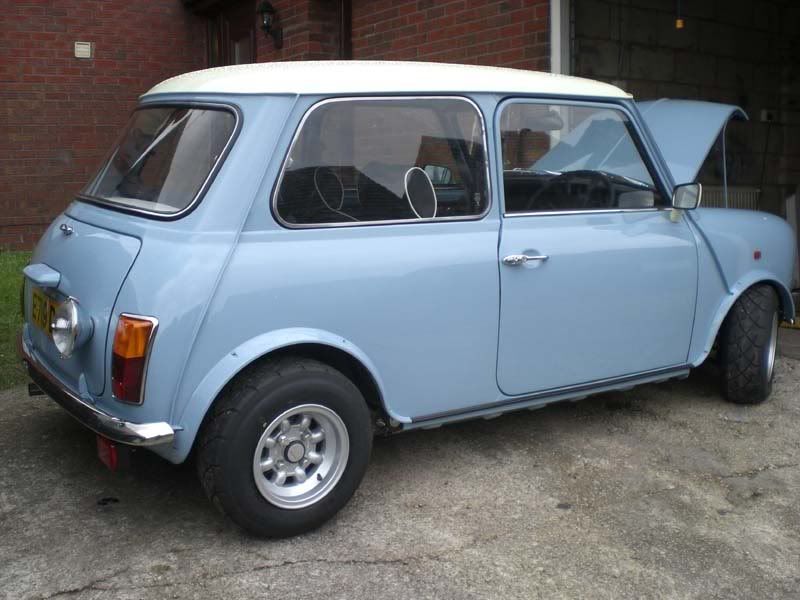
Posted Image

Finished the front screen.

Posted Image

Drivers door on.

Posted Image

Rear windows in.
Posted Image

Doors close
Posted Image

Central locking and electric windows
Posted Image

Rear interior
Posted Image

Posted Image

Arches on
Posted Image

Seats in
Posted Image

Posted Image

Dash in.

Posted Image

Posted Image

Yummy ;)

Posted Image

#25 Jackman

Jackman

    Up Into Fourth

  • Members
  • PipPipPipPipPipPipPipPipPip
  • 4,053 posts

Posted 05 February 2008 - 10:48 AM

The final product!!

Posted Image

Posted Image

Posted Image

Posted Image

Posted Image

Posted Image

Posted Image

Posted Image

Posted Image

Posted Image

Posted Image

Posted Image

Posted Image

Posted Image

;)

It managed to get to the IMM in denmark but didnt make it back due to fuel over there and blowing the headgasket.
Posted Image

Copenhagan Harbour
Posted Image

DOH!!!
Posted Image

Fixed the headgasket and took it to work for a test drive. On the way home a BMW ran into the back of me... well ill let the pictures do the talking :'( 2 months on the road and this happens.

Posted Image

Posted Image

Its being repaired now, so thats all the pictures i have at the moment, shall update when she is back from the repair shop.

You can now post.

#26 cityspeed

cityspeed

    Mini Mad

  • Noobies
  • PipPipPipPip
  • 193 posts
  • Location: Essex

Posted 05 February 2008 - 12:07 PM

wow! what a project!, my resto on my city e has had a few twists and turns but i havent found any "roofing felt",,,, well yet! its such a shame that bmw crashed into you! but at least your paint is fresh so matching the colour will be easy, are you tempted to go for a mk1 rear light conversion, as your going to re shape that rear end??? have you dyno'd that engine it would be intersting to see what bhp your running with a spi,
Love your project, its made me go do some more prep on mine!, good luck!

#27 Jackman

Jackman

    Up Into Fourth

  • Members
  • PipPipPipPipPipPipPipPipPip
  • 4,053 posts

Posted 05 February 2008 - 12:23 PM

I didnt want mk1 lights as i prefer the mk2 look on it, the car isnt a mk1 style its more mk2 so thats why i went with those lights and the rear reverse lamp.

Not dyno'd the engine yet but shall do when its been run in again as its had new rings after the overheating in denmark.... that reminds me engine diagnostic. Sprocket was the guy who helped me with my engine and very kindly checked the engine over, got that hot it melted the powdercoating and the poly bushes.


The bores had been polished as i didnt drive it hard enough in the first 50 miles ;) 
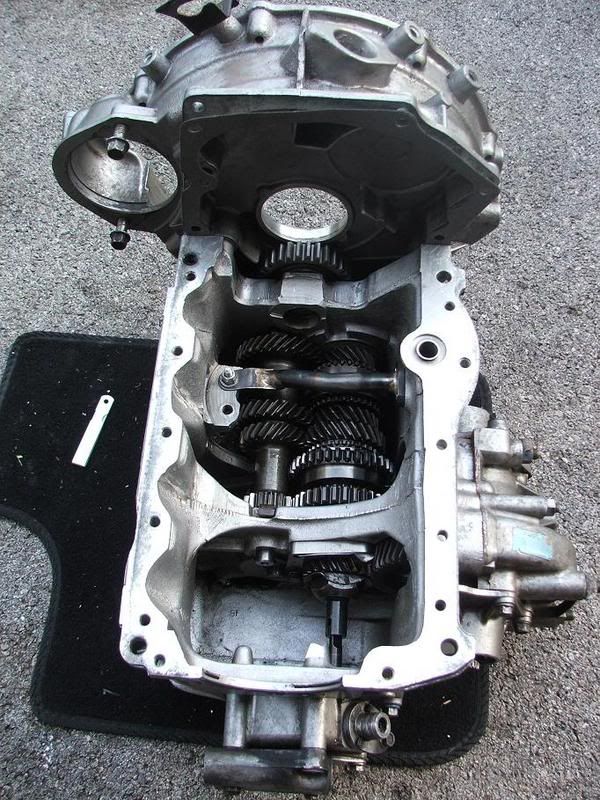
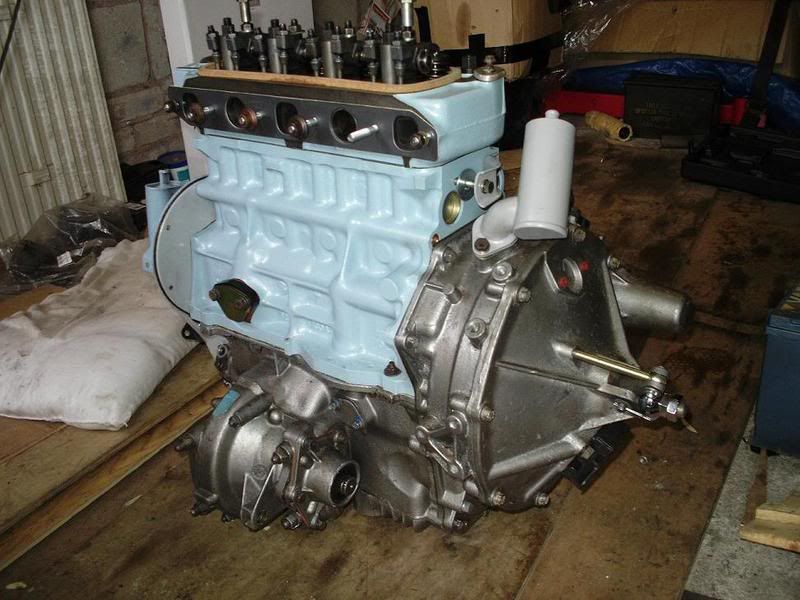
but there was other problems.

This is the worse piston skirt damage caused by overheating the side of the pistons are thicker so expand more giving that.

Posted Image

You can see the aluminium in the block (note on the exhaust side)

Posted Image

This is how the other pistons are

Posted Image

Crank is still mint thank god.

Posted Image

You can see in these pictures the difference in the bores, shiny at top

Posted Image

Posted Image

Also there was a few things wrong with the "Rebuilt box" This is what sprocket said.

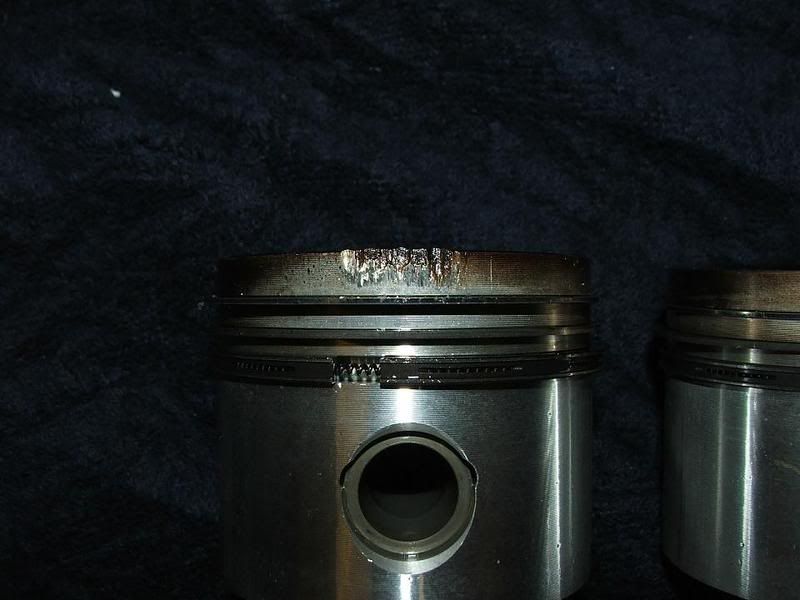
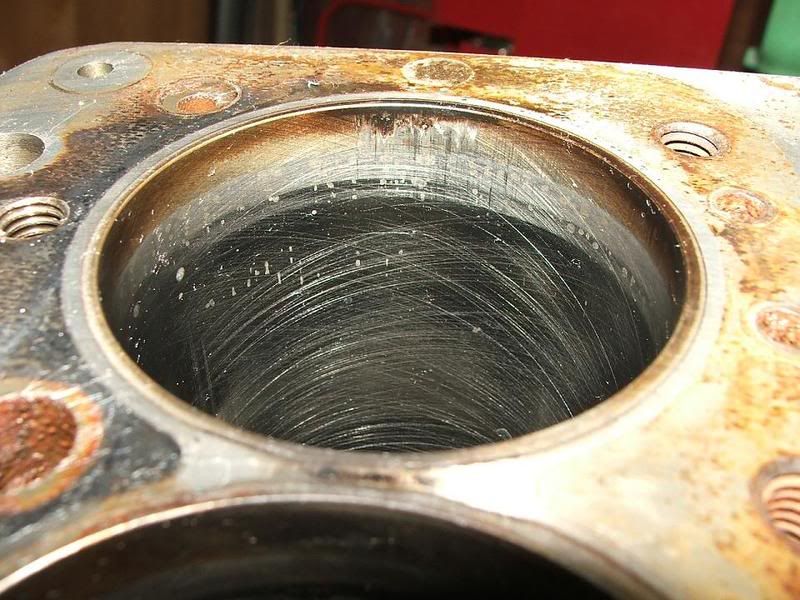
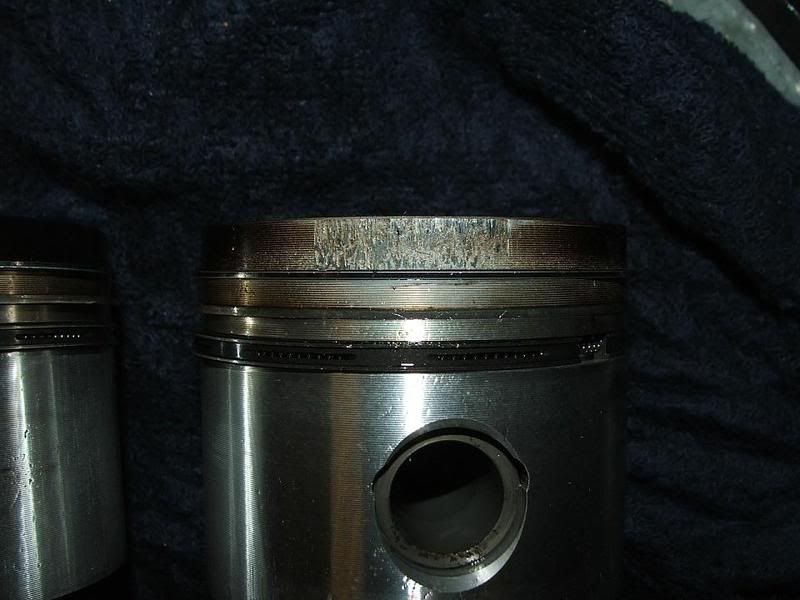
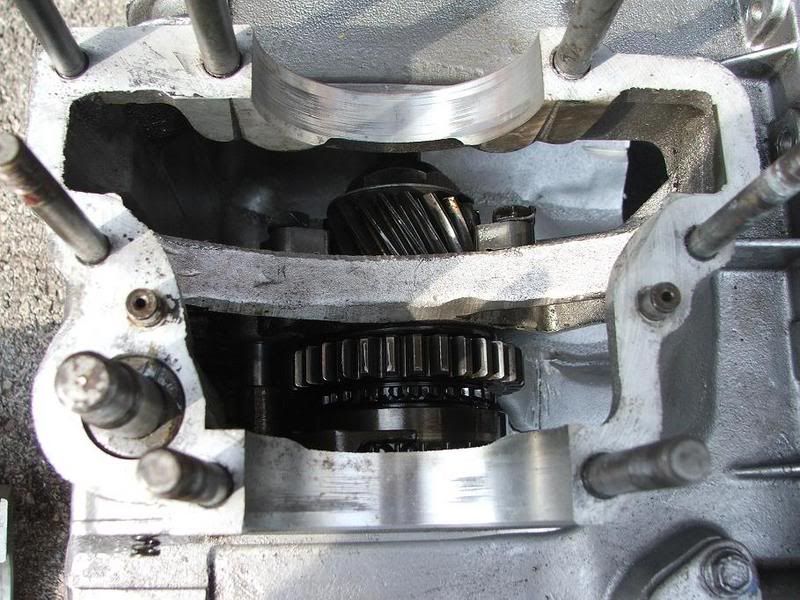
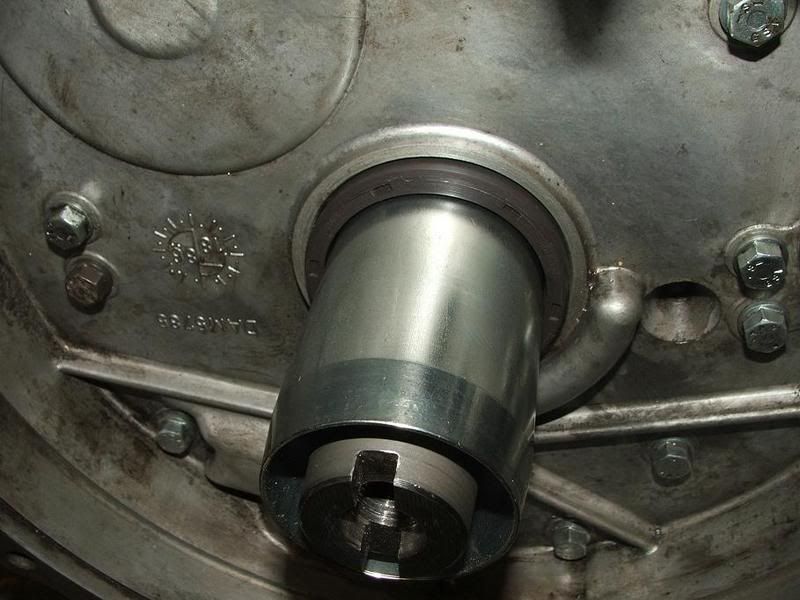
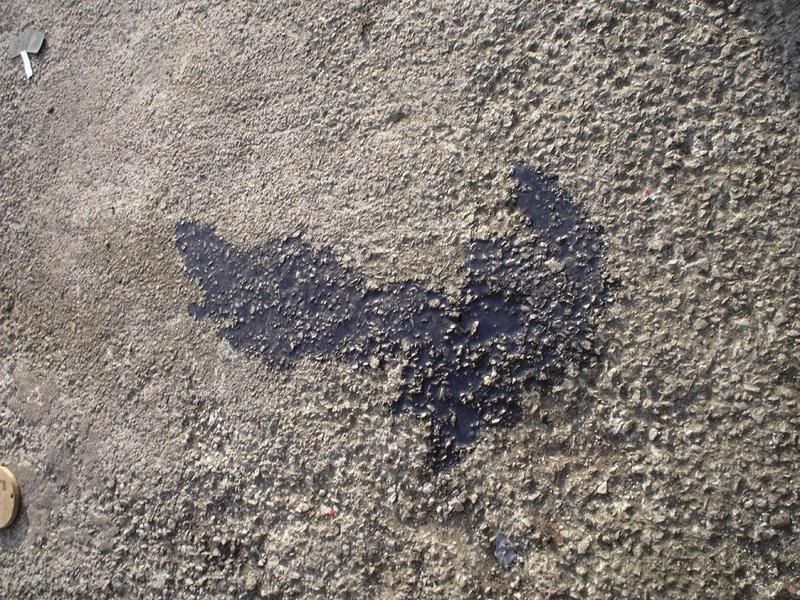
first off, oil leak suspected on the speedo drive spindle as there was half a gasket still on the flange bit where you screw the cable on, under that there was a full gasket.
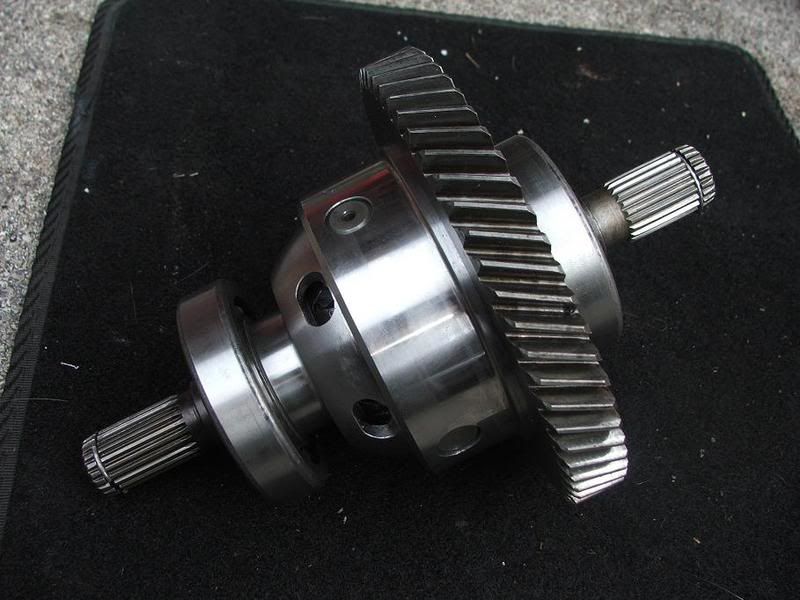
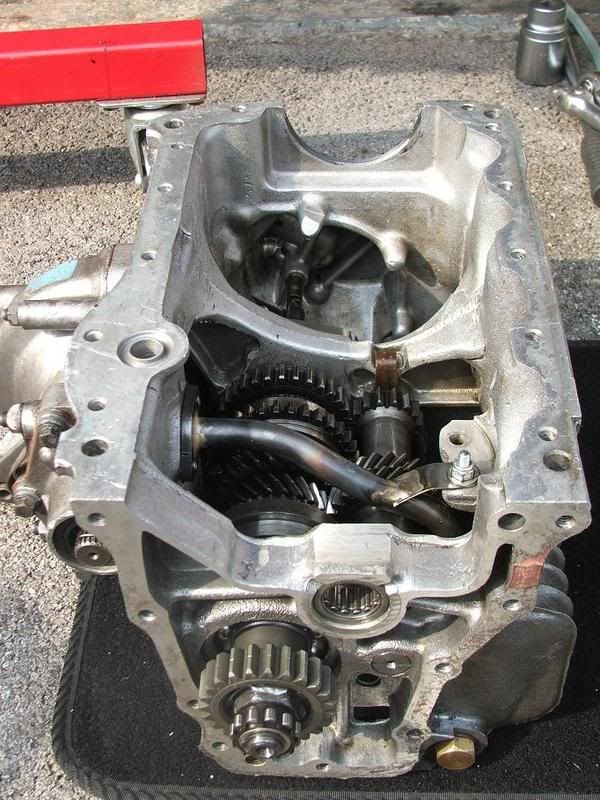
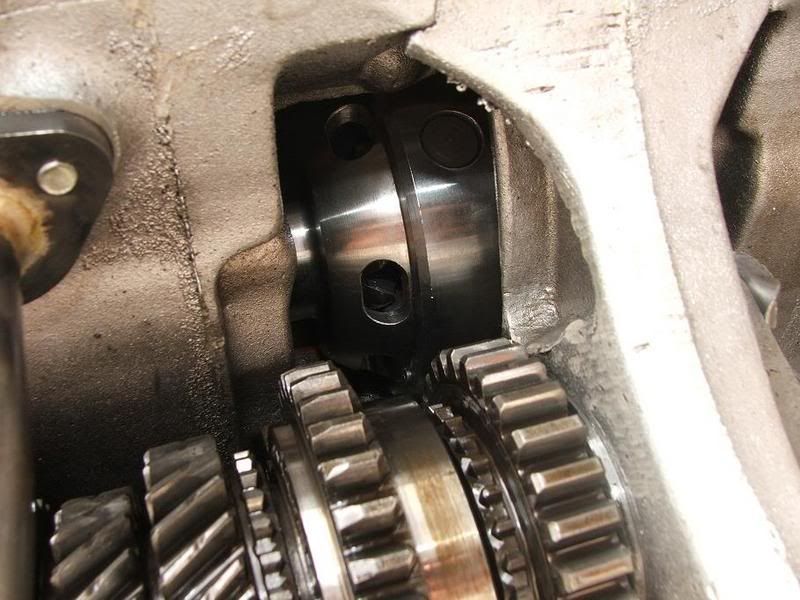
second, the lay gear end float clearance is 9 thou!!

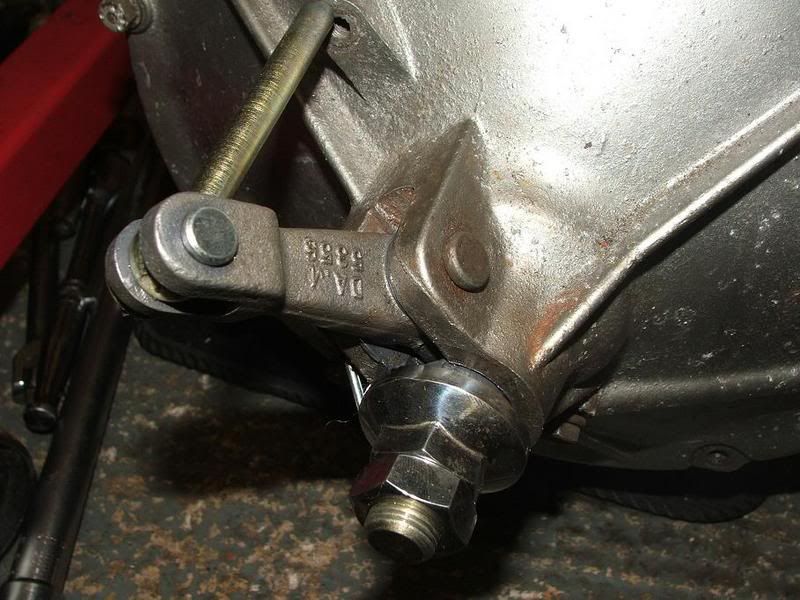
thrid, the selector fork bellcrank retaining nut was only screwed on partialy and hand tight, there was another 5mm to tighten it up!!!!!
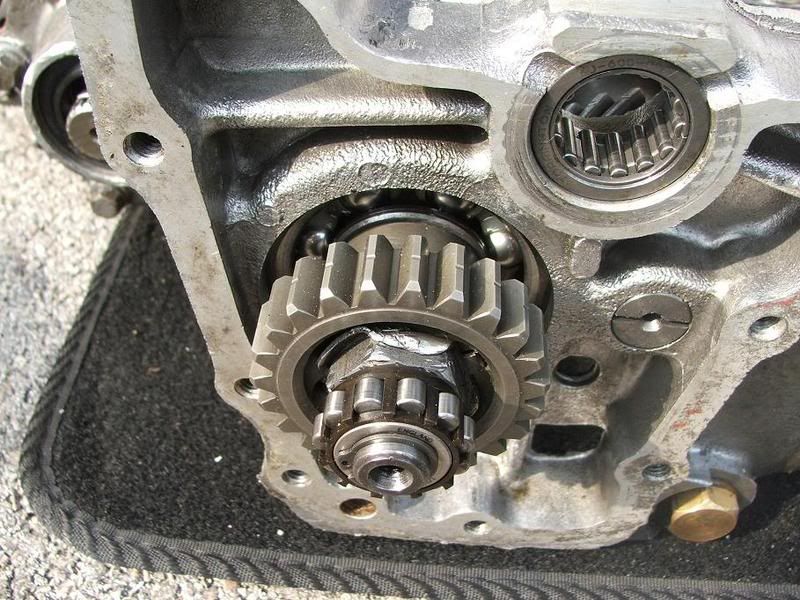
also suspect there was an oil leak on that bellcrank bush that is located in the sump, you know the bit, its te big round bit on the bottom exterior of the box it was very oily from both sides and full of C**p

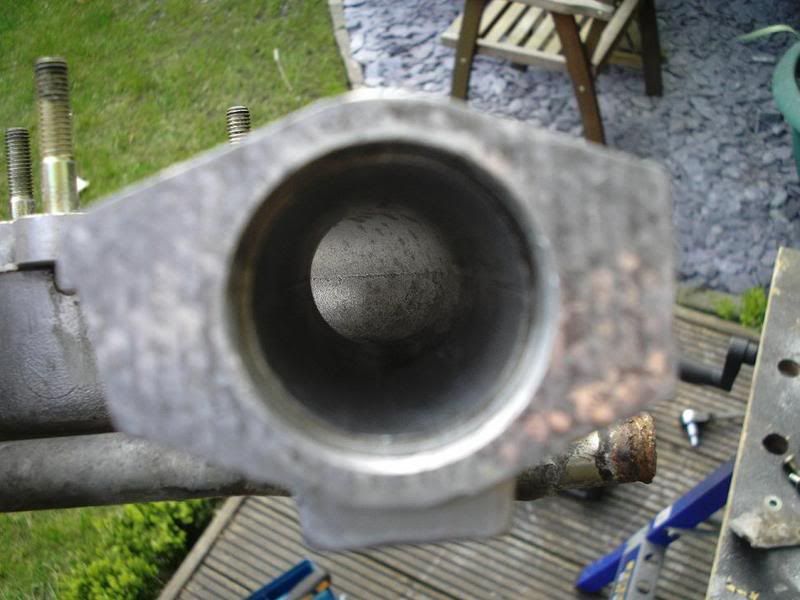
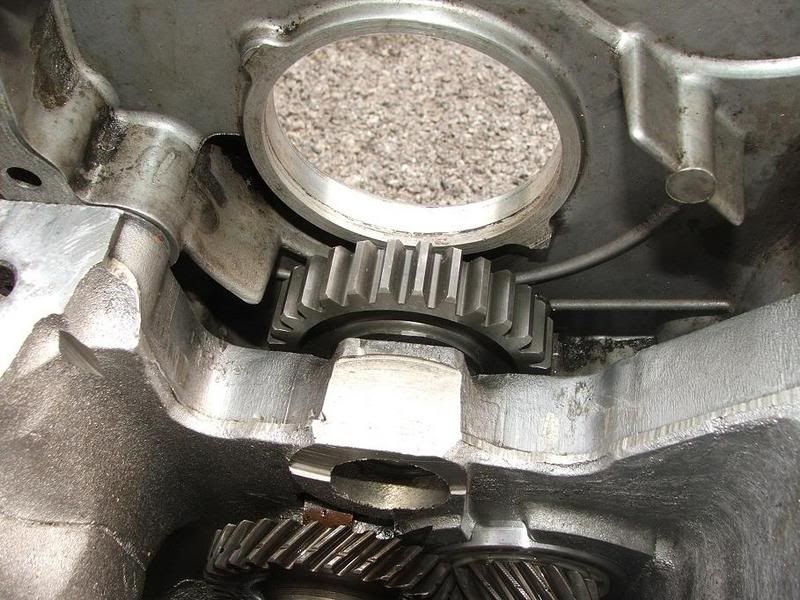
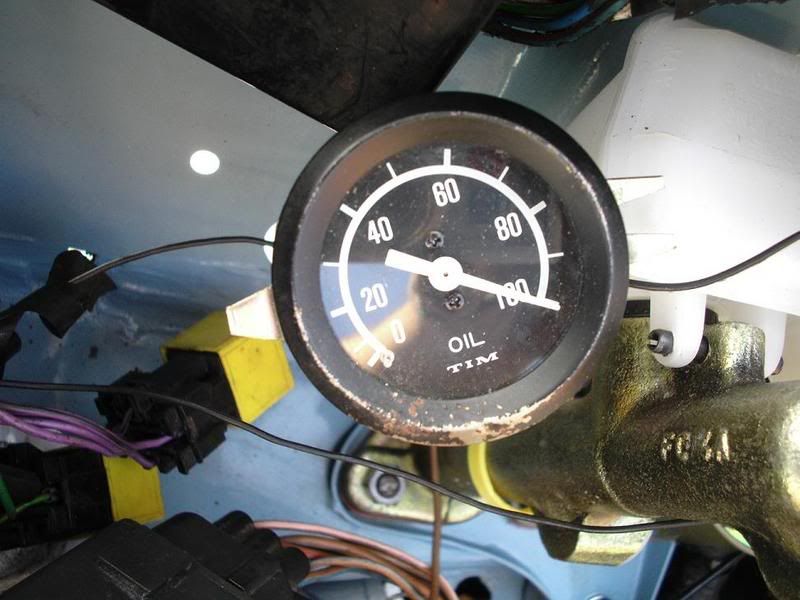
one other thing im not happy with and possibly the reason for loss of oil pressure.
im not at all happy with the center oil pick up pipe.
there was a fair amount of C**p on it, the gauze is not the finest ive seen and only half the gauze is actualy open to the oil, the rest is covered by the pipe itsels as the pipe has been cut at an angle, add to that, the open bit is toward the bottom where the crud usualy gathers, idle speeds the pump is finding it difficult pulling the oil through.
purely speculation, but could explain the motorway oil pressure being fine and idle being low.
just not happy with that oil pick up pipe


#28 Bean

Bean

    Queen of 'shoppin, Voted Miss TMF 2011

  • Members
  • PipPipPipPipPipPipPipPipPipPip
  • 8,054 posts
  • Name: Jean
  • Location: Malvern

Posted 05 February 2008 - 12:30 PM

Oh my god!

What a project and what a shock at the end!! ;) My heart actually sank! :D

Fantastic looking Mini though, Jackman ... Great work :cry:

Hope you're not too disheartened by the stoopid BMW, and that it's all fixed up and OK soon! :angel:

#29 Jackman

Jackman

    Up Into Fourth

  • Members
  • PipPipPipPipPipPipPipPipPip
  • 4,053 posts

Posted 05 February 2008 - 12:31 PM

Nope im not disheartened by it, got another project to start on too, post that up either tomorrow or later.

Just want it back on the road ;)

Edited by Jackman, 05 February 2008 - 12:32 PM.


#30 jonny-b

jonny-b

    Mini Mad

  • Members
  • PipPipPipPip
  • 189 posts

Posted 05 February 2008 - 02:04 PM

That is one fantastic rebuild - but what a let down at the end with the damage.

Hats off to you, you have done a top notch job.


2 user(s) are reading this topic

0 members, 2 guests, 0 anonymous users