well we thought about picking it up the other week but aunty W said your orange best was infront of it....so didnt want to move it! but its up to the big G when he can take it! shall talk to you bout it on friday more than likely!

"tango" The Race Spec Busa Of Love
Started by
philly c
, Mar 06 2008 11:32 AM
74 replies to this topic
#62

mini_nip
-

- Noobies
-

- 3 posts
Starting My Mini Up
Posted 15 February 2010 - 10:14 PM
philly its luke wilko. its looking the dogs mate cant wait to see it in the flesh 
#63
philly c
-
- Members
-
- 316 posts
Speeding Along Now
Posted 19 February 2010 - 08:36 AM
lukey boy u alreet??
Z car is soon to be home again and on the track ready for this seasons racing should be good times ahead
Z car is soon to be home again and on the track ready for this seasons racing
should be good times ahead
#64
philly c
-
- Members
-
- 316 posts
Speeding Along Now
Posted 17 March 2010 - 09:18 PM
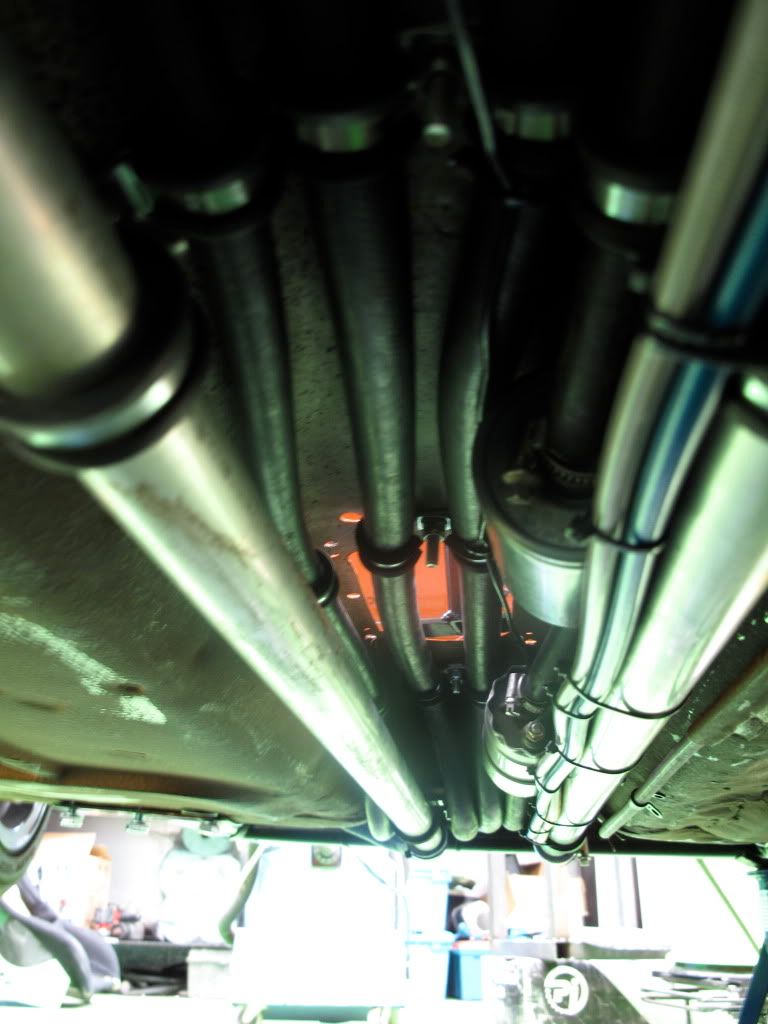
Right i am back on track and really going to get stuck into things now i have been busy with the exhaust system this evening and i am going to get a few engine probs sorted out at the weekend which will hopefully result in its first fire up cant wait!!!
will throw a few pictures up of the bits which were done recently down at ye old z car factory
cant wait!!!will throw a few pictures up of the bits which were done recently down at ye old z car factory
#65
philly c
-
- Members
-
- 316 posts
Speeding Along Now
Posted 25 March 2010 - 04:47 PM


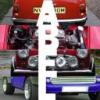
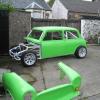
Just a few images to wet your whistle. i am busy working on the wiring and have finished the fitment of the exhaust system.
as always there is a huge list of jobs to do


#67
andream88
-

- Members
-
- 169 posts
Mini Mad
Posted 25 March 2010 - 07:23 PM
You have a very nice example there Philly.
May i ask you how many mm do you have between the calipers' outer faces and the inner part of the rims on the rear?
Cheers,
Andrea
May i ask you how many mm do you have between the calipers' outer faces and the inner part of the rims on the rear?
Cheers,
Andrea
Edited by andream88, 25 March 2010 - 07:23 PM.
#68
philly c
-
- Members
-
- 316 posts
Speeding Along Now
Posted 25 March 2010 - 08:14 PM
I hav had to put spacers on both the front and the back of the car as the calipers catch the wheels otherwise
hope this helps
phil
hope this helps
phil
#69
philly c
-
- Members
-
- 316 posts
Speeding Along Now
Posted 24 May 2010 - 07:52 AM
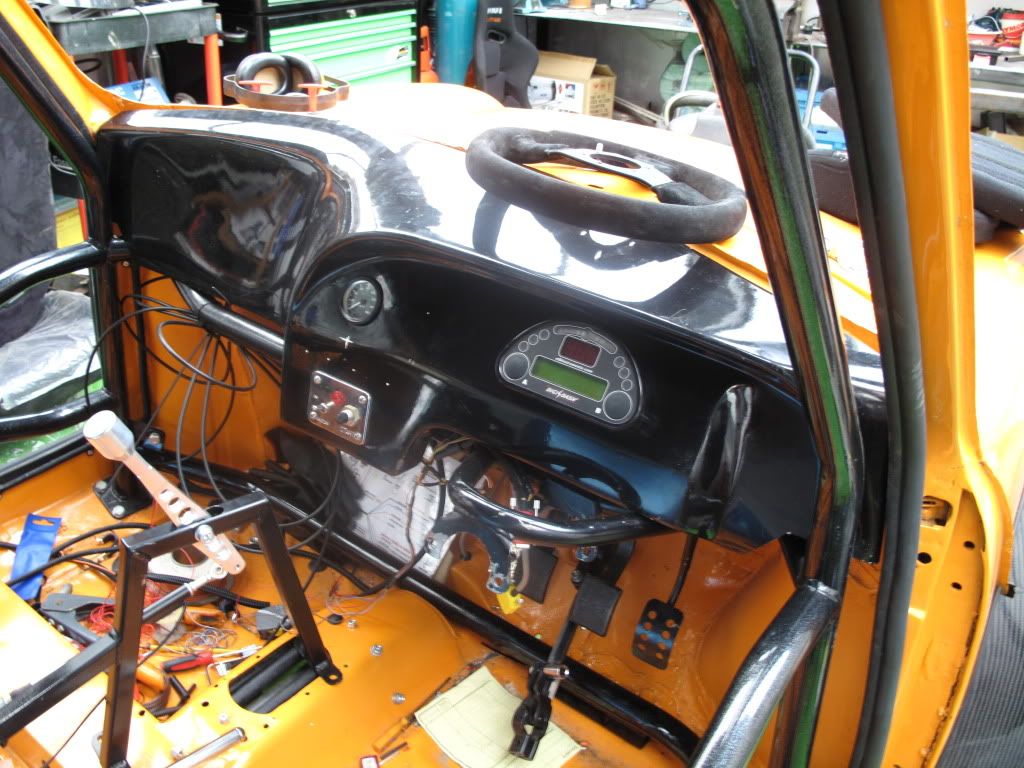
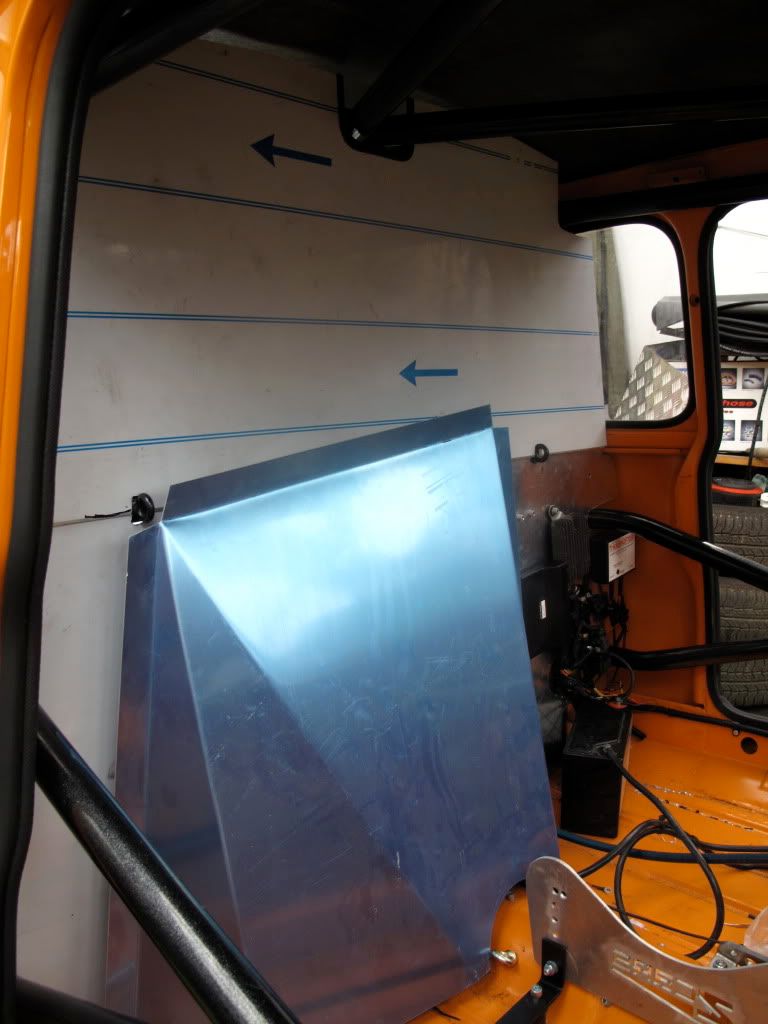
Back from z cars again for a few little jobs now back in the workshop for a heap of work to be done plenty of jobs big and small but its always the smaller ones which tend to take the time.
TO DO LIST:
1. Fit dash and instruments
2. Fit gear shifter and cable
3. Finish off digi dash fitment
4. complete bulk head panels
5. seal exhaust
6. finish seat positioning
7. fit steering wheel
8. move hand brake further back and make relative brackets to mount it
9. fit pannels eg doors bonnet boot etc....
and there is lots more but i wont boar you!
Will post up some latest pictures when i get a chance
now back in the workshop for a heap of work to be done plenty of jobs big and small but its always the smaller ones which tend to take the time.TO DO LIST:
1. Fit dash and instruments
2. Fit gear shifter and cable
3. Finish off digi dash fitment
4. complete bulk head panels
5. seal exhaust
6. finish seat positioning
7. fit steering wheel
8. move hand brake further back and make relative brackets to mount it
9. fit pannels eg doors bonnet boot etc....
and there is lots more but i wont boar you!
Will post up some latest pictures when i get a chance
#70
tid_171
-
- Members
-
- 166 posts
Mini Mad
Posted 24 May 2010 - 07:51 PM
was just wondering today what was happening with the zcar!
#71
Bendion58
-
- Noobies
-
- 99 posts
Stage One Kit Fitted
- Location: Male
- Local Club: N/A
Posted 28 May 2010 - 04:57 PM
Good to see your project coming on, cant wait to pick up my project from Z Cars on tue,sBack from z cars again for a few little jobs
TO DO LIST:
1. Fit dash and instruments
2. Fit gear shifter and cable
3. Finish off digi dash fitment
4. complete bulk head panels
5. seal exhaust
6. finish seat positioning
7. fit steering wheel
8. move hand brake further back and make relative brackets to mount it
9. fit pannels eg doors bonnet boot etc....
and there is lots more but i wont boar you!
Will post up some latest pictures when i get a chance
roll on tue,s
Bendion58
#72
philly c
-
- Members
-
- 316 posts
Speeding Along Now
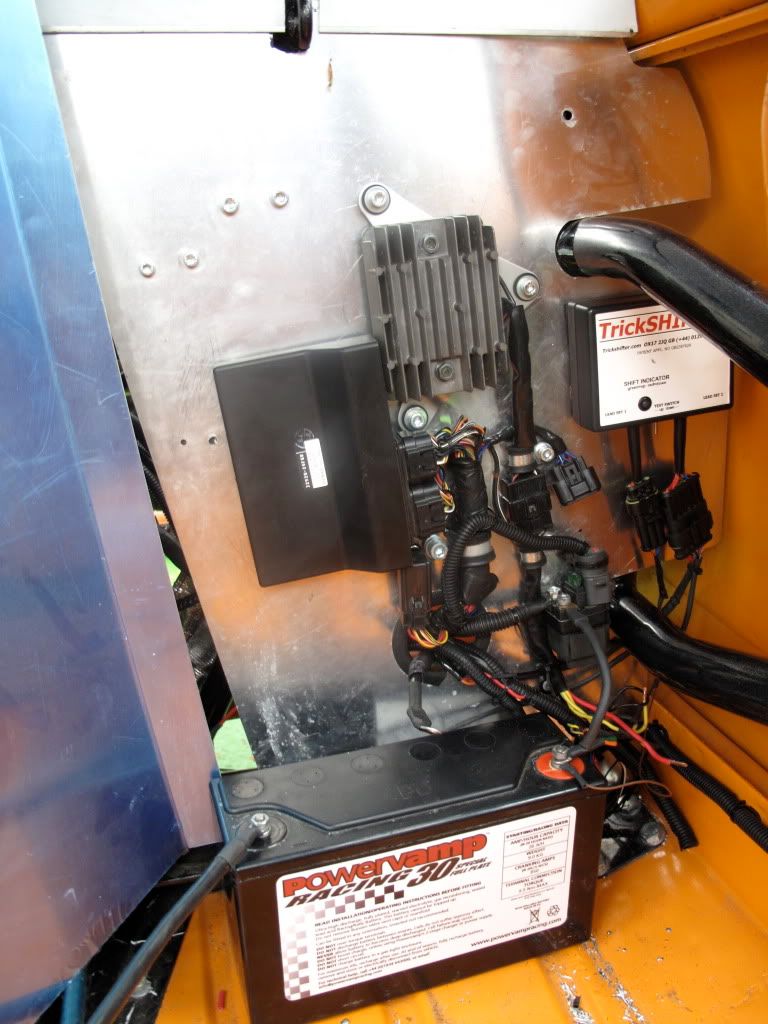
Posted 01 June 2010 - 12:24 PM
Got alot done over the weekend god bless the bank hols!
1. Dash fitted
2. Wiring loom placed in conduct tubing and fastened out of the way
3. took old drain plug out of the engine and used some spare brake hose line to send oil to the remote sender for digi dash
4. fixed sender to bulk head
5. fixed bradded line through tunnel and to ancillary gauge
6. finished seating position
Lots more still left to do and to be honest you never REALLY finish.. but would like it to be drivable so i can try it out on track soon!
will post pictures later tonight....
#74
philly c
-
- Members
-
- 316 posts
Speeding Along Now
Posted 27 July 2010 - 08:09 PM
Hey peeps
I know i am not very good at keeping the pics up to date but here are a few of the latest to wet your whistles i am cracking on really hard most nights but as all you builders know the time just disappears........


I know i am not very good at keeping the pics up to date but here are a few of the latest to wet your whistles i am cracking on really hard most nights but as all you builders know the time just disappears........
#75
plugfaebervie
-

- Noobies
-
- 61 posts
Stage One Kit Fitted
- Location: PORTLETHEN
Posted 22 February 2012 - 11:59 PM
Any progress on this one mate, must admit paintjob etc is lush and kinda how id like mine to be, but ive gotta clubby,lol.
Alan
Alan


1 user(s) are reading this topic
0 members, 1 guests, 0 anonymous users


