Jump to content


Photo

Little Less Conversation A Little More........


  • Please log in to reply
246 replies to this topic

#91 SukiDawg

SukiDawg

    Speeding Along Now

  • Members
  • PipPipPipPipPip
  • 304 posts

Posted 29 November 2010 - 04:27 PM

That some pretty impressive cad work, is that solid works and how did u develop the actual shell so accurately?


Unigraphics..... :D

I do use the software in my job, so I have quite a bit of experience.. In terms of developing the CAD model, I used a tape measure, ruler, some bits of string, a digital angle gauge, and patience.. lots of patience...

Edited by SukiDawg, 29 November 2010 - 07:15 PM.


#92 SukiDawg

SukiDawg

    Speeding Along Now

  • Members
  • PipPipPipPipPip
  • 304 posts

Posted 04 December 2010 - 10:27 AM

Hmmm well being away from home at the moment, working in Spain.. I've been feeling this project is being neglected. Not much I can do to move the design on without my CAD machine, but as I've still a bit to go on the suspension I've taken the plunge and invested in a copy of the industry bible.

I did study vehicle dynamics at University, so "in theory" i should be able to get my head round the basics... Bit of light reading anyway!

Posted Image

#93 cptkirk

cptkirk

    Camshaft & Stage Two Head

  • Members
  • PipPipPipPipPipPipPipPip
  • 1,799 posts
  • Location: West Sussex
  • Local Club: B.M.C. + Chiminiclub

Posted 06 December 2010 - 10:15 AM

That look like it gonna hurt and if you cant get your head around it you can always beat yourself with it.

#94 SukiDawg

SukiDawg

    Speeding Along Now

  • Members
  • PipPipPipPipPip
  • 304 posts

Posted 25 January 2011 - 11:23 PM

Hello....


Well, as this thread once again descends towards the bottom of the page its probably time to stick up another place marker and say (if anyone's still watching) that this project is very much not - and I mean NOT!!!! - dead. I'm living away from home supporting test work for my employers and don't have access to my CAD machine which is meaning I can't get on with it the way I'd like, but I am still background processing as much as I can.

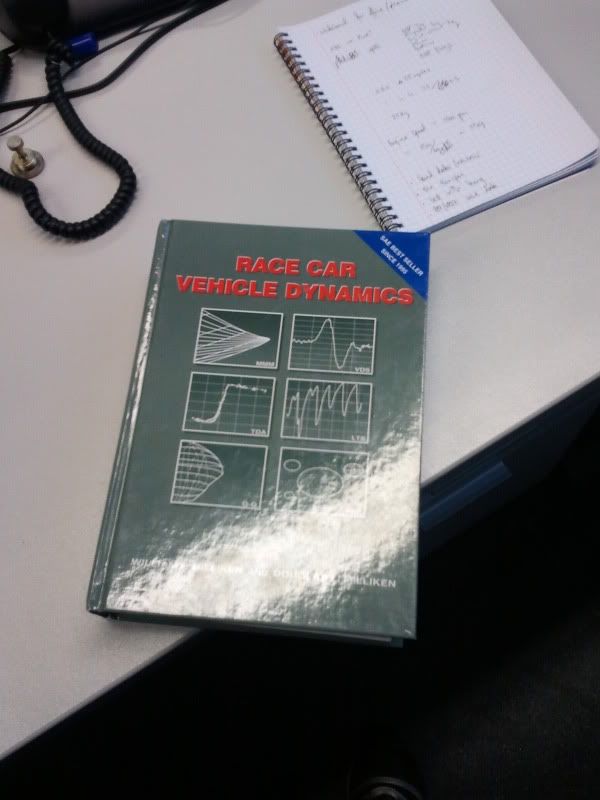
I've tried to digest the contents of Milliken and Milliken to the best of my abilty (that vehicle dynamics book up there is what I mean), and although it's a proper engineering reference text, and I can't expect to own all the knowledge it contains, by going back to basics and making notes to later review, I feel like I've made a bit of headway. Night after boring night in my Spanish hotel with only sh1ty Spanish TV to entertain do tend to focus the mind on study!

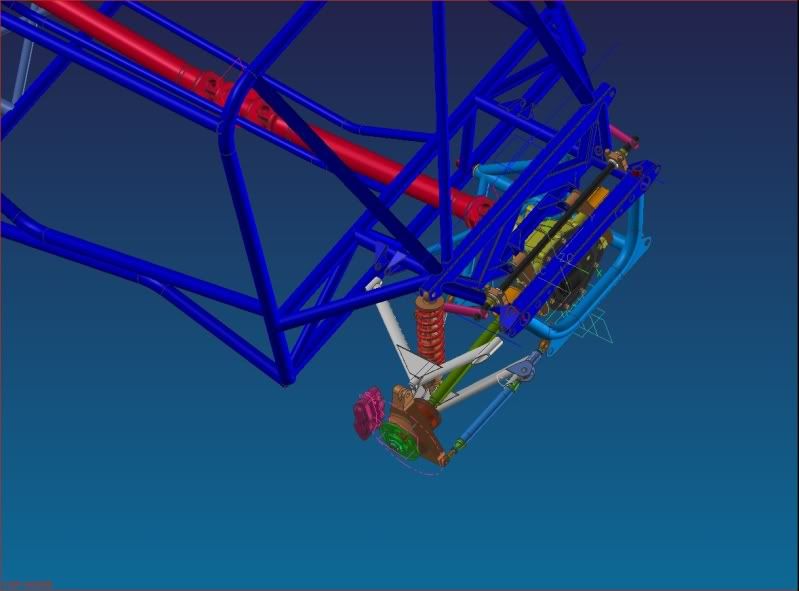
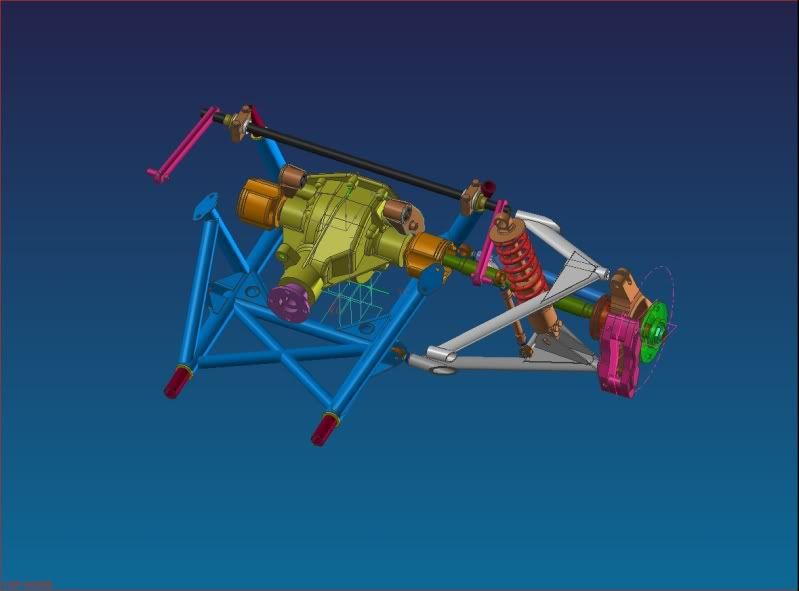
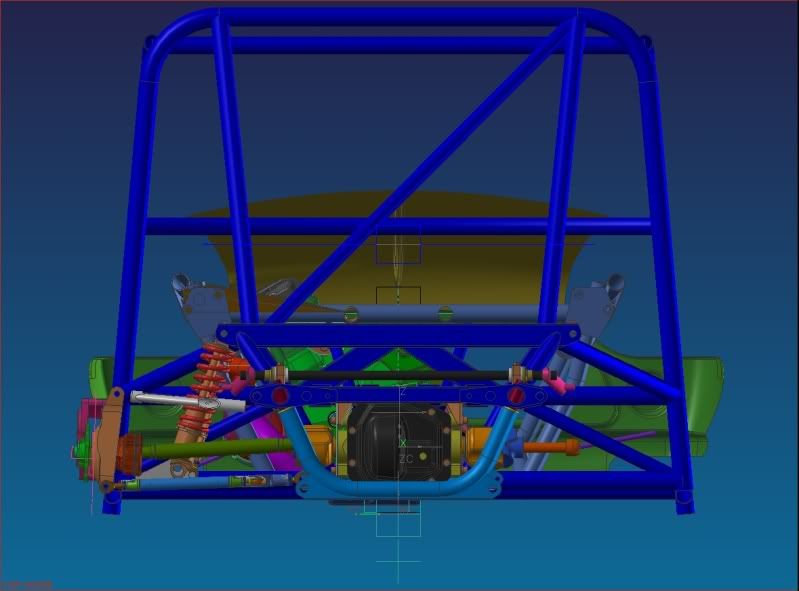
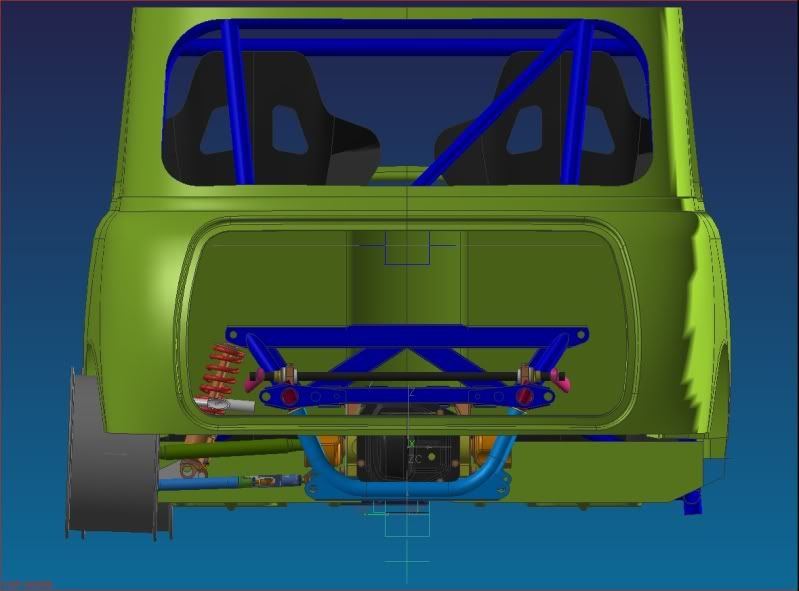
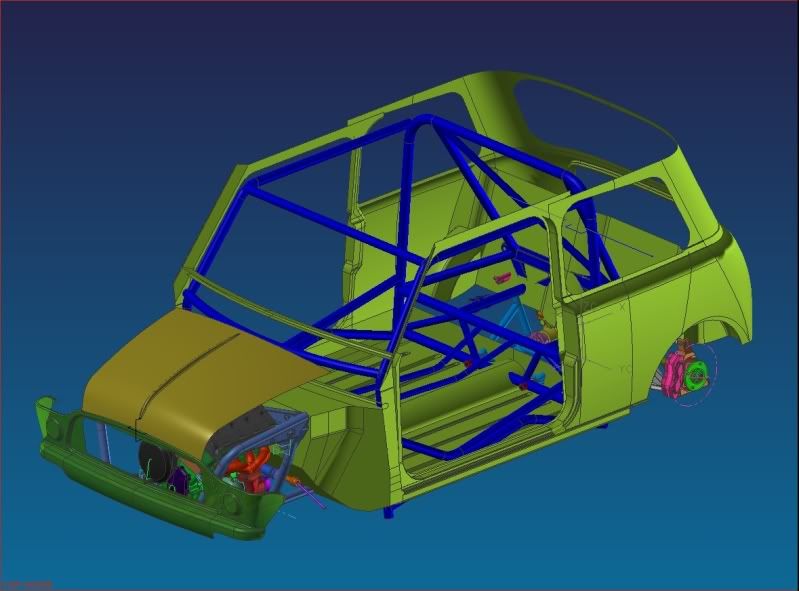
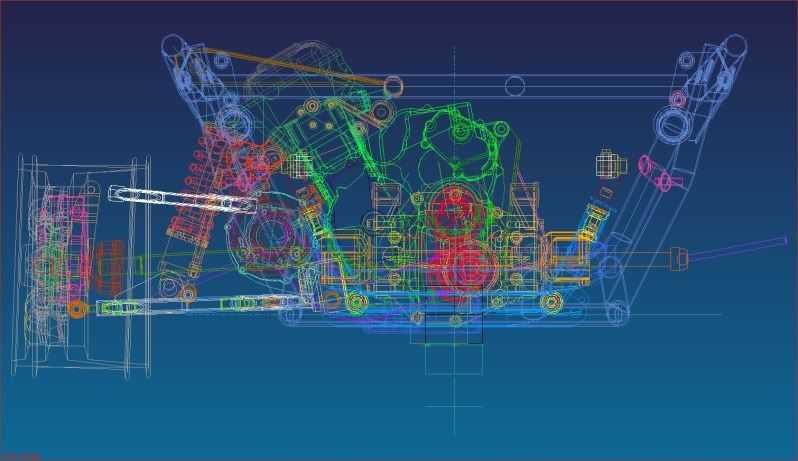
The later chapters on suspension geometry, steering and weight transfer have been the most useful. Without much initial starting data on the vehicle's tyres the earlier parts of the book quickly descend too far into theory for them to be useful for me as I see it. Having said that though, I've learnt a lot. An example is Z-car's moving the steering rack forward on their revised front subframes makes sense to me now (if they really have done this by design) - positive ackermann geomtery loads the tyre more favourably on the outside wheel in cornering, and its reassuring to relate what the book says to things other people have done....

The equations the book contains for calculating wheel loads in cornering appear to be a goldmine for the ambitious car designer, and I am looking forwards to having more accurate data on vehicle weight and centre of gravity height in order to apply those to equations to determone my starting roll bar and spring stiffenesses. Its particularly reassuring to feel that a route to calculating those is acheivable. Getting that vehicle weight and distrubtion better understood requires me to be at home though - and I'm hopeful there is good news on that front coming. It is looking like by Spring 2011 I will be based at home rather off messing around with cars abroad.. Fingers crossed......

Anyway - I promise there's good reasons this project has been stalled, and I'm not smoking anything when it comes to my description of the places I have been in the meantime.. The last 12 months have been awesome for me professionally, and we are very nearly at the end of it now. Our product is flippin awesome. Keep your eye on Top Gear for a very special and entirely British supercar which I have sacrificed this project for in 2010. Ferrari look over your shoulder, there's a new kid in town.

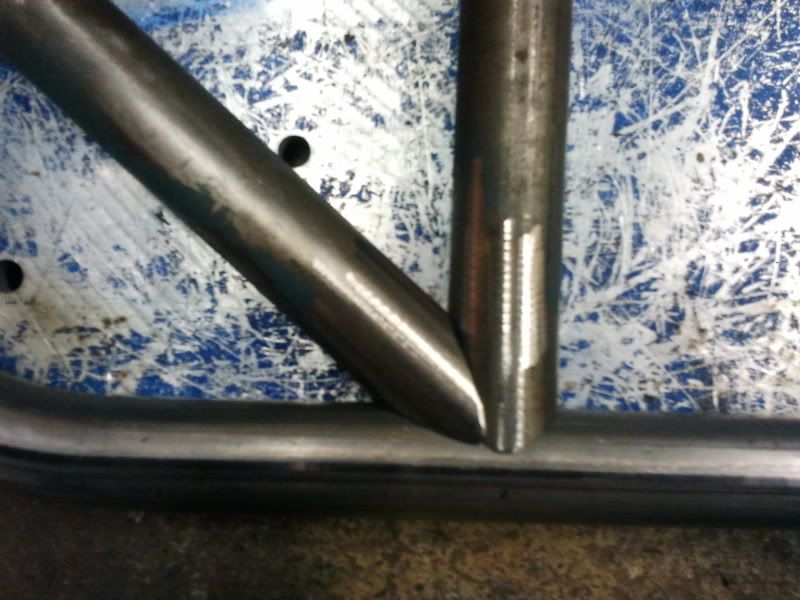
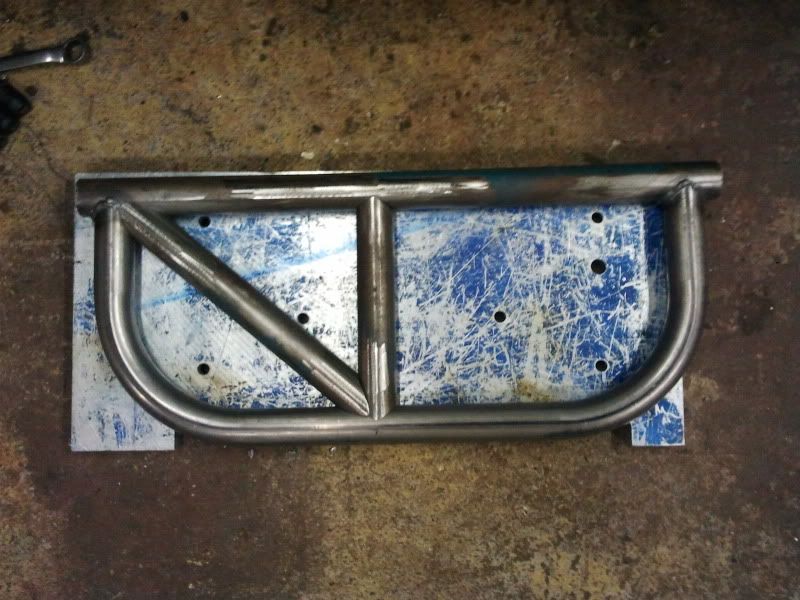
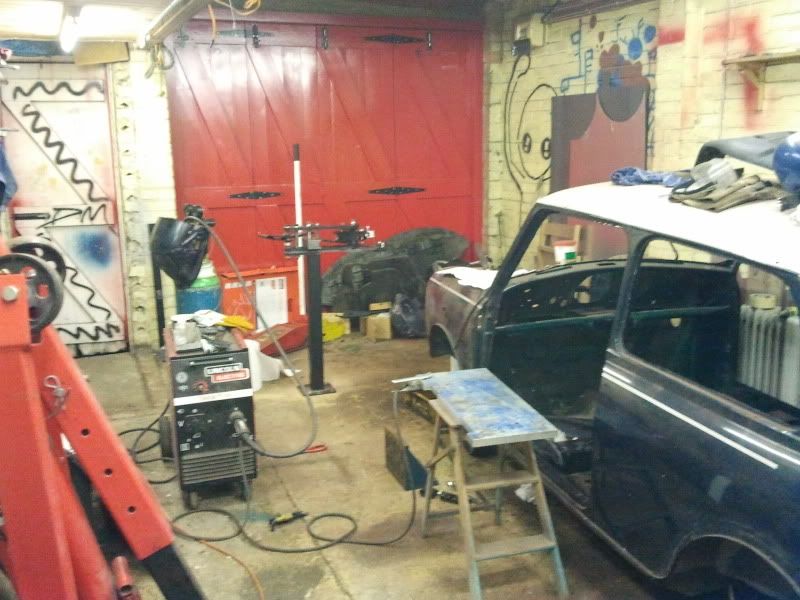
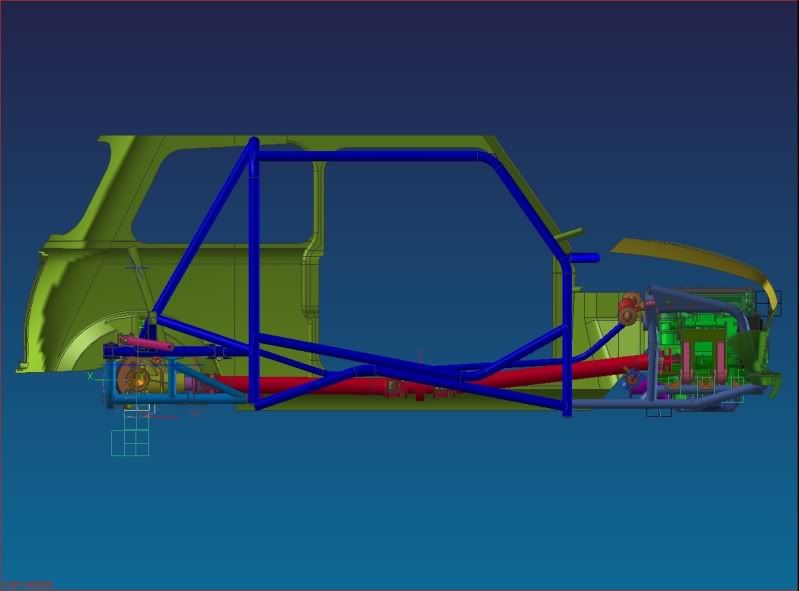
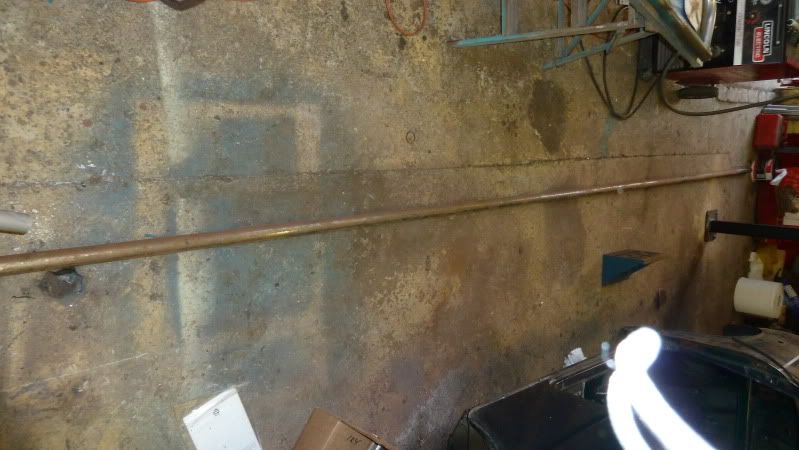
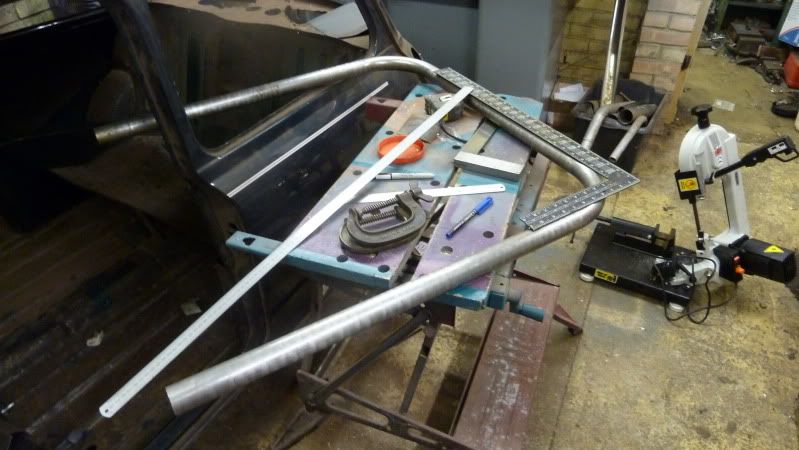
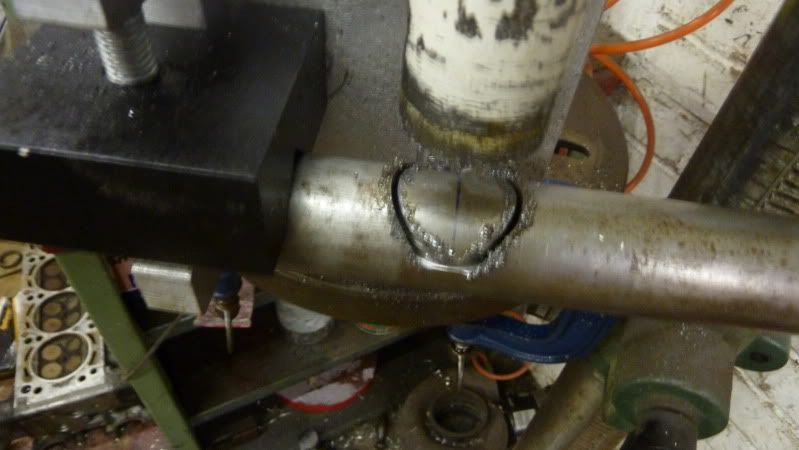
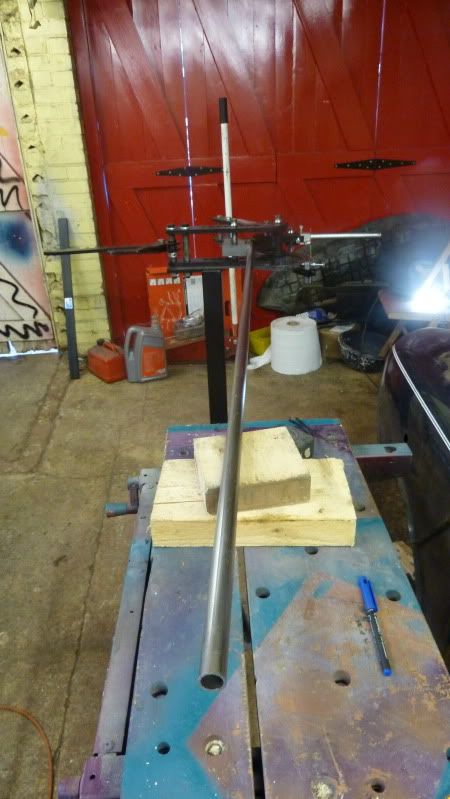
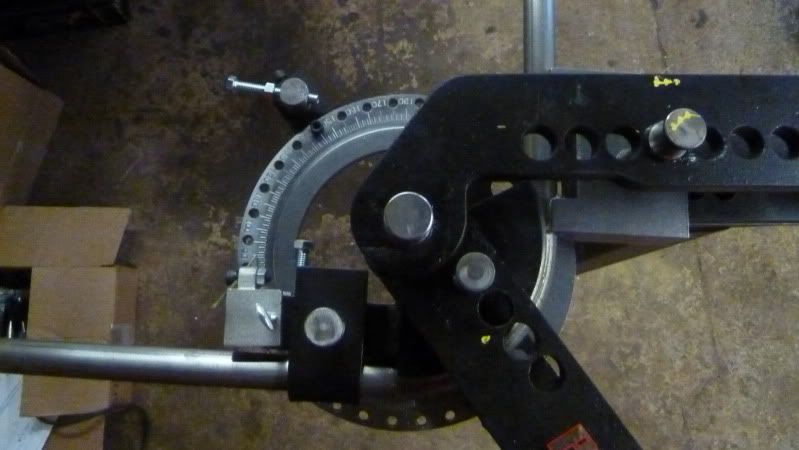
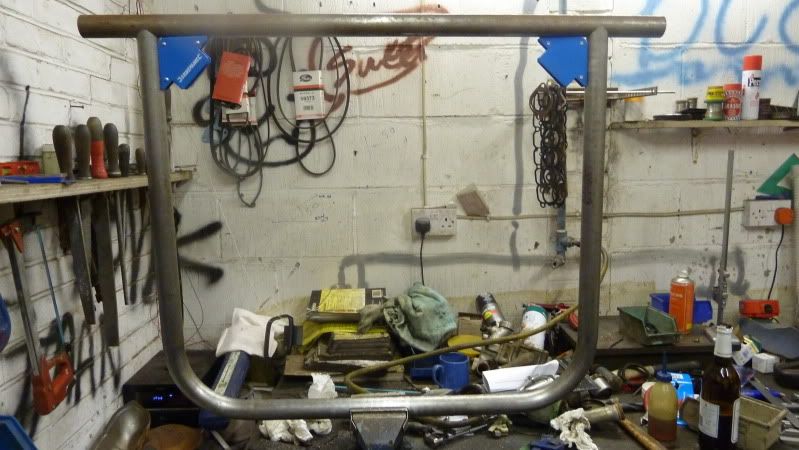
More importantly look out for the first cut of metal on the mini in 2011...... >_<


Dave.

Edited by SukiDawg, 25 January 2011 - 11:36 PM.


#95 MiniLandy

MiniLandy

    One Carb Or Two?

  • Members
  • PipPipPipPipPipPipPip
  • 796 posts
  • Location: Ramsey, Cambs.
  • Local Club: HAMOC

Posted 30 January 2011 - 10:33 PM

...Keep your eye on Top Gear for a very special and entirely British supercar which I have sacrificed this project for in 2010. Ferrari look over your shoulder, there's a new kid in town.


Well that sounds very interesting, care to expand on that?? :o

#96 SukiDawg

SukiDawg

    Speeding Along Now

  • Members
  • PipPipPipPipPip
  • 304 posts

Posted 06 February 2011 - 07:43 PM

Been on the mini this week - had a week off...

Spent most of the time trying to fill in more at the rear end. Rear subframe is about finished (8kg), as are the lower and upper wishbones (3.5Kg lwr / 1.2kg upr per side). There will still be a bit of geometry tweaking to do at the end but the shape and way they to be made is there.


Posted Image

Posted Image

Posted Image

Posted Image


Also picked up some equipment that I'll need to make the car.. bender porn... (<-doubt that phrase will get pass the dirty word filter :P )

Been having a bit of a go with some test pieces. Need a bit more practice with the welder though! Also need to tidy the workshop up so that I can weld on the bench rather than on the floor in the main garage, which should help.

Posted Image

Posted Image

Posted Image

Looks like something is happening in there, even if its not... quit yet..

Posted Image


Today I started the move back to the front of the car in terms of the design activity. I'll soon be onto the intake system and other engine compartment stuff.. so I knocked up a bonnet this afternoon. Shape still needs a bit more tweaking but its good for a starting point to package all the hot bits..

Posted Image


My favourite image at the moment...

Posted Image


Over 300 bits modelled now, I like this shot from the back in wireframe... About 2/3 of the total parts are shown...

Posted Image

#97 Shifty

Shifty

    Sponsored by Fosters (tm)

  • Admin
  • PipPipPipPipPipPipPipPipPipPipPip
  • 13,129 posts
  • Name: Sean
  • Location: Shropshire(sunny)
  • Local Club: TMF

Posted 06 February 2011 - 07:46 PM

Every garage needs a bender!!

Nice bit of kit as well.

#98 custodia

custodia

    Speeding Along Now

  • TMF+ Member
  • PipPipPipPipPip
  • 330 posts

Posted 06 February 2011 - 10:08 PM

outstanding. i am so glad this is gathering speed again. keep it up!!

#99 Alan Carruthers

Alan Carruthers

    Mini Mad

  • Members
  • PipPipPipPip
  • 226 posts

Posted 06 February 2011 - 10:12 PM

Awesome work mate, going to be amazing.

A

#100 cptkirk

cptkirk

    Camshaft & Stage Two Head

  • Members
  • PipPipPipPipPipPipPipPip
  • 1,799 posts
  • Location: West Sussex
  • Local Club: B.M.C. + Chiminiclub

Posted 09 February 2011 - 04:55 PM

Excellent work, good to see progress being made.

#101 SukiDawg

SukiDawg

    Speeding Along Now

  • Members
  • PipPipPipPipPip
  • 304 posts

Posted 10 February 2011 - 12:41 PM

Thanks guys...

I'm in Spain again at the moment, so won't be back at the machine until the weekend... but I had also meant to put this image up in the last post. It shows how low I've got the bottom of the engine at the moment to get the centre of gravity down... It does look a bit exposed...

What ride height are people generally running? I'd quite like to be able to cross speed bumps... From memory i think I've got 4" (100mm) ground clearance as standard ride height at the moment..

Posted Image

Edited by SukiDawg, 10 February 2011 - 01:21 PM.


#102 cptkirk

cptkirk

    Camshaft & Stage Two Head

  • Members
  • PipPipPipPipPipPipPipPip
  • 1,799 posts
  • Location: West Sussex
  • Local Club: B.M.C. + Chiminiclub

Posted 10 February 2011 - 12:50 PM

I am running approx 100mm ride height - if that helps.

#103 SukiDawg

SukiDawg

    Speeding Along Now

  • Members
  • PipPipPipPipPip
  • 304 posts

Posted 15 February 2011 - 06:45 PM

hello,

Well - another weekend at home this weekend.. I did a bit of CAD work, but no pics of that for this post as I was working on the front subframe and trying out a few diffierent ideas.. I would rather put up stuff which is prett much decided now. I didn't spend all weekend on that though, as I felt like getting out into the workshop and having a bit more of a practice with all my new gear.

A friend wanted a frame making for a motorcycle side car - so I said I would do it for the price of the steel. didn't quite get it it finished, there is probably another couple of days of work left yet.. but here's some photos anyway...

Posted Image

Posted Image

Posted Image

Posted Image

Posted Image

Posted Image

Posted Image

Posted Image

Posted Image

Posted Image


really want to get started now - but must be patient!!

#104 cptkirk

cptkirk

    Camshaft & Stage Two Head

  • Members
  • PipPipPipPipPipPipPipPip
  • 1,799 posts
  • Location: West Sussex
  • Local Club: B.M.C. + Chiminiclub

Posted 16 February 2011 - 10:42 AM

looks like someone has been practicing their graphing on the walls of your garage there Dave. I particularly like the Alien type thing.....

On a side note looks like the sidecar side project will be a decided beaut - couldnt get any more sides or cides in the I dont think.....

#105 SukiDawg

SukiDawg

    Speeding Along Now

  • Members
  • PipPipPipPipPip
  • 304 posts

Posted 16 February 2011 - 12:02 PM

Hey Andy...

Yes - I like a bit of decoration on the walls of the workshop.. My friend Ferg did the Alien and other bits and bobs. Must get him round to do a bit more actually..

I'm pretty happy with how I'm getting to grips with the tube manipulation.. I've got a digital protractor which helps line everything up and to check what you get afterwards.


I'm most proud of how parallel the upper and lower rails in the main frame are (gripped in the vice - 3rd from last pic)..

Here's the protractor zero'd on the bottom rail:

Posted Image

and then without moving anything - sitting on the top rail...

Posted Image


I'm willing to accept 0.2 degrees!!!!!


1 user(s) are reading this topic

0 members, 1 guests, 0 anonymous users