The Red One
#1
Posted 27 November 2012 - 04:23 PM
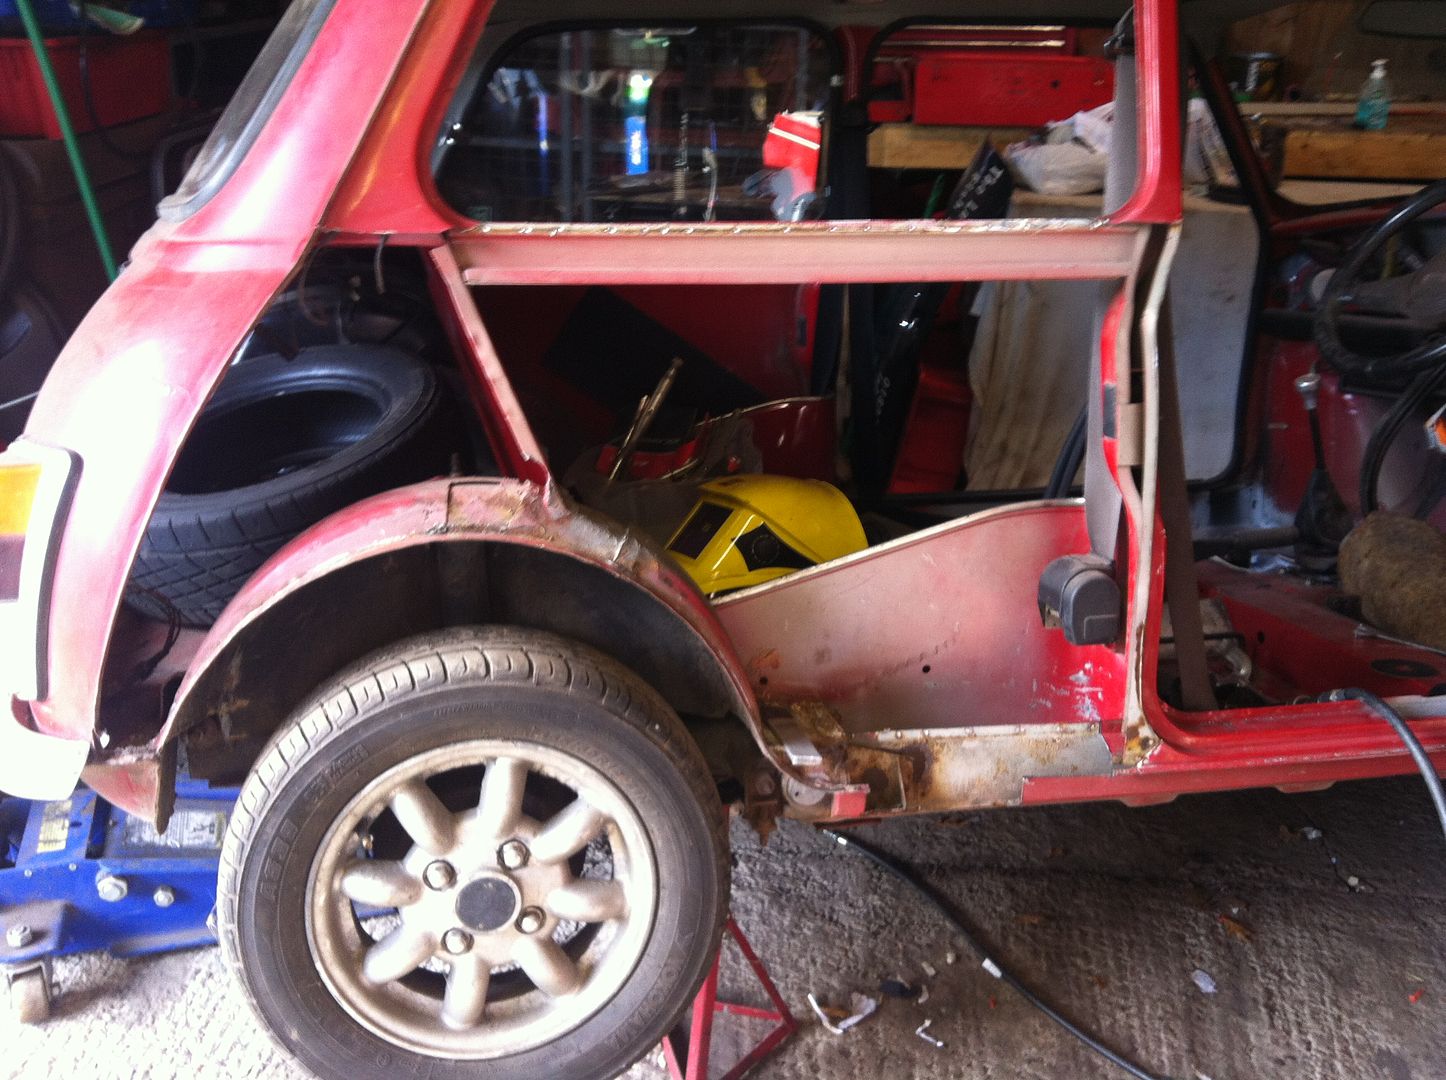
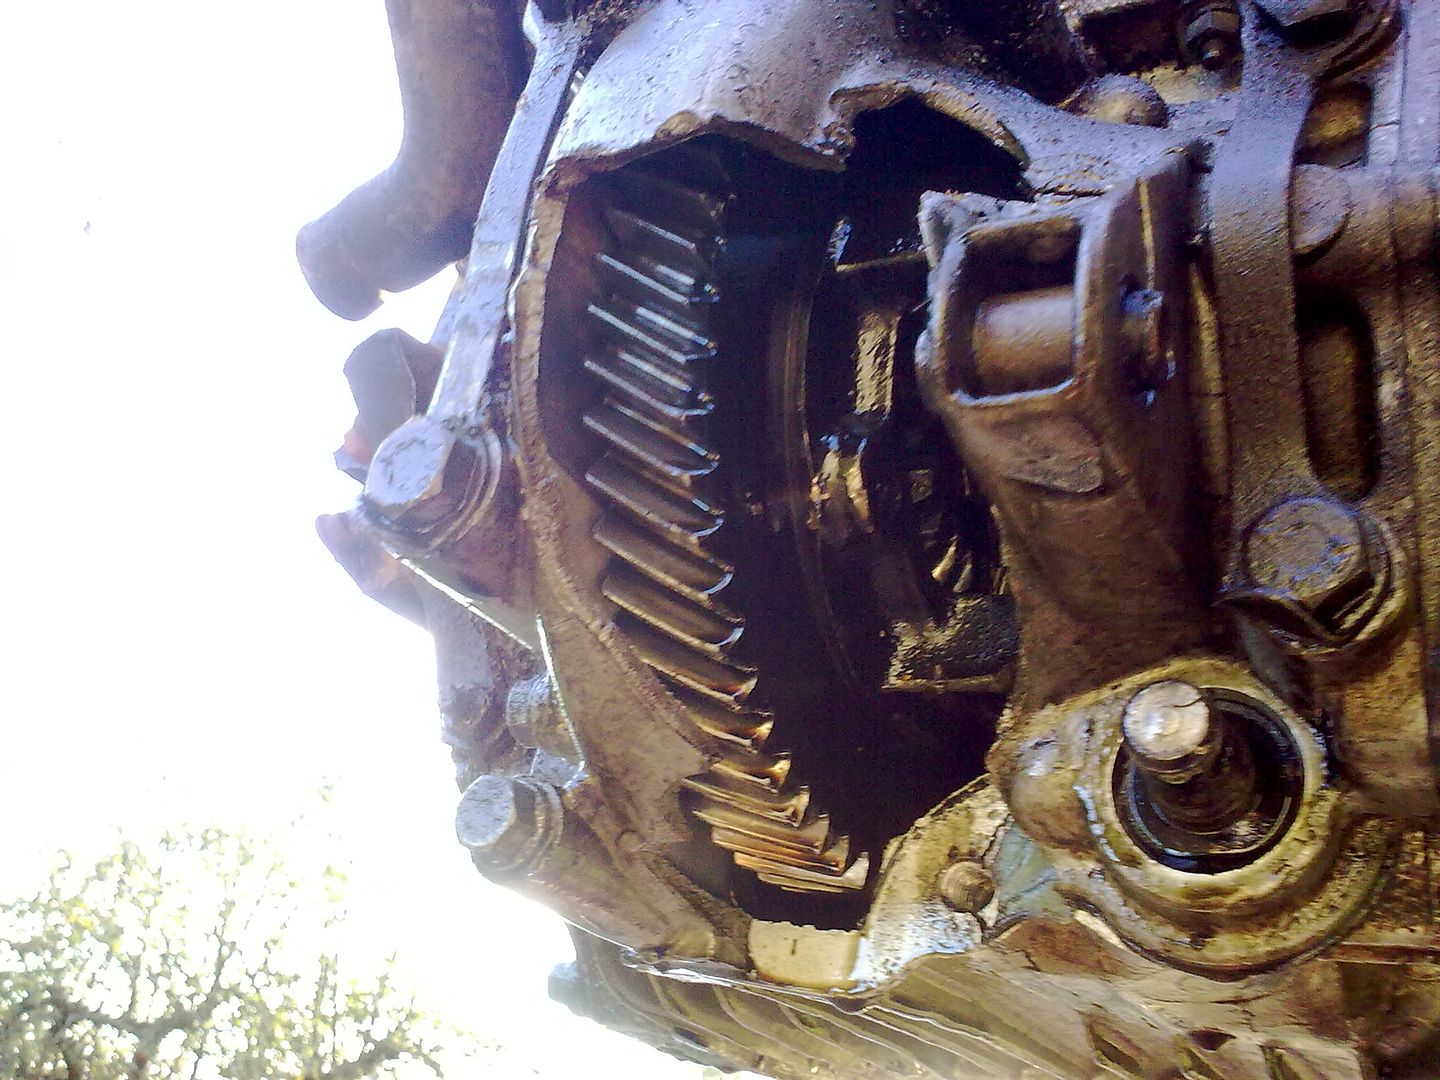
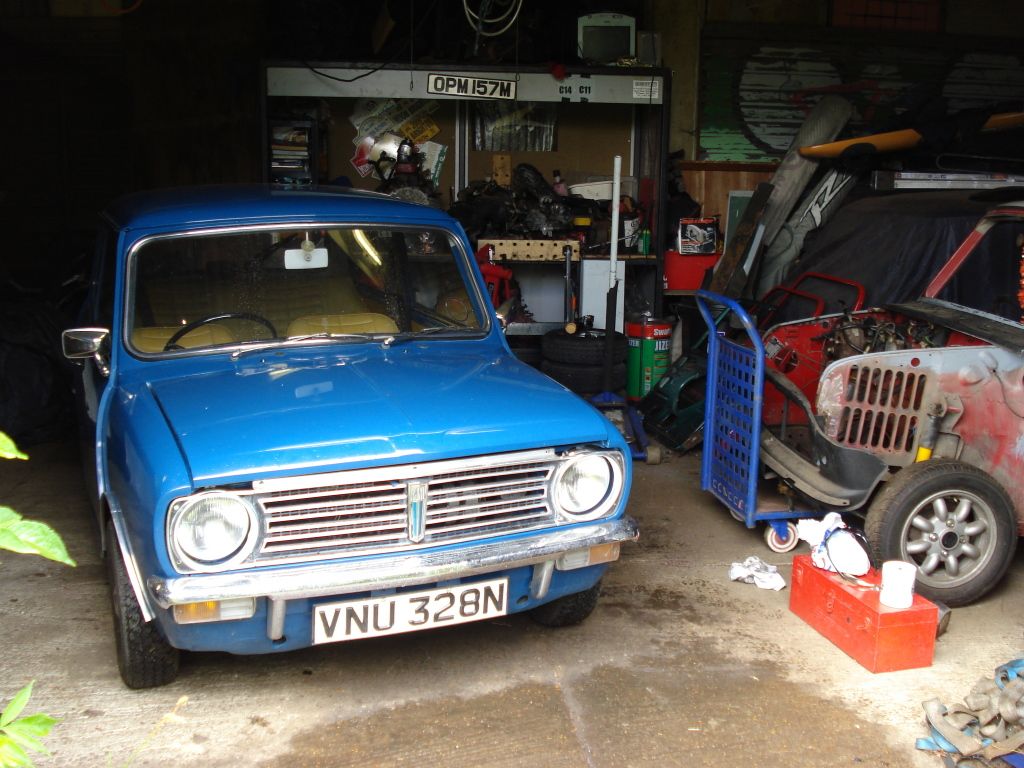
Red has been a well used Mini especially as Paul likes his Motorsport so he's been used as an Autotester and other little things here and there. It was at an Auto test that brought on the rebuild as he destroyed his diff big time
So we ripped the engine out and he languished in the workshop unloved for a while until Paul set to with the angle grinder to whip off the front of the car and scuttle. He did a few repairs to the inner wing flanges and the top of the bulkhead panel.
Another little hiatus later and Paddy moved into the workshop and once i moved down we then took the bit between the teeth and cracked on with Red.
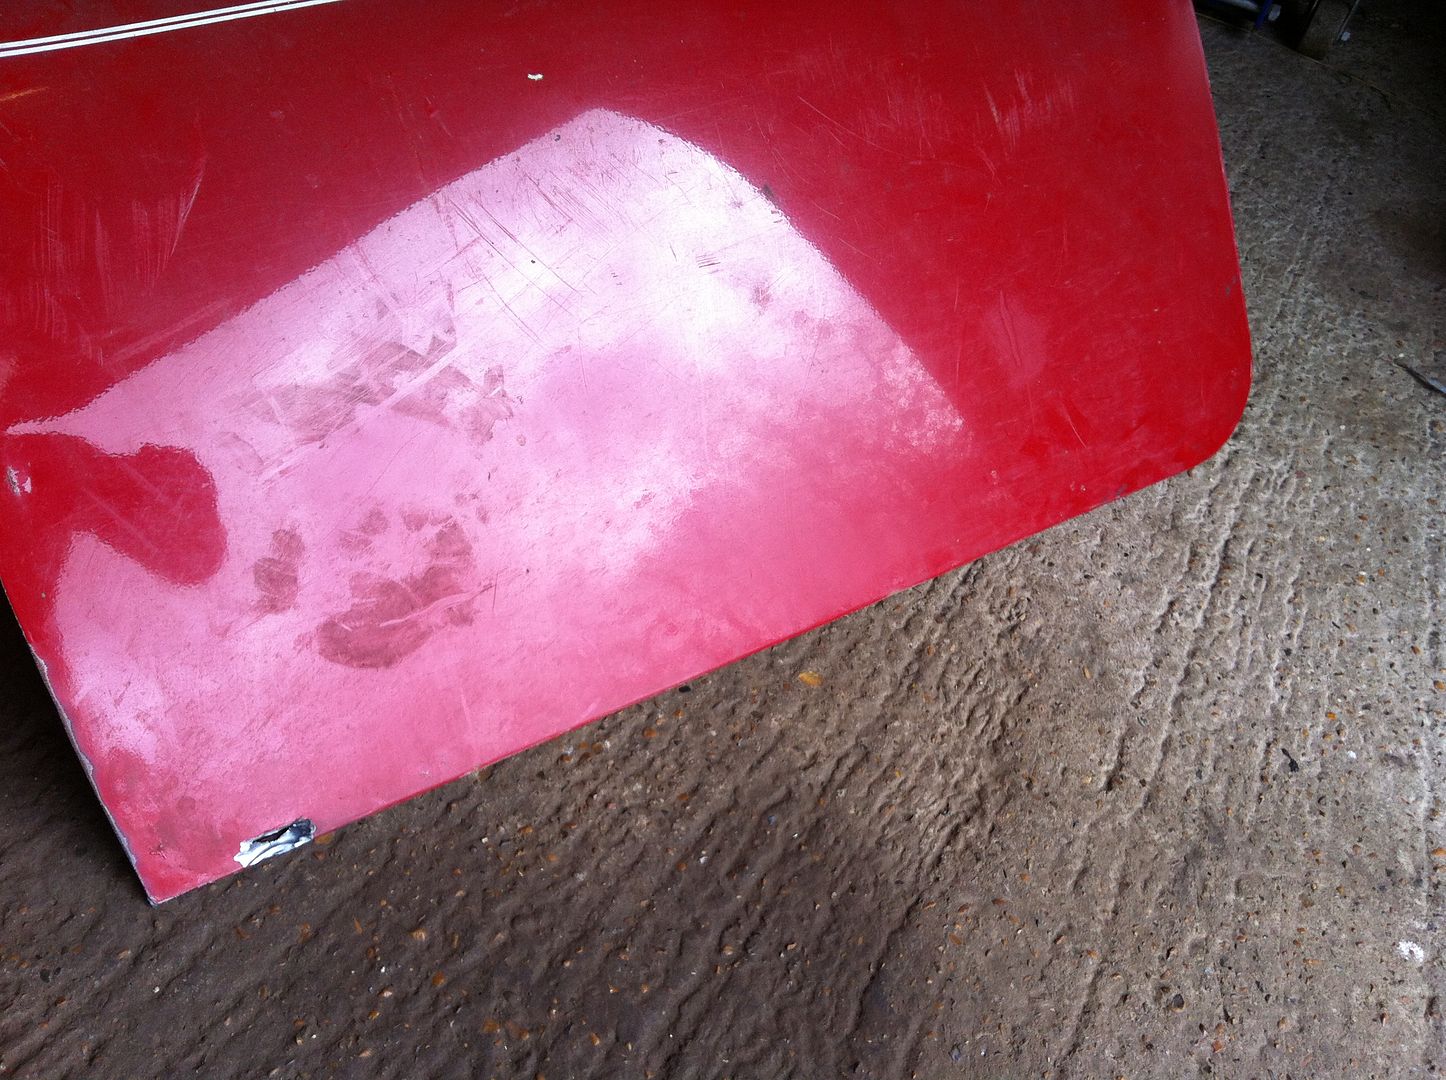
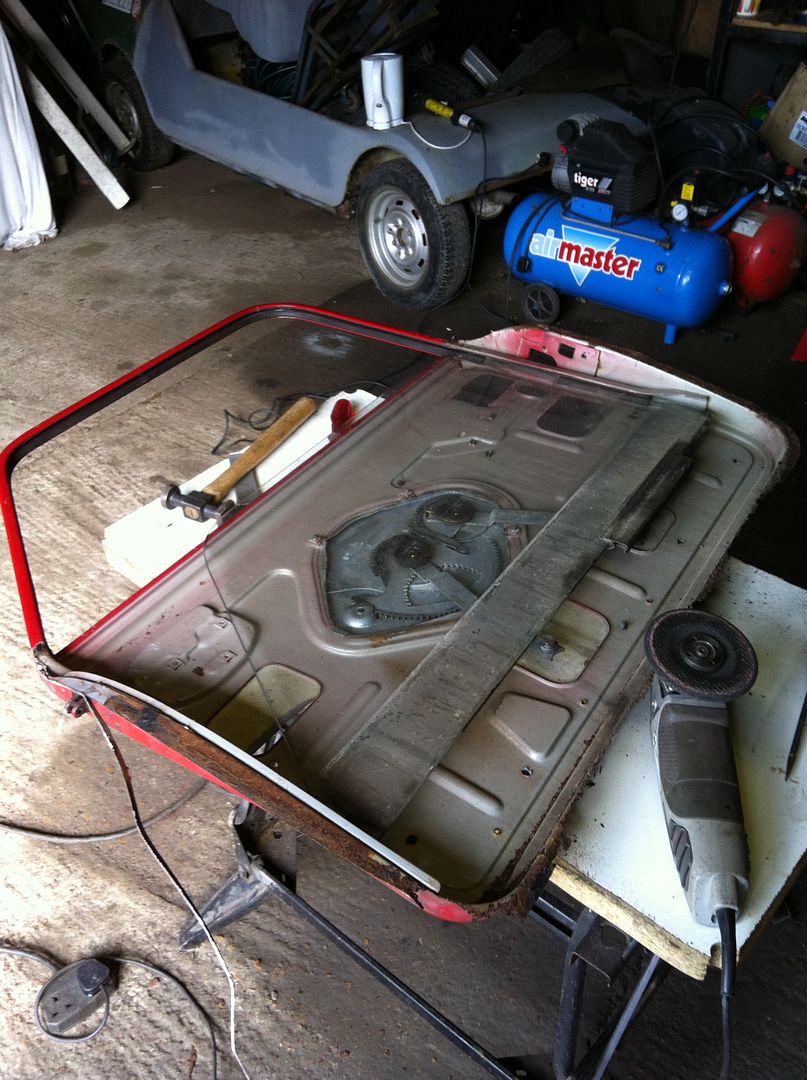
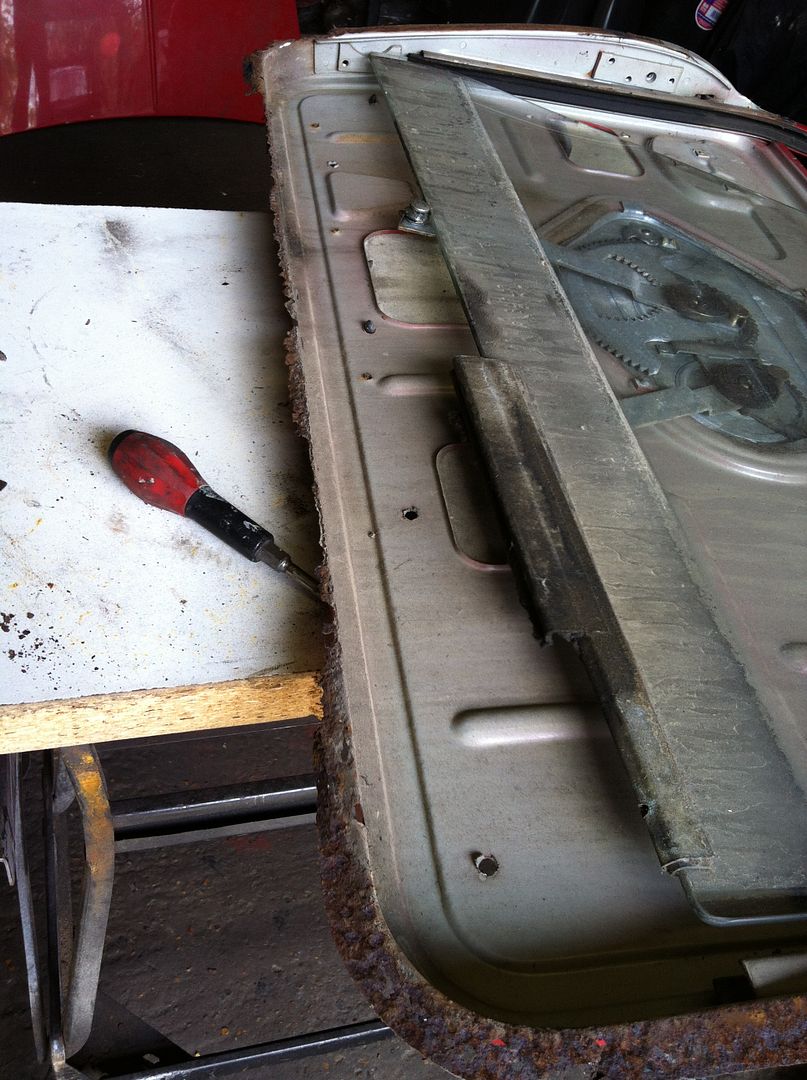
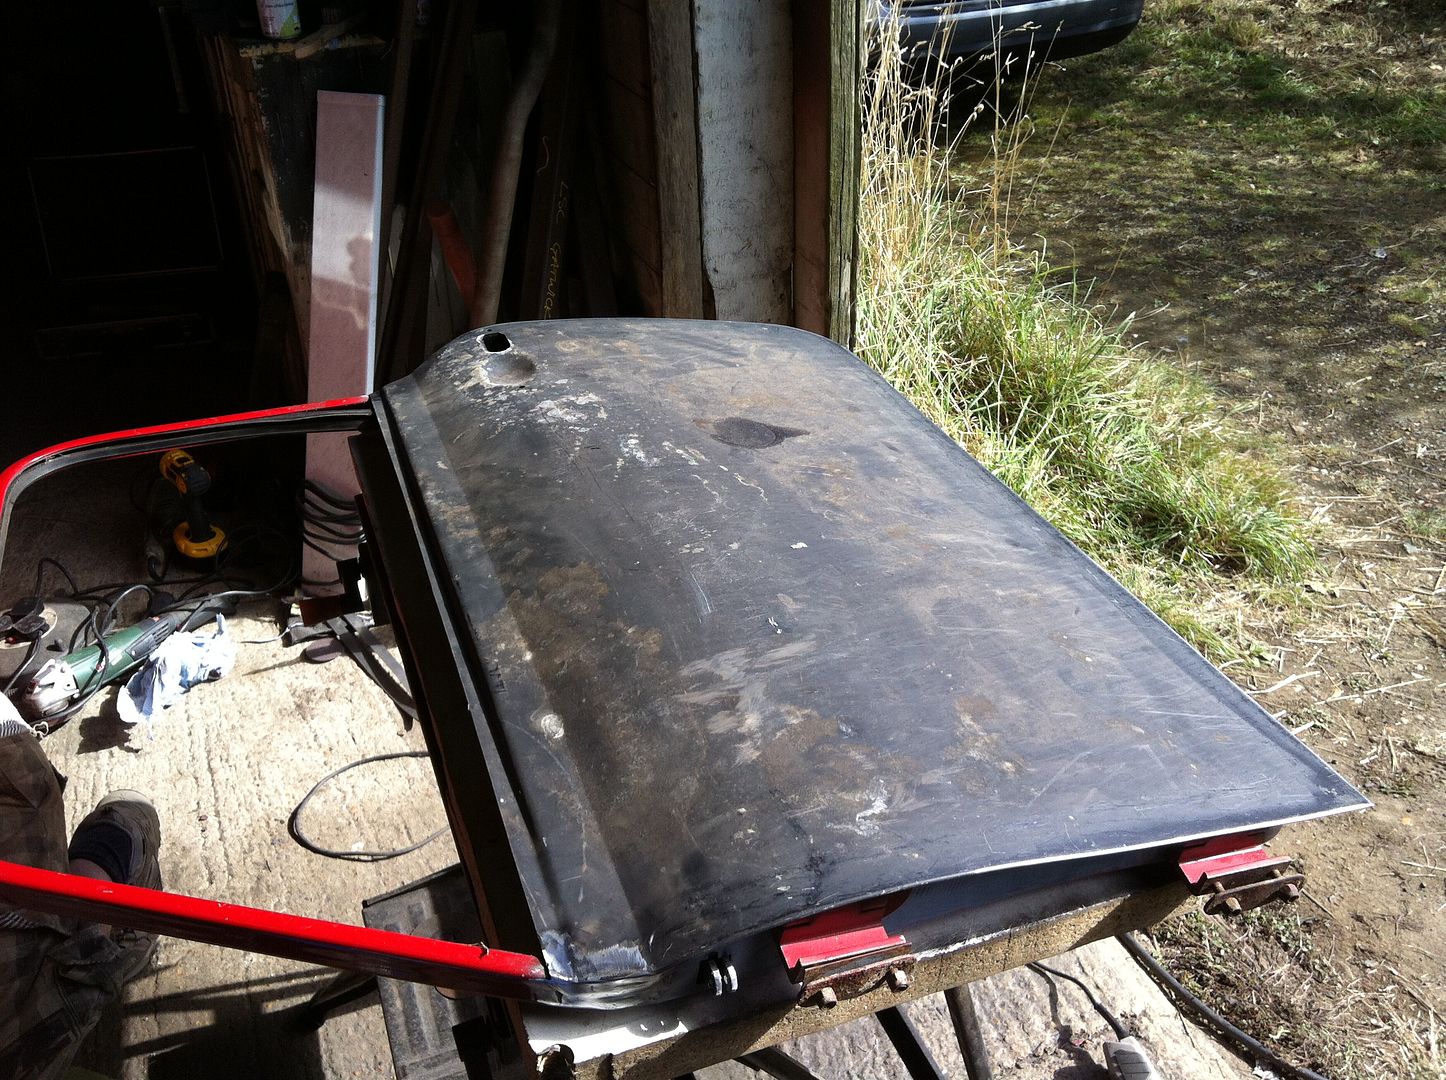
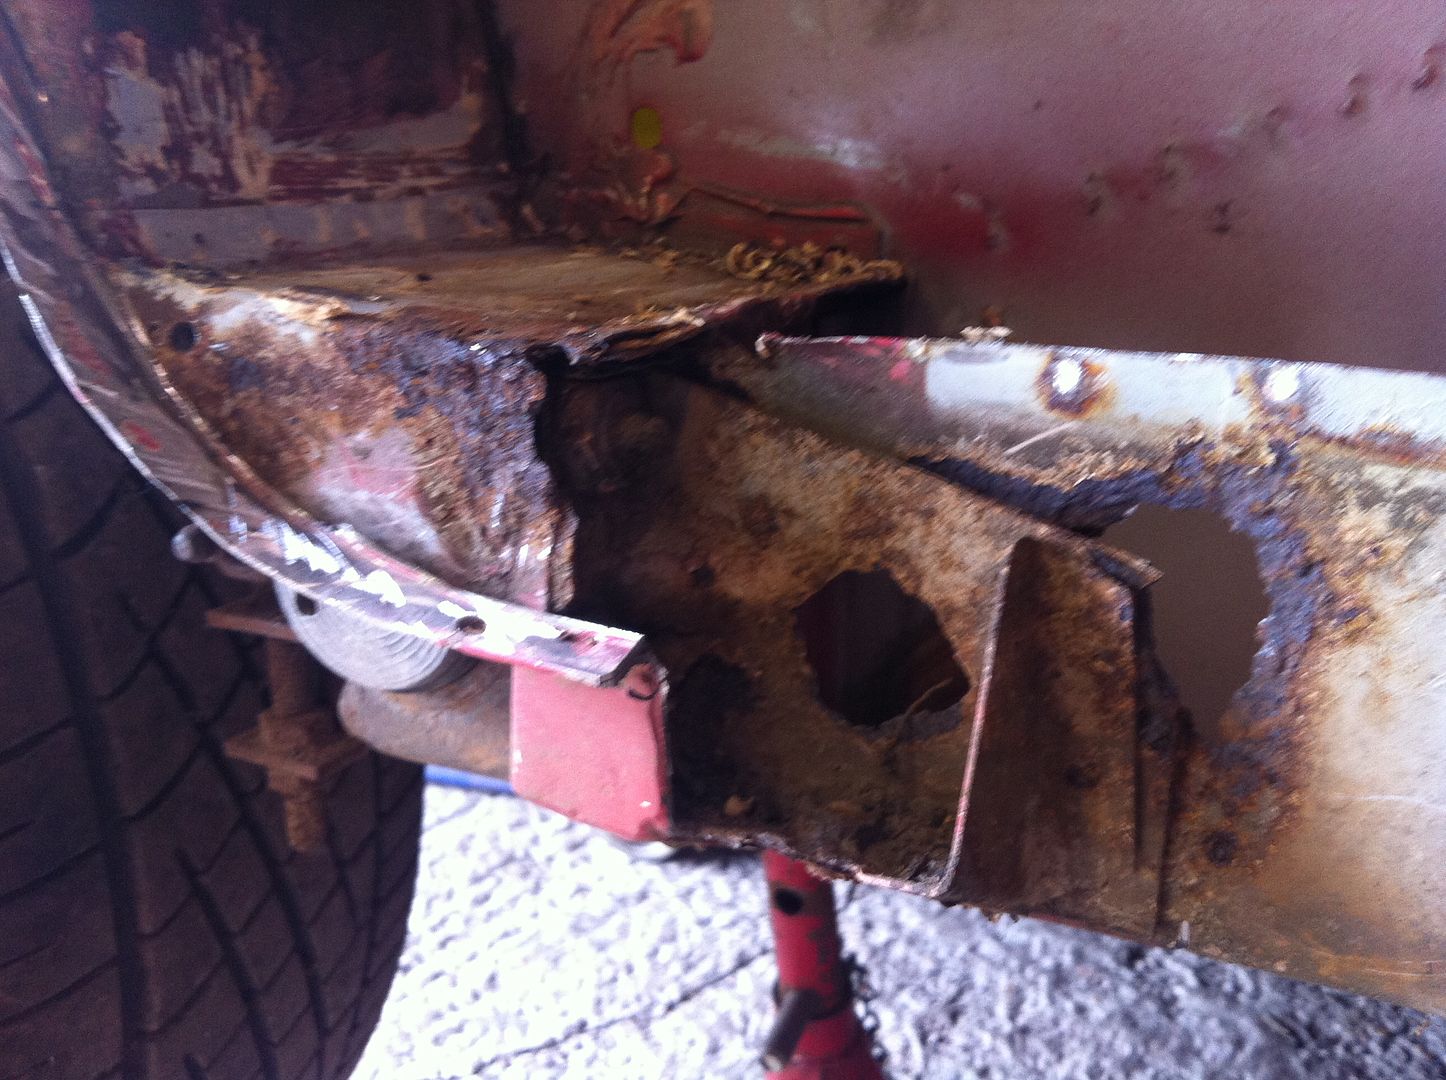
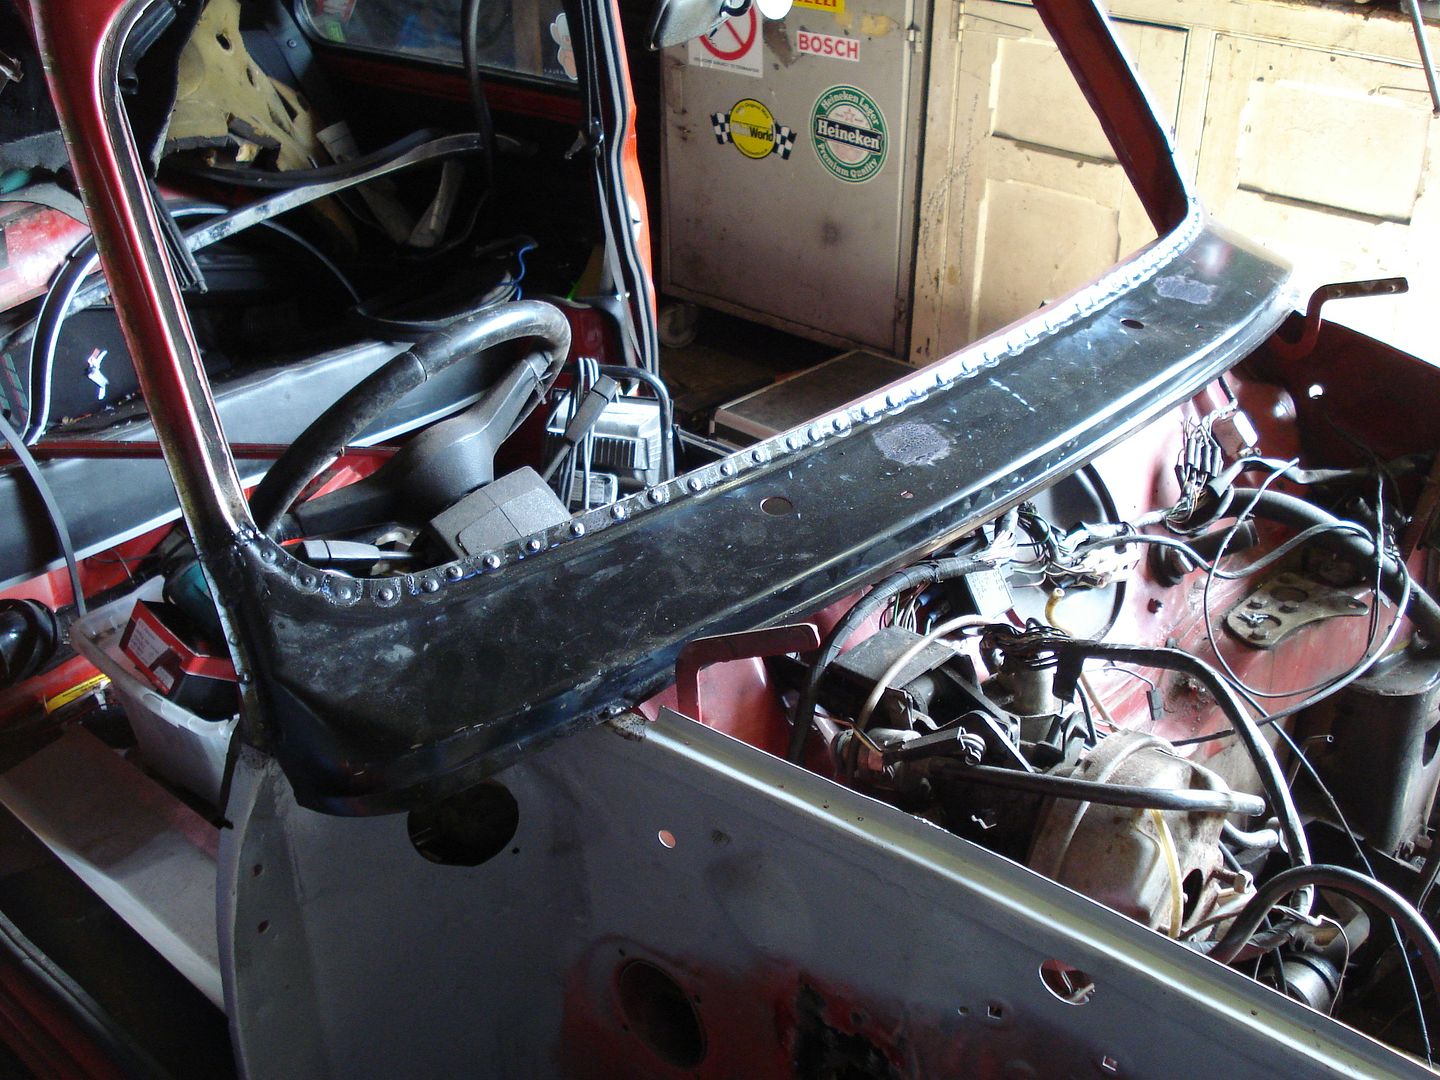
I fitted a nice new shiny Scuttle
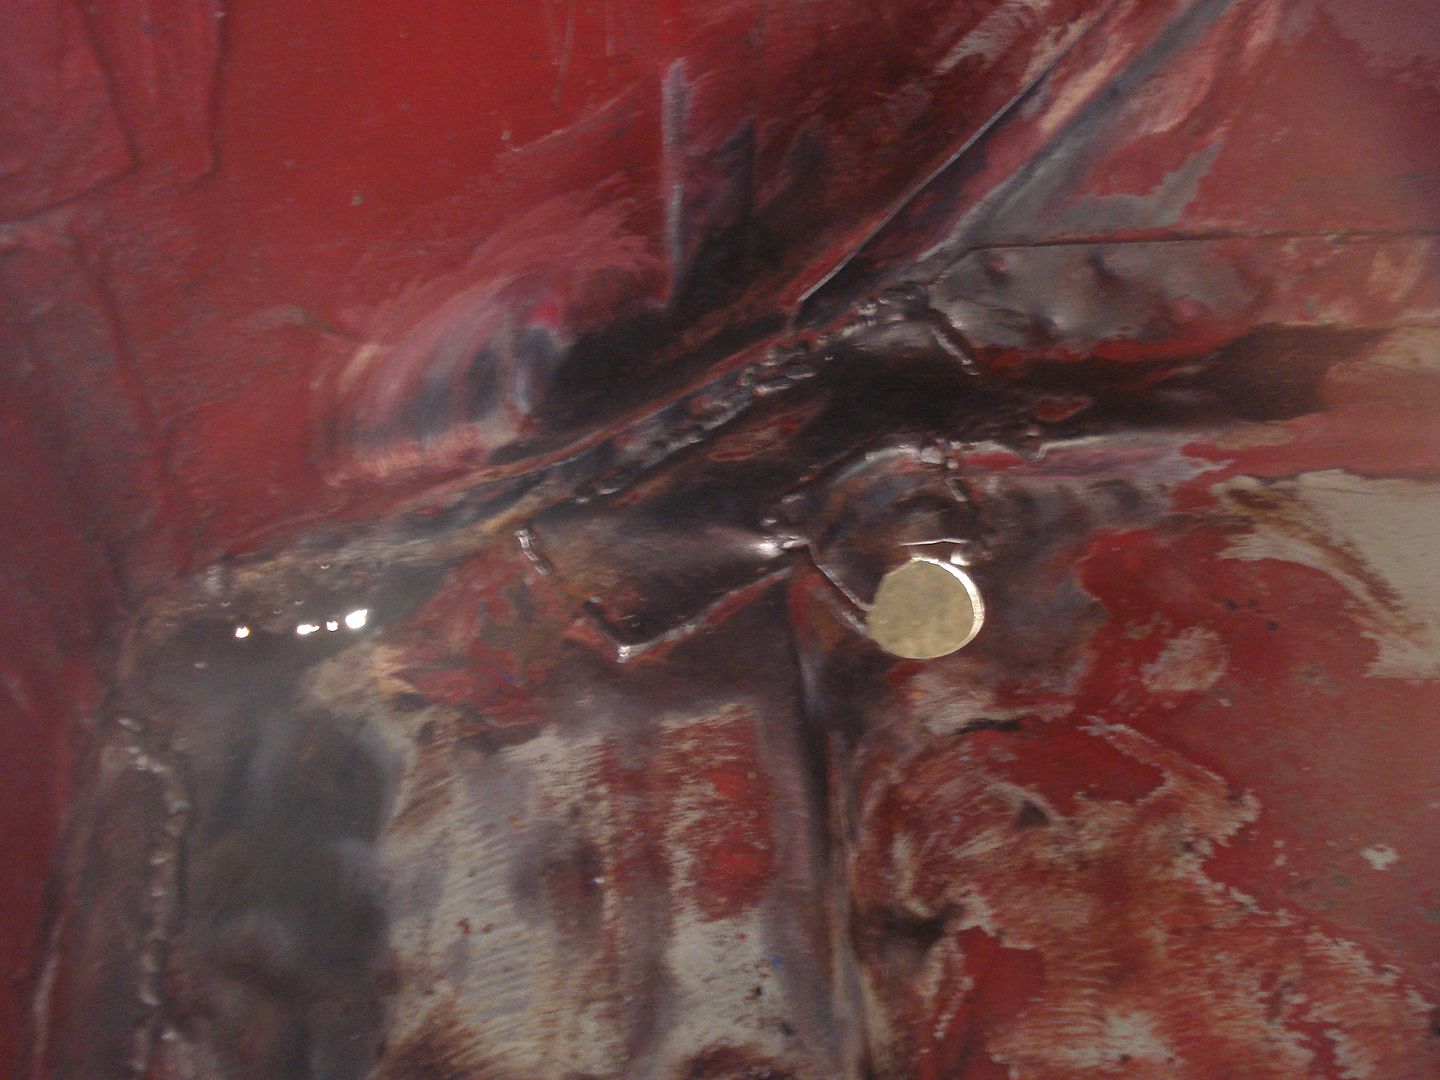
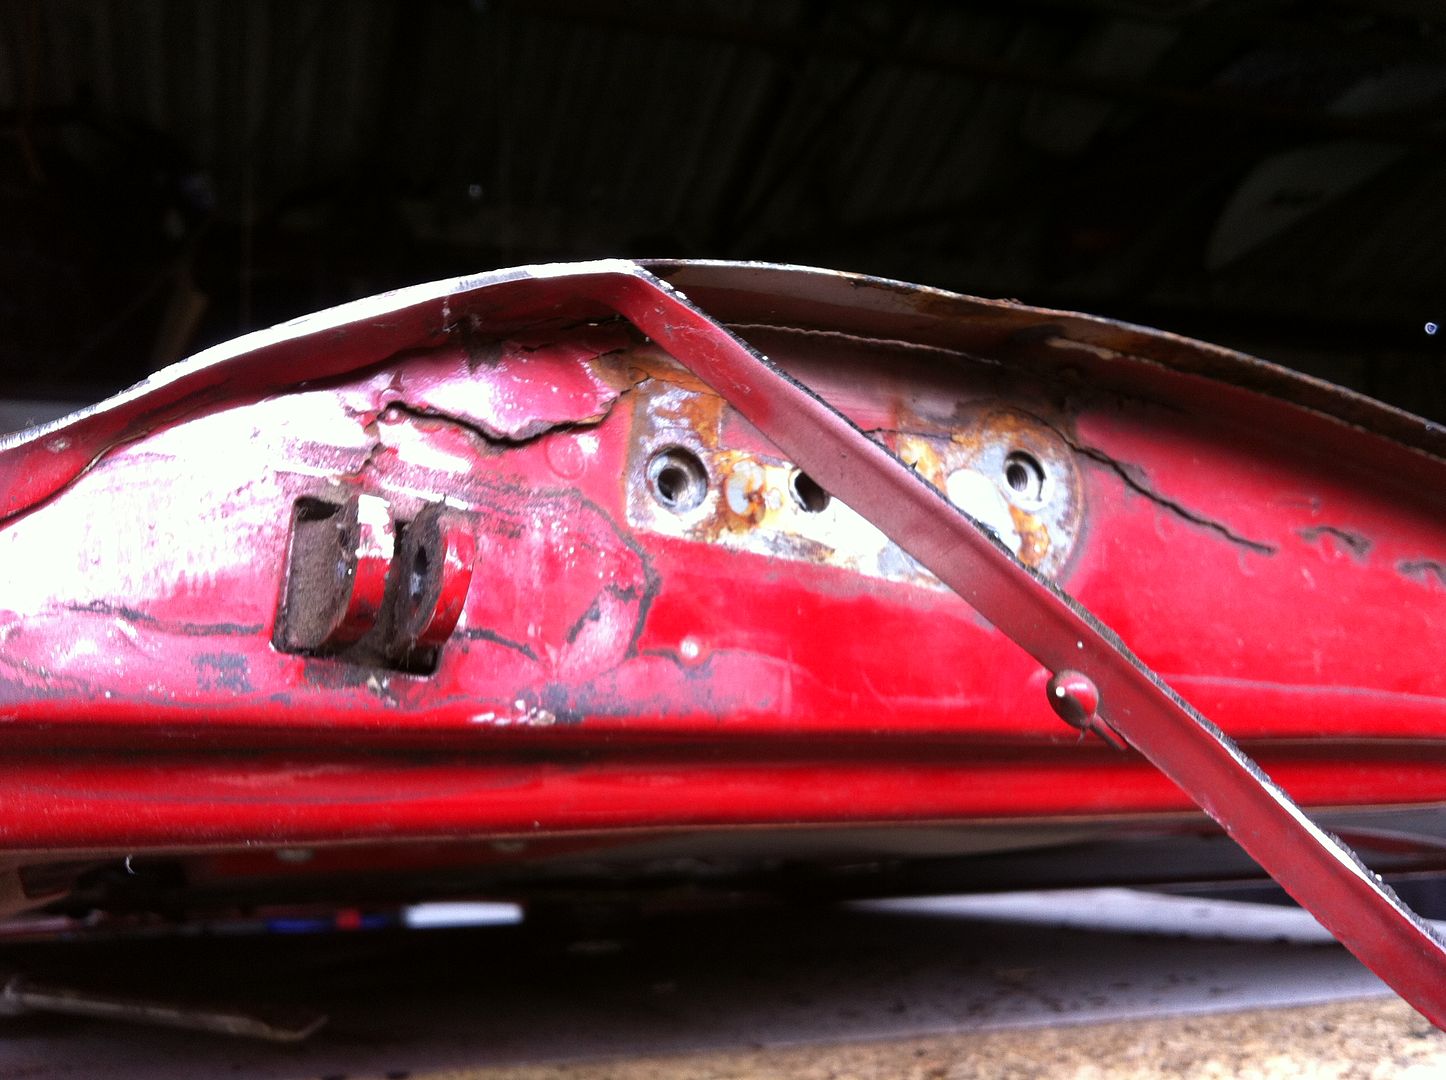
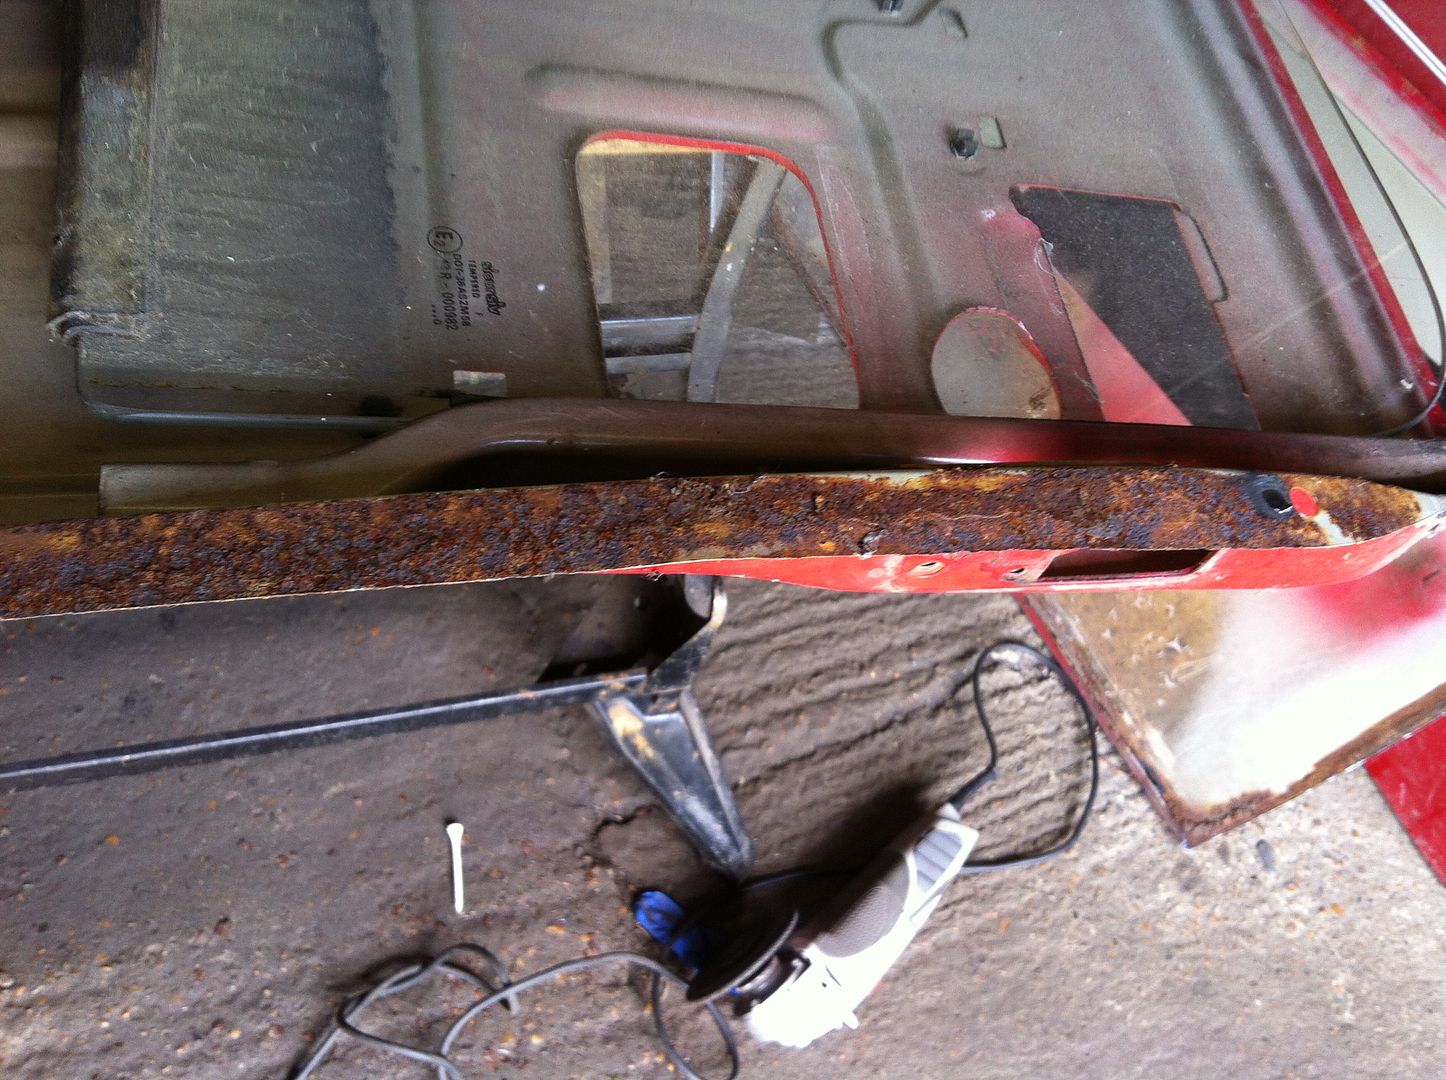
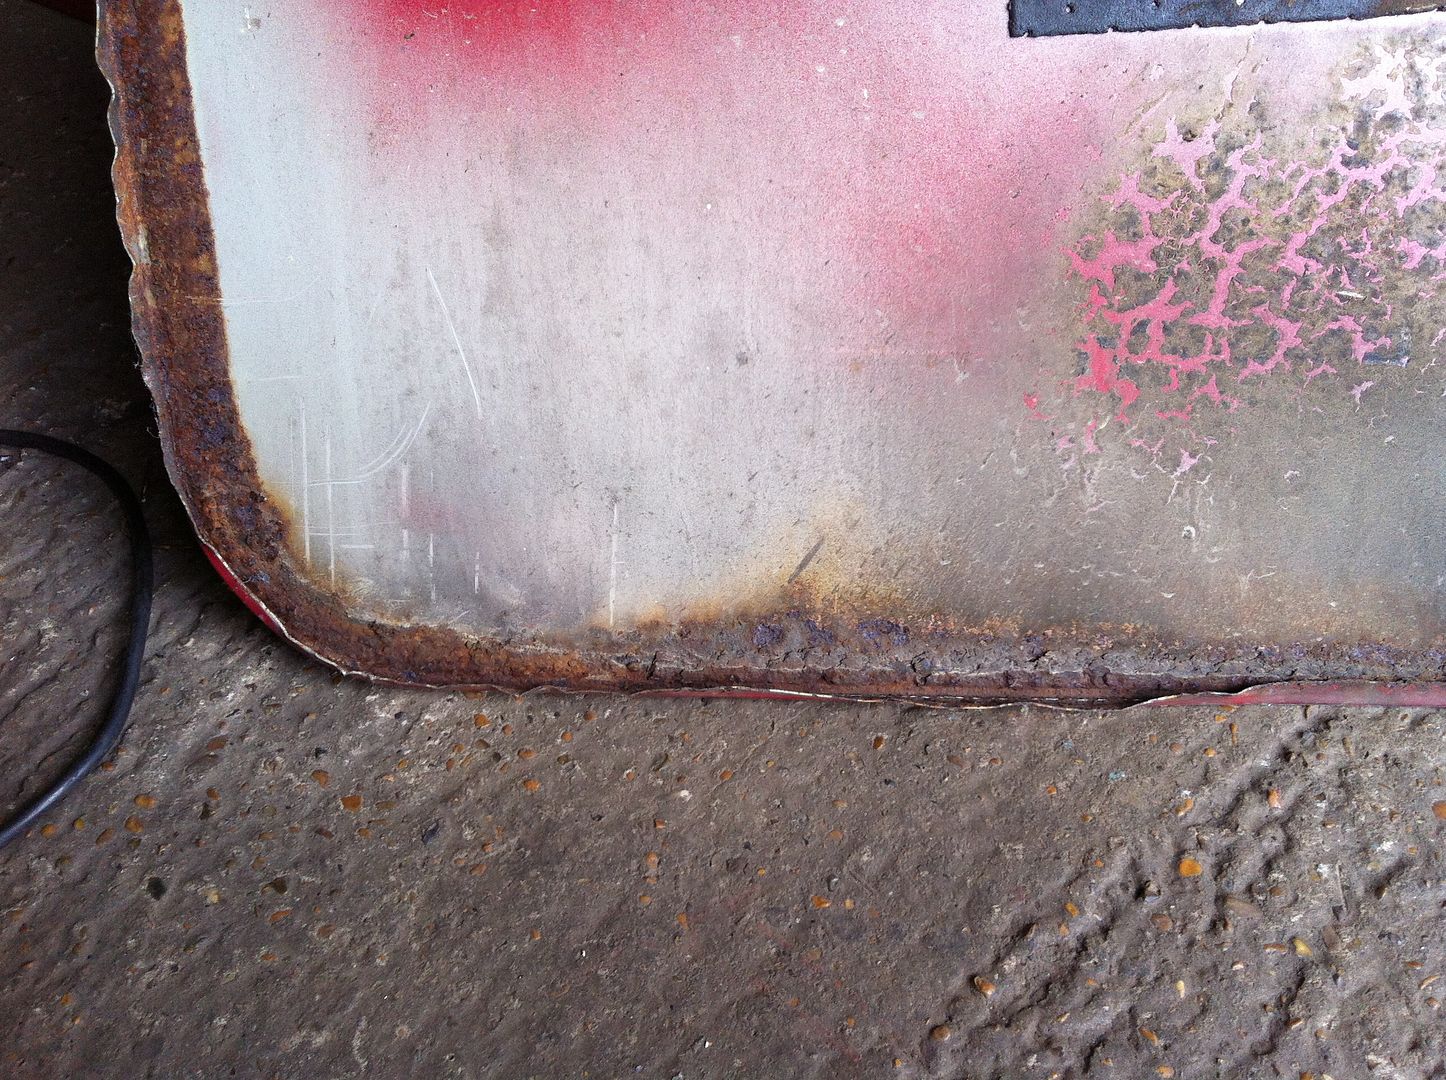
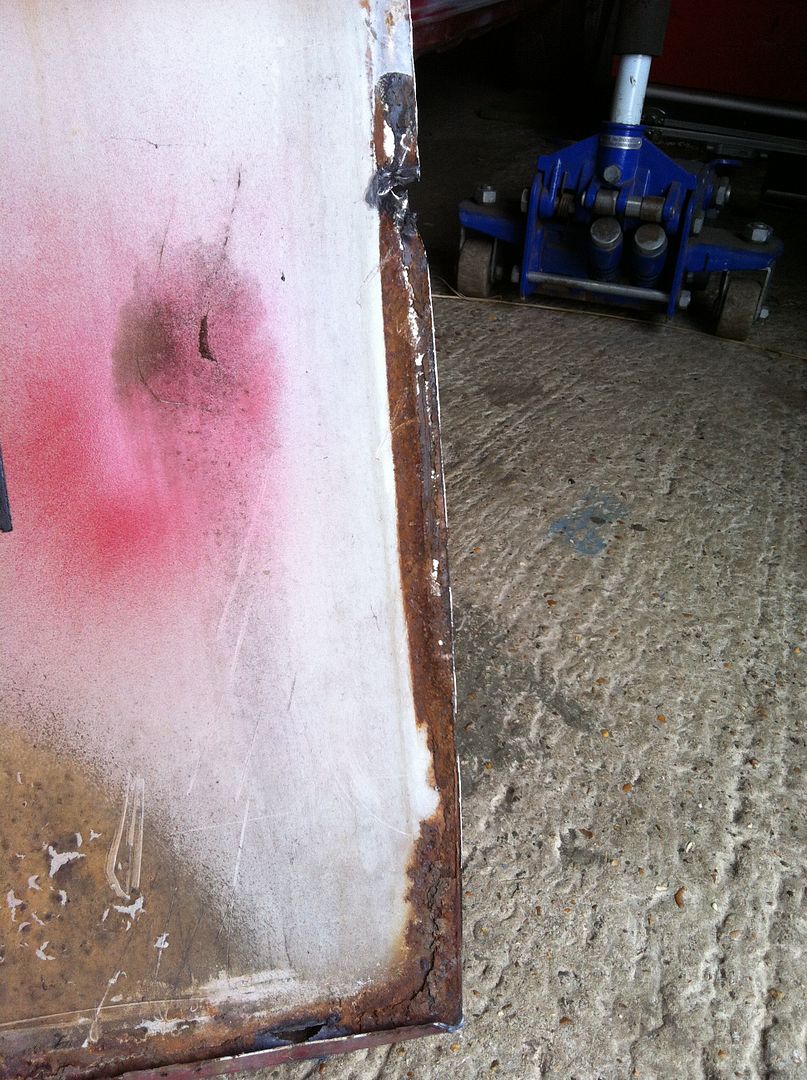
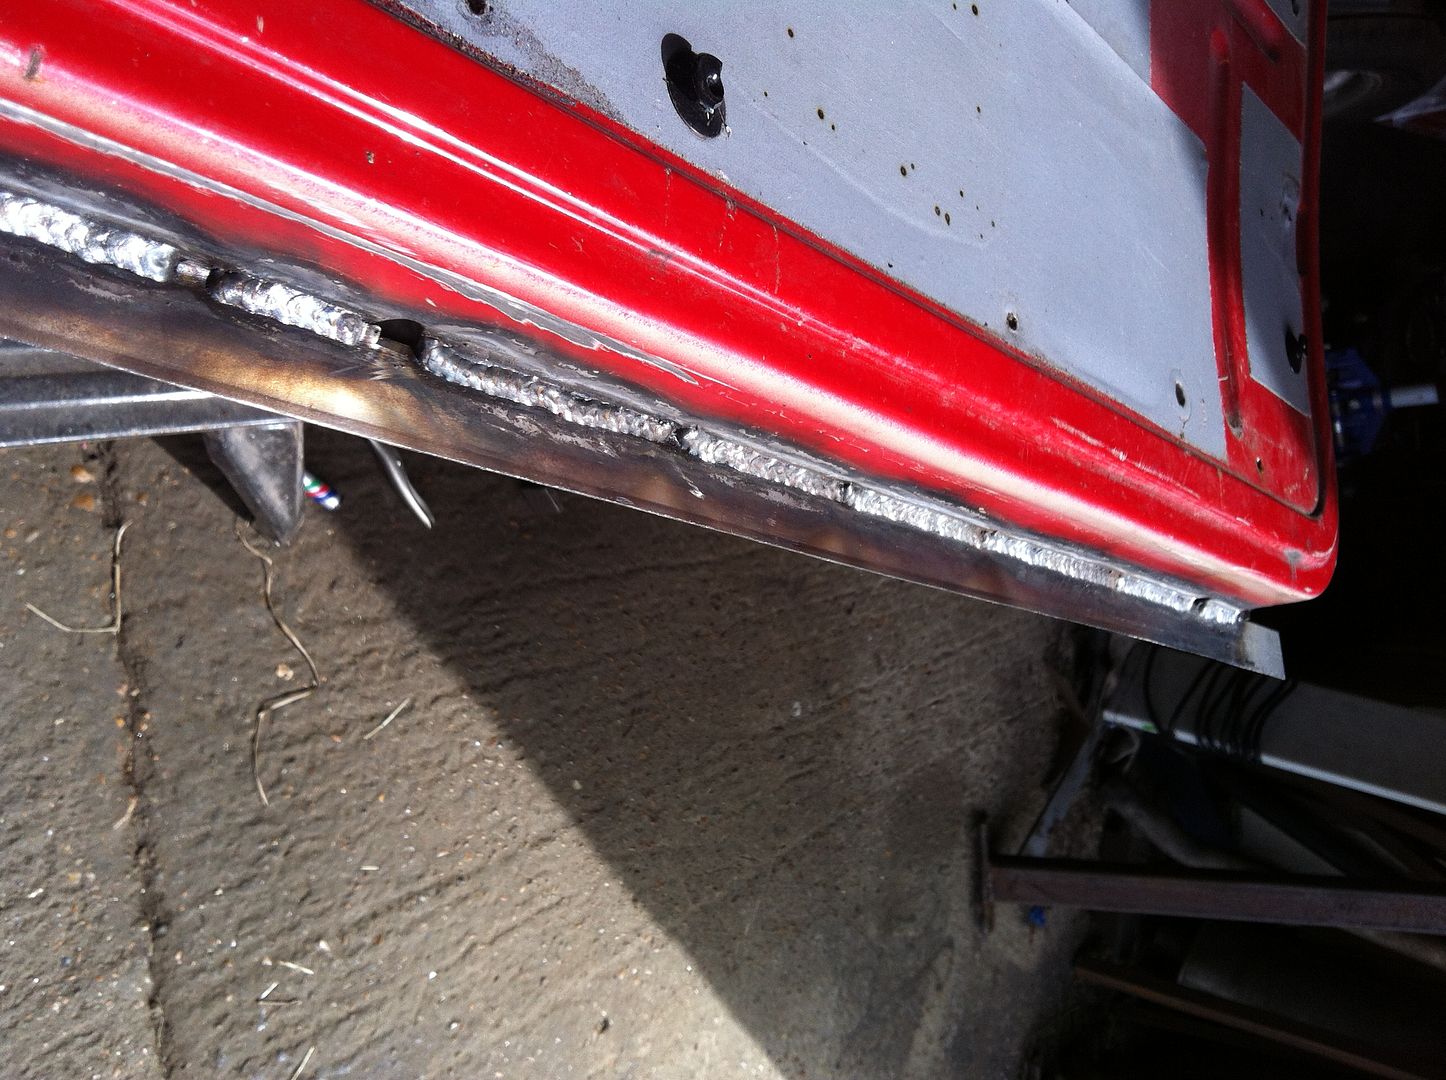
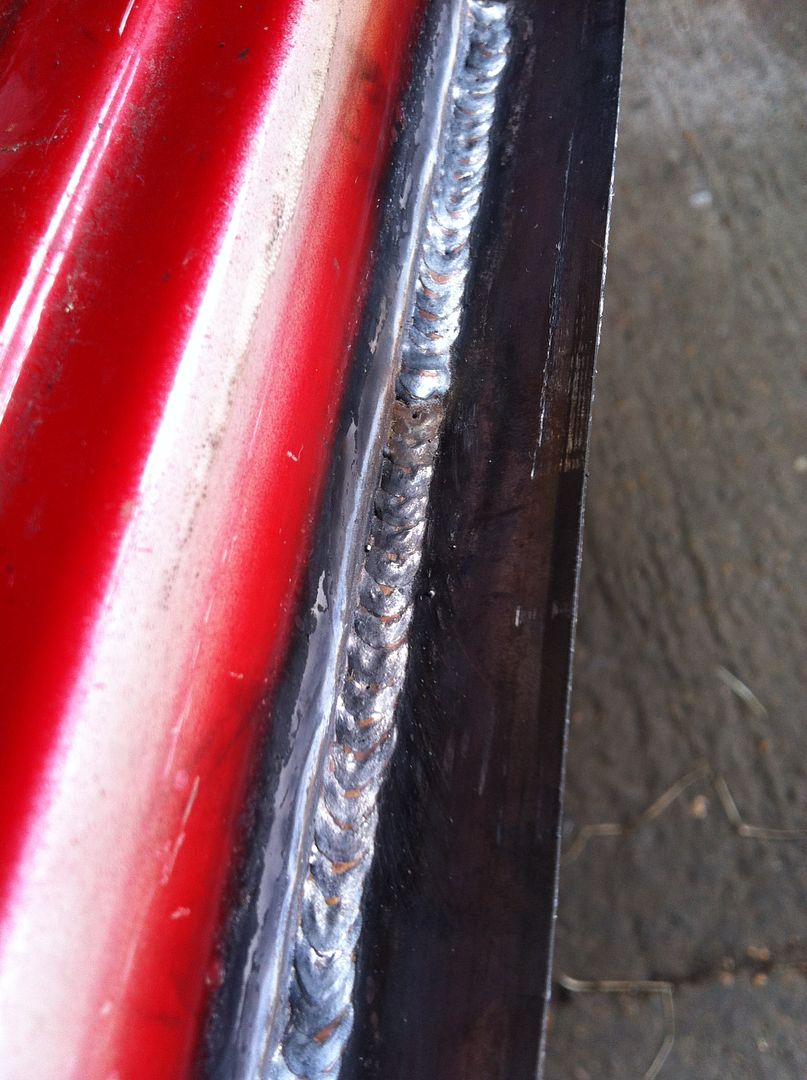
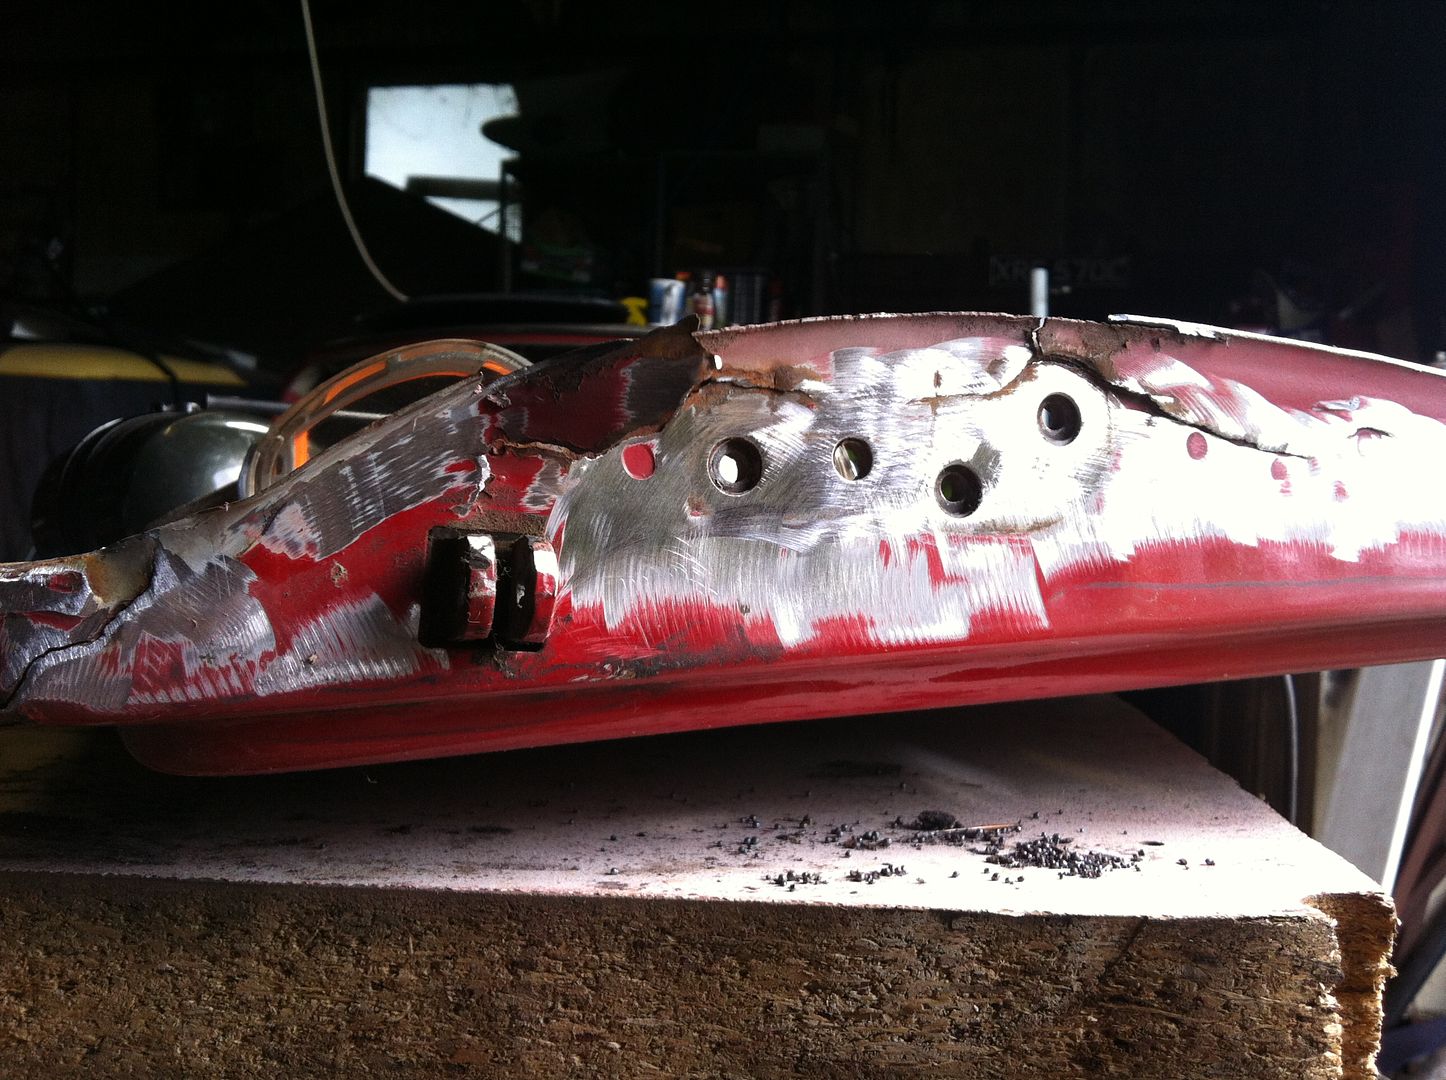
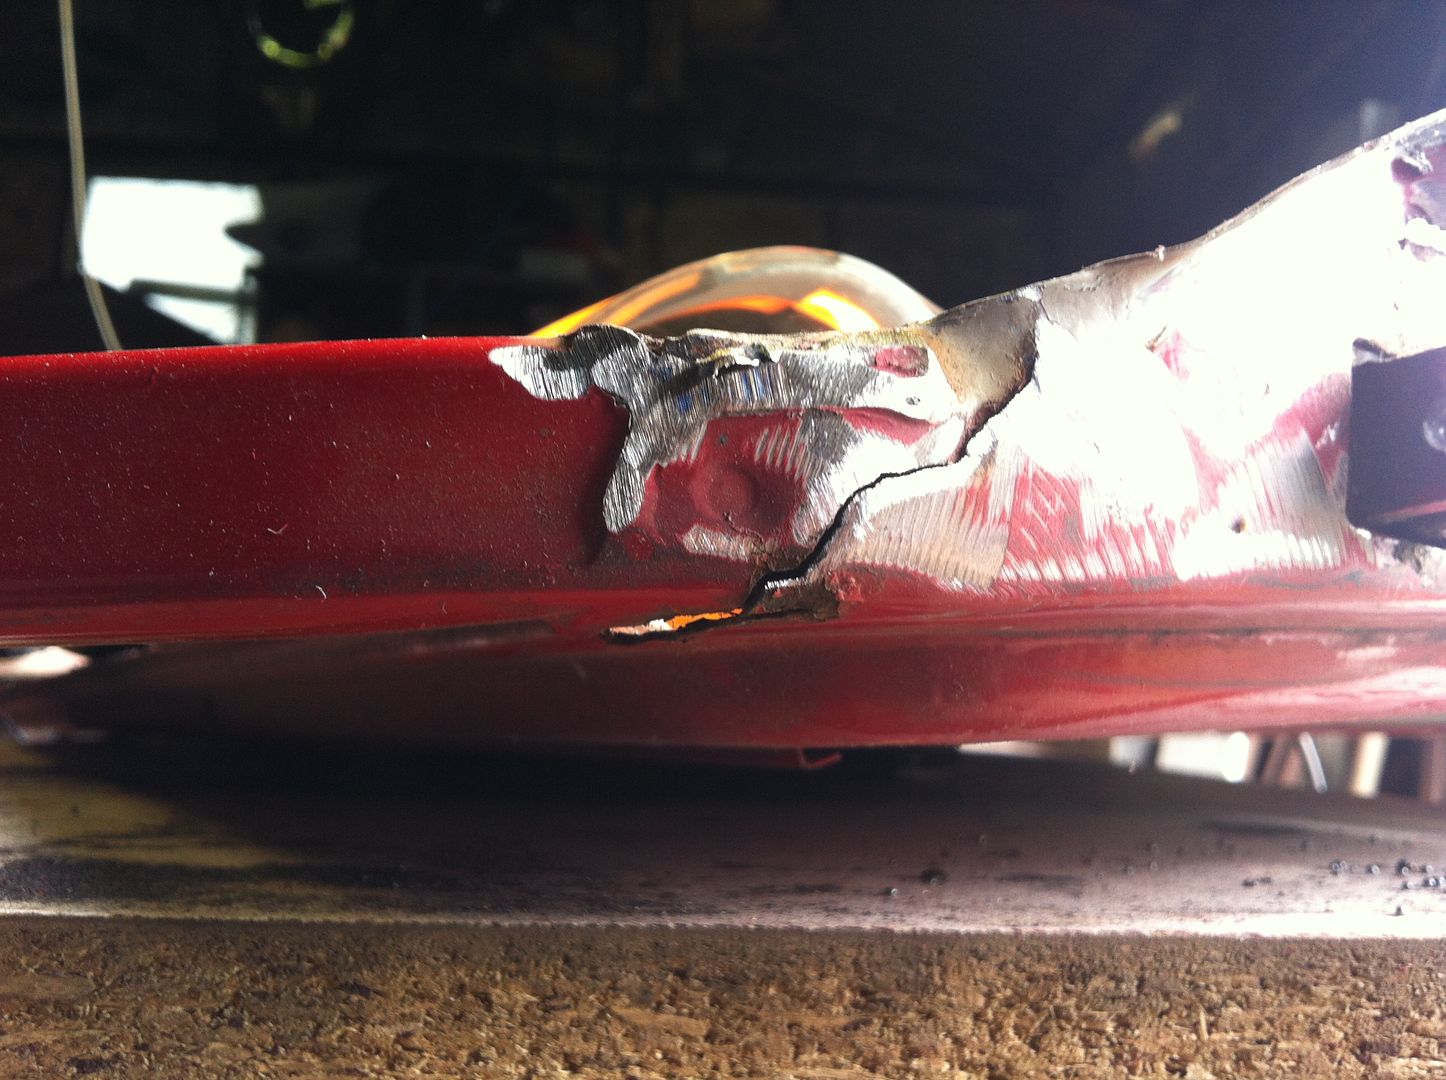
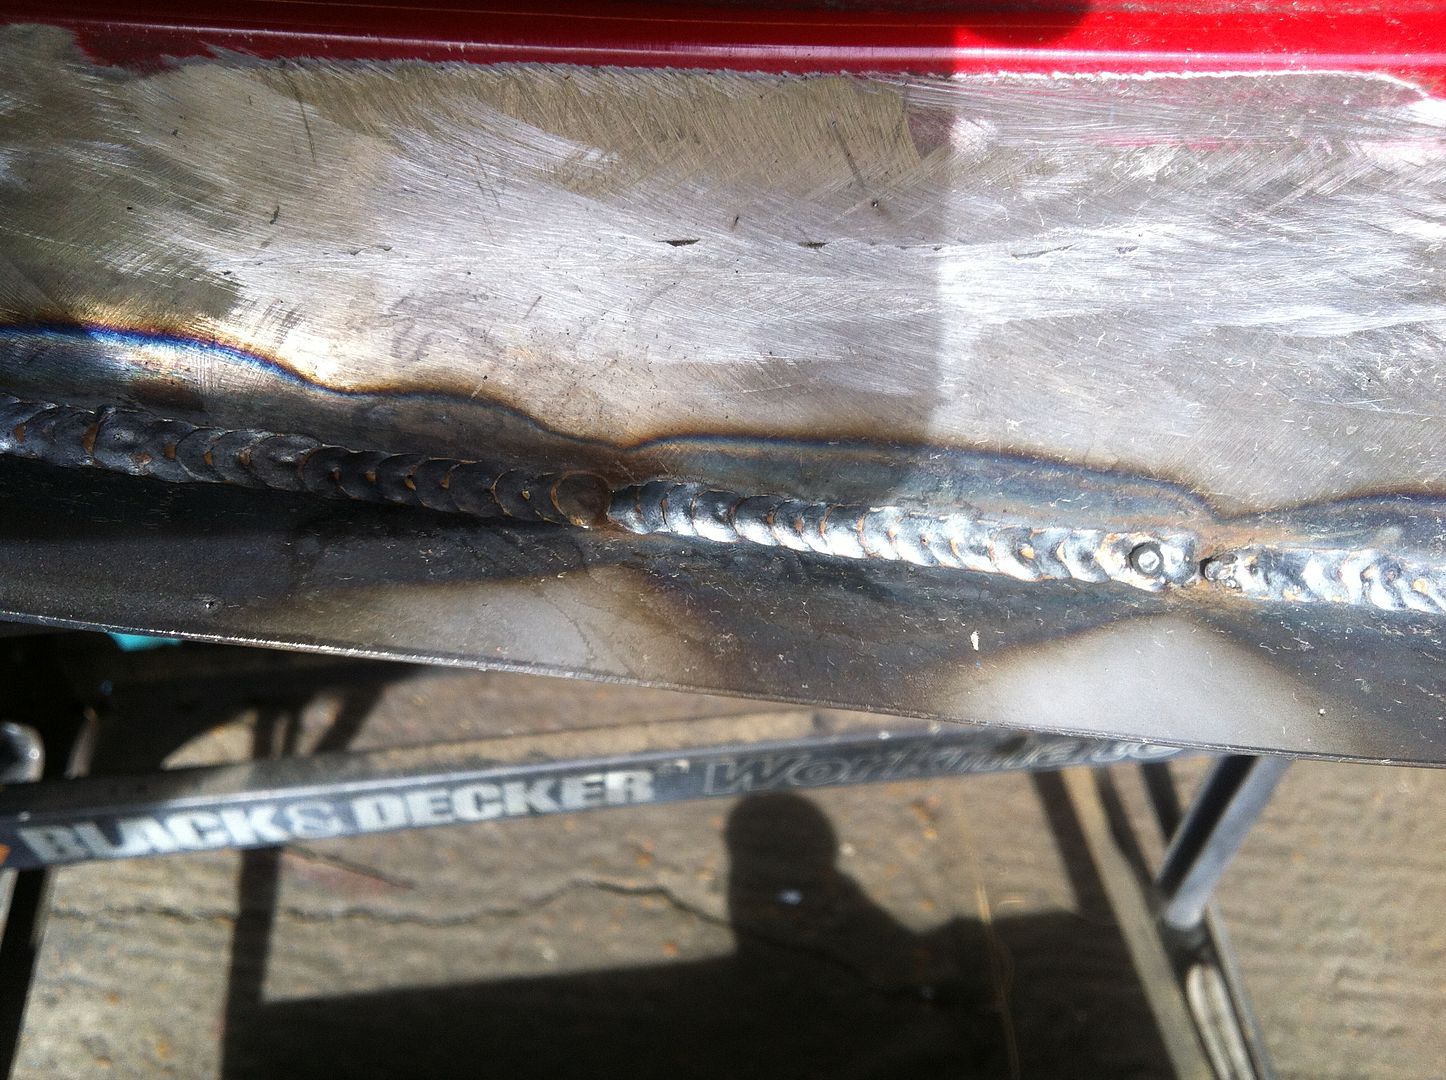
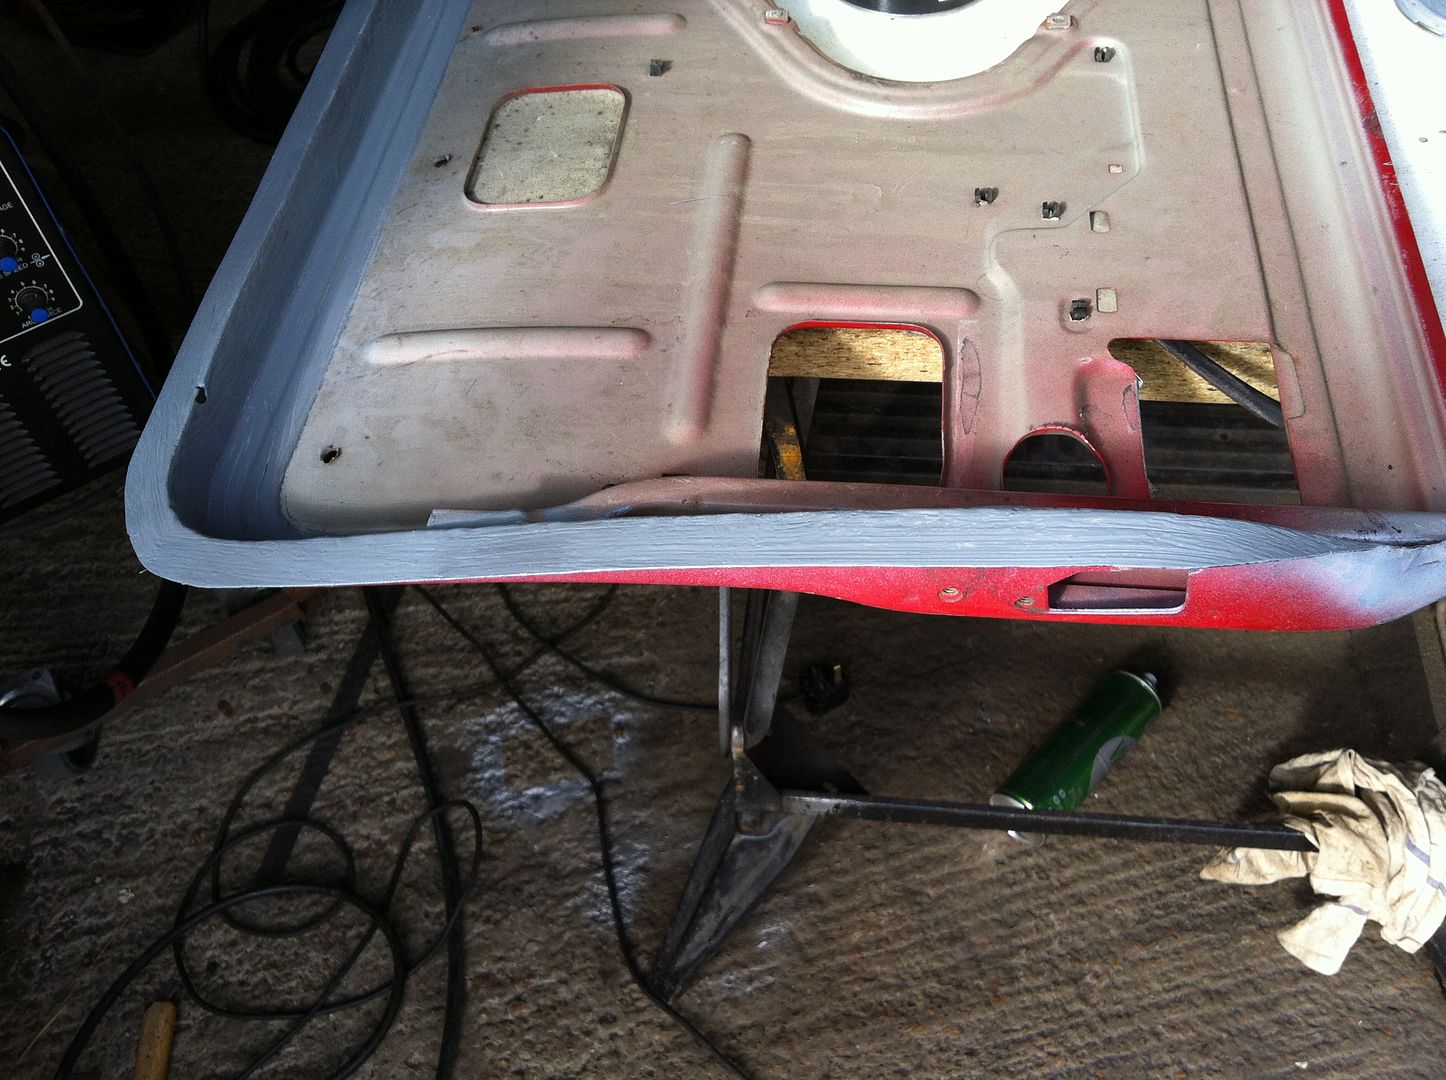
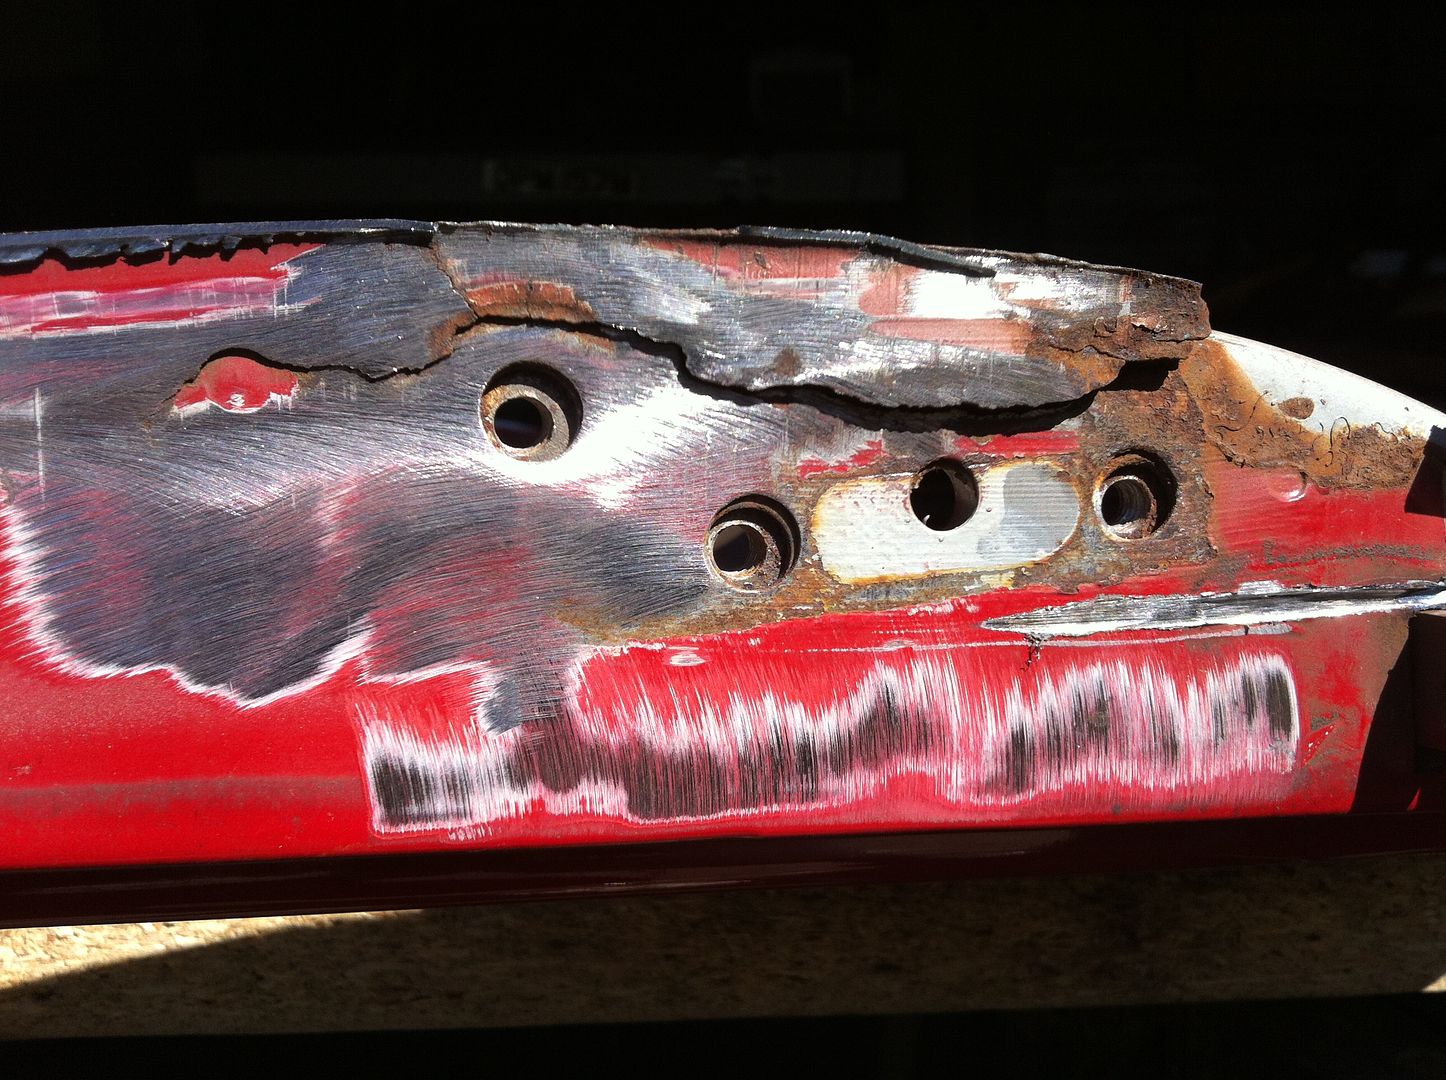
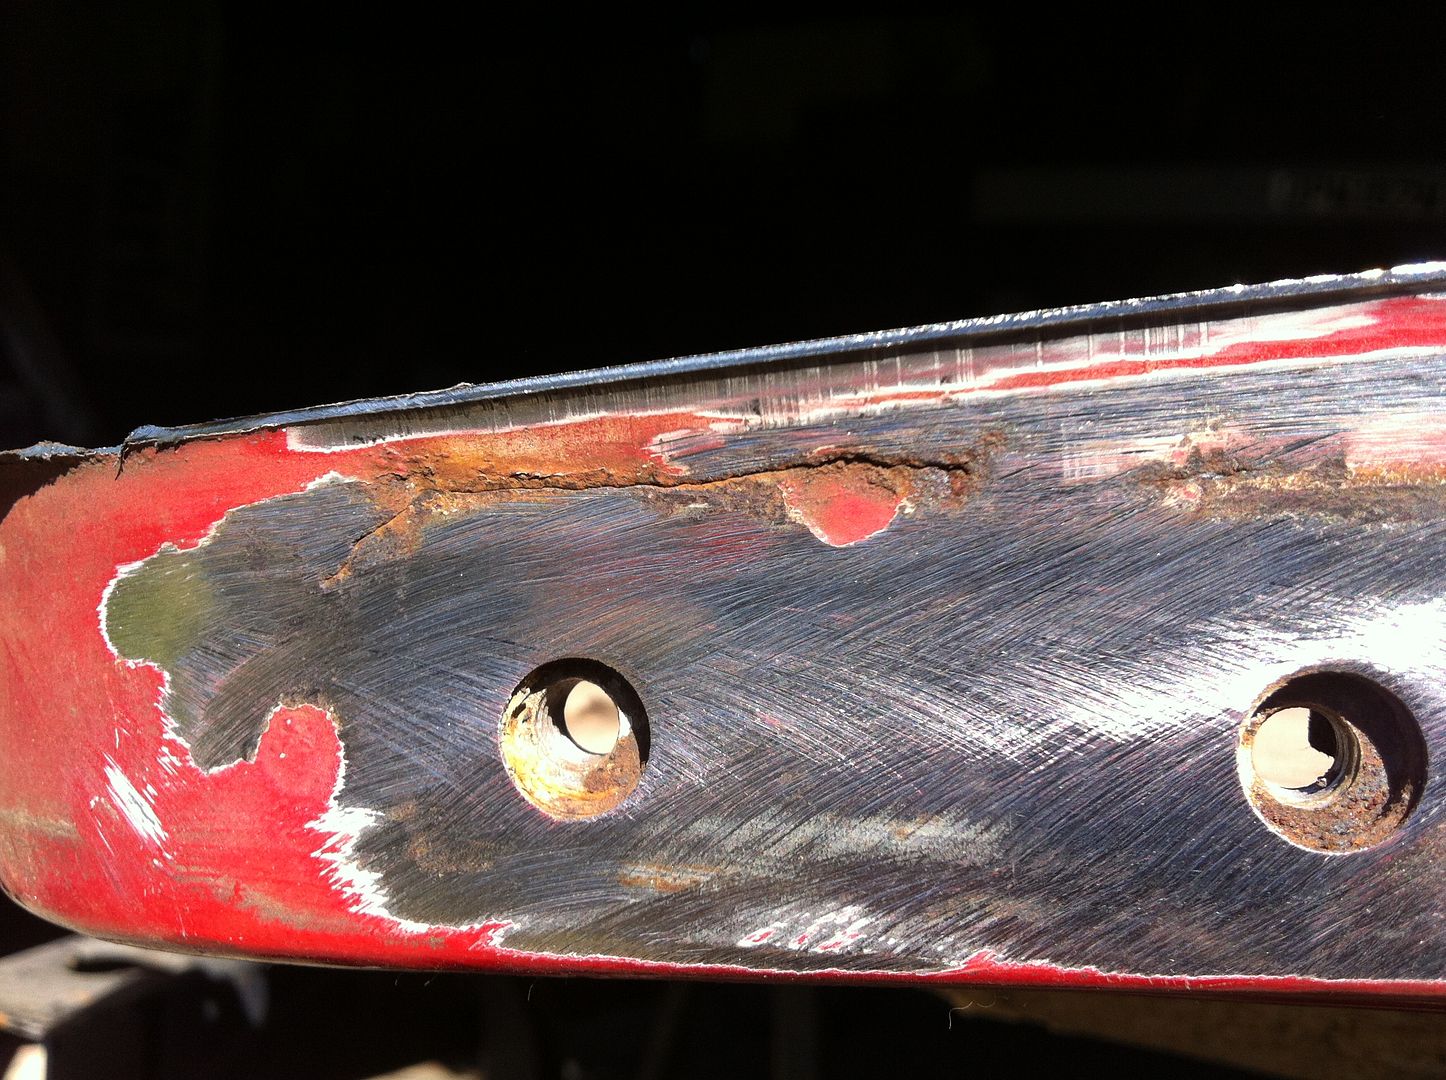
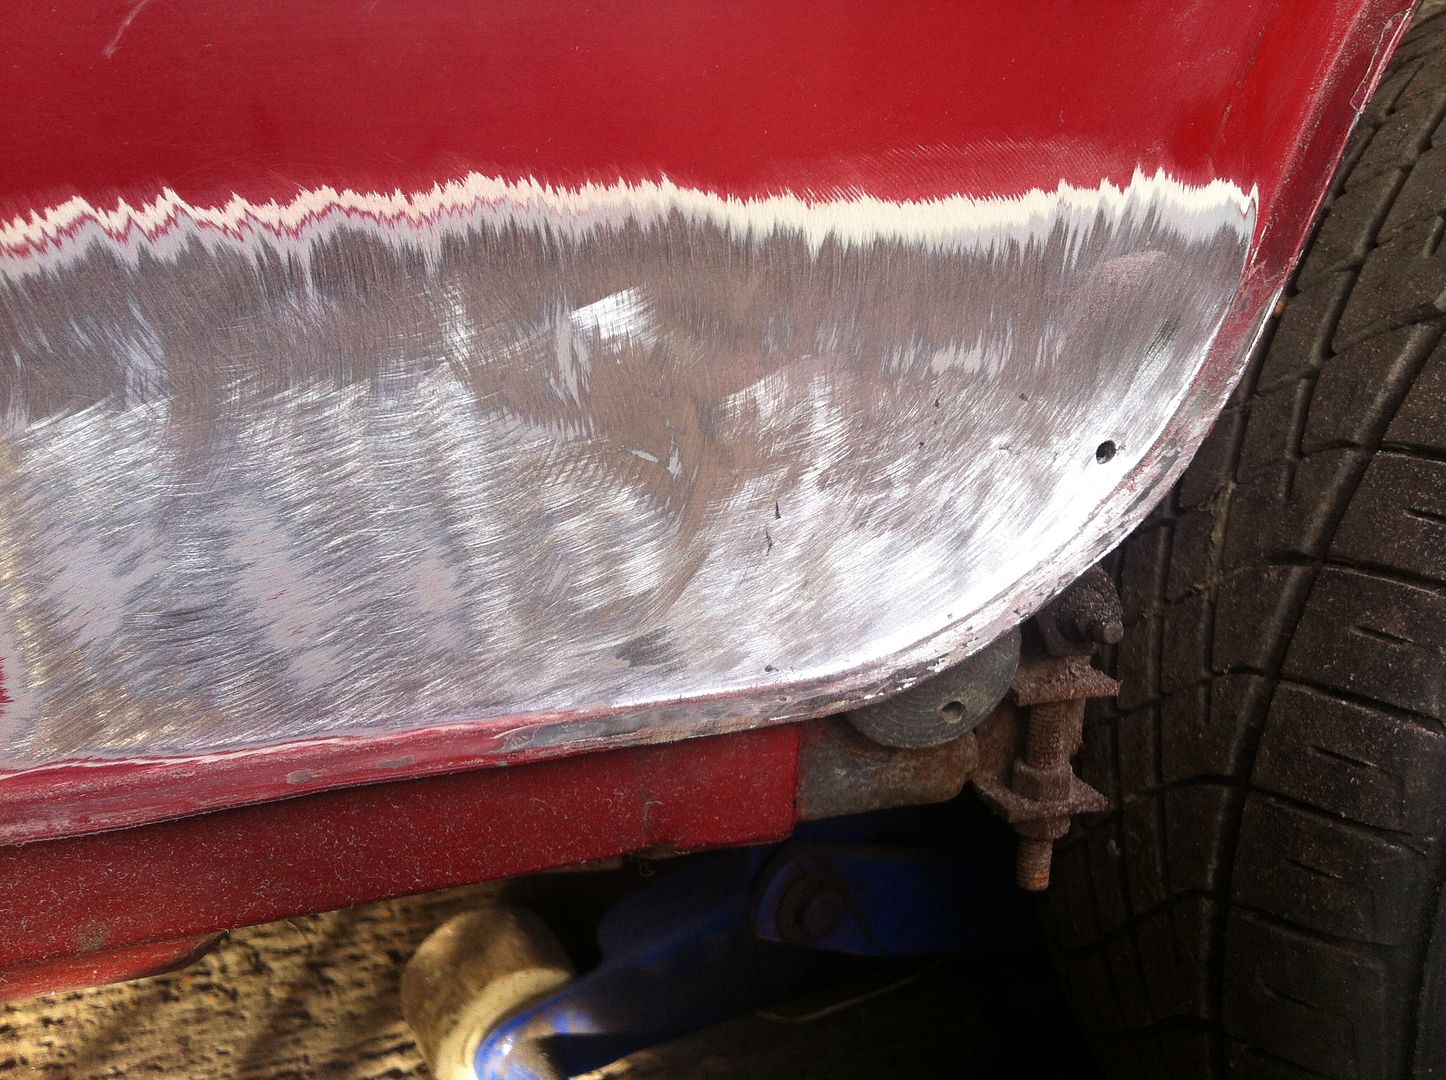
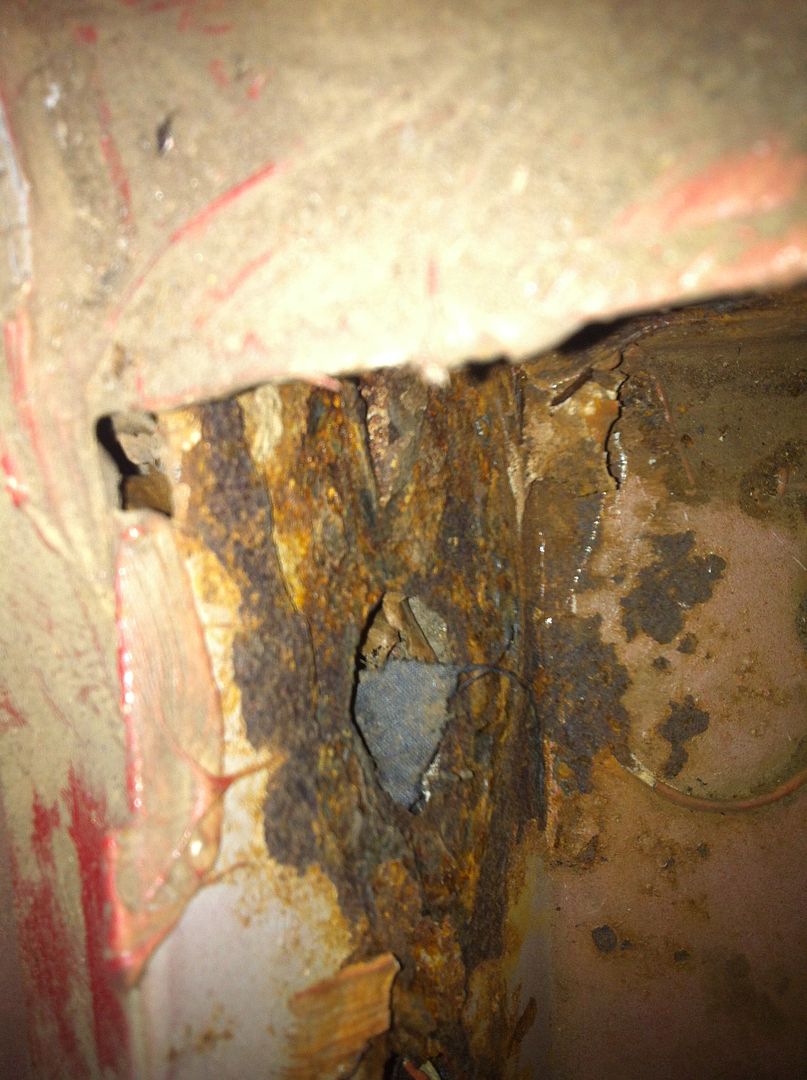
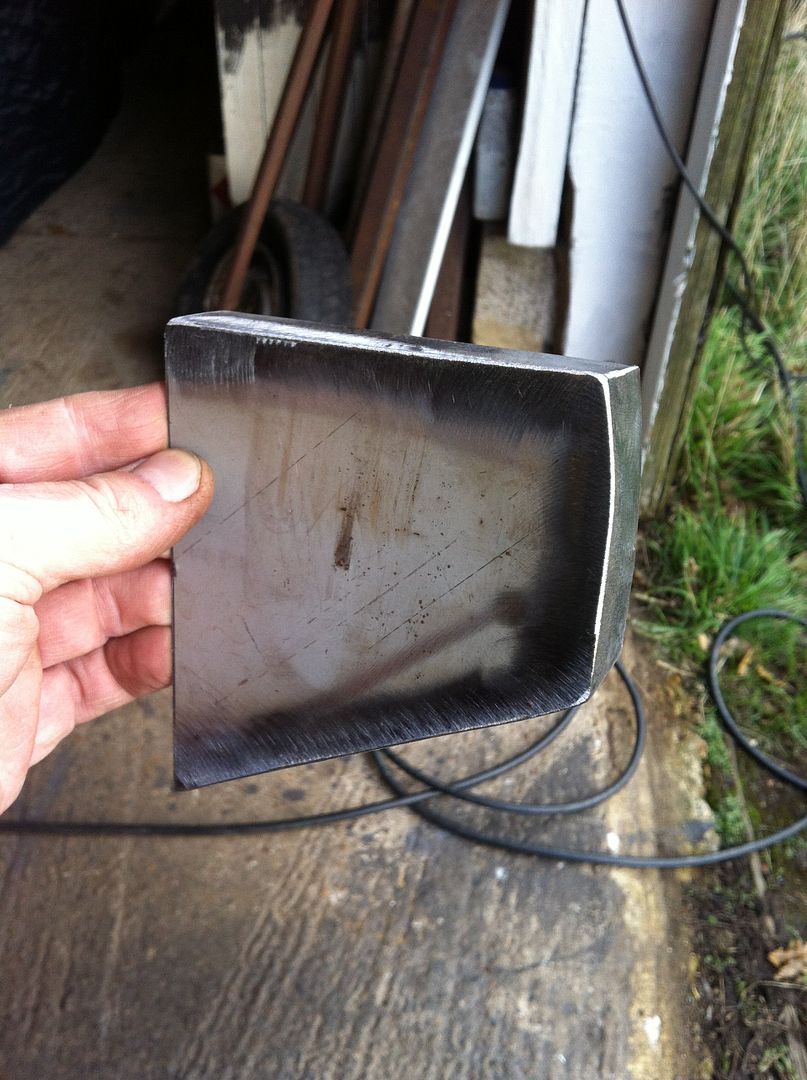
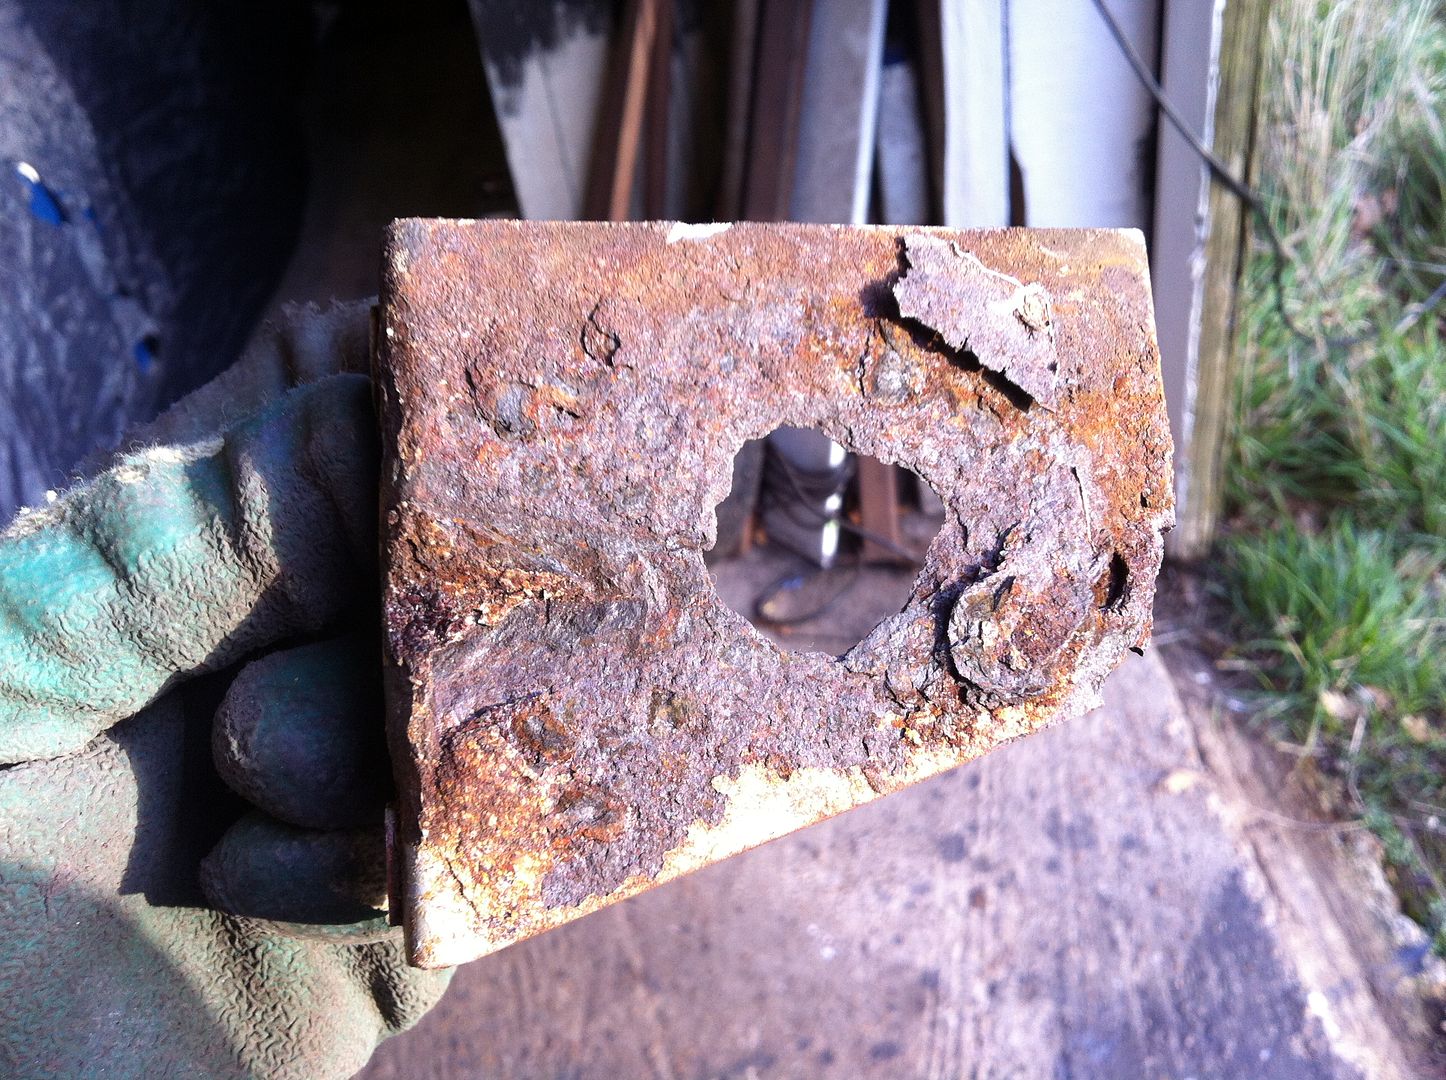
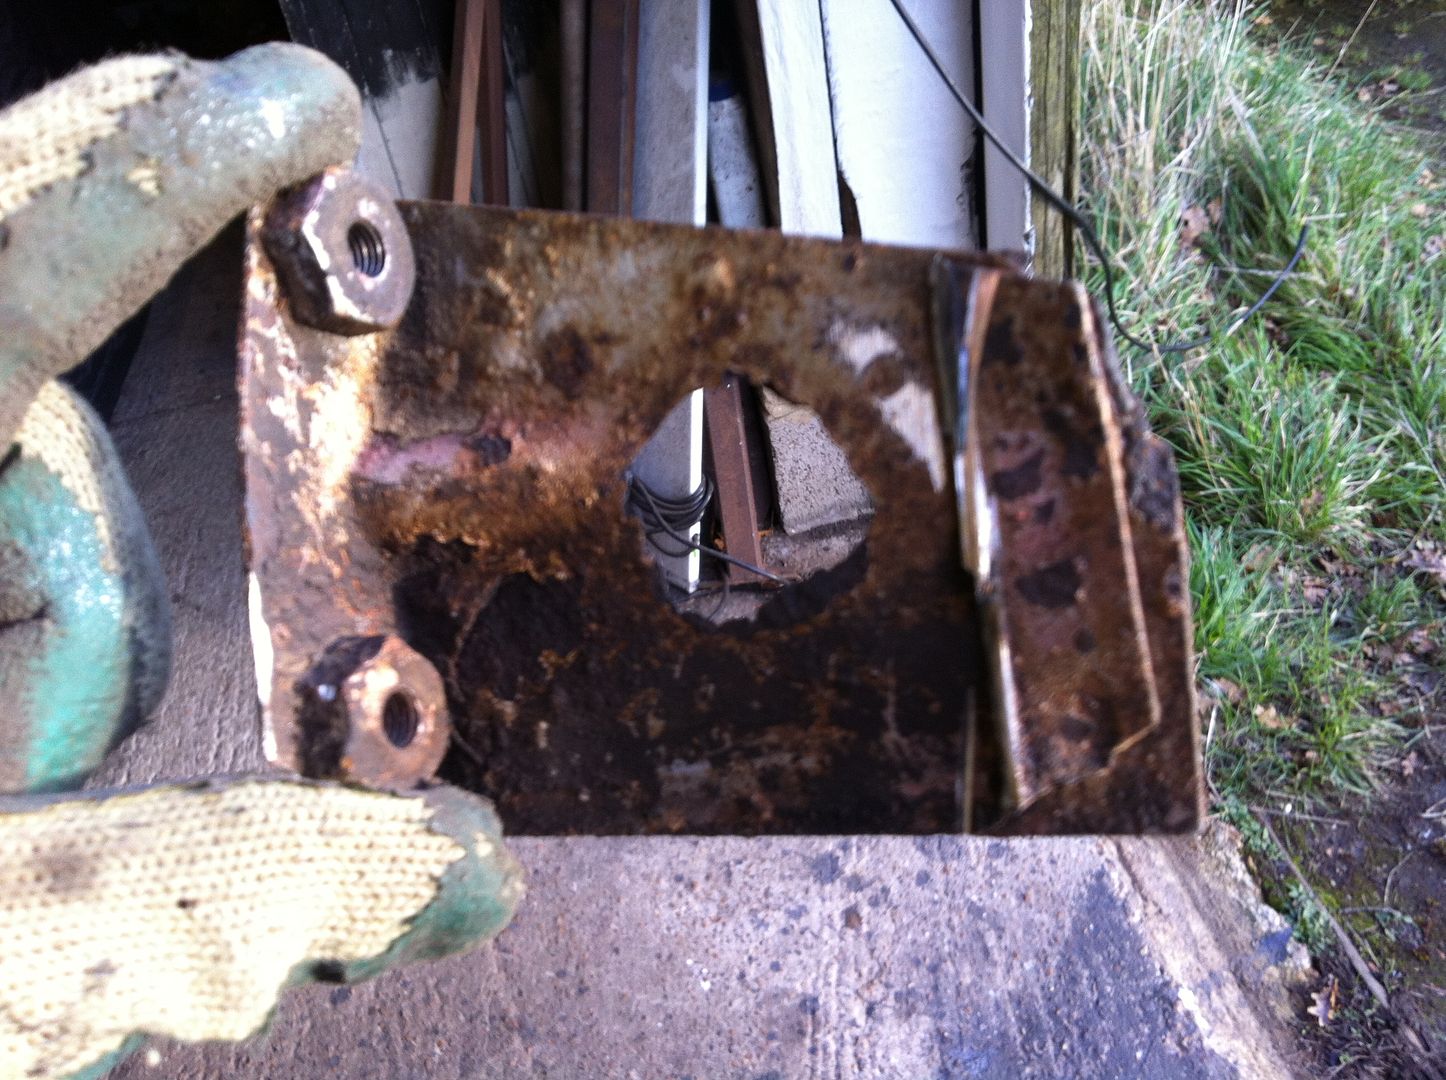
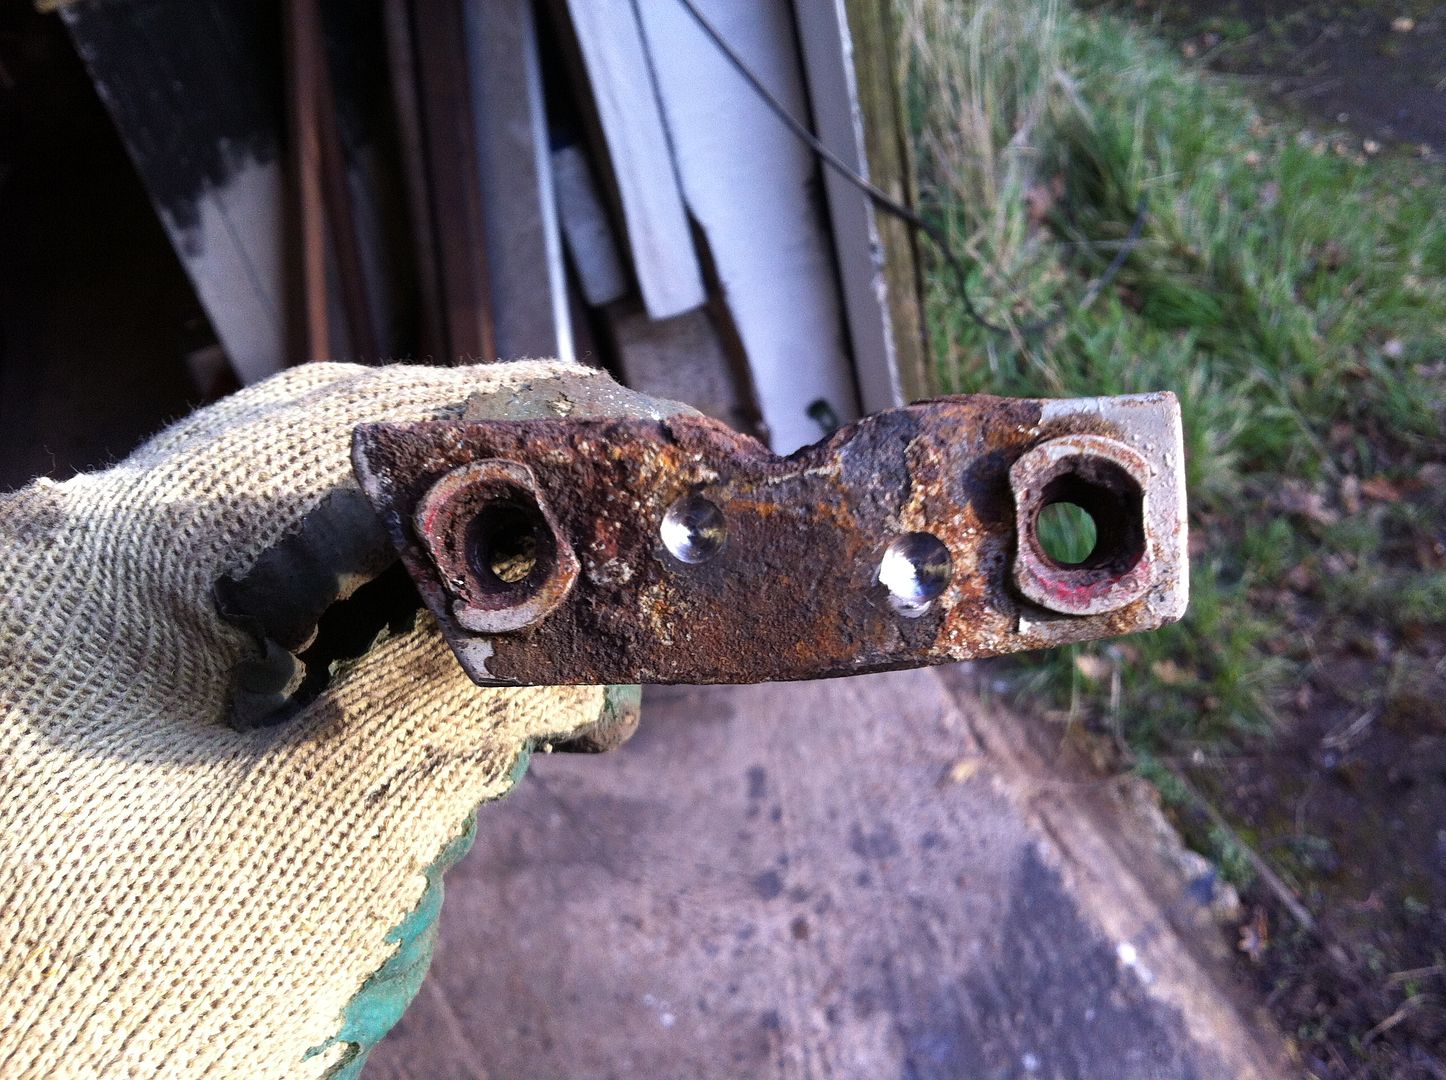
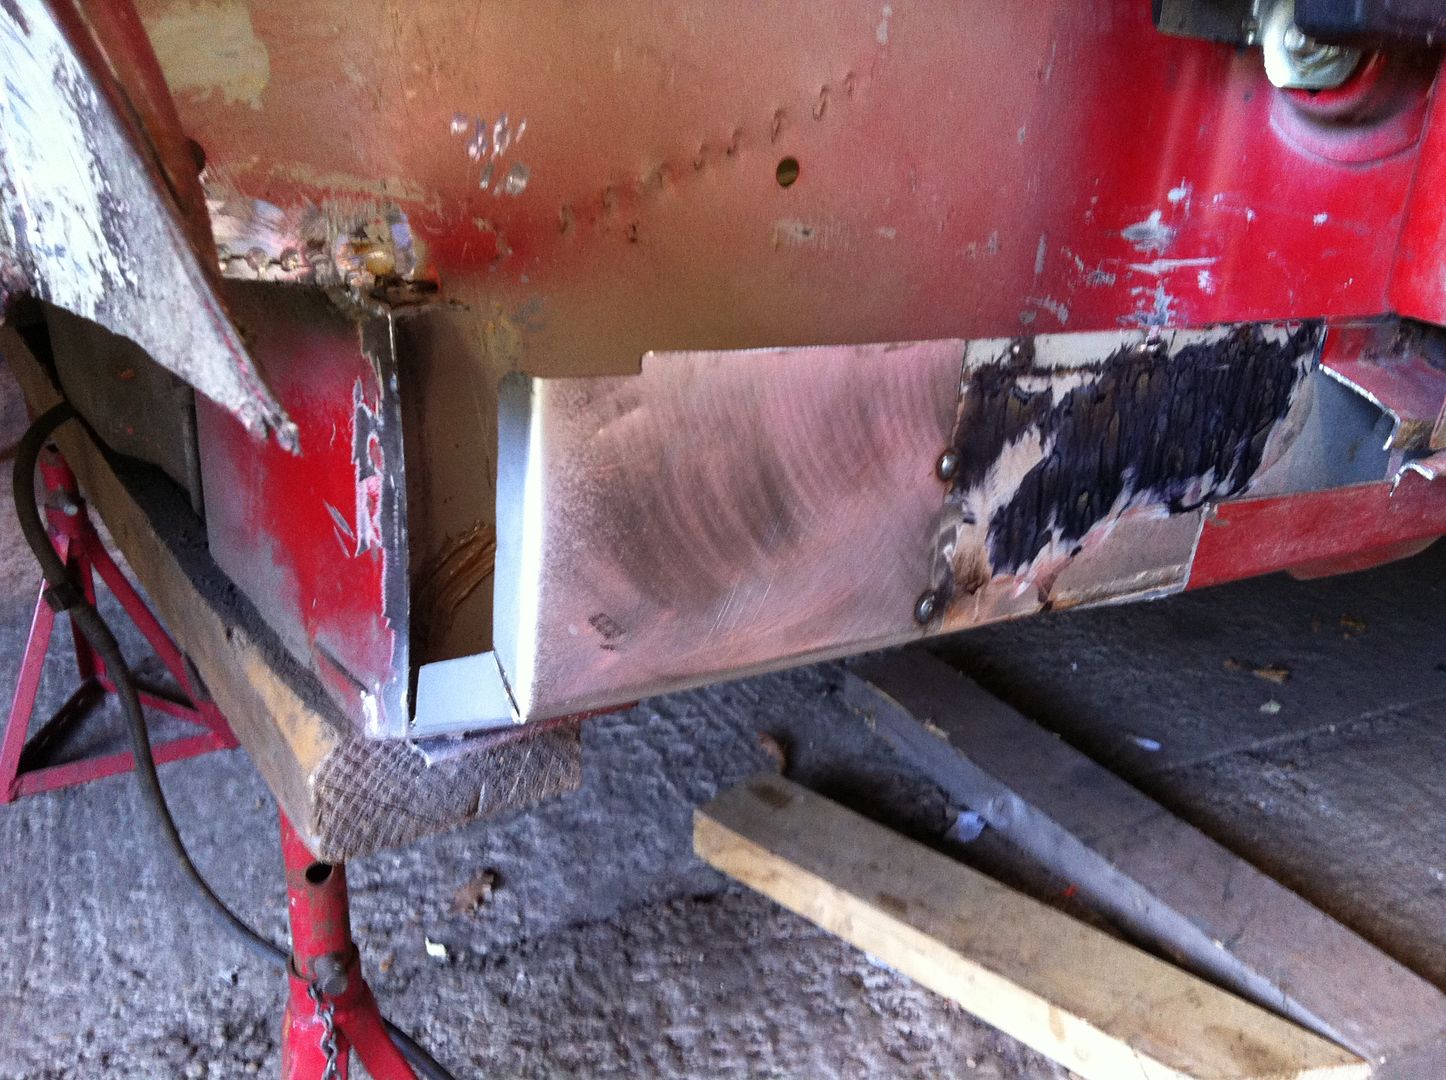
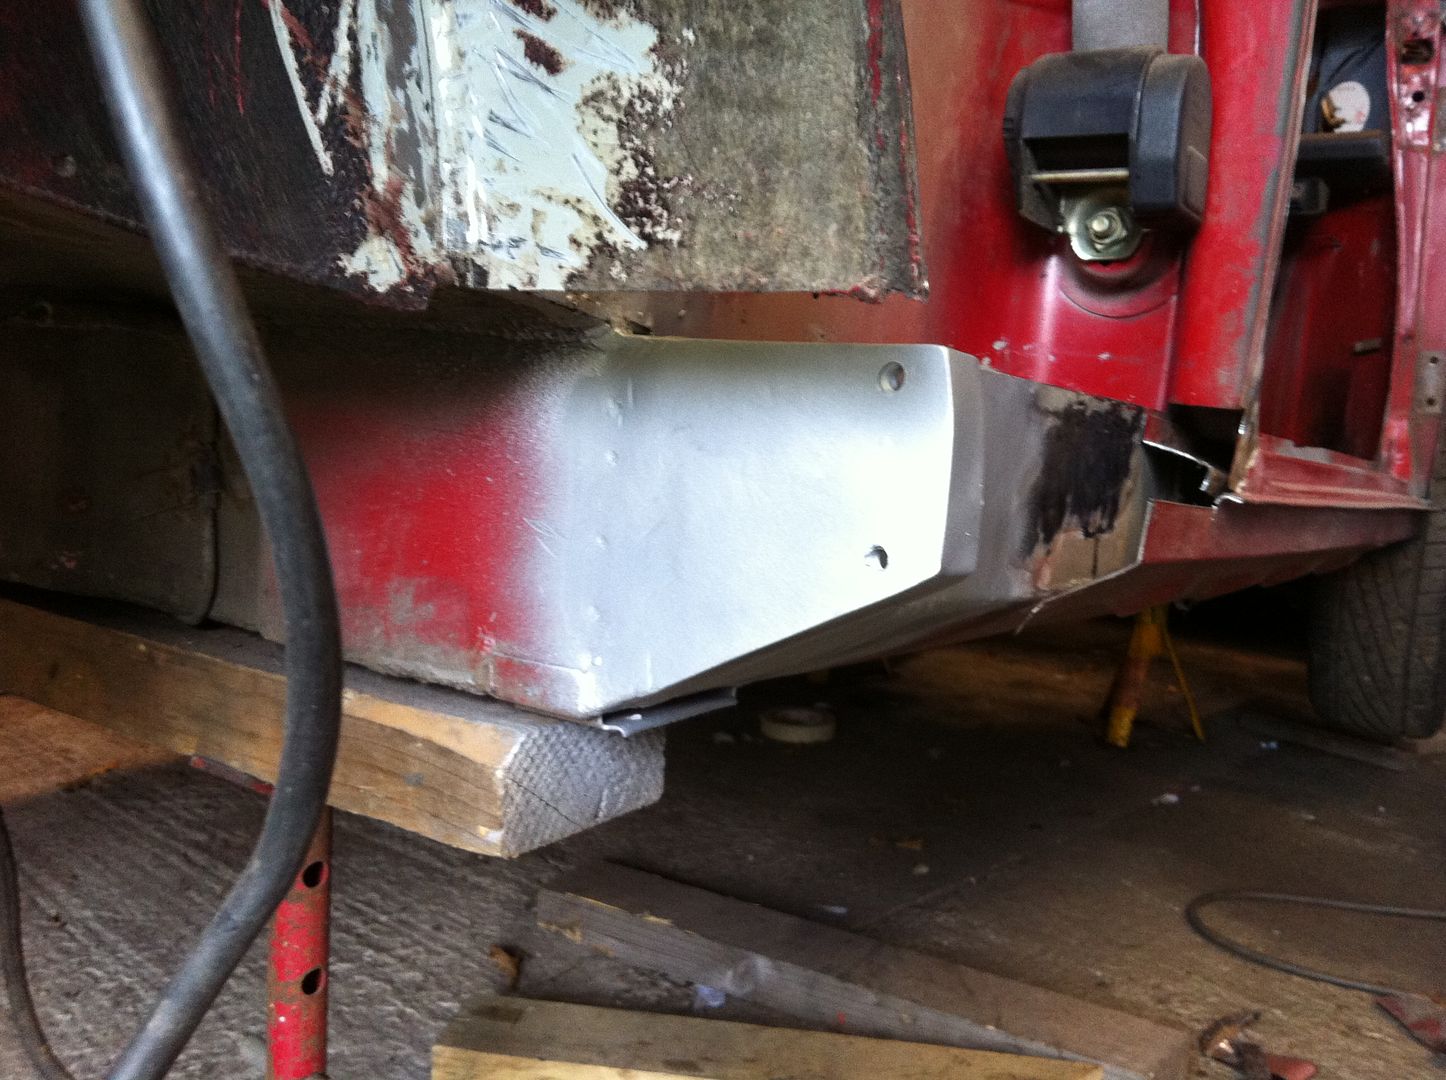
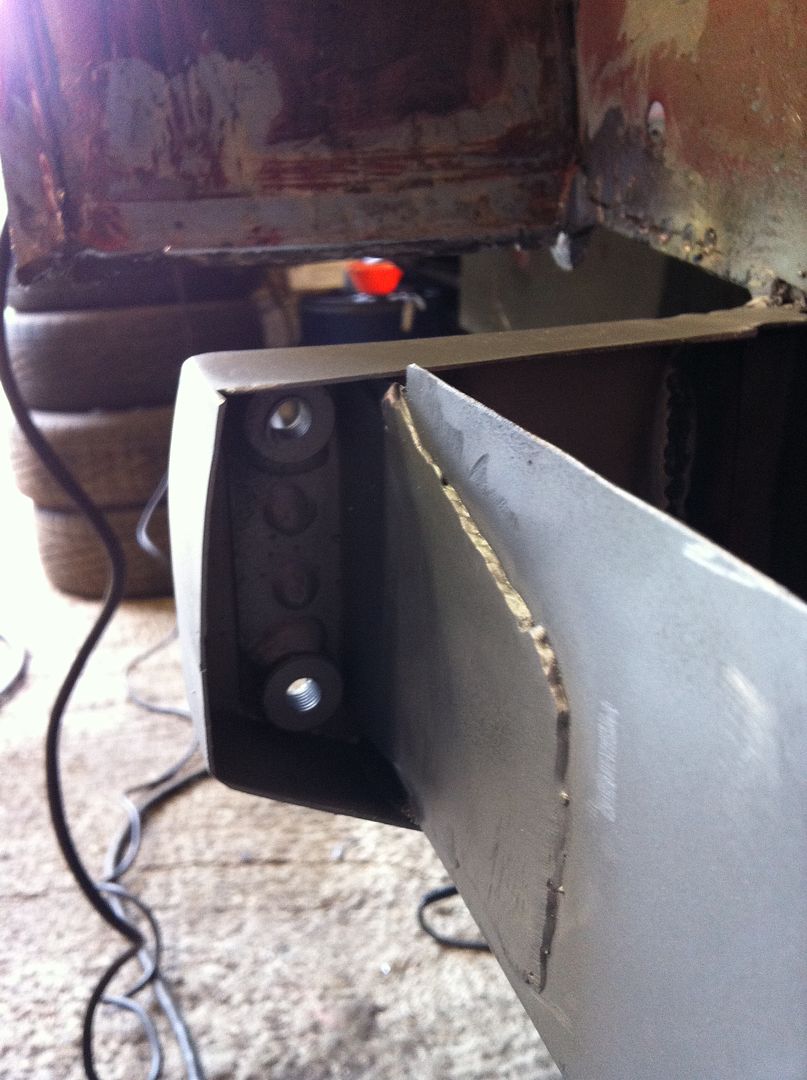
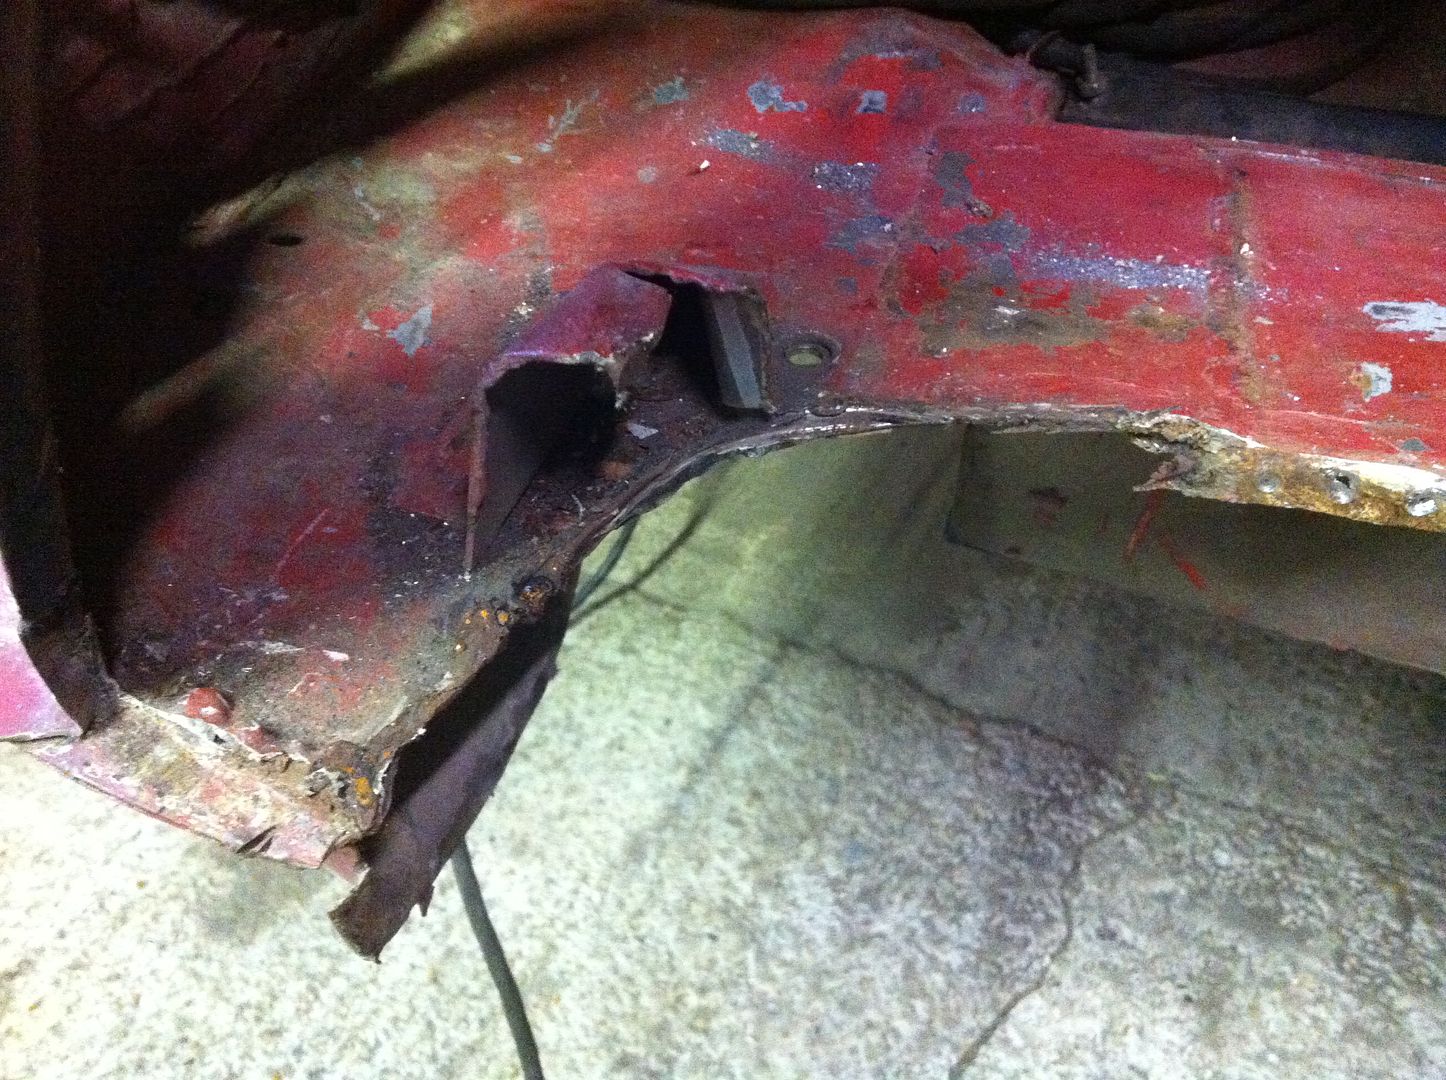
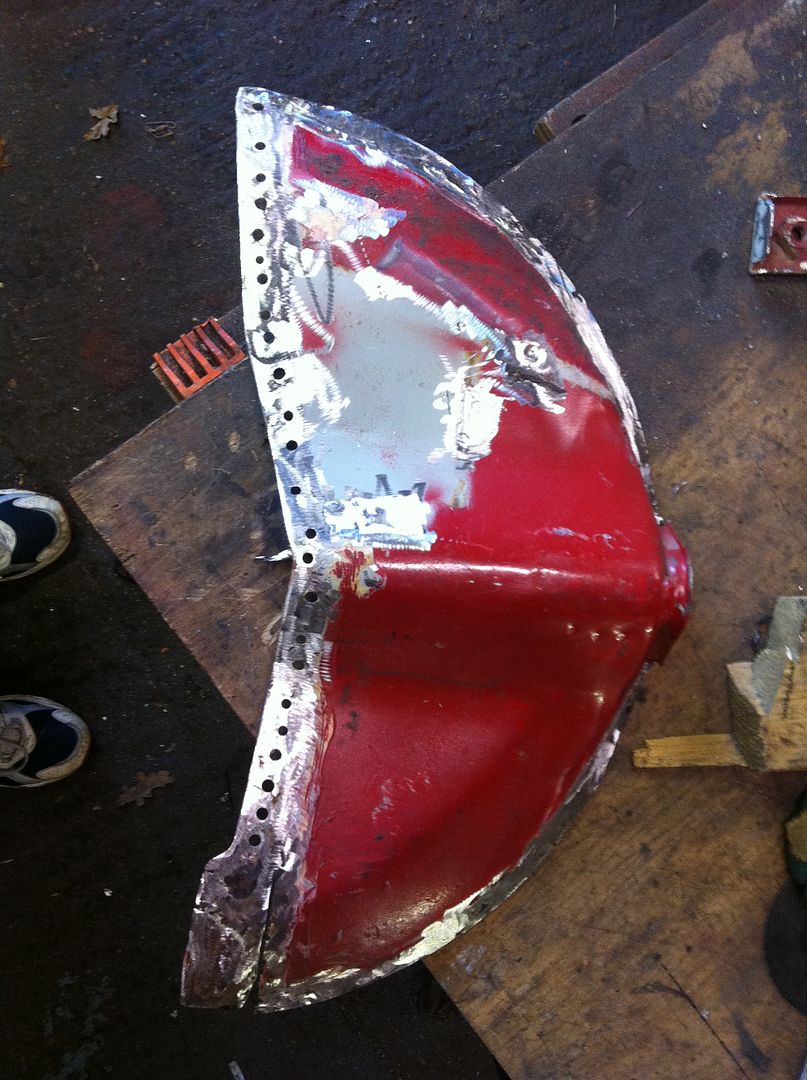
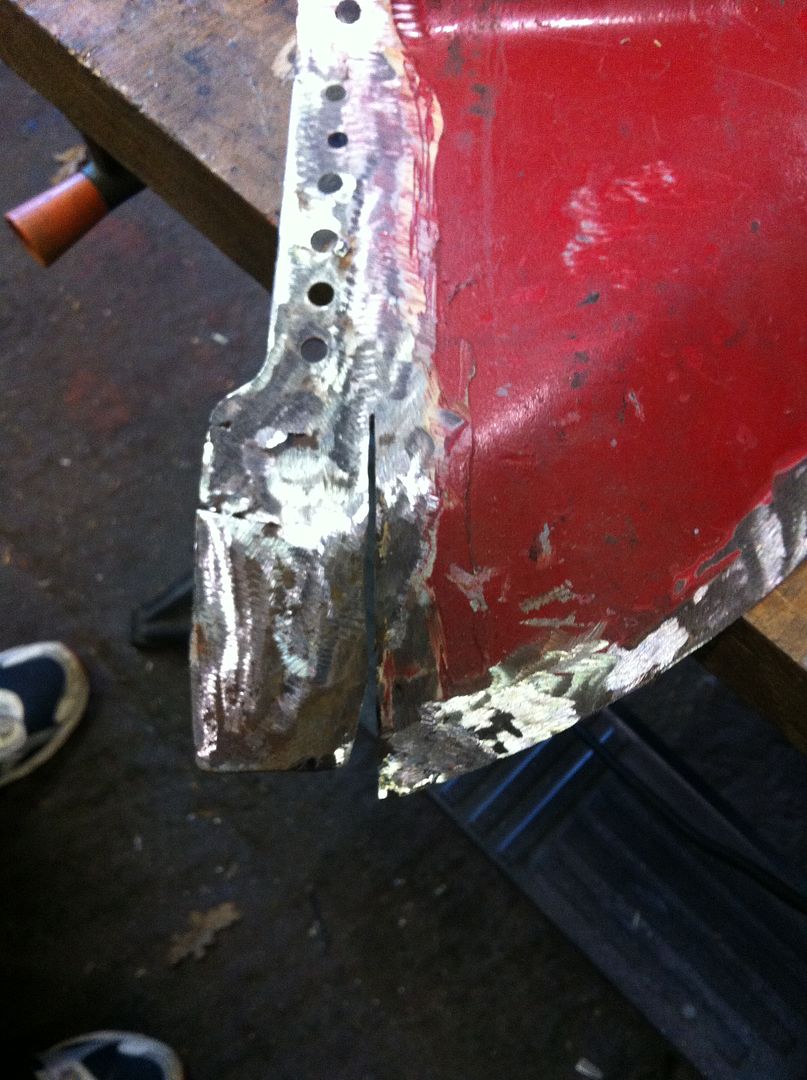
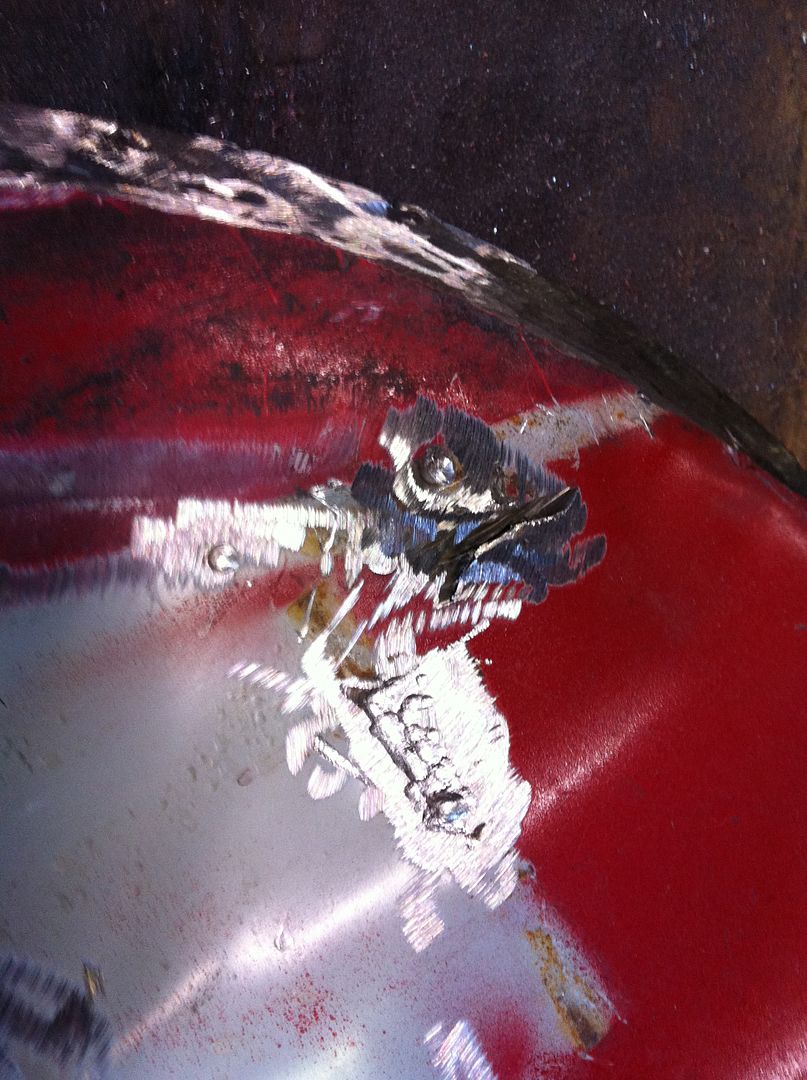
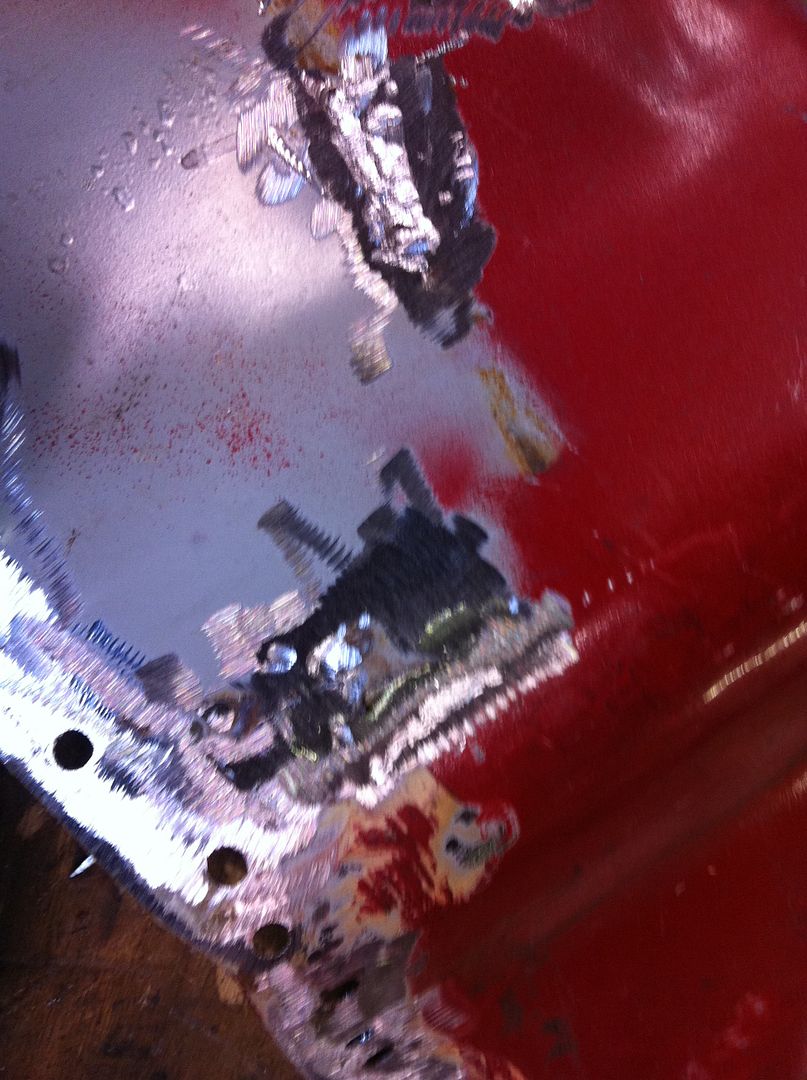
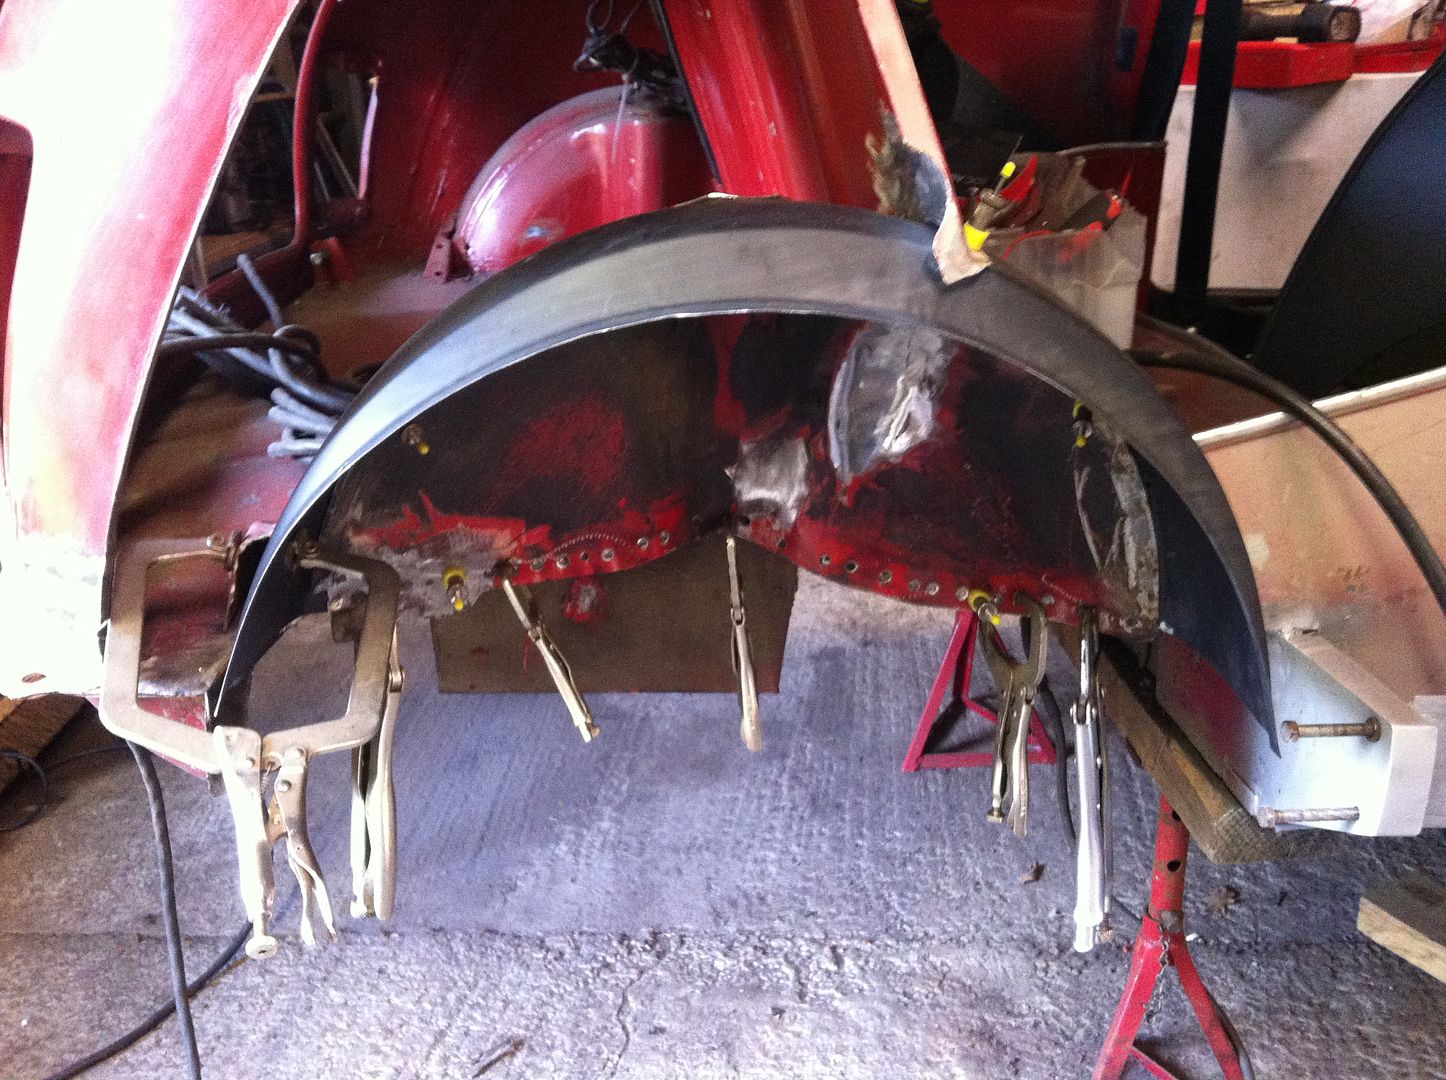
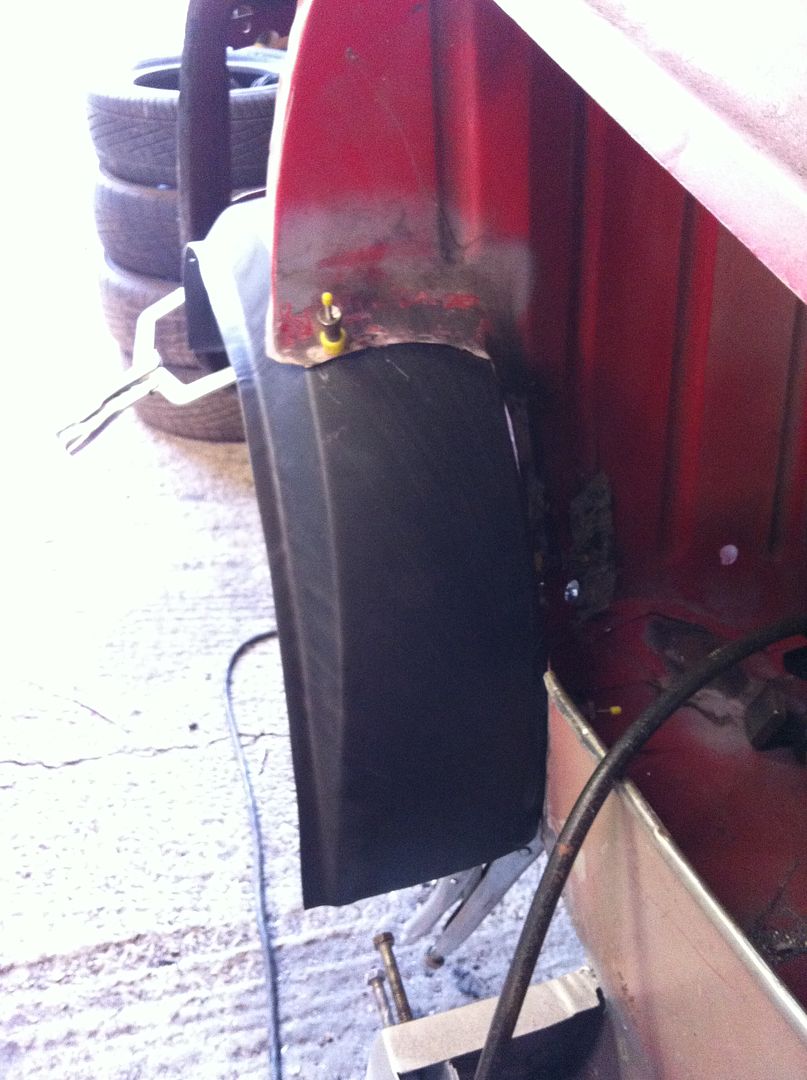
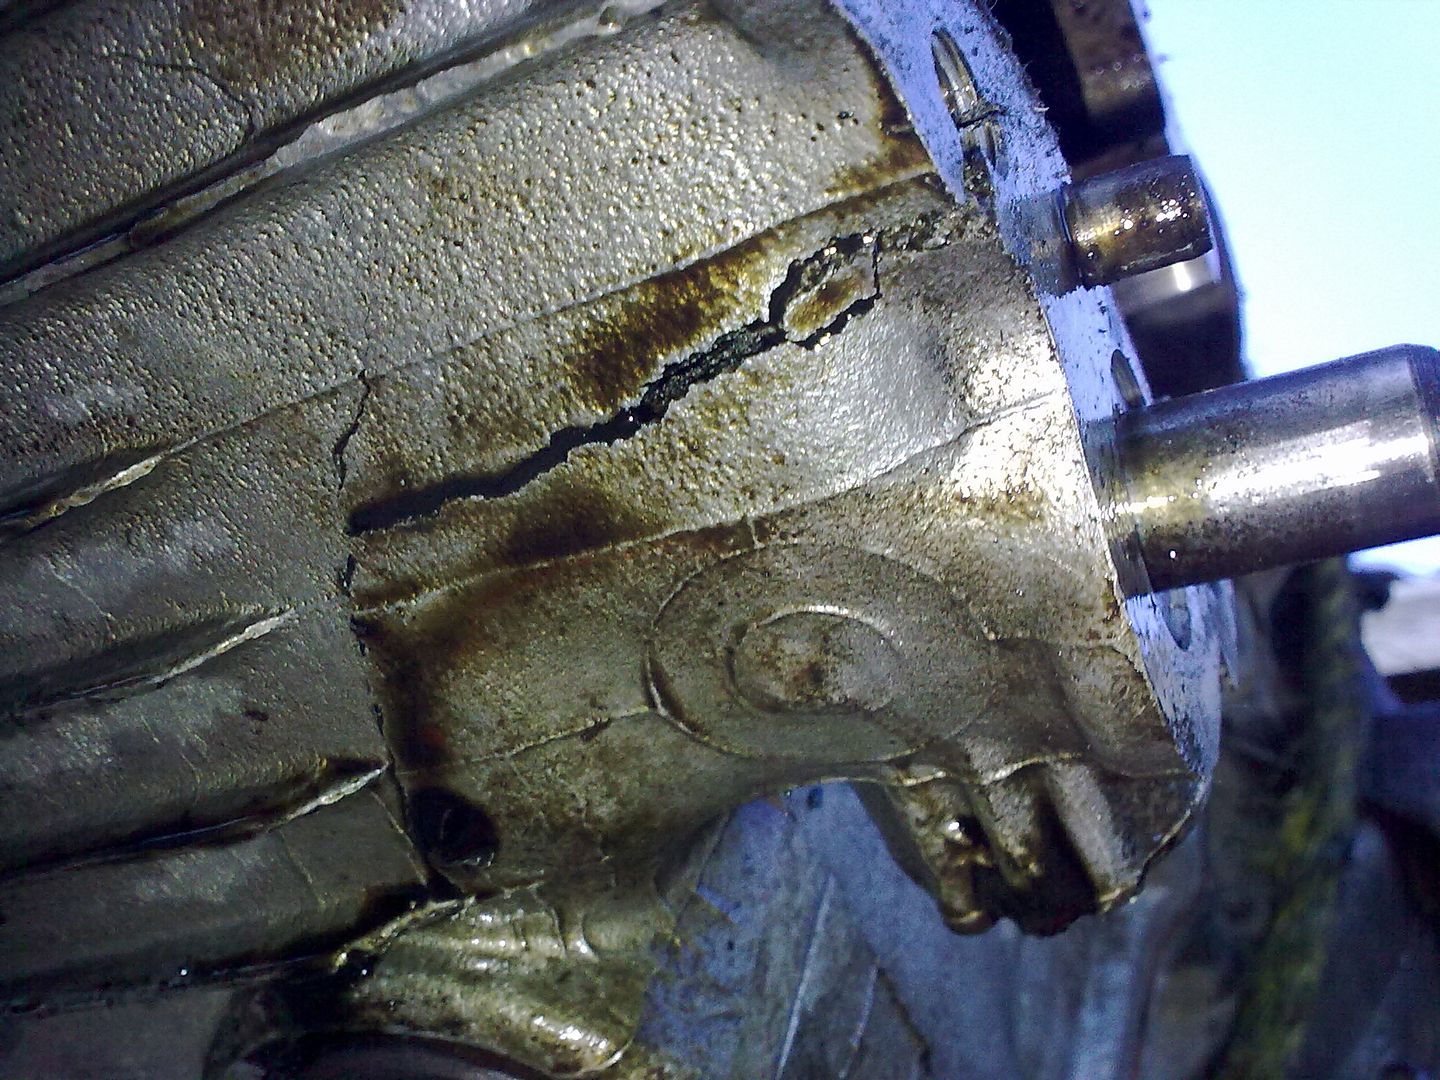
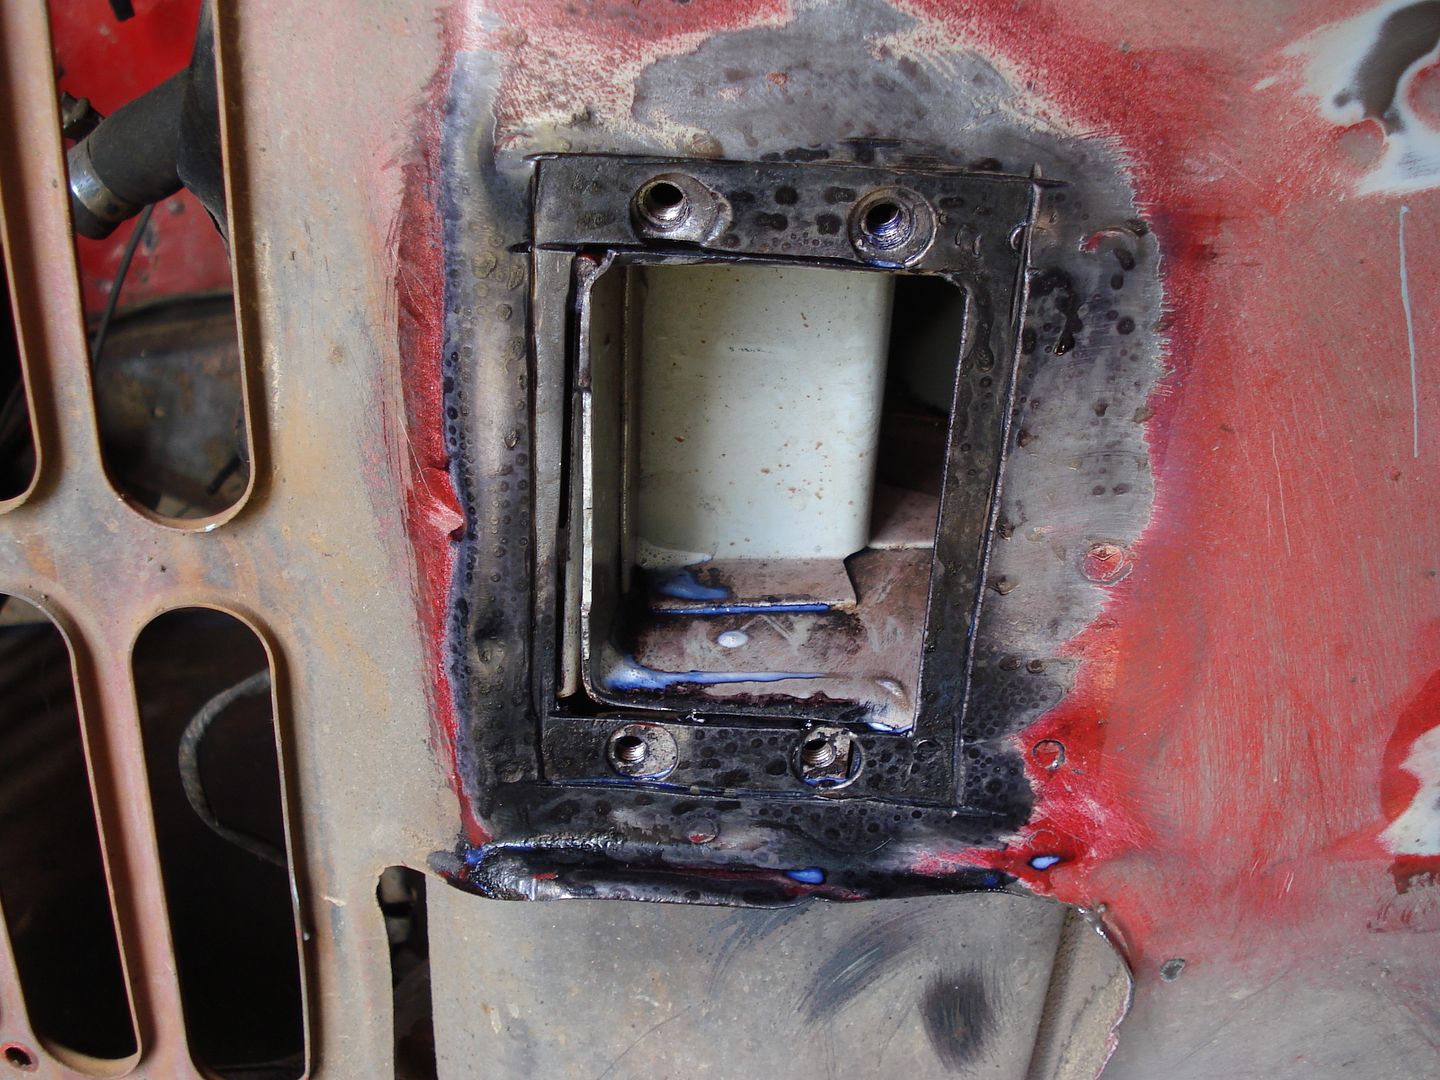
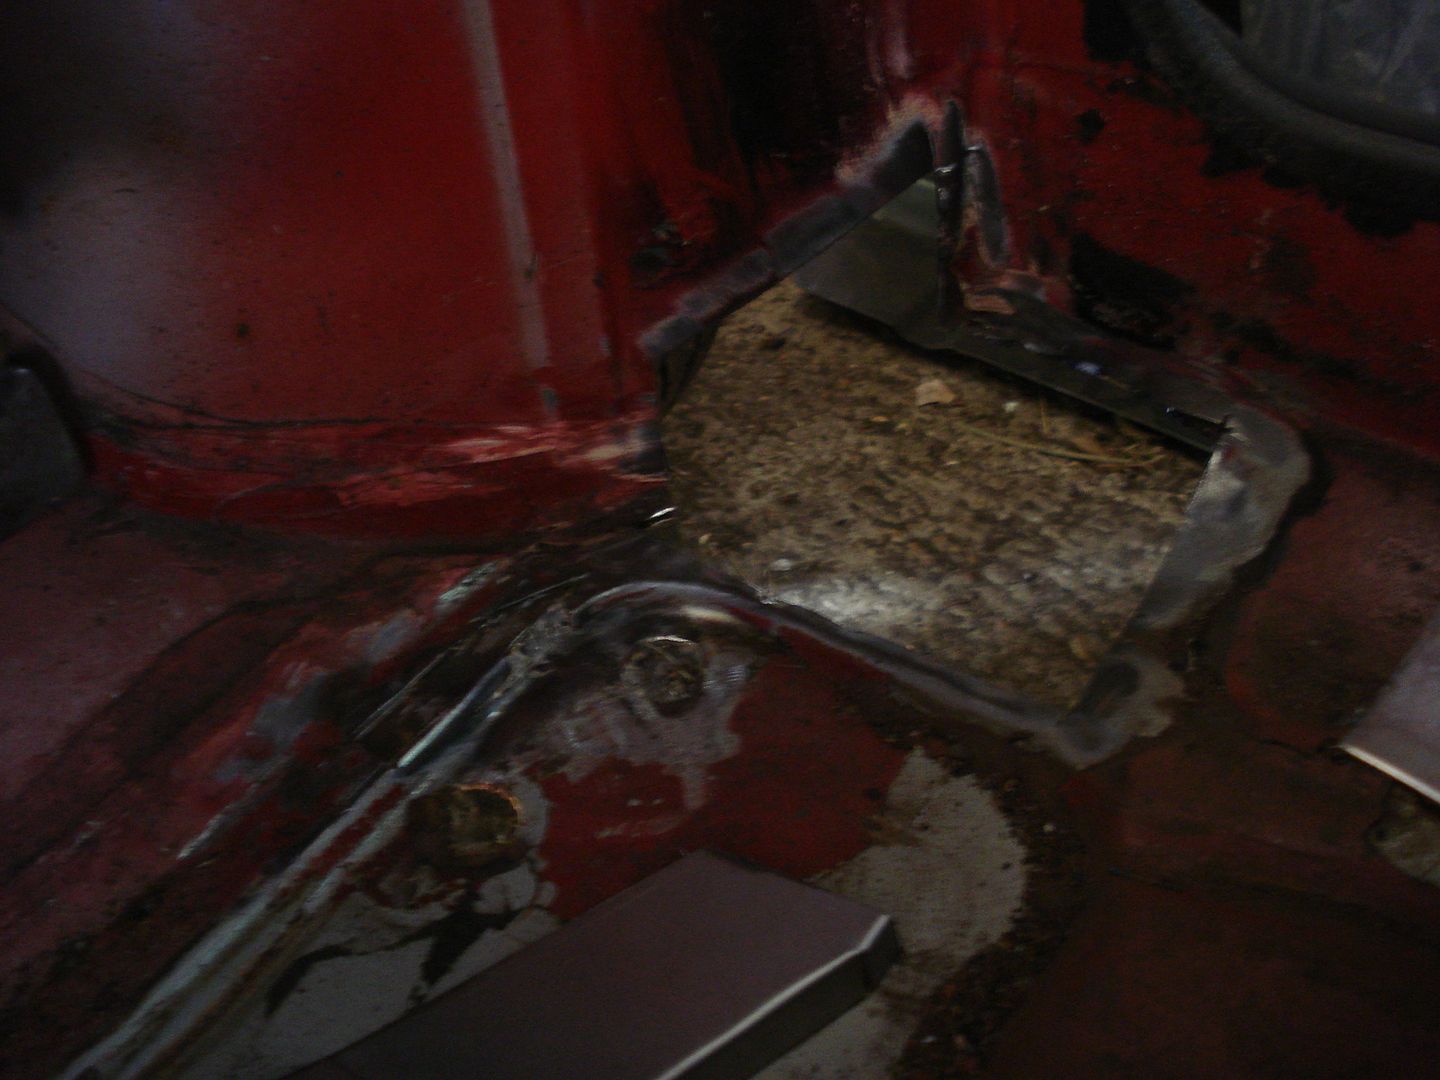
while Paul removed the shock absorber mounts to find this
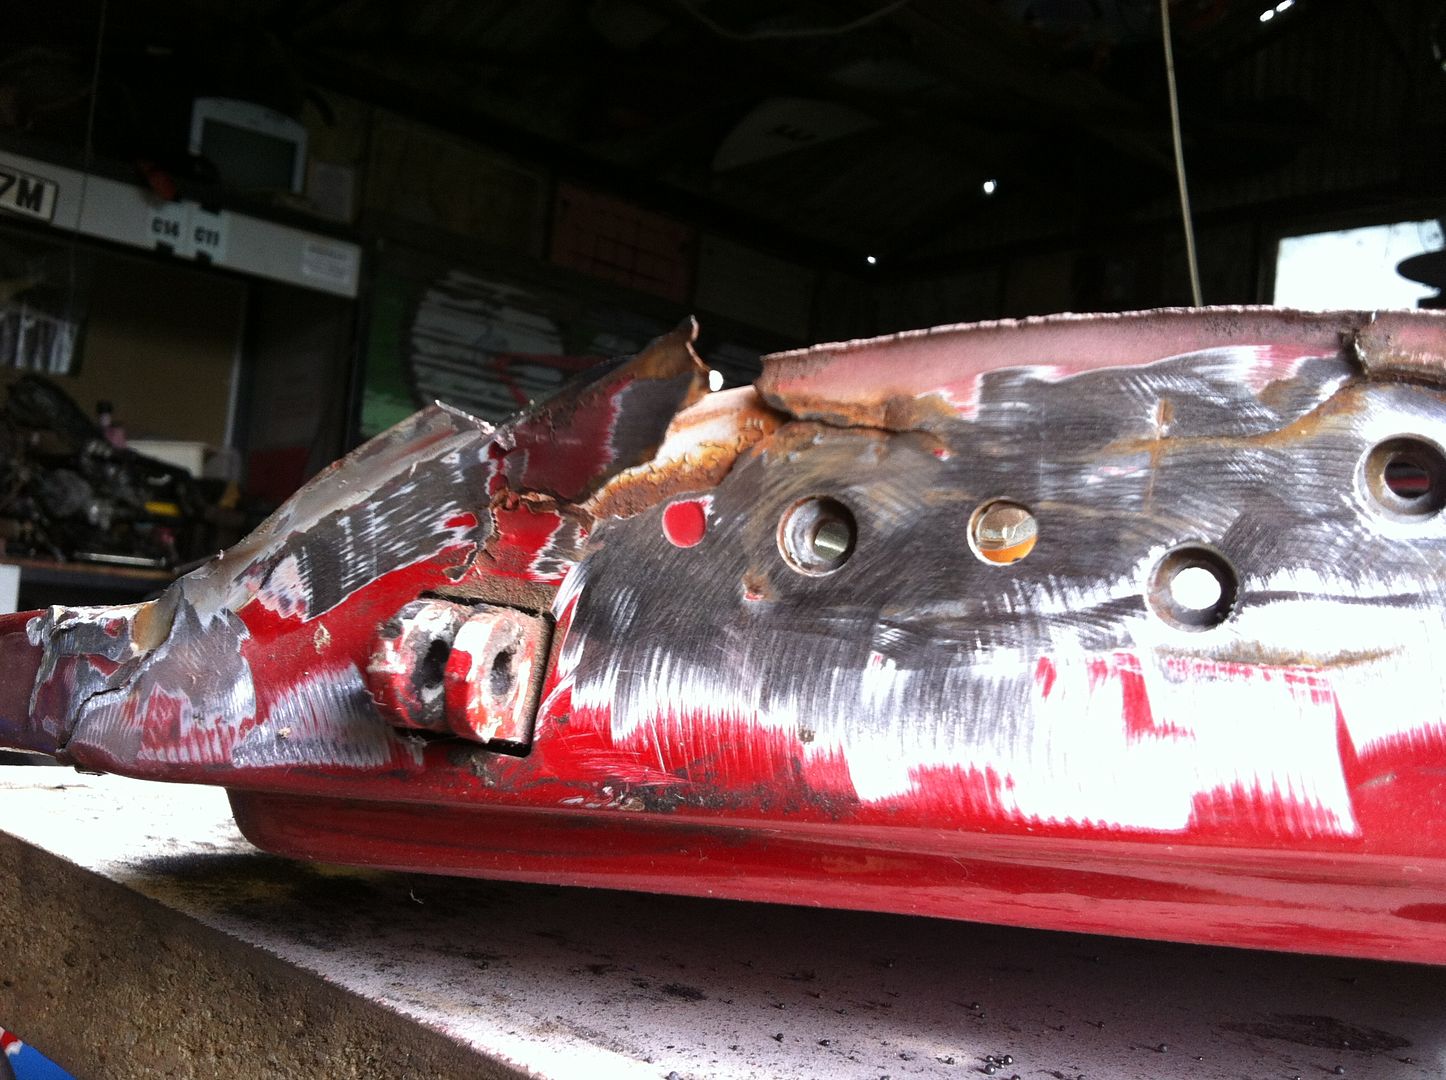
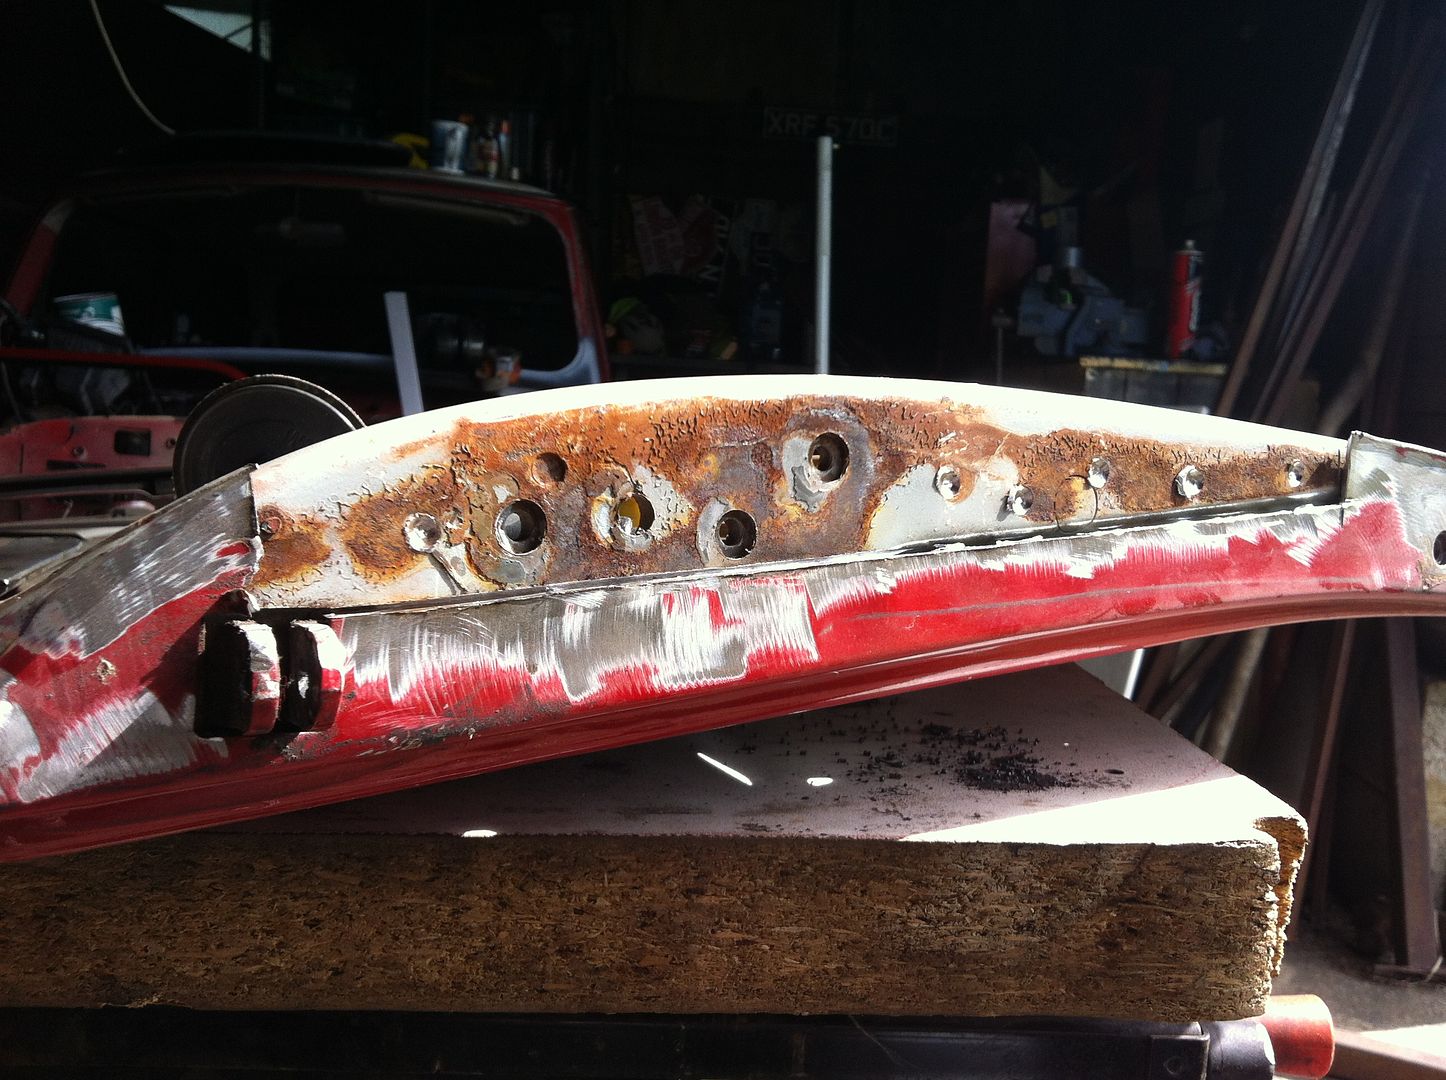
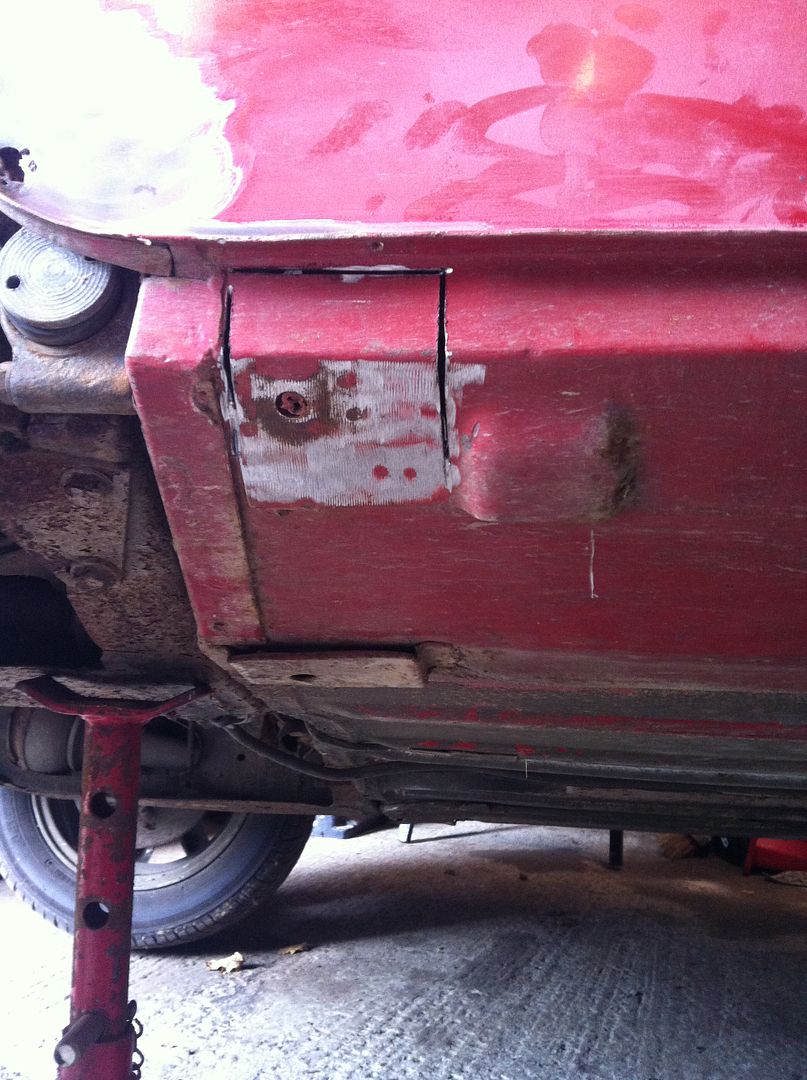
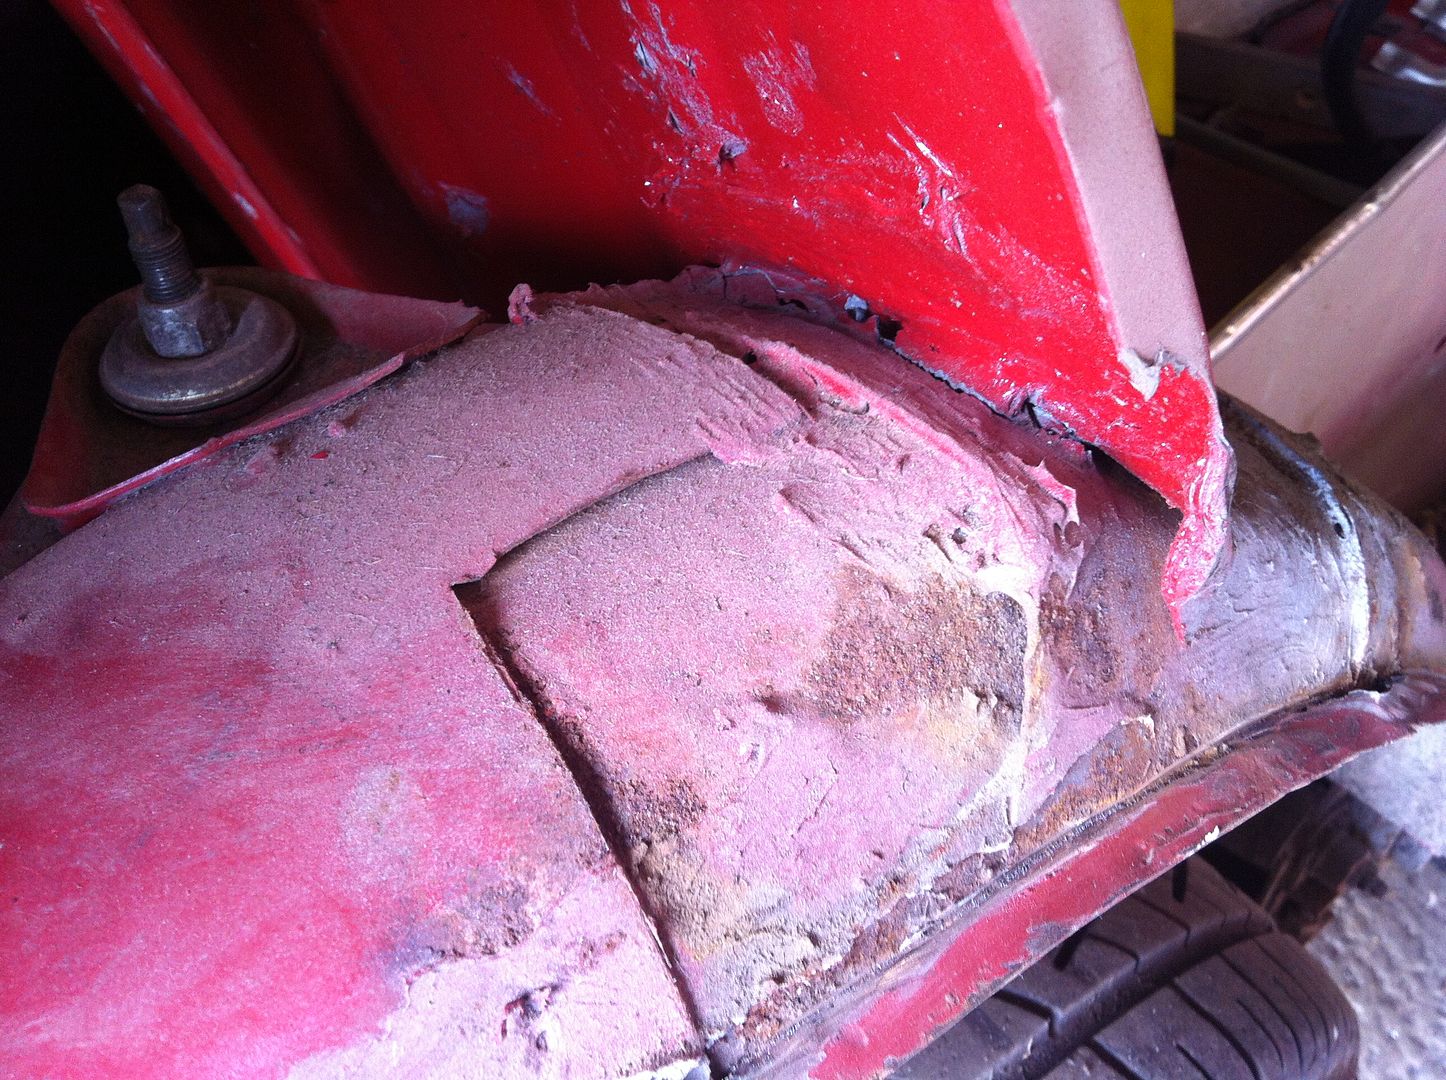
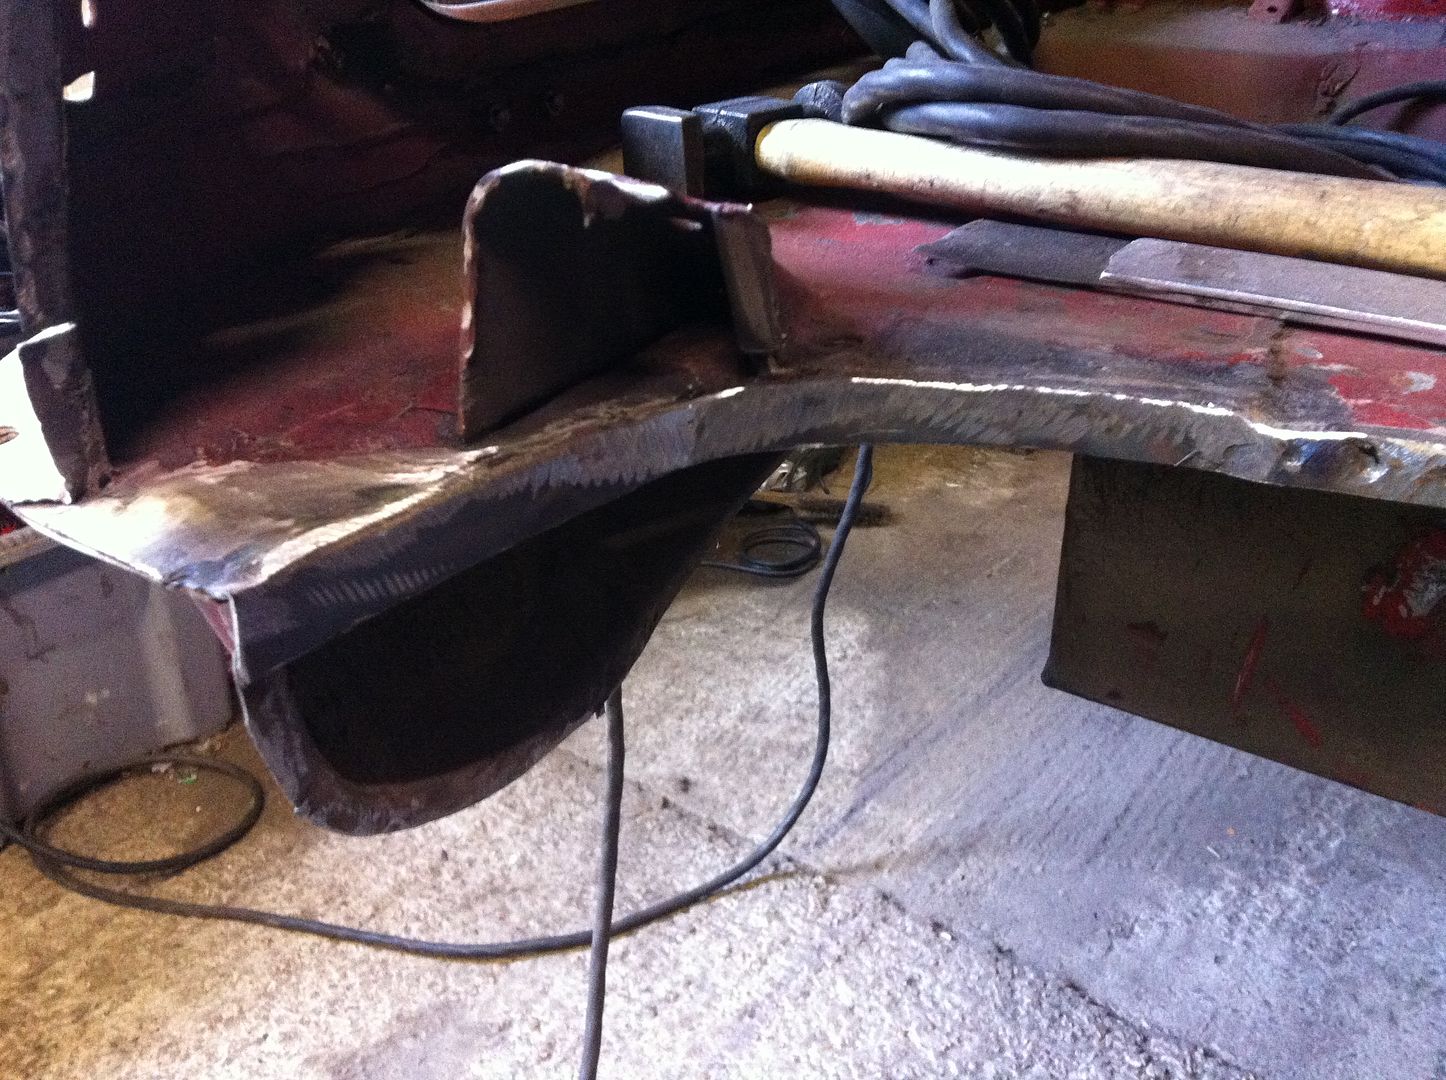
and ended up doing this
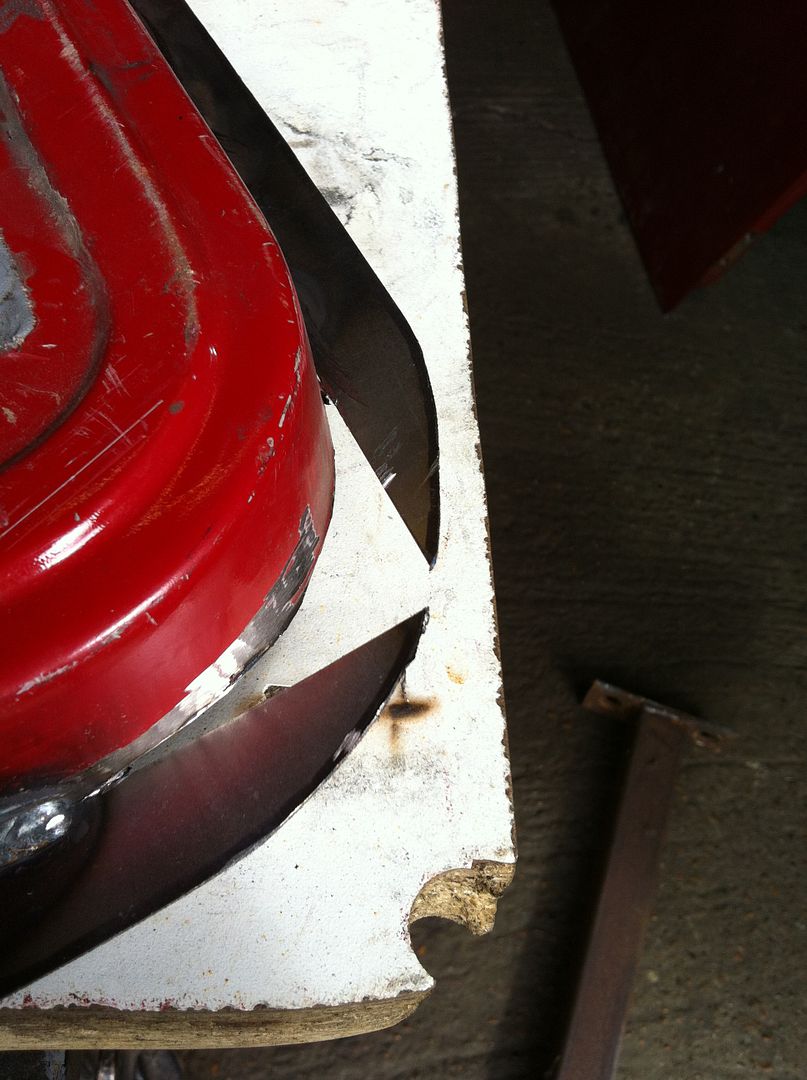
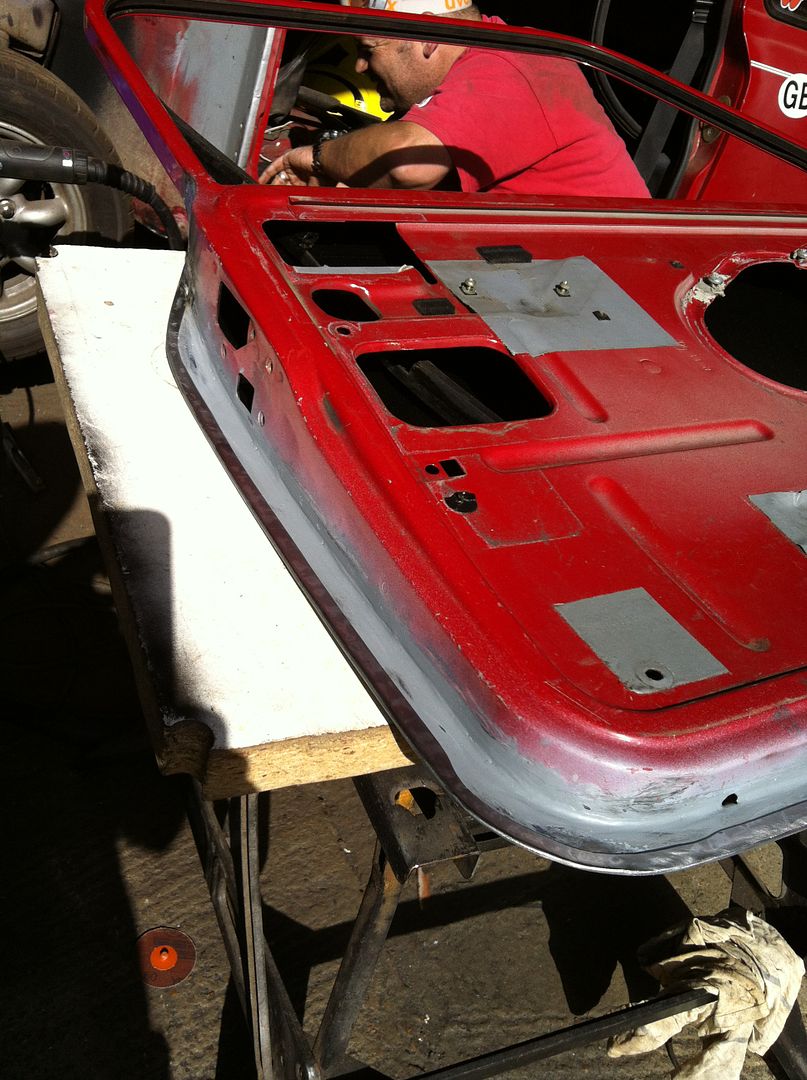
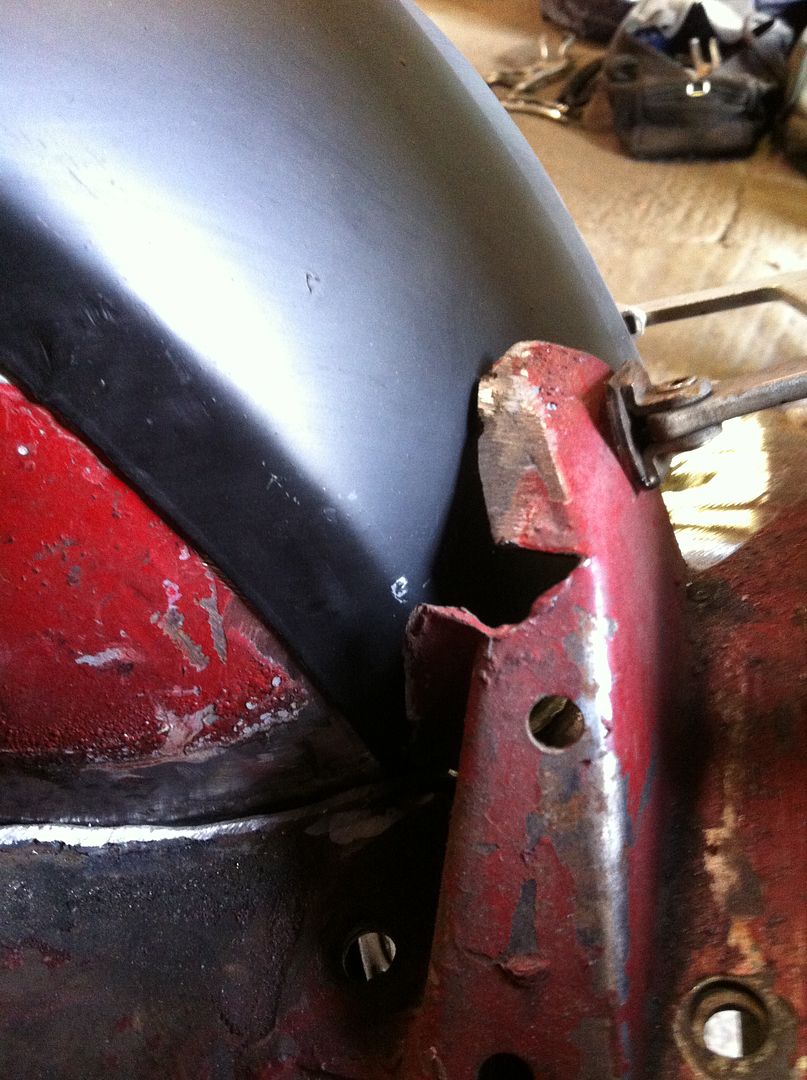
We had spent a day at the beginning of the week lining up all of the front panels with the left side coming up nicely but the right just would not go. However its nearly there so hopefully when his wings are back from being media blasted we shall get the right side sorted.
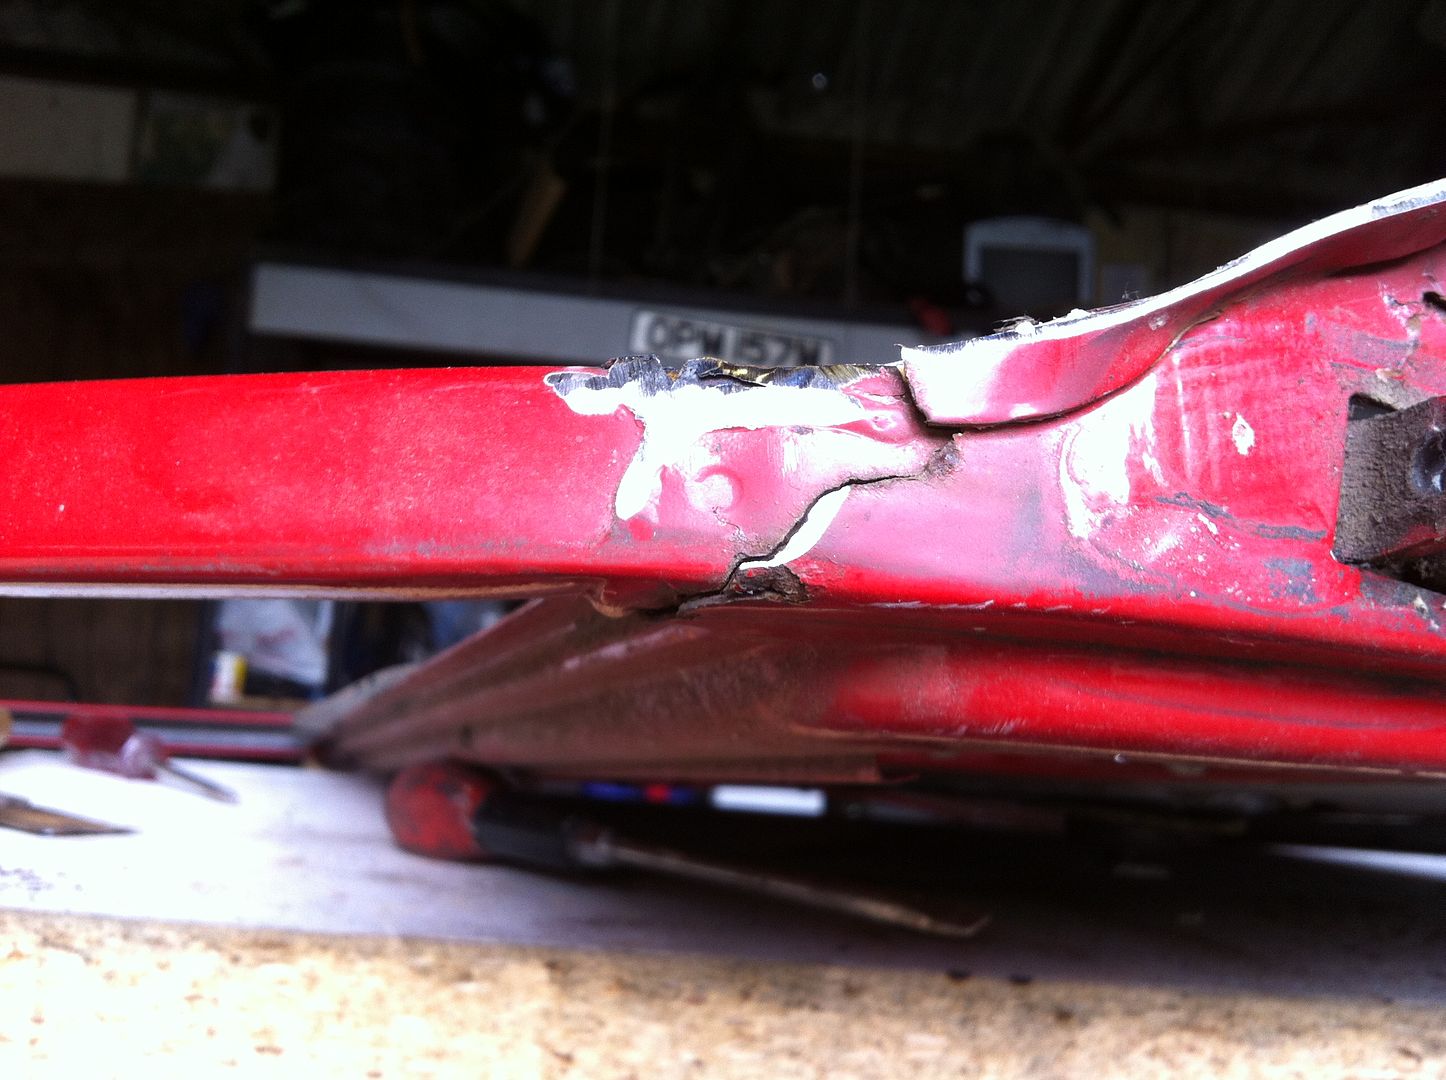
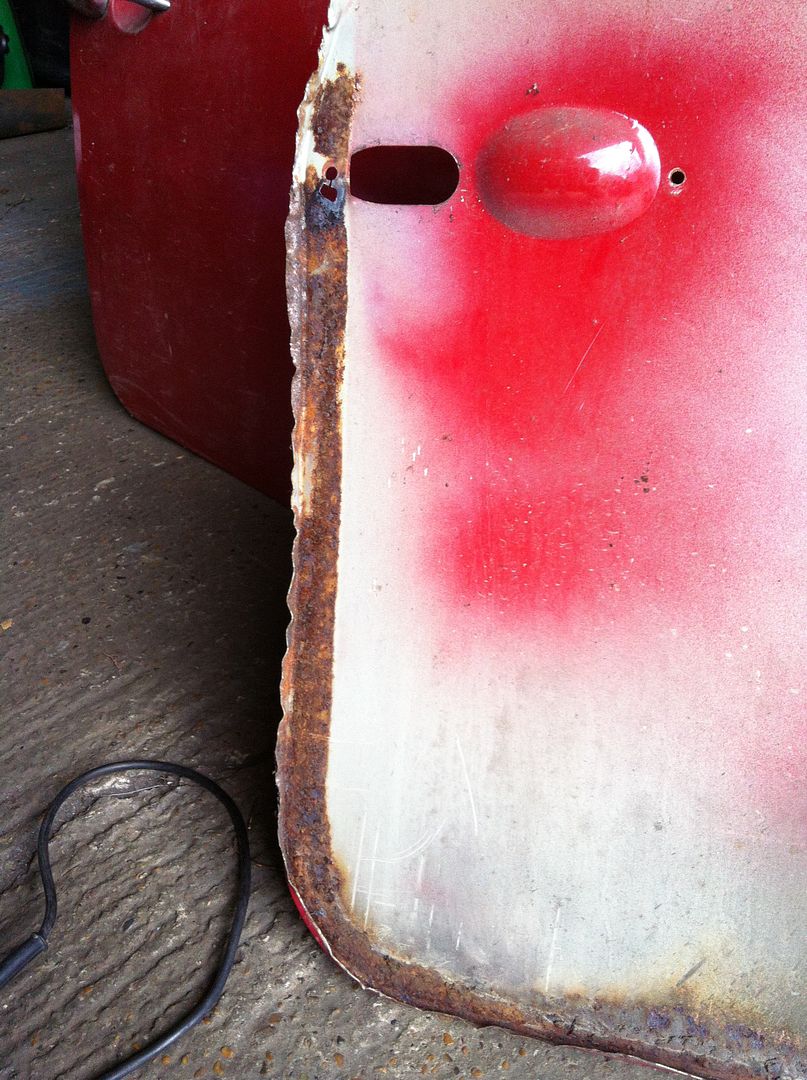
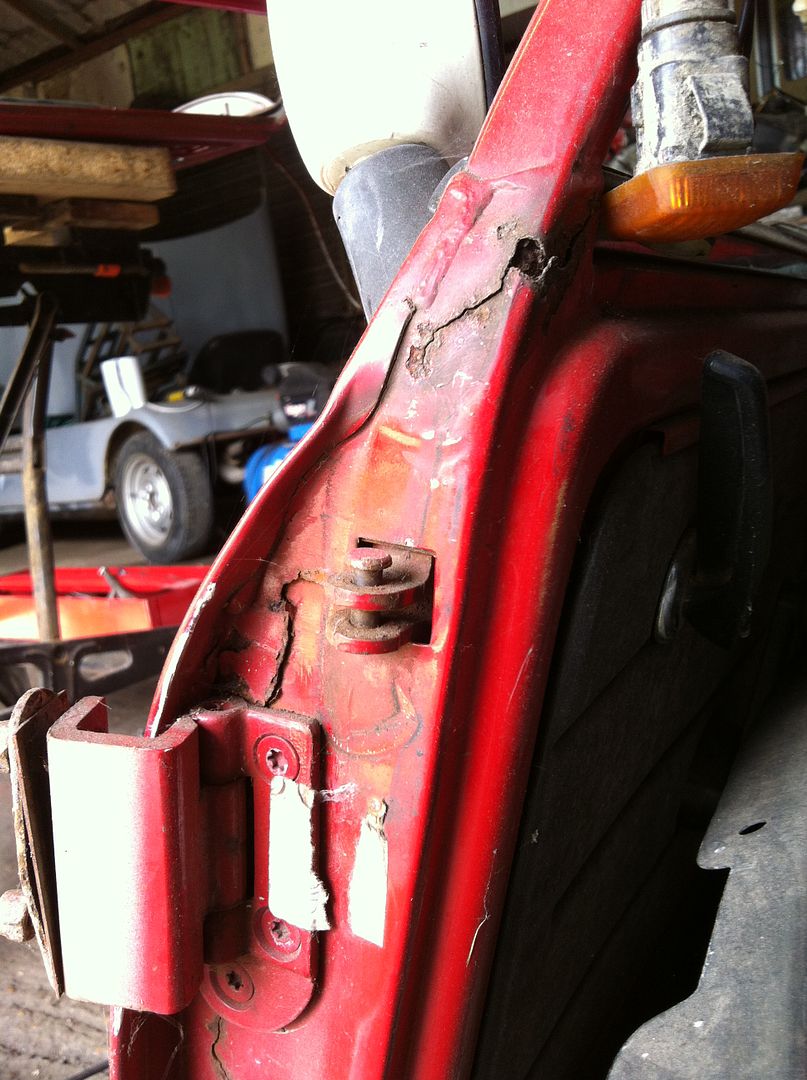
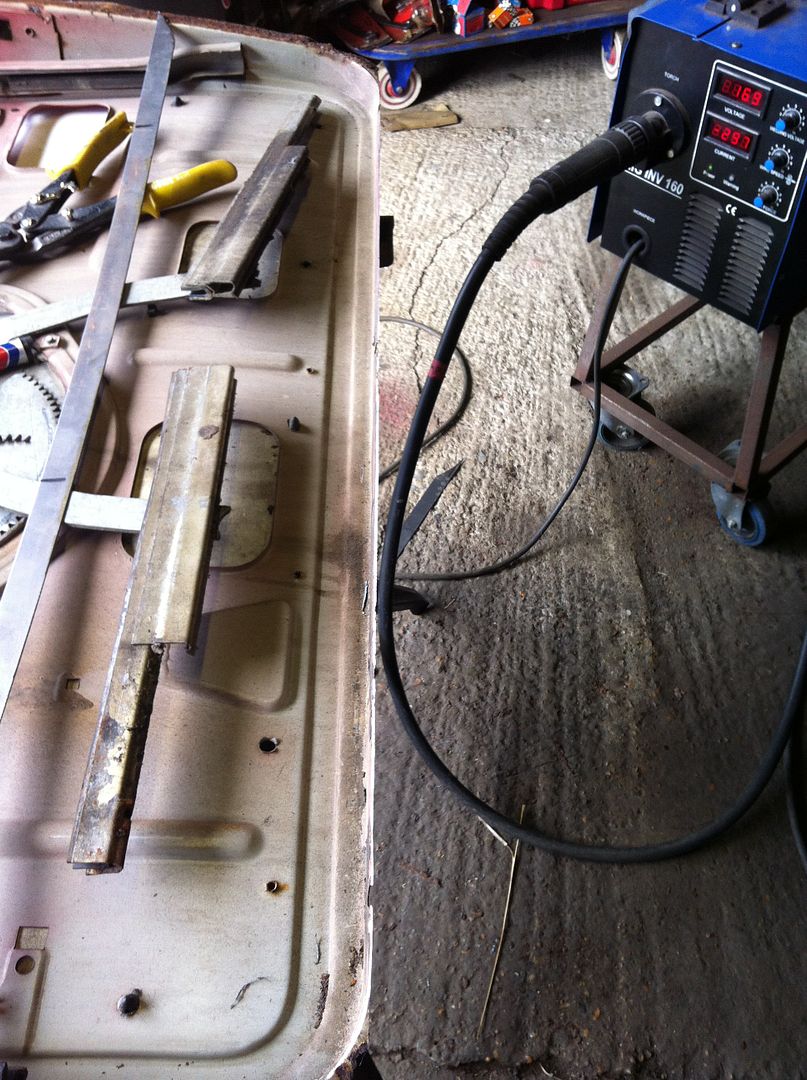
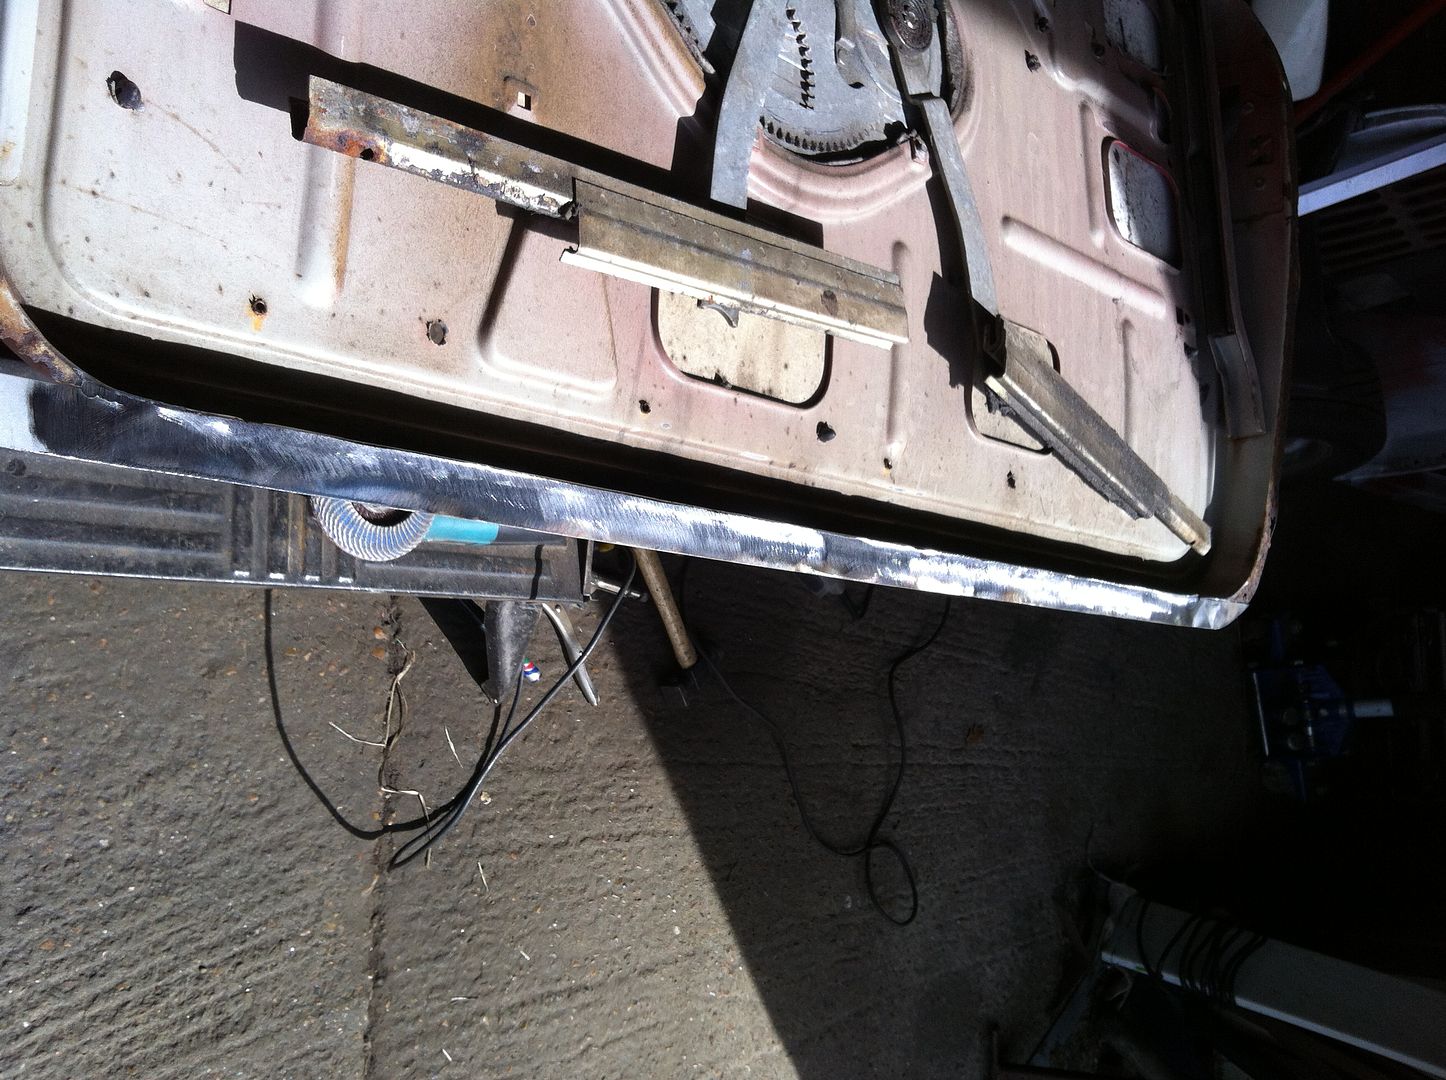
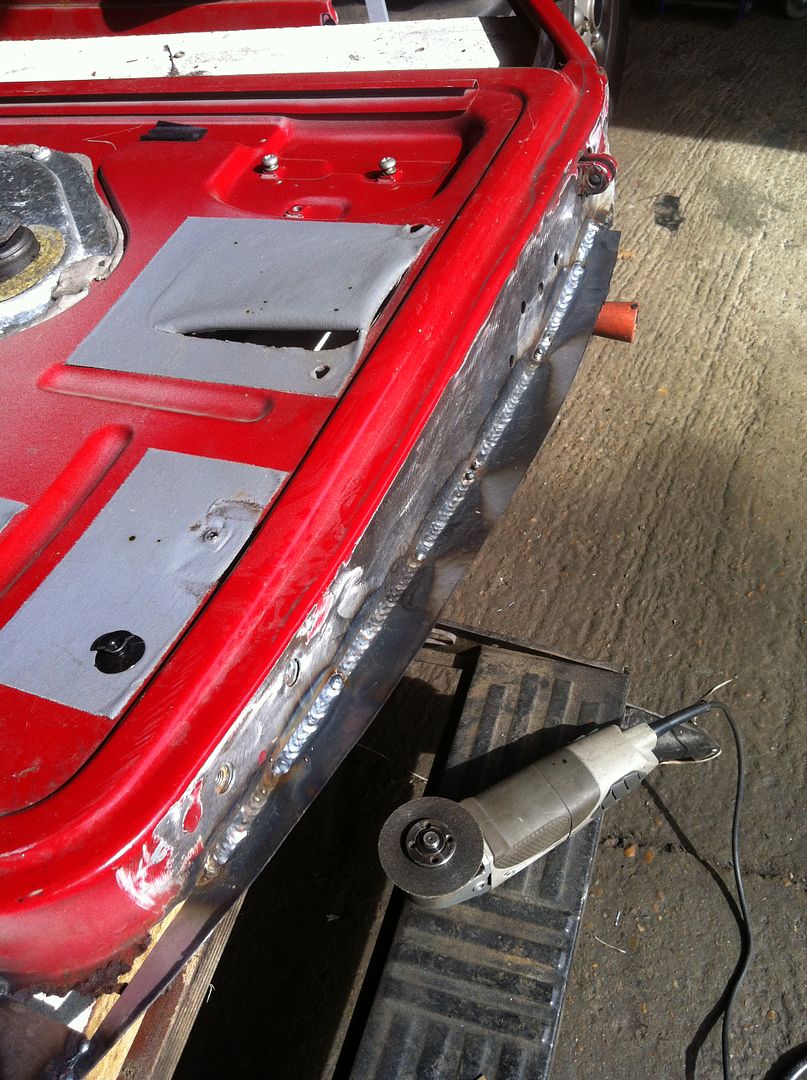
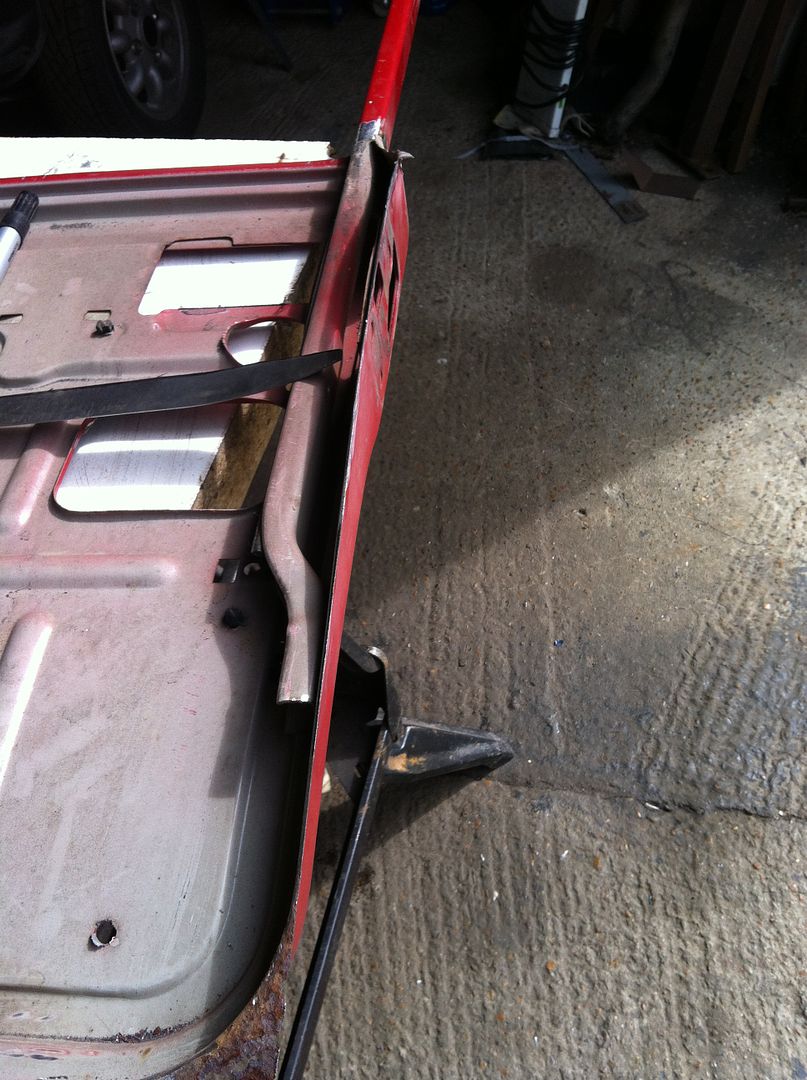
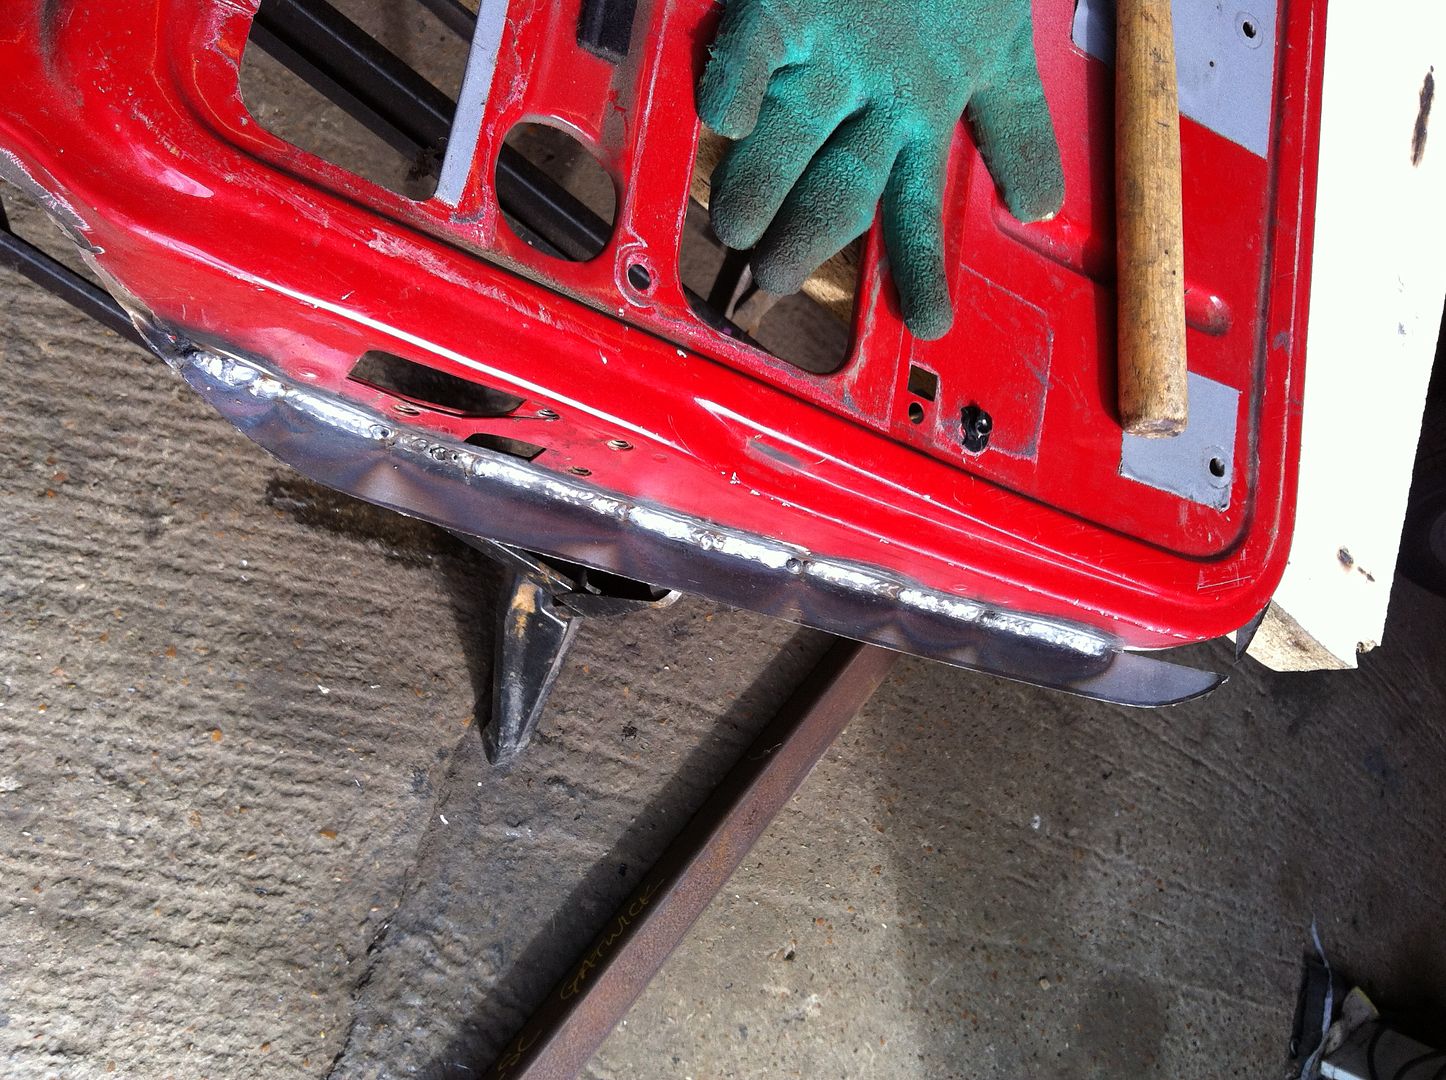
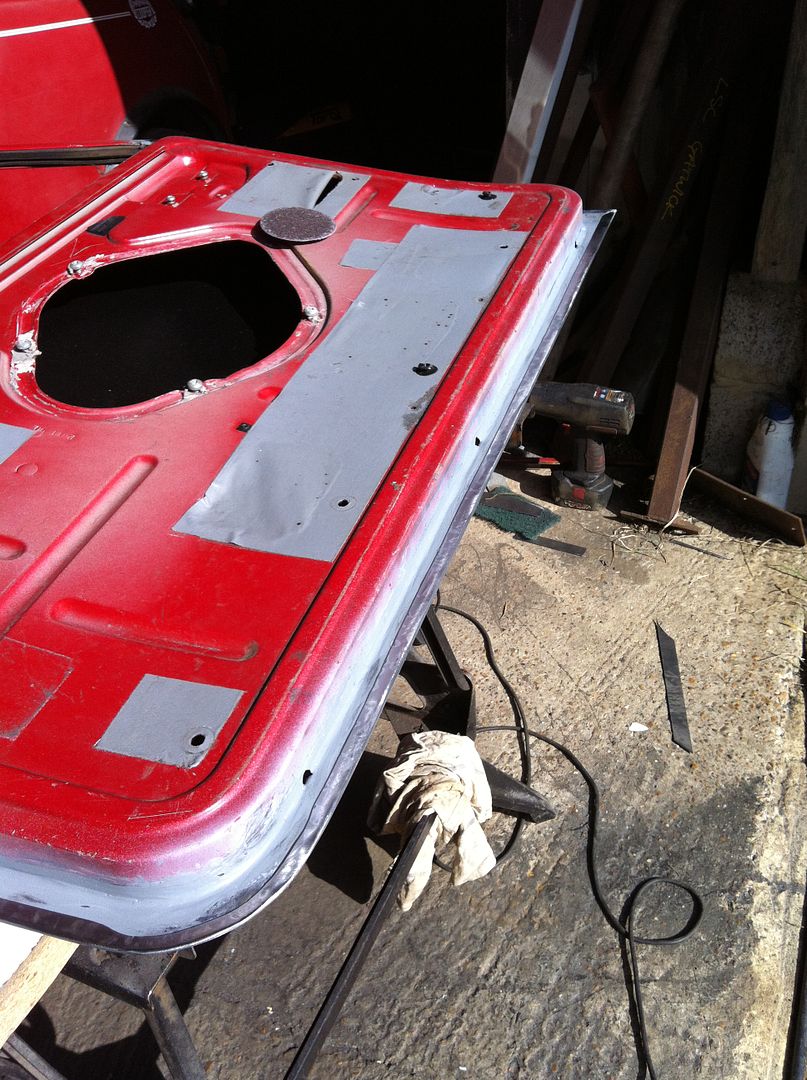
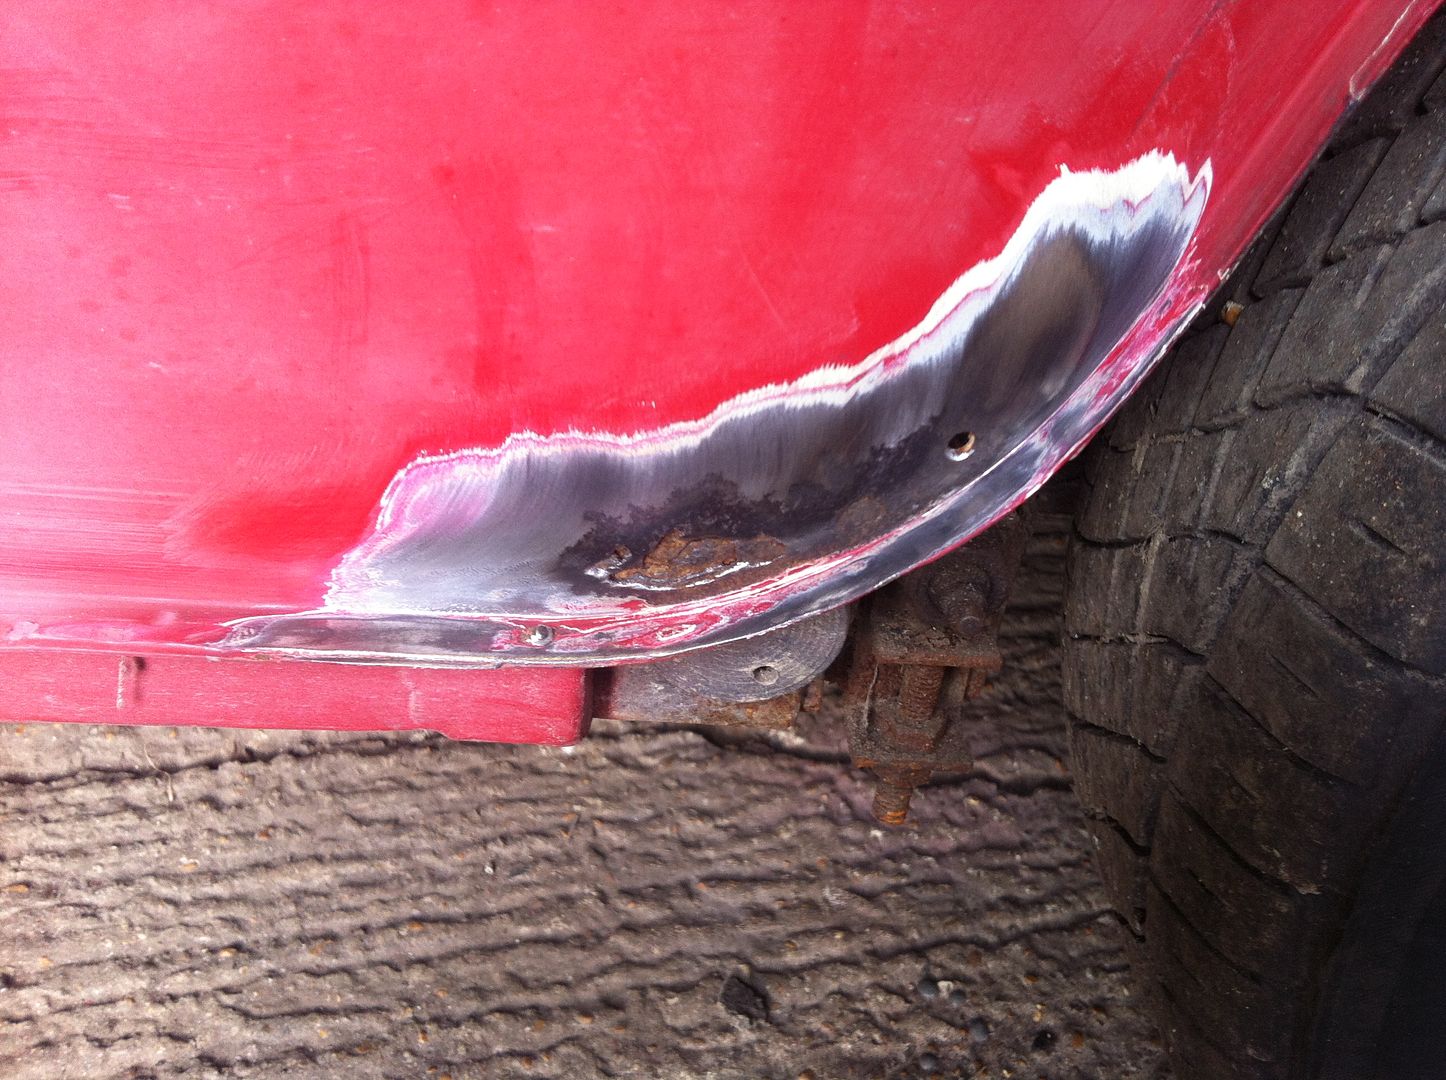
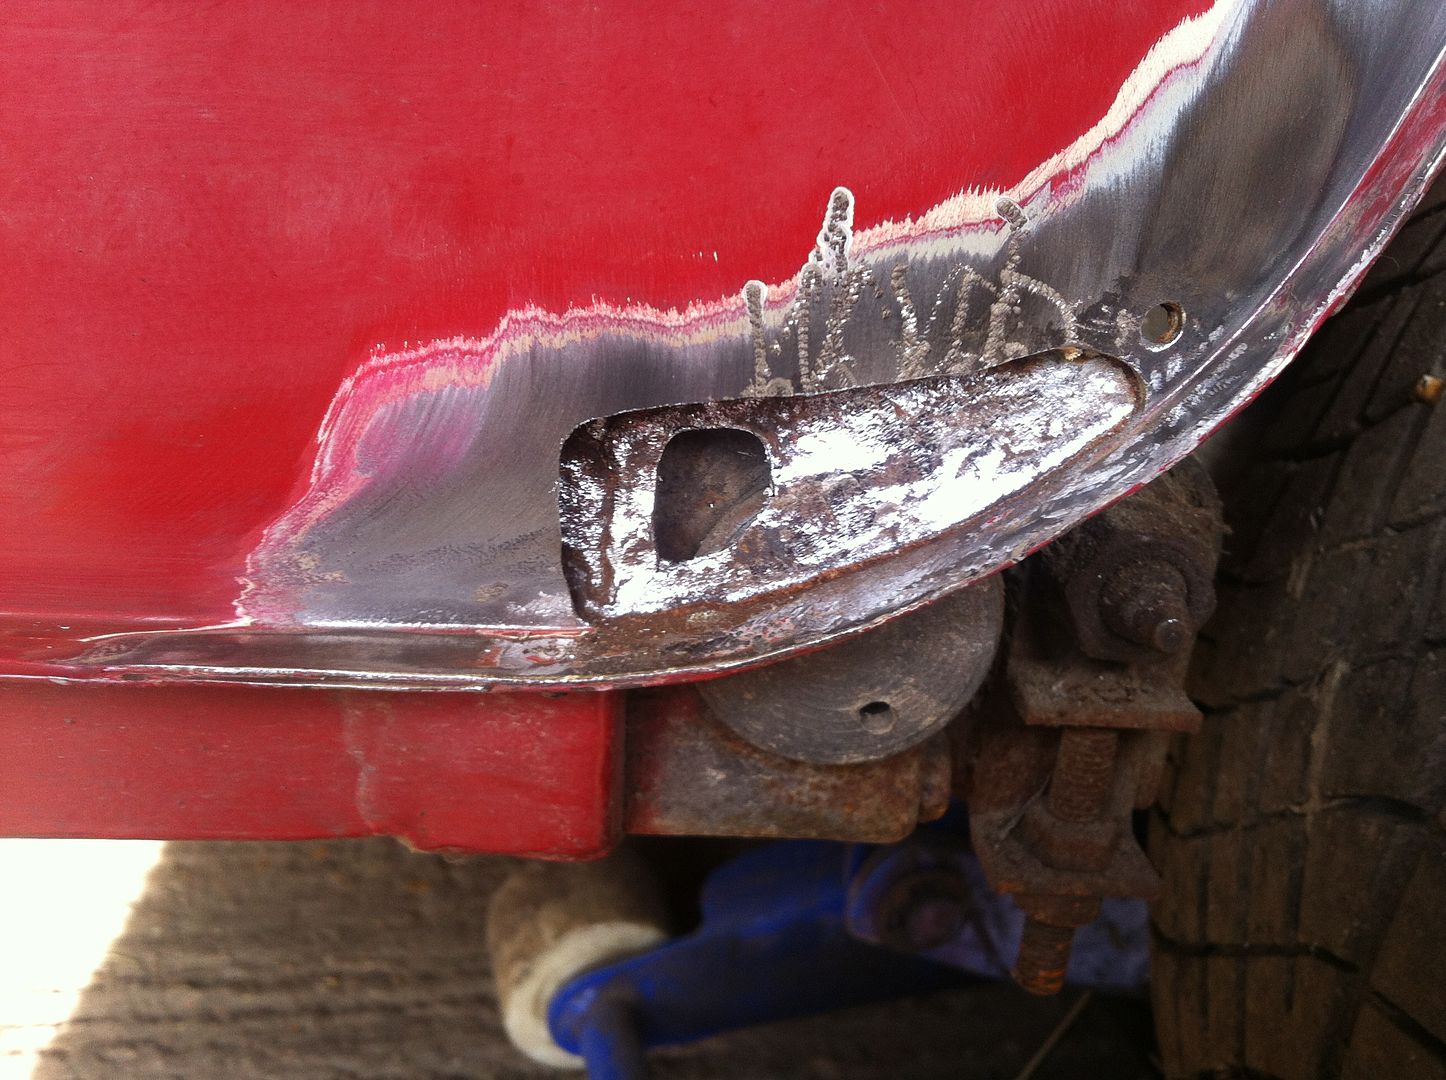
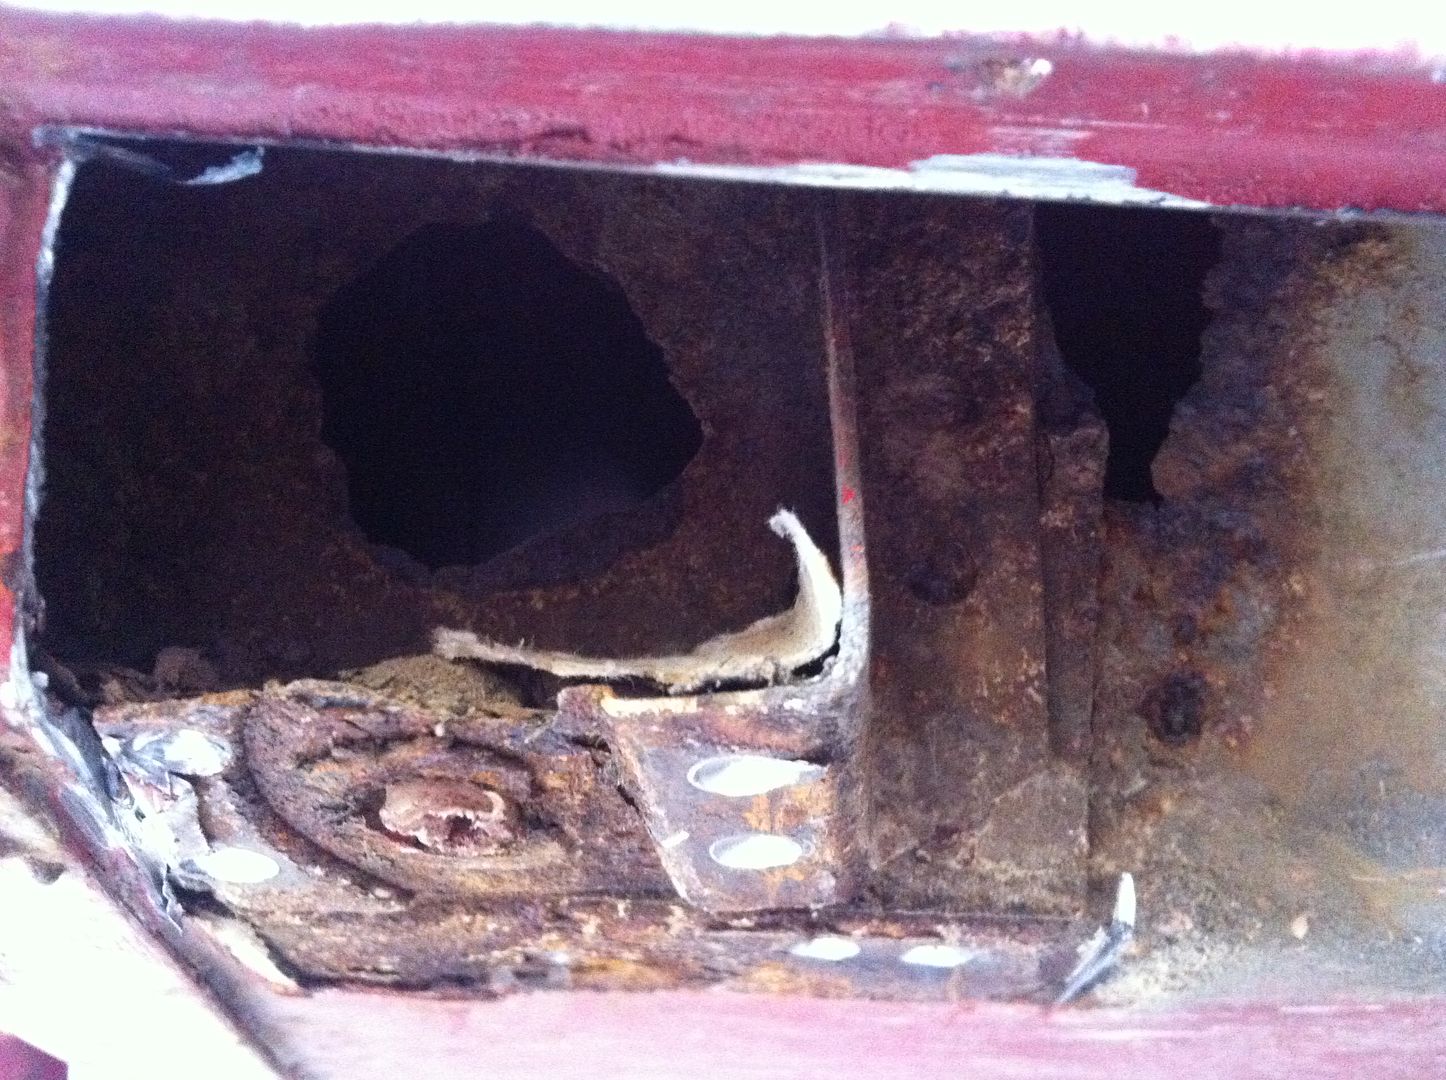
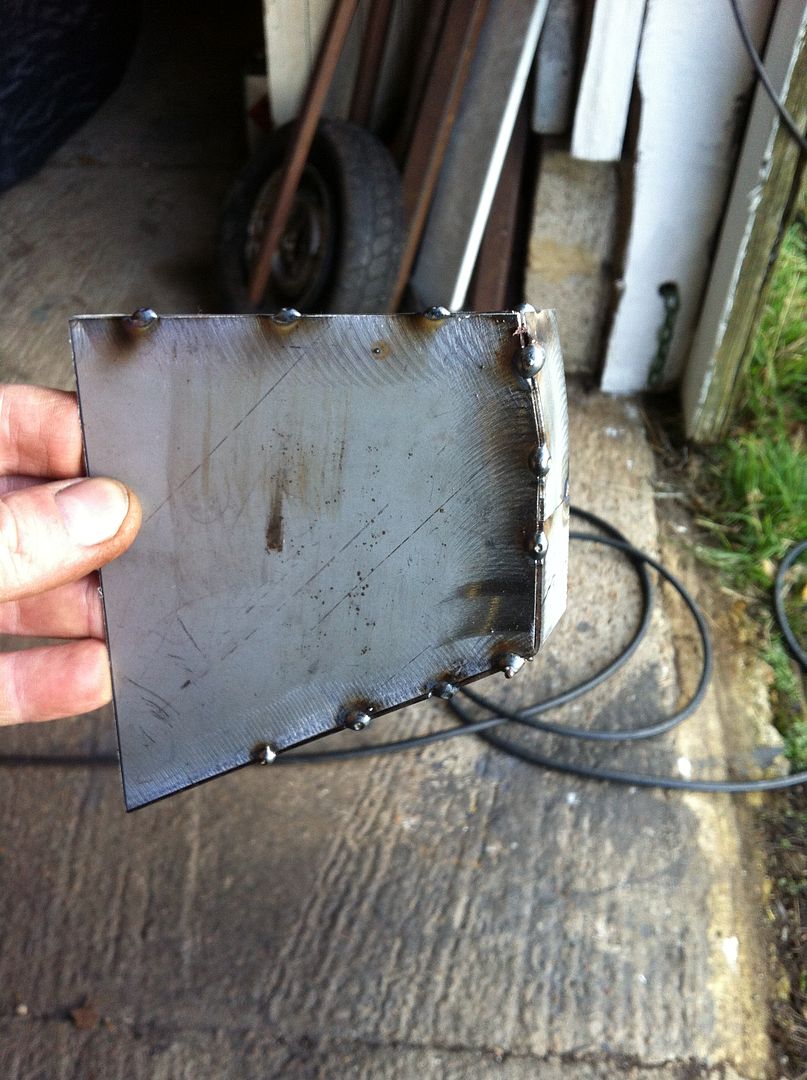
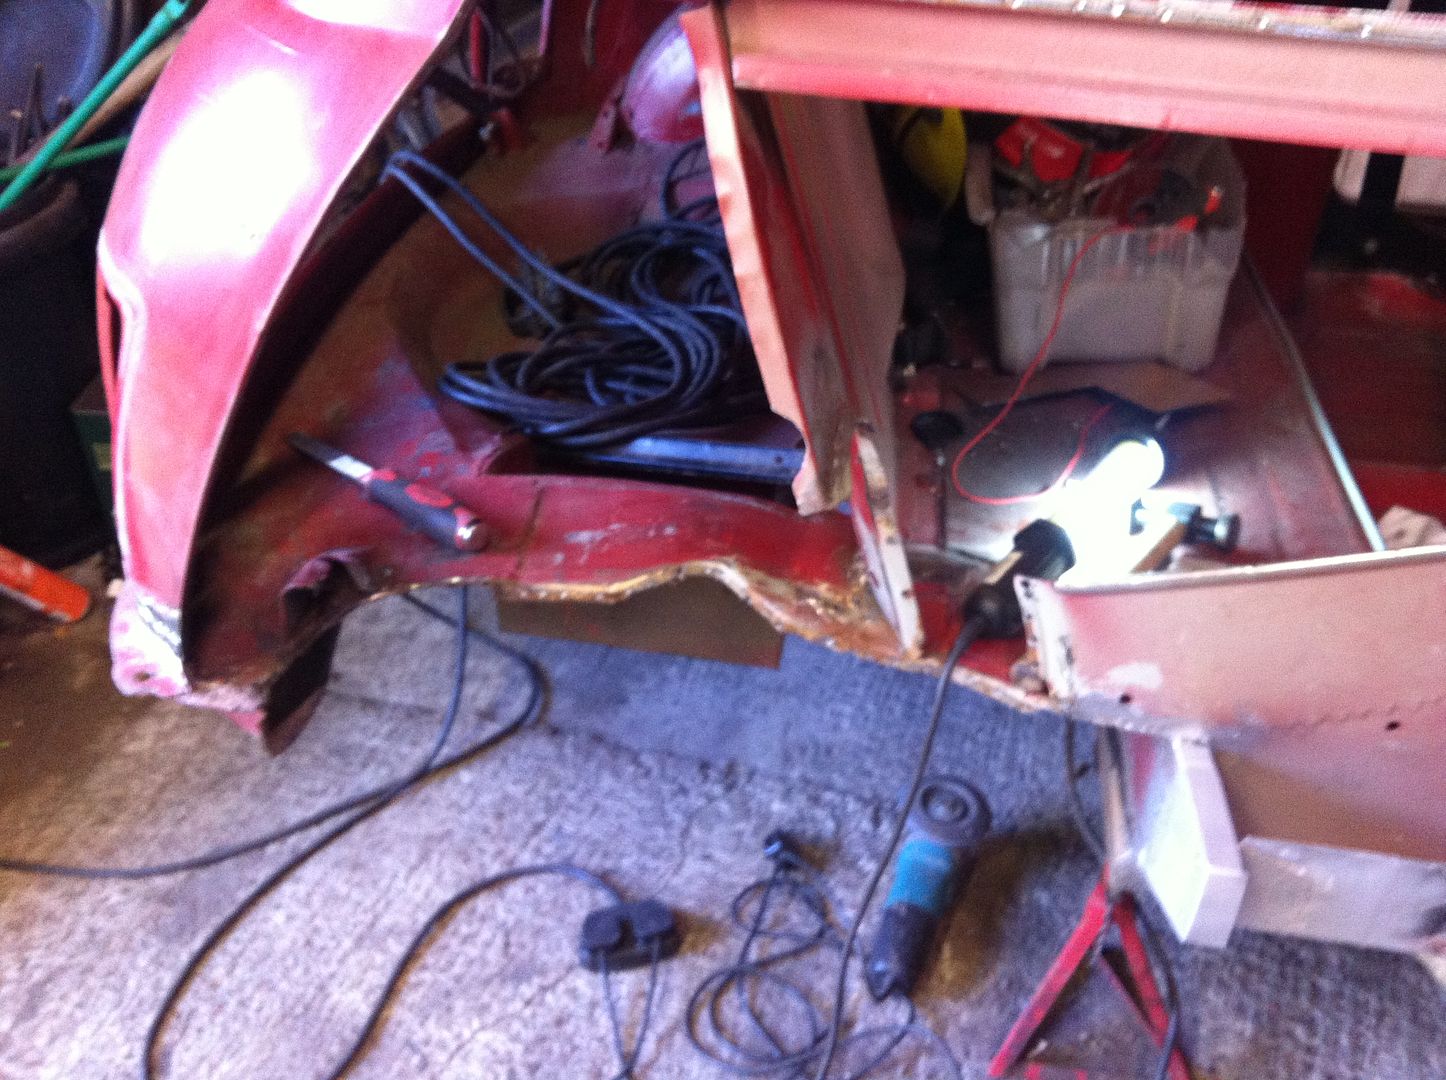
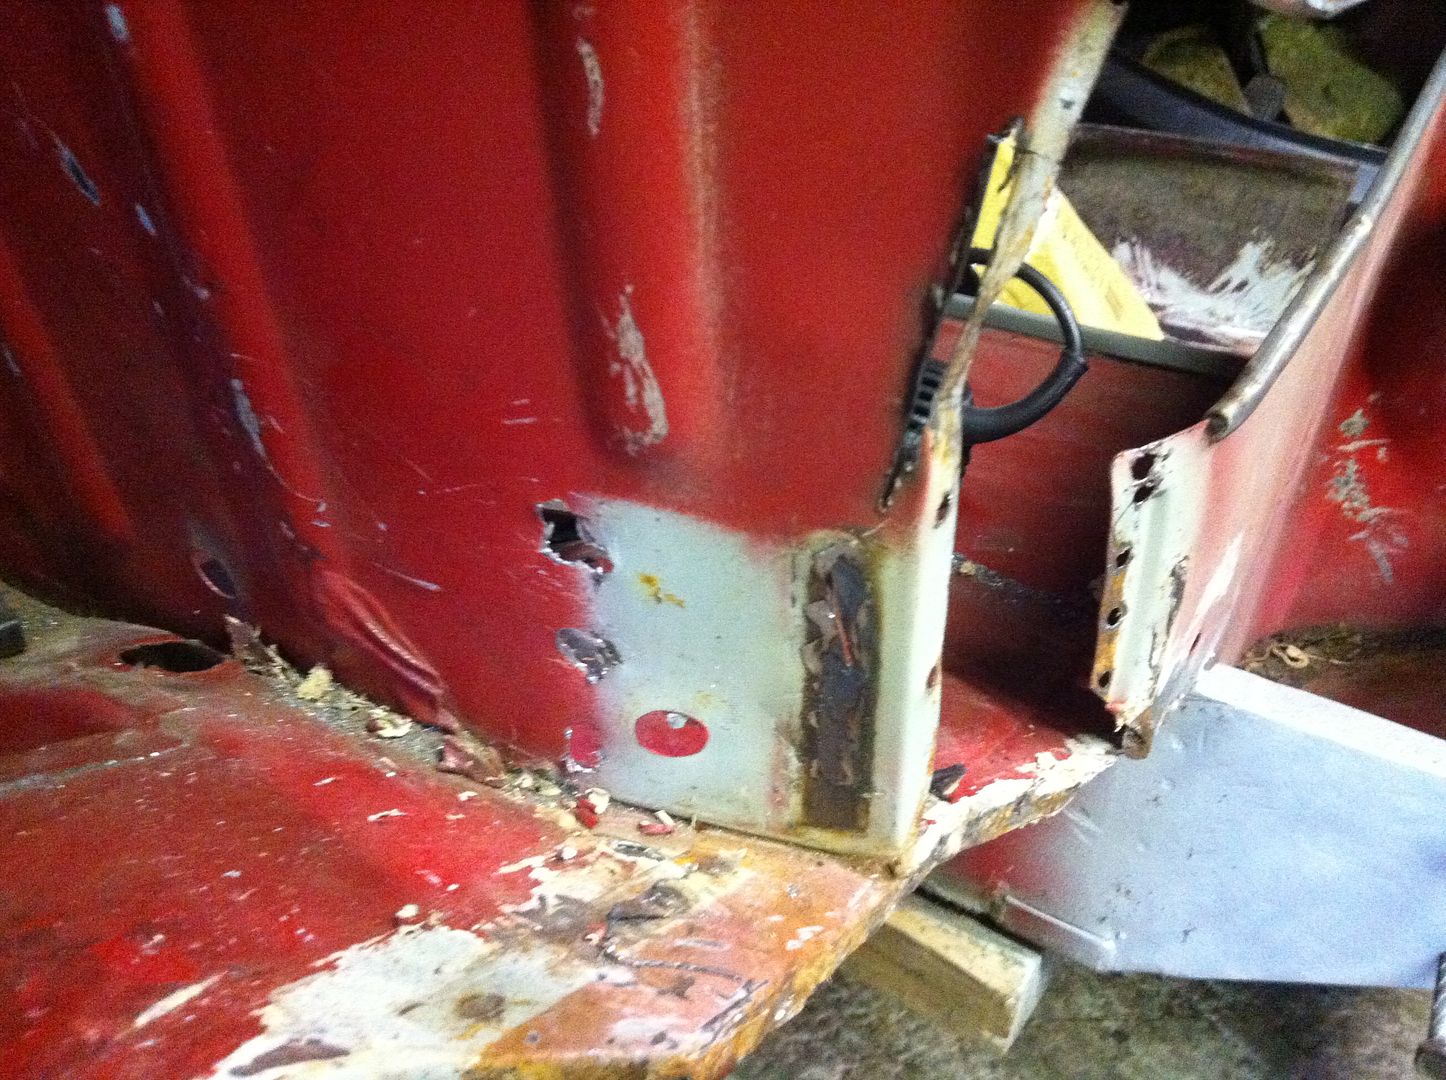
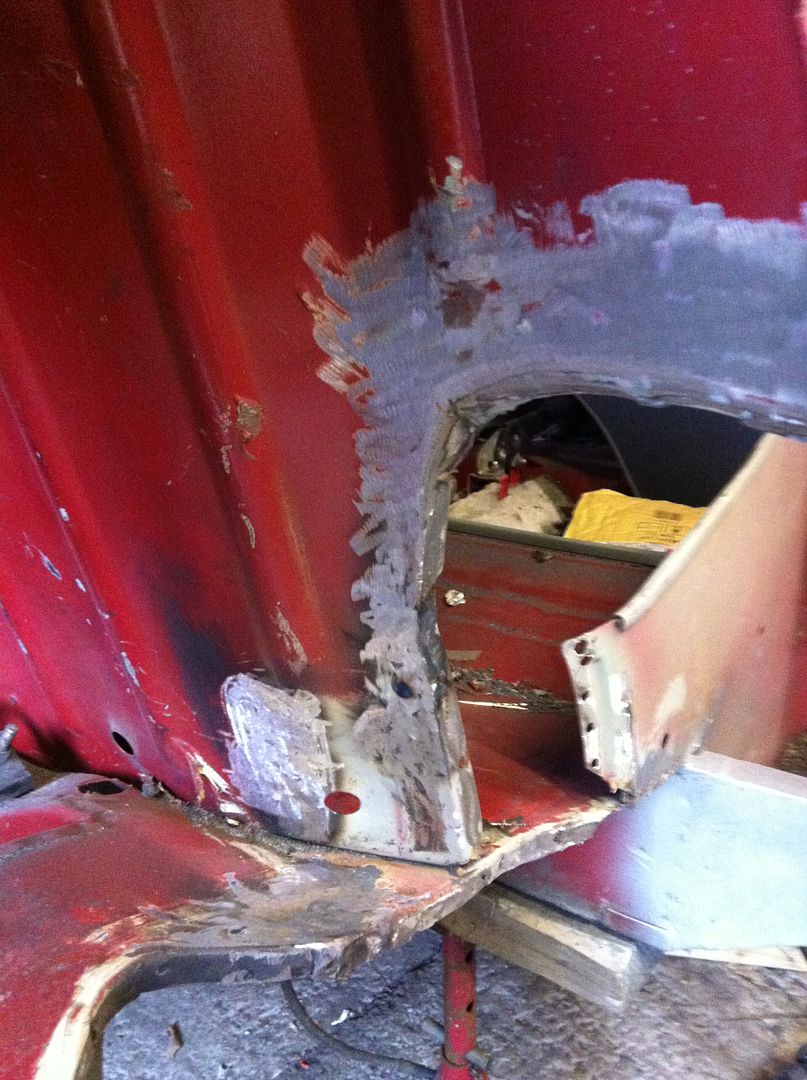
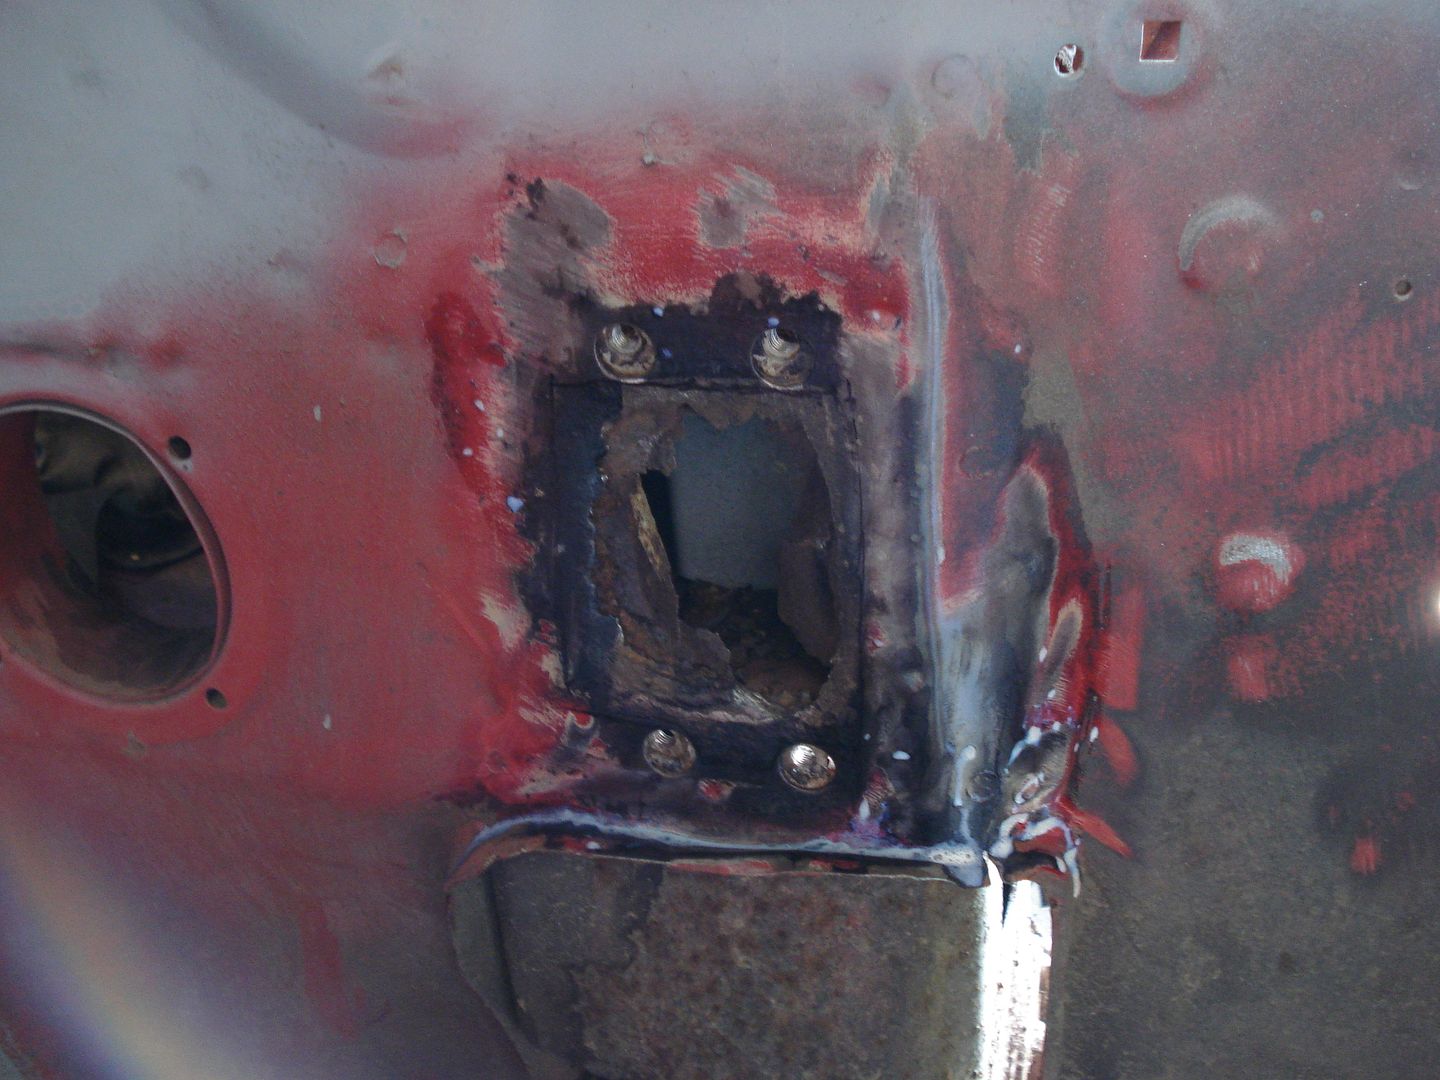
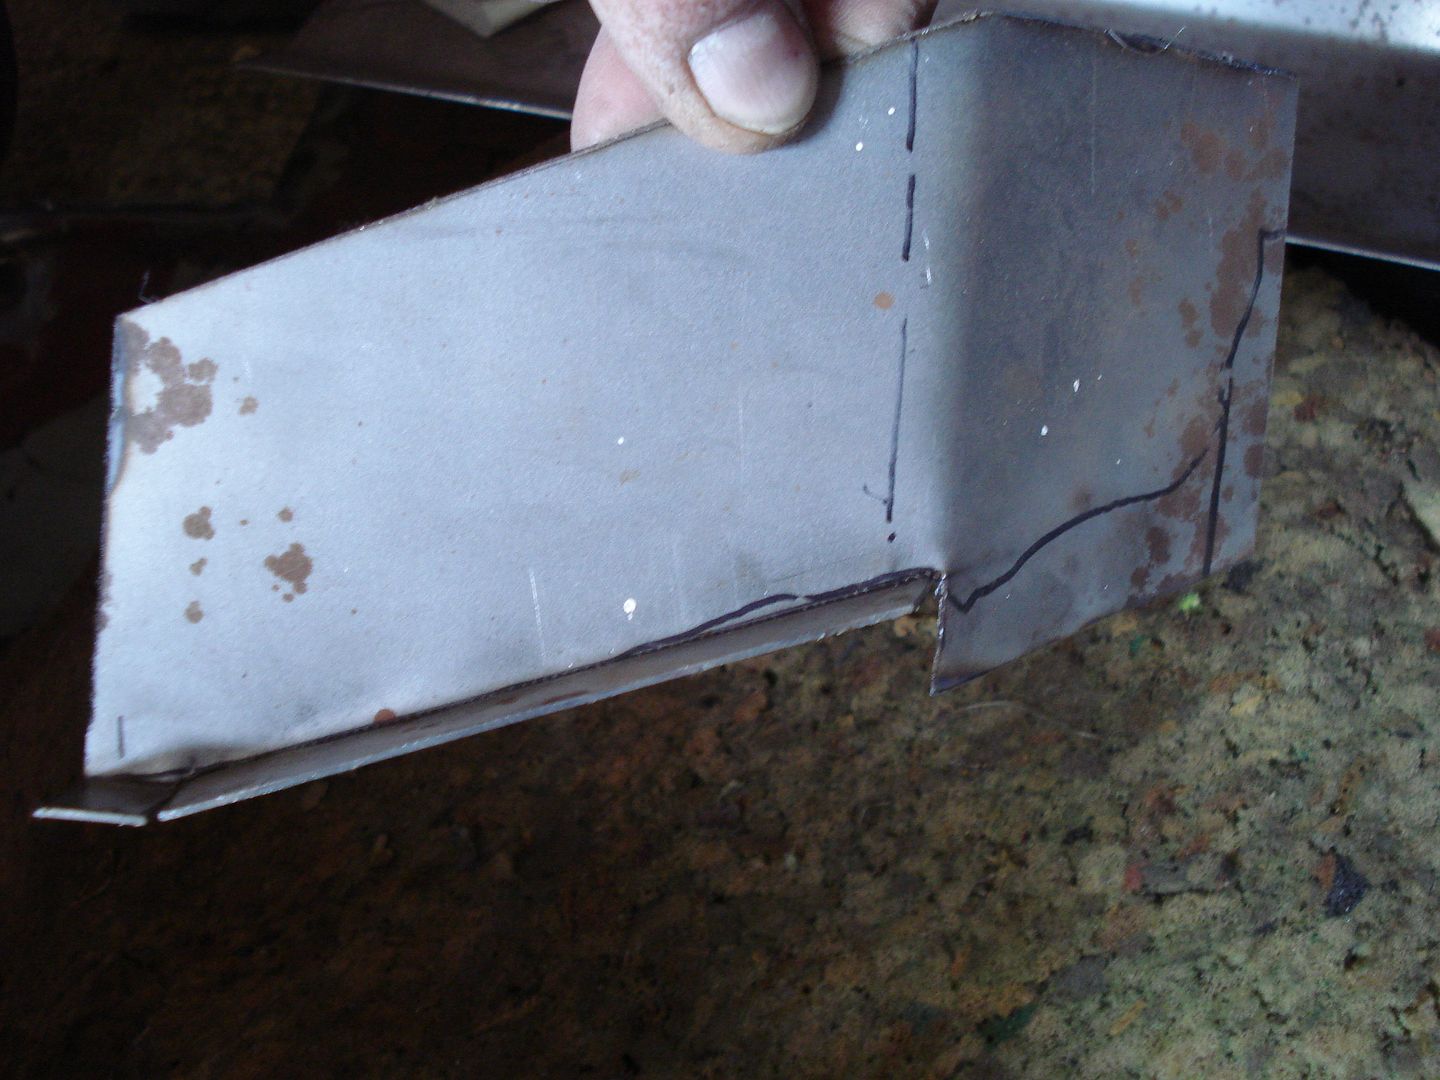
Also there had been so iffy repairs to the floors so the right side i cut out and fabricated a new repair panel for the flitch and am in the process of making one for the floor
The l/h side has to be sorted yet
#2
Posted 27 November 2012 - 04:25 PM
Now externally it looked good but when you looked inside it was a different story. Also Paul never mentioned any issues with the door hinges but the door structure is severely cracked.
So after stripping the door the skin was whipped off
and the extent of the damage became clearer
So the door frame needs new flanges all round as well as repairing all of the cracks.
Also to highlight what is talked about a lot on rust threads is the hidden rust forming under flanges. Externally the skin looked good but you can see from these pictures the rust forming under the flanges which would have eventually eaten its way out through the skin
And although i have not started on the other door i have got this to look forward to
So tomorrow will be a day of flange and crack repairs then on with the skin.
#3
Posted 27 November 2012 - 04:27 PM
and then the new lip pulse welded in place
and then cleaned up
so on to the hinge end of the door frame
the old lip was cut off and then onto the cracked end
damage all cut out ready for cleanup and treatment of the inner support
new section welded in place and new lip added
#4
Posted 27 November 2012 - 04:28 PM
I finished the remainder of the flange repairs today in between moving an old Pug and shifting a clubbie shell around.
Flange gone
New flange on
Corner piece left to do
and all done and a good coating of zinc primer. The pattern skin to go on fits quite well so hopefully it will be finished tomorrow so i can start on the other one. Also Paul has got the repair section sorted for the l/h front floor panel so something else to get welded in.
#5
Posted 27 November 2012 - 04:29 PM
Door skin fitted but not before getting a nice thick coat of Zinc primer followed by top coat, it better not bloody rust with all of that on it
The door skin will be stripped back to bare metal, skimmed with filler where required then painted. Followed by a serious dose of waxoyling.
and now onto the the other door, look familiar??
same damage different door.
#6
Posted 27 November 2012 - 04:30 PM
Some crustiness on the lower l/h quarter so that had to go
so good clearing out with a carbide rotary burr got to this
welded up and ground back
Then it was onto the other side. Paul found some rust in the companion bin
so time to investigate started to do this
and found this
not so good damn so anyway after a discussion with regards to access and the state of the rest of the quarter panel we got this
and a better view of the rust
so the heelboard itself is good but the reinforcing bracket and the inner sill is toast and the outer flange is gone as well so some surgery will be needed. With that in mind we took off the subframe ready to have a go at it all next week.
While we are at it this will have to go as well
So what turned out as a small hole has ended up as a new sill (some rust is lurking) new rear quarter, heelboard mount then the wheel arch oh both valance closeouts, some work to the boot floor and rear panel. I left the workshop while Paul was removing the rear bumper so i also know this is some work to do on the lower rear panel as well.
A welders work is never done
#7
Posted 27 November 2012 - 04:31 PM
Back on the job with Paul's mainstream Cooper today. The r/h heelboard end was a lot rustier than we though once i took the reinforcing btacket off so a new end had to be fabricated
Tacked together from several pieces as i really needed access to a box folder, anyway once it was all welded together i ended up with this
Now this was the culprit and it was bad
and it was only held on with six spot welds, very poor.
The end of the inner sill was rotten as well so a new piece was folded up with returns and then tacked in place
once i get my mitts on the new bracket i will offer up the subframe to back drill through the heelboard before welding in the new bracket.
#8
Posted 27 November 2012 - 04:31 PM
Scary whats hidden away and looks 'ok' from the outside. Paddy has a bit of surface rust on one of his doors that we keep meaning to sort out
I will now
Great pics and thread Mr Sonikk!
#9
Posted 27 November 2012 - 04:31 PM
Got a bit more done today on the Cooper. Myself and Paul refitted tthe subframe to allow me to trial fit the subframe mount reinforcing bracket. Everything lined up so after some spirited welding we ended up with this
So onto the rear arch and what a complete and utter *******. What Rover was thinking or maybe one of the employees, i know as well as spot welds i'll chuck in a couple of seam welds then cover then in seam sealant. Well cheers and thanks for doing that. I was desperately trying to not to damage the inner half of the arch but in the end resorted to a cutting disc and my high speed grinder and burr.
Finally sorted but now several repairs to do and a replacement bump stop. (sorry mate )
#10
Posted 27 November 2012 - 04:32 PM
#11
Posted 27 November 2012 - 04:32 PM
That door freaked me out!
Scary whats hidden away and looks 'ok' from the outside. Paddy has a bit of surface rust on one of his doors that we keep meaning to sort out
I will now
Great pics and thread Mr Sonikk!
Cheers Mr M&P
#12
Posted 27 November 2012 - 04:40 PM
#13
Posted 27 November 2012 - 04:42 PM
I always love spying at your topics, your work is beautiful
Excellent work, sonikk, They are very neat welds on the door.
Cheers peeps
#14
Posted 27 November 2012 - 05:04 PM
Not much left of the boot floor lip due to a previous repair so a new one was needed
and the new lip
Then a few repairs to the boot floor and rear bulkhead, before
and after
then it was on to the inner arch itself. It took a while but in the end i was left with this
It needed a few repairs as well
Once they were sorted plus a little cutting on the new outer arch section i pinned it in place
and i have got to add some more metal to this subframe bracket as well
#15
Posted 27 November 2012 - 06:26 PM
reading your threads makes me want to either spend money on more panels or get out in the garage and get on with it!
Whilst im posting this, to save making a topic -
Some goon has attempted to take door hinges off, and rounded every single screw bar one!
Whats the best whay to remove them?
Sorry for spamming you thread
Thanks
0 user(s) are reading this topic
0 members, 0 guests, 0 anonymous users