Jump to content


Photo
- - - - -

The Red One


  • Please log in to reply
74 replies to this topic

#16 sonikk4

sonikk4

    Twisted Paint Polisher!!!

  • Admin
  • PipPipPipPipPipPipPipPipPipPipPip
  • 16,033 posts
  • Name: Neil
  • Location: Oxfordshire

Posted 27 November 2012 - 07:09 PM

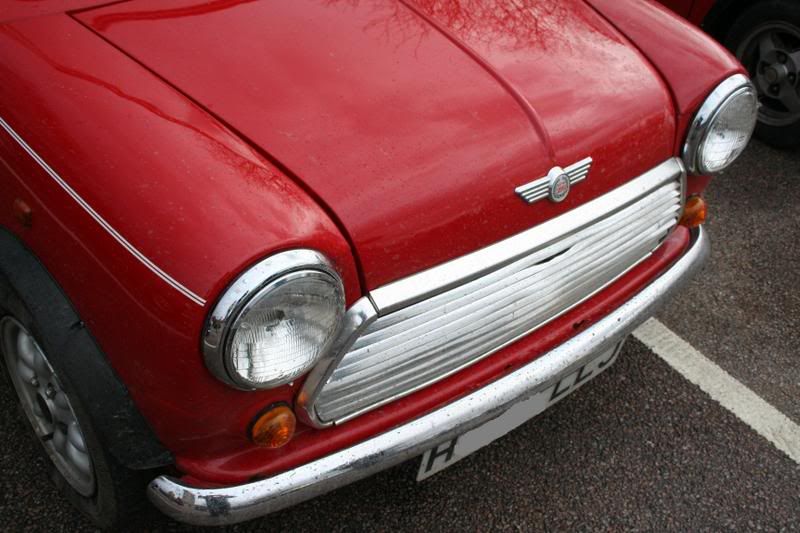
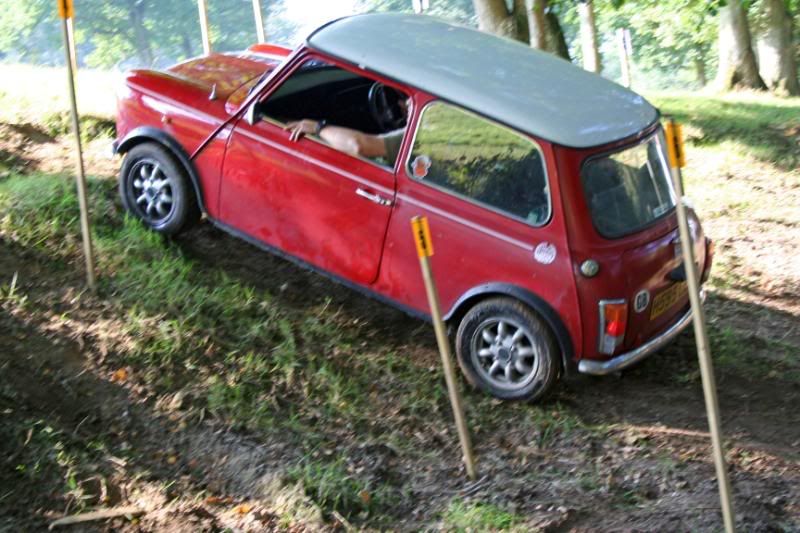
keep up the good work...

reading your threads makes me want to either spend money on more panels or get out in the garage and get on with it!

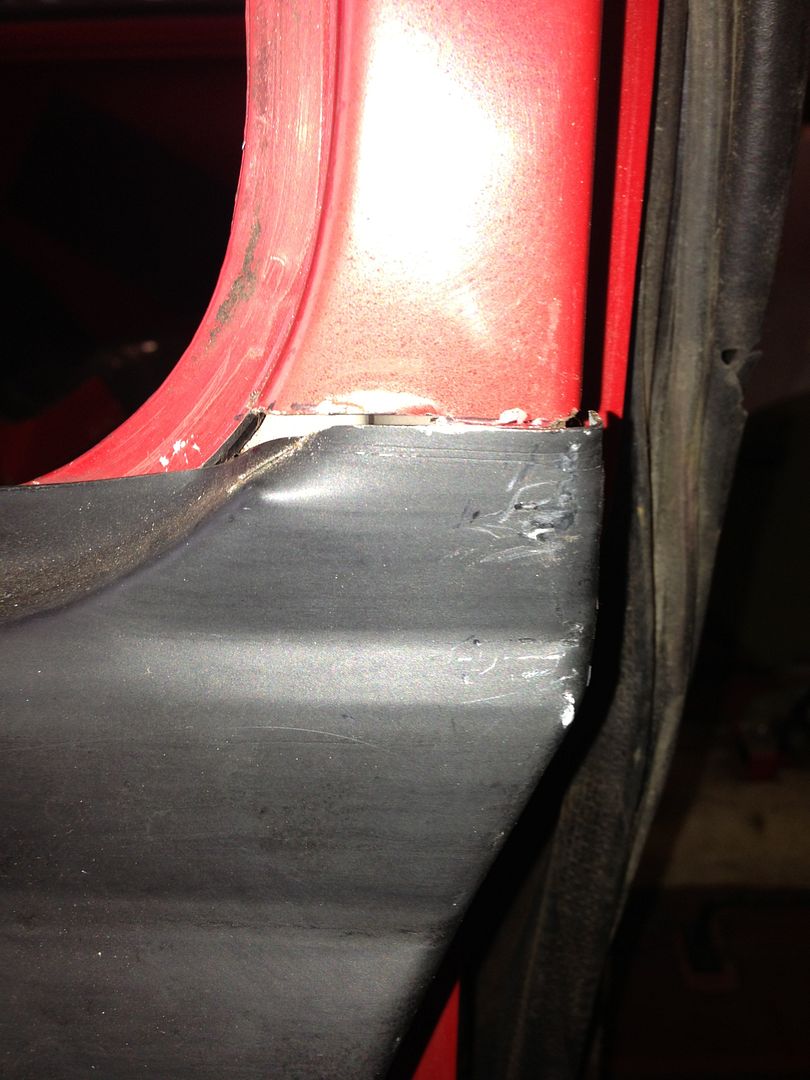
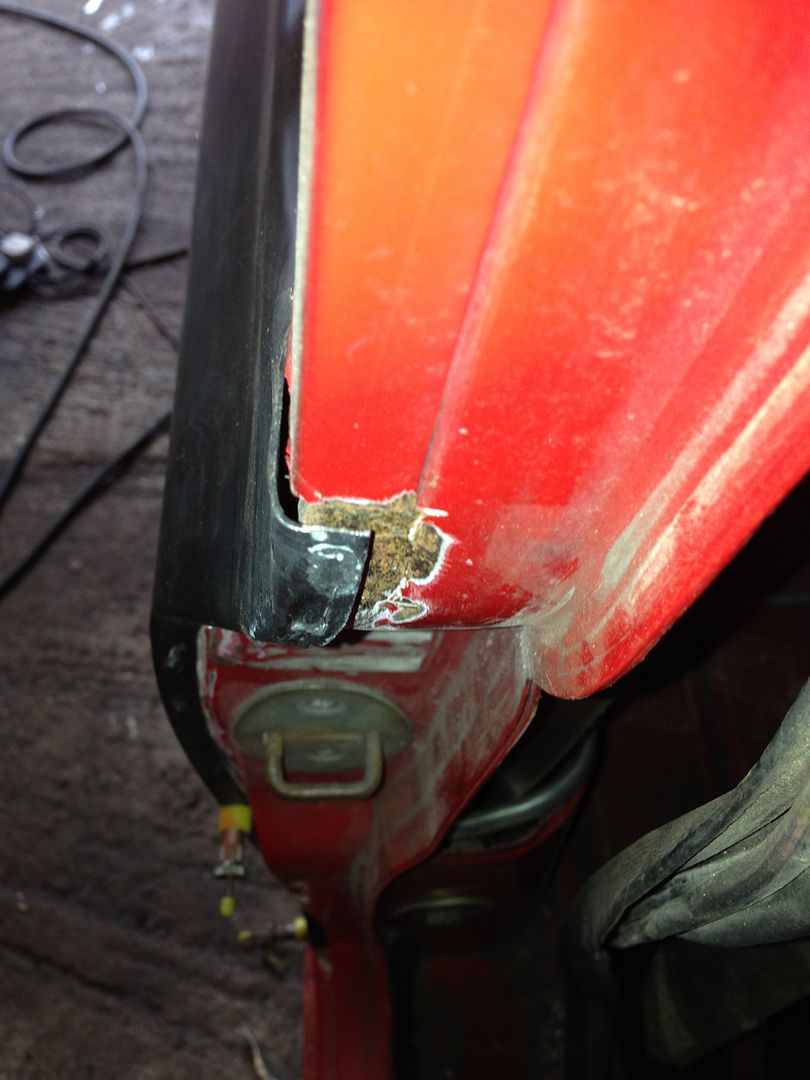
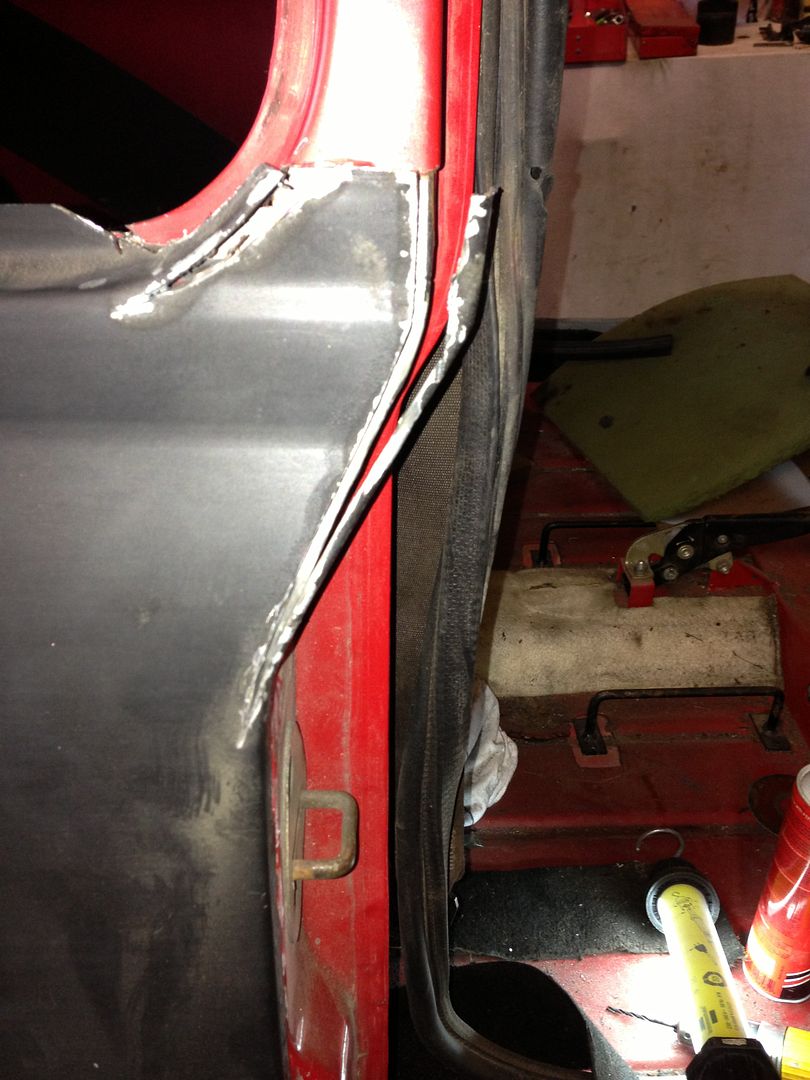
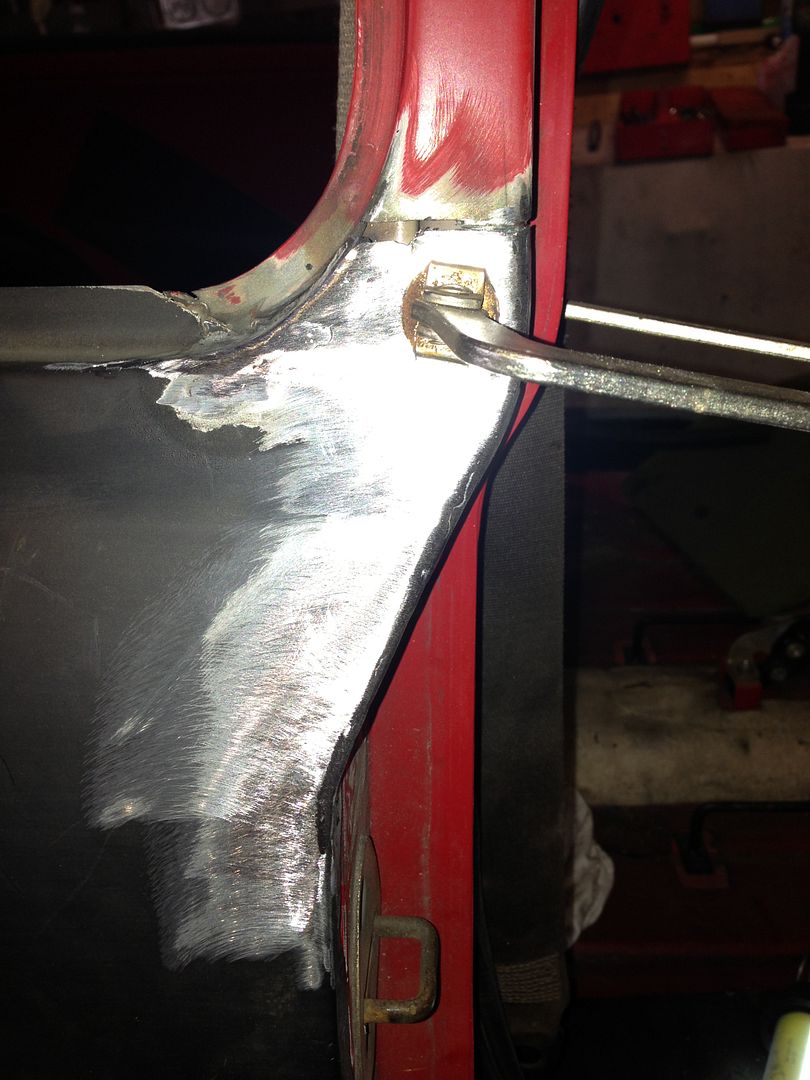
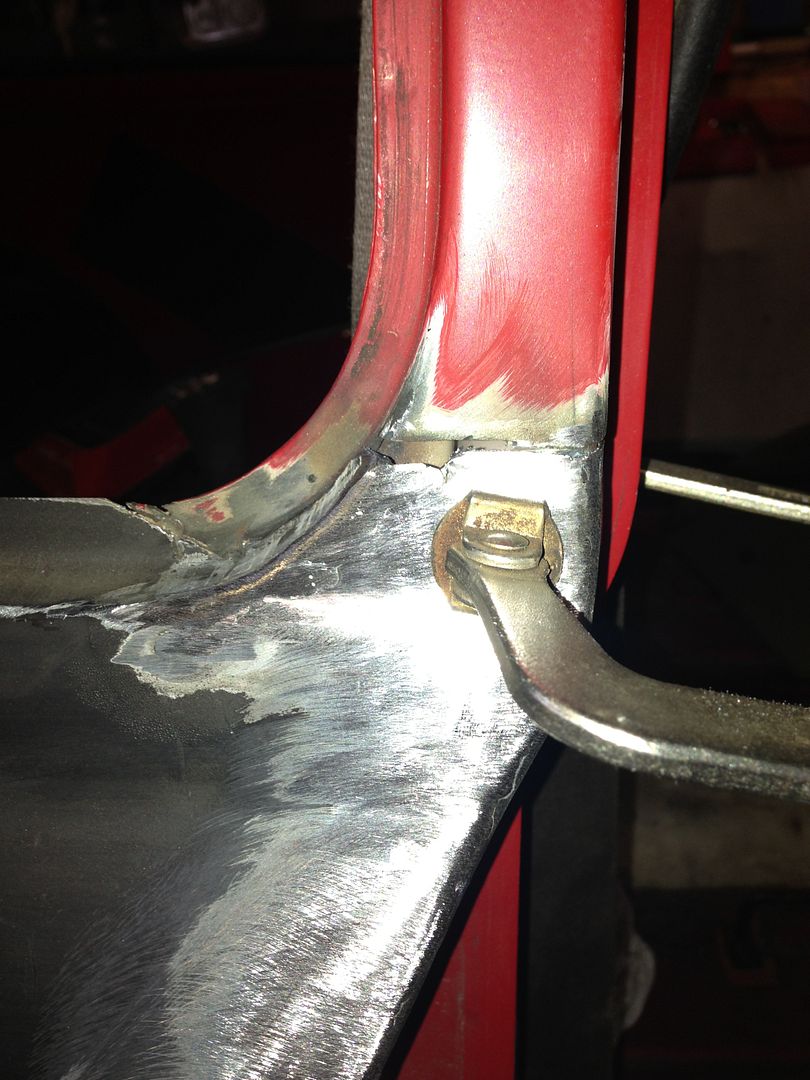
Whilst im posting this, to save making a topic -

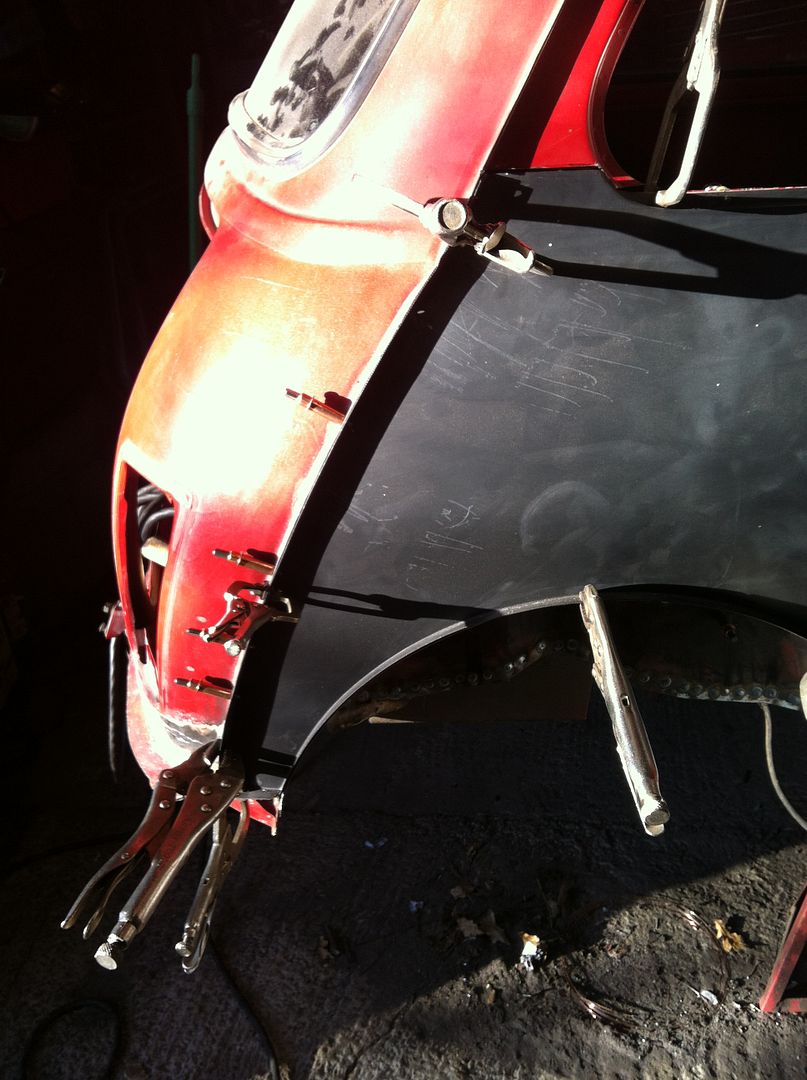
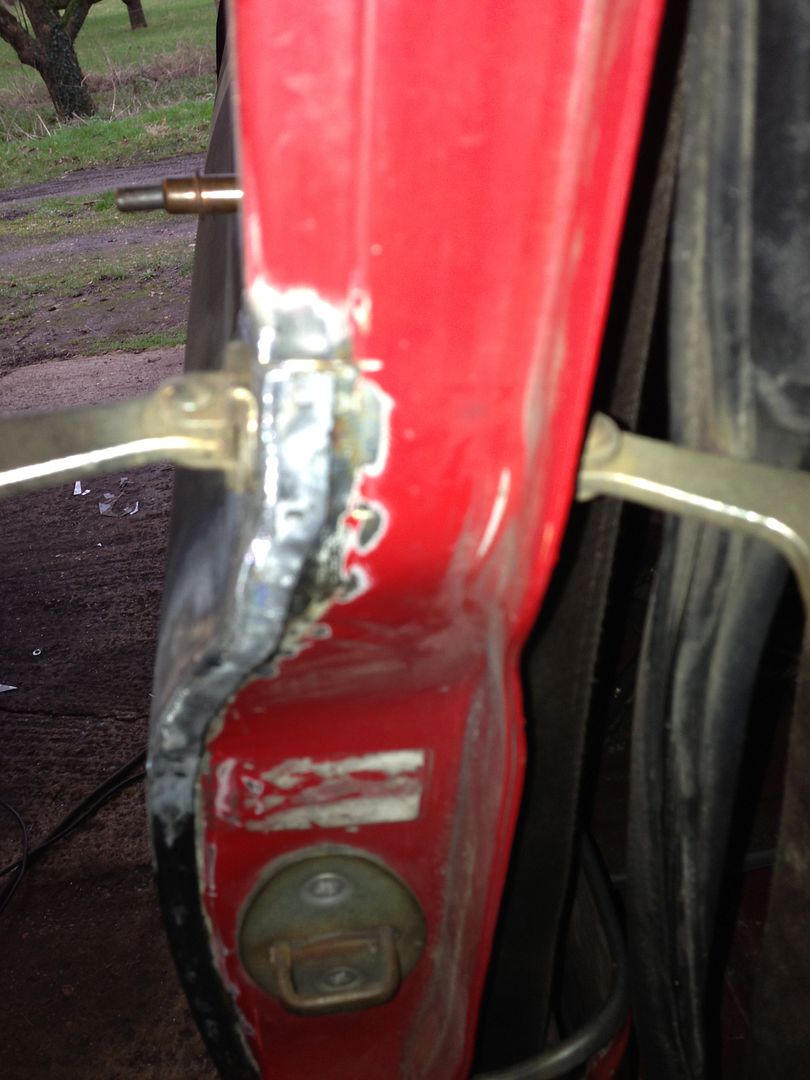
Some goon has attempted to take door hinges off, and rounded every single screw bar one! :sneaky:

Whats the best whay to remove them?

Sorry for spamming you thread :whistling:

Thanks :D


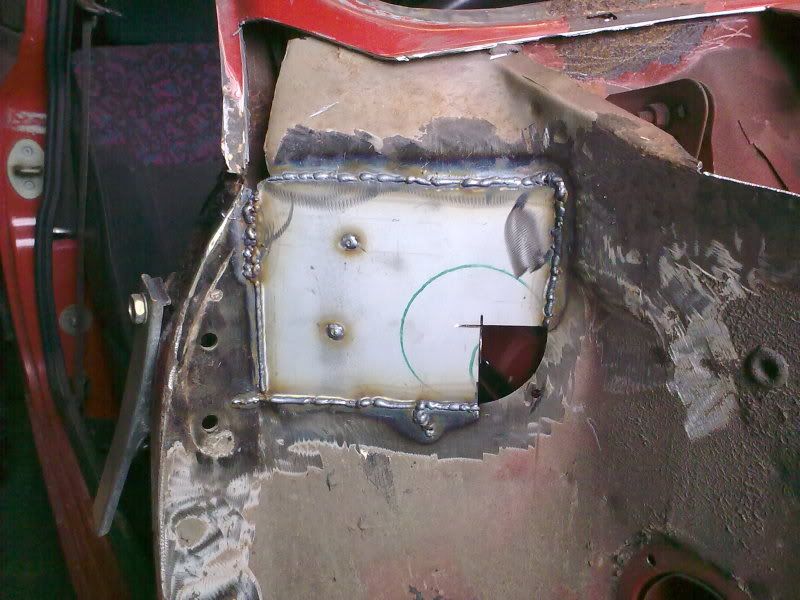
You have a couple of options here,

1: Easi out but not recommended
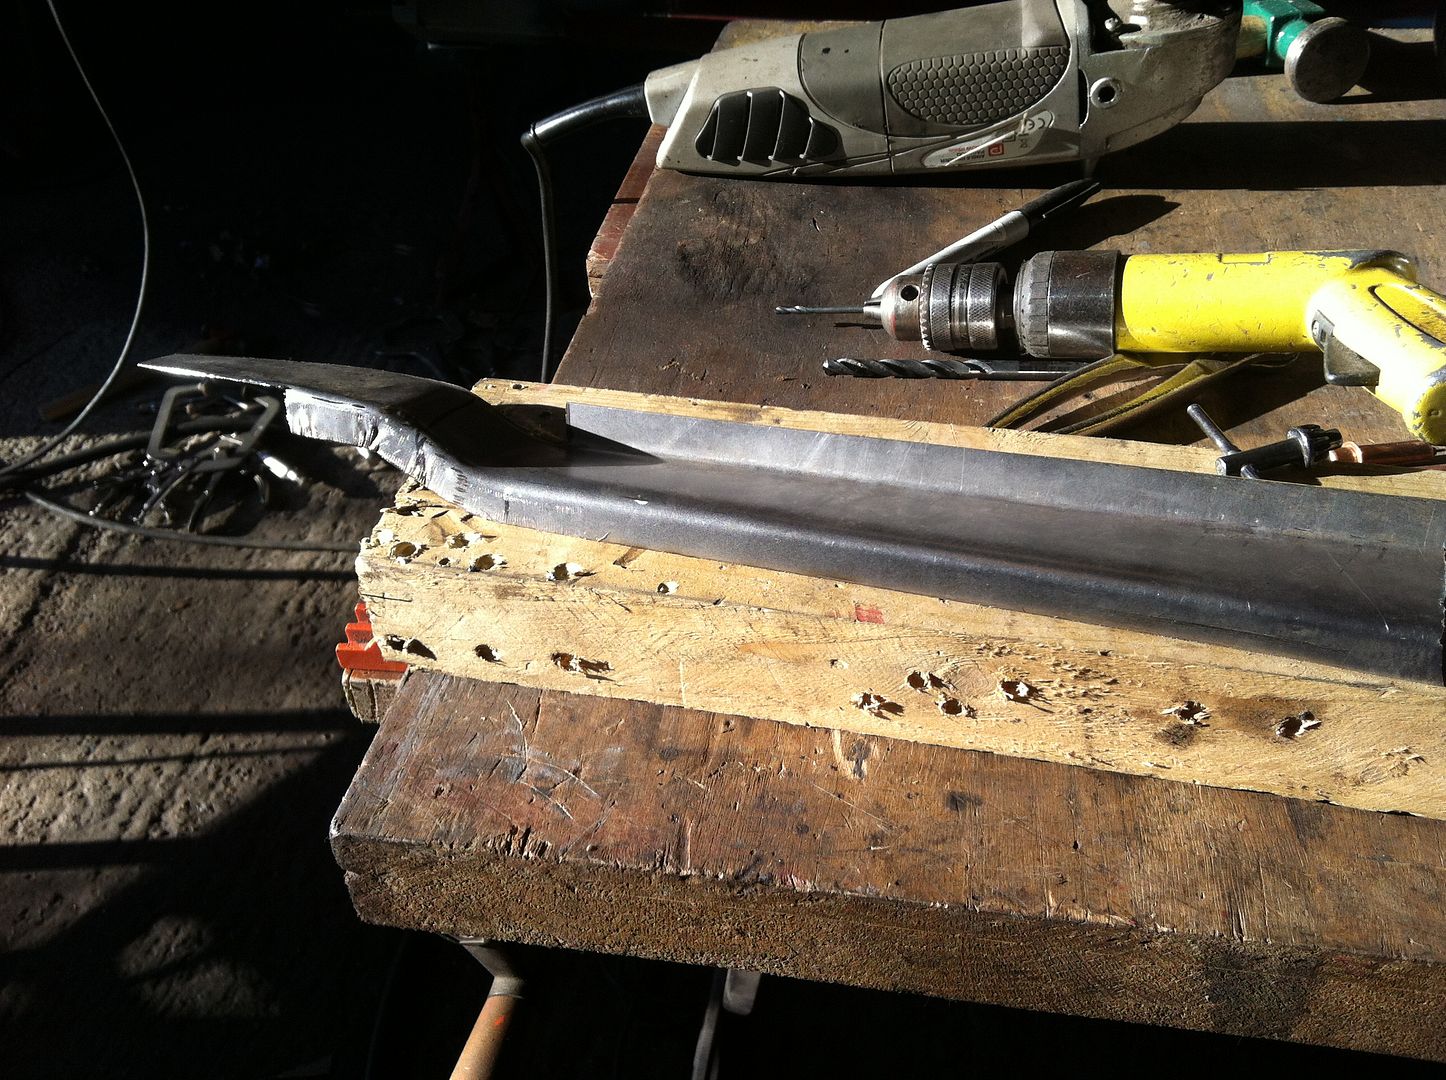
2: Drill the heads off then once the hinges are off use a pair of mole grips to remove the stub.

Hope that helps.

#17 paul1275s

paul1275s

    Stage One Kit Fitted

  • Noobies
  • PipPipPip
  • 55 posts
  • Location: Eastbourne
  • Local Club: EDMC

Posted 27 November 2012 - 09:49 PM

Thanks Neil for setting this thread up, and thanks for the motivation and help so far... Here is a bit of Red's History for everyone...

I bought the car from Ebay back in Jan 2007 for the princely sum of £850, it was Mot'd and Taxed and a good little running Mini. It had spent all of it's life in Bournemouth with two owners, the first for 15 years and the second for for the 2 years before I bought it, it was showing 90,000 miles on the clock and the documentation i got with it seems to confirm that. It had been regularly serviced and had had very little welding done to it despite living by the sea all it's life, the only panel I could find that had been replaced was the drivers side front wing and the rear quarter had taken a whack at some point in it's life too. I thrashed it around until the Mot ran out then it had to come off the road as the rear subby needed attention. The rear subby was replaced along with the rear edge of the boot floor and also the lower rear panel, the car was Mot'd the day before the IMM in Holland and was driven faultlessly to and from that great event! For the next couple of years it was just driven around and also used in Autotests, Car trials and 12 Car Rallies. It was at a Car Trial that I blew the diff and the car has been off the road since, I had already been planning a front end rebuild so this was the time! It has been going pretty slowly due to a lot of other stuff happening in the last couple of years so It's been great for me to have Neil now sharing the workshop with me and also his enthusiasm and skills. Heres some piccies...
Posted Image
Posted Image
Posted Image
Posted Image
Posted Image
Posted Image
Posted Image
Posted Image
Posted Image
Posted Image
Posted Image

#18 rich2

rich2

    Speeding Along Now

  • Members
  • PipPipPipPipPip
  • 351 posts

Posted 28 November 2012 - 12:57 PM

Awesome!

PS. The neatness of your welding makes me sick. ;)

#19 sonikk4

sonikk4

    Twisted Paint Polisher!!!

  • Admin
  • PipPipPipPipPipPipPipPipPipPipPip
  • 16,033 posts
  • Name: Neil
  • Location: Oxfordshire

Posted 28 November 2012 - 03:50 PM

Awesome!

PS. The neatness of your welding makes me sick. ;)


Behave yourself Rich yours is not shabby at all.

#20 sonikk4

sonikk4

    Twisted Paint Polisher!!!

  • Admin
  • PipPipPipPipPipPipPipPipPipPipPip
  • 16,033 posts
  • Name: Neil
  • Location: Oxfordshire

Posted 28 November 2012 - 04:13 PM

Red has now got his wheel arch installed so no more rot there
Ready to go in
Posted Image
The arch was short at the back so new section installed so it could be trimmed to size
Posted Image
Welded in place
Posted Image
and the stiffener installed
Posted Image
hopefully tomorrow the closeout and inner sill stiffener will be installed and maybe the quarter panel.

#21 Artful Dodger

Artful Dodger

    " I AM THE SPECIAL ONE"

  • Members
  • PipPipPipPipPipPipPipPipPip
  • 4,435 posts
  • Local Club: aint no body got time fo dat

Posted 28 November 2012 - 05:43 PM

nice, solid work:) that is going to be one nice mini when you finish it!


congratulations on the diff failure!!! if you are to go out, go out in style i say!!

#22 Minidarren83

Minidarren83

    One Carb Or Two?

  • Members
  • PipPipPipPipPipPipPip
  • 1,207 posts
  • Location: Stanford Le hope

Posted 29 November 2012 - 10:09 AM

Forget the Haynes restoration manual you should bring out your own the "mini restoration guide perfected by neil" superb work as ever should be rot free for years to come. Is it possible to leave the bump stop bracket in place or was destroying it unavoidable? It's one of my next tasks
Cheers Darren

#23 joezone2001

joezone2001

    Speeding Along Now

  • Members
  • PipPipPipPipPip
  • 332 posts
  • Location: kirkby in ashfield

Posted 29 November 2012 - 01:29 PM

Some beautiful work going on here.. I want/need your skills haha! Keep up the cracking work. Joe

#24 sonikk4

sonikk4

    Twisted Paint Polisher!!!

  • Admin
  • PipPipPipPipPipPipPipPipPipPipPip
  • 16,033 posts
  • Name: Neil
  • Location: Oxfordshire

Posted 29 November 2012 - 04:31 PM

Forget the Haynes restoration manual you should bring out your own the "mini restoration guide perfected by neil" superb work as ever should be rot free for years to come. Is it possible to leave the bump stop bracket in place or was destroying it unavoidable? It's one of my next tasks
Cheers Darren


You can leave it in place Darren as its a pain to refit properly. I could have left this one in place but i was on a mission so to speak so in the end it was quicker to replace it.

#25 sonikk4

sonikk4

    Twisted Paint Polisher!!!

  • Admin
  • PipPipPipPipPipPipPipPipPipPipPip
  • 16,033 posts
  • Name: Neil
  • Location: Oxfordshire

Posted 29 November 2012 - 05:13 PM

Pattern quarter panels suck and this one will need a lotof work to fit well
Posted Image
The back fits ok though
Posted Image
Fabricated a new inner sill stiffener using my shrinker and stretcher
Posted Image
Fitted along with the arch closeout panel
Posted Image
Cleaned up and a flash of Zinc rich primer.
Posted Image

I will deal with the quarter panel on monday.

#26 sonikk4

sonikk4

    Twisted Paint Polisher!!!

  • Admin
  • PipPipPipPipPipPipPipPipPipPipPip
  • 16,033 posts
  • Name: Neil
  • Location: Oxfordshire

Posted 04 January 2013 - 07:02 PM

In between waiting for paint to dry on the door i'm reskinning i though i would sort the quarter panel out on Red.

The Pillar section was a very poor fit
Posted Image
Posted Image
so it needed to be sectioned to get it to fit correctly
Posted Image
and followed by a spot of welding and grinding it ended up like this
Posted Image
Posted Image
Posted Image
so now it fits like it should
Posted Image
So with some final cleaning up. sealing and paint its ready for fitting. Oh and drilling a load of 1/4" holes for plug welding.

#27 brum,brum,mike

brum,brum,mike

    Super Mini Mad

  • Just Joined
  • PipPipPipPipPipPip
  • 554 posts
  • Location: Gloucestershire

Posted 04 January 2013 - 07:10 PM

Don't suppose you have any pics of the penetration when plug welding?

Looking great by the way...

Thanks alot

Mike

#28 sonikk4

sonikk4

    Twisted Paint Polisher!!!

  • Admin
  • PipPipPipPipPipPipPipPipPipPipPip
  • 16,033 posts
  • Name: Neil
  • Location: Oxfordshire

Posted 04 January 2013 - 07:21 PM

Not on this one Mike but i did a little piece yesterday to explain things with regards to wire speed power etc and its the weld at the top
top side
Posted Image
and the penetration, its the one at the bottom
Posted Image

and this is the same power setting that i used for the work on the quarter panel.

#29 hughJ

hughJ

    Soldiering Along

  • Members
  • PipPipPipPipPipPipPip
  • 727 posts
  • Location: Highlands, Scotland

Posted 04 January 2013 - 07:50 PM

Neil your at it again - this majorly perfect work. Just remember - you inspire. My rear quarter, I just made do. I wish I had seen this before I did mine. Never mind. Thanks again.

Hugh

#30 sonikk4

sonikk4

    Twisted Paint Polisher!!!

  • Admin
  • PipPipPipPipPipPipPipPipPipPipPip
  • 16,033 posts
  • Name: Neil
  • Location: Oxfordshire

Posted 04 January 2013 - 08:02 PM

Cheers Hugh, your work is not shabby at all and the one thing doing this proves that a pattern panel can be made to fit well.


2 user(s) are reading this topic

0 members, 2 guests, 0 anonymous users