Is this a Magnum rear 1/4?
I am considering changing mine and the Magnum ones are less than half the price of the Heritage ones.
Cheers
Jason


The Red One
Started by
sonikk4
, Nov 27 2012 04:23 PM
74 replies to this topic
#31

Wise Old Elf
-

- Members
-

- 1,655 posts
Camshaft & Stage Two Head
- Location: Maldon
- Local Club: Club Lotus
Posted 01 February 2013 - 03:51 PM
#32
Noah
-

- Members
-
- 4,136 posts
Up Into Fourth
- Location: NE London/Essex
- Local Club: Essex Mini Club
Posted 01 February 2013 - 04:16 PM
Is this a Magnum rear 1/4?
I am considering changing mine and the Magnum ones are less than half the price of the Heritage ones.
Cheers
Jason
I'd say M-Machine. Their Non-Gen stuff has got to be the best of the batch.
#33
Wise Old Elf
-
- Members
-
- 1,655 posts
Camshaft & Stage Two Head
- Location: Maldon
- Local Club: Club Lotus
Posted 01 February 2013 - 04:31 PM
Is this a Magnum rear 1/4?
I am considering changing mine and the Magnum ones are less than half the price of the Heritage ones.
Cheers
Jason
I'd say M-Machine. Their Non-Gen stuff has got to be the best of the batch.
The one in their catalogue is £95 which is the same as the Heritage ones. Is there no cheaper option that fits well?
#34
Shifty
-

- Admin
-
- 13,154 posts
Sponsored by Fosters (tm)
- Name: Sean
- Location: Shropshire(sunny)
- Local Club: TMF
Posted 01 February 2013 - 07:08 PM
Nice work Neil!!
#35
danotje21
-

- Noobies
-
- 38 posts
On The Road
Posted 02 February 2013 - 03:45 PM
Some great work there! I just recently finished the same repairs on Orange. As for panels, I highly recommend a Heritage quarter if you need one. I had a pattern panel that simply was not fixable. The beltline crease at the top would match at the front with everything else lined up, but not the back. Now I use the metal to make patches. Conversely, the Heritage panel only needed minor work on the front flange for it to fit perfectly. Awesome work again!
#36
Wise Old Elf
-
- Members
-
- 1,655 posts
Camshaft & Stage Two Head
- Location: Maldon
- Local Club: Club Lotus
Posted 02 February 2013 - 03:51 PM
Interesting to hear that the Heritage panel also needed work. I bought the Magnum ones as if I am going to have to do work on the fit I may as well get the cheaper ones.
#37
Artful Dodger
-

- Members
-
- 4,435 posts
" I AM THE SPECIAL ONE"
- Local Club: aint no body got time fo dat
Posted 02 February 2013 - 03:58 PM
I can't see how they can make a panel that's that far out:P good fix though. I had to do something like that when doing the A panels on mine.. The inner was magnum and outers were heratige. Magnum ones fitted terribly.. Had to cut them up to fit:P looks bleedin' original now though:P
#38
sonikk4
-
- Admin
-
- 16,175 posts
Twisted Paint Polisher!!!
- Name: Neil
- Location: Cotwolds.
Posted 21 February 2013 - 06:37 PM
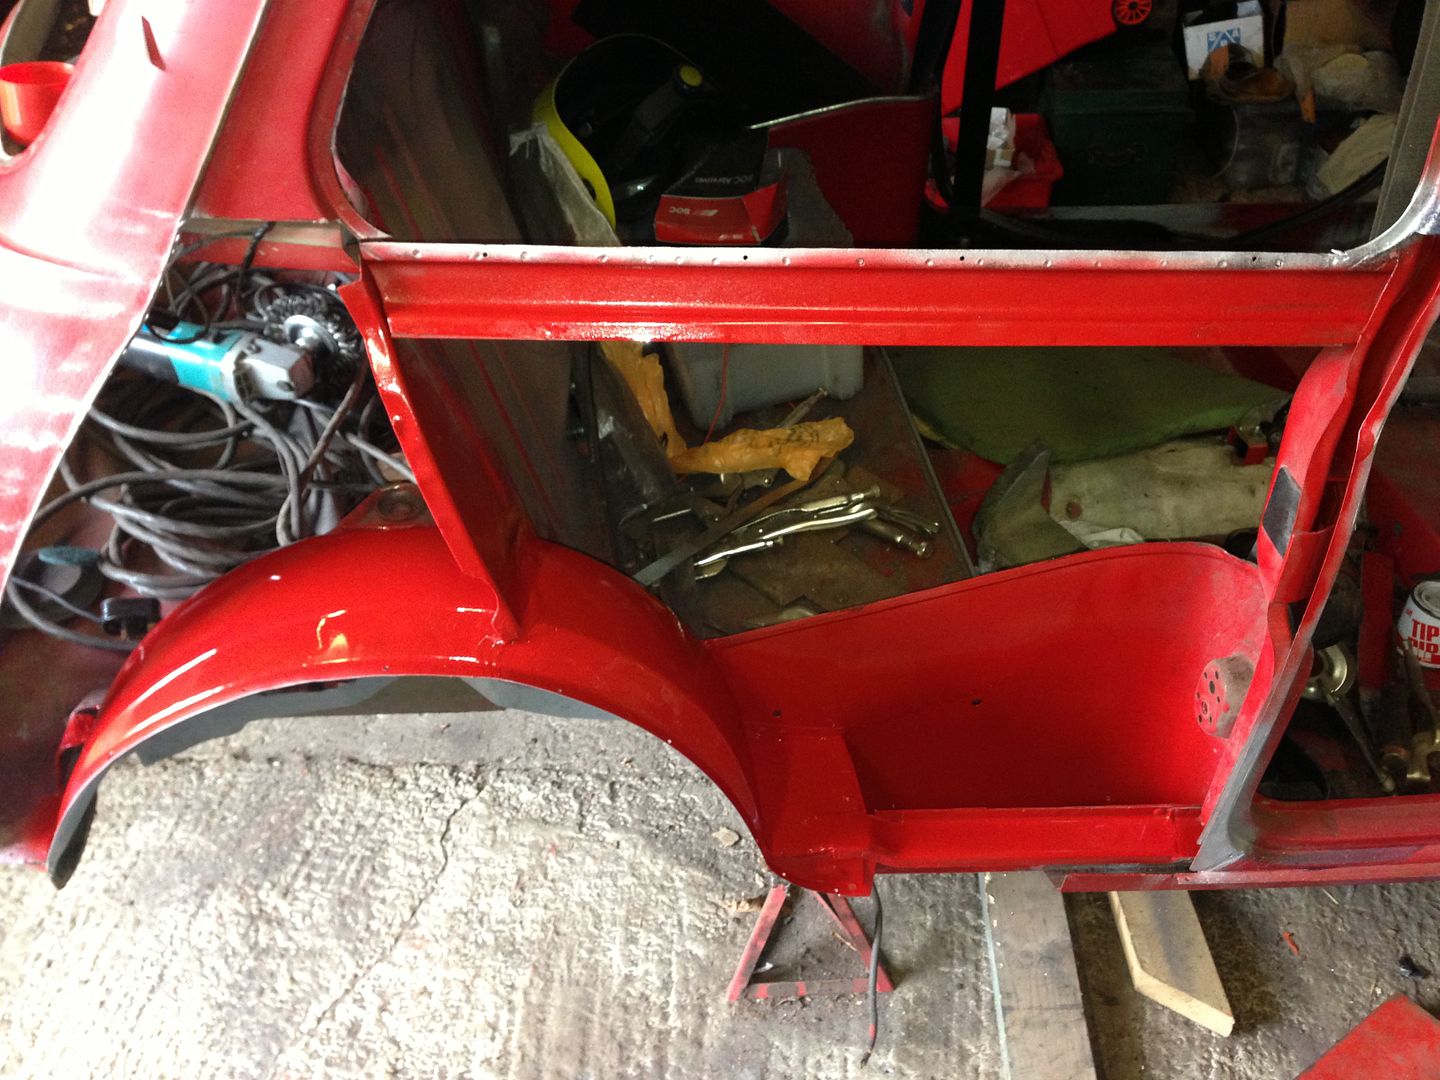
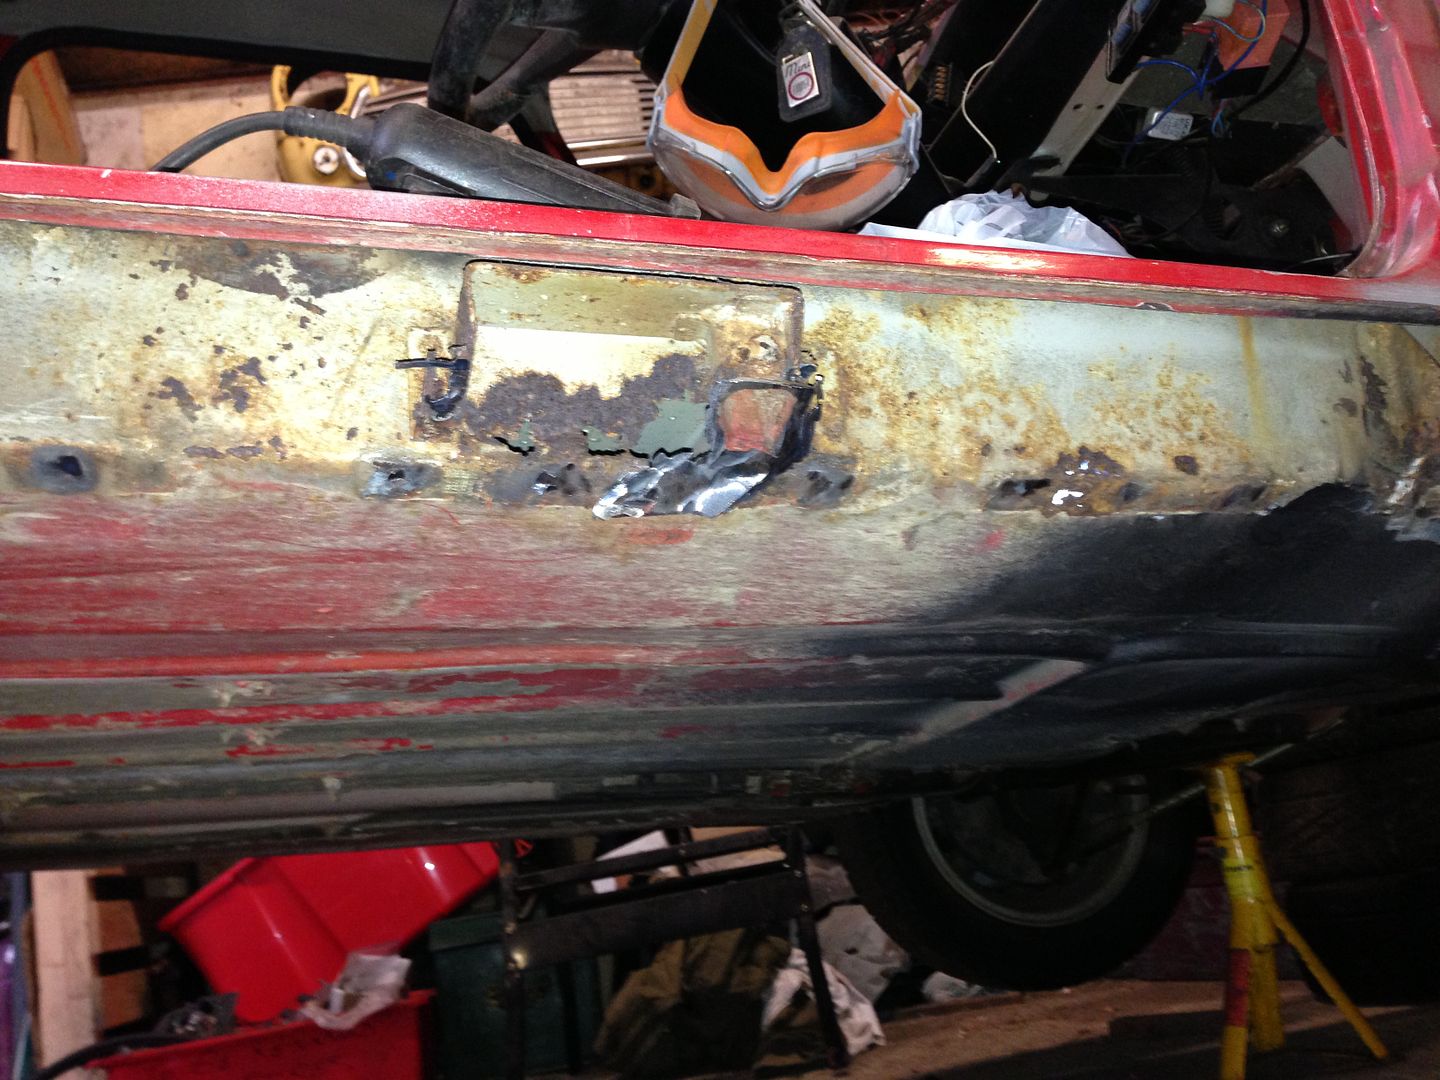
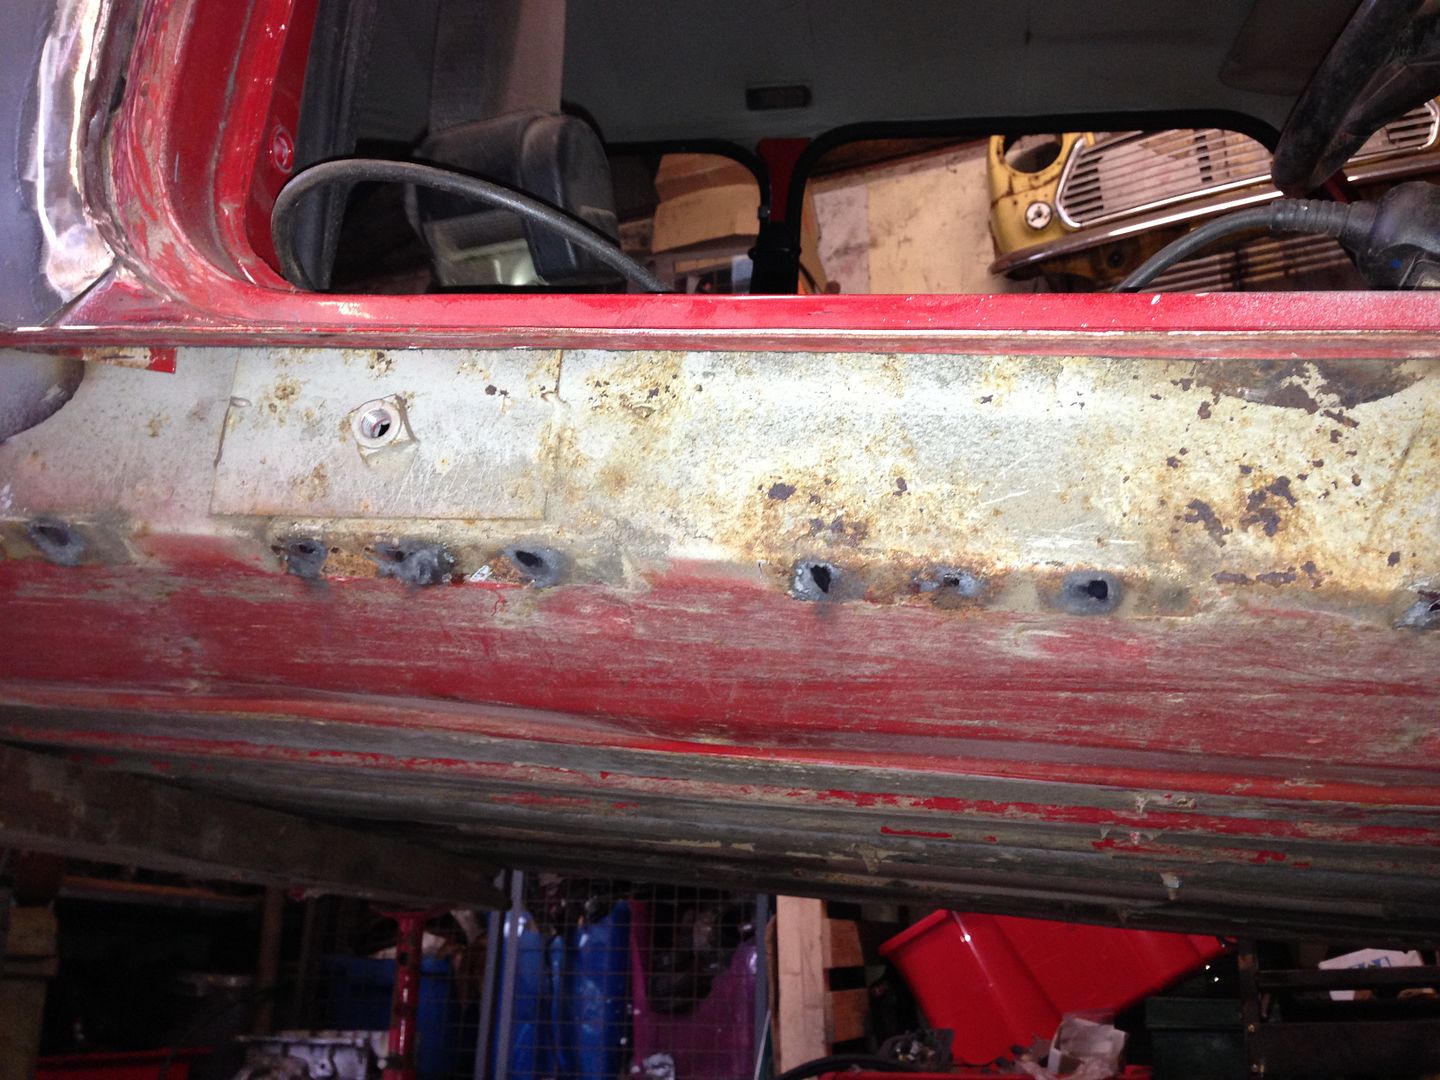
After sorting out Paddy's rear brakes it was time to get back on with red. Spent half an hour drilling plug holes and then Paul flashed some primer over the inside of the panel once i stripped off the rubbish paint covering.
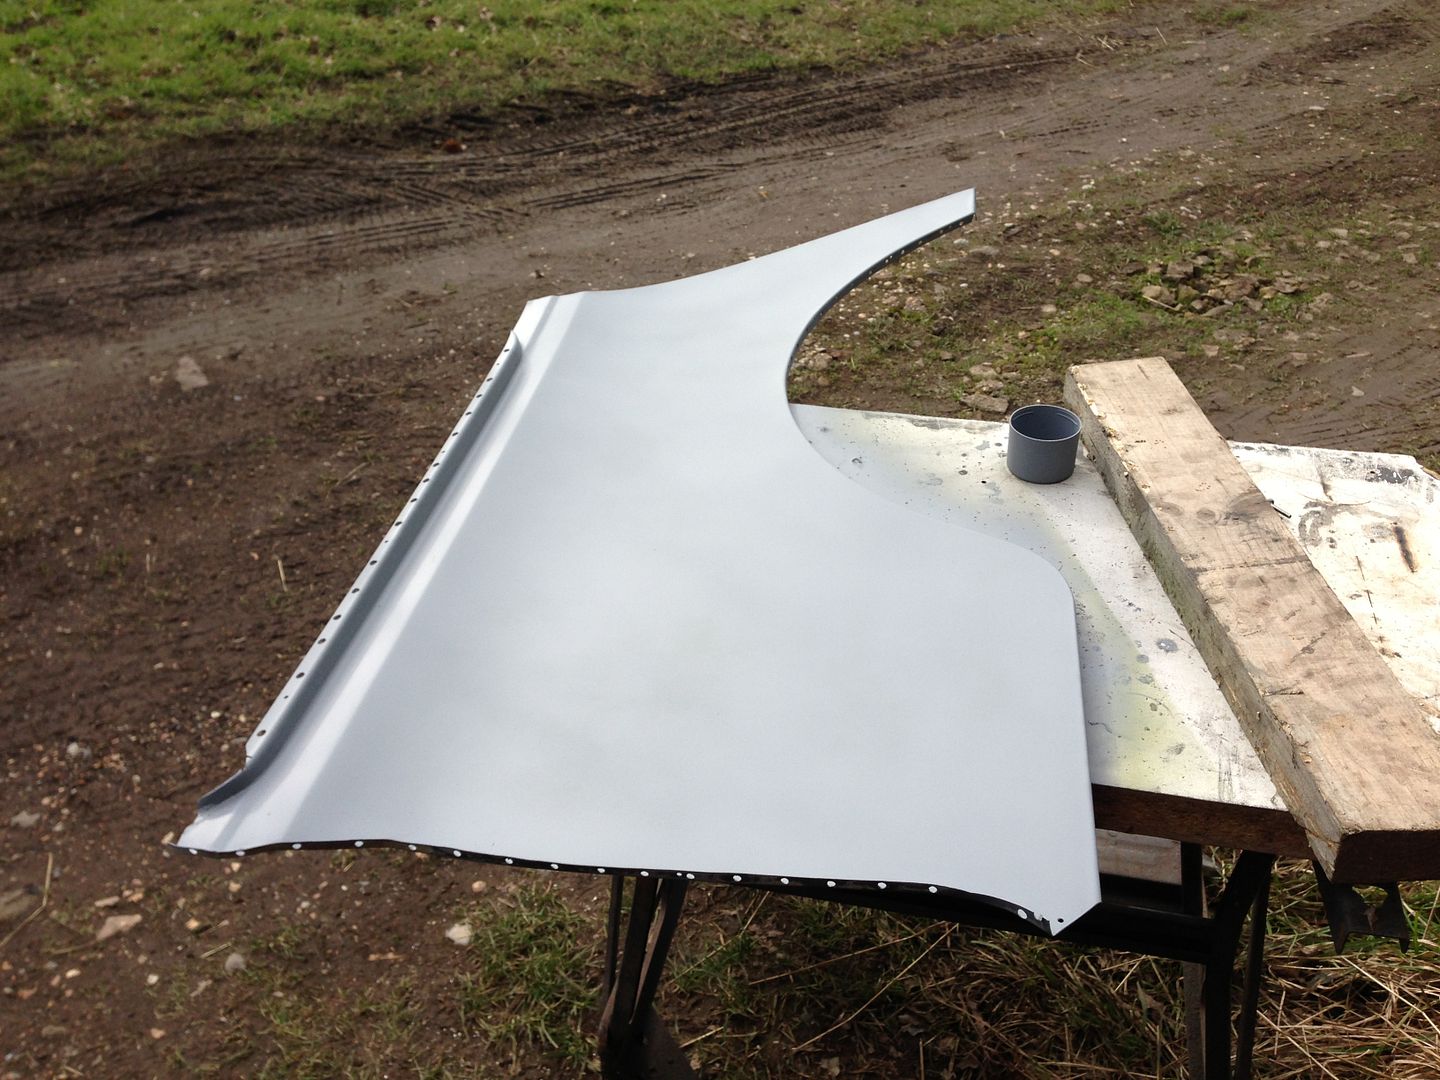
Drilled the remainder of the plug holes in the rear panel and then sealed all of the gaps on the inner arch and close out plate
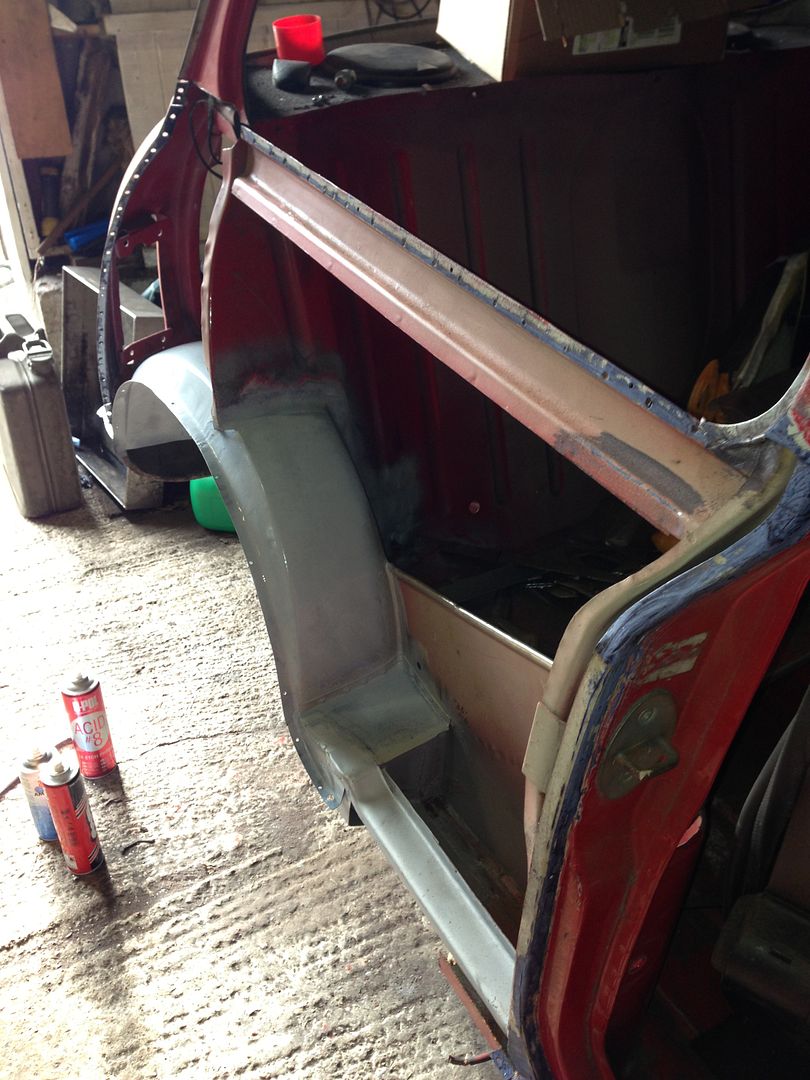
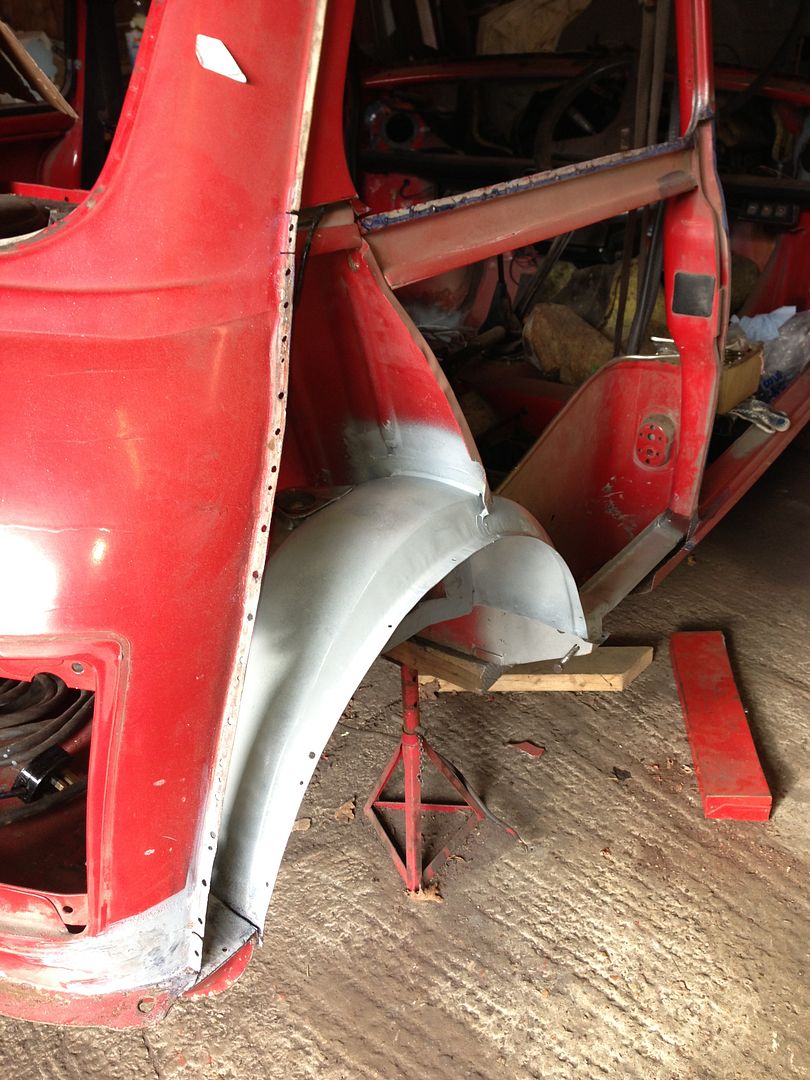
Then it was onto top coat for the quarter panel and inside the arch and companion bin area

Drilled the remainder of the plug holes in the rear panel and then sealed all of the gaps on the inner arch and close out plate
Then it was onto top coat for the quarter panel and inside the arch and companion bin area
#39
grahama
-

- Members
-
- 2,442 posts
Up Into Fourth
- Location: Warrington
- Local Club: None in my area !!
Posted 23 February 2013 - 08:56 AM
Come on Neil, is that qtr not on yet, you are slacking my man !!! Lovely work as always, your mods on pattern pannels help us all when we have our difficulties, keep showing all your techniques.
Graham
ps, shrinker/stretcher machine, that's cheating lol
Graham
ps, shrinker/stretcher machine, that's cheating lol
Edited by grahama, 23 February 2013 - 08:57 AM.
#40
Artful Dodger
-
- Members
-
- 4,435 posts
" I AM THE SPECIAL ONE"
- Local Club: aint no body got time fo dat
Posted 23 February 2013 - 10:09 AM
why have you painted it before welding???? just means you either burn the paint or have to remove it now 
#41
Noah
-
- Members
-
- 4,136 posts
Up Into Fourth
- Location: NE London/Essex
- Local Club: Essex Mini Club
Posted 23 February 2013 - 03:28 PM
why have you painted it before welding???? just means you either burn the paint or have to remove it now
Painted the inside bits, things that won't be that accessible once its welded on...
#42
Artful Dodger
-
- Members
-
- 4,435 posts
" I AM THE SPECIAL ONE"
- Local Club: aint no body got time fo dat
Posted 23 February 2013 - 03:32 PM
But not top coat and right were you want to weld! Means you will get a crappy weld
#43
Noah
-
- Members
-
- 4,136 posts
Up Into Fourth
- Location: NE London/Essex
- Local Club: Essex Mini Club
Posted 23 February 2013 - 03:33 PM
Neil would've found some top coat that you can weld through -
#44
sonikk4
-
- Admin
-
- 16,175 posts
Twisted Paint Polisher!!!
- Name: Neil
- Location: Cotwolds.
Posted 07 March 2013 - 06:21 PM
Boys just how much of the paint do you think will burn off???? certainly not as much as you think.
Anyway the quarter panel is now on
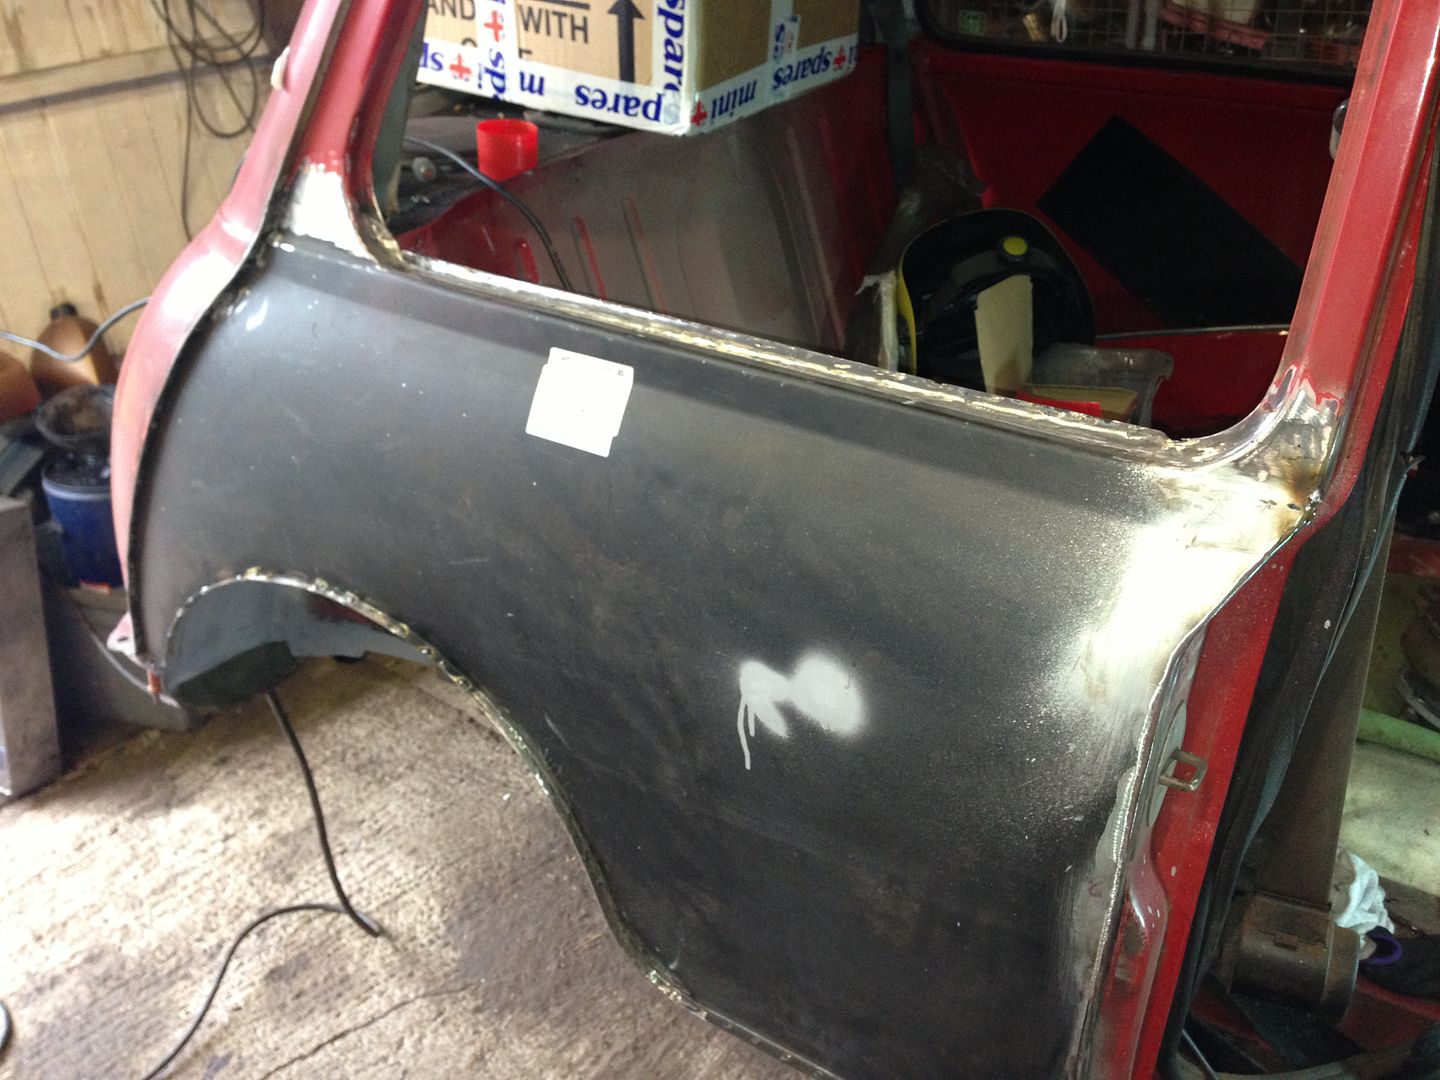
but there was a fly in the ointment at the front where it curves round the door cutout, a gap appeared which i never noticed before so out came the slitting disc
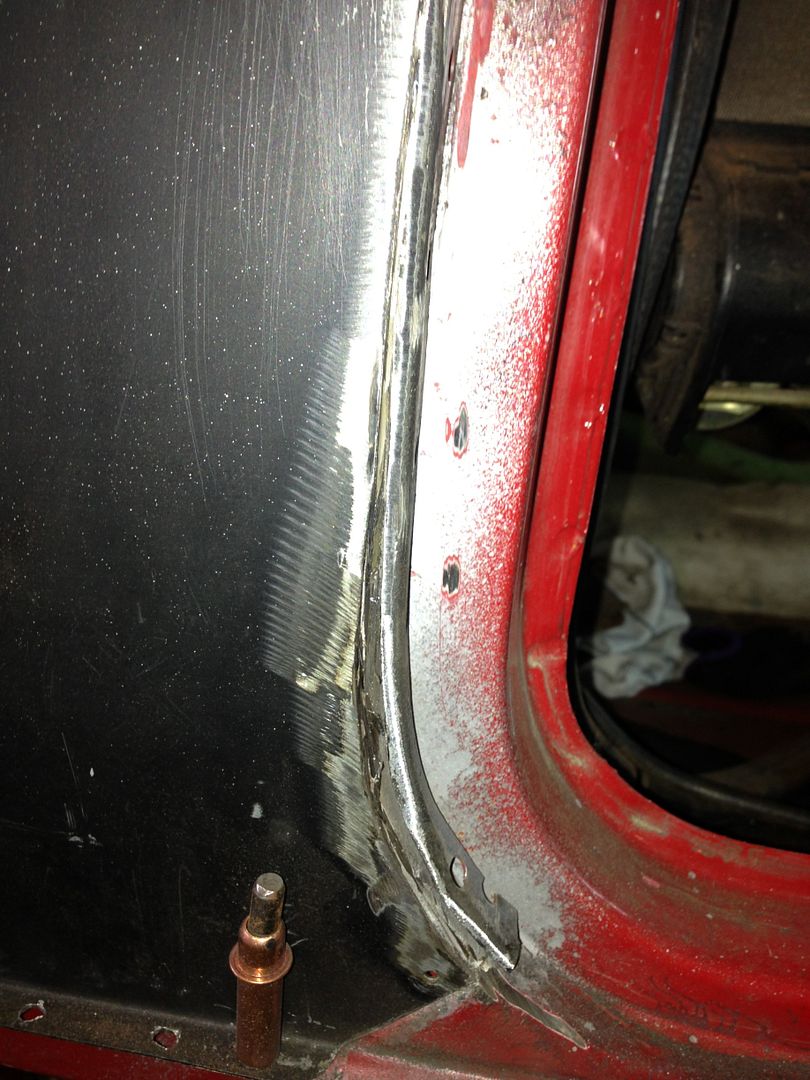
now it fits so happy days.
Outer sill next. It was showing some signs of surface rust so there was no point in doing anything with it as its never surface rust. It 99% of the time starts behind
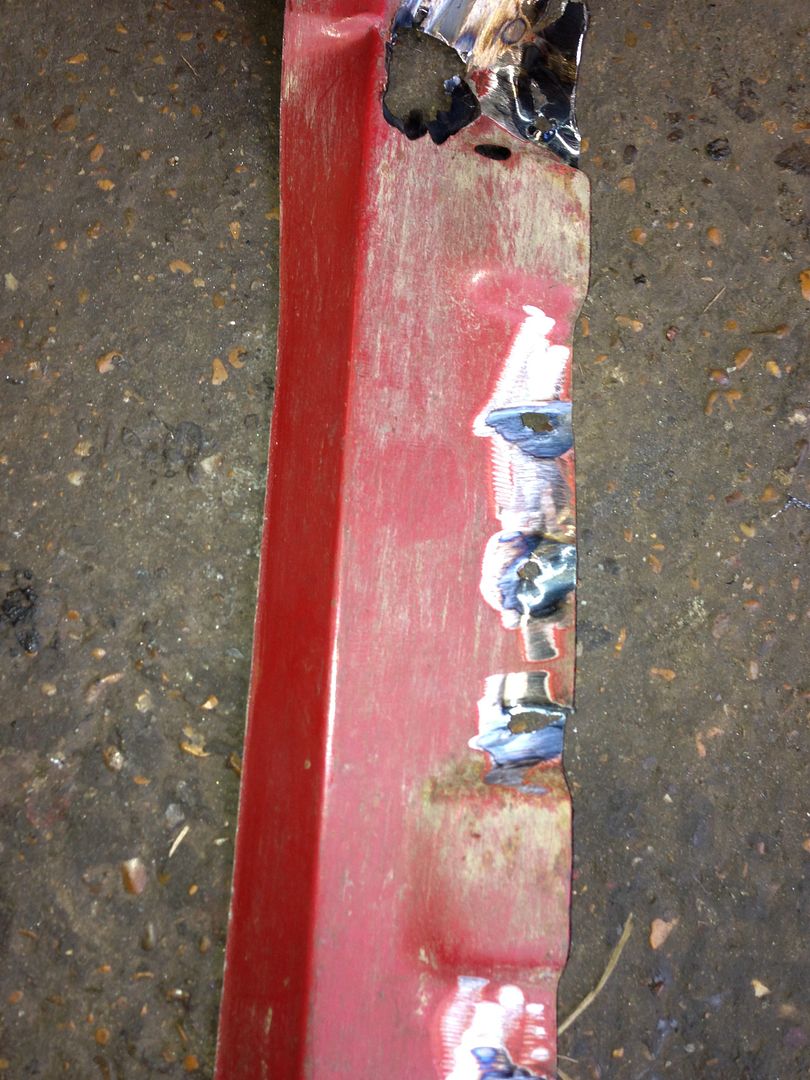
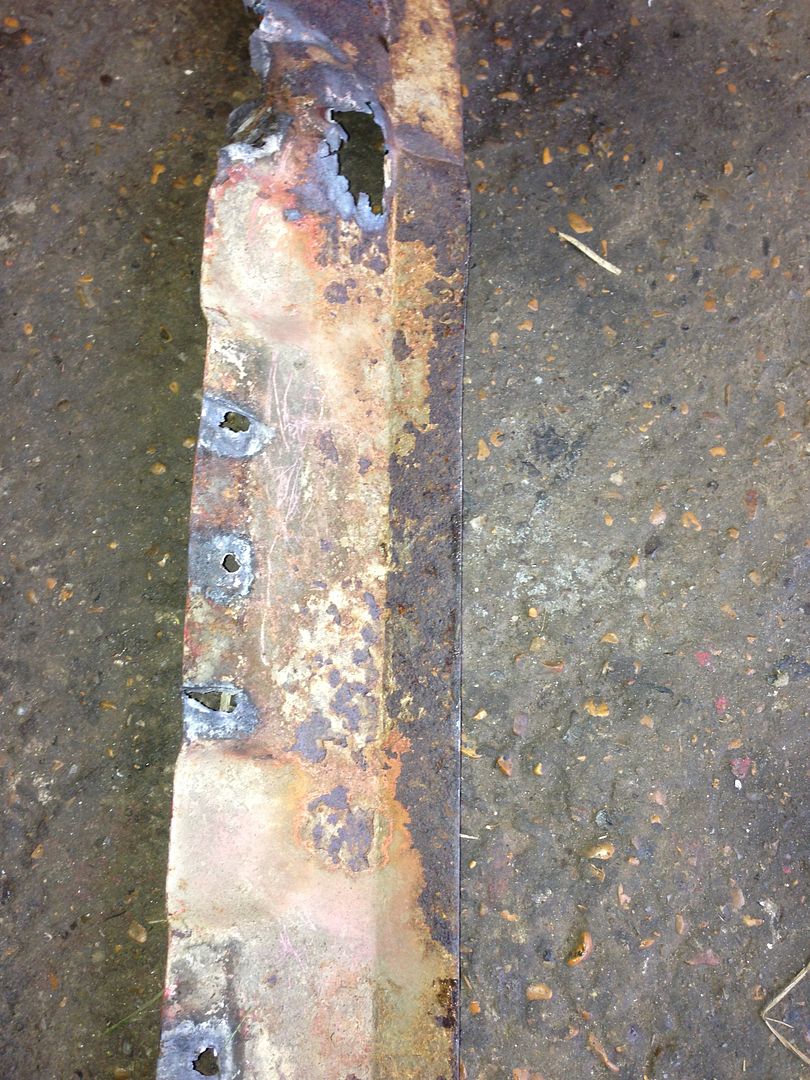
and the inner sill is shot as well
time to get a new section folded up.
Anyway the quarter panel is now on
but there was a fly in the ointment at the front where it curves round the door cutout, a gap appeared which i never noticed before so out came the slitting disc
now it fits so happy days.
Outer sill next. It was showing some signs of surface rust so there was no point in doing anything with it as its never surface rust. It 99% of the time starts behind
and the inner sill is shot as well
time to get a new section folded up.
#45
paul1275s
-

- Noobies
-
- 55 posts
Stage One Kit Fitted
- Location: Eastbourne
- Local Club: EDMC
Posted 08 March 2013 - 06:34 PM
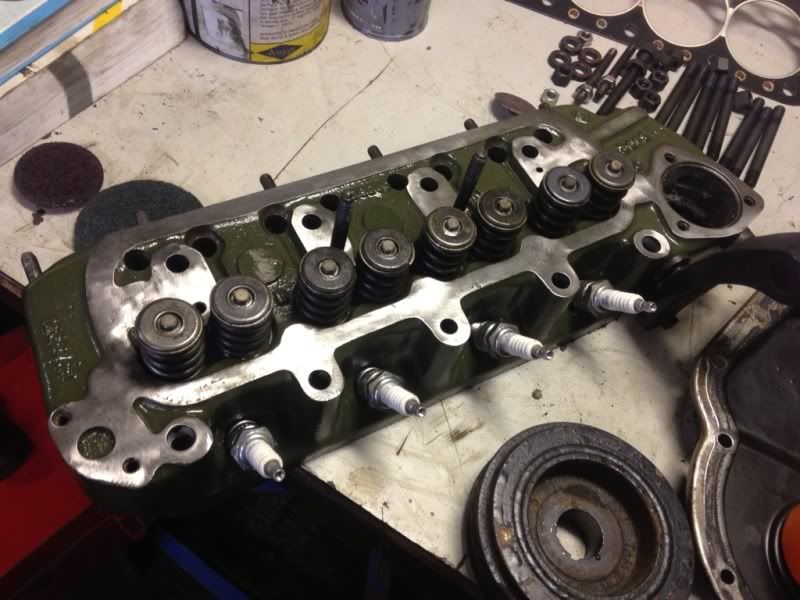
A wee bit of other progress on the Red One, the rear subby has been blasted and seam welded so I put a coat of paint on it, a pot of KBS Rust Sealer that I've had hanging around for a few years. It took about twenty minutes to get the lid off the pot! Also started cleaning up an engine that I'll be selling in the not too distant future.

Edited by paul1275s, 08 March 2013 - 06:35 PM.


0 user(s) are reading this topic
0 members, 0 guests, 0 anonymous users


