Time to start on the A posts. First job, getting the sheared studs out of the door hinges. 3 out of 4 came out.
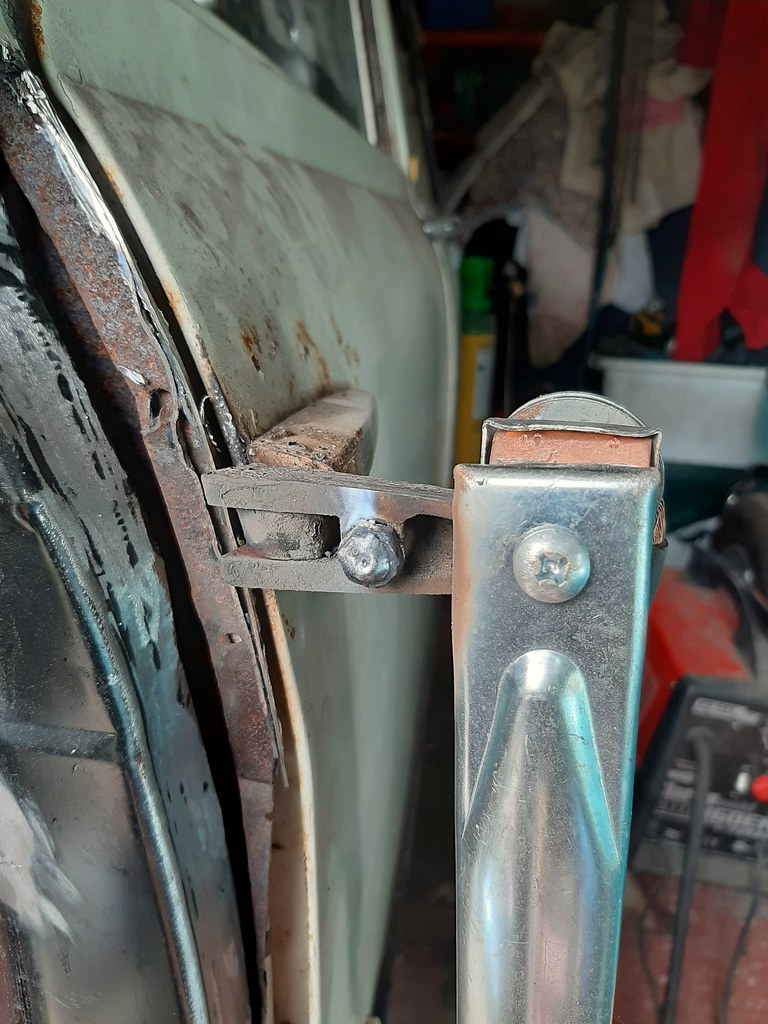 2020-06-05_07-14-07 by Mike Jackson, on Flickr
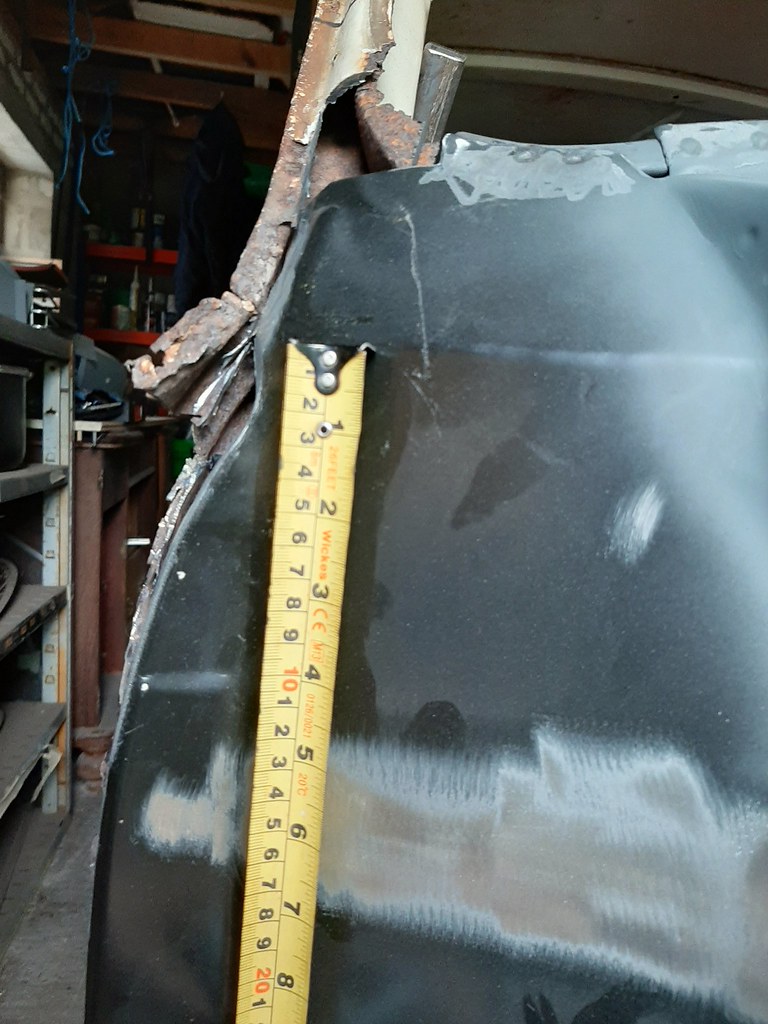
Mock up the outer A panel and wing. I used joiners biscuits to provide a uniform 5mm gap aroud the door:
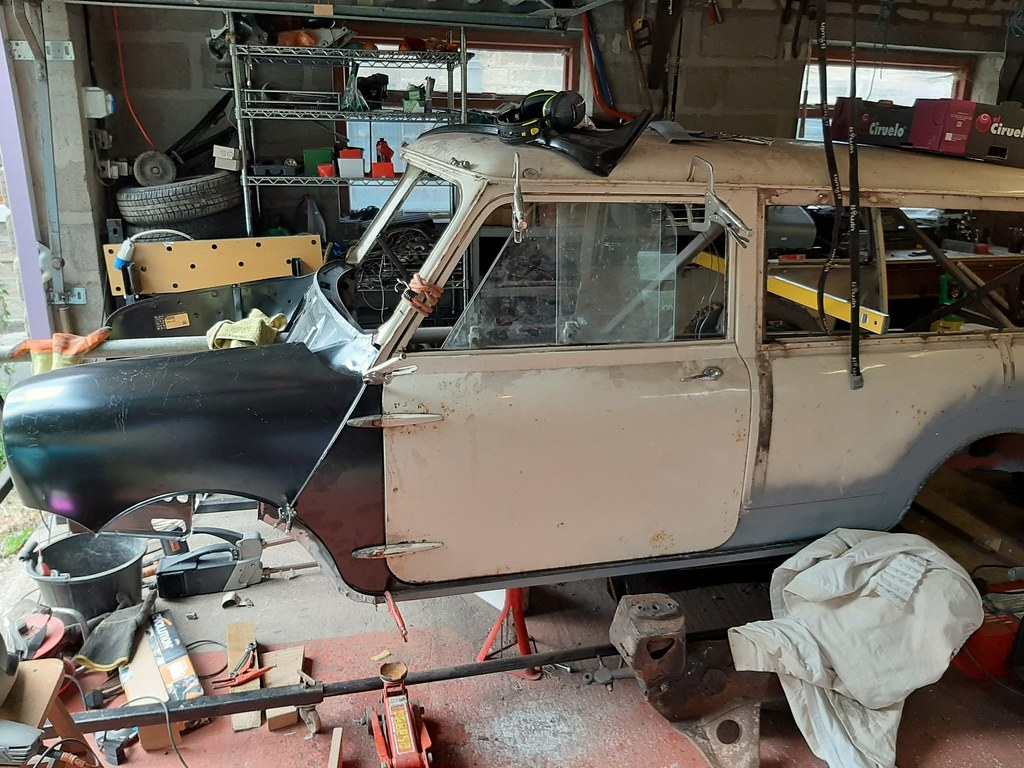 2020-06-05_07-14-21 by Mike Jackson, on Flickr
Then the fun starts. It's a 4 dimensional problem. Everything has to be replaced in the A post assembly but you can't do it all at once or the gaps will be awful. As I learned on the last project.
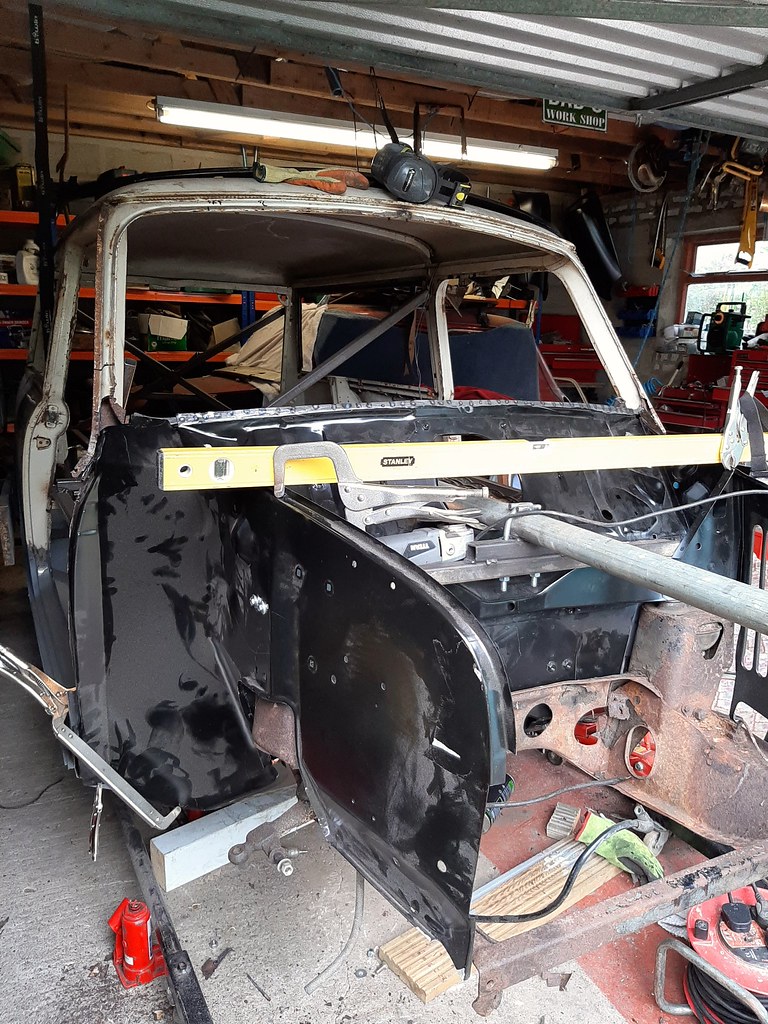
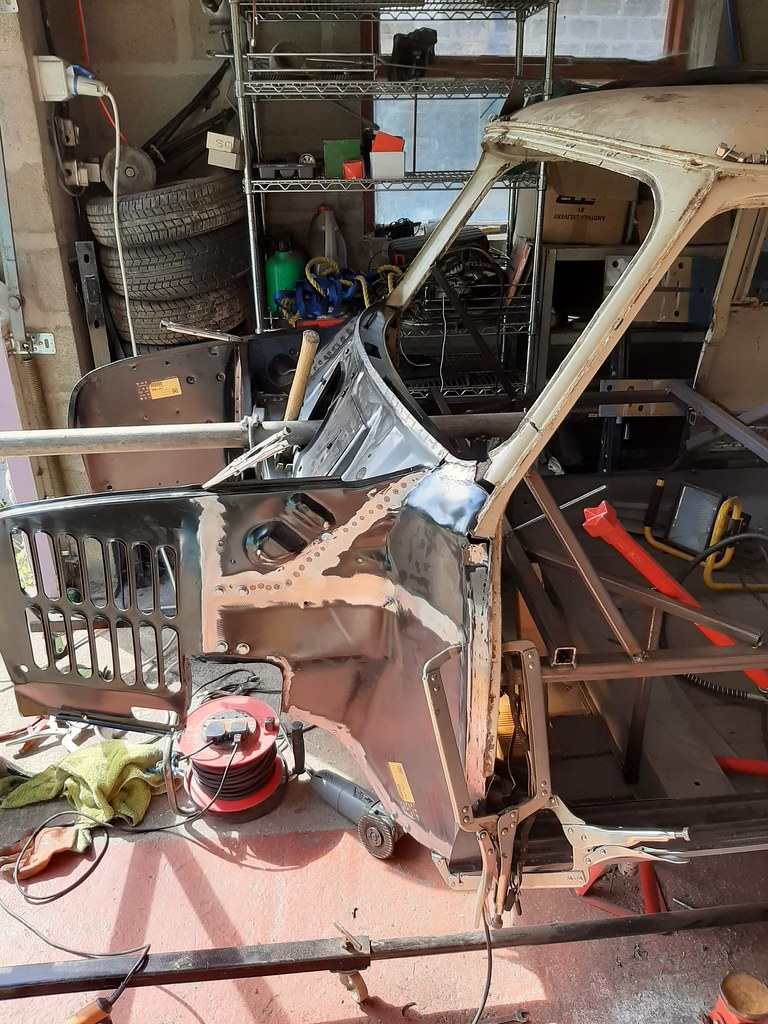
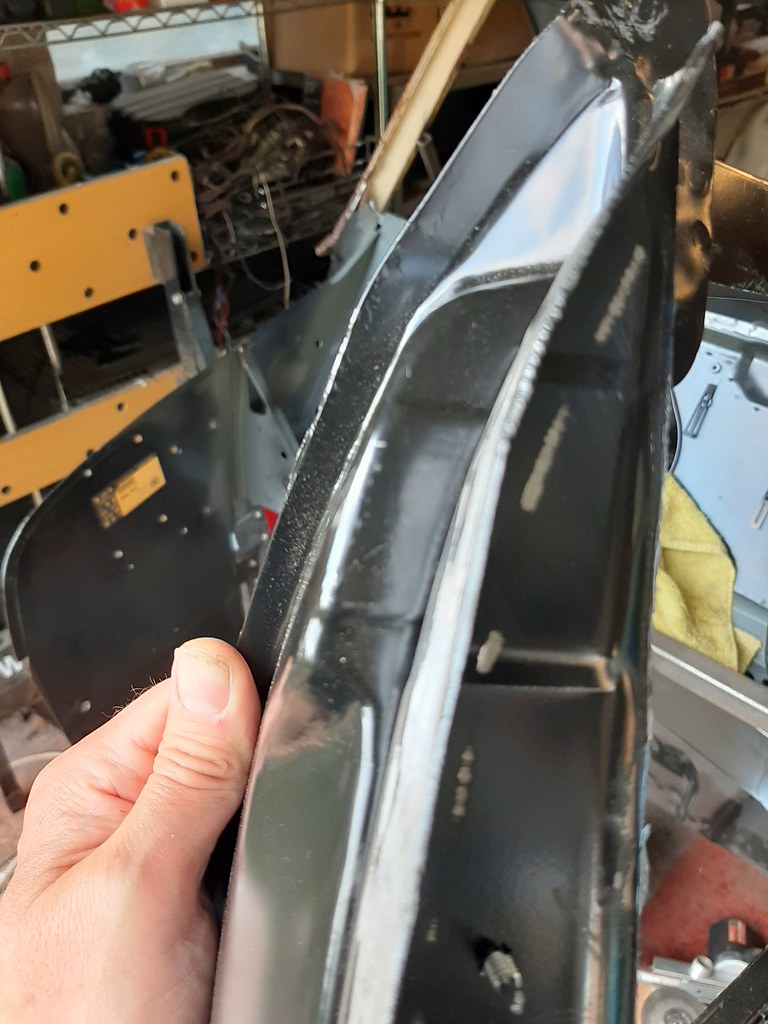
So, start with what's most visible, outer A panel. Tacked in place, but only temporarily to enable the box section of the A post to be assembled in the right place:
 2020-06-05_07-14-51 by Mike Jackson, on Flickr
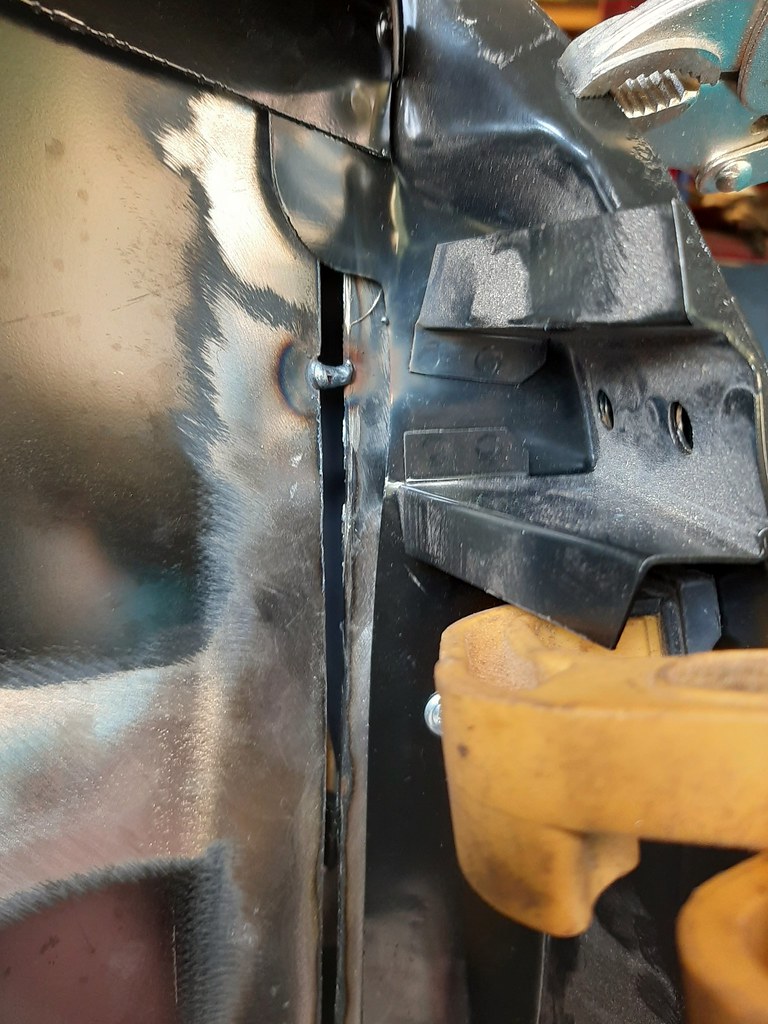
With door clamped and spaced with the biscuits:
 2020-06-05_07-15-03 by Mike Jackson, on Flickr
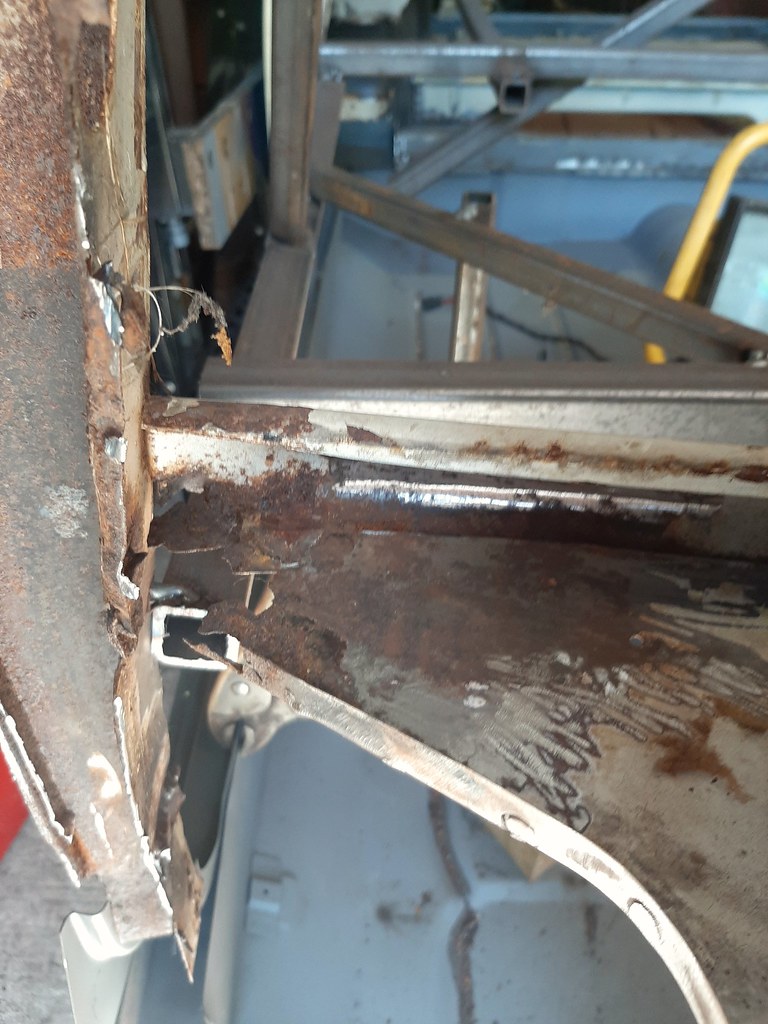
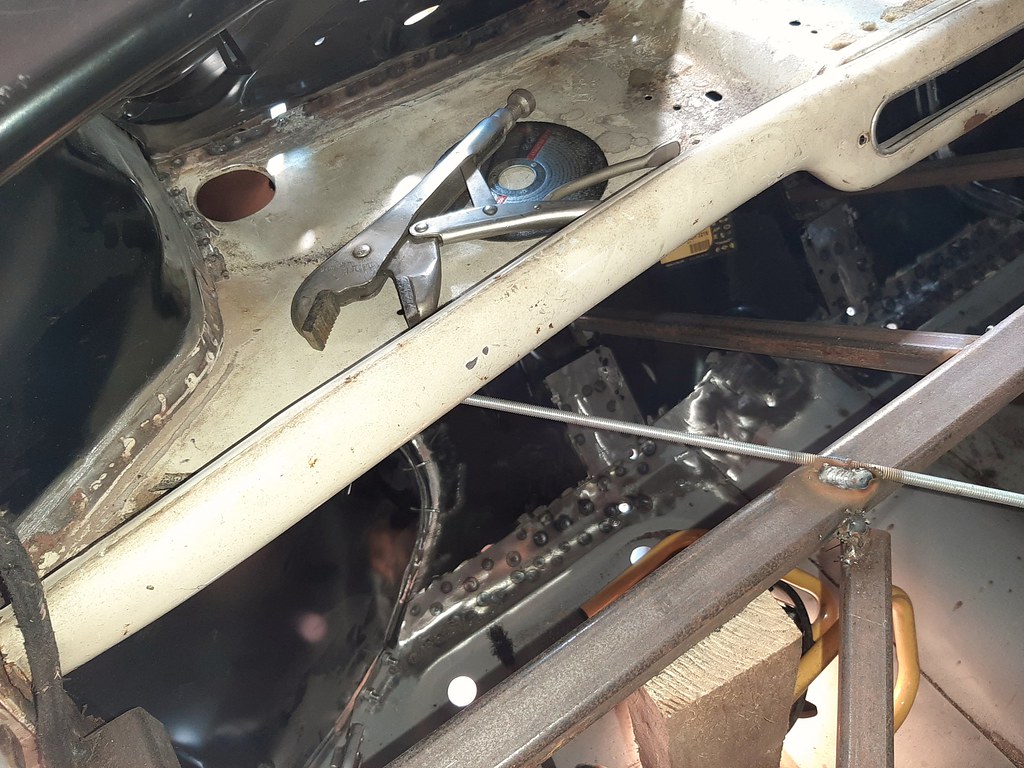
Next I chopped out the rusty part of the A post that would house the courtesy light switch if fitted, and squeezed in the new one...
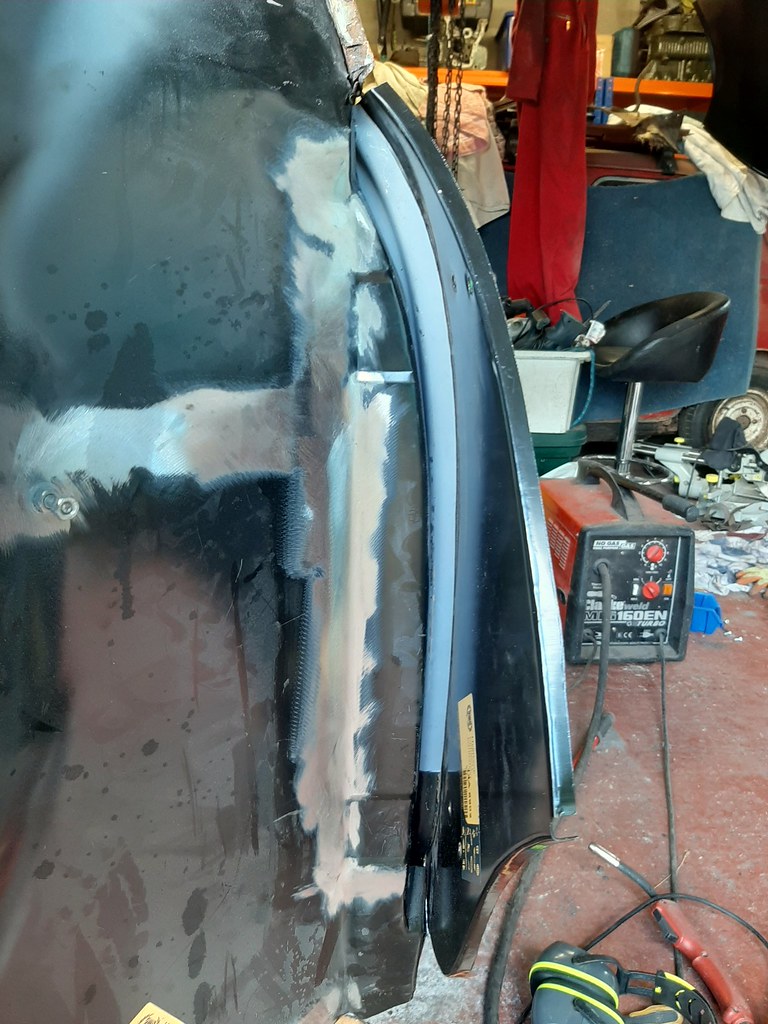 2020-06-05_07-15-13 by Mike Jackson, on Flickr
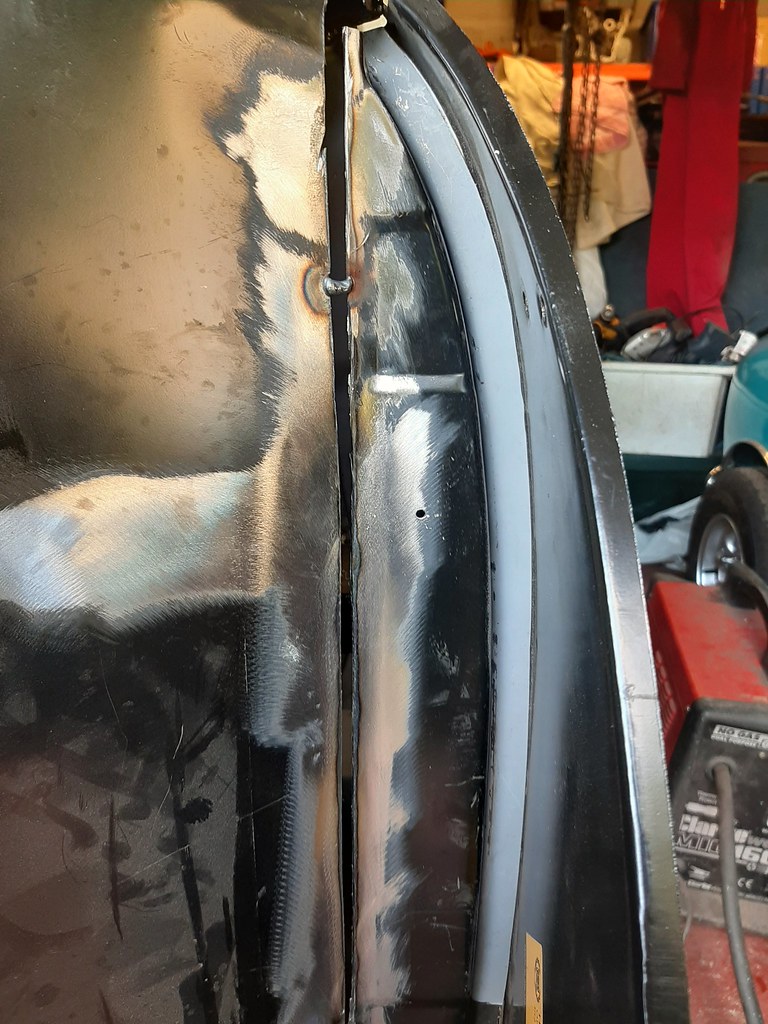
...and tacked that in place too:
 2020-06-05_07-15-43 by Mike Jackson, on Flickr
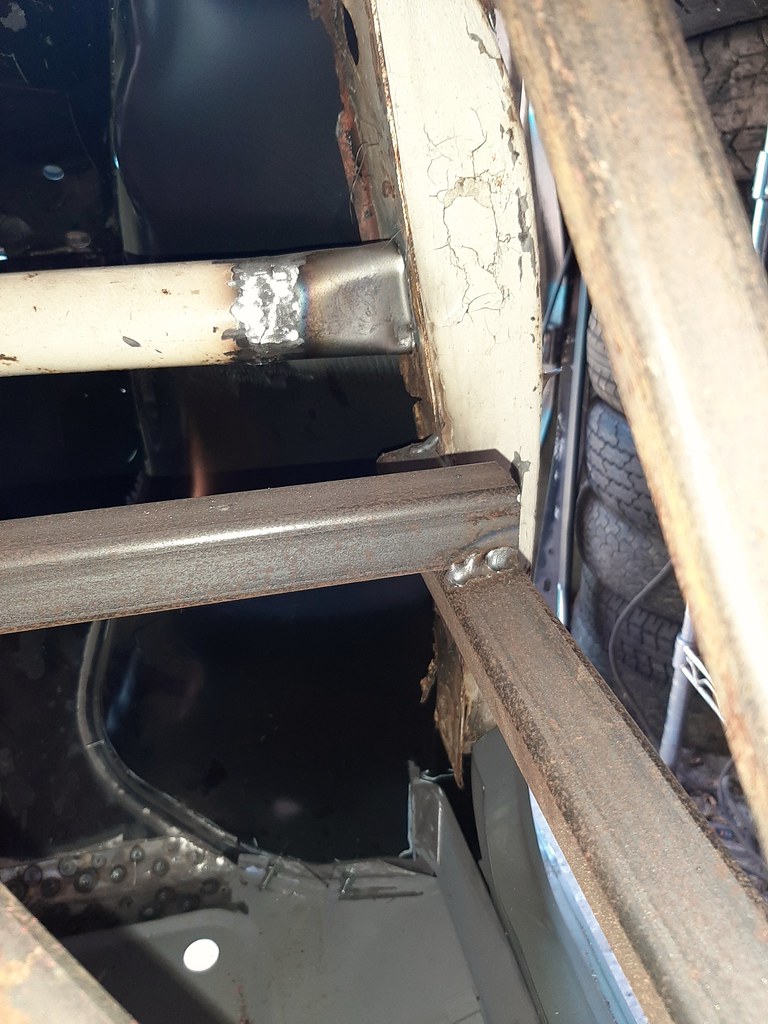
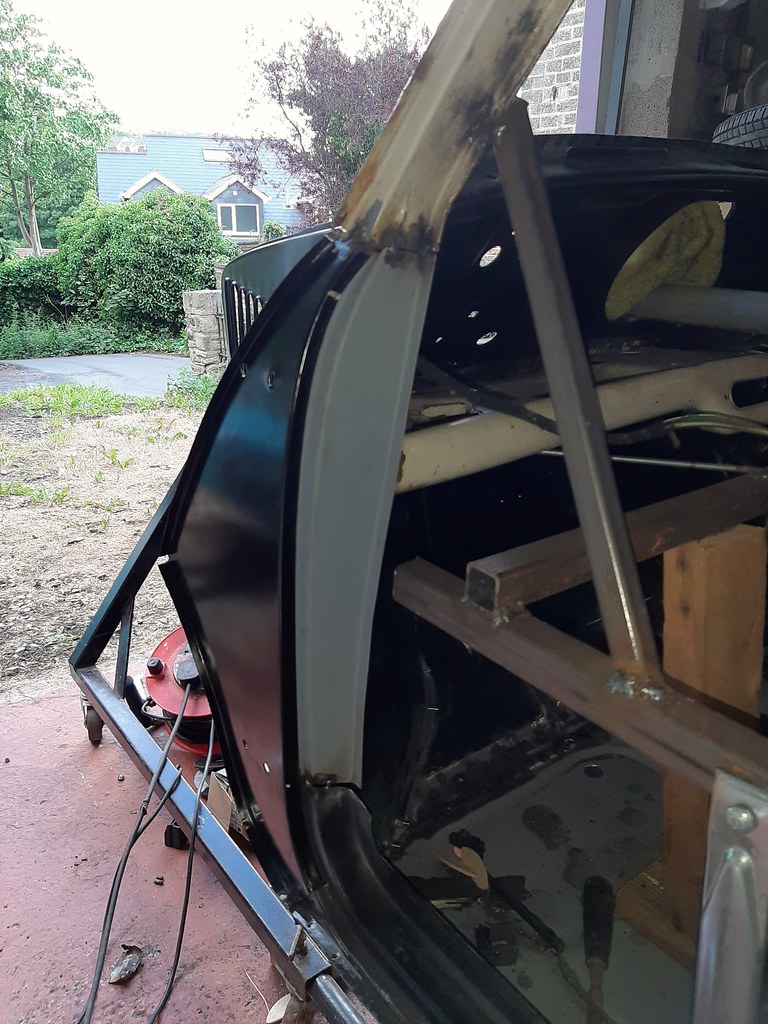
The next job will be to slice out the badly pressed section of the inner wing, attach it to the inner A panel with tech screws, and refit both as a pair to the outer A panel and clamp tight through the hinge bolt holes. And then tack the cutting into its new location. This will hopefully ensure a snug mating between the outer and inner A panels and avoid the nightmare I created for myself on the blue mk1.
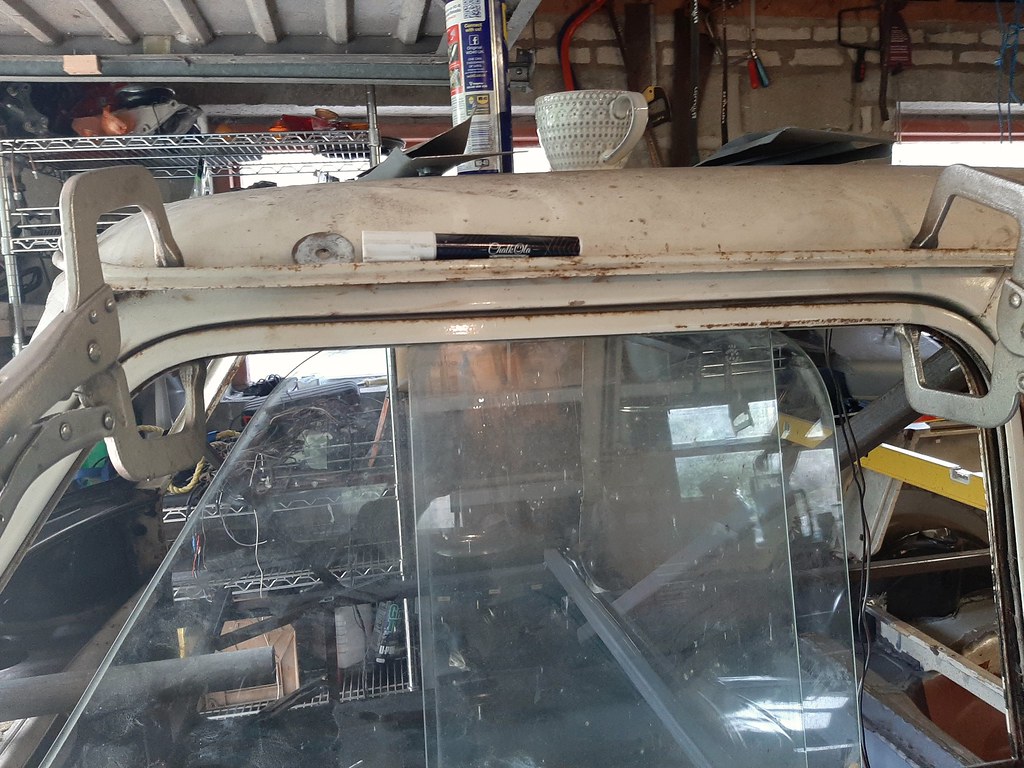
Quick look at the door, doesn't look too bad at first glance:
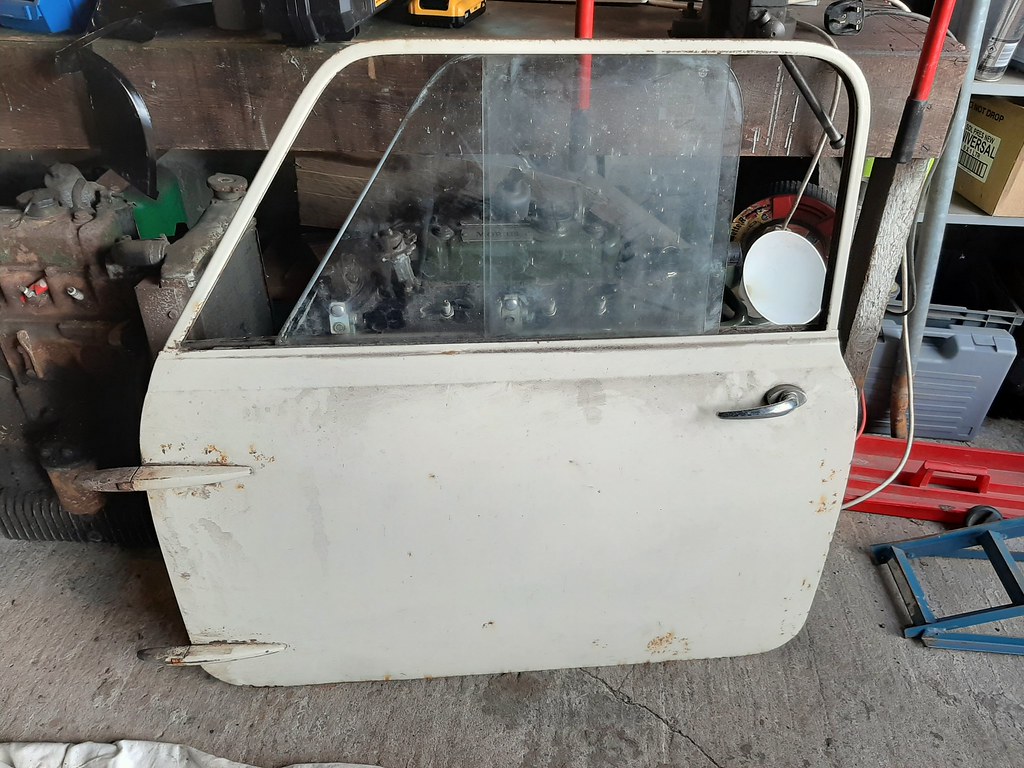 2020-06-05_07-15-54 by Mike Jackson, on Flickr
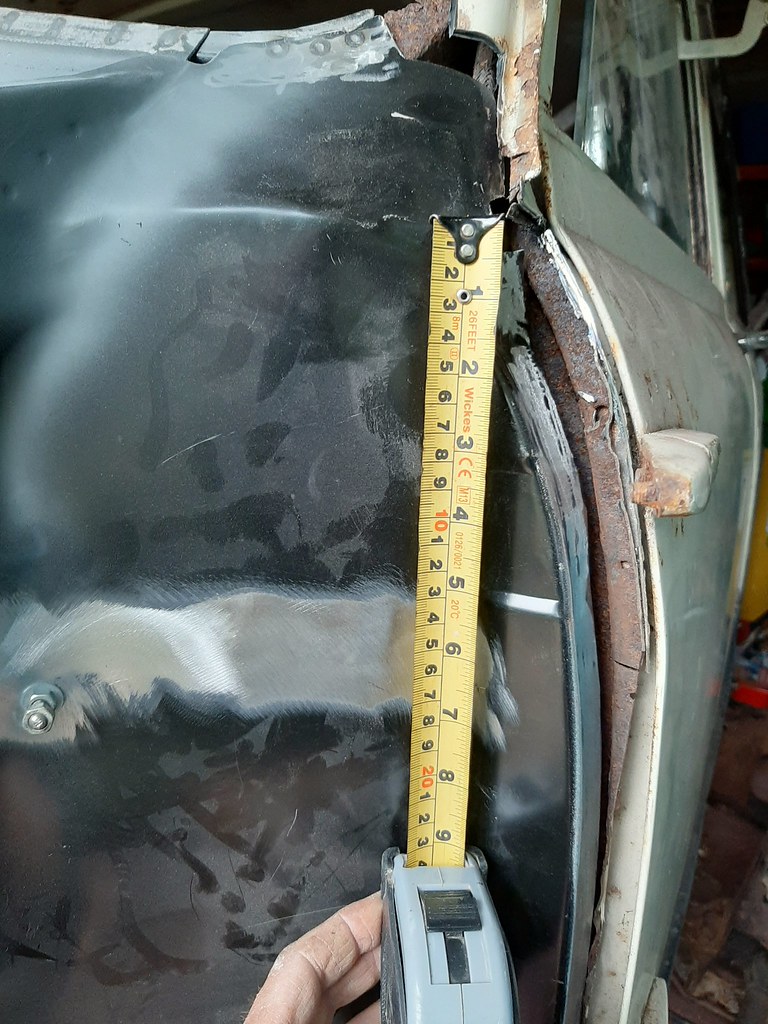
However, there's a really sharp dent / crease on the inside. This is repeated down the n/s rear quarter too:
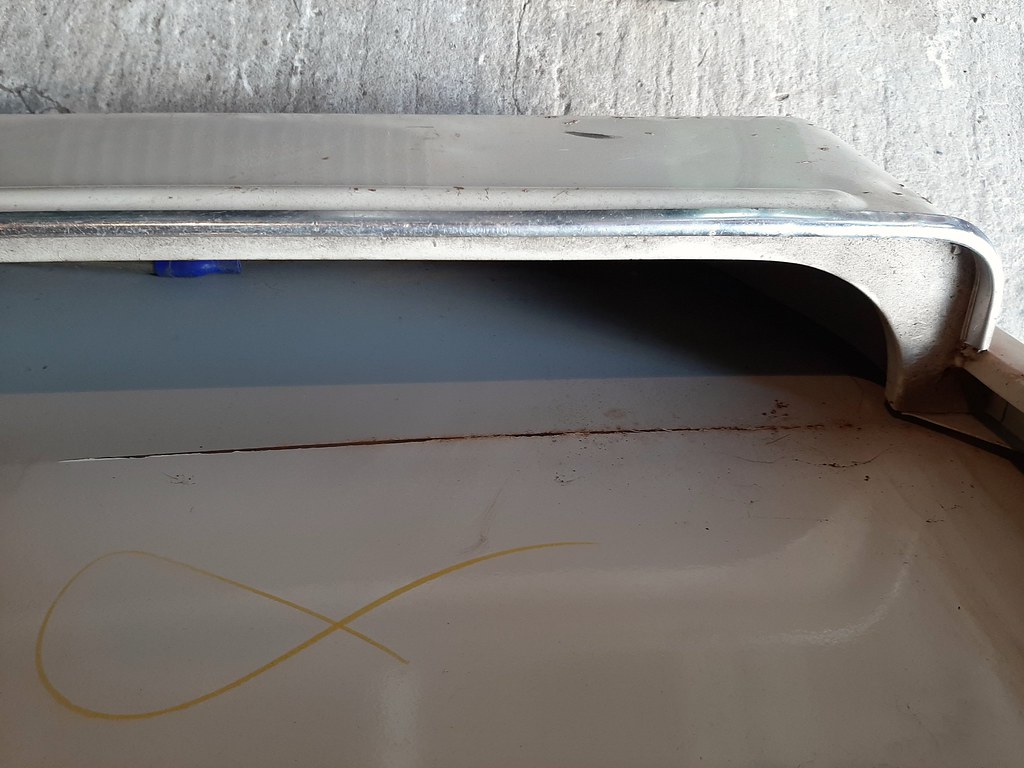 2020-06-05_07-16-07 by Mike Jackson, on Flickr
Here you can see where the door was catching in the frame after whatever previous repairs were done in this area:
 2020-06-05_07-16-18 by Mike Jackson, on Flickr
 2020-06-05_07-16-27 by Mike Jackson, on Flickr
Edited by minimikej, 05 June 2020 - 06:47 PM.


 2020-05-11_05-45-43 by Mike Jackson, on Flickr
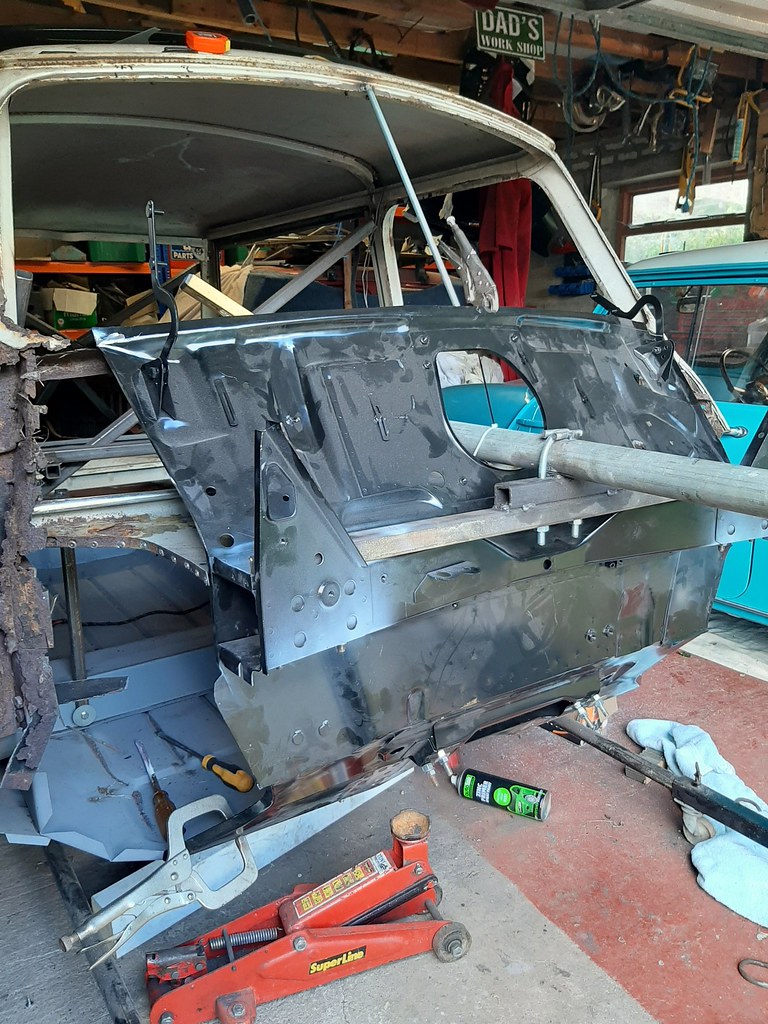 2020-05-11_05-45-59 by Mike Jackson, on Flickr
 2020-05-11_05-46-30 by Mike Jackson, on Flickr