Jump to content


Photo

Mk1 Austin Countryman


  • Please log in to reply
155 replies to this topic

#136 minimikej

minimikej

    Speeding Along Now

  • Members
  • PipPipPipPipPip
  • 346 posts
  • Location: Derbyshire

Posted 21 June 2020 - 07:51 PM

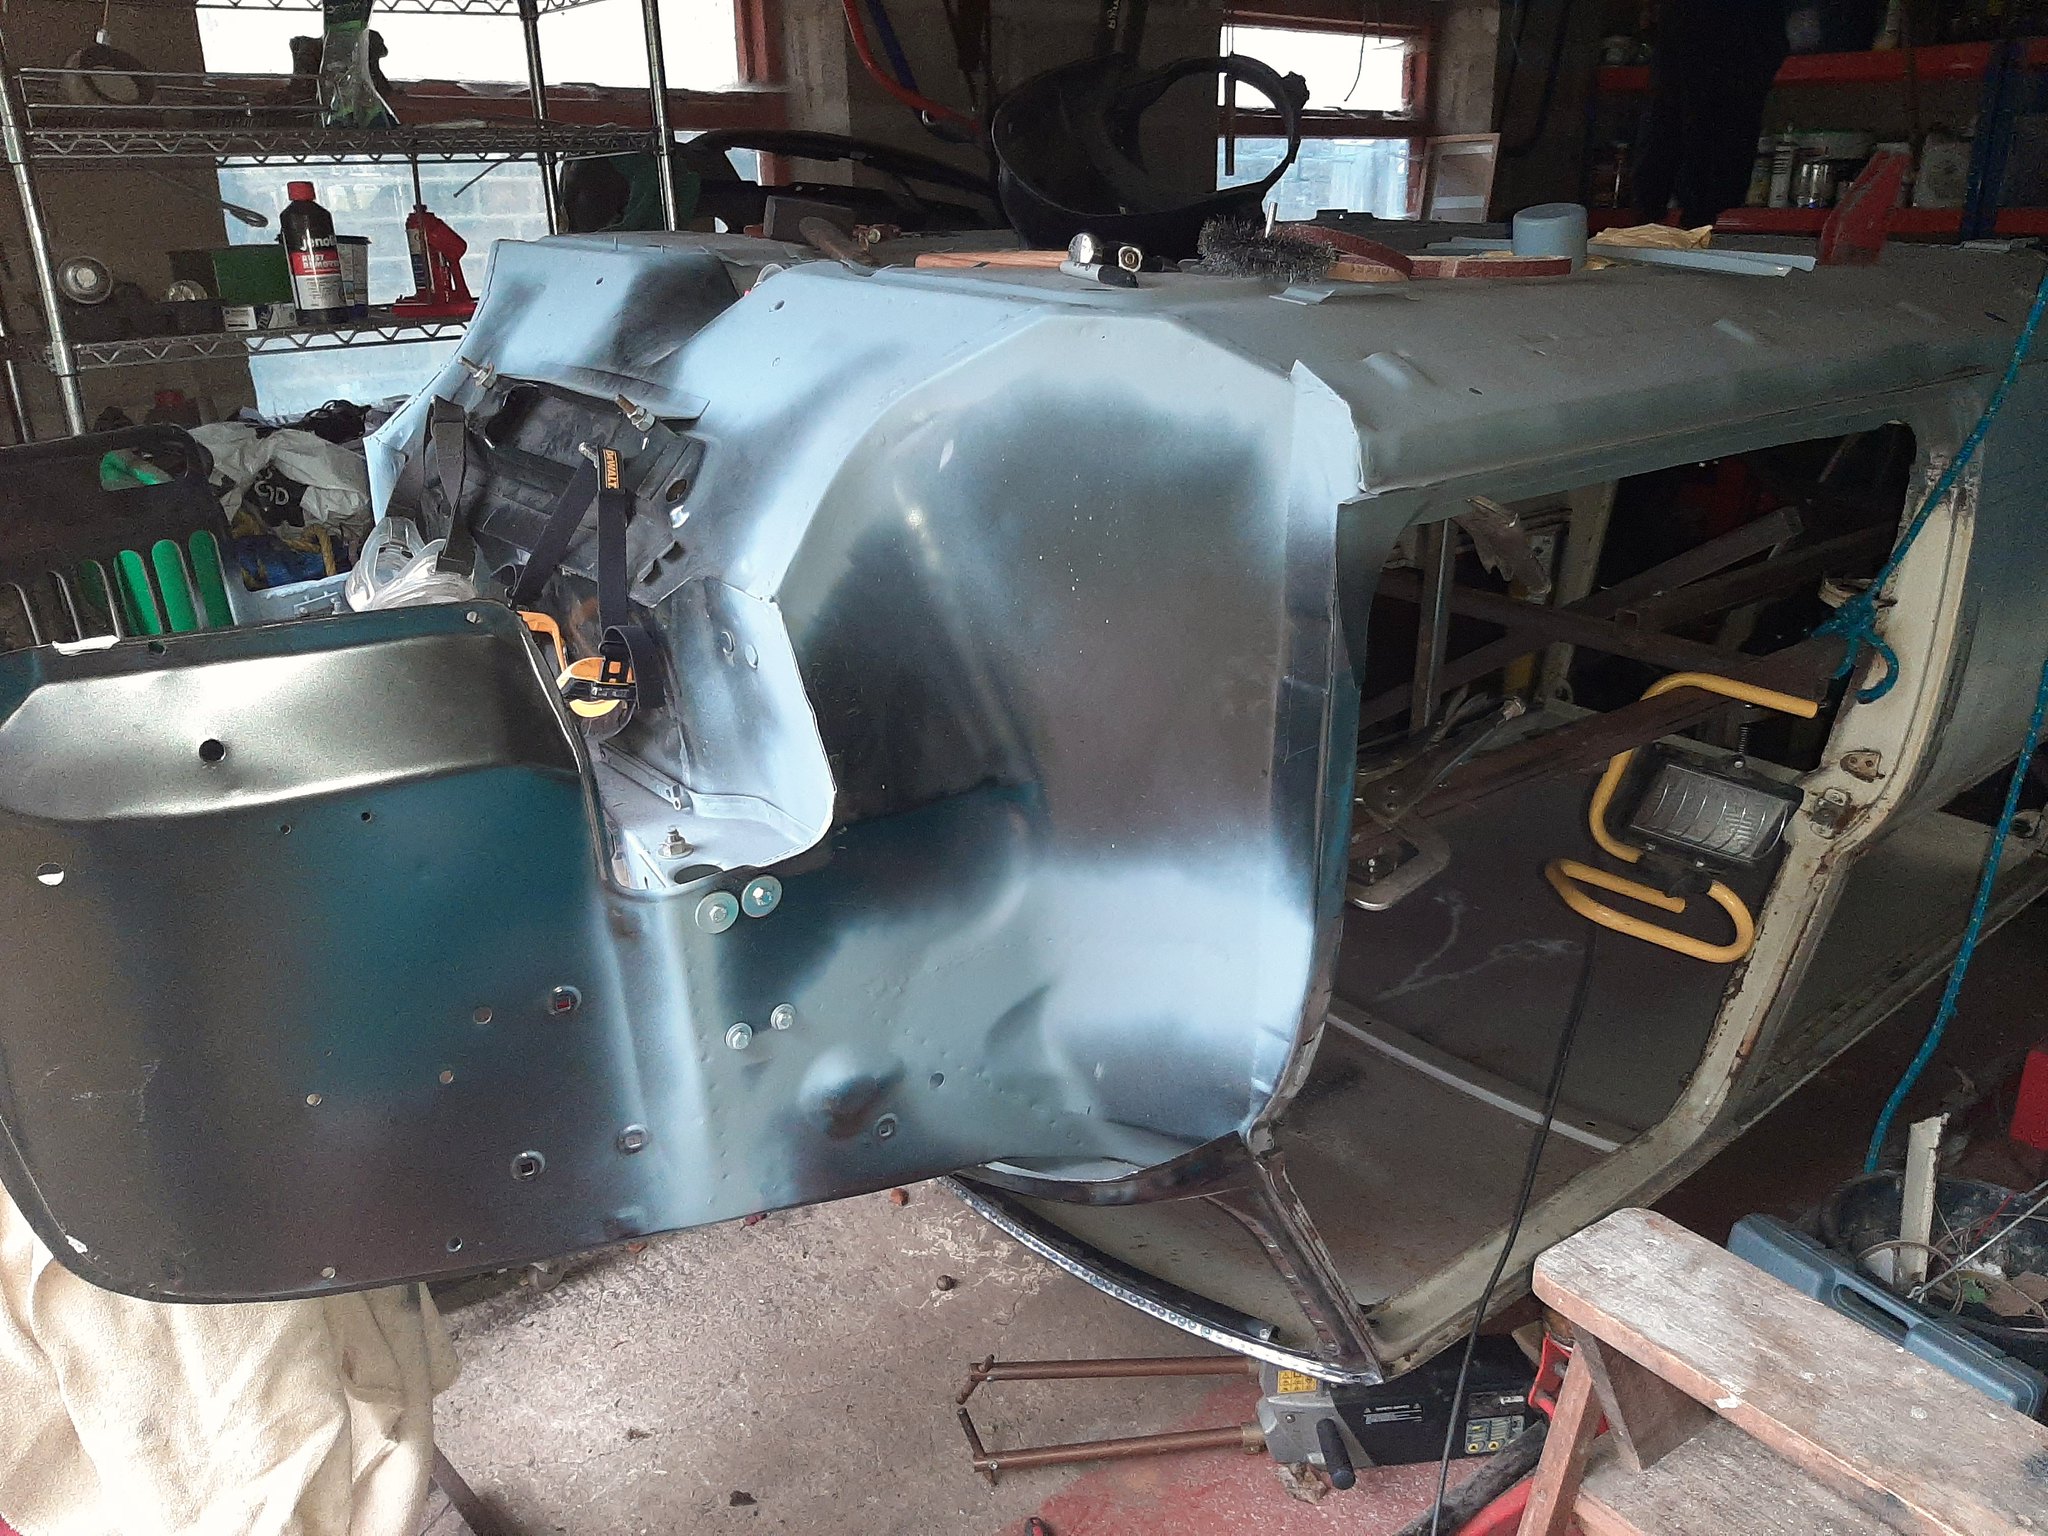
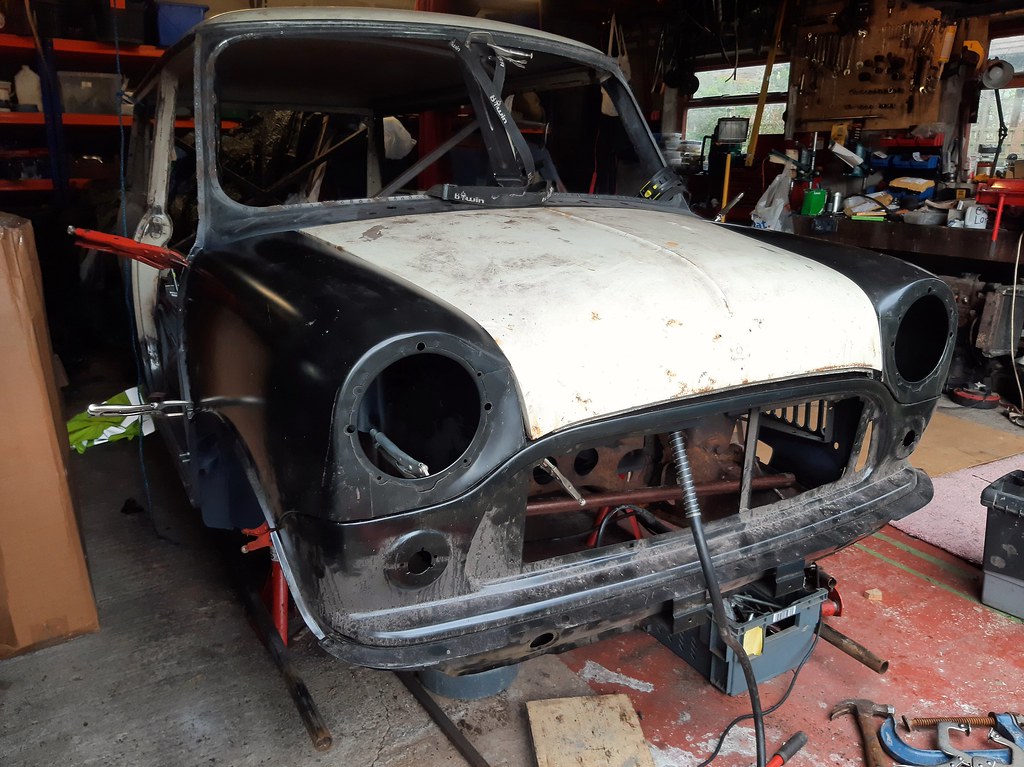
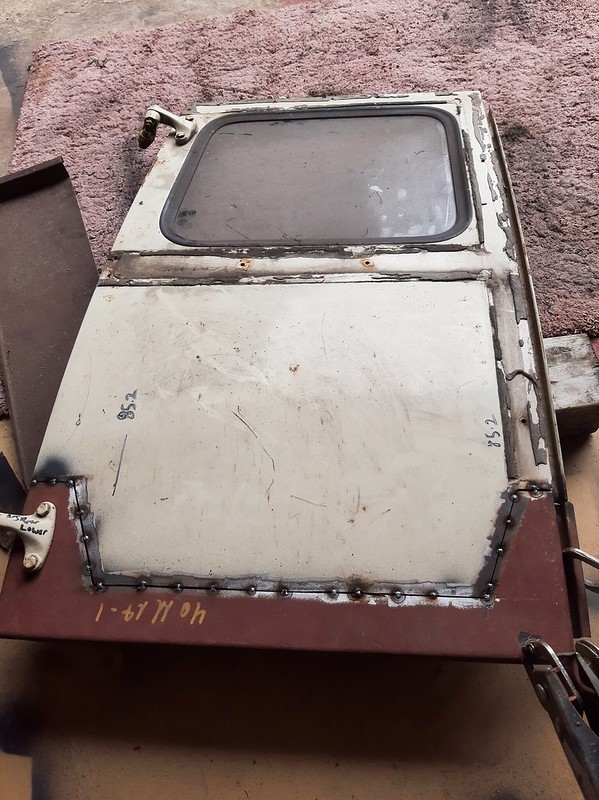
Two steps forward and three steps back. I was gearing up to replace the windscreen scuttle, but started looking in detail at the corrosion around the edges. And then this happened.


50030717506_779a0d382f_b.jpg2020-06-21_08-36-16 by Mike Jackson, on Flickr


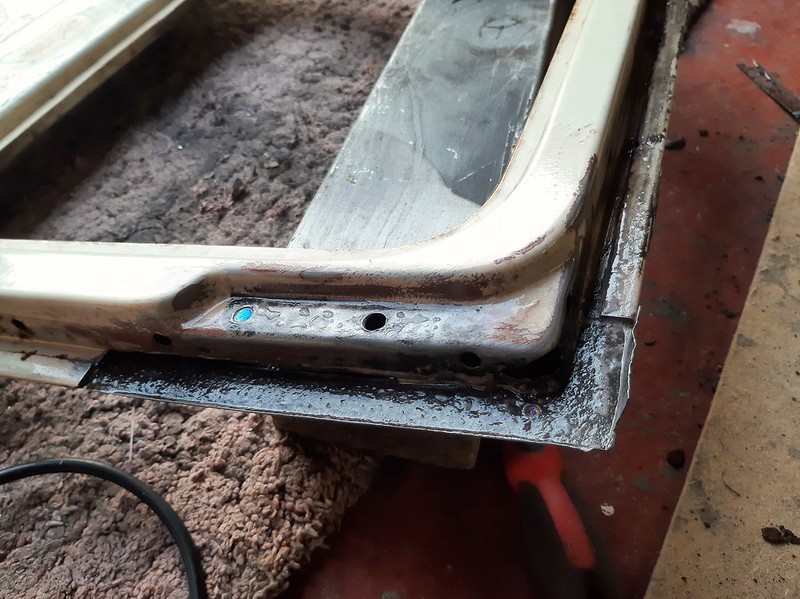
I think it was the right decision. Surface corrosion verging on the serious inside the A pillars.


50030181943_f4a4f15be8_b.jpg2020-06-21_08-37-06 by Mike Jackson, on Flickr


50030180403_70c2358f00_b.jpg2020-06-21_08-36-44 by Mike Jackson, on Flickr


50031008942_142c802d20_b.jpg2020-06-21_08-44-12 by Mike Jackson, on Flickr


50030207313_9252f24964_b.jpg2020-06-21_08-43-58 by Mike Jackson, on Flickr


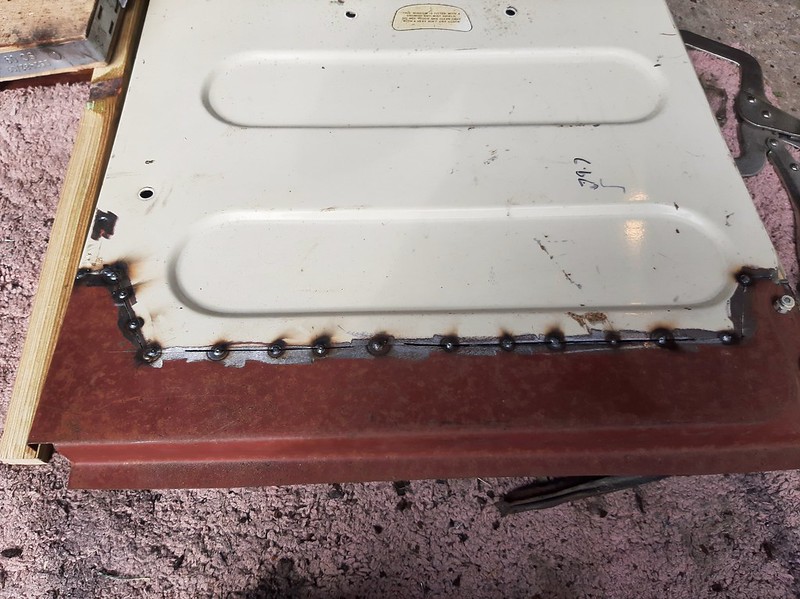
Cleaned up with some rust treatment:


50030718336_87b7eb84cb_b.jpg2020-06-21_08-36-31 by Mike Jackson, on Flickr


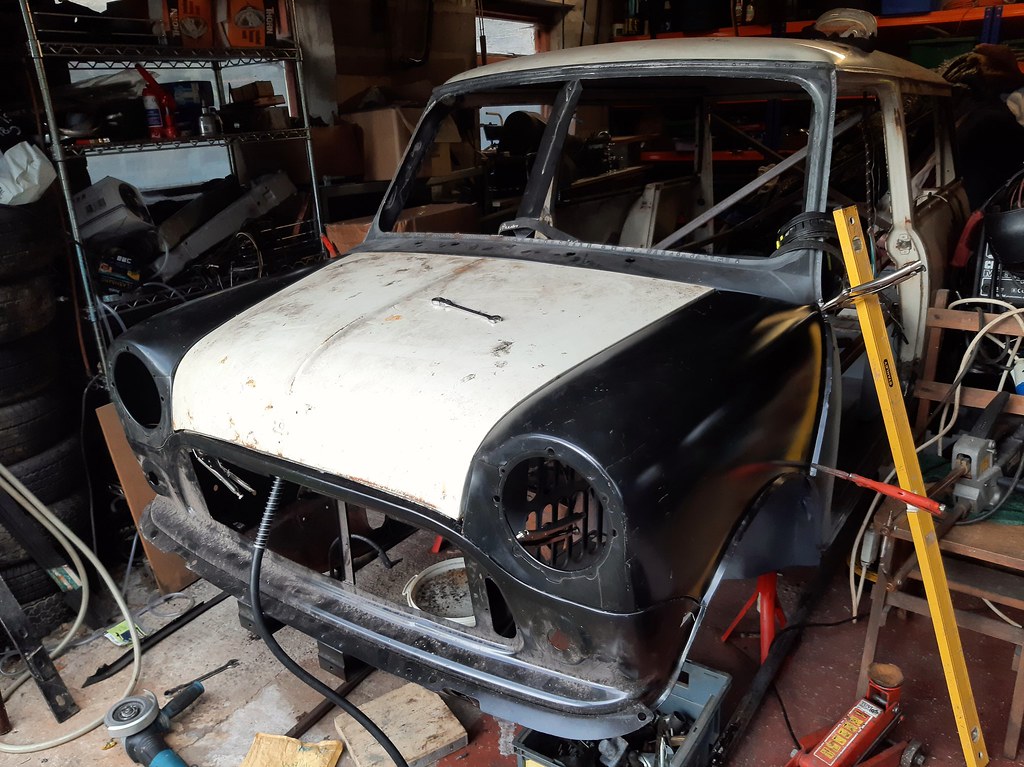
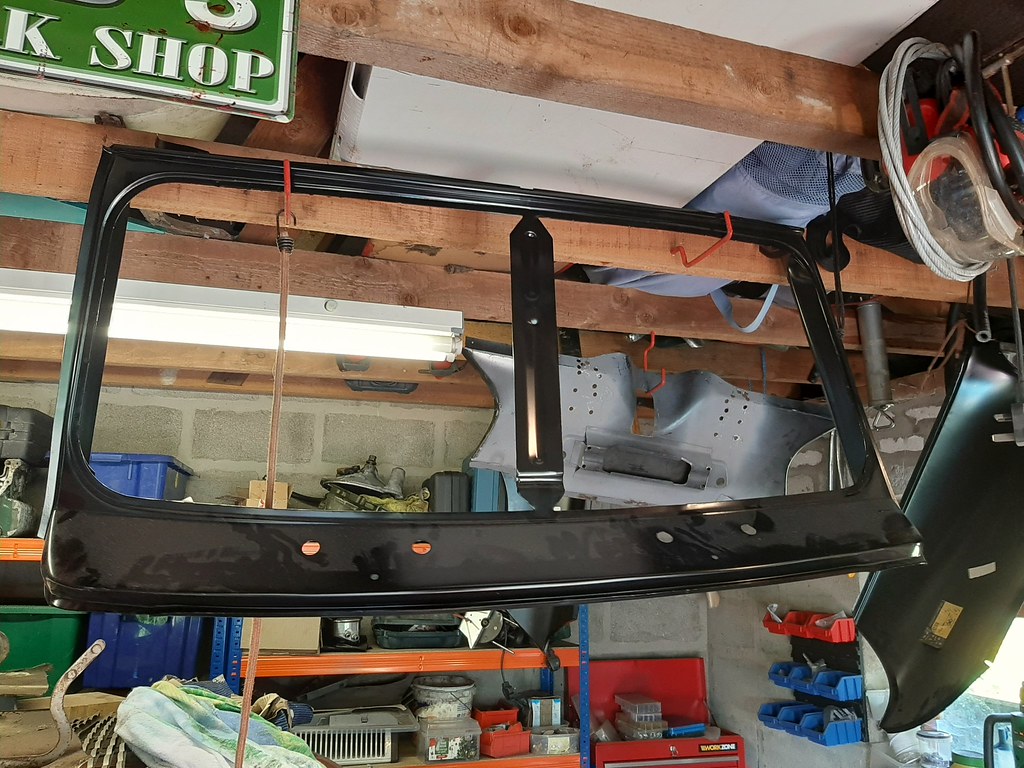
The A post external flange and the roof skin are machine roller welded. No drilling out the spots here. Going to have to be extremely careful removing the old gutter to avoid damaging the roof skin.


Cheers


#137 Bdshim

Bdshim

    Mini Mad

  • Just Joined
  • PipPipPipPip
  • 196 posts
  • Location: Suffolk

Posted 22 June 2020 - 04:47 PM

blimey got your work cut out, sure will work out just fine.


#138 Daz1968

Daz1968

    Up Into Fourth

  • Members
  • PipPipPipPipPipPipPipPipPip
  • 2,058 posts
  • Location: Dudley

Posted 22 June 2020 - 06:11 PM

Same as I had to do, there is no paint in there so corrosion is common, the sponge on top corners rotted the top of my side panel out. 
one thing I will say is I had to remove the inner upper a post closers from the panel to get it in and then spot weld them afterwards, also the corner pieces of the cant rail are different on new panel so remove those and reuse ones on the car, and as you have good guttering I would salvage the corner pieces with drain cutout to weld in between new panel and existing guttering on side panel, mine was rotted out so I had to fabricate them, awkward but turned out ok, yours look like they can easily be reused.

2 of the wiper holes need welding up, the outer ones but what many don’t notice is the washer jet holes are also in the wrong place, I welded up ones in panel and drilled new in correct place.


Edited by Daz1968, 22 June 2020 - 06:13 PM.


#139 Grant 111

Grant 111

    Learner Driver

  • Noobies
  • PipPip
  • 18 posts
  • Location: lower compton

Posted 22 June 2020 - 06:16 PM

Amazing work. Really impressive to watch this take shape.

#140 minimikej

minimikej

    Speeding Along Now

  • Members
  • PipPipPipPipPip
  • 346 posts
  • Location: Derbyshire

Posted 22 June 2020 - 07:32 PM

Same as I had to do, there is no paint in there so corrosion is common, the sponge on top corners rotted the top of my side panel out. 
one thing I will say is I had to remove the inner upper a post closers from the panel to get it in and then spot weld them afterwards, also the corner pieces of the cant rail are different on new panel so remove those and reuse ones on the car, and as you have good guttering I would salvage the corner pieces with drain cutout to weld in between new panel and existing guttering on side panel, mine was rotted out so I had to fabricate them, awkward but turned out ok, yours look like they can easily be reused.

2 of the wiper holes need welding up, the outer ones but what many don’t notice is the washer jet holes are also in the wrong place, I welded up ones in panel and drilled new in correct place.

Hey Daz1968, I think it was your write-up persuaded me to do it!!
So, when your windscreen panel surround arrived, were the inner A post panels you describe fully spot welded? On my panel, it is only spot welded to the frame, and not to the top corner curve at all. I was wondering if this is a revision to the panel so that the assembly can be fitted without surgically removing the closing panels first? What do you reckon? I'll try get a pic tomorrow to describe what I'm on about.


Thanks

Mike


#141 Daz1968

Daz1968

    Up Into Fourth

  • Members
  • PipPipPipPipPipPipPipPipPip
  • 2,058 posts
  • Location: Dudley

Posted 22 June 2020 - 10:32 PM

I found with the roof on I couldn’t fit the panel in the space as the inner upper a post closers stopped me fitting it in the gap, if roof wasn’t on it would have fell in, I just drilled out the spot welds then plug welded them back in afterwards. The upper corner pieces I drilled out the spot welds then fitted the original ones after fitting the frame, these were a different shape so even though new ones would fit they didn’t look right. The inner closes have to fit in between the upper panel the heater vents and ashtray are in and it was here I couldn’t get them in there may be a way to do it but I gave up trying was easier to remove them.


#142 minimikej

minimikej

    Speeding Along Now

  • Members
  • PipPipPipPipPip
  • 346 posts
  • Location: Derbyshire

Posted 23 June 2020 - 11:02 AM

I found with the roof on I couldn’t fit the panel in the space as the inner upper a post closers stopped me fitting it in the gap, if roof wasn’t on it would have fell in, I just drilled out the spot welds then plug welded them back in afterwards. The upper corner pieces I drilled out the spot welds then fitted the original ones after fitting the frame, these were a different shape so even though new ones would fit they didn’t look right. The inner closes have to fit in between the upper panel the heater vents and ashtray are in and it was here I couldn’t get them in there may be a way to do it but I gave up trying was easier to remove them.

Yeah that makes sense, thanks


#143 minimikej

minimikej

    Speeding Along Now

  • Members
  • PipPipPipPipPip
  • 346 posts
  • Location: Derbyshire

Posted 14 August 2020 - 07:50 PM

I think the reason that the "horns" (inner roof rail corners) are a different profile is because on later cars the windscreen assembly tucks inside the side inner roof rails whereas on the earlier cars they sit on the outside maybe?

Anyway, I have rescued the original panels for refitting.


I've been really busy with domestic repairs, work and family recently, and with the bad weather and COVID keeping us all housebound I kind of lost all interest.


Sun's been out the last few days, and I've been out to see where I was up to.


Had to split the full windscreen panel into its constituent parts as described by @Daz1968.

Gradually fettling it into shape, but for me at least the porta-power is essential to do this job, otherwise the scuttle sits too low with respect to the dash rail.

50225789553_ea70ebfdbe_b.jpg2020-08-14_07-44-28 by Mike Jackson, on Flickr


50226655352_f89559d746_b.jpg2020-08-14_07-44-16 by Mike Jackson, on Flickr


Back on it in September all being well.

Cheers


#144 Standeman

Standeman

    Starting My Mini Up

  • Just Joined
  • Pip
  • 2 posts
  • Location: Windsor

Posted 14 October 2020 - 10:43 PM

Once again, massive compliments on your great work - its a great picture story and is helping me massively with my restoration....looking forward to the newest update!!


#145 minimikej

minimikej

    Speeding Along Now

  • Members
  • PipPipPipPipPip
  • 346 posts
  • Location: Derbyshire

Posted 15 December 2020 - 08:40 PM

Not a huge amount to add unfortunately. Jobs at home, work, and lousy autumn weather I've not got much done. The nearside A panels are now in place for final welding but no pics right now.


Next jobs:

Driver's side A pillar

passenger rear bins

Maybe rip the rear quarters off and replace with new..?

Repair side and rear doors

front panel and wings

choose and prep a decent front subframe


50724066981_a228bb86b0_k.jpg2020-12-15_08-31-25 by Mike Jackson, on Flickr

50724158242_1d3a18a556_k.jpg2020-12-15_08-31-46 by Mike Jackson, on Flickr


FK this year.


Edited by minimikej, 15 December 2020 - 08:42 PM.


#146 minimikej

minimikej

    Speeding Along Now

  • Members
  • PipPipPipPipPip
  • 346 posts
  • Location: Derbyshire

Posted 18 April 2022 - 05:24 PM

Back on the Countryman project at last.

The blue mk1 is running okay-ish and back on the road after mountains of work changing the engine for a 'rebuilt' 1098 and box, only to find the box wouldn't stay in second. Engine out again, swap for another box. Back in again, rebuild twin carbs. Fail to get carbs running nicely. Ditch twins and replace with HIF38. Fail to get running well. Install Stage 1 needle. Running better but still misfiring under heavy load (up our local diagnostic hill, Chunal). But it is at least running well enough to potter about.

But anyway, the Countryman. I fitted the rear bins and inner sill closing panels late last summer, and then the outer and inner A panels (in that order). I managed to get a regular 5mm gap around the door frame on 3 sides, but not on the doorstep side which was around 8 mm. Not much I can do about that now.


Been wrestling with the front end panels this Easter. A bit of fettling still to do but it's looking quite promising. These are all Heritage panels: A panels, Windscreen surround and scuttle, Inner wings, outer wings, front panel. I reckon I can make them all fit without cutting anything, fingers crossed.

52013566734_e27359ff9b_h.jpg2022-04-18_06-06-03 by Mike Jackson, on Flickr


52013319361_1f14d1e931_b.jpg2022-04-18_06-06-22 by Mike Jackson, on Flickr


52012292352_028915867b_b.jpg2022-04-18_06-06-41 by Mike Jackson, on Flickr


#147 minimikej

minimikej

    Speeding Along Now

  • Members
  • PipPipPipPipPip
  • 346 posts
  • Location: Derbyshire

Posted 17 July 2022 - 09:02 PM

Just as I was getting back into the project, what do I do?

52222935521_2166e6dcea_c.jpg20220622_104250 by Mike Jackson, on Flickr

 
Tore my Achilles tendon, pushing the blue mk1 back into the garage. That was unexpected, and very painful. Don't recommend.


#148 minimikej

minimikej

    Speeding Along Now

  • Members
  • PipPipPipPipPip
  • 346 posts
  • Location: Derbyshire

Posted 17 July 2022 - 09:10 PM

That was nearly 2 months ago now, but I've been doing some lighter work on the doors.
 
Here is the offside door. Ages ago I'd bought these folded repair sections off ebay. They're very well folded, and great value:
 
https://www.ebay.co....tm/383949523482


However, on this door, there's more rot than I thought extending up round the corners.

52223425930_b615e450e6_c.jpg20220625_173327 by Mike Jackson, on Flickr

52221932547_c41ce081e9_c.jpg20220625_173333 by Mike Jackson, on Flickr


I don't have a shrinker/stretcher so had to cut and shape flat sections to repair.

52221931872_5b8a0b961d_c.jpg20220714_135329 by Mike Jackson, on Flickr

52223205164_d45954c2b2_c.jpg20220714_135332 by Mike Jackson, on Flickr

52223425575_1112799d73_c.jpg20220714_135343 by Mike Jackson, on Flickr


The window channel was completely rotten too, I also bought the upper repair sections off the same seller and made the best out of the rotten frame. I probably ought to have looked for a better frame to start with, but I'd already committed to repair.

Edited by minimikej, 17 July 2022 - 09:12 PM.


#149 minimikej

minimikej

    Speeding Along Now

  • Members
  • PipPipPipPipPip
  • 346 posts
  • Location: Derbyshire

Posted 05 September 2022 - 08:55 PM

Finished the structural repairs on the front doors, and fitted door skins. I've left some bits unfinished, basically the brazed areas where the skin joins the window frame, will shape those into fit later.

Pulled the rear doors out of the rafters and started work on the n/s, which looks to be by far the worst.
 
I have some very old repair panels for the back doors, I can't remember where I got them or who made them. But they do seem an excellent fit. I decided to cut down the repair sections to the minimum necessary to cut out the rust, thinking that that way I would stand the best chance of retaining the correct curves on the panel - the rear door skins are not flat steel, unlike the repair pressings.

I approached the job by leaving the skin in place (to position the supporting inner panel) and then repair the skin. Not sure how much difference it makes in practice, but it may have been a better idea to repair the skin first because of how the panels fit together. Hard to explain without having an actual door to look at.

I tried to adopt techniques used by Fitzees Fabrications and Mike Fn Garage on youtube. Well worth watching and listening to those guys.

52337183264_c3f792d000_c.jpg2022-09-05_09-37-15 by Mike Jackson, on Flickr

52336881611_8d384e5e85_c.jpg2022-09-05_09-37-31 by Mike Jackson, on Flickr

52335926852_ea329fa618_c.jpg2022-09-05_09-37-46 by Mike Jackson, on Flickr

52336882636_2725726d56_c.jpg2022-09-05_09-38-01 by Mike Jackson, on Flickr


Still have to finish stitching up the gaps, but this takes a lot of time with the quenching rag in one hand. Looking good though.


#150 minimikej

minimikej

    Speeding Along Now

  • Members
  • PipPipPipPipPip
  • 346 posts
  • Location: Derbyshire

Posted 13 September 2022 - 09:50 PM

More grot! These doors are awful.

52355814515_b3d66472ba_c.jpg2022-09-13_07-08-42 by Mike Jackson, on Flickr

52355707554_1359ed3f7d_c.jpg2022-09-13_07-08-57 by Mike Jackson, on Flickr


0 user(s) are reading this topic

0 members, 0 guests, 0 anonymous users