Jump to content


Photo
- - - - -

Mini Trailer With A Difference


  • Please log in to reply
105 replies to this topic

#31 onlymelloyd

onlymelloyd

    Mini Mad

  • Members
  • PipPipPipPip
  • 276 posts
  • Local Club: looking...

Posted 05 January 2009 - 02:16 PM

great little project, its looking brilliant
youve really inspired me to buy a shell and make a trailer
i might have to at some point in the future
may borrow some of your ideas (vaigly)
if you didnt mind

keep us updated, i want to see pics from the mini fair aswell


No problem, go for it! Be nice to see more mini trailers about, especially ones that are a bit different. Just make sure you use a well past saving shell! Don't want to be ruining good minis!

#32 Retro_10s

Retro_10s

    Moderator

  • Members
  • PipPipPipPipPipPipPipPipPipPipPip
  • 10,129 posts
  • Location: Bromsgrove

Posted 05 January 2009 - 02:21 PM

Probably just a trick of the light, but it looks like the trailer bends upwards at each end from the middle, like the two halves haven't been put together straight?...

Looks quite cool though. The barbeque is a great Idea,.. Me and a mate were going to build one just like it but you got there first ;D

I noticed you mentioned Fibreglass rear valances earlier and you thought they'd be expensive,... they're cheap as it's such a simple design. Probably the cheapest Panel made from fibreglass you can get apart from seperate A-Panels.

#33 Gangsta

Gangsta

    Stage One Kit Fitted

  • Noobies
  • PipPipPip
  • 96 posts
  • Local Club: looking for one

Posted 05 January 2009 - 02:28 PM

That is one cool looking trailer, Once my car is finished, we were gonna get one of the fibreglass back of mini type trailers to put out tent and stuff in (so we can travel to fairly distant shows etc) but this is inspiring, and you have the choice of what space you need and can customize as you build.

Awsome ;D

#34 onlymelloyd

onlymelloyd

    Mini Mad

  • Members
  • PipPipPipPip
  • 276 posts
  • Local Club: looking...

Posted 05 January 2009 - 04:53 PM

Probably just a trick of the light, but it looks like the trailer bends upwards at each end from the middle, like the two halves haven't been put together straight?...

Looks quite cool though. The barbeque is a great Idea,.. Me and a mate were going to build one just like it but you got there first ;D

I noticed you mentioned Fibreglass rear valances earlier and you thought they'd be expensive,... they're cheap as it's such a simple design. Probably the cheapest Panel made from fibreglass you can get apart from seperate A-Panels.


Not sure if its a trick of the light or not! I have used a level throughout and according to that its straight. I know what you mean though, depending upon which angle you look from its sometimes perfect and other times not! Im hoping that once the roof is on it won't be noticable.

Finished the boot lid. As mentioned before it is designed to lift off completely, and heres how...

Posted Image

Boot lid on and held on in 3 places, 1- the lock, 2 and 3 - bars attached to the boot going down toward the floor.
Posted Image

Then with the lock un-done you pull toward you as if opening a normal lid, but then lift upward and as if by magic the hinges come apart allowing you to remove the whole lid.
Posted Image

Simple! Starting on the roof tommorow...

Edited by onlymelloyd, 16 November 2009 - 07:42 PM.


#35 onlymelloyd

onlymelloyd

    Mini Mad

  • Members
  • PipPipPipPip
  • 276 posts
  • Local Club: looking...

Posted 06 January 2009 - 06:02 PM

Ok, so I braved the very cold today and did the roof. Glad to say iv done it! Didnt take as long as i thought it would :D

1st I made a nice straight line around the top edge of the trailer, then did the same with the roof
Posted Image
Posted Image

Then I trial fitted it only to find that the trailer is alot wider than the roof (think i thought about this before but not sure)
Posted Image

So I turned the roof around, so the front of the roof is now at the back of the trailer. Its a little bit wider that way but there were still gaps. Then chopped it in half, and again trial fitted it.
Posted Image
Posted Image

That was as close as it was getting. Next I welded it into place, then welded pieces cut to shape into the gaps, I used what was left of the roof to give a nice curve.
I also put some bits on so you can all imagine what the final article will look like :P
Posted Image
Posted Image

Then I started on the filling, im using 4 parts filler, 1 parts fibreglass and a drop of hardener, should hopefuly prevent cracks.
Posted Image
Posted Image

Tommorow I will continue with the boring job of fillering and sanding.

Now you can see what it should look like what do people think? Can someone photoshop it and make it red for me?

Edited by onlymelloyd, 16 November 2009 - 07:43 PM.


#36 Bungle

Bungle

    Original Spamster

  • Members
  • PipPipPipPipPipPipPipPipPipPipPip
  • 28,971 posts
  • Location: Cornwall
  • Local Club: cornish mini club

Posted 06 January 2009 - 06:29 PM

in this cold weather i thought you needed more hardener

#37 onlymelloyd

onlymelloyd

    Mini Mad

  • Members
  • PipPipPipPip
  • 276 posts
  • Local Club: looking...

Posted 07 January 2009 - 01:47 PM

in this cold weather i thought you needed more hardener

a drop was a bit of an understatement, is more like a line. I left it overnight before sanding this morning and it was rock solid.

#38 onlymelloyd

onlymelloyd

    Mini Mad

  • Members
  • PipPipPipPip
  • 276 posts
  • Local Club: looking...

Posted 12 January 2009 - 11:16 AM

Update!

Not a lot of things to show really as its been mainly sanding and filling these last couple of days. Have done a few other things thought to relieve the boredom.

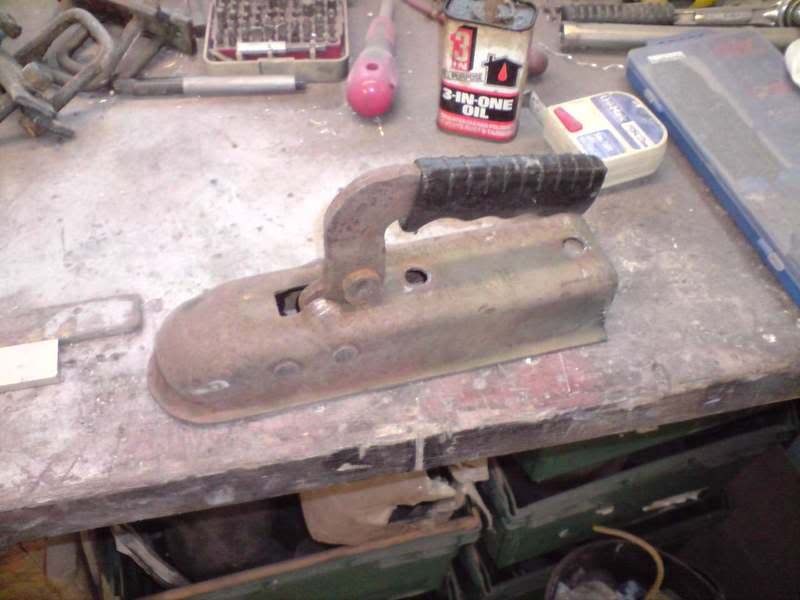
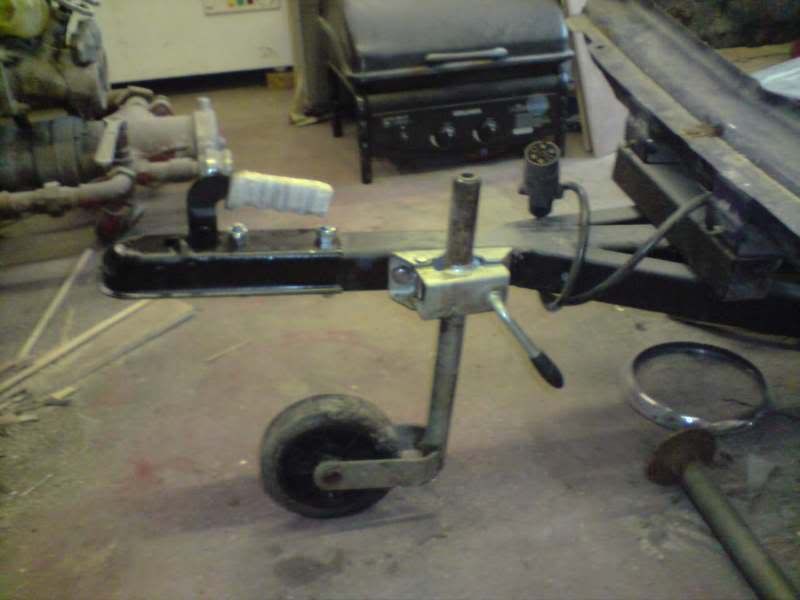
Got given a tow hitch and jockey wheel, the jockey wheel is slightly bent but its functional. One day I might replace it but for now it will do. The tow hitch had seen better days but with a bit of oil and some paint its now perfect.
Posted Image
Posted Image

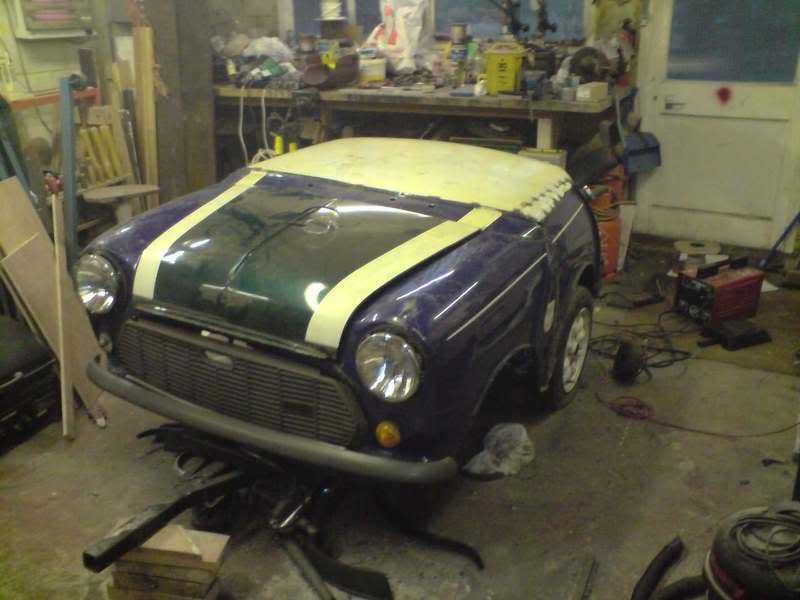
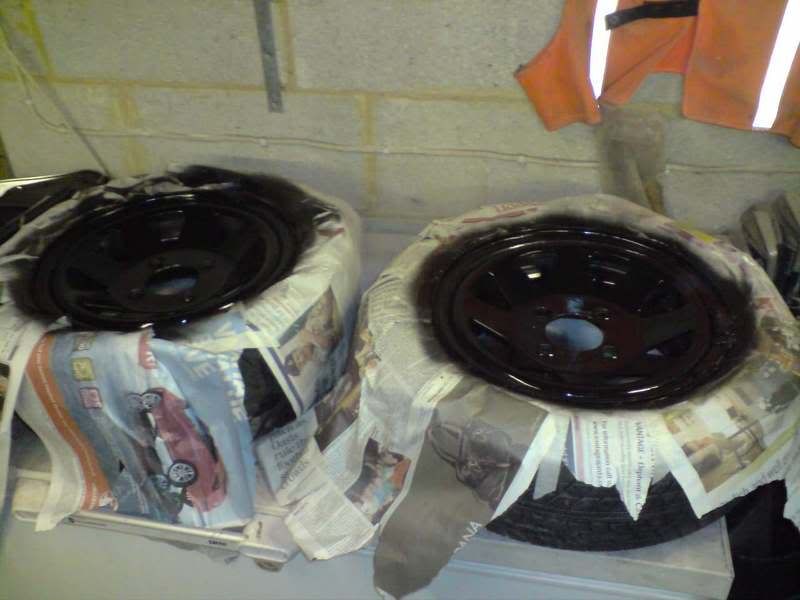
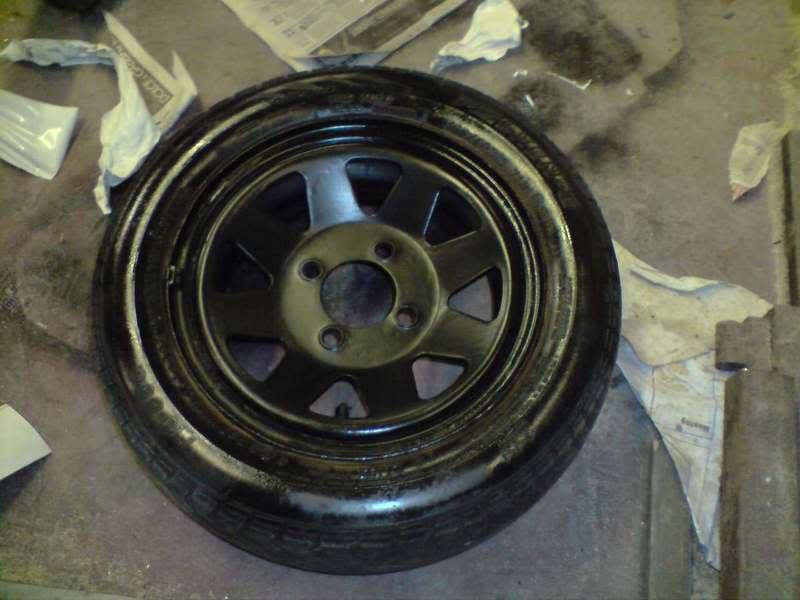
Also re-sprayed the wheels, when I got them they were quite dirty and I thought they wouldn't need any work, but when I cleaned them there were a couple of chips in the paint and scuffs etc so I re-painted them anyway in the correct colour of satin black. Looking good now :-
Posted Image
Posted Image

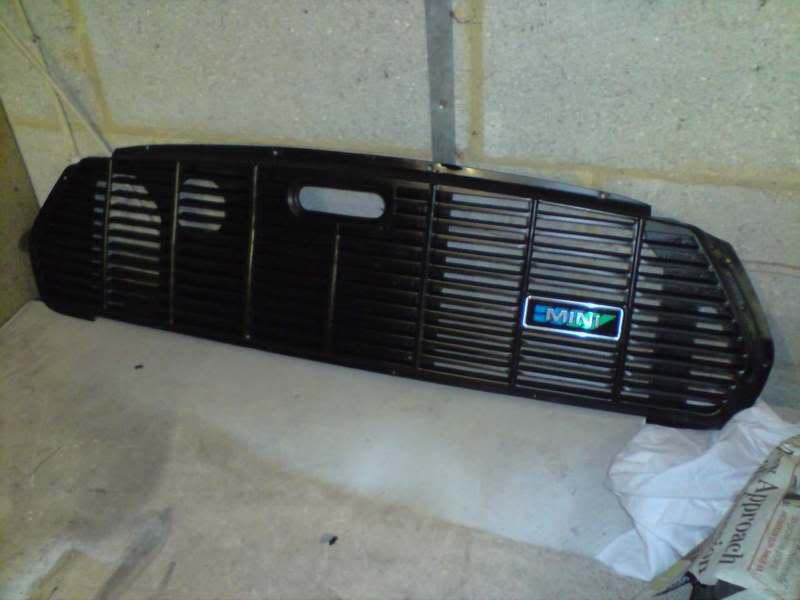
Whilst I was at it I sanded and sprayed a grill which I got from the scrap yard last week, a bargain at £10 with no bends or rust!
Posted Image

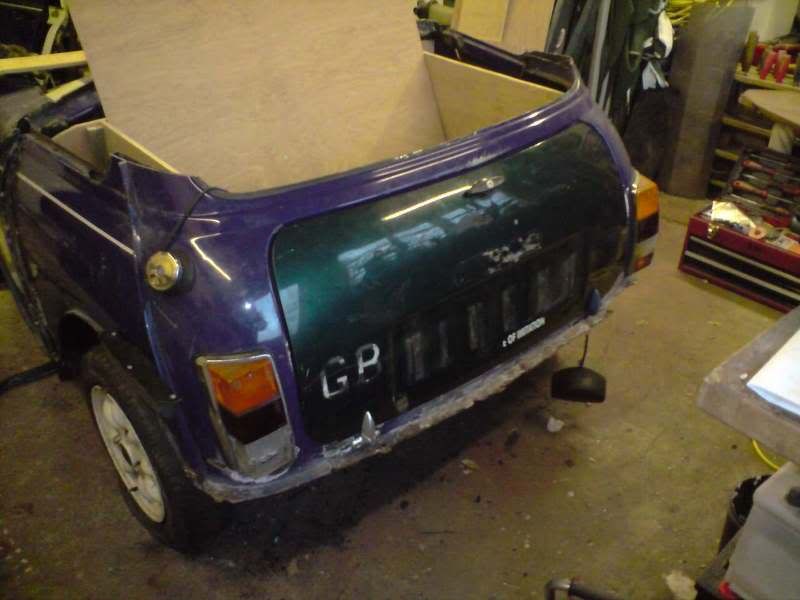
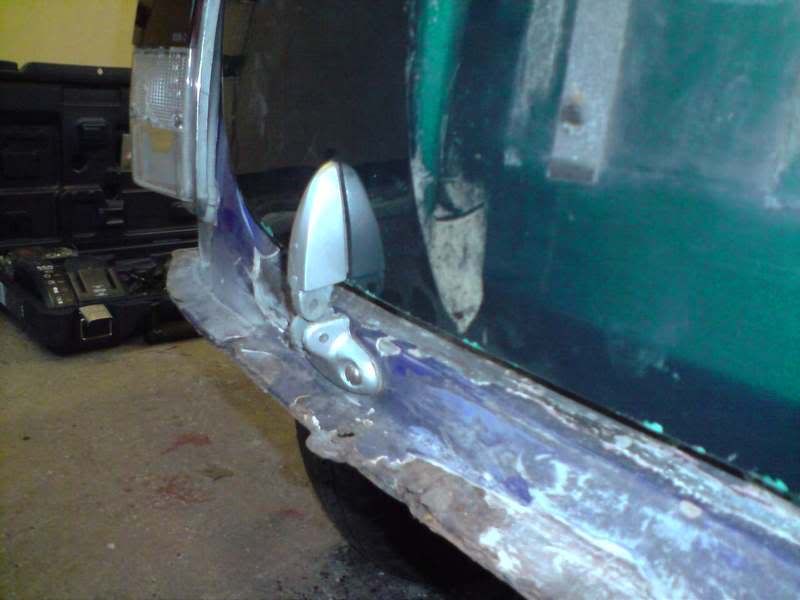
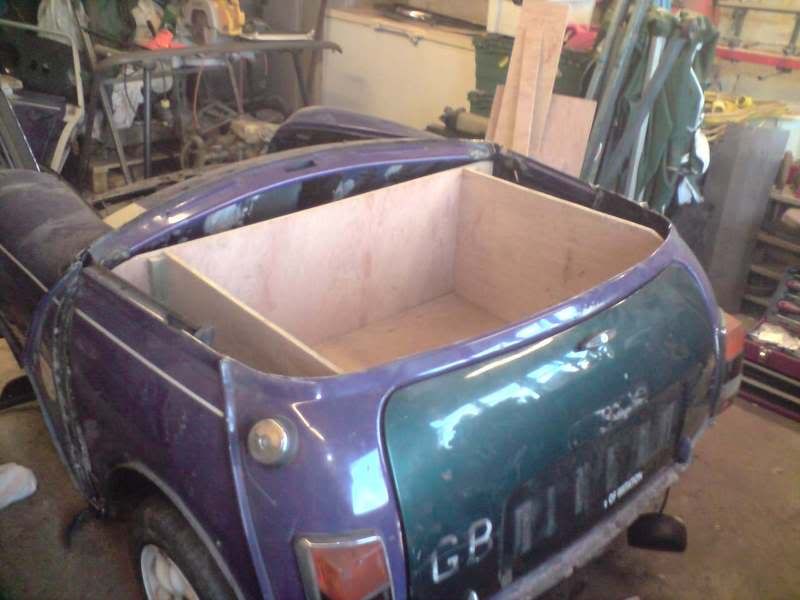
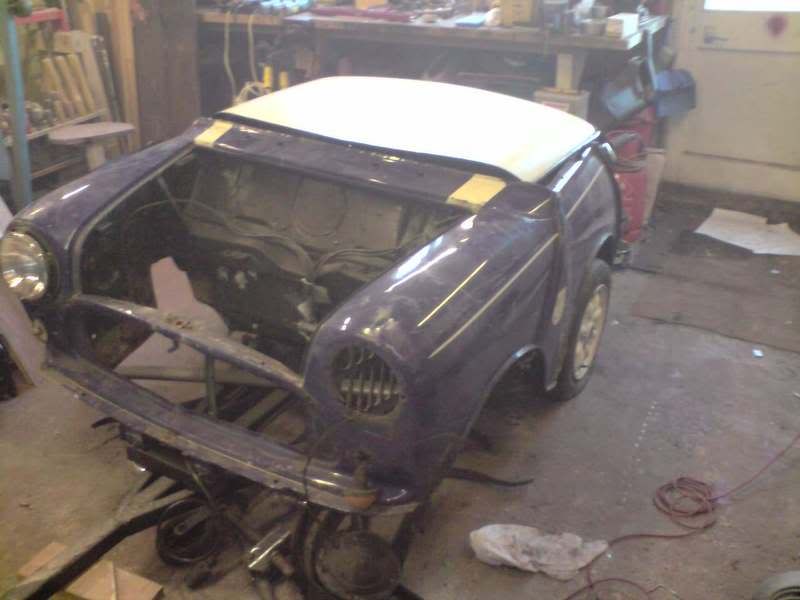
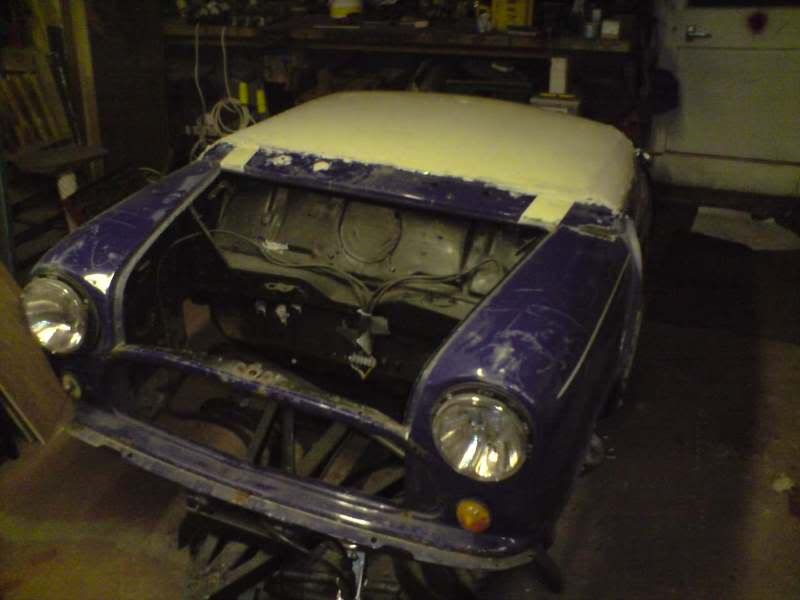
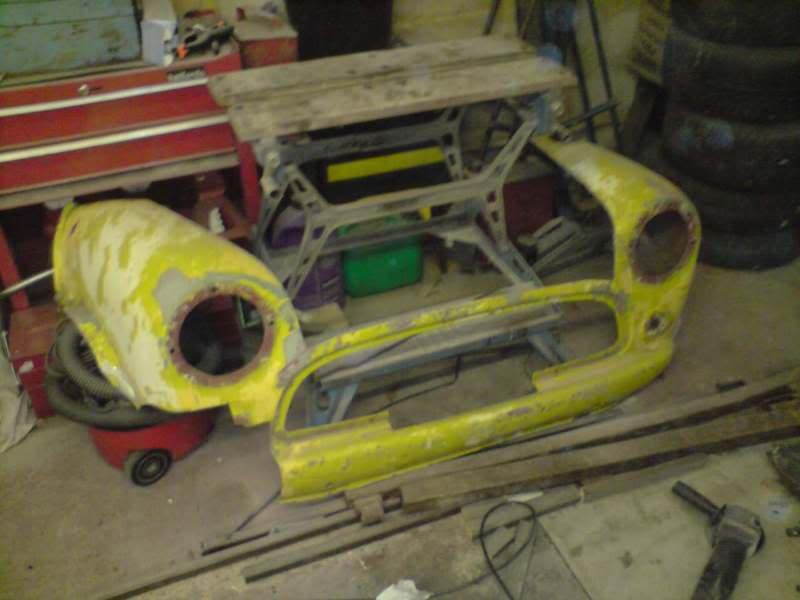
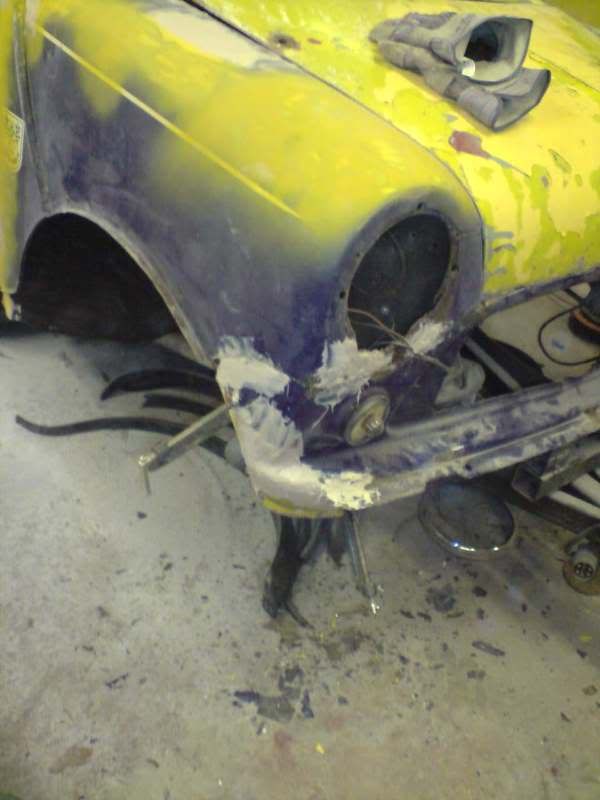
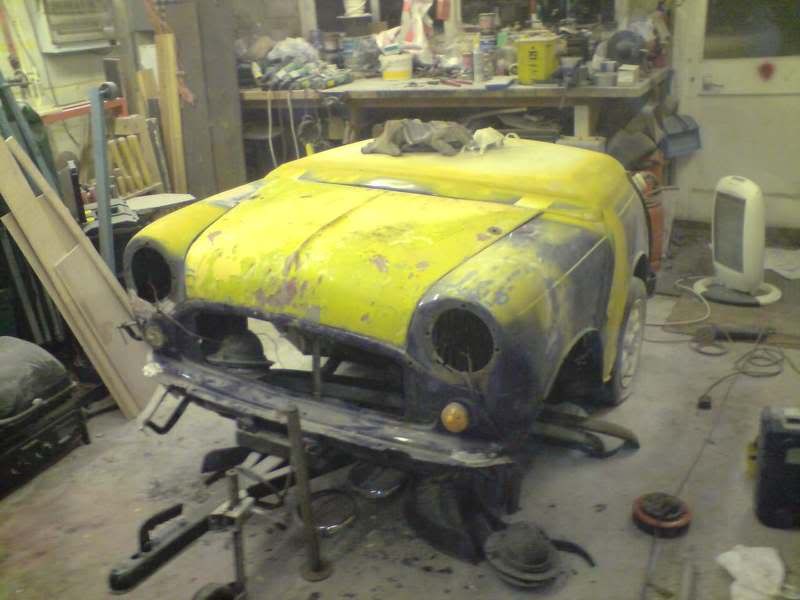
I then tackled a problem which has been at the back of my mind for a couple of weeks - The front drivers corner was missing! Someone has obviously cut the rust out and never replaced it. As a result the arch and bumper have nothing to attach to! If you look at the picture you will see what I mean.
Posted Image

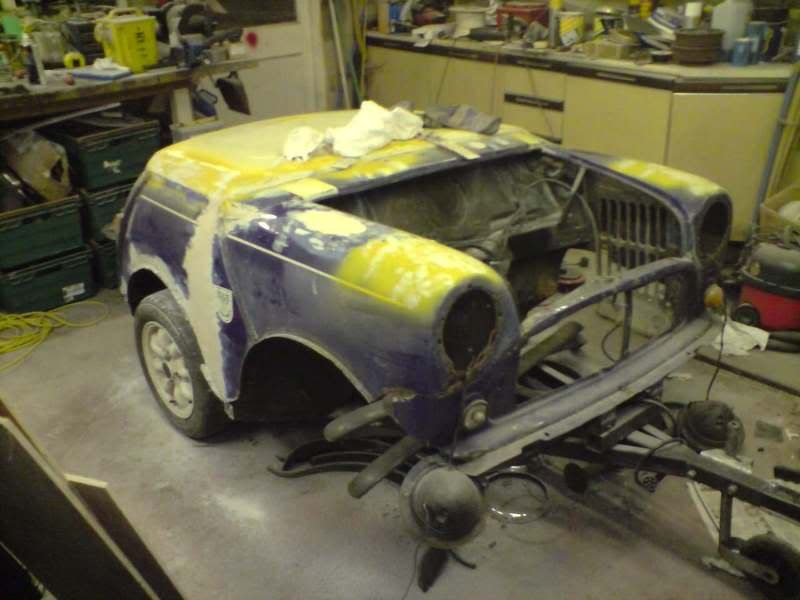
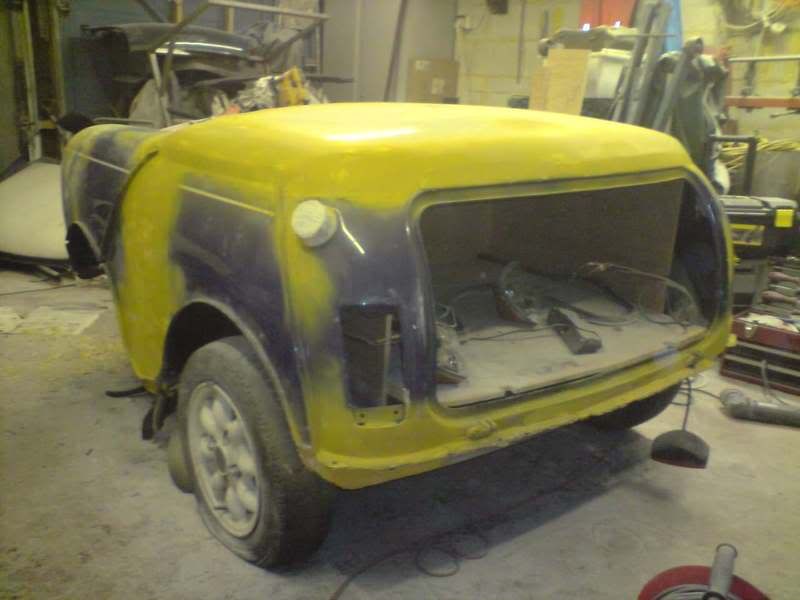
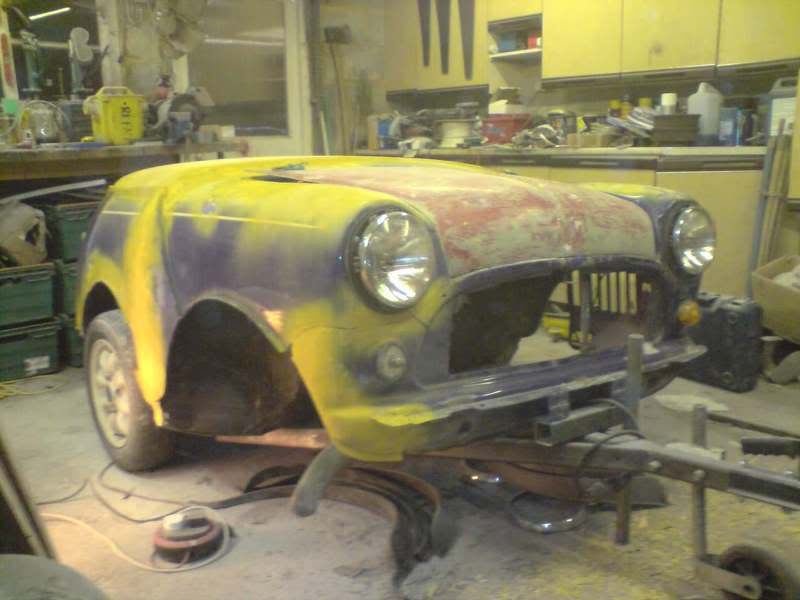
So I took an old flip front which was lying around and chopped the corner off before fibre glassing it into place. The flip front was way past saving anyway as the arches had been cut back at some stage in its life so it wasn't suitable for a mini any more.
Posted Image
Posted Image

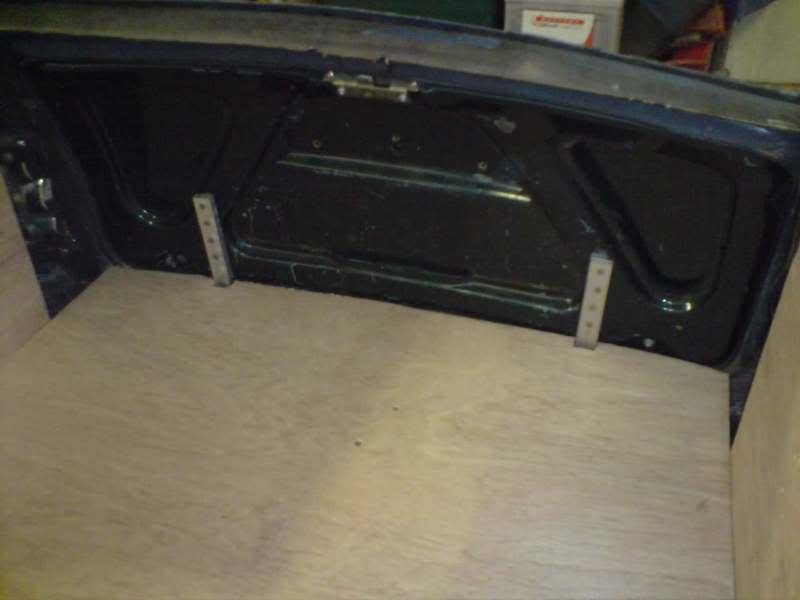
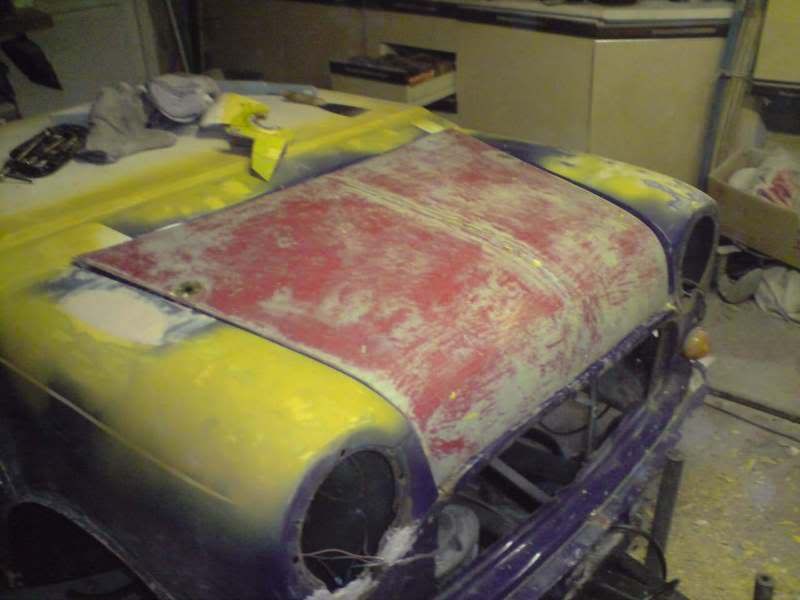
At the same time I cut the bonnet out of the flip front and I will use this instead of the metal bonnet to save weight. So the flip front has been used for a good cause! The bonnet fitted nicely but had 5 layers of paint on it. Once these were stripped off I was left with a red/grey coloured bonnet, but it is nice and smooth, a bit of sanding and its ready for paint.
Posted Image
Posted Image

Thats all for now, just got to keep on with the sanding, will hopefully get the first layers of paint on late Wednesday or Thursday. My aim is to have it painted by the end of this weekend as I start uni again next week so won't have anymore time!

Edited by onlymelloyd, 16 November 2009 - 07:43 PM.


#39 onlymelloyd

onlymelloyd

    Mini Mad

  • Members
  • PipPipPipPip
  • 276 posts
  • Local Club: looking...

Posted 12 January 2009 - 05:40 PM

Quick update, Have finally finished all of the filling and sanding off today, it now looks like this: -
Posted Image
Posted Image
Wednesday I will give it a wet and dry sand then roll it out of the garage, wash it down, clean the garage, then roll it back in and make a start on the painting =]

Edited by onlymelloyd, 16 November 2009 - 07:44 PM.


#40 Bungle

Bungle

    Original Spamster

  • Members
  • PipPipPipPipPipPipPipPipPipPipPip
  • 28,971 posts
  • Location: Cornwall
  • Local Club: cornish mini club

Posted 12 January 2009 - 06:28 PM

are you going to fill the holes where the front wheels used to be ?

#41 miniboo

miniboo

    Lord of Original Thinking

  • Members
  • PipPipPipPipPipPipPipPipPipPip
  • 9,327 posts

Posted 13 January 2009 - 02:29 AM

yeah i think it will look better with the front wheel wells filled in

#42 Jackman

Jackman

    Up Into Fourth

  • Members
  • PipPipPipPipPipPipPipPipPip
  • 4,053 posts

Posted 13 January 2009 - 08:18 AM

Either that or find a way of fitting some wheels in there.

#43 onlymelloyd

onlymelloyd

    Mini Mad

  • Members
  • PipPipPipPip
  • 276 posts
  • Local Club: looking...

Posted 13 January 2009 - 09:33 AM

are you going to fill the holes where the front wheels used to be ?


yeah i think it will look better with the front wheel wells filled in


Either that or find a way of fitting some wheels in there.


Im really stuck with this one. I can fill it in very easily with a sheet of metal across the wells, but will it look right when the arches are put on? Adding wheels would be very difficult as theres nothing to attach them to!
I was thinking about putting sheet metal across and then painting wheels on until I figured that I could only paint half a wheel on due to the metal not touching the ground.
Anyone have any other ideas?

#44 CLASSIC-MINI-BITS

CLASSIC-MINI-BITS

    Speeding Along Now

  • Banned from Buying/Selling
  • PipPipPipPipPip
  • 493 posts
  • Local Club: LCMOC.COM

Posted 13 January 2009 - 11:36 AM

hi a friend made a garden seat out of the front of a mini, he built a frame under to hold it upright instead of the subframe ect being fitted and wheels, he then took a still saw to the wheel and started to cut the wheel in half, starting with the tyre, so if this symbol is the wheel and tyre () he cut the back face away leaving him with ). he did it to save the weight. then he had to weld in a simple little bracket to hold the thing inline, because of the frame holding the body up, there was no need to have an inflated tyre there. and it would all be easy to move around the garden to follow our 10 minutes of sun. you might be able to do the same.

#45 998dave

998dave

    998cc's Of Dave Goodness

  • TMF+ Member
  • PipPipPipPipPipPipPipPipPip
  • 4,566 posts
  • Name: Dave
  • Location: Essex

Posted 13 January 2009 - 11:54 AM

Im really stuck with this one. I can fill it in very easily with a sheet of metal across the wells, but will it look right when the arches are put on? Adding wheels would be very difficult as theres nothing to attach them to!
I was thinking about putting sheet metal across and then painting wheels on until I figured that I could only paint half a wheel on due to the metal not touching the ground.
Anyone have any other ideas?


What have you got in the bottom of the engine bay? Why not put some angle iron across and hitch some trailer hubs to it, then bolt on wheels. Having a four wheeled trailer with front and back would look highly cool.

Is the engine bay another storage locker space?

Dave


1 user(s) are reading this topic

0 members, 1 guests, 0 anonymous users