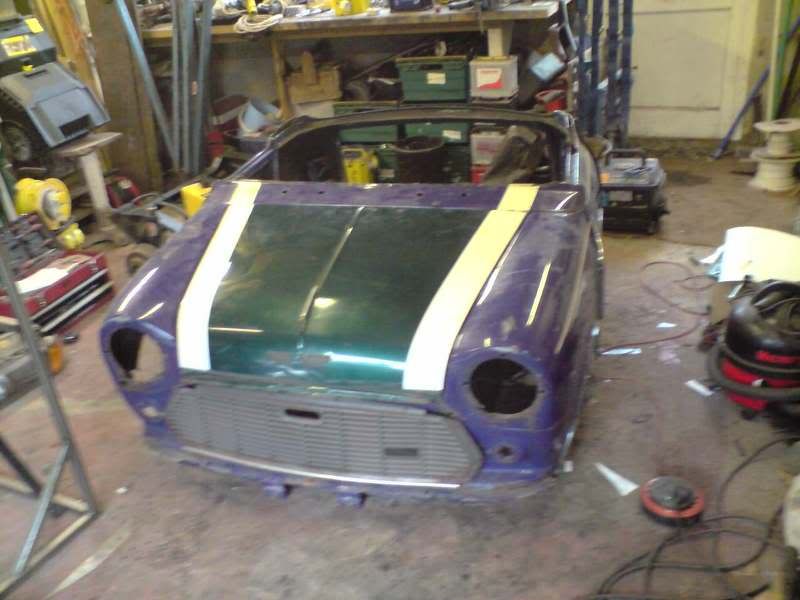
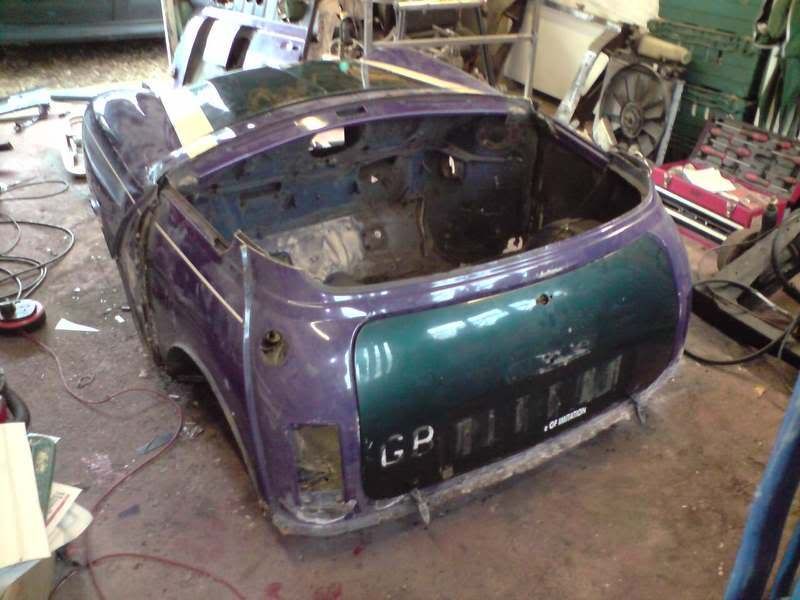
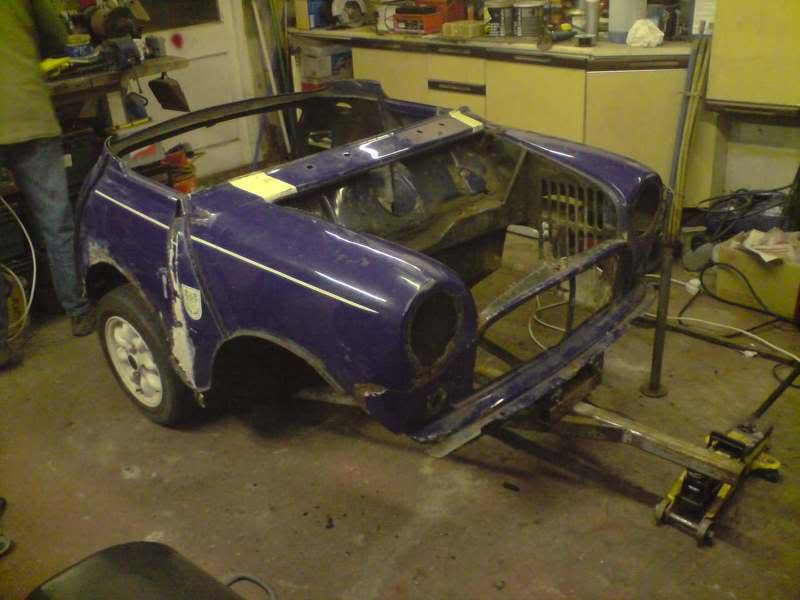
Jump to content


Photo
- - - - -

Mini Trailer With A Difference


  • Please log in to reply
105 replies to this topic

#16 onlymelloyd

onlymelloyd

    Mini Mad

  • Members
  • PipPipPipPip
  • 276 posts
  • Local Club: looking...

Posted 22 December 2008 - 01:34 PM

No, I didn't bother to cut the rust out of the valence, its just so rusty that its only worth a bodge. I will replace it later in the year but for now aslong as it looks presentable im happy!
Absolutly no idea who Pie is?! Lol
It will be red with white pin stripes, white mayfair badges and black bumpers, just like the mini which will tow it :wacko:
Posted Image
^ Thats a picture from a while back but you get the idea. Also shows the wheels I need!
Have done some more work on the trailer but as yet not uploaded the photos, will do this soon...

#17 MrMini

MrMini

    Super Mini Mad

  • Members
  • PipPipPipPipPipPip
  • 531 posts

Posted 22 December 2008 - 02:14 PM

A fiberglass valance may have been a good option, but if you are skint you are skint. :wacko:

#18 mini_mad69

mini_mad69

    Let future you worry about it

  • Traders
  • PipPipPipPipPipPipPipPipPipPip
  • 5,417 posts
  • Local Club: urrrr no

Posted 23 December 2008 - 02:11 AM

Loving your project so far, looks different. I like the red mini too. :D

Ill be keeping an eye on this one.

#19 onlymelloyd

onlymelloyd

    Mini Mad

  • Members
  • PipPipPipPip
  • 276 posts
  • Local Club: looking...

Posted 23 December 2008 - 09:49 PM

A fiberglass valance may have been a good option, but if you are skint you are skint. >_<


I didn't know you can get a fibreglass valance, never seen one before, I assume they cost a good few pennies though!

Heres an update: -

Some new parts arrived in my garage at the weekend :D

Posted Image
Posted Image
Posted Image
Posted Image

Cost me a total of £10 for all of that, the bbq is twin burner gas, its a bit dirty but should clean up well. The boot and bonnet are rust free but have the odd scratch etc. The grill is slightly bent around the badge area but should be able to pull that out. Also got a large sheet of plywood to line the inside with.
So thats a few things ticked off my list, but still need lots of bits!

Managed to finish all of the welding off underneath, the trailer is now fully welded so it won't fall into two bits when im driving along! I then put a dollop of filler over each weld to ensure its water tight before painting the whole lot with body underseal.

Posted Image
Posted Image

Looks much better now, starting to take shape but still a long way to go. 33 days left, next step is to re-fit the subframe then make the tow hitch up before flipping it over, finishing the body, wooding the inside and welding the roof on, at some point it might get paint...

Edited by onlymelloyd, 16 November 2009 - 07:40 PM.


#20 gregh55

gregh55

    Camshaft & Stage Two Head

  • Banned
  • PipPipPipPipPipPipPipPip
  • 1,706 posts
  • Local Club: naaa

Posted 23 December 2008 - 09:53 PM

was this Pie's old shell?

Looks like an interesting project,... regarding the valance though... did you cut all the rot out before fibreglassing?

I'm sure some young lad on here got Pie's old shell?


yep you are correct >_<

#21 onlymelloyd

onlymelloyd

    Mini Mad

  • Members
  • PipPipPipPip
  • 276 posts
  • Local Club: looking...

Posted 23 December 2008 - 11:58 PM

I'm still confused about who 'pie' is? Maybe the bloke I bought it off was the person who bought it off 'Pie', he (seller to me) said he bought it running but it was taken off the road some time ago to restore for his son, untill they found too much rust to be bothered with, hence stripping it...

#22 onlymelloyd

onlymelloyd

    Mini Mad

  • Members
  • PipPipPipPip
  • 276 posts
  • Local Club: looking...

Posted 29 December 2008 - 09:12 AM

Got some more work done O_O

subframe on -
Posted Image

Brakes stripped out -
Posted Image

Then Me and my Dad made the tow hitch, took a little longer than planned, I had never done anything like this before so thought a couple of hours was all that was needed, but it seems a little more complex than that! So after lots of cutting and welding we ended up with this-

Posted Image
Posted Image
Posted Image
Posted Image
Posted Image

Now its on its wheels, and shouldn't need to be rolled over again so I can get on with the body work now, next thing is to wood out the back then attach the roof..

Posted Image

and a cool photo of my brother welding with arc welder, my mig wire ran out and I cant arc weld to save my life! He can't mig weld though so we are square
Posted Image

Less than a month to go now..

Edited by onlymelloyd, 16 November 2009 - 07:41 PM.


#23 not so mini

not so mini

    Mini Mad

  • Members
  • PipPipPipPip
  • 202 posts
  • Local Club: LSMOC

Posted 29 December 2008 - 02:57 PM

Its looking good,you'll be finished in no time. O_O Keep up the good work.

#24 onlymelloyd

onlymelloyd

    Mini Mad

  • Members
  • PipPipPipPip
  • 276 posts
  • Local Club: looking...

Posted 03 January 2009 - 08:22 PM

Been at it again,

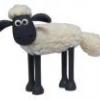
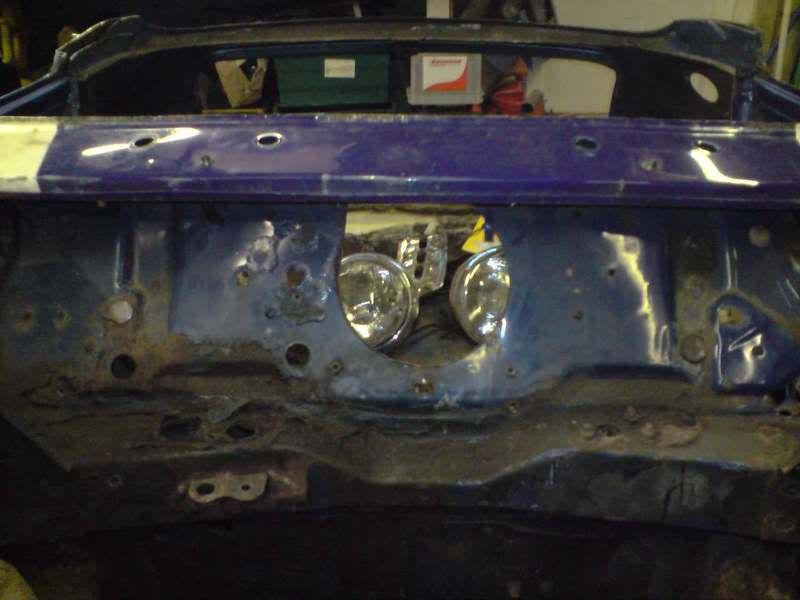
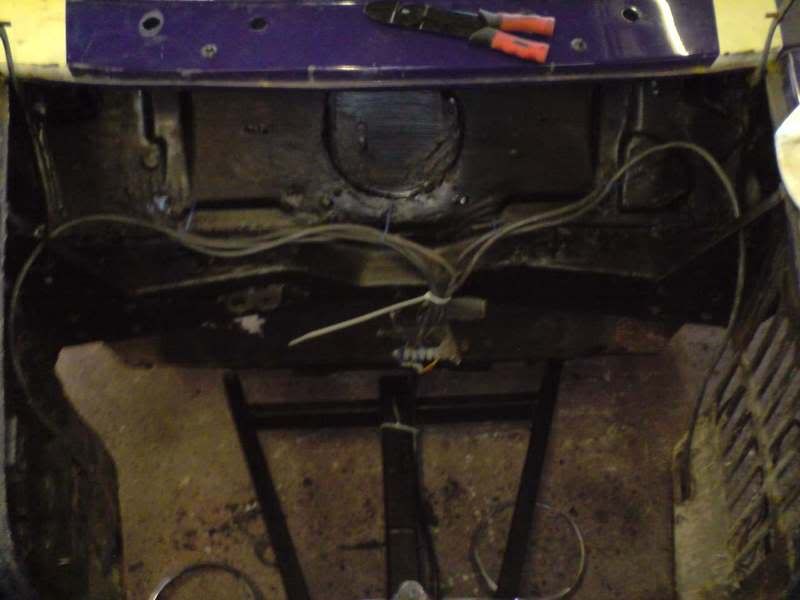
Started with filling the hole in the bulkhead, and plugging all the smaller holes. Then did all of the wireing, which was quiet complex as I have decided to have front lights and indicators, effectively I have made my own wireing loom as the shell did not come with one.
Posted Image
Posted Image

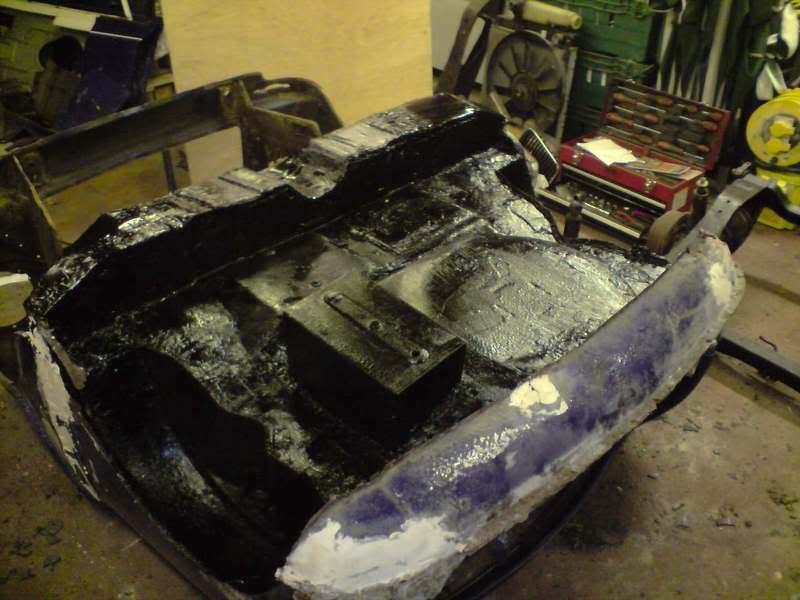
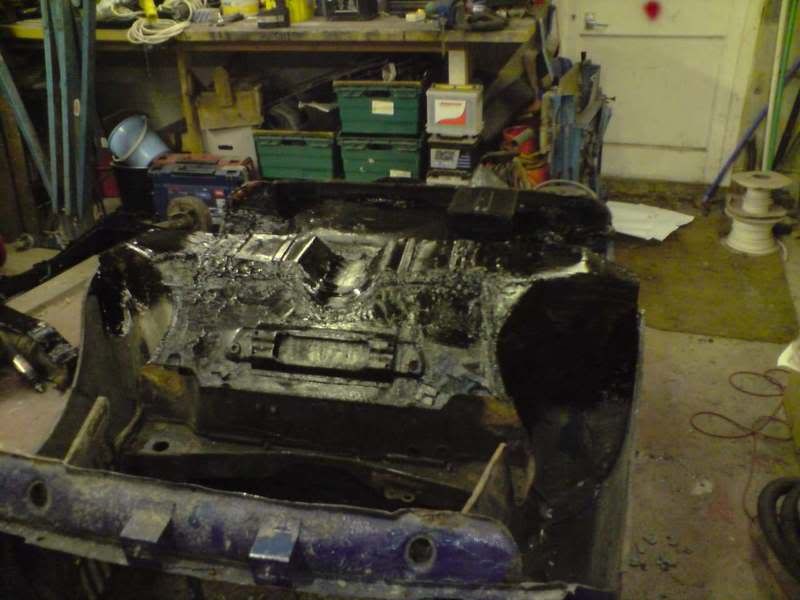
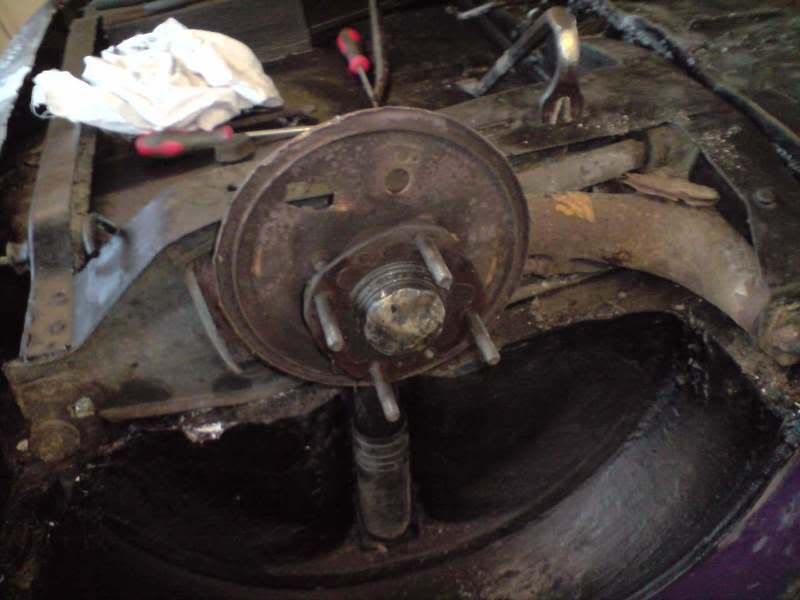
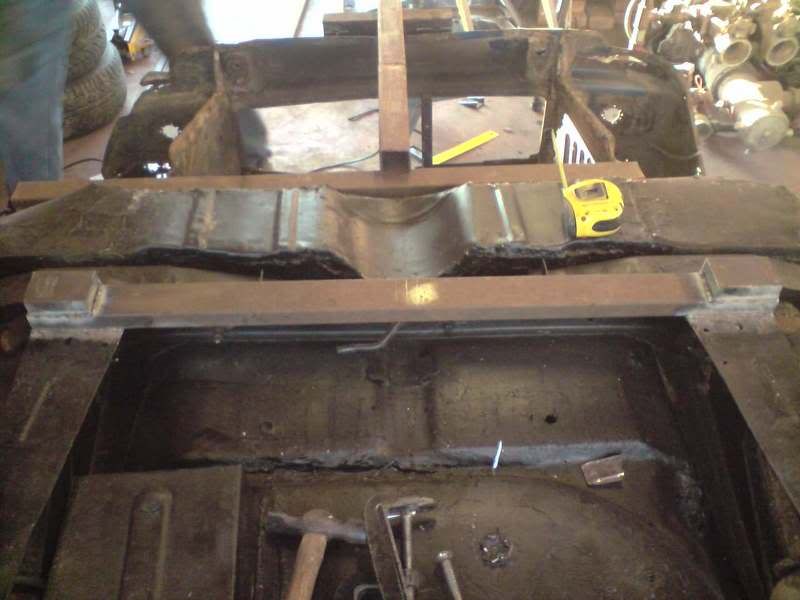
Then my carpenter mate came round and helped me to wood out the rear storage area, looks really good ;D

Posted Image
Posted Image
Posted Image
Posted Image

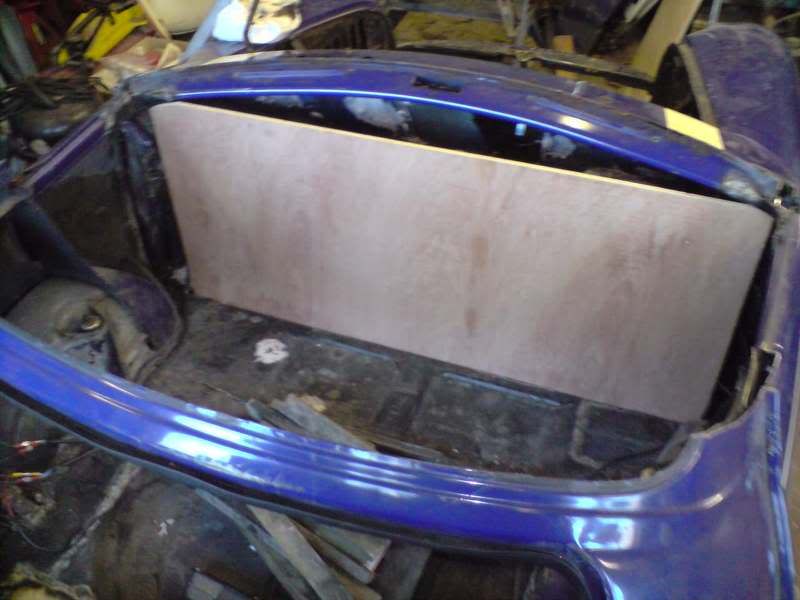
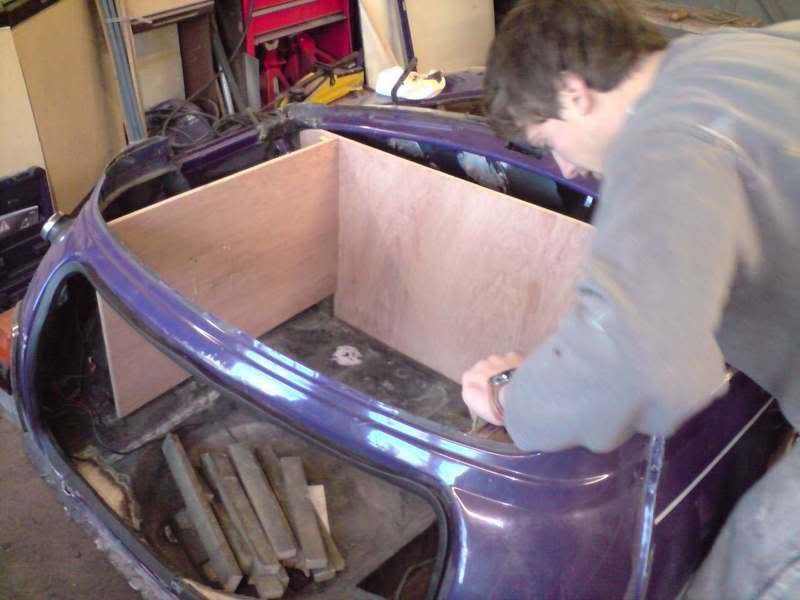
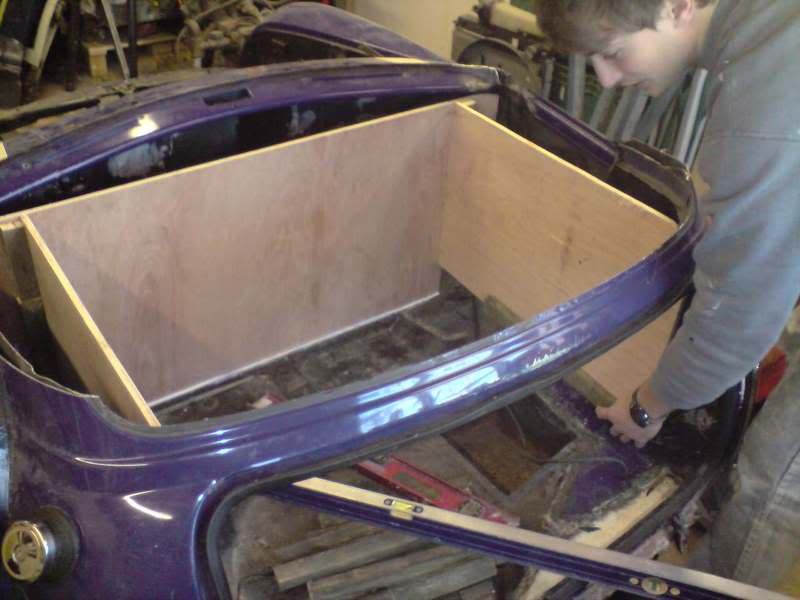
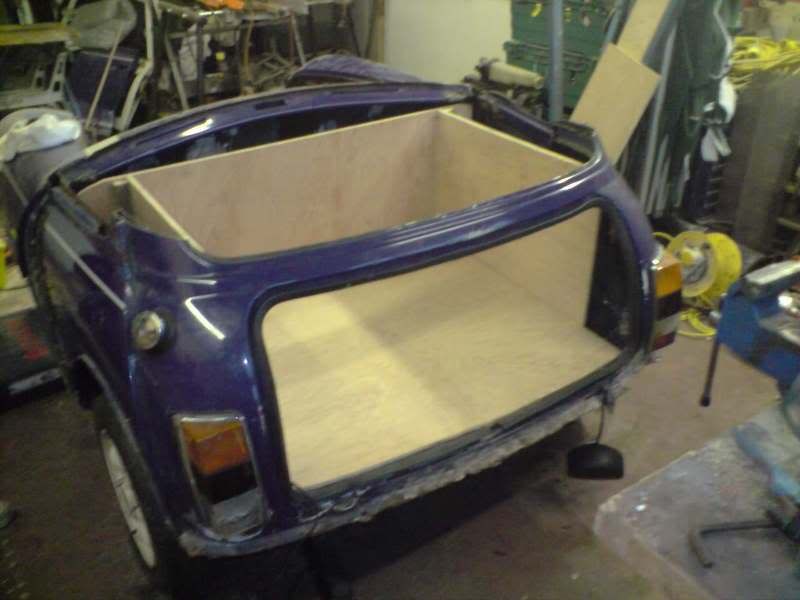
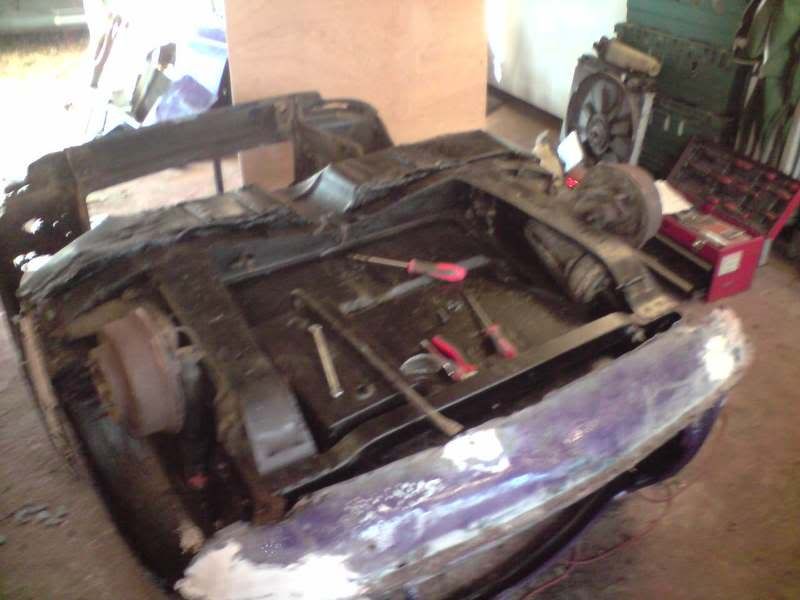
We built in removable panels to access the shocks and the rear lights. Also started work on how the bootlid will fit, it will not flop downward as that will not allow me to reach the back of the storage area! Instead it will lift off competely - simple!

Next jobs - attach roof, test lights, carpet rear area, finish boot.

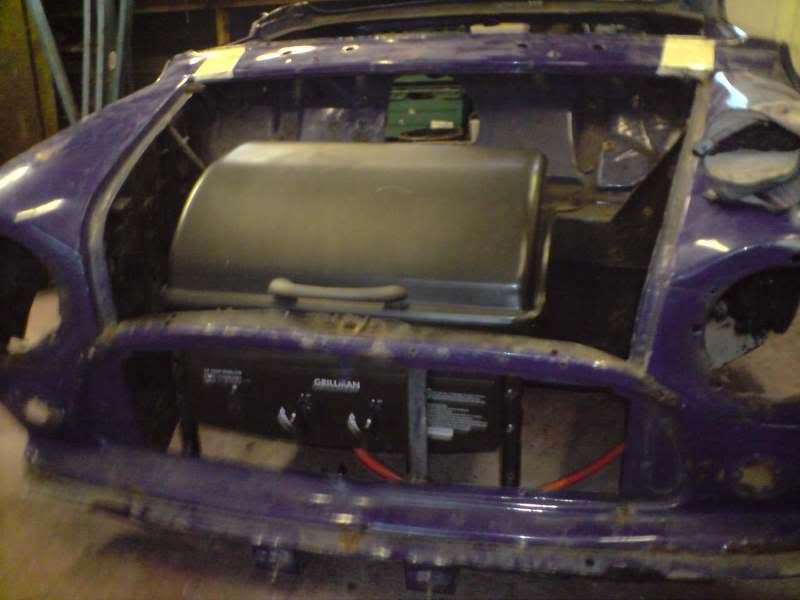
Then - attach bbq, bonnet, tow hitch, jockey wheel, filler/glass fibre, paint.

Also aquired some more parts - wheels (the ones i need already painted black!) bumpers, a better grill, number plate light, boot lock (but no key, how do i get one? any ideas?)

21 days left!

Edited by onlymelloyd, 16 November 2009 - 07:41 PM.


#25 sweetser

sweetser

    Up Into Fourth

  • Members
  • PipPipPipPipPipPipPipPipPip
  • 3,995 posts

Posted 03 January 2009 - 09:11 PM

Carpenters are so clever arnt they ;D not at all biased :)

Looking good mate, going to be well cool when finnished.

#26 adam_93rio

adam_93rio

    Up Into Fourth

  • Members
  • PipPipPipPipPipPipPipPipPip
  • 3,271 posts

Posted 03 January 2009 - 09:28 PM

great little project, its looking brilliant
youve really inspired me to buy a shell and make a trailer
i might have to at some point in the future
may borrow some of your ideas (vaigly)
if you didnt mind

keep us updated, i want to see pics from the mini fair aswell

#27 yeti21586

yeti21586

    He's A Lumberjack And He's OK

  • TMF+ Member
  • PipPipPipPipPipPipPipPipPip
  • 3,725 posts
  • Name: Chris
  • Location: Hampshire
  • Local Club: None

Posted 04 January 2009 - 11:26 PM

more pics!!!!!!!!

am loving it and wont to see what its gunna look like!!!!!!!!!!!!!!


YetI

#28 Phaeton

Phaeton

    One Carb Or Two?

  • Members
  • PipPipPipPipPipPipPip
  • 1,055 posts

Posted 04 January 2009 - 11:44 PM

What weight have you got on the nose, just concerned that with the wheels so far back it's going to be very heavy on the tow hitch.

Alan...

#29 Littlegizmos

Littlegizmos

    previously known as M1N1 MAN

  • Members
  • PipPipPipPip
  • 282 posts
  • Local Club: www.littlegizmos.co.uk

Posted 04 January 2009 - 11:49 PM

sweet trailer!!!

#30 onlymelloyd

onlymelloyd

    Mini Mad

  • Members
  • PipPipPipPip
  • 276 posts
  • Local Club: looking...

Posted 05 January 2009 - 02:13 PM

What weight have you got on the nose, just concerned that with the wheels so far back it's going to be very heavy on the tow hitch.

Alan...


Not alot, its just the wings and inner wings. To be added is a bonnet and bbq so not much weight. If it gets too heavy I can swap it for a fibre glass flip which I have lying around.
More pics coming soon, should have the bootlid finished in couple of hours, then im onto the roof which will take quite a while...


2 user(s) are reading this topic

0 members, 2 guests, 0 anonymous users