Jump to content


Photo

Changing To Centre Speedo?


  • Please log in to reply
96 replies to this topic

#61 Jupitus

Jupitus

    One Carb Or Two?

  • Members
  • PipPipPipPipPipPipPip
  • 1,479 posts
  • Local Club: Breathemini

Posted 16 February 2009 - 08:49 PM

Oh - and yes, the black needs earthing - if you dont have an earth return from the old dash then a ring terminal and and good clean piece of paintless bodywork will do! :)

I'm taking in the areas where you guys are having problems here, and will look at ways to improve the centre conversions from your feedback, so any other comments welcome!

#62 analogue_radio

analogue_radio

    Up Into Fourth

  • TMF+ Member
  • PipPipPipPipPipPipPipPipPip
  • 4,897 posts
  • Location: Melton Mowbray, UK.

Posted 17 February 2009 - 08:22 AM

Thought it might need earthing :) I'll get around to it as soon as possible!

#63 marvin151173

marvin151173

    Mini Mad

  • Members
  • PipPipPipPip
  • 202 posts

Posted 17 February 2009 - 01:28 PM

As promised, these are a bit rough but should give you some idea of what goes where...please treat the information with caution!

this is a list of the colours and thier uses (i think this came from Jupitus but i'm not sure?)

Attached File  
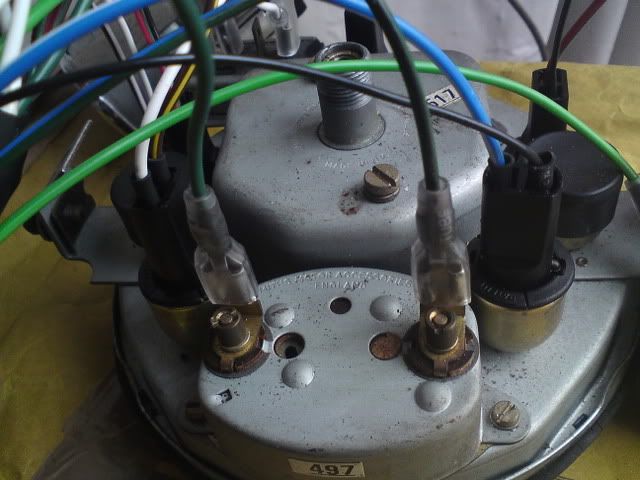
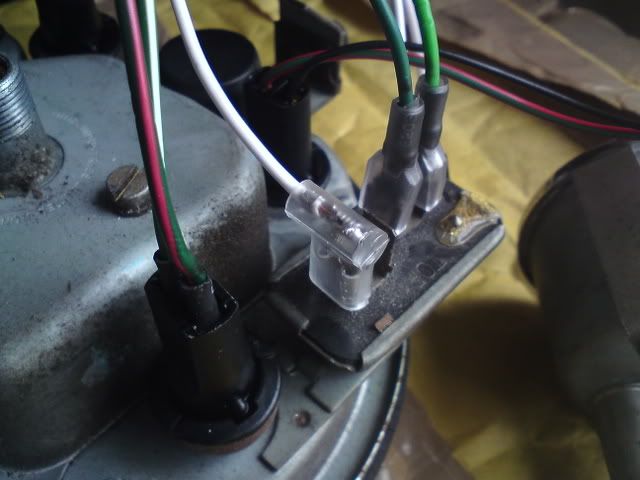
20090217115400_00001.jpg   256.86K   119 downloads


this is my very detailed wiring diagram, if i get some time i'll try and tidy it up, might even overlay some colurs on a picture of the back of a binacle if anyone has a decent picture with no loom on

Attached File  20090217115415_00001.jpg   360.99K   147 downloads


hope this helps

marv

#64 Jupitus

Jupitus

    One Carb Or Two?

  • Members
  • PipPipPipPipPipPipPip
  • 1,479 posts
  • Local Club: Breathemini

Posted 17 February 2009 - 04:10 PM

Heh - that was from me, aye :)

I puzzled this all over last night and figured out what is going wrong here... there are different kinds of the centre pod binnacles, just compare the one in this thread with the one on Mini2infiniti's great guide now in the FAQ.

I based my initial layout on one I bought from a reputable mini spares supplier (:P
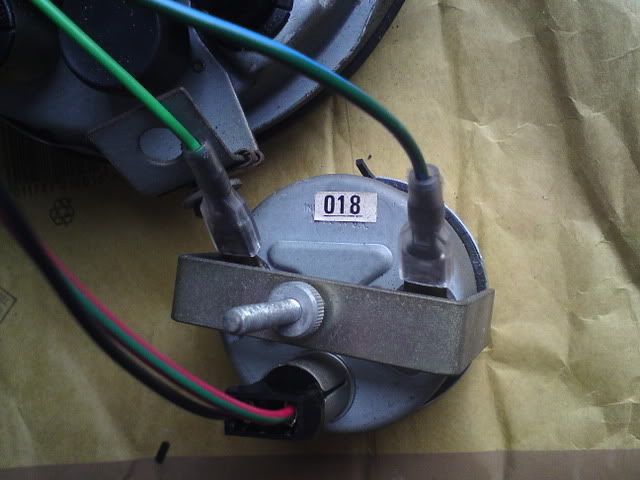
) but now I will begin to adapt, I think, and ask people up front what their requirements will be.... the colours in the list I sent to Marv below are right except the Green/Blue for the water temp, which he has corrected (I did that list from memory when at work). Beyond the main colours there are then a number of additional illumination bulbs... I provide 4 as standard.

#65 BiMU

BiMU

    One Carb Or Two?

  • Members
  • PipPipPipPipPipPipPip
  • 1,004 posts
  • Location: London
  • Local Club: Middlesex Mini Club

Posted 18 February 2009 - 01:27 PM

Hi Guys!

I've also sent these pics to Jupitus (thanks again for the loom!) Just wondering if you guys have wired yours up the same? Oh and I have a lonely bulb that hasn't got a home =(

Posted Image

Here's the solitary bulb.

Posted Image

Posted Image

Posted Image

Posted Image

Posted Image

Just wondering if these are connected up properly? Also is it easy to wire in the indicator warning lights? I'm guessing its a case of buying a couple more bulb holders then wiring them into the loom/in car loom?

Sorry so many questions but...

Posted Image

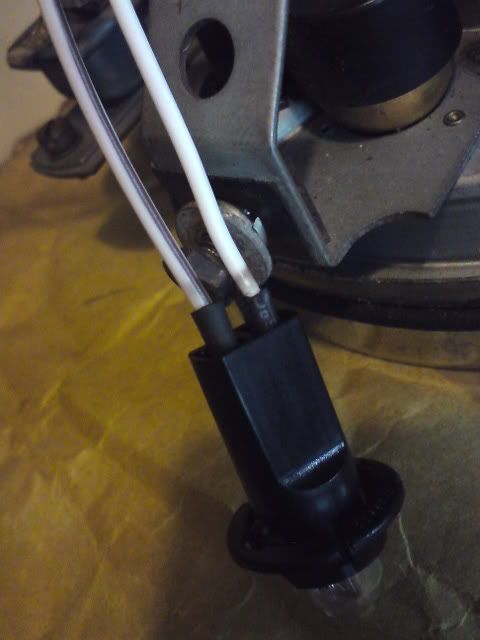
You may fit the hose directly as a replacement of the pressure switch, but with the daptor you have both a warning light & pressure gauge.
And a warning light is more likely to be noticed >_<

Cheers,
Jan


Hi Jan just wondering if these were the parts you got from minispares for the oil pressure gauge?

T-Piece

Adaptor.

And which pipe do I need?

4ft oil pressure pipe.

There's another one for a Tim Gauge, but I don't have a Tim I have a Smith Gauge! I just can't see how the pipe above will mate with the adaptor and gauge!?!?

Thanks,

Jason

Edited by BiMU, 18 February 2009 - 02:35 PM.


#66 Jupitus

Jupitus

    One Carb Or Two?

  • Members
  • PipPipPipPipPipPipPip
  • 1,479 posts
  • Local Club: Breathemini

Posted 19 February 2009 - 09:22 AM

Hey Jason - feel free to paste up my answers from my PM here, but in addition the spade on the end of your oil pressure relief valve where you have the take off for the pressure gauge is what needs to be connected to the white/brown wire in your first pic, with the white connecting to an ignition only live :)

#67 Bean

Bean

    Queen of 'shoppin, Voted Miss TMF 2011

  • Members
  • PipPipPipPipPipPipPipPipPipPip
  • 8,054 posts
  • Name: Jean
  • Location: Malvern

Posted 19 February 2009 - 09:44 AM

I never knew that when I did this to Reggie in 2007, that it would become such a big thing! :) ;)

Though, we did it without a new section on the loom? We just used what was existing and hooked it up. The only new parts were the connectors, the T-Piece/pipe etc for the oil pressure and the gauges and console itself. Had it working in the day!

And we removed the top dash-rail. I don't think that you can keep it in, can you? Because the centre binnacle comes above the line of where the rail would sit?

#68 analogue_radio

analogue_radio

    Up Into Fourth

  • TMF+ Member
  • PipPipPipPipPipPipPipPipPip
  • 4,897 posts
  • Location: Melton Mowbray, UK.

Posted 20 February 2009 - 12:17 PM

Tiny update.. earthed the black & my dash illumination is working. But am I missing something.. what does the little green light at the top of the binnacle represent..? I thought that was an Oil level warning light, but after wiring up my loom & finding that only one bulb flashes, regardless of if I indicate left or right.. would mean that that bulb sits at the top? So then what are the two orange lights for either side of the binnacle..

#69 analogue_radio

analogue_radio

    Up Into Fourth

  • TMF+ Member
  • PipPipPipPipPipPipPipPipPip
  • 4,897 posts
  • Location: Melton Mowbray, UK.

Posted 20 February 2009 - 12:20 PM

Posted Image

Posted Image

#70 warhonowicz

warhonowicz

    Mini Mad

  • Members
  • PipPipPipPip
  • 180 posts
  • Local Club: Middlesex Mini Club

Posted 20 February 2009 - 05:27 PM

this is from the original owner's handbook

Attached File  dash1.jpg   304.45K   166 downloads

#71 analogue_radio

analogue_radio

    Up Into Fourth

  • TMF+ Member
  • PipPipPipPipPipPipPipPipPip
  • 4,897 posts
  • Location: Melton Mowbray, UK.

Posted 21 February 2009 - 09:00 AM

Oh so mine is wired correctly then :P just gotta sort the water temp & fuel gauge now.. thanks for that Warhonowicz.

#72 Down&Out

Down&Out

    The King Of Retro Cool

  • Traders
  • PipPipPipPipPipPipPipPipPip
  • 4,833 posts
  • Location: -

Posted 22 February 2009 - 04:07 PM

looks like its gunna be fun when i have to attempt this! need to sort the bodywory first :/

#73 BIG-DAVE

BIG-DAVE

    Learner Driver

  • Noobies
  • PipPip
  • 22 posts

Posted 11 June 2009 - 01:32 PM

right i have started to do this conversion myself but come to a wall at the min with the wiring, on the loom in the car i have wires left over and on the new loom from mini spares i need wires but the colours dont match, this is how its worked out

NEW LOOM LEADS IN CONNECTOR

Brown and yellow YES
Blue and white YES
Green and black YES
Back x2 YES
Red and thin Green NO
Green and thin Red YES
Green and White YES
Green and Blue YES
White x2 YES


on the connector block already in the car i have 2 wires left over
RED and WHITE
WHITE and BROWN

and on the new loom i have a RED and thin GREEN left over

is there anyone who is able to help me please???

thank you
Dave

#74 BIG-DAVE

BIG-DAVE

    Learner Driver

  • Noobies
  • PipPip
  • 22 posts

Posted 11 June 2009 - 10:30 PM

BUMP!!! anyone??

#75 shawsy

shawsy

    On The Road

  • Noobies
  • PipPip
  • 36 posts
  • Local Club: Yeovil Mini Mania

Posted 16 June 2009 - 08:43 PM

Jupitus

See attached images of what i intend to fit, ideally i would like a loom that converts the printed circuit board connector to the connector I've got on the back of the centre dials. If this is not possible could you tell me what wires I will need to connect up to my current loom if i retain the loom on the back of the centre dials.

Attached File  
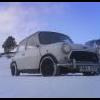
mini2009_001.jpg   1.51MB   27 downloads

Attached File  
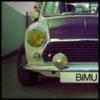
mini2009_004.jpg   1.51MB   65 downloads

Attached File  mini2009_003.jpg   1.46MB   20 downloads

Thanks,

Jon


0 user(s) are reading this topic

0 members, 0 guests, 0 anonymous users