Jump to content


Photo
- - - - -

K-lubman Estate


  • Please log in to reply
175 replies to this topic

#1 Tomf

Tomf

    Baby Tom

  • Traders
  • PipPipPipPipPipPipPipPipPipPip
  • 6,440 posts

Posted 05 June 2009 - 07:57 PM

Well this is my new project that will eventually be my daily drive.

Posted Image


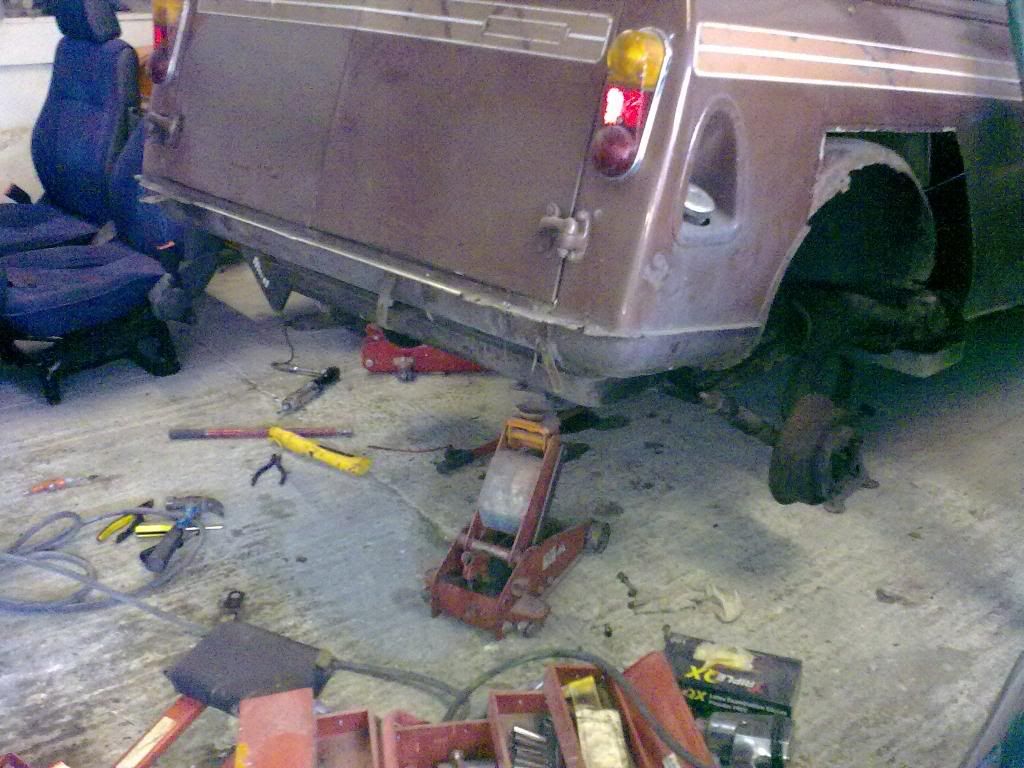
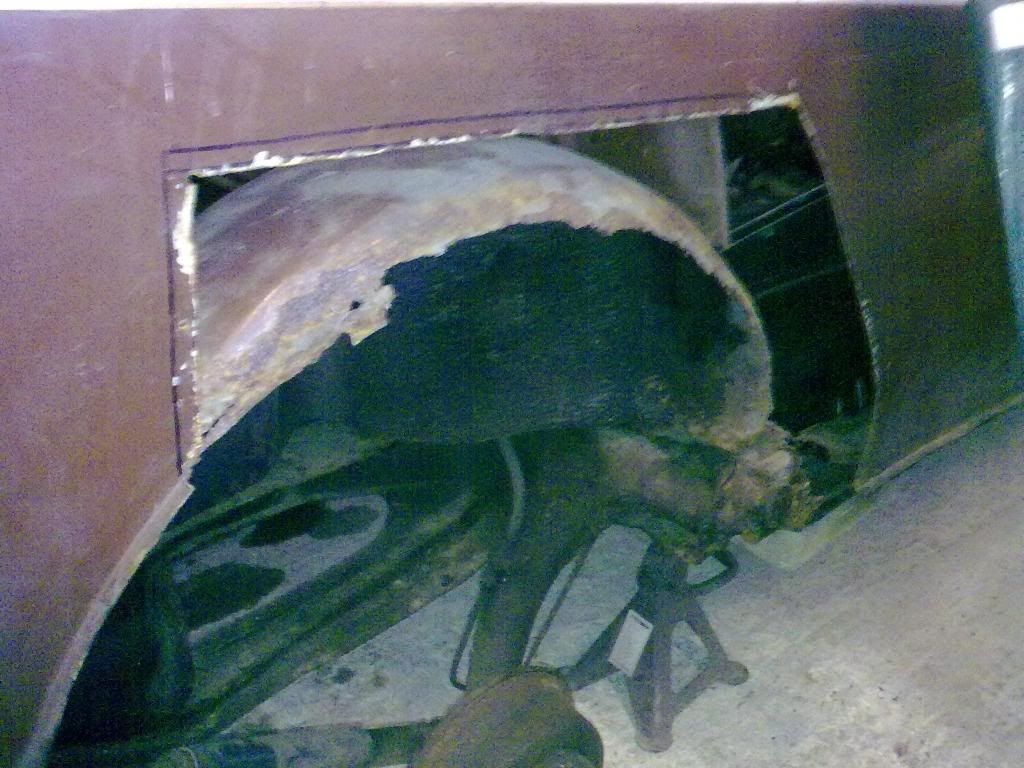
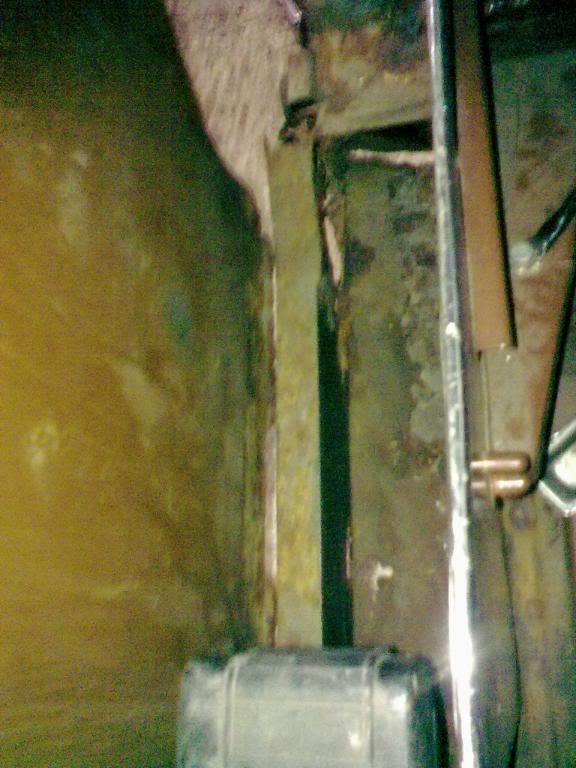
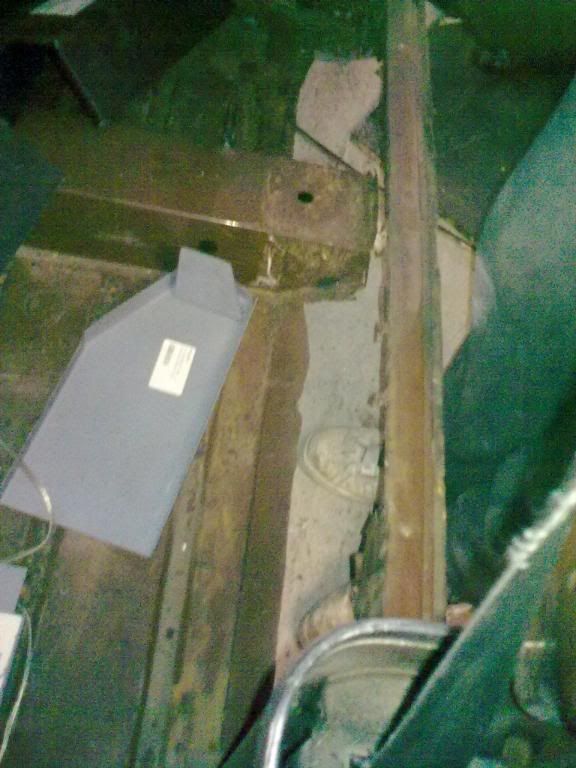
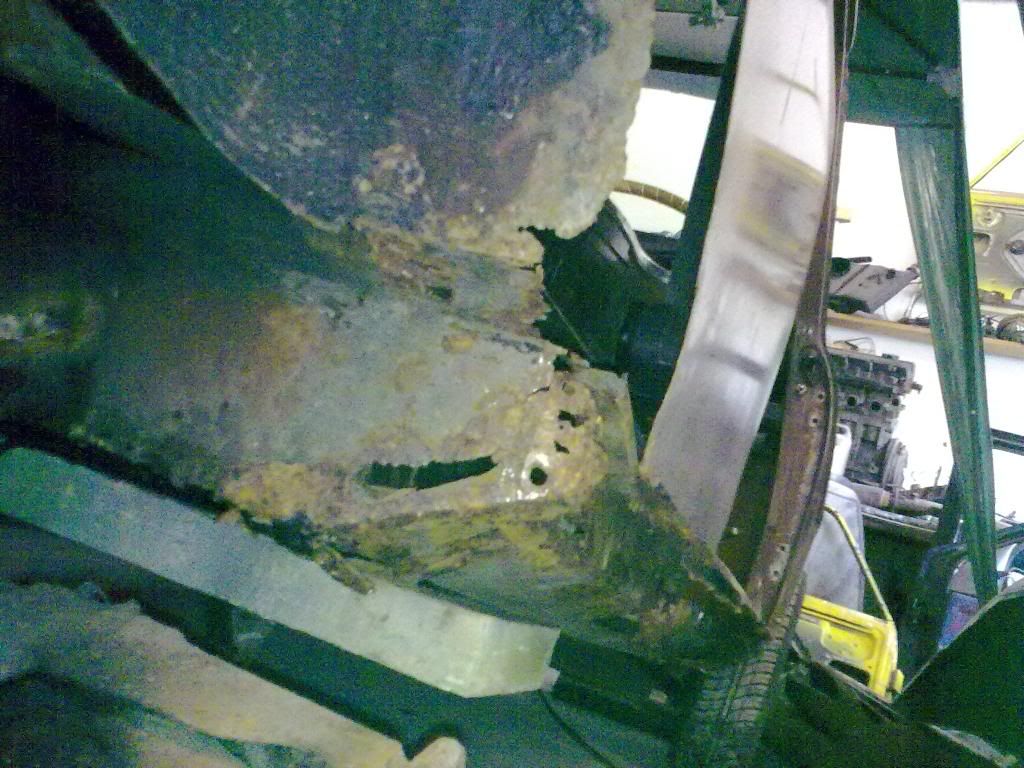
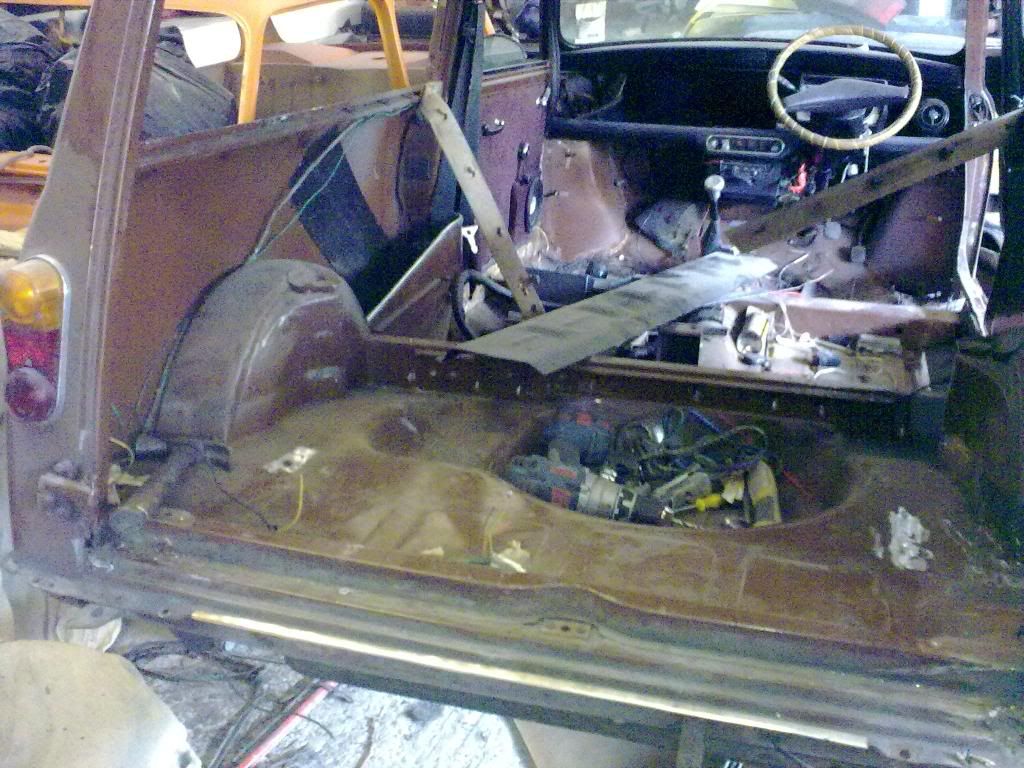
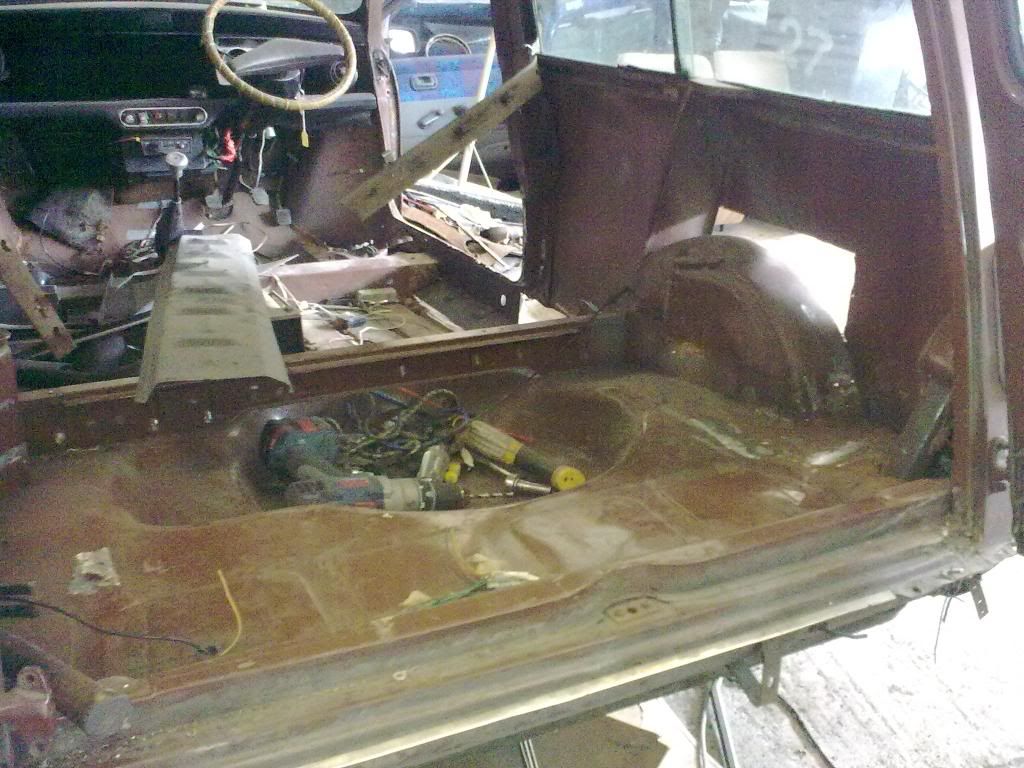
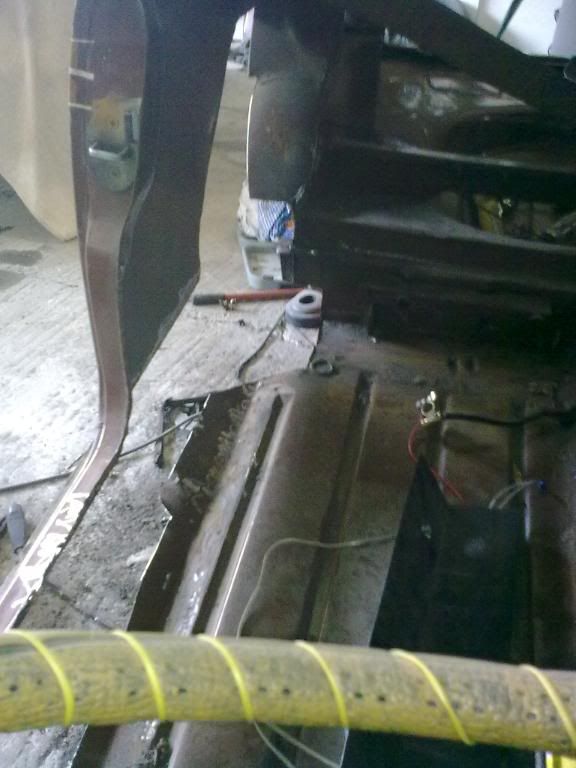
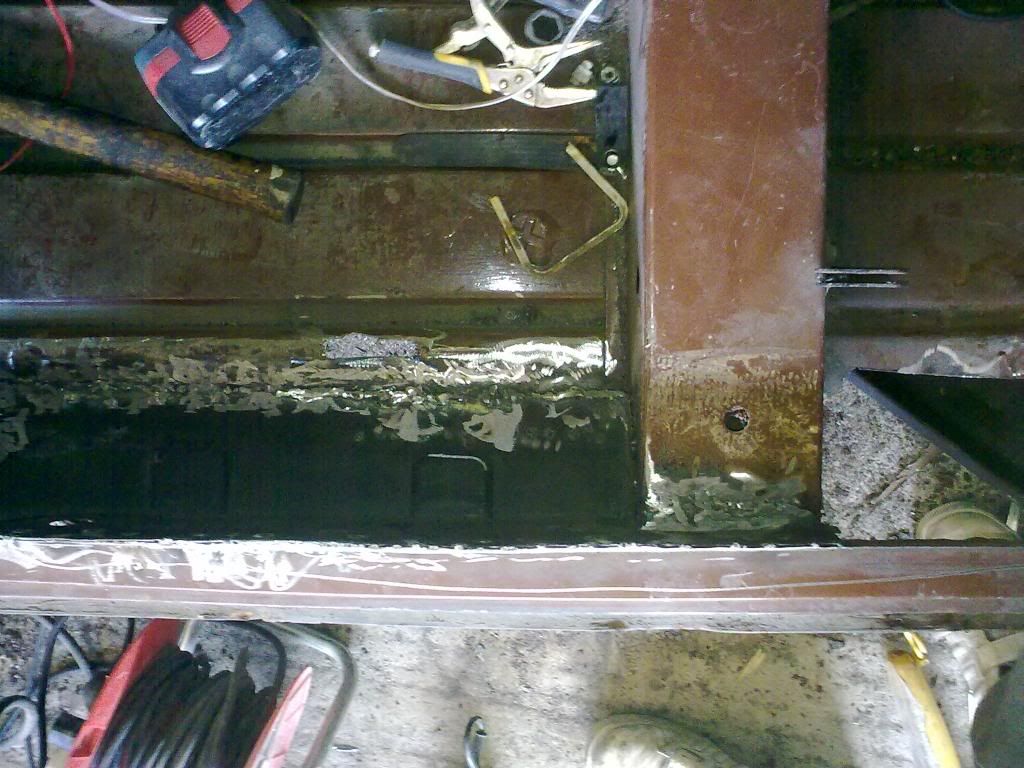
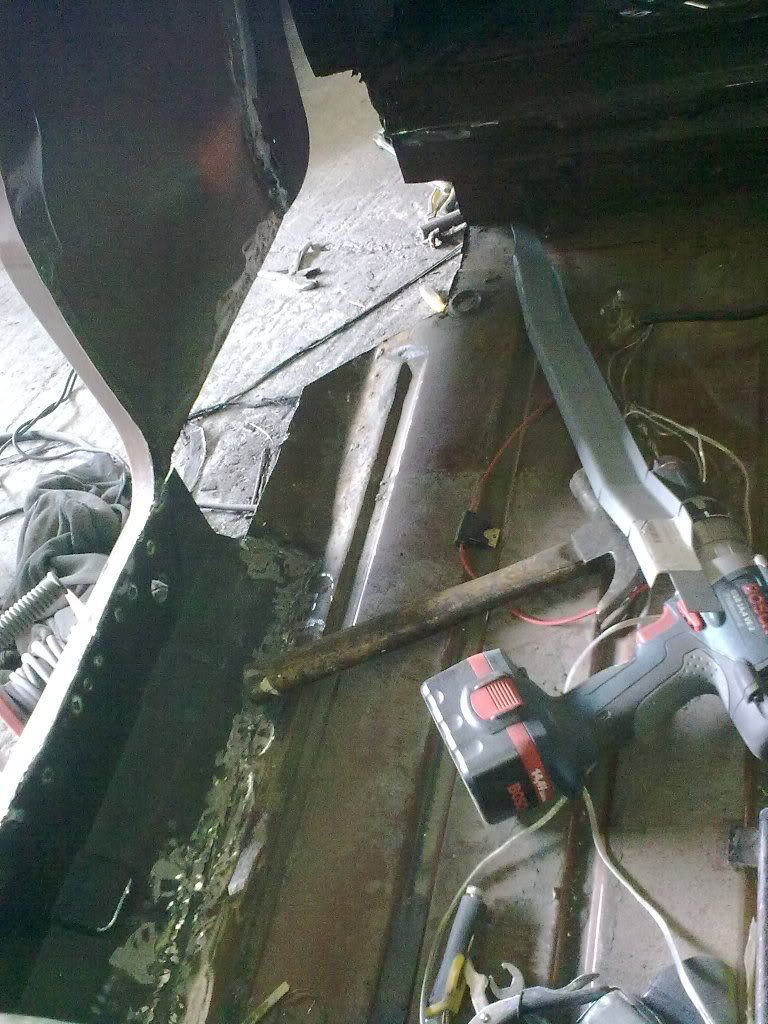
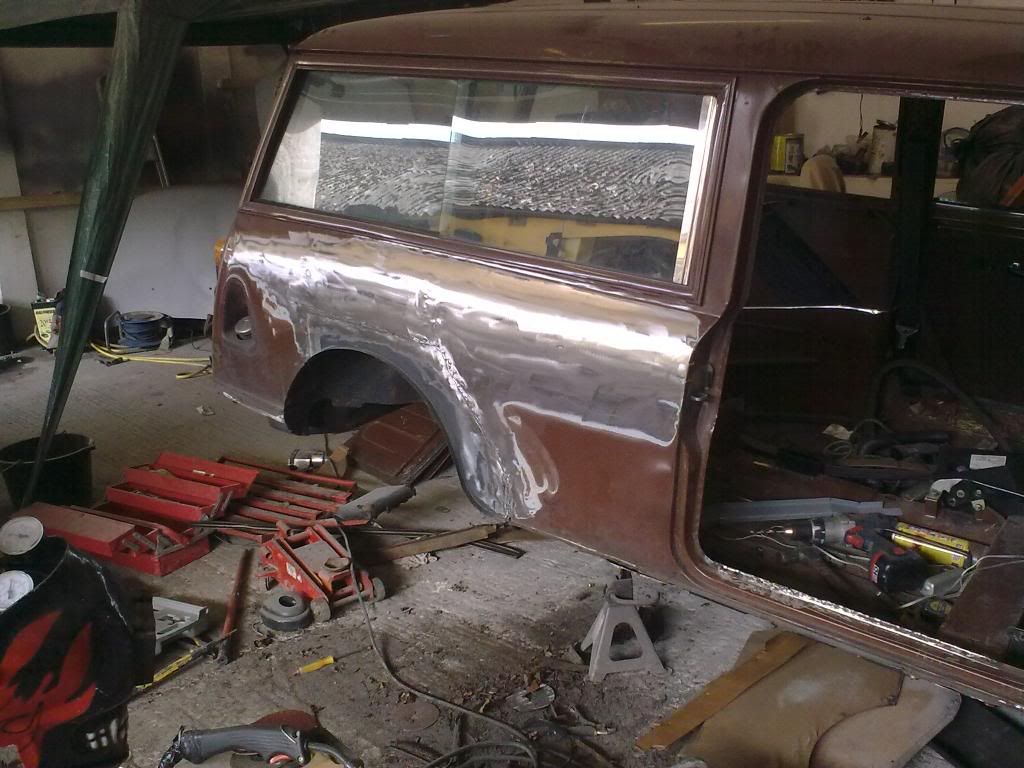
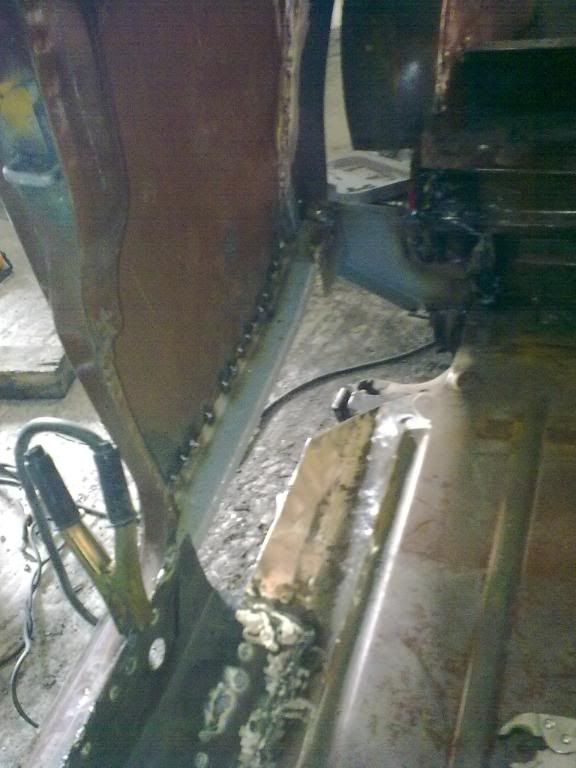
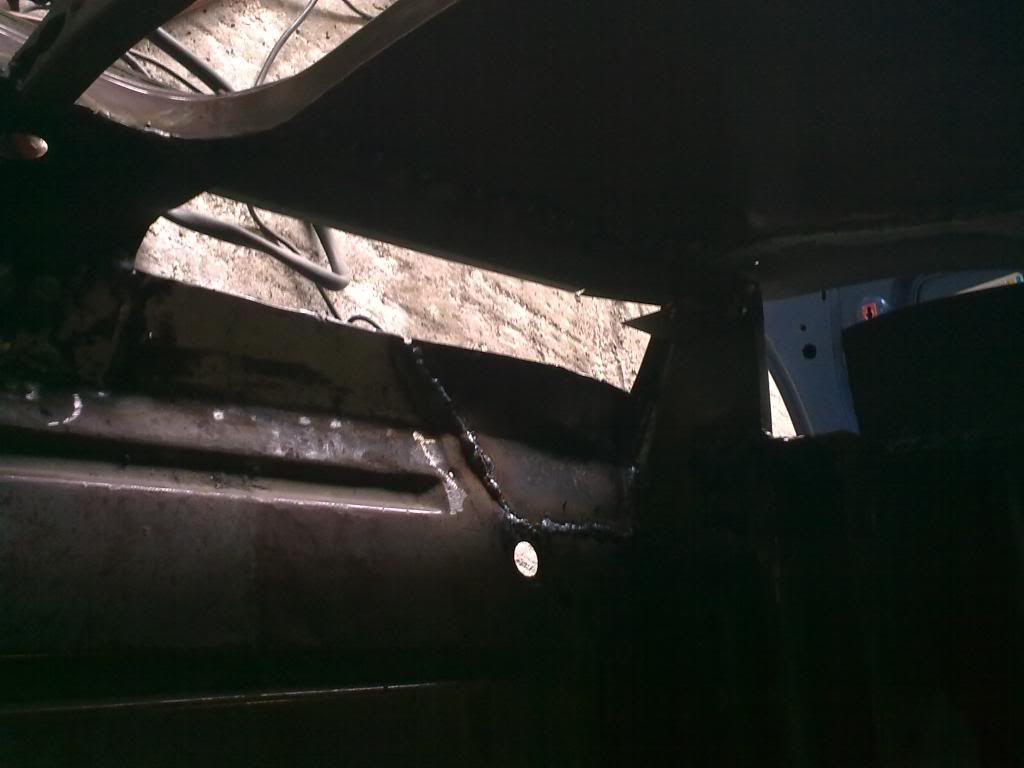
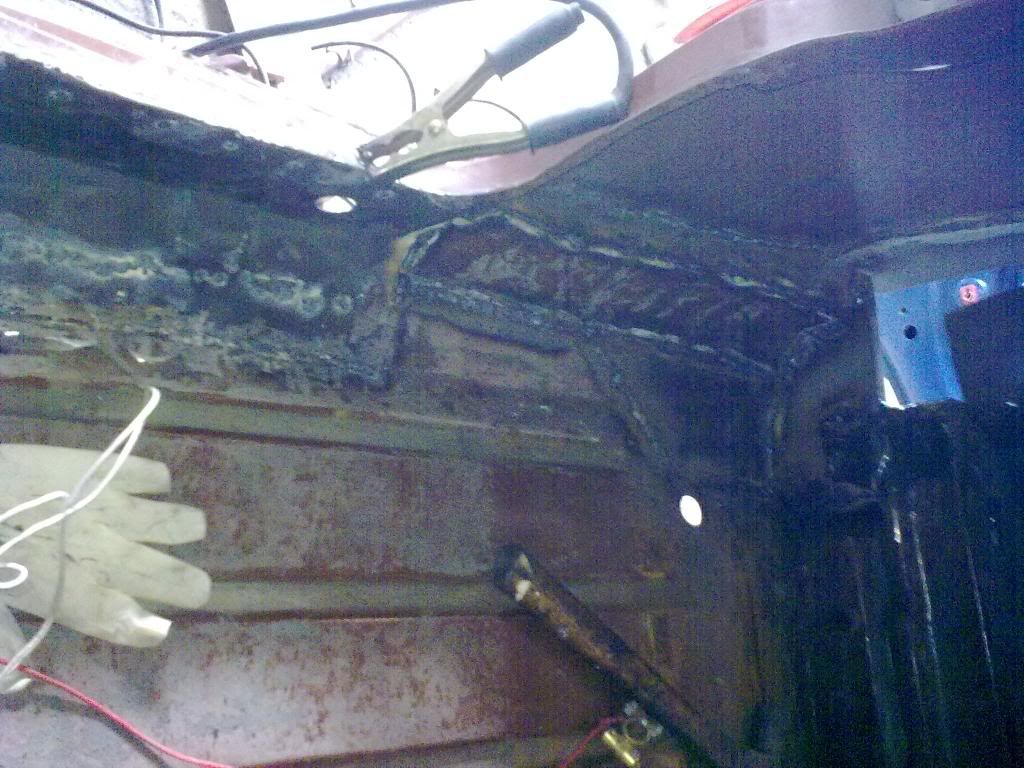
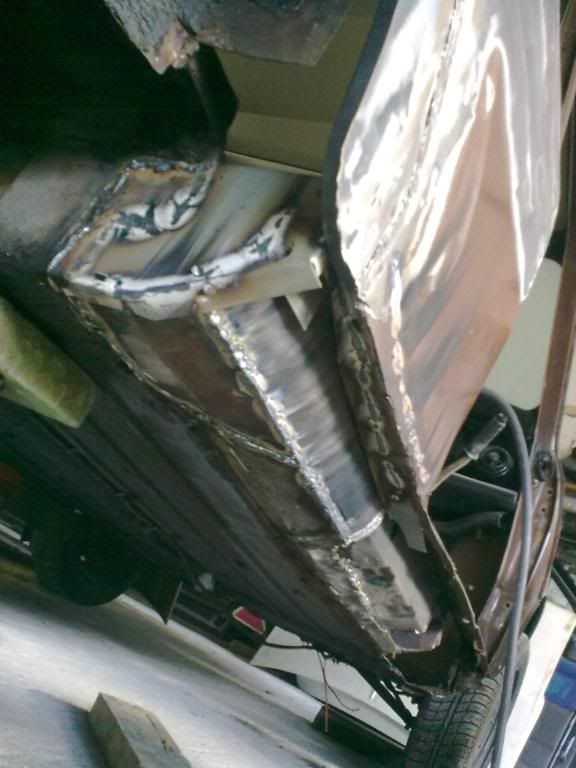
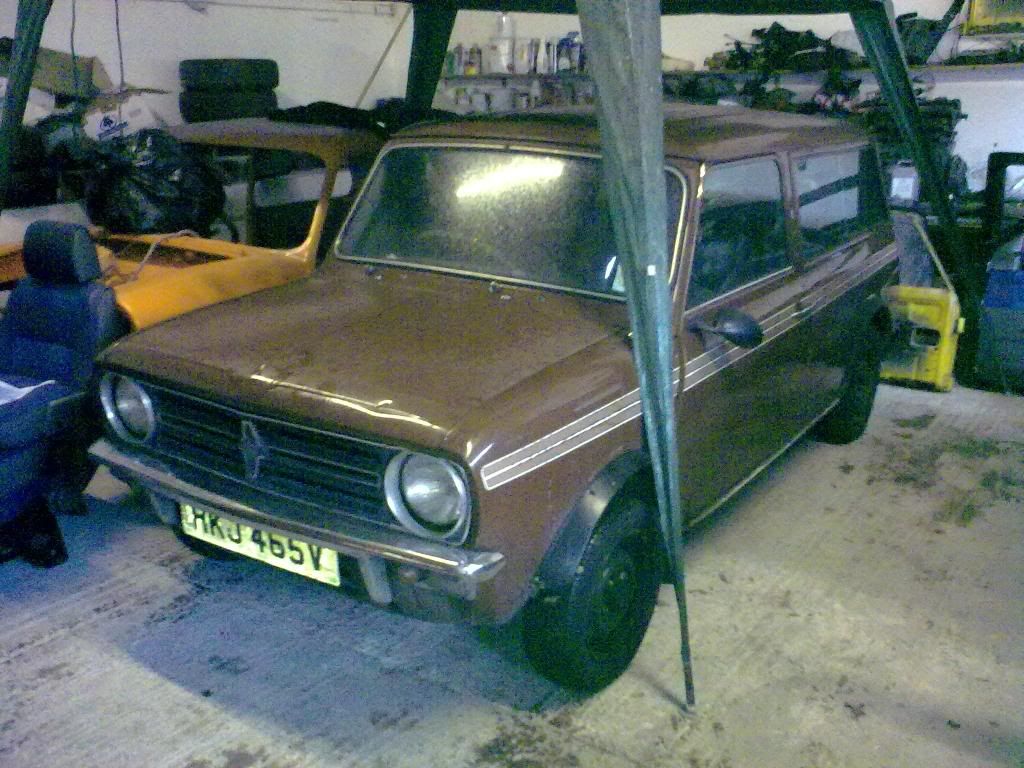
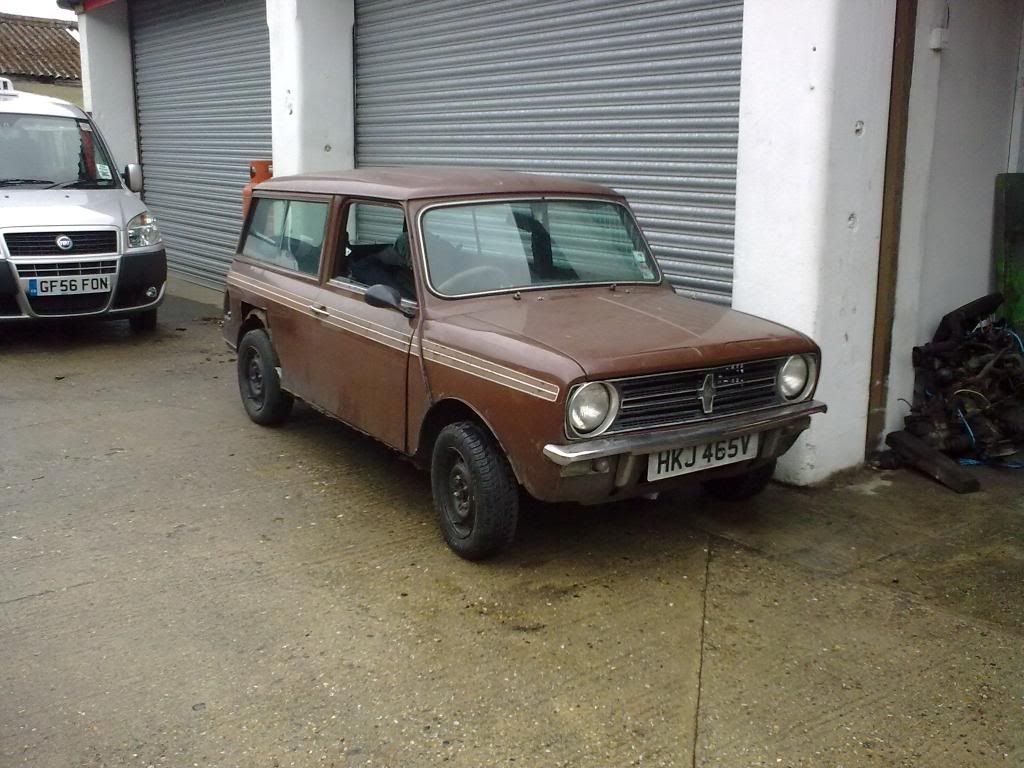
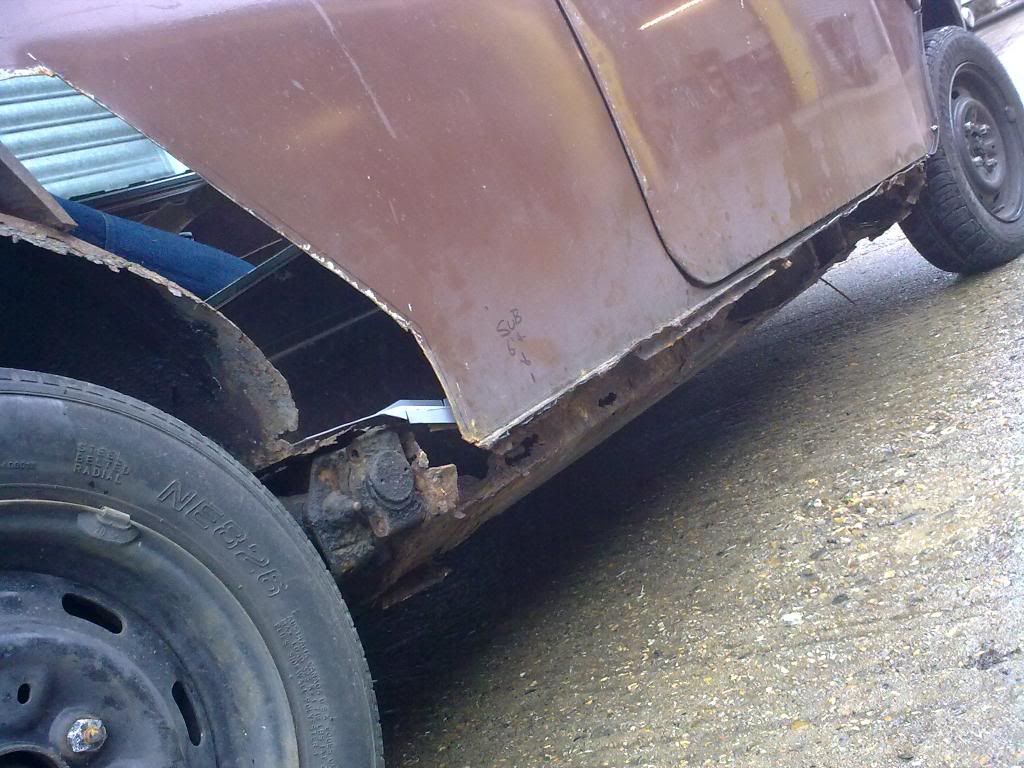
Its a clubman estate, with a few big holes, but it all seems to be down the drivers side, so leeds me to believe that its been left parked under something, but the driver side was still exposed. But its got all the repair panels with the shell, including, outer sill, inner sill, estate, rear bins, o/s rear subframe mount, 1/4 arch repair panel, good condition rear door, so ill have to put a small patch on the rear floor. And panels ill need to buy are pair of a-panels and O/S rear arch (might tube the arches though, so if i do this i wont need new arches)

Posted Image

Posted Image

Posted Image

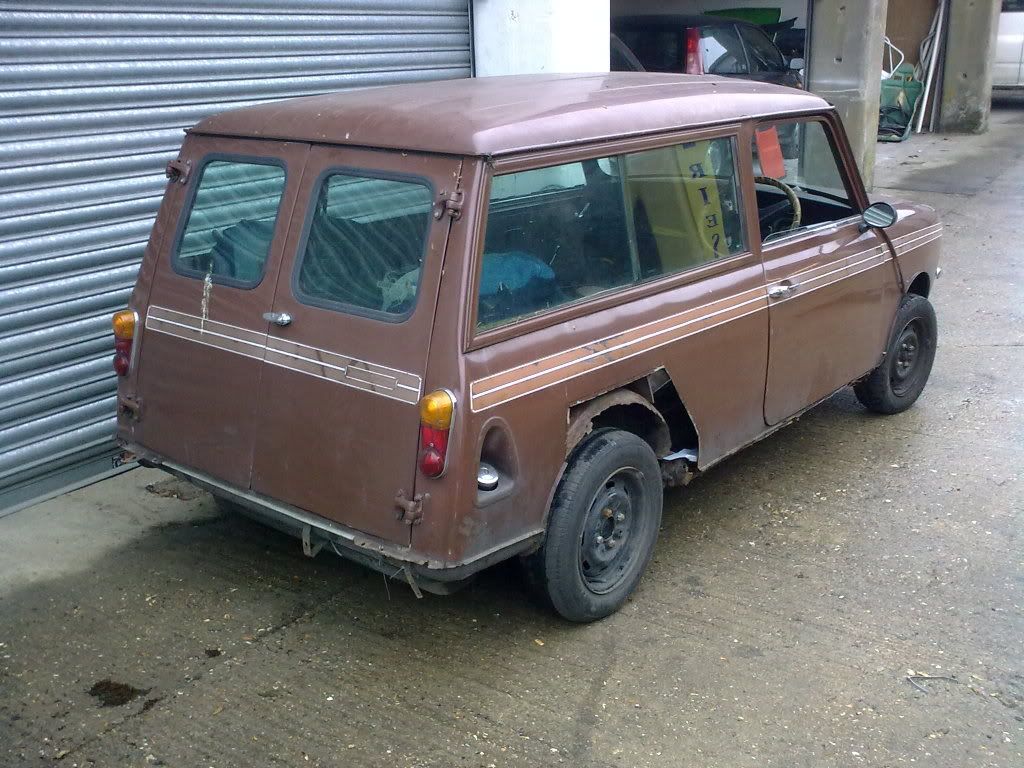
Also the N/S rear 1/4 is quite badly dented, so ill have to spend a few hours with the panel beating set trying to get that a bit straighter.

Posted Image

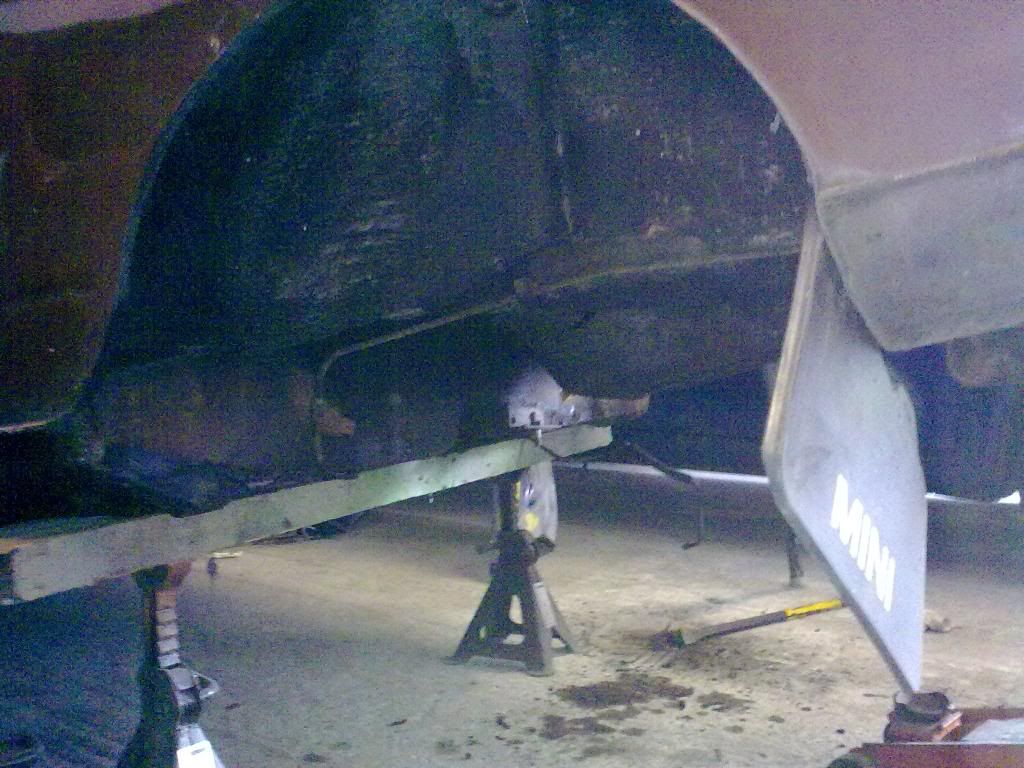
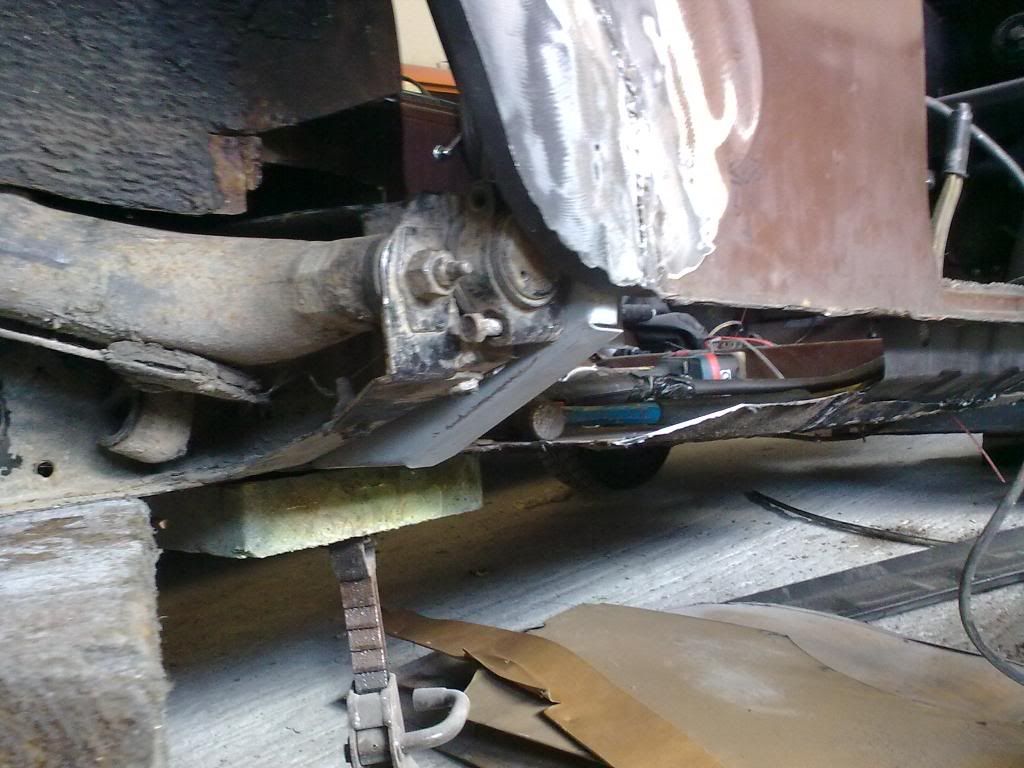
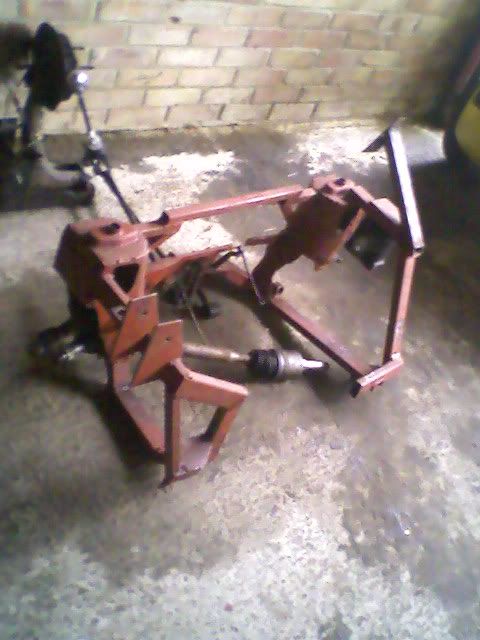
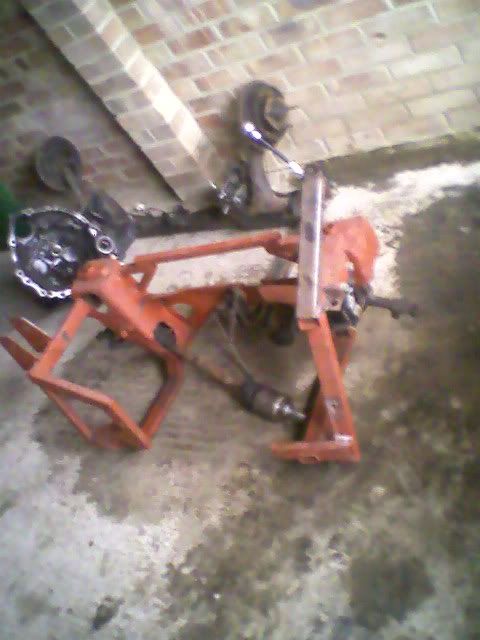
then as the subframe will have to come out this will go back in with a set of coil overs:

Posted Image

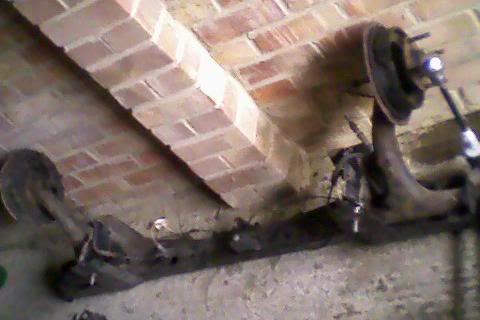
and this will be replacing the front subframe, so Rolling Snot will be staying a-series for a bit longer :'(

Posted Image

Posted Image

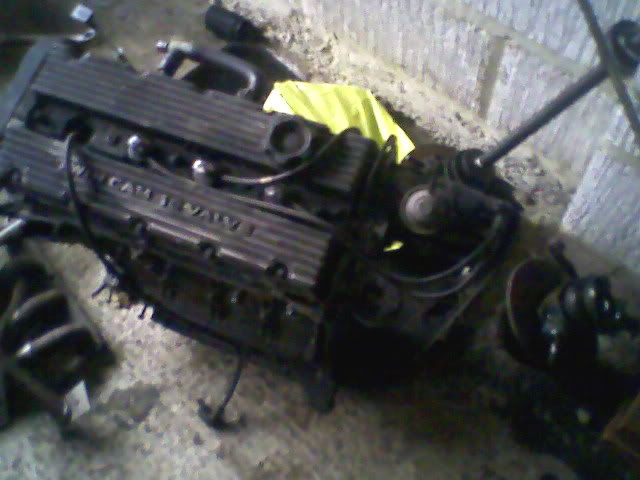
And at the moment this will be its heart, but hopefully by the time iv got the bodywork done and it painted ill have some spare moneys and ill buy a MGF 1.8vvc and use the lump out of that, with one of my many R65 gearboxes:

Posted Image

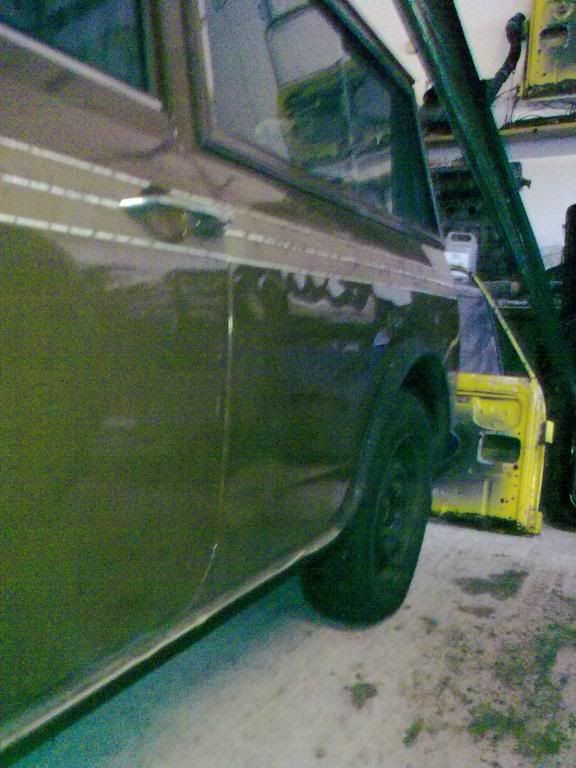
Sorry for the bad quality pics, only took some quick pictures, before i put it in my workshop.

#2 tuktuk

tuktuk

    One Carb Or Two?

  • Members
  • PipPipPipPipPipPipPip
  • 1,231 posts
  • Local Club: Tynemouth Mini Club

Posted 05 June 2009 - 08:00 PM

awesome ! :ermm:

you gonna keep it styled like that, yehh ? you got to ! :teehee:

#3 Tomf

Tomf

    Baby Tom

  • Traders
  • PipPipPipPipPipPipPipPipPipPip
  • 6,440 posts

Posted 05 June 2009 - 08:21 PM

I must admit i was very tempted to keep it that colour/style, but i showed my mum some pics of it and iv been ordered its not aloud to stay like that hahaha.

Ill be paneling out the rear windows, and sign writing them. I did want them penels you mentioned in your project thread, but i just couldn't face spending out that sort of money for some window panels. so ill be welding in a flat sheet of metal where the window is, and im not sure weather to keep the external window frame yet to smooth a flat sheet into the shell.

#4 MiniJosh92

MiniJosh92

    Camshaft & Stage Two Head

  • Traders
  • PipPipPipPipPipPipPipPip
  • 1,690 posts
  • Location: Nr Ashford, Kent

Posted 06 June 2009 - 09:27 AM

I'm watching you!

Its gotta stay poo brown!

Edited by MiniJosh92, 09 June 2009 - 01:11 PM.


#5 JordanRaisbeck

JordanRaisbeck

    Speeding Along Now

  • Members
  • PipPipPipPipPip
  • 408 posts
  • Local Club: NEMC

Posted 06 June 2009 - 11:22 AM

Nice project, nice to see another estate coming back on the roads ! good luck with the project and i will be watching for progress :ermm:

Jordan.

#6 Tomf

Tomf

    Baby Tom

  • Traders
  • PipPipPipPipPipPipPipPipPipPip
  • 6,440 posts

Posted 08 June 2009 - 09:23 PM

Had a quick look over the shell today, it seems pretty solid apart from the obvious.

I found a couple more small holes in the passenger side rear bin, and a lovely bodge that had been done in the past (an old seat belt tied up into a ball, pushed into a rust hole, then heated up and melted into the hole then a load of undersealed slapped on the unerside so not visible) So i ripped that out to find a rusty hole, but alls good, If i can get my hands on another bottle of gas ill get welding up tomorrow, but ill see what happens.

#7 JordanRaisbeck

JordanRaisbeck

    Speeding Along Now

  • Members
  • PipPipPipPipPip
  • 408 posts
  • Local Club: NEMC

Posted 08 June 2009 - 09:26 PM

Ouch about the bodge.. some people today always do things half heartadly, why bother? is what i say, i mean you could be putting someones life at risk. And are you taking it back to original? or are there going to be some modern tweaks :(?

Jordan, :D

#8 Jordie

Jordie

    Traders Area Specialist Mod, North and Scotland Area Manager

  • TMF+ Member
  • PipPipPipPipPipPipPipPipPipPipPip
  • 13,564 posts
  • Name: Jordan
  • Location: North East

Posted 08 June 2009 - 09:27 PM

Nice project.

Mine had 22 mot failures, but its getting sorted now with the aid of some panels

#9 Tomf

Tomf

    Baby Tom

  • Traders
  • PipPipPipPipPipPipPipPipPipPip
  • 6,440 posts

Posted 08 June 2009 - 10:01 PM

Knowing my luck ill get it all welded up put it in for the mot and it will still fail on more than that hahaha.

The plan it to get the body solid, fit the rear beam, get the engine in and running, and hopefully this will be done in time for BH2N and hopefully ill get the time to get the body prepped and painted, but just depends if i make time to get it done.

#10 kcchan

kcchan

    One Carb Or Two?

  • Members
  • PipPipPipPipPipPipPip
  • 874 posts

Posted 08 June 2009 - 10:10 PM

Just matte black it, you know you want to.

#11 Tomf

Tomf

    Baby Tom

  • Traders
  • PipPipPipPipPipPipPipPipPipPip
  • 6,440 posts

Posted 10 June 2009 - 12:21 AM

Haha nah dont think ill be matt blacking it, but who knows what ill do the final prep is the last thing im thinking about.

Didnt get much time today, mainly as i didnt wake up till aster midday (being young and self employed is great)

Well when i got down there i quickly whipped the rear subframe off, amazingly the bolts came straight out with none snapping and i got it out in about half hour.

Posted Image

Posted Image

Then i cut away more of the rusty bits, its strange how its so rotten this side and the other side is prety solid bar two tiny holes.

Pics of some of the rusty holes:

Posted Image

Posted Image

Posted Image

Posted Image

Posted Image

So iv cut most of that out now, just needs some trimming up ready for the new panels and for me to fabricate some patches.

Iv cut the rot off the rear arches and im prety sure ill be tubing them now, but still not to sure.
Iv also removed the passenger rear bin, ill remove the drivers side one aswell and all the extra metal the states have, then ill put something on the rear floor so iv got some sort of load bay.

Also took the rear quarter window out the drivers side, got quite scared as there was rust bits everywhere but gave it a quick blow and it was just rust from the metal in the felt runners and that side looks solid, but passanger side looks like it might have some rot dues to a slight bit of visible surface rust.

Not sure ill be able to get much done tomorrow, dues to needing to do some painting for other people

Edited by Tomf, 10 June 2009 - 12:23 AM.


#12 Tomf

Tomf

    Baby Tom

  • Traders
  • PipPipPipPipPipPipPipPipPipPip
  • 6,440 posts

Posted 12 June 2009 - 10:00 PM

Well found a few hours to get some work done on this today,

Started out by removing some of the raised estate rear floor bits:

Posted Image

Posted Image

I left the drivers side rear seat in place as it was holding the shell in shape that side. but once its all welded up ill cut that out aswell.

As the bottom of the shell is the only really rotten bit i decided that i would work on it a corner at a time starting at the worst.

So i got all the rot cut out:

Posted Image

Fitted the rear half of the inner sill:

Posted Image

This still left a fairly big hole to fill with metal though :P

Posted Image

Then i welded in the repair panel to the rear quarter:

Posted Image

I then lifter the subframe in place put both bolts in the passenger side and supported the driver side with a jack and made sure i had it level, i then bolted the repair patch to the subframe and from the inside got welding.

Posted Image

I then took the subframe back off and welded that side up:

Posted Image

Then i welded the rear quarter to the subframe repair panel i also fitted the repair panel that sits in the rear pocket and tacked this to the rear quarter, i know this isnt how its done as standard but i tacked in there as iv lost the rear pockets so wanted to add a little more strength:

Posted Image

So now iv run out of panels that i can buy to repair the bits i need fixed, so ill start making up some patches to go in place.

#13 MiniJosh92

MiniJosh92

    Camshaft & Stage Two Head

  • Traders
  • PipPipPipPipPipPipPipPip
  • 1,690 posts
  • Location: Nr Ashford, Kent

Posted 13 June 2009 - 04:36 PM

Looks like your getting on with it pretty well. Its looking good.

#14 tuktuk

tuktuk

    One Carb Or Two?

  • Members
  • PipPipPipPipPipPipPip
  • 1,231 posts
  • Local Club: Tynemouth Mini Club

Posted 13 June 2009 - 04:41 PM

coming on nicely buddy ! >_<

#15 Tomf

Tomf

    Baby Tom

  • Traders
  • PipPipPipPipPipPipPipPipPipPip
  • 6,440 posts

Posted 13 June 2009 - 06:50 PM

Cheers, its good to be filling in the big holes with nice shiny metal.

Had another little plat today its starting to get some battle scars haha.

First patch in:

Posted Image

Then seam welded the rear quarter support panel thingy and made up another patch for the other hole and get that all welded up:

Posted Image

And from the underside:

Posted Image

Next ill tackle the rear arch repair and put a small patch the other side of the arch (only the size of a 50p)

I also got the rear window out the drivers side and as i though there was a couple of rust holes there, but ill get the window frame out and see how far these go as i think they are just on the inner lip and if this is the case ill just chop it out an do the same both sides (saves a bit more weight lol)


1 user(s) are reading this topic

0 members, 1 guests, 0 anonymous users