Jump to content


Photo
- - - - -

K-lubman Estate


  • Please log in to reply
175 replies to this topic

#31 mini_mad69

mini_mad69

    Let future you worry about it

  • Traders
  • PipPipPipPipPipPipPipPipPipPip
  • 5,417 posts
  • Local Club: urrrr no

Posted 03 July 2009 - 10:03 PM

Yea there Bini seats, they were brand new of ebay for £10, but have been sat in my workshop for a while so quite dirty now, but they will clean up nice.

by the way have you received the piston rings yet?


Yeah they arrived today, thanks alot. I left a little comment on your profile.


£10!!!! I was looking at getting a set of those for mine as im bored of my bucket seats.
We have a set here from my mum's Bini but ive been told im not allowed them.


Ben

#32 Tomf

Tomf

    Baby Tom

  • Traders
  • PipPipPipPipPipPipPipPipPipPip
  • 6,440 posts

Posted 06 July 2009 - 09:29 PM

Well i didnt have anything on at work this morning, so i popped out and finally managed to get my gas bottle re-filled, so i started making the front drivers side corner solid.

It started out like this:

Posted Image


I made up a few replacement patches and welded them in place and then welded the inner sill to the patches, still needs one small patch:

Posted Image

Then i stripped out the headlining:

Posted Image

I also had a poke with the screwdriver in the passenger side front footwell and made a few holes :thumbsup: so it looks like im going to have to do the same again to that side :P

Also i had left a small patch in the driver side rear arch (1/2" x 4") so i started cleaning up the metal around the arch and the rot had gone further than i thought and ended up putting a parch of about (1" x 10") But at least now iv cleaned up the whole arch and know that there isnt any rot left there.

Tomorrow im going to do a late night and try and get the majority of the welding done, so i can start to prep the shell for painting.

So the plan is to:

Weld the final patch in the driver footwell
Weld on driver side the outer sill
Clean up the remains of the rear bin where its joins the heel board
Cut out the rotten patch and hole by the passenger side rear bin
Make and weld in a patch to the passenger side rear bin area

And depending on how long that takes hopefully ill make a start on the passenger side door step and then the front floor pan.

So i should definitely have all the rot out of the shell by the end of the week, then all ill have to weld on is the a-panels but i want to leave these off for as long as possible so i can make up and weld in place some mounts for my front coil overs.

Edited by Tomf, 06 July 2009 - 09:30 PM.


#33 Tomf

Tomf

    Baby Tom

  • Traders
  • PipPipPipPipPipPipPipPipPipPip
  • 6,440 posts

Posted 07 July 2009 - 09:58 PM

Well i made some good progress this evening :)

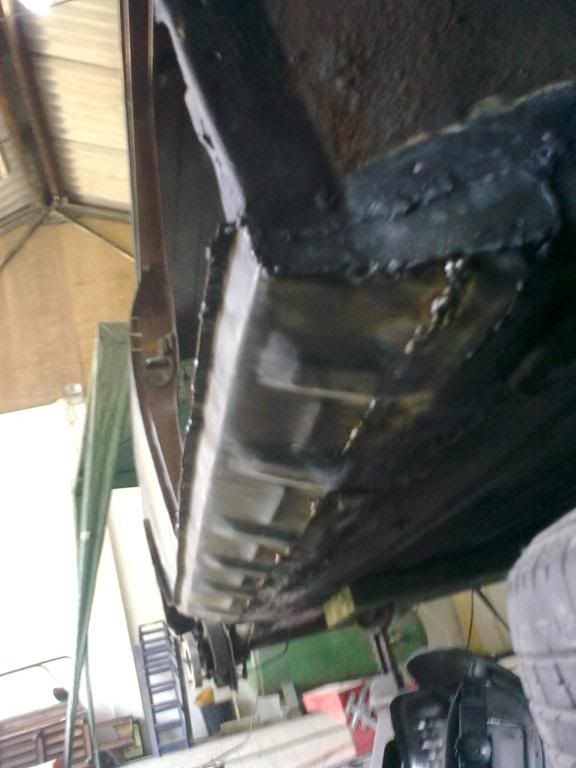
Started out my welding the final patch in the drivers side footwell, i then tacked the outer sill in place. Im using over sills, but i have cut the bottoms off so the vents can still breath, but they are still wider than standard.

Posted Image

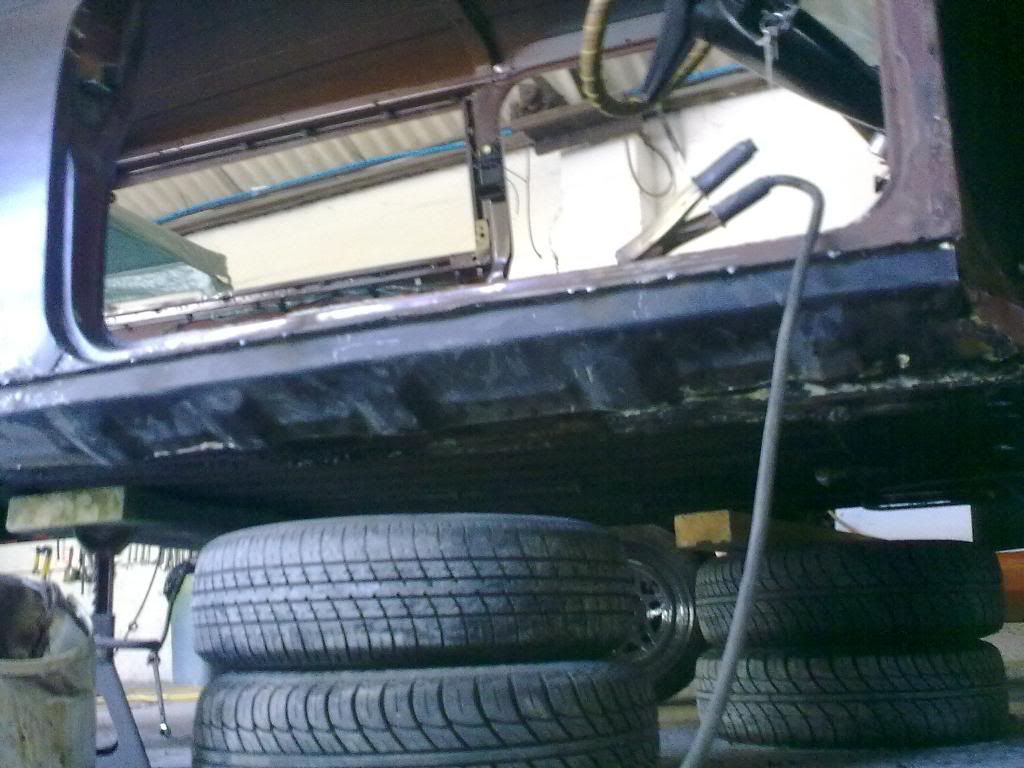
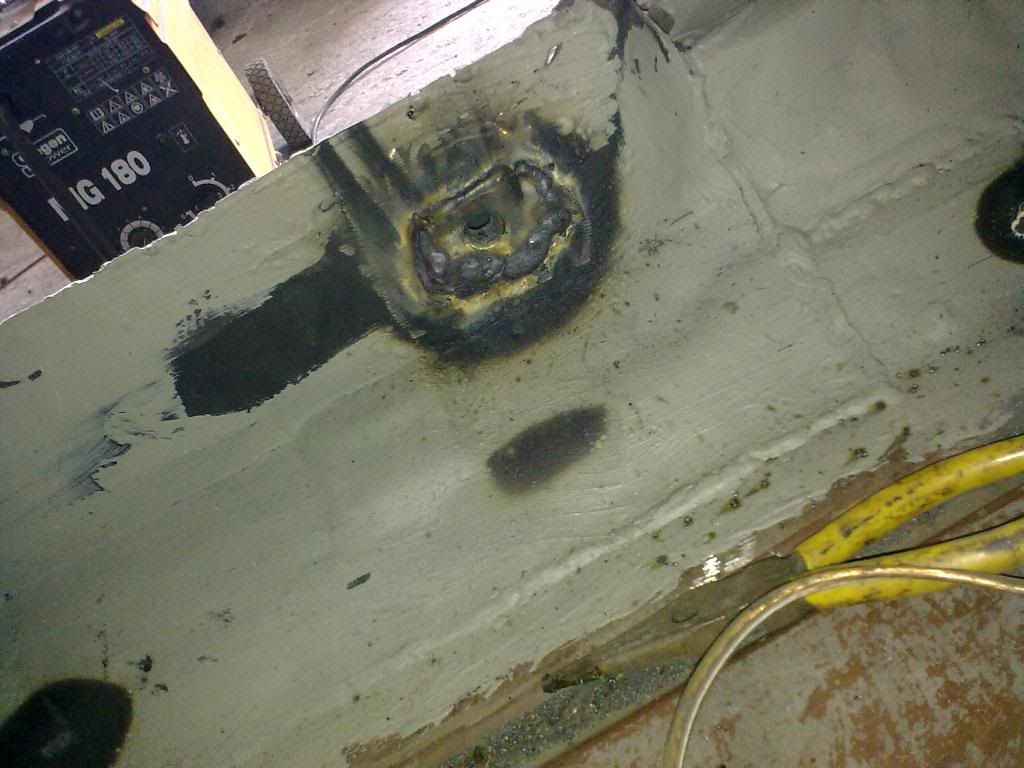
I then got underneath and seam welded the metal between the vents, i know this isnt how its done as standard, but i dont have a spot welder so good/strong enough for me.

Posted Image

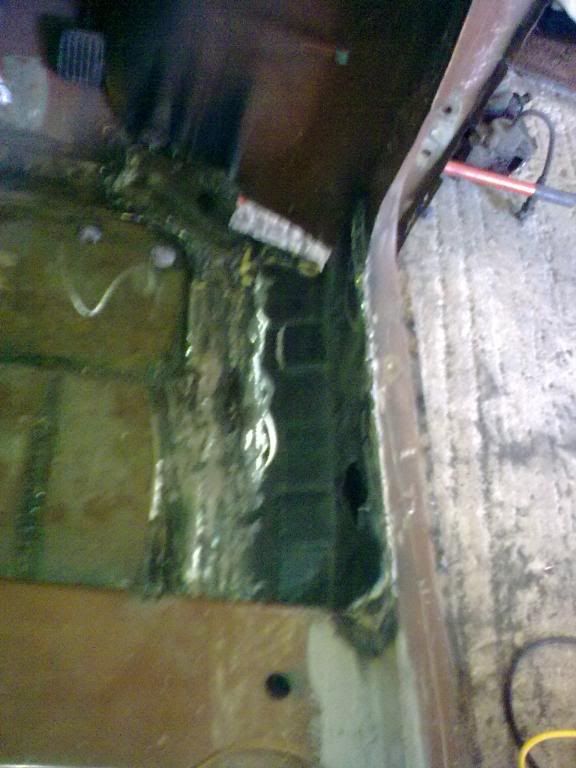
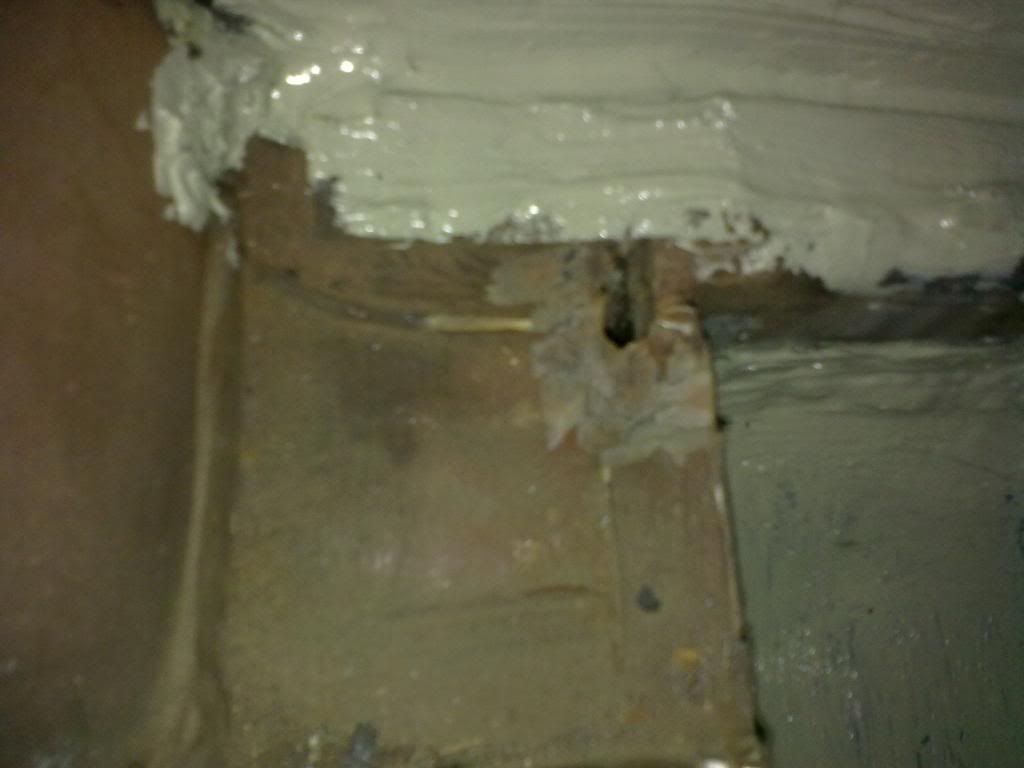
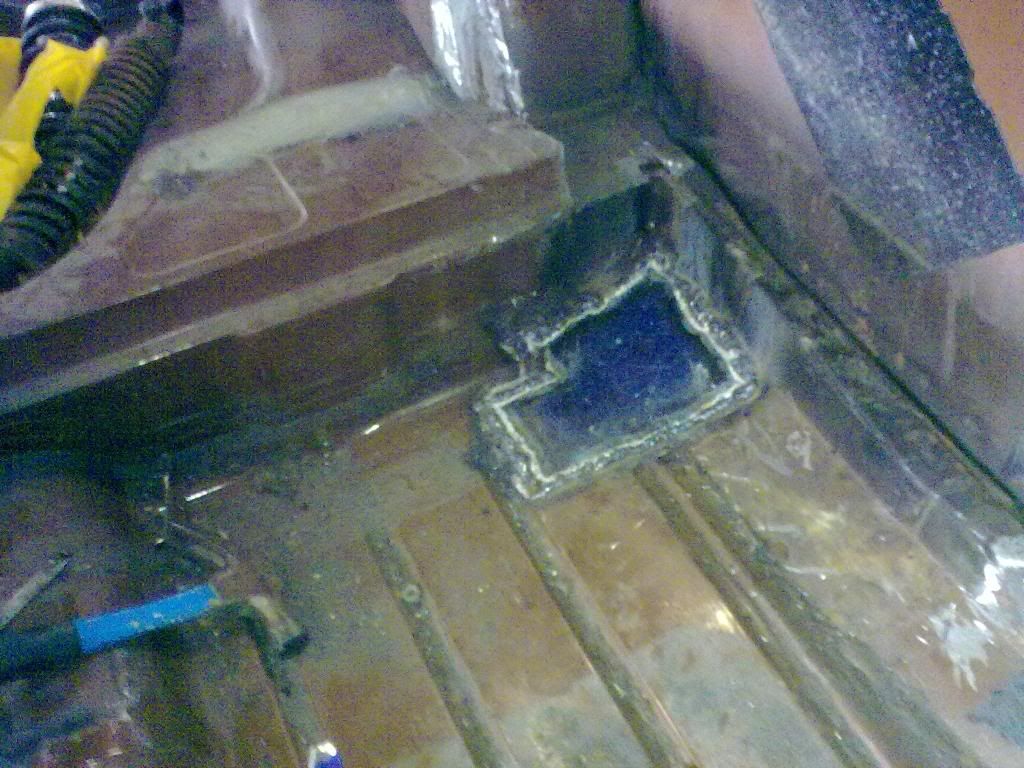
Then i cleaned up the remains from the rear bin and found a 5p size hole at the top of the heelboard/boot floor, but i have ignored this for the moment, so i cut out all the rot in the rear flook, more than i thought actually:

Posted Image

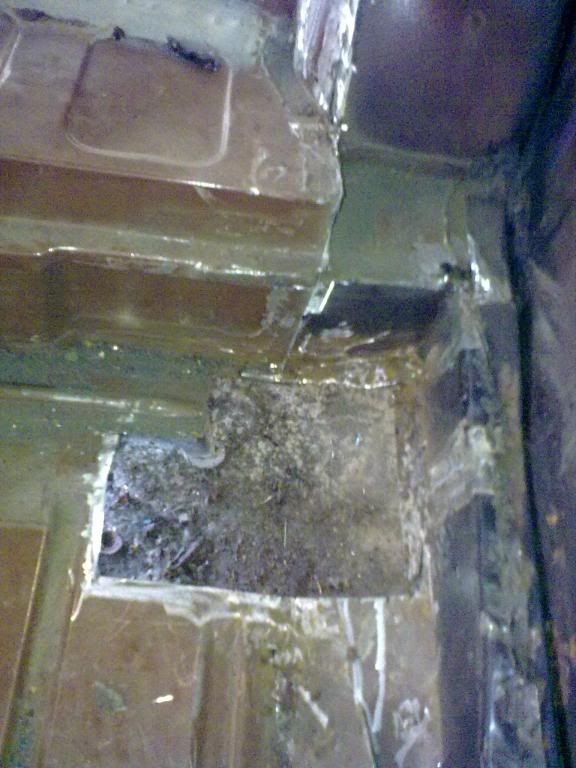
Then made up a patch and welded in place:

Posted Image

Then i remembered that when i gut out the old inner sill from the river side i forgot to weld a seatbelt bolt back in place, so i gut a bolt out a car that is being broken (not a mini) and welded that into the inner sill.

Posted Image

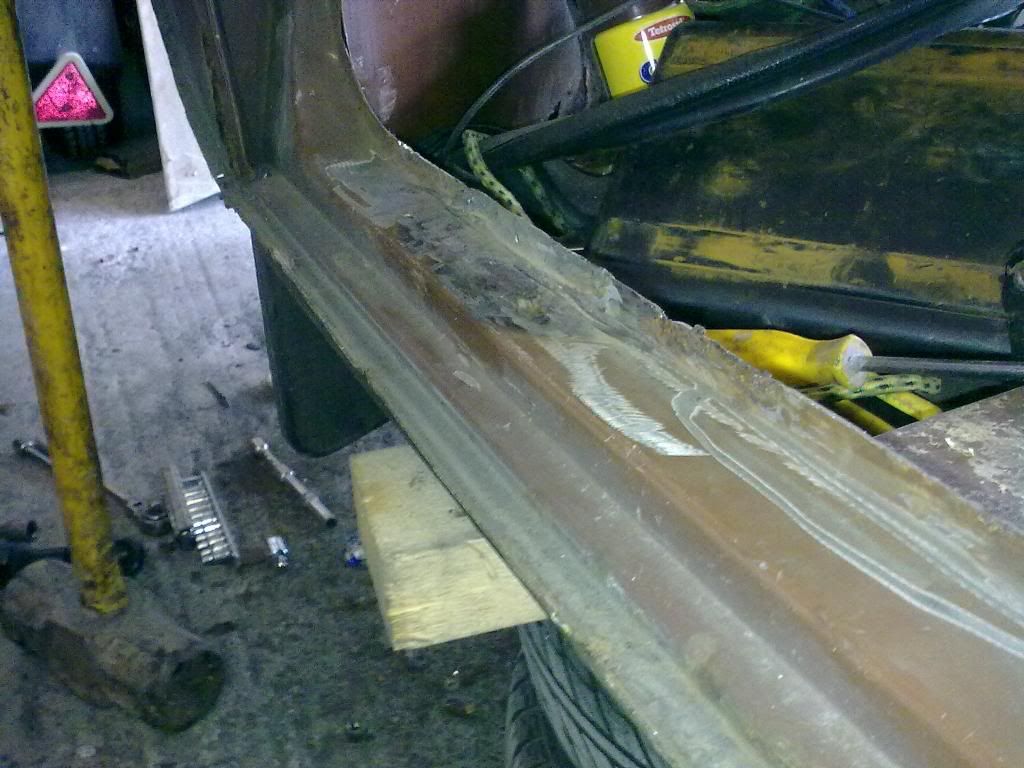
Then i moved onto the passenger side door step and cut the rot out of that:

Posted Image

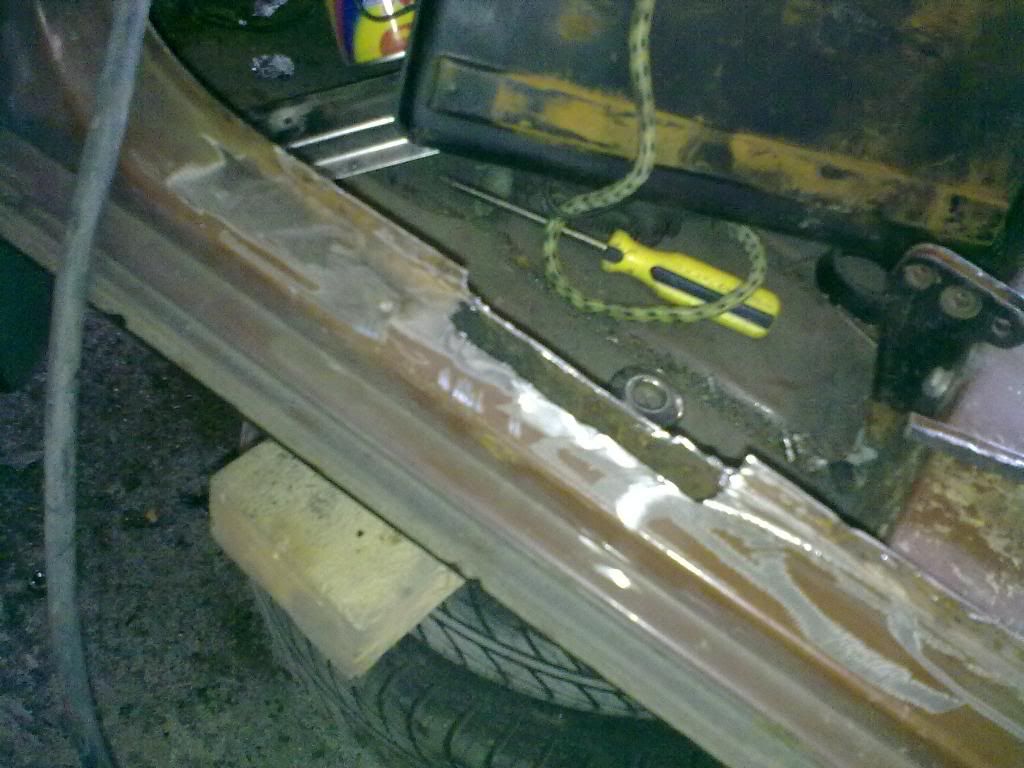
I as going to patch it up as one patch, but i couldnt get it to shape right due to the inner lip having to be cut lower than the flat of the step, to make sure all the rot was gone, so i repaired using two patches, then cleaned up and you cant even notice its been repaired:

Posted Image

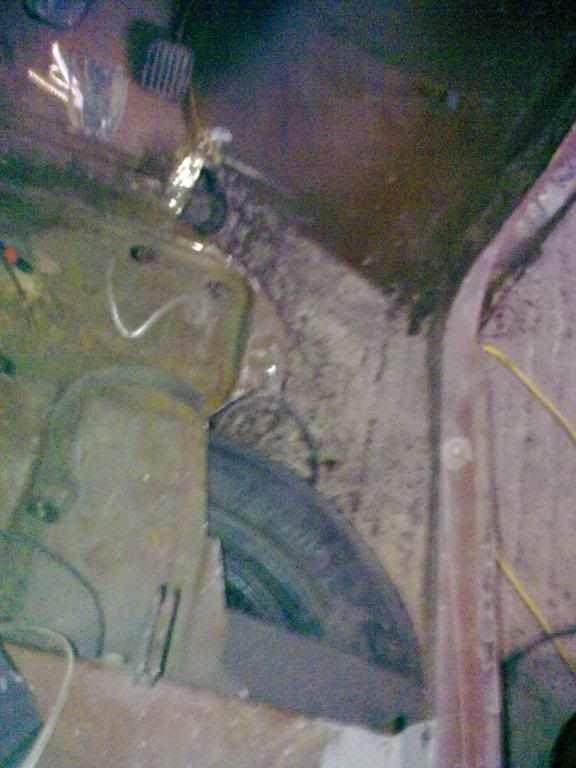
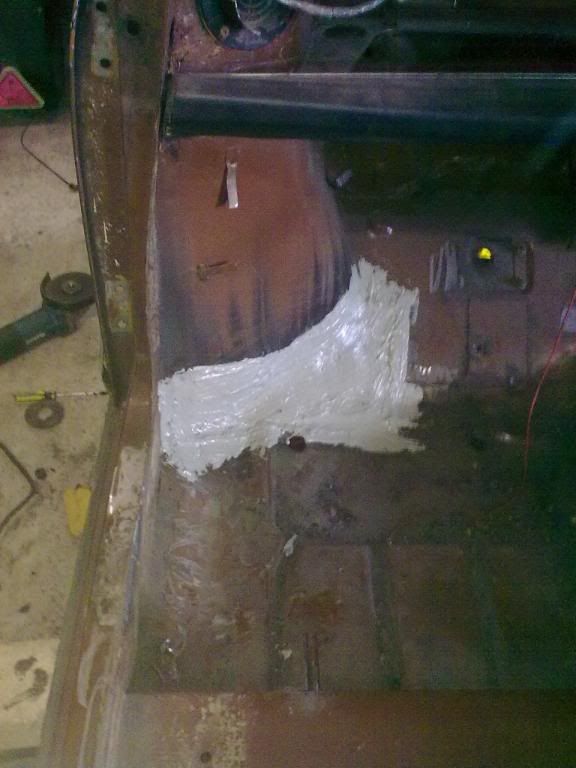
Then i moved onto the front passenger foot well, got poking again with the screwdriver and the "metal" just kept falling through as did the filler :) so i got the grinder out and cut a nice hole:

Posted Image

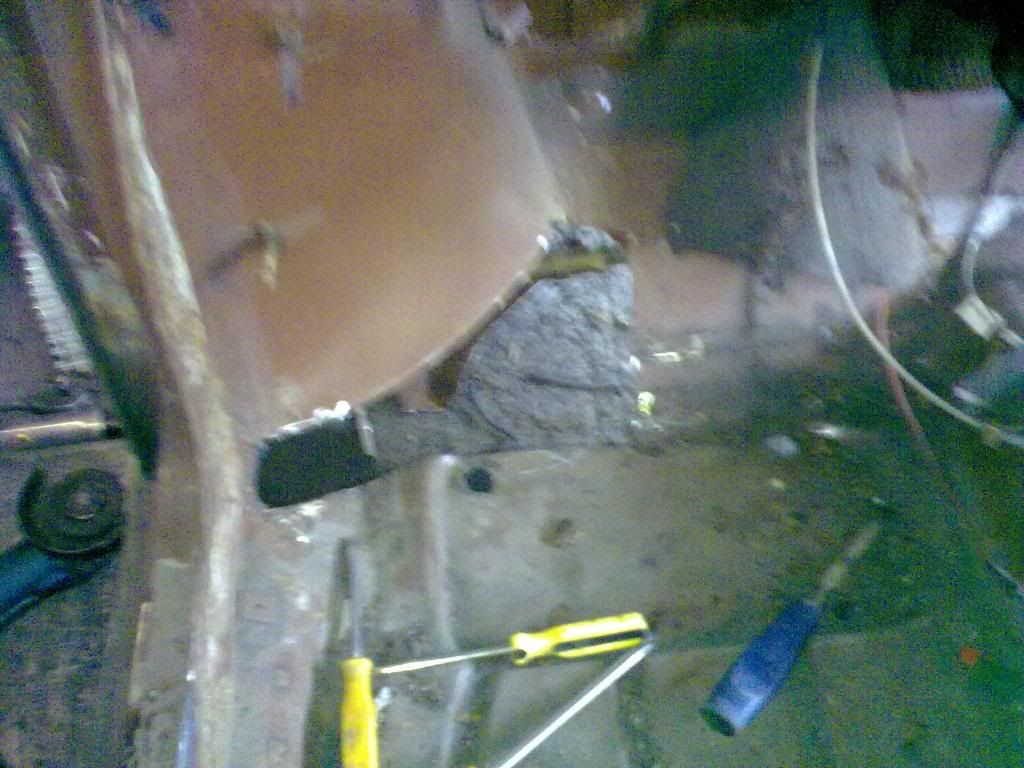
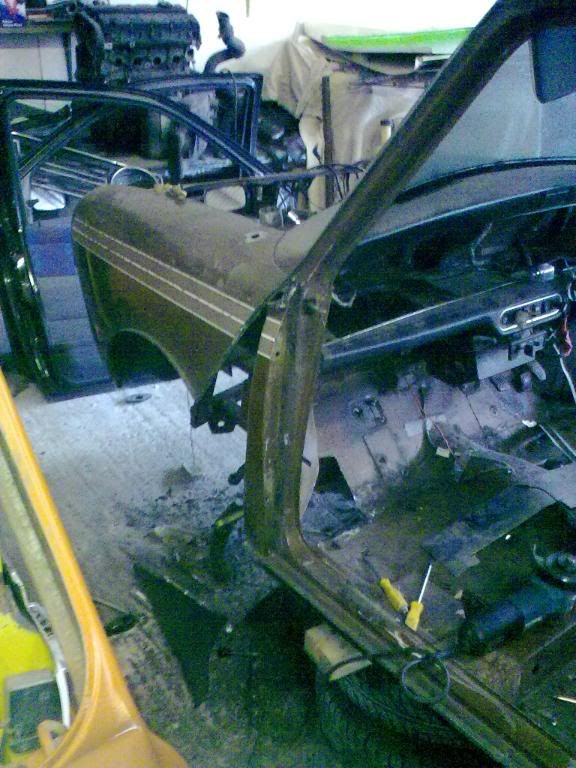
At this point i ran out of steel, so i just cut the a-panel off, still needs more cutting off.

Posted Image


I then started chatting to a guy from one of the units next to mine and he's currently re-building a small motorhome, and he said that if he fills/sands all the body down ready for paint can i put it in primer for him, and if i will he will give me a Ford KA and two massive sheets of brand new steel :P

So now tomorrow ill be getting the KA collected and will be able to finish the main part of the welding hopefully, and then thursday after work ill be spending a couple of hours just slapping some primer on this motor home, i think i got lucky with that deal lol.

The welding list left is:

Make up some patches and weld up the small hole at the top of the heelboard
Make up some patches and weld up the passenger side front floor pan
Make up a top front coil over mount and weld in place on the inner wings
Weld the a-panels on
Any modifications/brace bars i need to make to the front subframe

So now iv got to finish the floor pan and heel board, then ill got round and clean up all the welds, then rust protect/seam seal, then i think im going to stone chip the inside and out.

I worked it out that so far i have welded in 29 different repair patches >_< only two or three to go though :lol:

Edited by Tomf, 07 July 2009 - 10:01 PM.


#34 HARBER07

HARBER07

    Up Into Fourth

  • Traders
  • PipPipPipPipPipPipPipPipPip
  • 4,498 posts
  • Location: Suffolk
  • Local Club: Naaa......

Posted 07 July 2009 - 10:04 PM

Looking good! Nice work mate! :lol:

#35 Tomf

Tomf

    Baby Tom

  • Traders
  • PipPipPipPipPipPipPipPipPipPip
  • 6,440 posts

Posted 07 July 2009 - 10:05 PM

Cheers, this rot is starting to seem never ending though lol

#36 mini_mad69

mini_mad69

    Let future you worry about it

  • Traders
  • PipPipPipPipPipPipPipPipPipPip
  • 5,417 posts
  • Local Club: urrrr no

Posted 07 July 2009 - 10:31 PM

Keep up the good work, starting to get a bit stronger. Looking good.

#37 captainjack15

captainjack15

    Up Into Fourth

  • Banned
  • PipPipPipPipPipPipPipPipPip
  • 3,925 posts
  • Local Club: Somerset Rusteez

Posted 08 July 2009 - 09:13 AM

Good work Tom I'm sure it'll be worth it in the end :(

Keep it up, thats because I want to see the final product ;)

#38 kcchan

kcchan

    One Carb Or Two?

  • Members
  • PipPipPipPipPipPipPip
  • 874 posts

Posted 08 July 2009 - 09:12 PM

What the hell are you doing, everyone knows rust is lighter than steel or CF. :gimme:

Anywho, I was bombing around Canterbury today and saw you in Snot just outside Benjis Alloys (who can put tyres onto 10s by the way) but you wasnt looking. Lol.

My mate thought Snot was rather cool aswell. We had abit of a snoop on Monday haha.

Edited by kcchan, 08 July 2009 - 09:13 PM.


#39 Tomf

Tomf

    Baby Tom

  • Traders
  • PipPipPipPipPipPipPipPipPipPip
  • 6,440 posts

Posted 08 July 2009 - 09:19 PM

LOL good to know they can get 10s on, does that mean your getting even closer to finishing now?

Havent had a change to get anything done on this today, due to getting my soon to be autograss motor, it was going to be a mini, but i decided i didnt want to chop one about. And as i was offered a Ford KA for free i though what the hell ill use that lol.

So was stripping that down in the time i should have been working on the C/E, but it should be worth it, ill try and get all the welding sorted tomorrow, but iv got a buisy day at work planned so not sure how far ill get.

Also i got the two massive sheets of steel, so i dont think ill be running out for a while lol.

#40 kcchan

kcchan

    One Carb Or Two?

  • Members
  • PipPipPipPipPipPipPip
  • 874 posts

Posted 08 July 2009 - 10:20 PM

Well its one thing ticked off the huge list. Oh also what will you be using from the dash? Can I have the heater control panel(I want to make a plank for some gauges). And the clock :D

#41 Tomf

Tomf

    Baby Tom

  • Traders
  • PipPipPipPipPipPipPipPipPipPip
  • 6,440 posts

Posted 08 July 2009 - 10:45 PM

Sorry mate but im keeping the dash for a future project.

You got many more of these annoying little bits left to do then?

#42 kcchan

kcchan

    One Carb Or Two?

  • Members
  • PipPipPipPipPipPipPip
  • 874 posts

Posted 08 July 2009 - 10:51 PM

Nevermind. Ill pop down to the scrappy sometime then.

Yea Things like wiring, bleeding brakes, mounting my dash, fitting arches when they arrive, sorting out a catch mechanism for my boot(internal hinges)

#43 Tomf

Tomf

    Baby Tom

  • Traders
  • PipPipPipPipPipPipPipPipPipPip
  • 6,440 posts

Posted 13 July 2009 - 09:22 PM

A small update on this, I splashed out a load of money so i can make some good progress on this today, heres a sneak of what i spent loads of money on:

Posted Image

And hears the rest of it, a bit of a shame really as it only needs a front end and windscreen, but i have uses for both subframes, the engine and loom so ill be breaking it, the engine in it is really good and last year it had new:

Headgasket
Water pump
Both cam belts
plugs, leads, etc...

Posted Image

Posted Image

After i collected the MGF i went over to collect some coil overs (front and rear) also some metro 4pots and braided conversion hoses.

So iv spent loads of money out hopefully i should be able to make some good progress now.

Well on the side of progress on the shell i started out from my last update by getting ark eye so i wasnt able to get much done, but i today i patched up the front passenger corner today, ground back the welds and seam sealed the lot:

Posted Image

so now the only bit of rot i have to weld up is this, its about the size of a 20p on the top of the heel board:

Posted Image

But i do have to do some more welding to the shell now as iv brought the coilovers so ill need to make some front mounts and ill have to turret the rear arches now.

Edited by Tomf, 13 July 2009 - 09:23 PM.


#44 Saxo-Fiesta-Mini

Saxo-Fiesta-Mini

    Up Into Fourth

  • Members
  • PipPipPipPipPipPipPipPipPip
  • 2,889 posts
  • Local Club: LCMOC

Posted 13 July 2009 - 09:39 PM

lol i think this is about to get interesting

#45 mini_mad69

mini_mad69

    Let future you worry about it

  • Traders
  • PipPipPipPipPipPipPipPipPipPip
  • 5,417 posts
  • Local Club: urrrr no

Posted 13 July 2009 - 10:16 PM

Wow, I want one of these.


Whats the plans for the exterior, wheels, arches, colour etc?


0 user(s) are reading this topic

0 members, 0 guests, 0 anonymous users