K-lubman Estate
#16
Posted 15 June 2009 - 09:42 PM
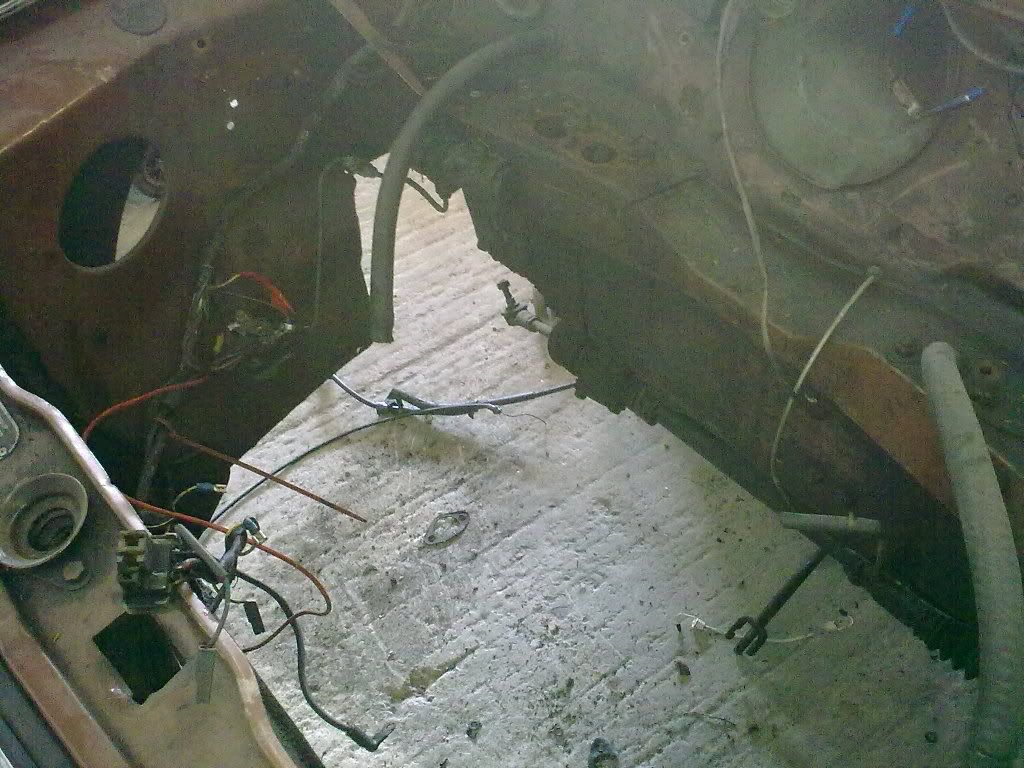
So when ill get the change ill add the last patch to the rear arch then ill move round to doing the two small patches on the N/S/R but im sure when i remove the bin the small patch will end up being bigger that i expect.
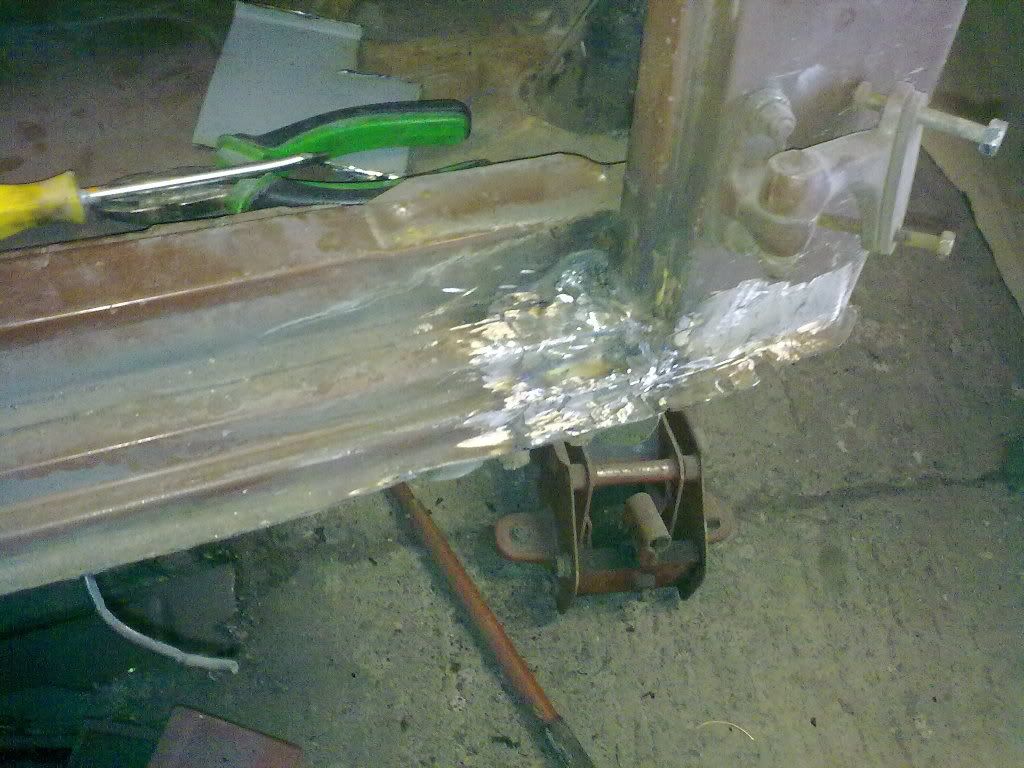
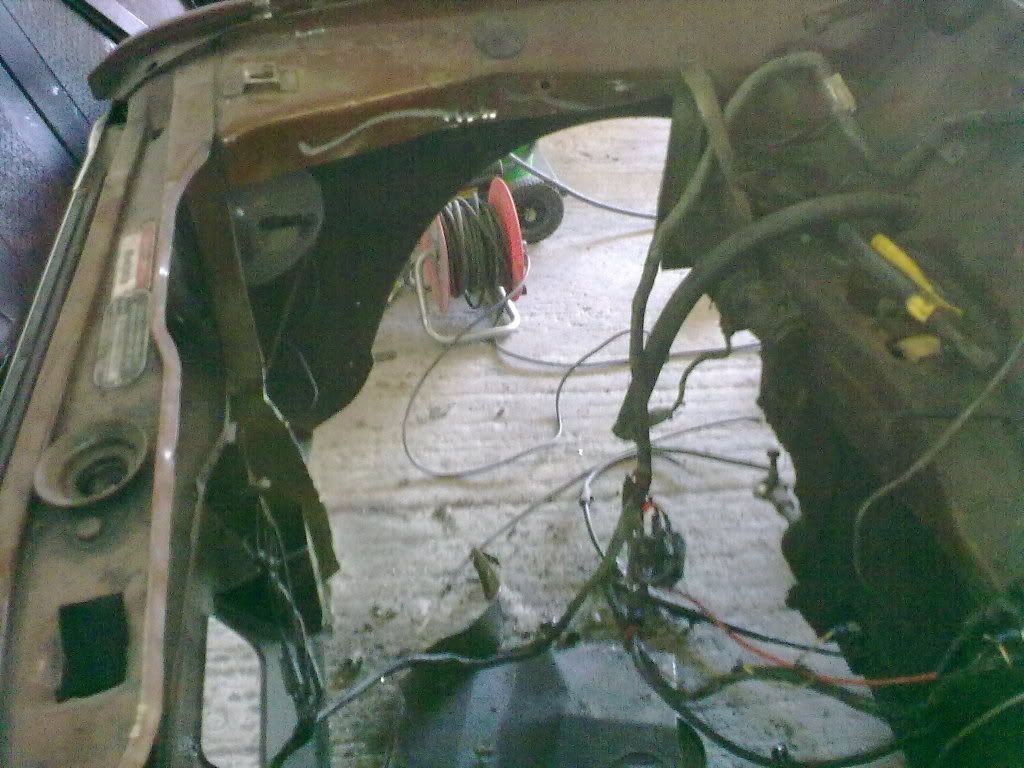
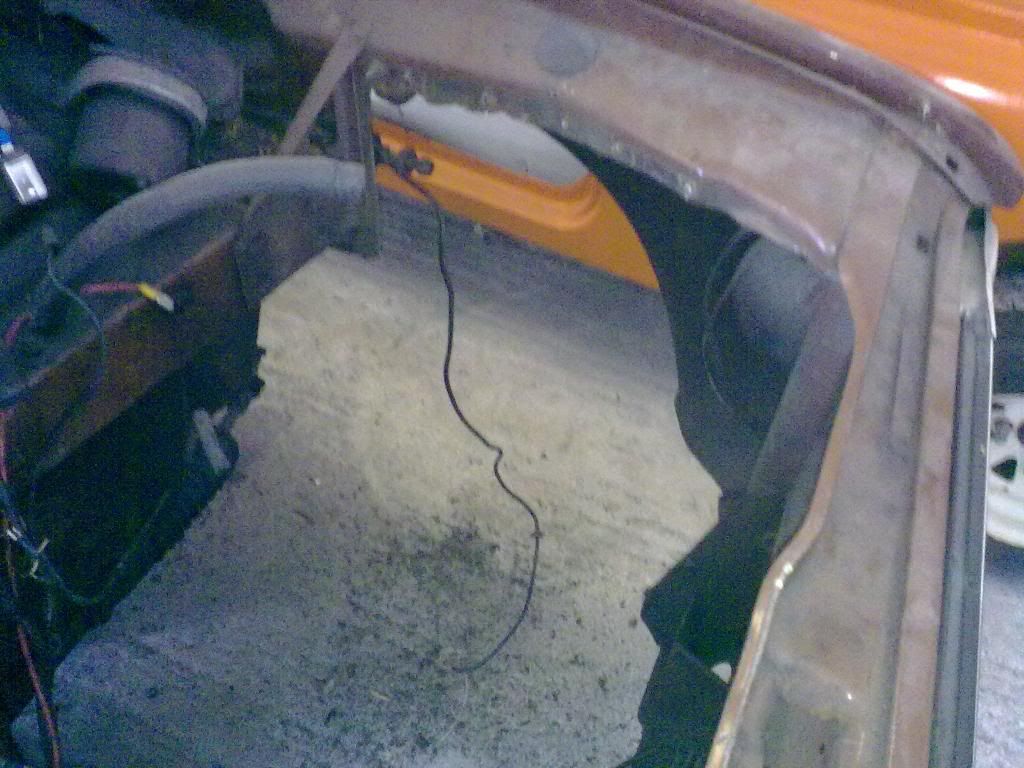
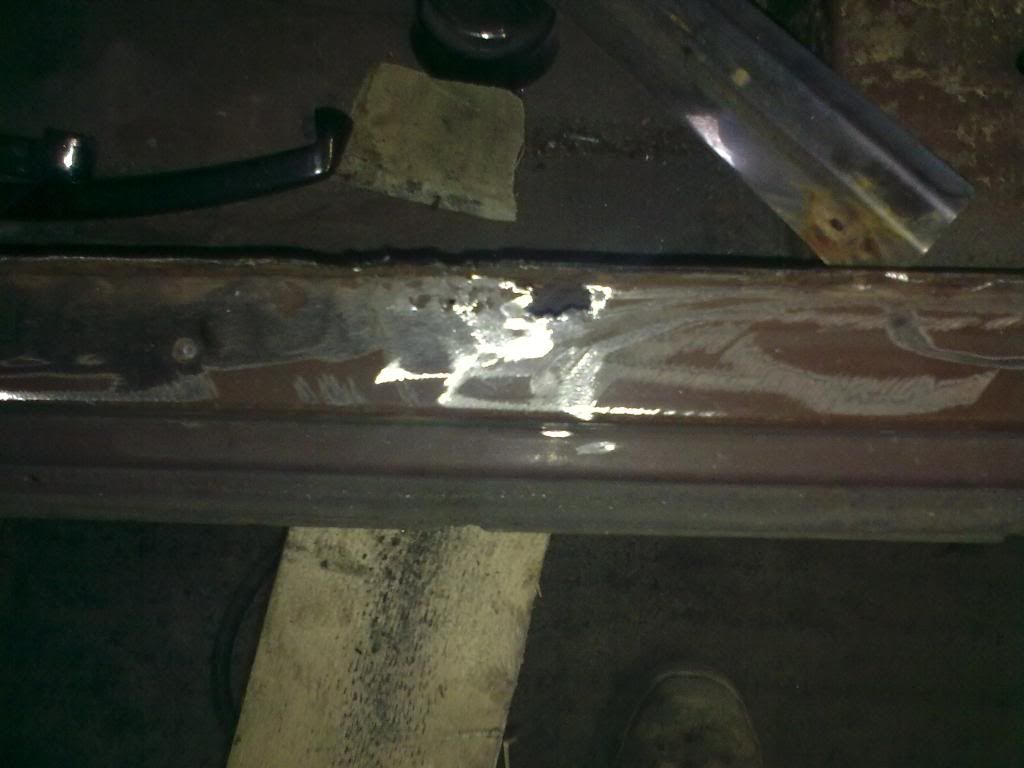
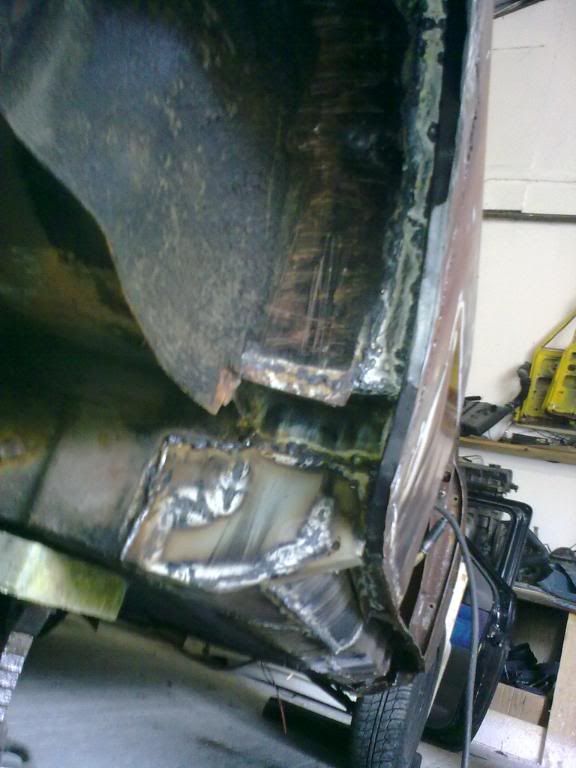
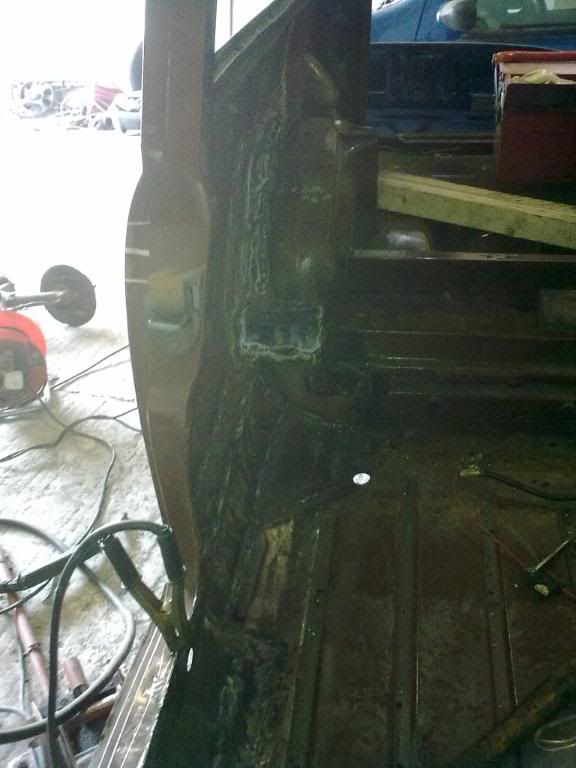
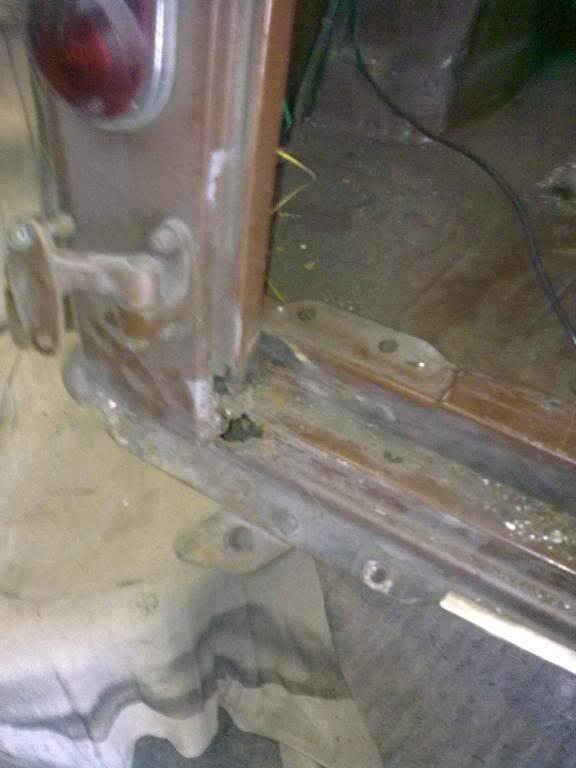
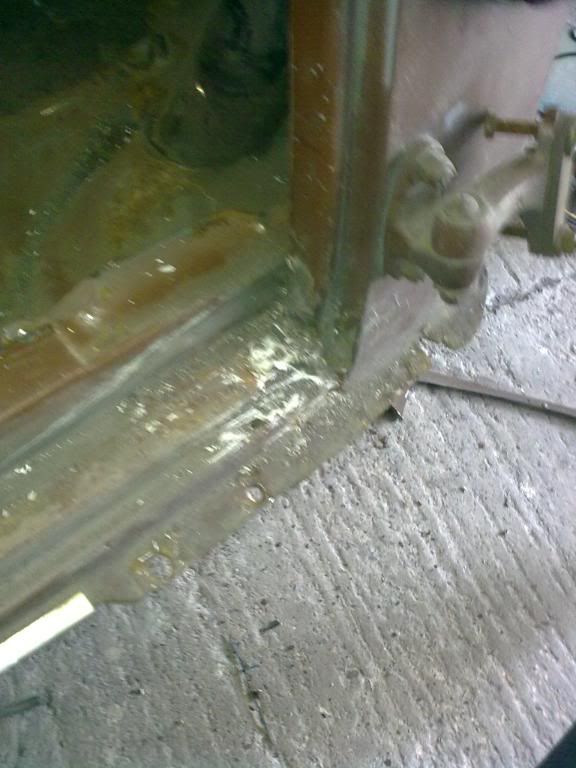
So these are the two rot bits in the rear door frame bottom corners the O/S has be bodged with filler at some point so ill need to dig that out when i get the time then ill have to try and think up a way to repair them. Does anyone know if you can buy repair panels for the frame corners? as it would save a hell of alot of messing about....
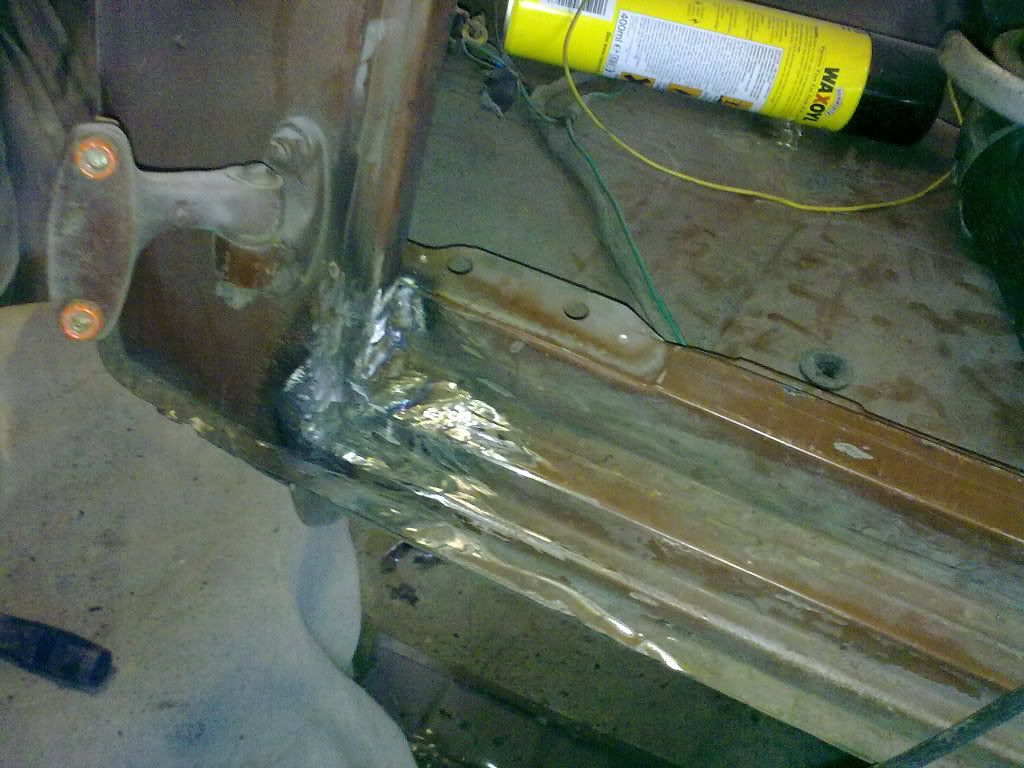
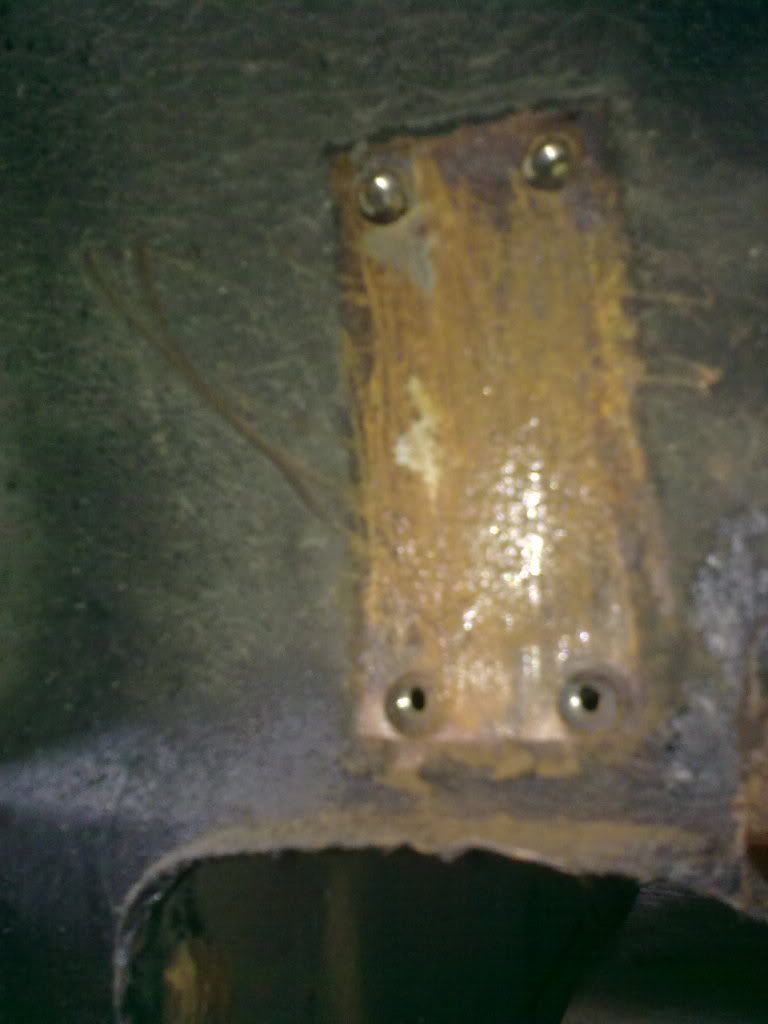
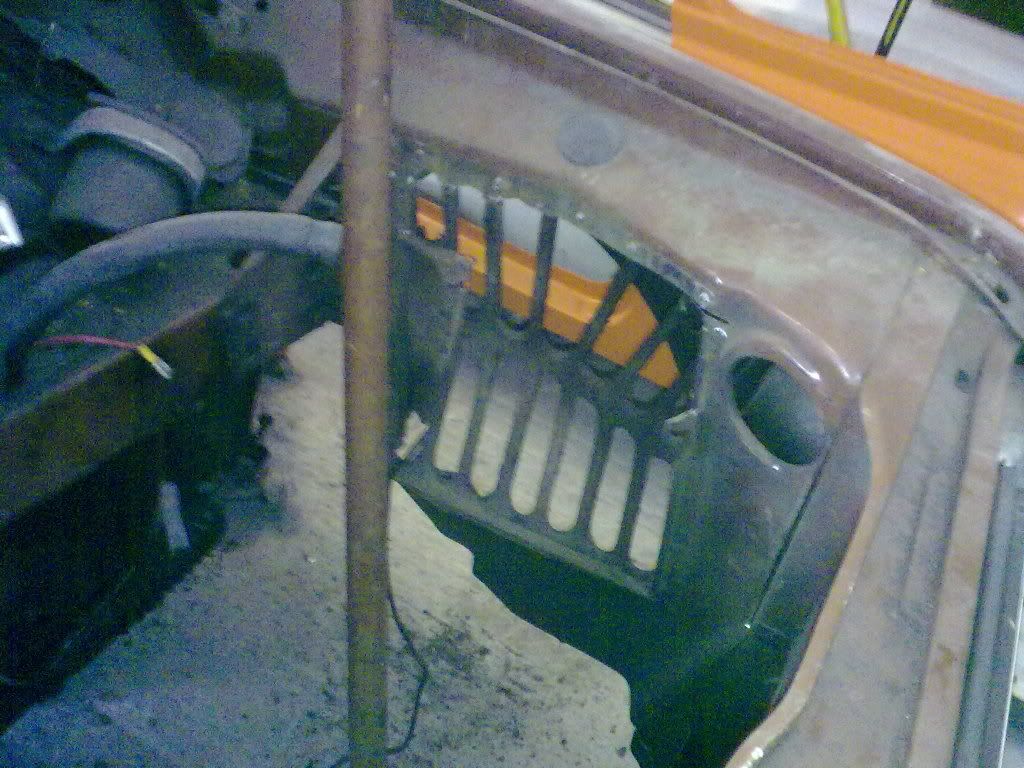
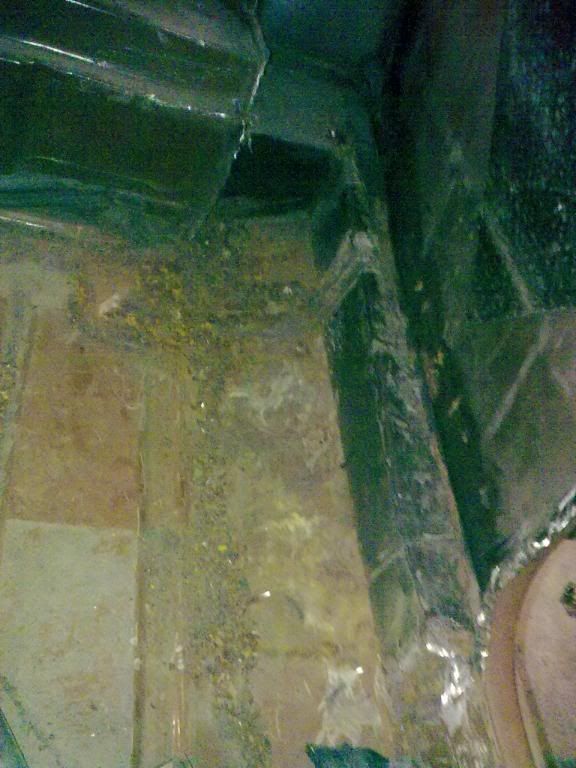
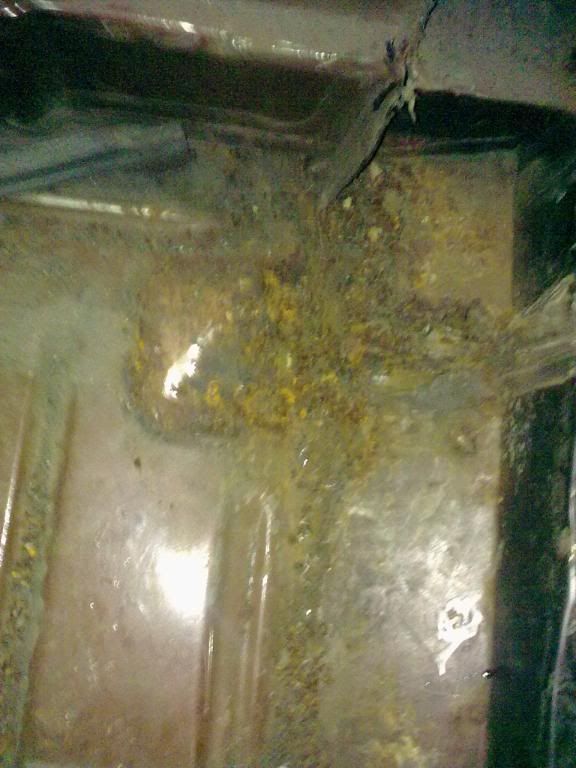
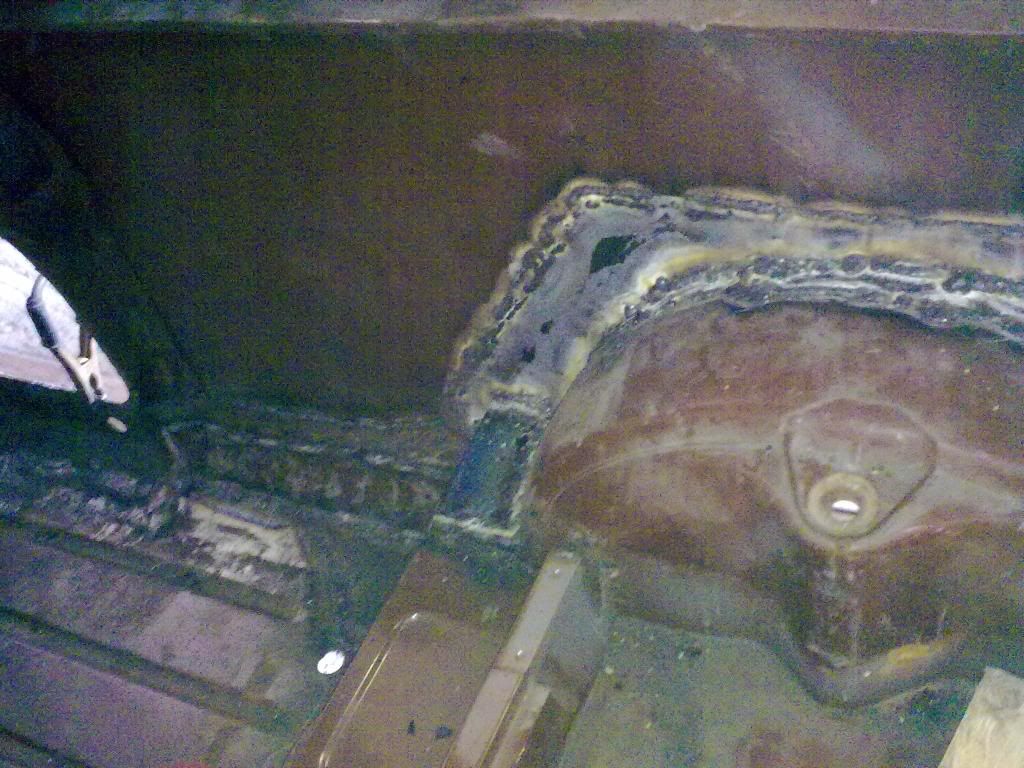
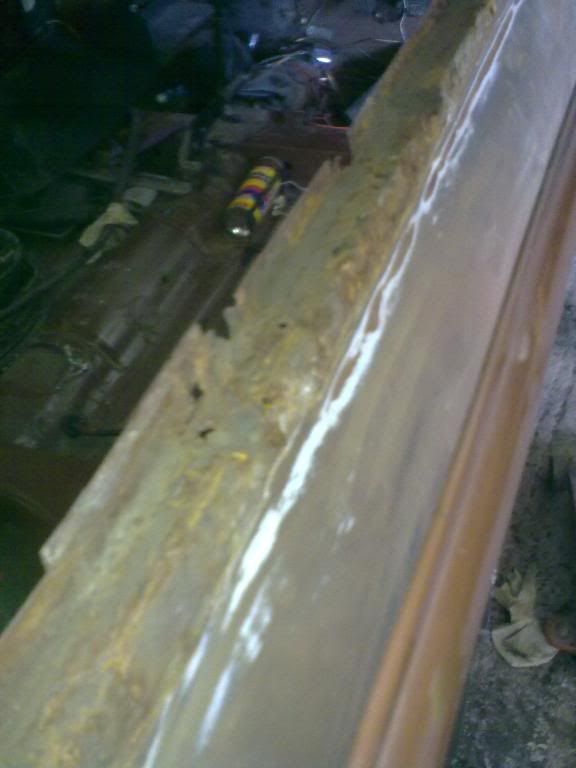
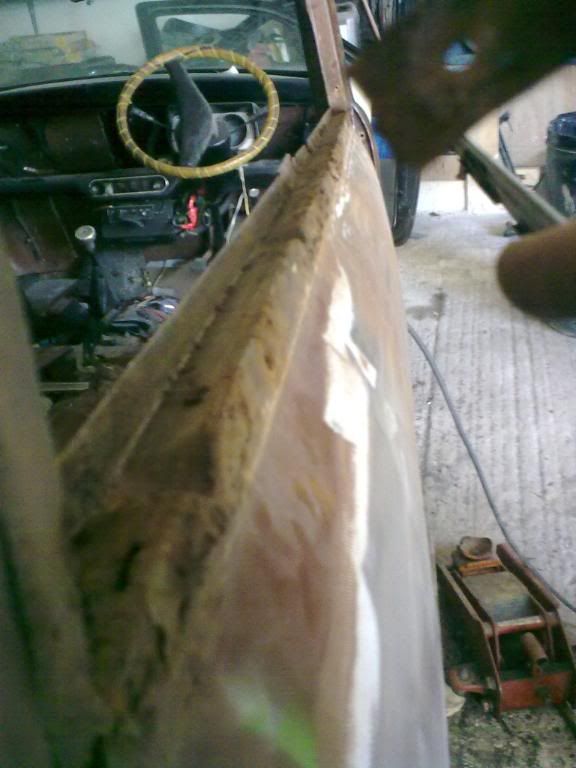
Also i managed to get the sodding tiny bolts of the bottom of the O/S rear quarter window frame so i got the frame off but unfortunately there was rot there some already visible holes so ill clean it all up and have to think of a way to repair it all...
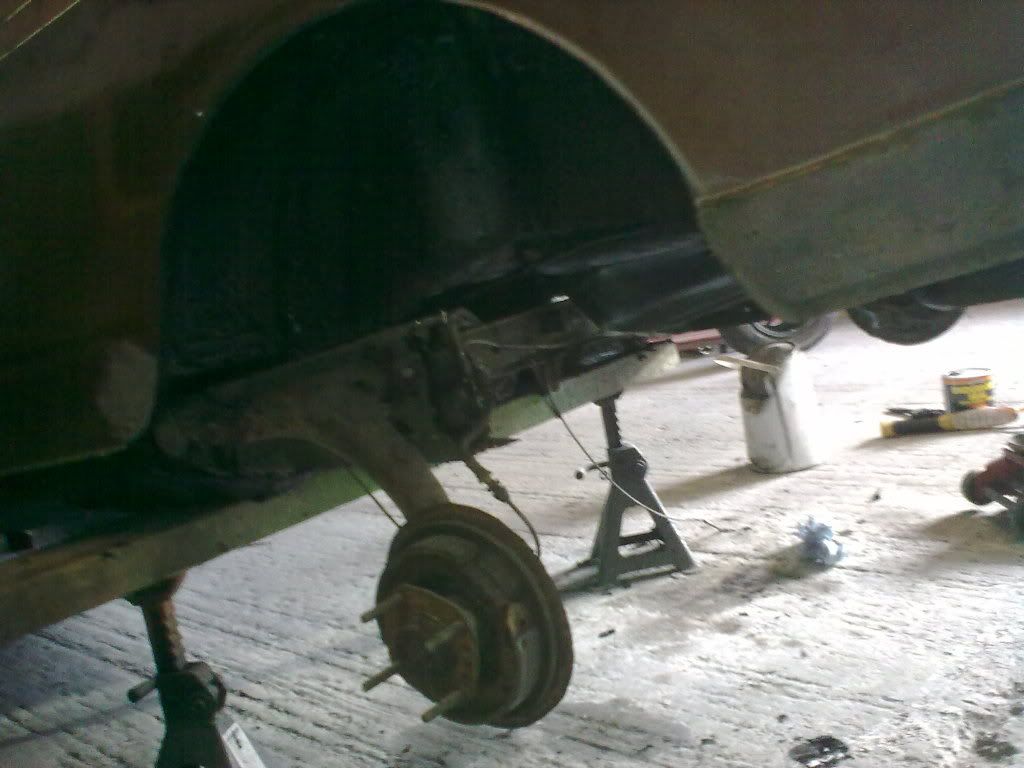
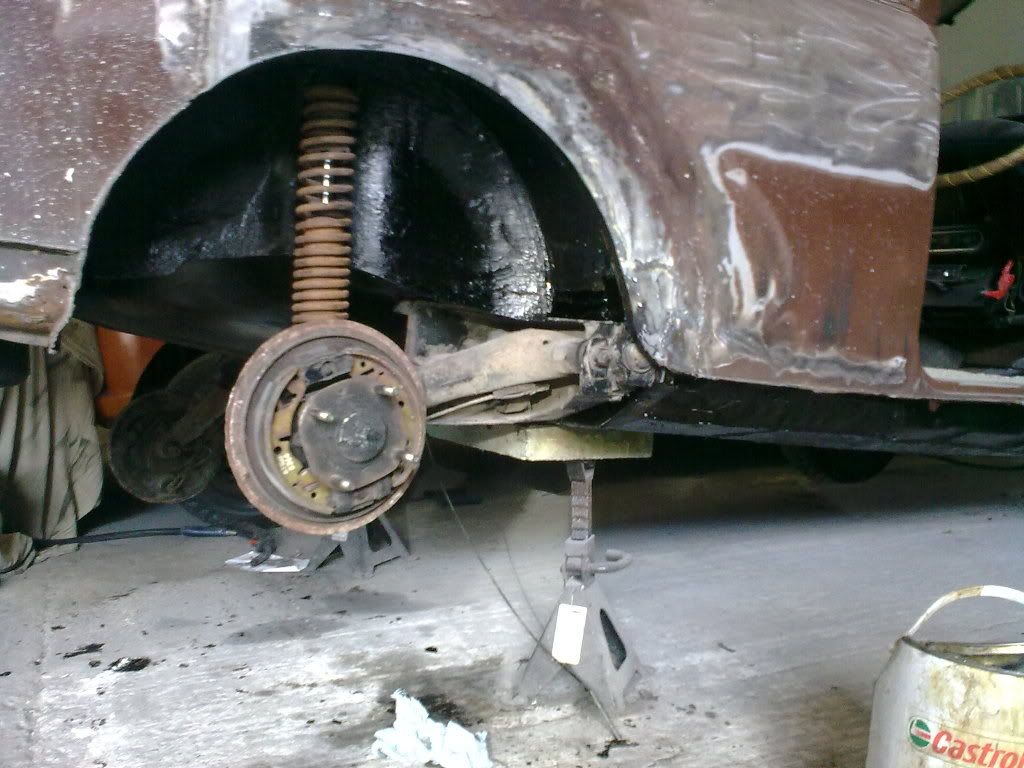
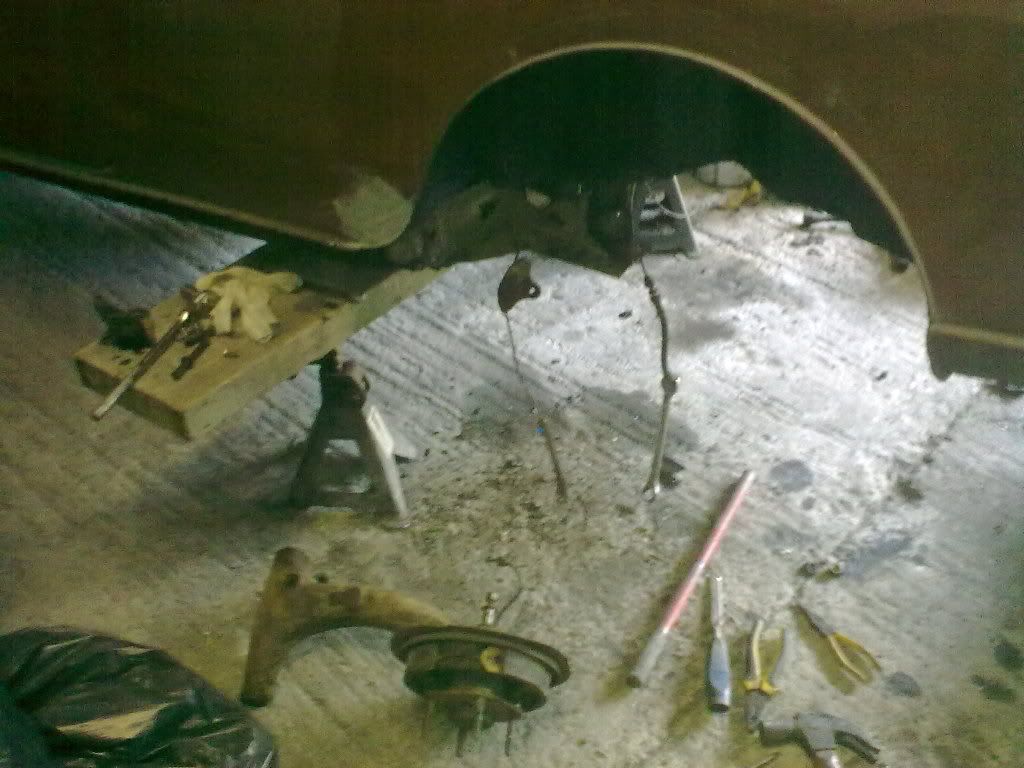
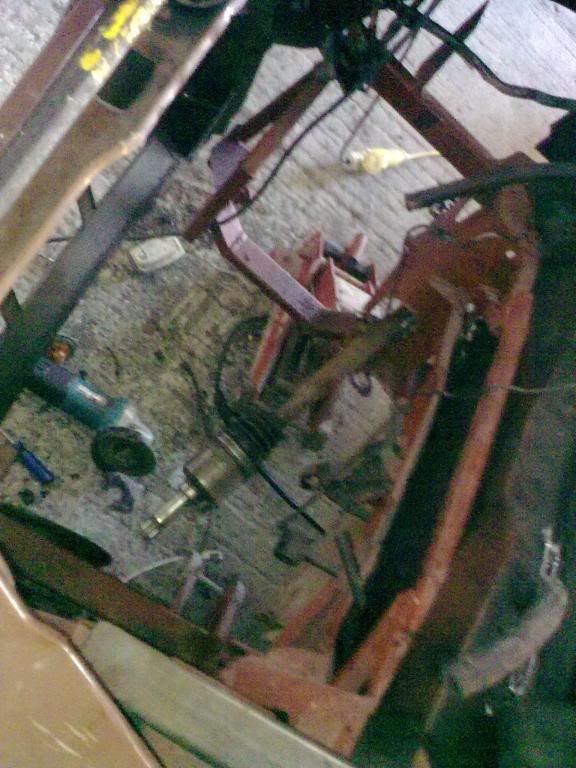
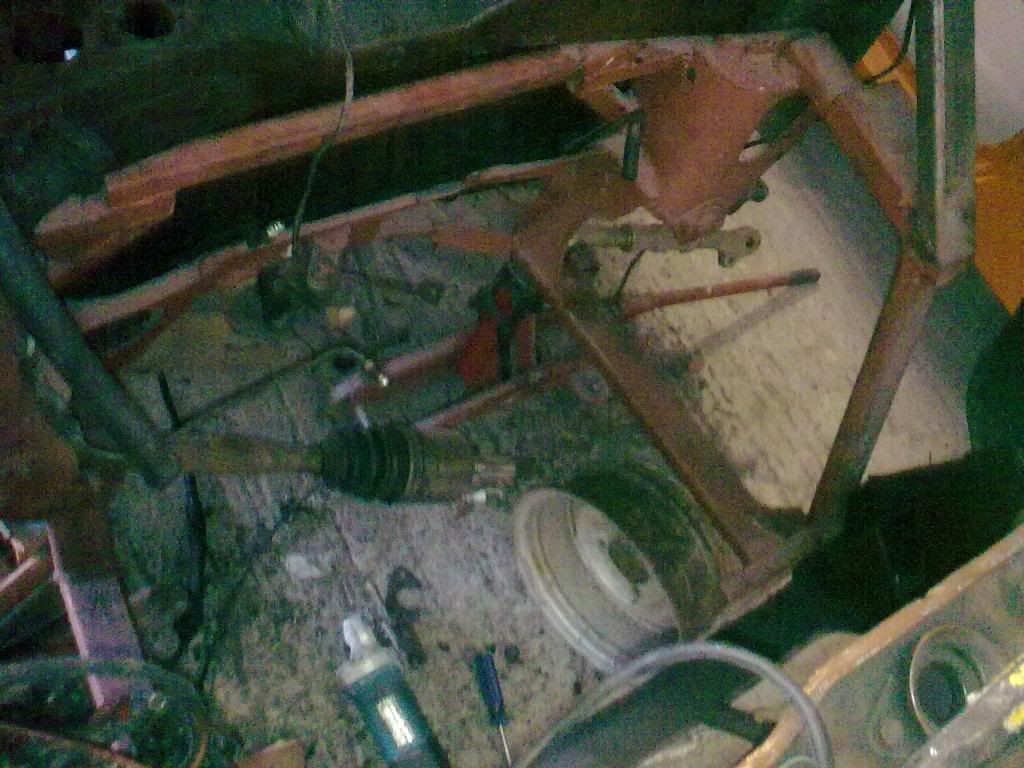
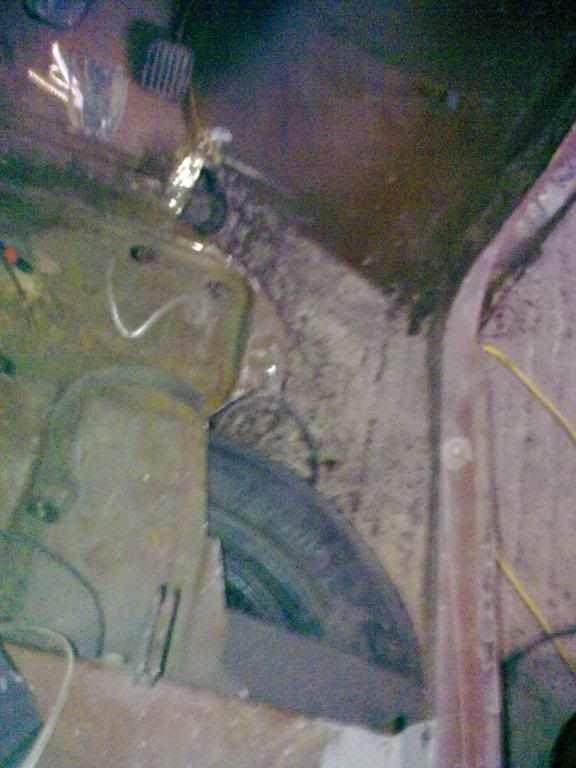
So i should be able to get it back down on to the rear wheels very soon, then i can start attacking the front. luckily for me the front doesnt seem anywhere near as bad then ill just have to sort the rear window lip and i can start to prep it.
Then hopefully by then i would have found myself a donor car that i can use for the engine.
It all sounds so easy lol.
#17
Posted 16 June 2009 - 04:21 PM
#18
Posted 16 June 2009 - 07:48 PM
Had another poke round it today and found even more rot in the rear valance, both valance corners, the O/S lip the a-panel folds round and i also ground back the O/S/R window frame and there are about 4 holes that need patching and thats just what iv found on the o/s and rear :'(
Luckily the front looks good and the area around the air vents is solid.
Lets just hope then i more the shell round the other side is a bit more solid as im getting fed up of cutting bits off this shell!!!
But im sure ill get there in the end.
#19
Posted 22 June 2009 - 01:37 PM
#20
Posted 22 June 2009 - 08:47 PM
But i started making a repair panel today, i decided that two patches in each corner would work best as i could make the original shape perfectly.
One in a stairs short of shape, stepping up following the ridges along the bottom, then the other just a right angle shape that follows the side.
So i got the patches made an decied what the hell ill get them welded in, so i welded the four patches in place gave them a clean up and you cant even tell a difference from standard So that was a massive relief to me.
So as that went so well i decided i would repair the rusty rear arch bottom corner on the N/S so cut the rot out and made up a patch for that, and got that all welded in, but run out of gas just as i finished.
So now it means i need another bottle of gas then once i get that i have to do one more patch to the rear, then i can get the subframe back on.
Then all i have to do welding wise is:
One small patch in the rear arch,
Two patches to the N/S inside the rear bin,
Rear valance center section,
Rear vallance O/S corner section,
O/S front inner sill,
O/S bottom flitch panel repair,
Three patches to the O/S front floor,
O/S outer sill,
N/S a-panel,
O/S a-panel,
N/S door step repair.
Then when i clean out the rubbish from the N/S front whatever i find there
As i ran out of gas i decided to remove the N/S rear quarter window runner frame as it was so rotten in the hope that i would find the rot was contained within the runner and not spread to the rear quarter, as to my luck for the first time with this project it has stayed just in the runner so i just chopped it completely off as ill be paneling the windows out it didnt matter to me and it saves that extra bit of weight lol.
Heres a couple of pics of the rear door frame repairs, sorry for the rubbish quality
Edited by Tomf, 22 June 2009 - 08:53 PM.
#21
Posted 25 June 2009 - 09:19 PM
#22
Posted 27 June 2009 - 04:24 AM
Seam sealed all my welds (the fumes made me feel really ill )
I then undersealed from the heel board back.
Then i got the cut down rear subframe fitted up, and some temporary rear coil overs fitted.
So when i get the chance ill go and buy another bottle of gas, so i can finish some more of the welding off, atleast i know when im done with all this welding it should be alot more solid and should last a bit before its got to be welded up again lol (sill minis with there rust problems)
Personally i dont think i will have it finished when i wanted it to be done by now, but ill see what i can work out. But atleast having the subframe back on makes it feel like im actually getting somewhere now.
#23
Posted 27 June 2009 - 02:23 PM
Started off by putting the wheels back on the rear so i could more the stands forward and start on the front, so i got the wheels on and checked to see if there was any play in the radius arms, O/S was link new, but N/S was f*ck*d big time
So off with the rear arm ill order a replacement on monday if i get the chance.
So i thought oh well ill start on the front anyways, so i cleared out all the crap that had been added along the line (some dodgy single wire alarm, air horns, etc...) also got the master cylinder off and any other small bits.
Once that was out the way i though what the hell ill make a start on getting ready for the new subframe to go in, so i whipped the subby off.
Then i thought i would have a quick check under the top shock mounts, i was expecting them to follow the rest of the theme with the mini (rotten through) but luckily i got the O/S one off and it was solid bar some light surface rust, havent checked under the N/S one yet though. but even if there is rot there im not really much of a problem for me as iv got to make a custom top mount for the coilovers as i want to strengthen the inner wind up to take the extra strain.
Then i started to remove the inner wings to give me clearance on my k-series subframe, got one side out (still needs a bit of tidying up)
Then i started to cut the other side, then the ginder started smoking and making loads of noise so after that i decided the mini didnt really want to play today lol, so decided the pub for lunch was a better option lol.
Edited by Tomf, 27 June 2009 - 02:27 PM.
#24
Posted 29 June 2009 - 04:05 PM
#25
Posted 02 July 2009 - 04:17 PM
I got myself another grinder so i got rid of the rest of the inner wing, ill trim them both up better once the engine, rad, etc... are in.
Then i though i would have a quick measure up to see what trimming i would need to make the frame fit:
Its only held up with jacks and one tower bolt there, but it looks like its only going to need a couple of little bits trimming off to get it all to fit
#26
Posted 03 July 2009 - 08:22 PM
Had a quick play with the grinder this afternnon.
Cut out all the rot on the drivers side footwell:
Cleaned up the remains of the rear bin and beat the lip over that comes up from the inner sill, so ill weld that flat.
You cant see the damage in the picture to well in the picture, but there is a patch that was fitted to just outside of where the bin used to be and then there is a hole that was inside the bin that was filled with the melted in place seatbelt, so thats all going to need to be cut out and a nice fresh bit of metal to be fitted in its place.
I also cleaned up the small hole in the door step, ready to be cut out and replaced with new metal.
And these some people wont like them, but the fit just right behind the cross member, but ill have to see what its like there once iv got the steering wheel adjusted to see if i can reach lol.
#27
Posted 03 July 2009 - 09:02 PM
And these some people wont like them, but the fit just right behind the cross member, but ill have to see what its like there once iv got the steering wheel adjusted to see if i can reach lol.
Looking good, your flying through this.
Are they BMW mini seats?
Ben
#28
Posted 03 July 2009 - 09:04 PM
by the way have you received the piston rings yet?
#29
Posted 03 July 2009 - 09:17 PM
#30
Posted 03 July 2009 - 09:35 PM
As i really wanted to have at least a 4 point harness as i will be fitting a cage, but for the moment i guess normal seat belts will have to be used.
0 user(s) are reading this topic
0 members, 0 guests, 0 anonymous users