Jump to content


Photo
- - - - -

Ken -The 1275 High Compression Engine Micra Mini (Running Project)


  • Please log in to reply
749 replies to this topic

#46 lawrence

lawrence

    One Carb Or Two?

  • Members
  • PipPipPipPipPipPipPip
  • 1,330 posts

Posted 06 August 2011 - 12:25 PM

Todays 1st update straight from the garage
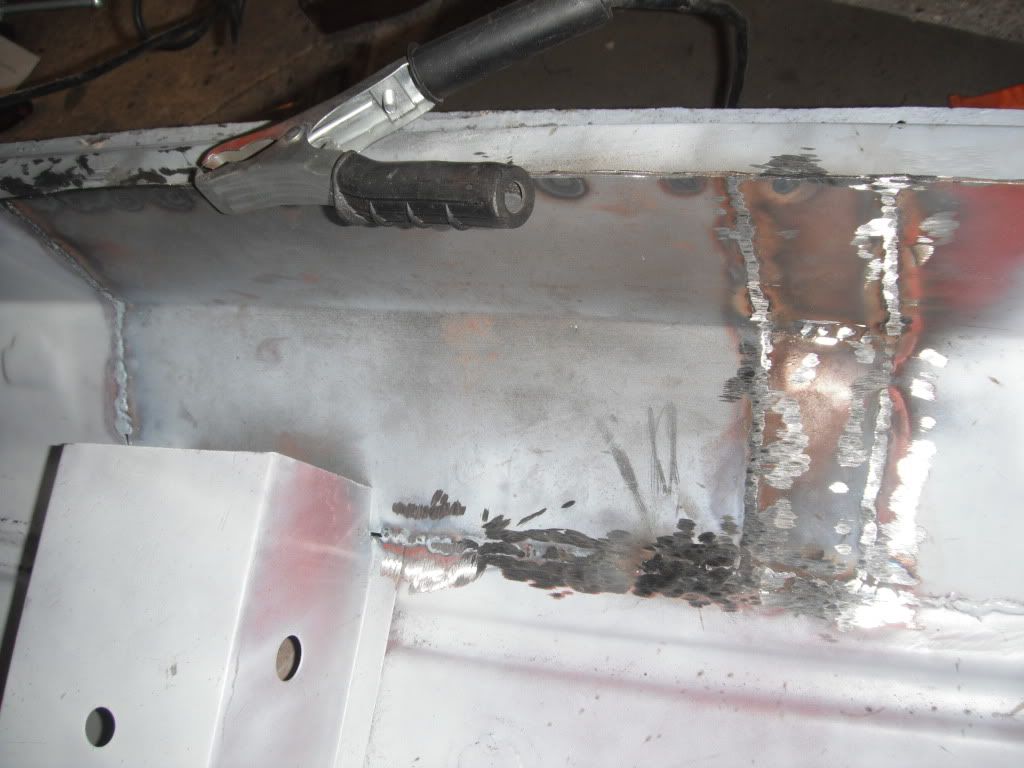
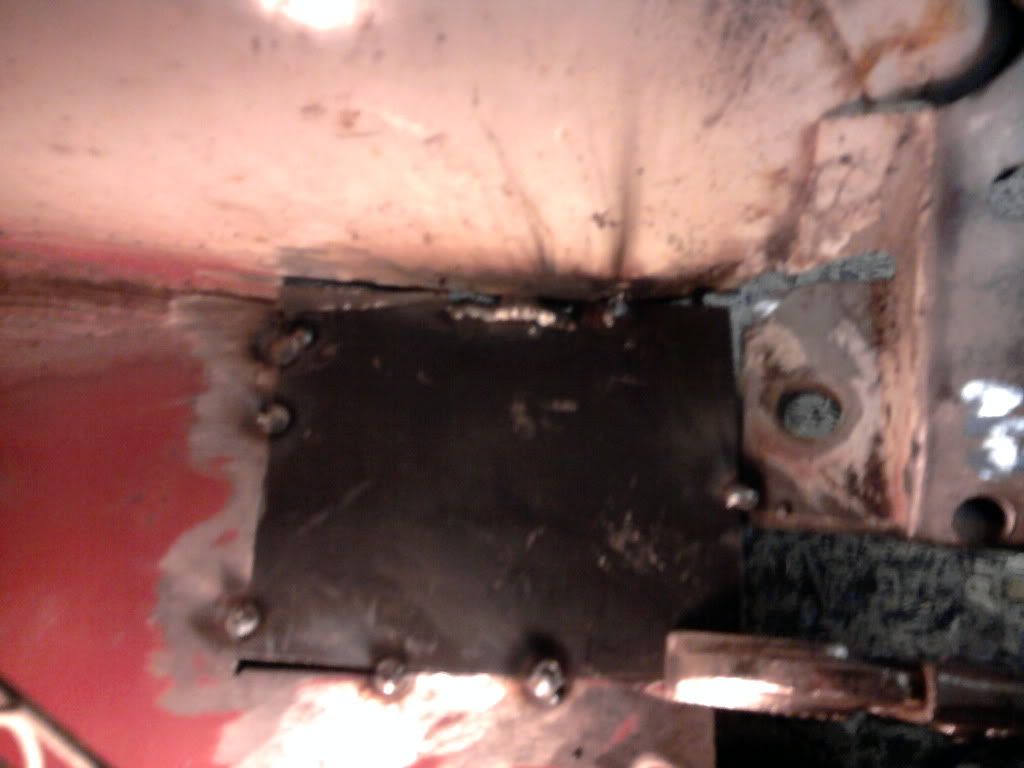
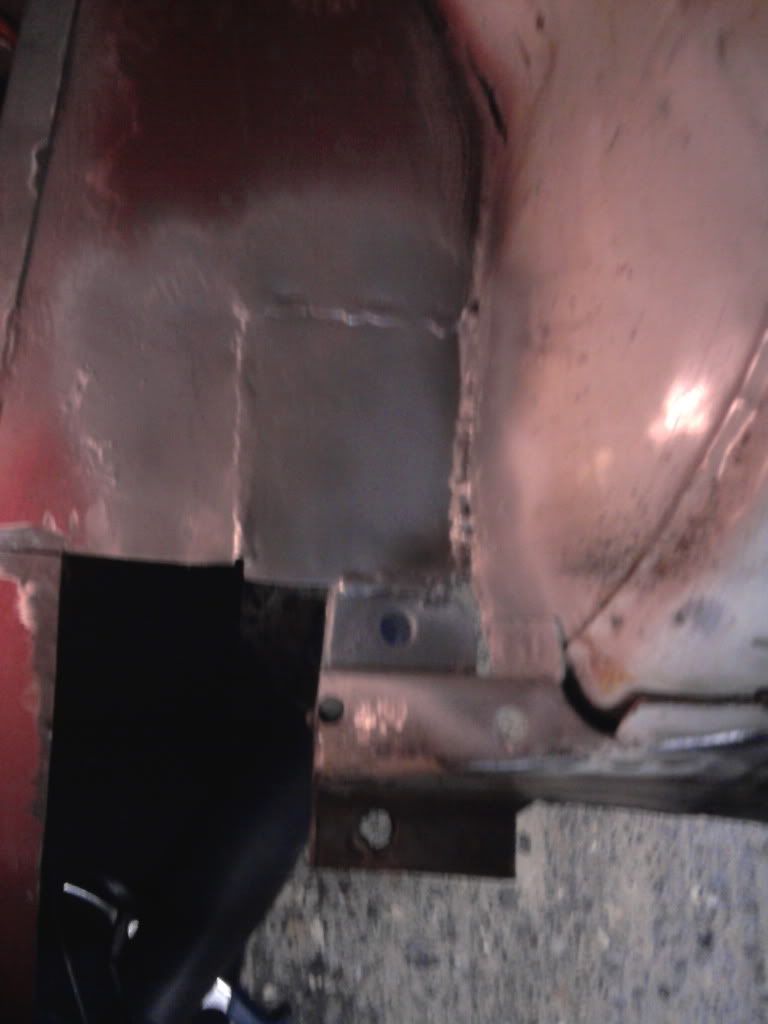
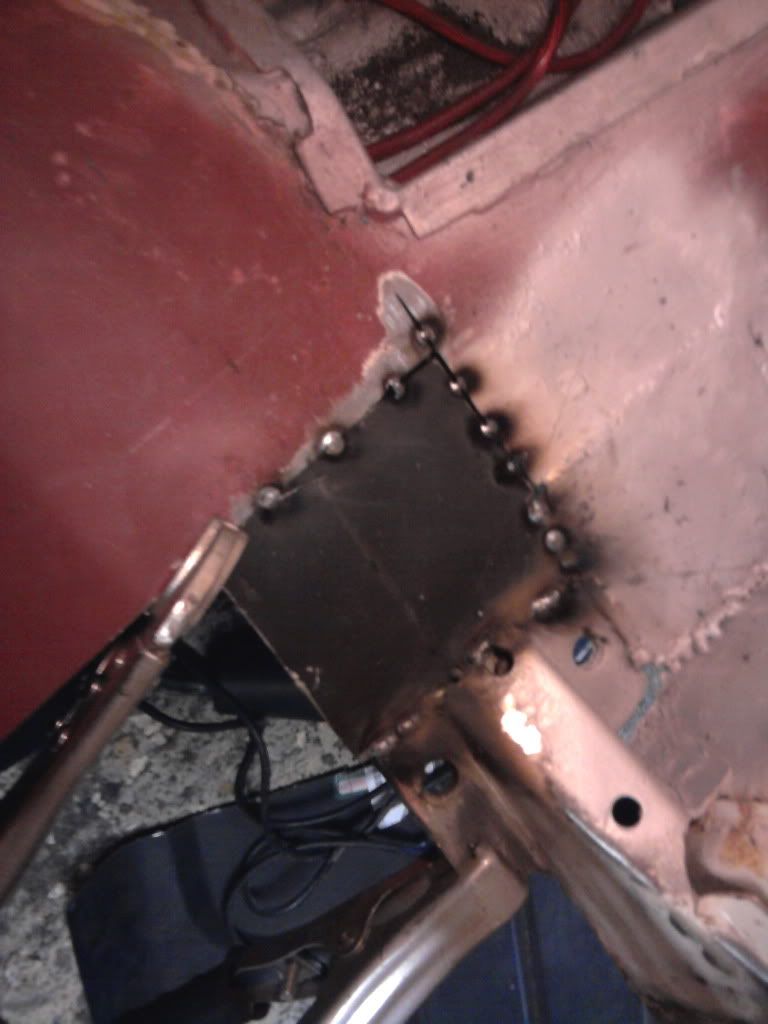
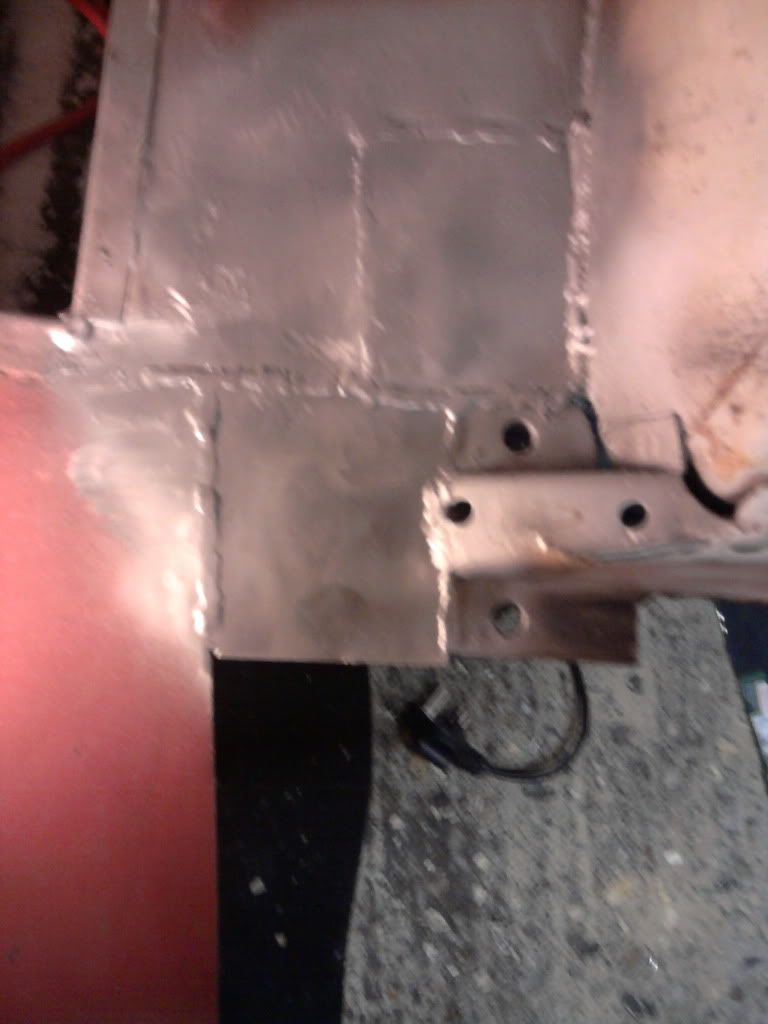
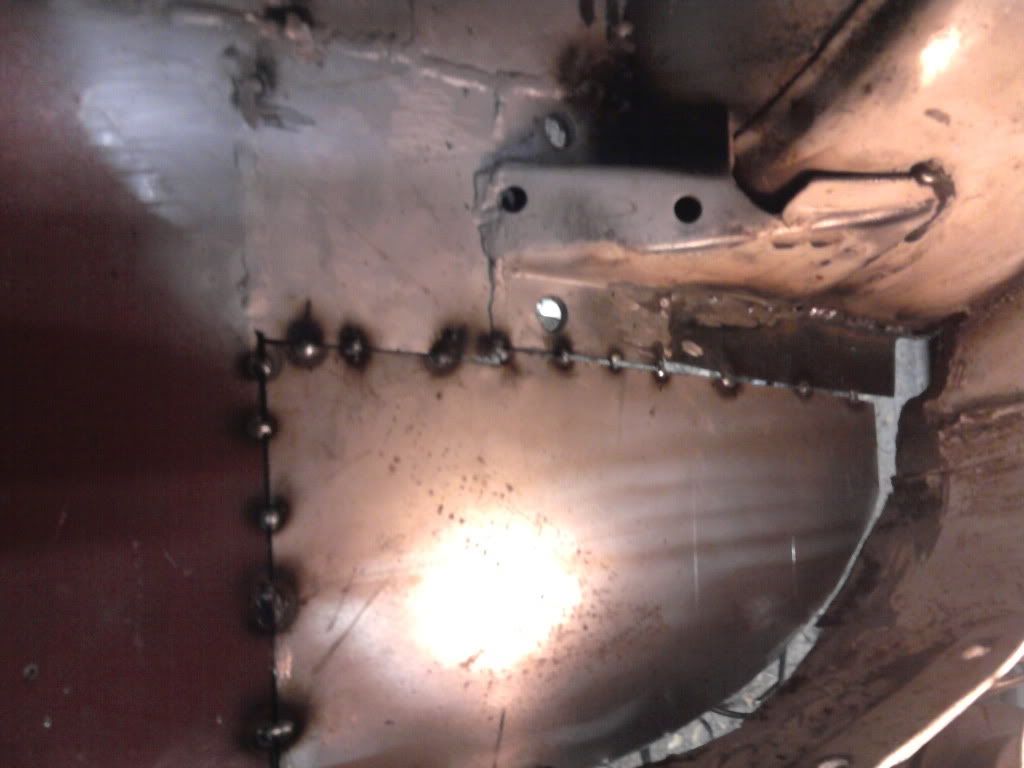
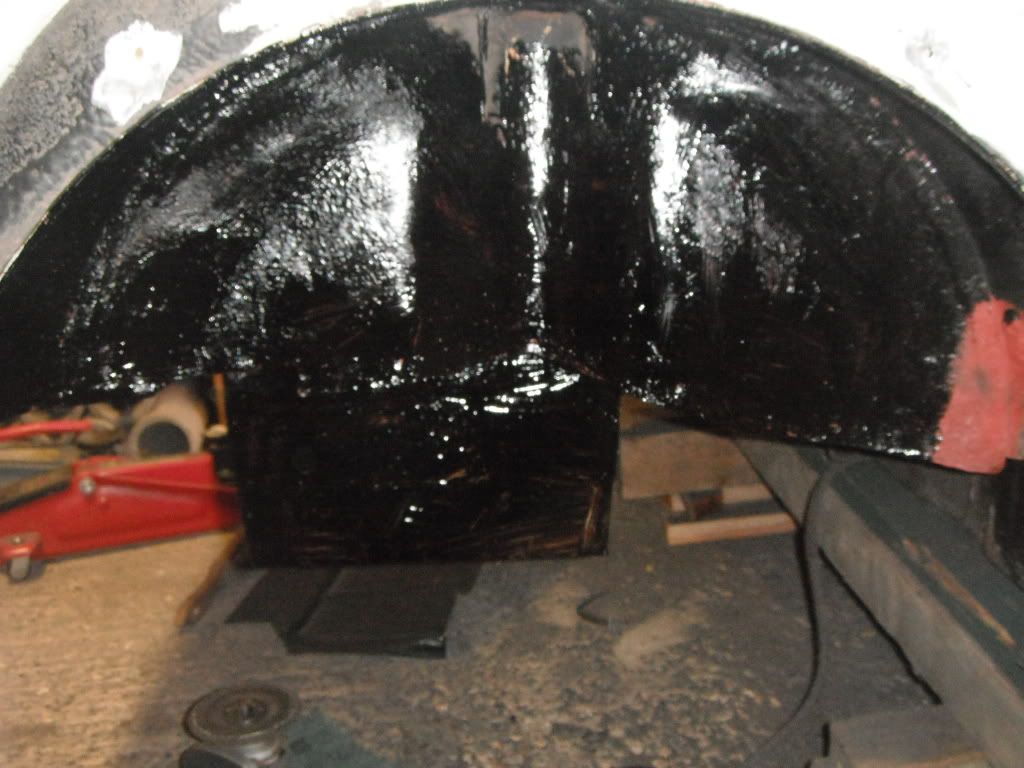
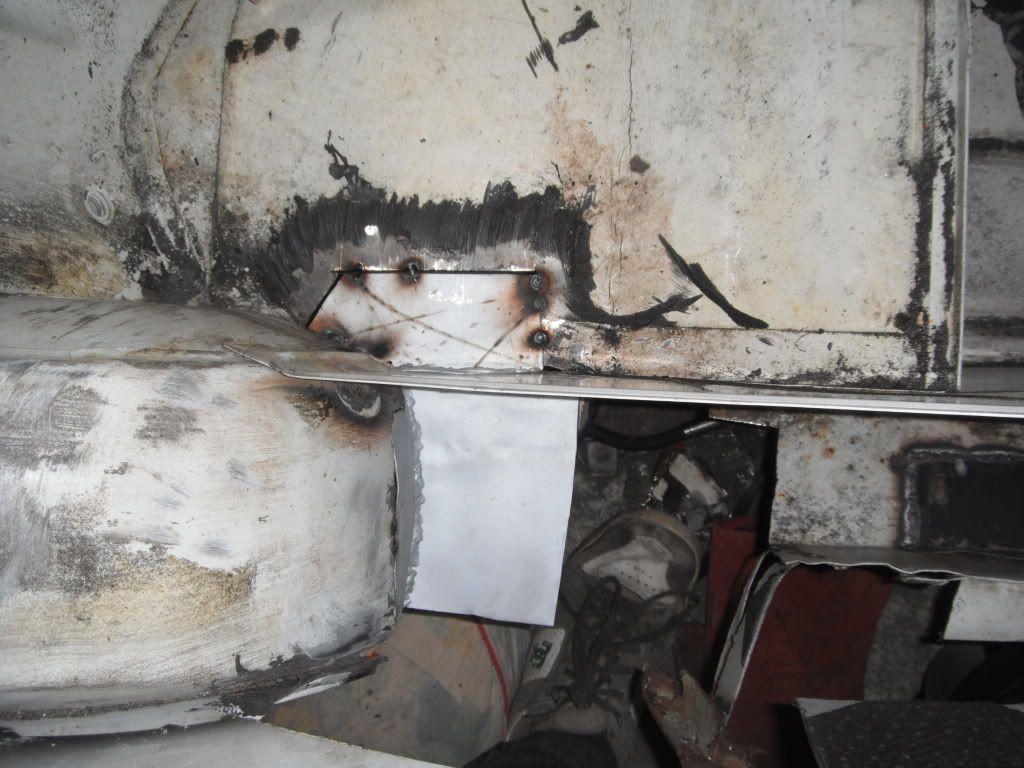
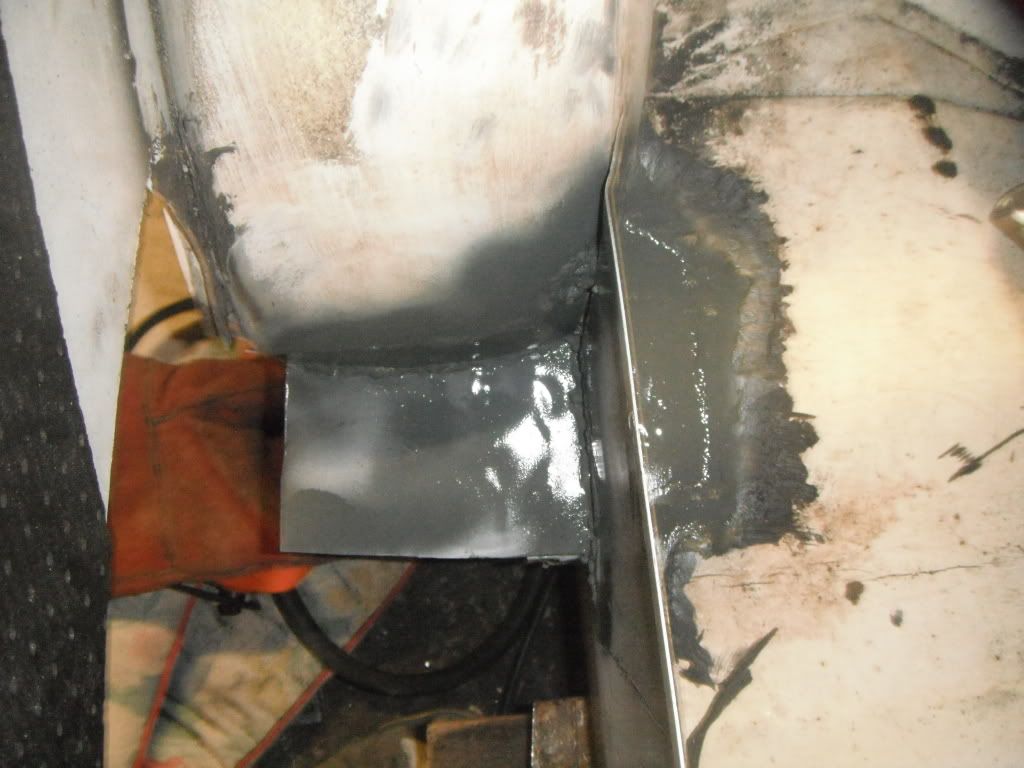
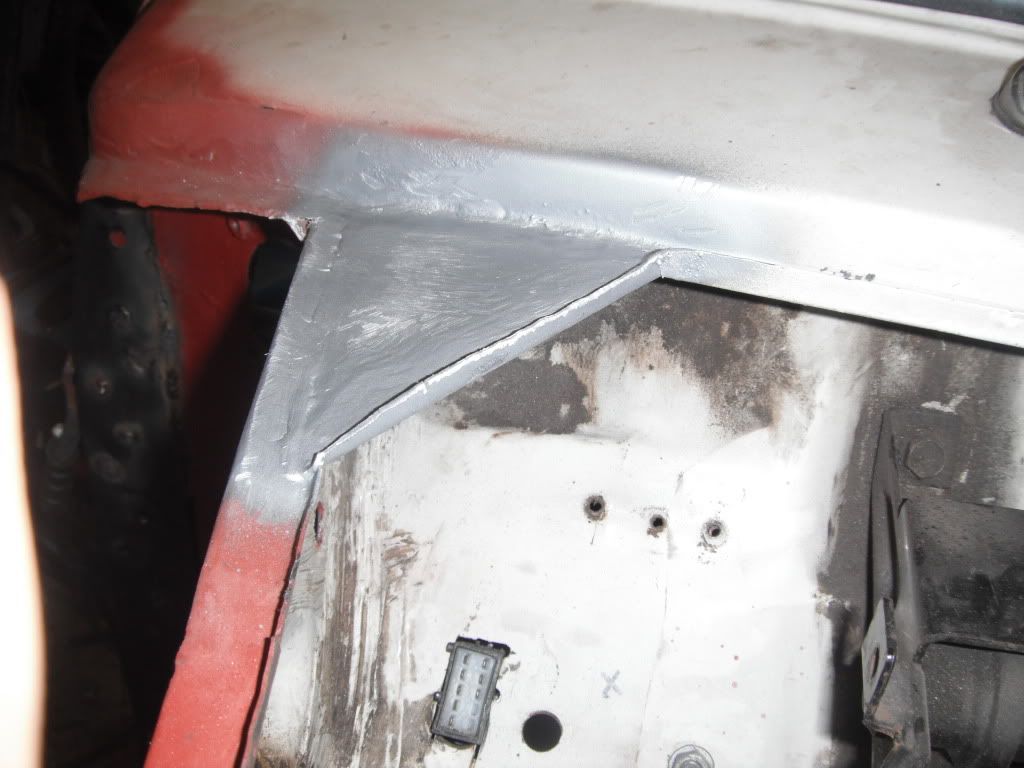
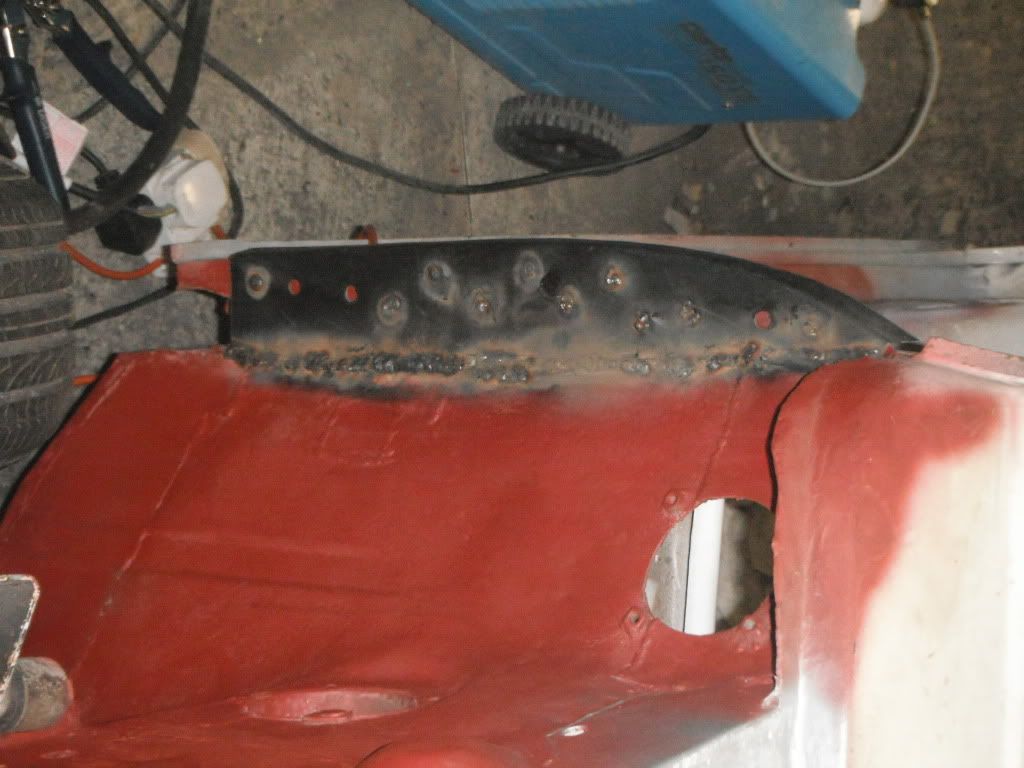
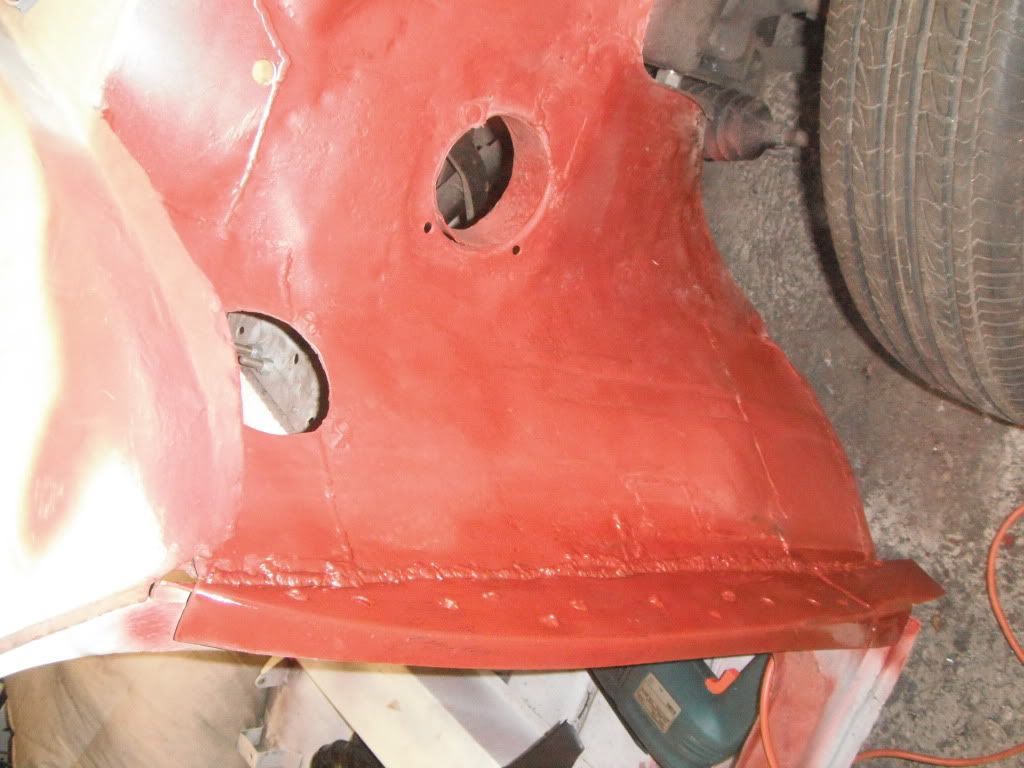
welded in the rest of the inner sill then ground it down
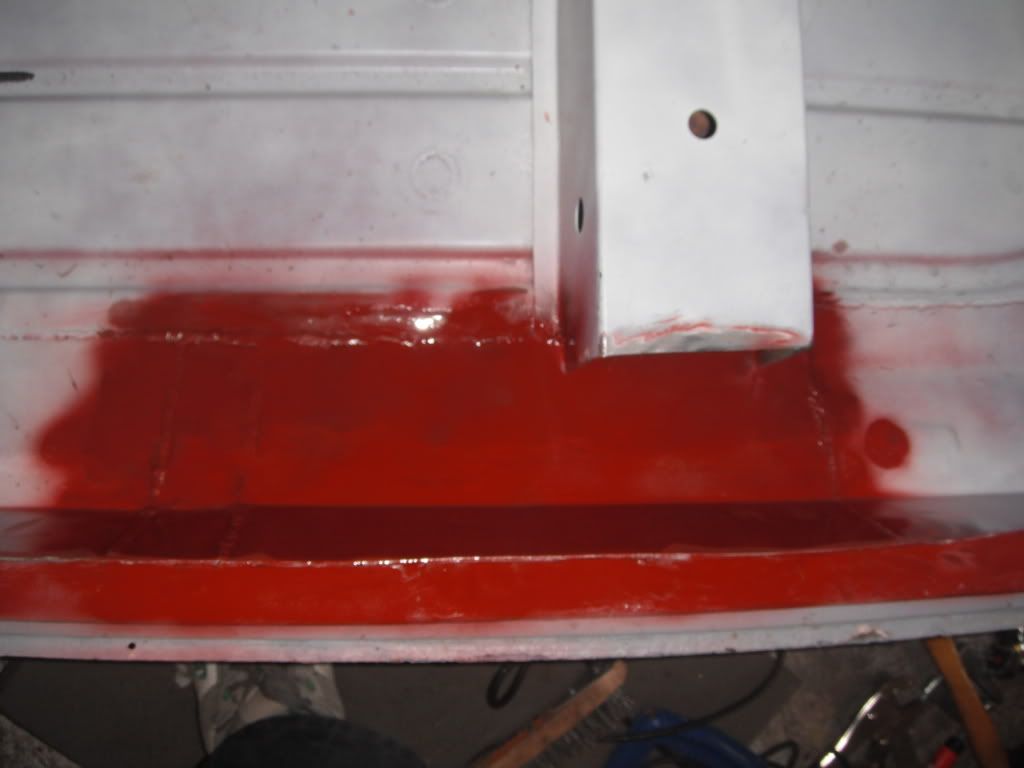
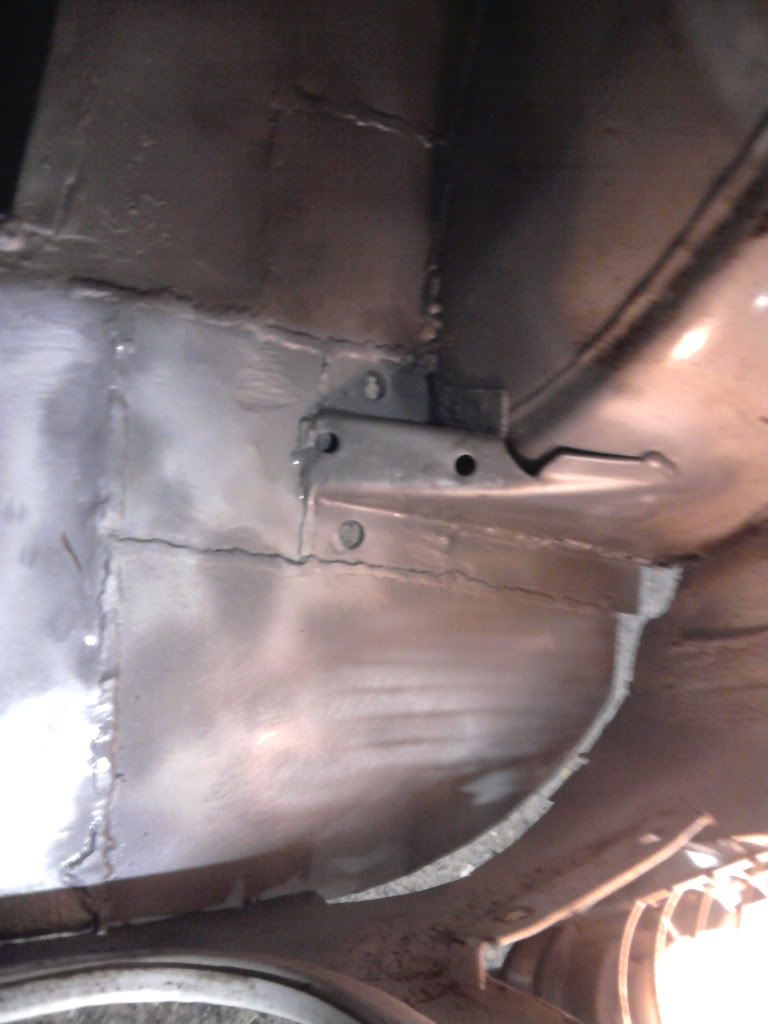
Posted Image
pained it
Posted Image
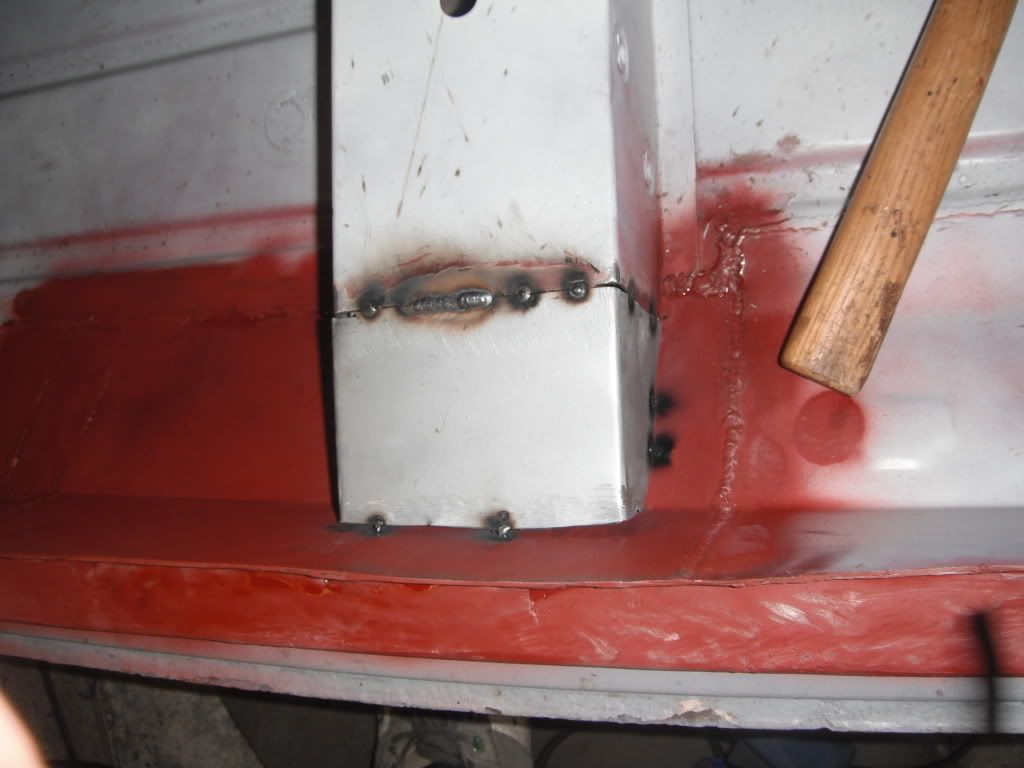
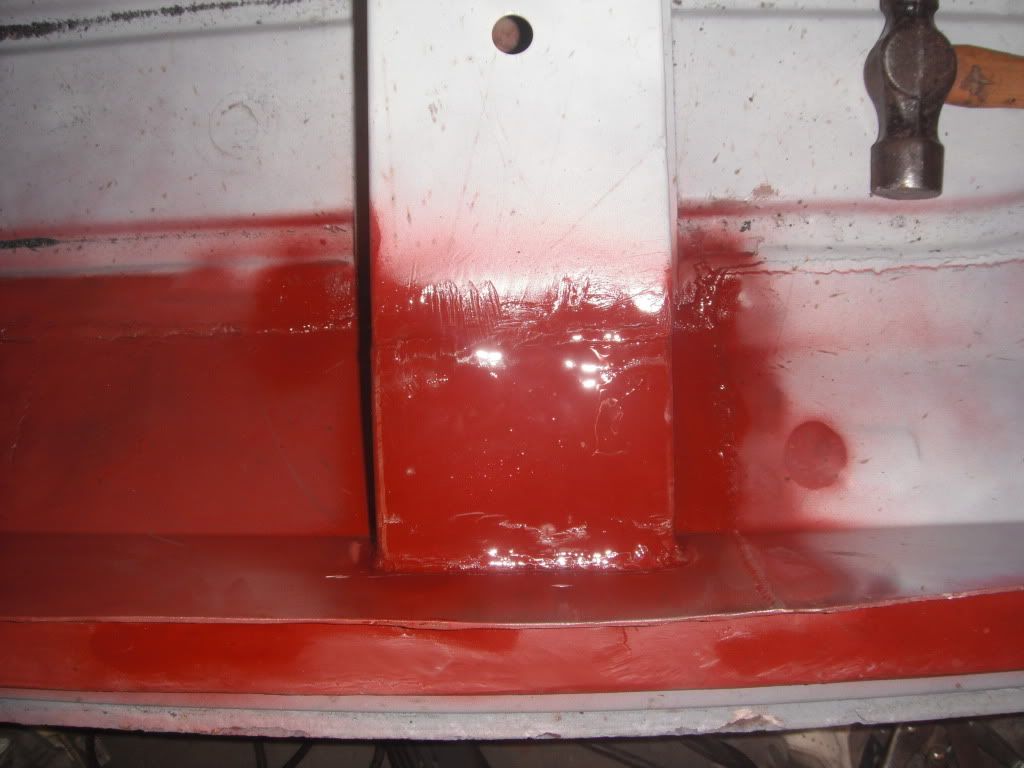
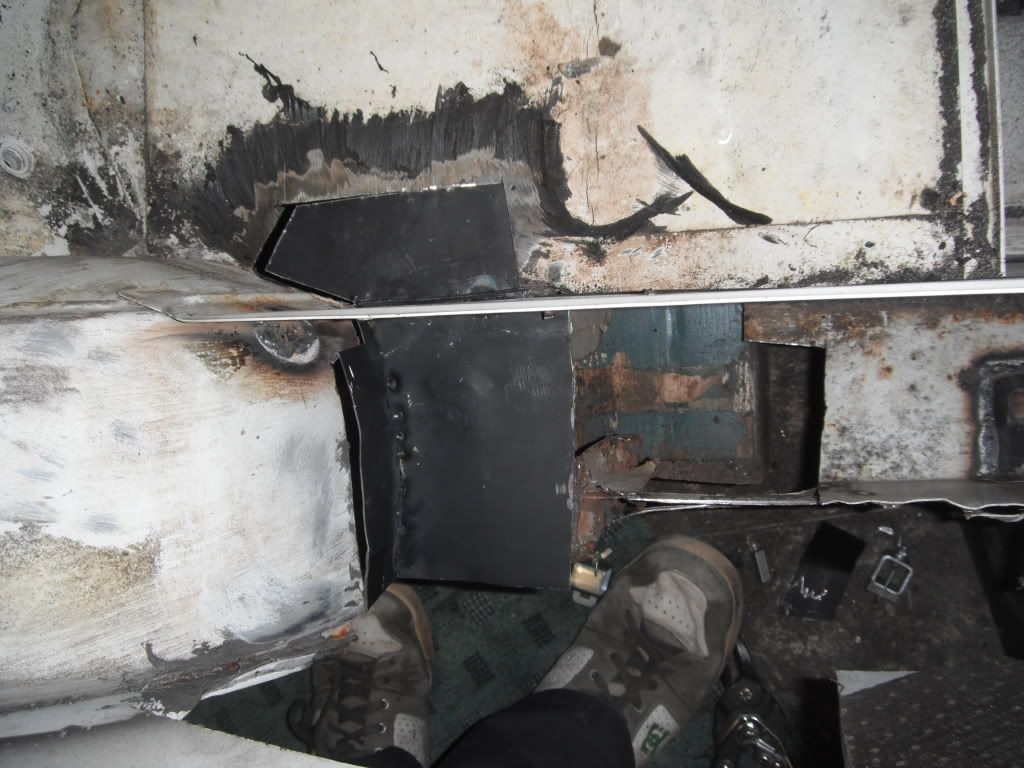
next update will be cross member end and then i making my way to the boot floor
lawrence

#47 lawrence

lawrence

    One Carb Or Two?

  • Members
  • PipPipPipPipPipPipPip
  • 1,330 posts

Posted 06 August 2011 - 02:25 PM

2nd update from today
Cross member tacked in place
Posted Image
and welded, ground down and primed
Posted Image
next plan of action is to move the mini forward, drop the rear subframe and make a start on the drivers side rear subframe mount as that area is holey as this picture shows
Posted Image
Shouldnt take too long to fix it up.
next update either tommorow or early next week
hope you like
Lawrence

#48 lawrence

lawrence

    One Carb Or Two?

  • Members
  • PipPipPipPipPipPipPip
  • 1,330 posts

Posted 07 August 2011 - 05:59 PM

So todays update then.
Been in the garage all day so got a far bit done
dropped the rear subframe
started cutting metal out around the subframe mount, the reinforcement plates were all rather corroded so i jut them back to sound metal
as you can see there was a large hole made
pile of rust/metal removed :D
Posted Image
area all cleaned up ready for welding, i decided on 4 patches in the end
Posted Image
1st patch tacked in
Posted Image
ground down and primed
Posted Image
2nd patch made and tacked in
Posted Image
ground down and primed
Posted Image
4th patch tacked in
Posted Image
ground down and primed
Posted Image

next aim is to make one last patch to fill the space left in the picture above
hope you like this update
Lawrence

#49 lawrence

lawrence

    One Carb Or Two?

  • Members
  • PipPipPipPipPipPipPip
  • 1,330 posts

Posted 08 August 2011 - 11:30 AM

so then this mornings update,
havent finished off the boot as that will be a relatively easy job to do another day.
therfore i instead cleaned up the rear arch , welded a few little holes at the top and then undersealed it
Posted Image
i have also cleaned up near the rear subframe mount and as you can see ive had to make a rather large hole
Posted Image
i then made a rather difficult patch panel to fill the space, i will be ordering a heelboard end to comlete the job once ive welded this in
Posted Image
and as you can see it fits snugly in the space
Posted Image

more will follow either tommorow or this evening:
Crrent plan of action is
>weld in patch+ order heelboard end
>weld subfame reinforcement panels on both sides
>make last panel for boot area
>weld up small hole by ps heelboard end
>tidy + prime rest of the boot floor and underseal

hope you all like this mornings update

lawrence

#50 minimuk

minimuk

    Camshaft & Stage Two Head

  • Members
  • PipPipPipPipPipPipPipPip
  • 1,946 posts
  • Location: Midlands

Posted 10 August 2011 - 08:08 AM

Re; difficult patch panel,.. I bet you spend a lot of time doing that one, by the looks of it, nut i think you are going a it to fast there.... the panel you fabricated, the metal looks 1mm thick that is rather thin, especially for that place hidden by the subframe and is part of your rear seat, in the end it is a breeding place for rust, I would use thicker 1.5mm+ in that area. Don't take this the wrong way, if you do it right now you do not have to revisit that area for years to come.....

#51 lawrence

lawrence

    One Carb Or Two?

  • Members
  • PipPipPipPipPipPipPip
  • 1,330 posts

Posted 10 August 2011 - 10:44 AM

Hey thanks for the comment. Yeah that patch took about an hour if not more to make :( 
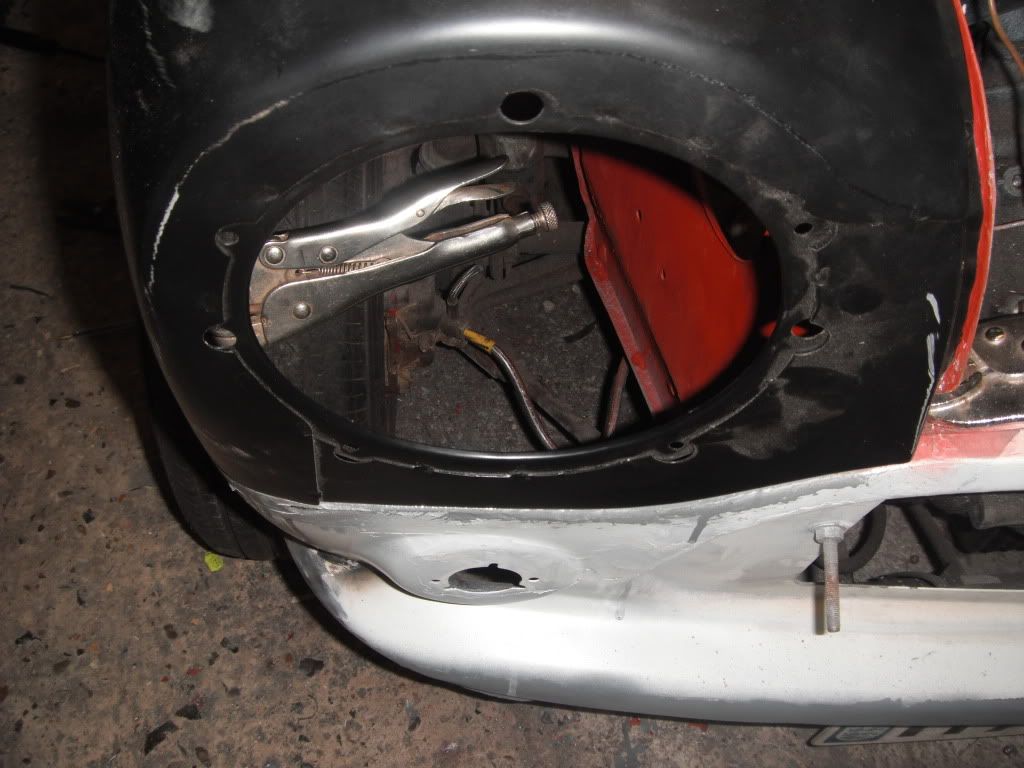
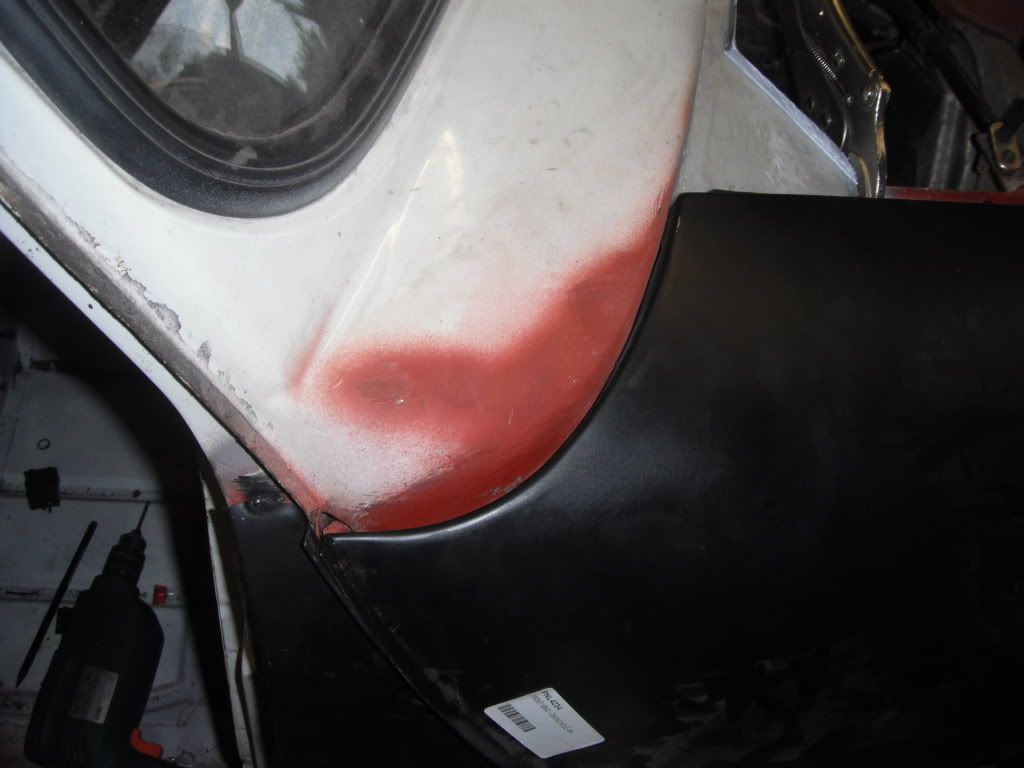
I think its made with 1.3mm steel too which is what the boot floor width looked like to me. I`m also intending to make some rear arch liners to attempt to protect the area more than it originally was in conjunction with seam welding in the new panels to try and prevent rust creeping through spot welds.

This mornings update is that ive just ordered alot more panels to try and finish the car by the start of next year
these panels are:
>Both A Panels
>Wing
>Sill
>Heelboard end
>Rear valance
>Rearliner retainer
>Passengers doorstep

next update will be tommorow morning most likely

hope you like
Lawrence

#52 minimuk

minimuk

    Camshaft & Stage Two Head

  • Members
  • PipPipPipPipPipPipPipPip
  • 1,946 posts
  • Location: Midlands

Posted 10 August 2011 - 01:50 PM

panel over panel,.......hmm..., make sure the panels do not touch the subframe, then seal it off good if you do, not enough air circulation in that area, as you know. other than that, all looks pakka from here. ;D

#53 lawrence

lawrence

    One Carb Or Two?

  • Members
  • PipPipPipPipPipPipPip
  • 1,330 posts

Posted 10 August 2011 - 02:13 PM

Well the arch liners im thinking off will probably be made of abs or some other easily mouldable and flexible plasic. Im thinking of welding a few nuts onto the arch to hold it away from the wheel. Still at the idea stage though
edit: just found a picture of what i mean if i wasnt completley understood
http://www.renault4....ished-large.jpg

Edited by lawrence, 10 August 2011 - 02:22 PM.


#54 minimuk

minimuk

    Camshaft & Stage Two Head

  • Members
  • PipPipPipPipPipPipPipPip
  • 1,946 posts
  • Location: Midlands

Posted 10 August 2011 - 05:06 PM

like those arch liners for the front, as they will keep the water spray ( if it ever rains where you are) away from the lights electrics and will have better airo dynamics, not sure whether you need or can get those for the rear.

#55 Mad Max

Mad Max

    Speeding Along Now

  • Members
  • PipPipPipPipPip
  • 306 posts
  • Location: On a driveway under a car

Posted 12 August 2011 - 10:12 AM

When restoring my clubman i welded in some tags to make my own arch liners out of plastic, they work a treat, i barmed the underwings with underseal anyway but with the underarches they've stayed completely clean over winter

#56 lawrence

lawrence

    One Carb Or Two?

  • Members
  • PipPipPipPipPipPipPip
  • 1,330 posts

Posted 12 August 2011 - 10:16 AM

So then,
I havent made an update in a few days which is quite bad really
Ive been mainly working on the electrics again as i had never really finished them before and need to include some multi plugs for ease of removal and to re install my cobra alarm.

Today i was greeted by some massive boxes from m machine that contain the panels that i ordered
Posted Image

i theoretically now only need both rear quarter panels to finish the project welding wise.

New Update this afternoon with whats happened today
hope the progress is liked
Lawrence

Edit: Reply for Max: That is what im planning to do, to make my own as no way am i forking out 70 odd for some plastic shapes that i could probably make myself better. I think when I make them ill do a how to, to show how simple it is :)

Edited by lawrence, 12 August 2011 - 10:20 AM.


#57 lawrence

lawrence

    One Carb Or Two?

  • Members
  • PipPipPipPipPipPipPip
  • 1,330 posts

Posted 12 August 2011 - 03:36 PM

so ive done a bit of work today. I didnt really feel much like welding so instead trial fitted the panels ive bought :)
Posted Image
I then decided to make a start with de bumpering the front and relocating the numberplate.
Posted Image
does anyone have an opinion for the new placement of the numberplate?
Lawrence

#58 minimuk

minimuk

    Camshaft & Stage Two Head

  • Members
  • PipPipPipPipPipPipPipPip
  • 1,946 posts
  • Location: Midlands

Posted 15 August 2011 - 07:57 AM

I thought I might have seen that car in SOHO a while back,.. looks always good when you tryal fit them panels, all you want to do now is just finish it a have a drive,.....before painting.

#59 lawrence

lawrence

    One Carb Or Two?

  • Members
  • PipPipPipPipPipPipPip
  • 1,330 posts

Posted 16 August 2011 - 10:21 AM

well ive never taken it there but maybe a previous owner has,

so todays update, not done alot for a while only made the handbrake into a fly off one as ive always wanted one :)
but ive got a full day off today so its gunna be a mini day :)
todays aims are
>Fit patch thats already made
>clean up drivers side inner wing
>fit flitch panel
>paint drivers side inner wing
>repair area around the drivers side heelboard end (needs about 3 patches)
>more when i think of what needs doing

ill be updating my blog from the garage too so there will be a stady stream of pictures
should be a productive day then.
Lawrence

1st update
patch tacked in
Posted Image

2nd update
patch in and ground down and primed
Posted Image
3rd update
inner wing nicely cleaned up and red oxideded, will make a start on the flitch panel when i get back from a lunch break
Posted Image
4th update, ive welded the jacking point hole up as im not replacing the jacking point. ive also trimmed, drilled and zinc primed the flitch panel
Posted Image
im now part way through fitting the flitch panel
Posted Image
Posted Image

5th update
Im still part way throught welding the flitch panel, but while i was waiting for it to cool to avoid warping, another problem came to my attention
the bonnet pins are very badly fitted so i improved their installation
Before
Posted Image
After
Posted Image
in my opinion it now looks alot more standard and better

Edited by lawrence, 16 August 2011 - 04:46 PM.


#60 lawrence

lawrence

    One Carb Or Two?

  • Members
  • PipPipPipPipPipPipPip
  • 1,330 posts

Posted 16 August 2011 - 05:22 PM

6th final mini update of today
got the flitch panel finally welded in, took a while as my panel gaps were rather bad!
Posted Image
just the bottom of the flitch left

7th update
The bottom off the flitch is now welded, the area cleaned off and red oxided
Posted Image
The front of the car is now ready for the two new wings and a panels, should be a laugh fitting them!! :)

8th update trial fitted the wings and a panel. a panel looks like its going to be fine but the wing will be more fun :)
its looking nice at the front
Posted Image
the scuttle join needs alot more work tho
Posted Image
but at least its a change to welding!! :)
thats all for today folks, its been a long day :)
feel free to comment, its allways helpfull to me!
Lawrence

Edited by lawrence, 16 August 2011 - 06:11 PM.


1 user(s) are reading this topic

0 members, 1 guests, 0 anonymous users