


Ken -The 1275 High Compression Engine Micra Mini (Running Project)
Started by
lawrence
, Sep 19 2009 12:30 PM
761 replies to this topic
#76
: post #76")
minimuk
-

- Members
-

- 1,947 posts
Camshaft & Stage Two Head
- Location: Midlands
Posted 13 October 2011 - 09:40 PM
I must say, for someone who only started welding a few month ago,...yr not that bad at it,.....no you are doing great
#77
lawrence
-
- Members
-
- 1,341 posts
One Carb Or Two?
Posted 15 October 2011 - 06:01 PM
thanks minimuk, im proper enjoying my welding at the moment, its so nice working with metal thats not rusty too!
so then, havent written up my update from the other day yet so here it is
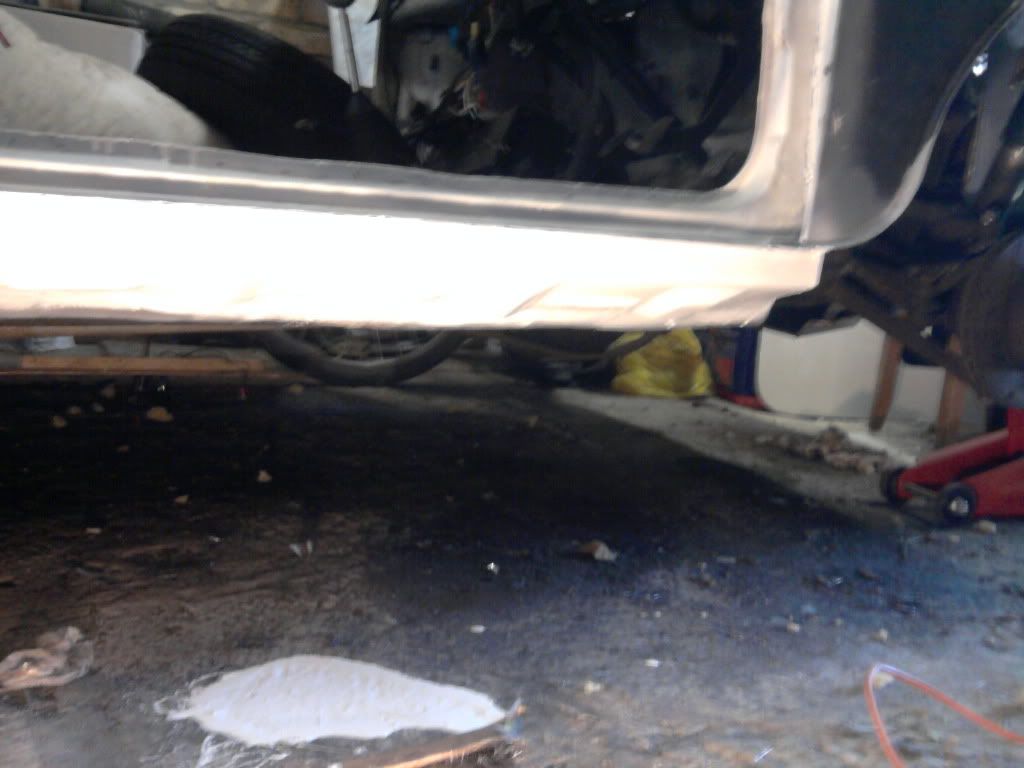
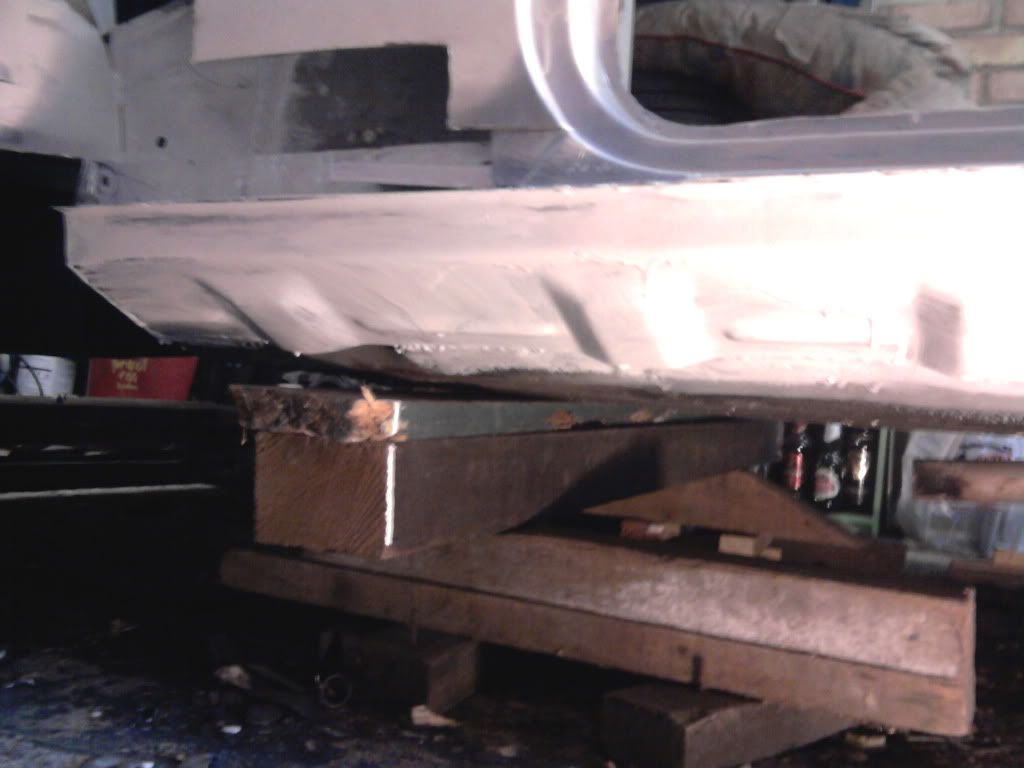
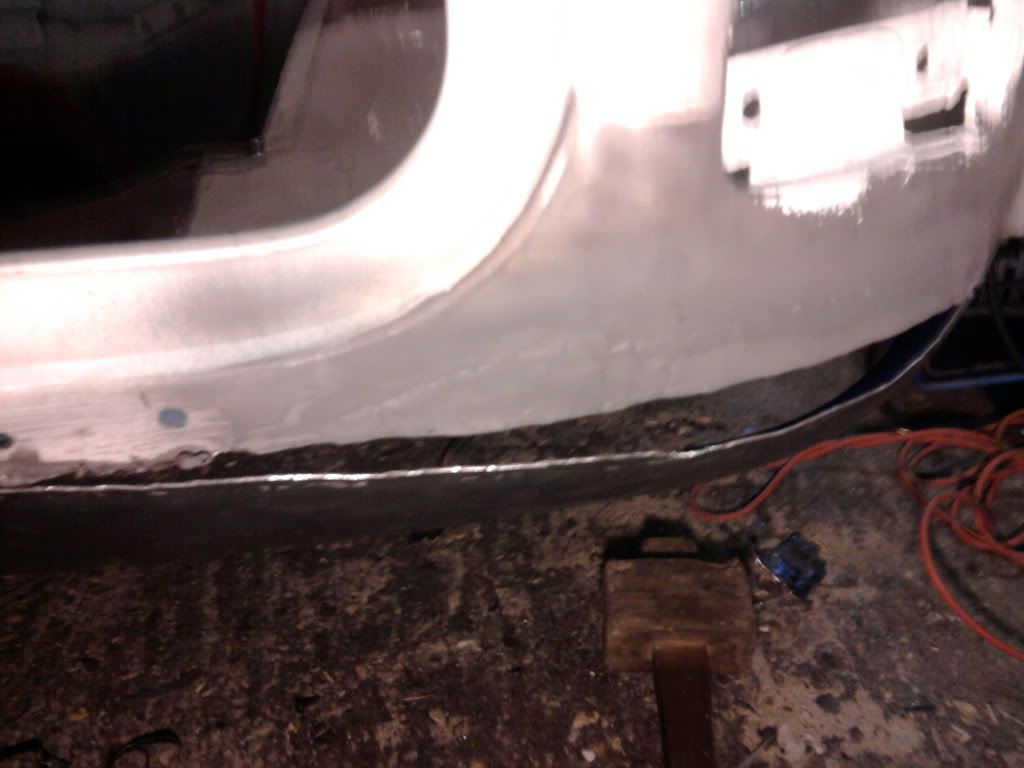
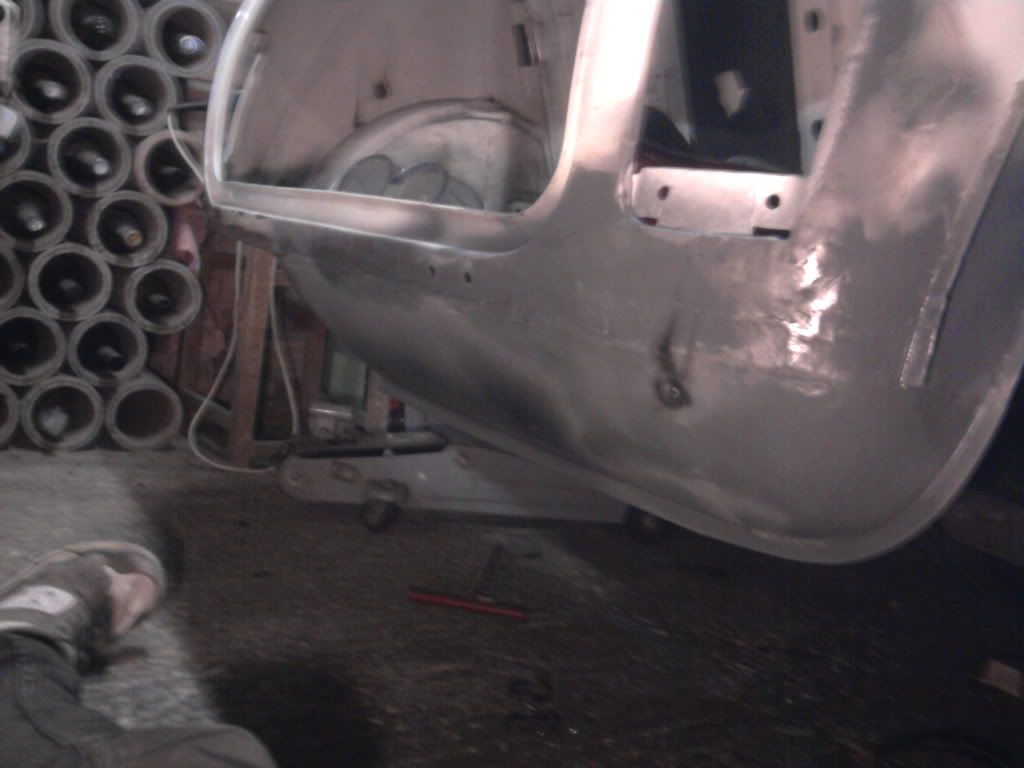
clamped the sill on
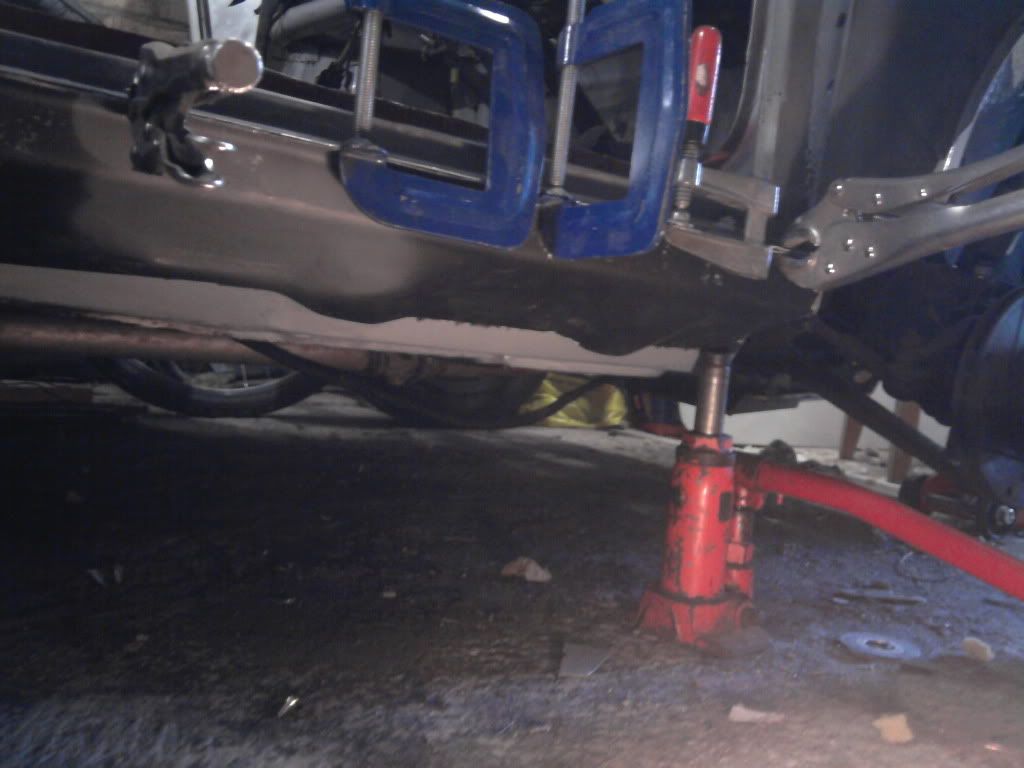
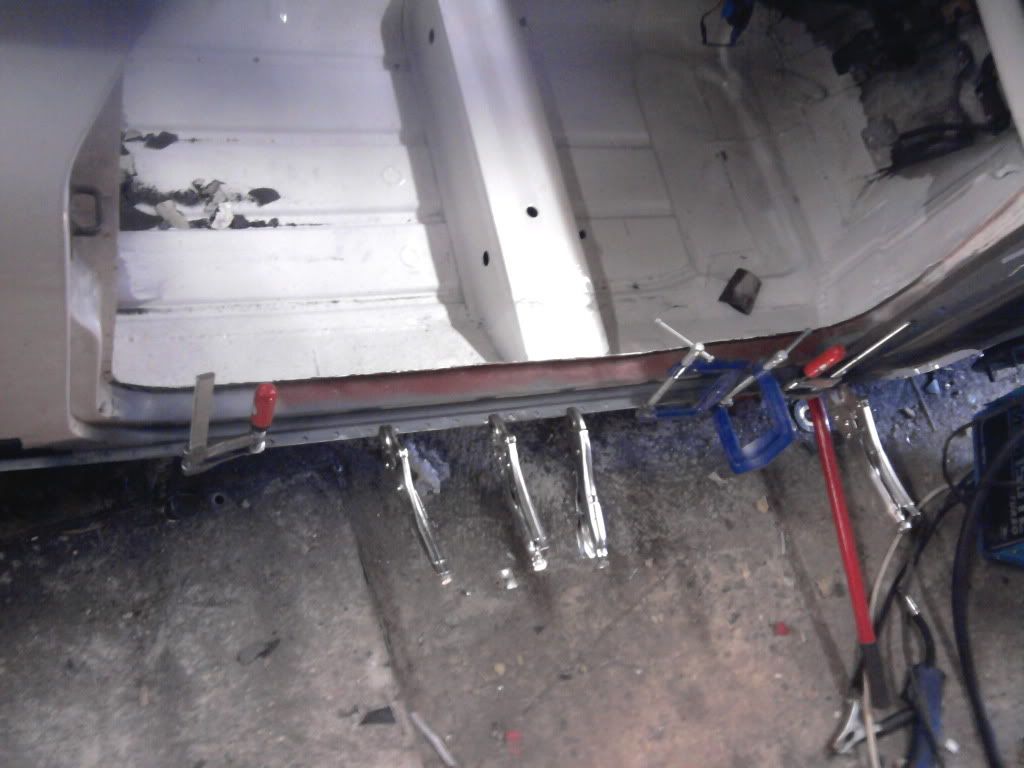
plug welded along the doorstep and im glat that i did the work for the lip as this sill was so much easier to do than the other side
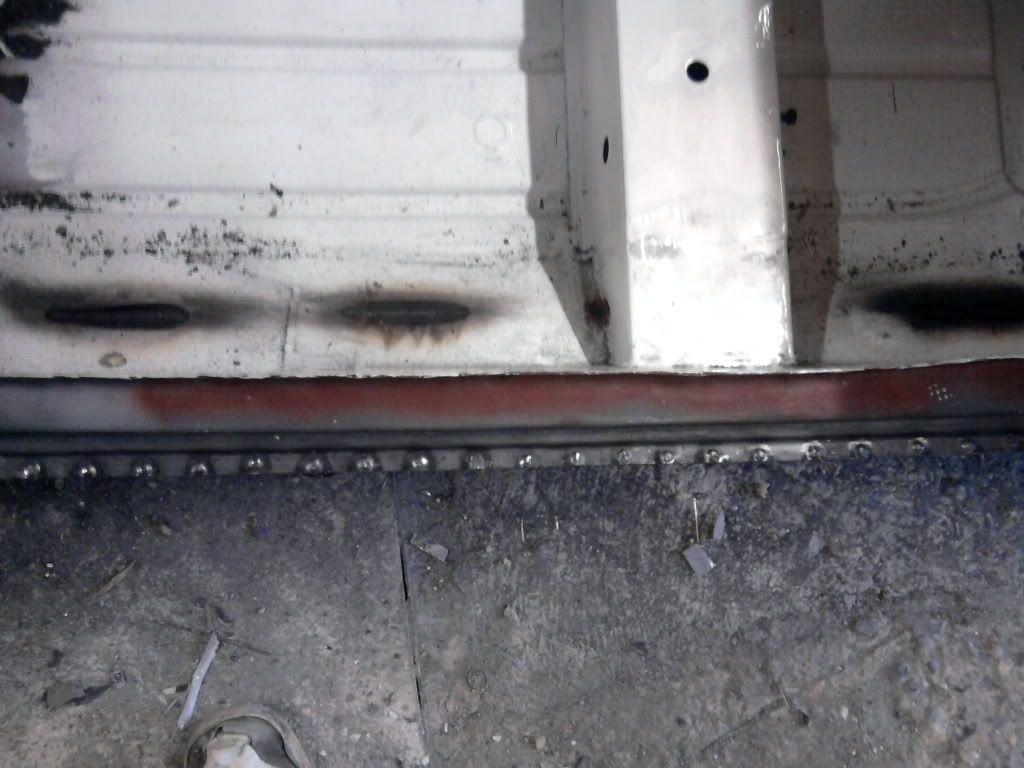
seam welds at either end
and seam welded at the floor
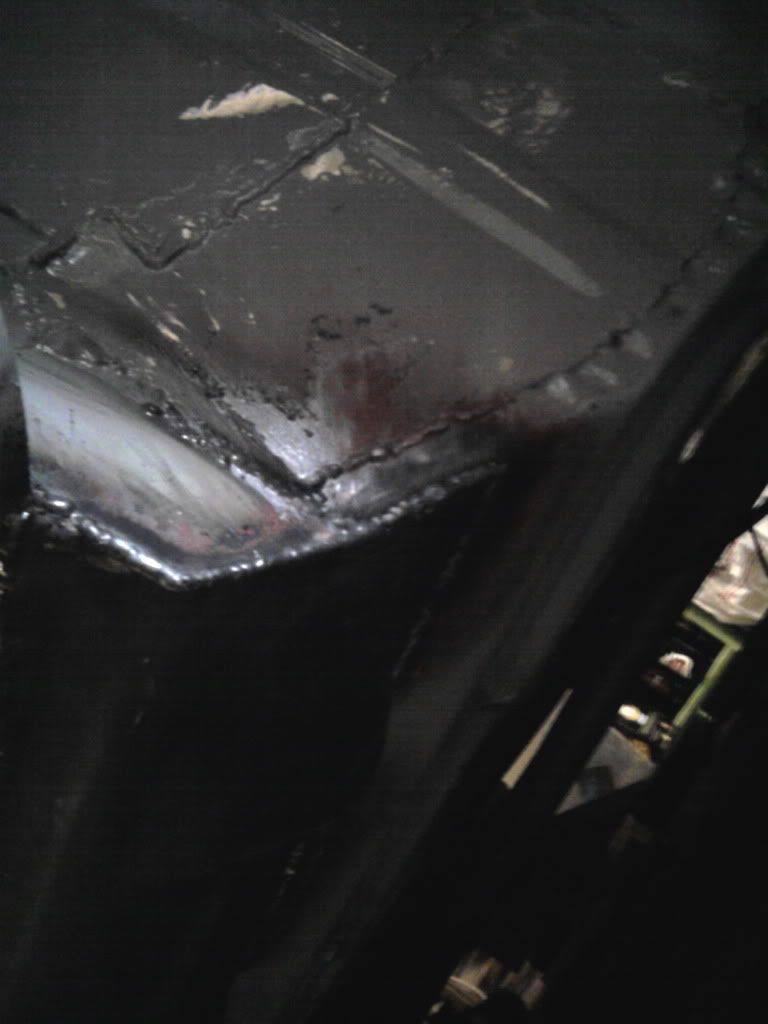
made a slight mistake of forgetting this!
so welded it on the inside with alot of strength
ground down the welds and wire brushed off the burnt paint areas

and finnaly prepped and resprayed the doorstep
needs a little touch up on the floor but that side is just about done otherwise
im now moving on to start the boot and rear valance
hope the update is liked
Lawrence
so then, havent written up my update from the other day yet so here it is
clamped the sill on
plug welded along the doorstep and im glat that i did the work for the lip as this sill was so much easier to do than the other side
seam welds at either end
and seam welded at the floor
made a slight mistake of forgetting this!
so welded it on the inside with alot of strength
ground down the welds and wire brushed off the burnt paint areas
and finnaly prepped and resprayed the doorstep
needs a little touch up on the floor but that side is just about done otherwise
im now moving on to start the boot and rear valance
hope the update is liked
Lawrence
#78
lawrence
-
- Members
-
- 1,341 posts
One Carb Or Two?
Posted 16 October 2011 - 11:07 AM
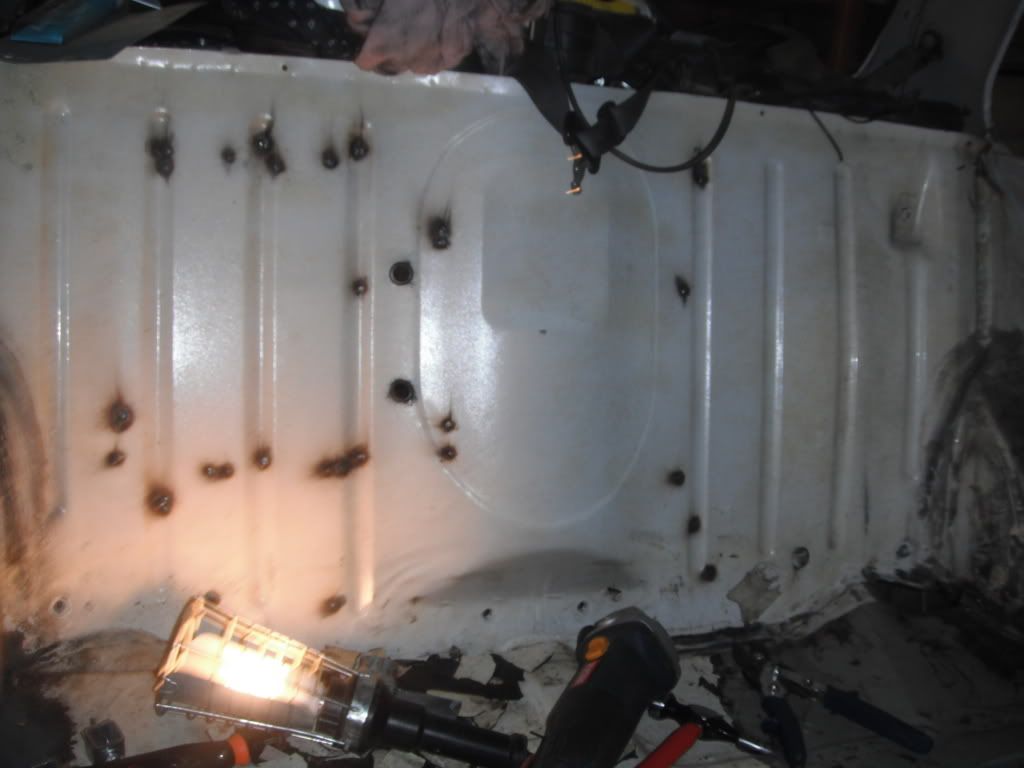
so then. today is going to be a mini day so alot should get done!
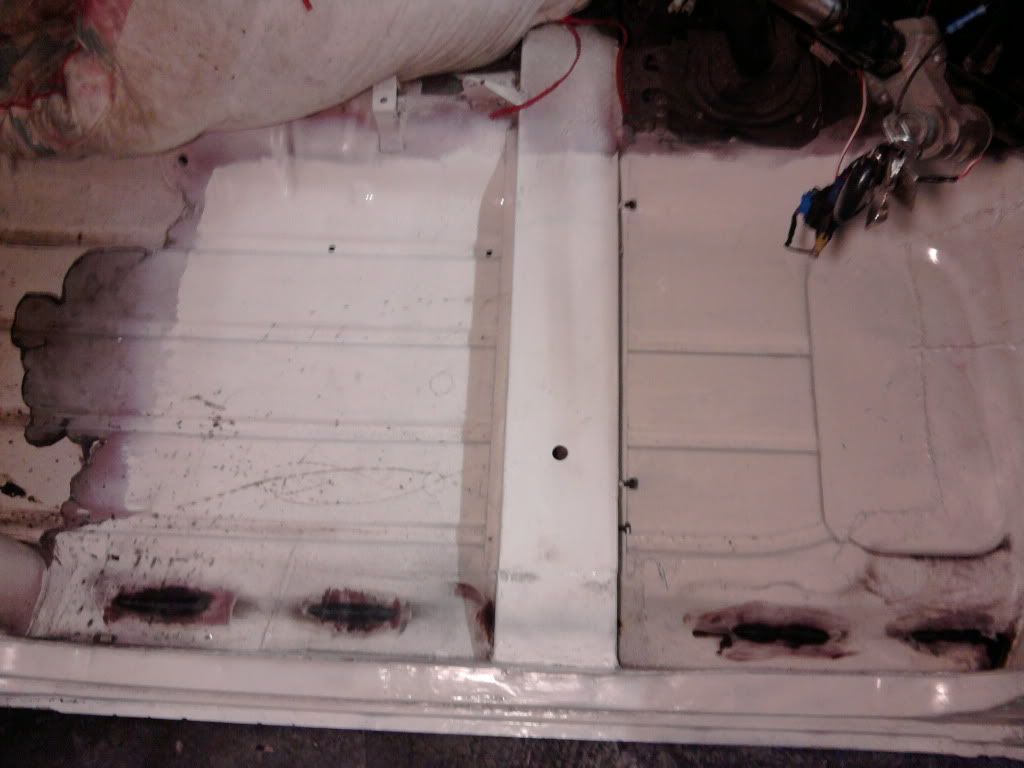
first update from today is paint
floor done
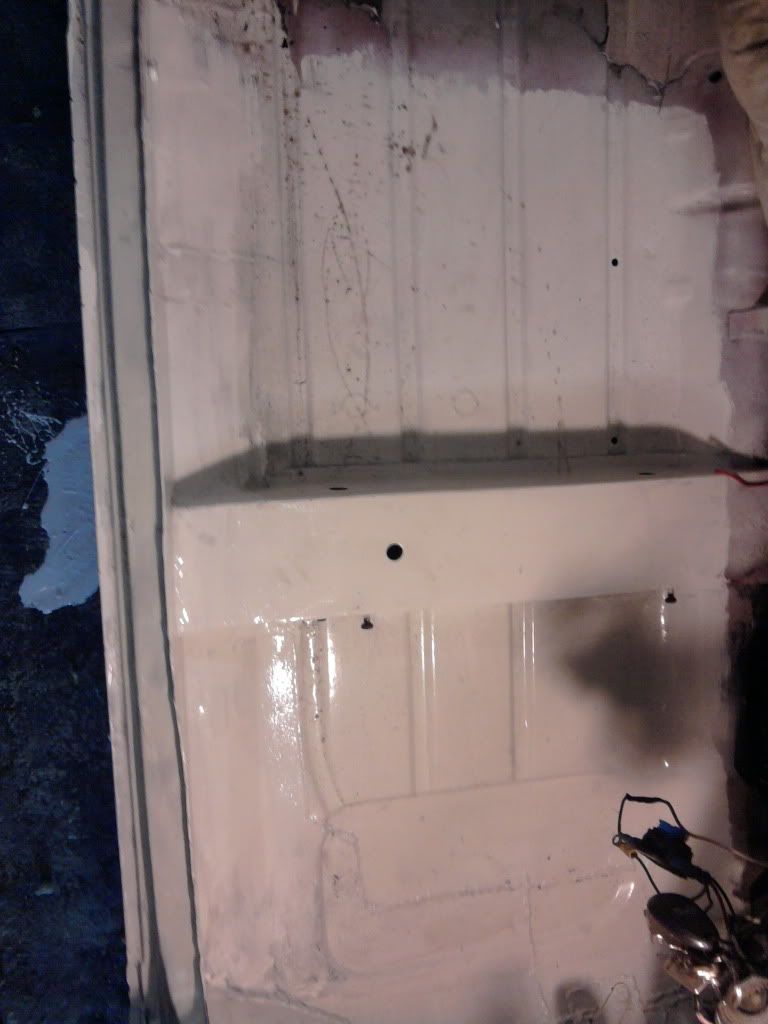
sills done
rear bin done,
so all nice and solid here!
moving onto the boot now!
first update from today is paint
floor done
sills done
rear bin done,
so all nice and solid here!
moving onto the boot now!
#79
lawrence
-
- Members
-
- 1,341 posts
One Carb Or Two?
Posted 16 October 2011 - 01:08 PM
so second update for today
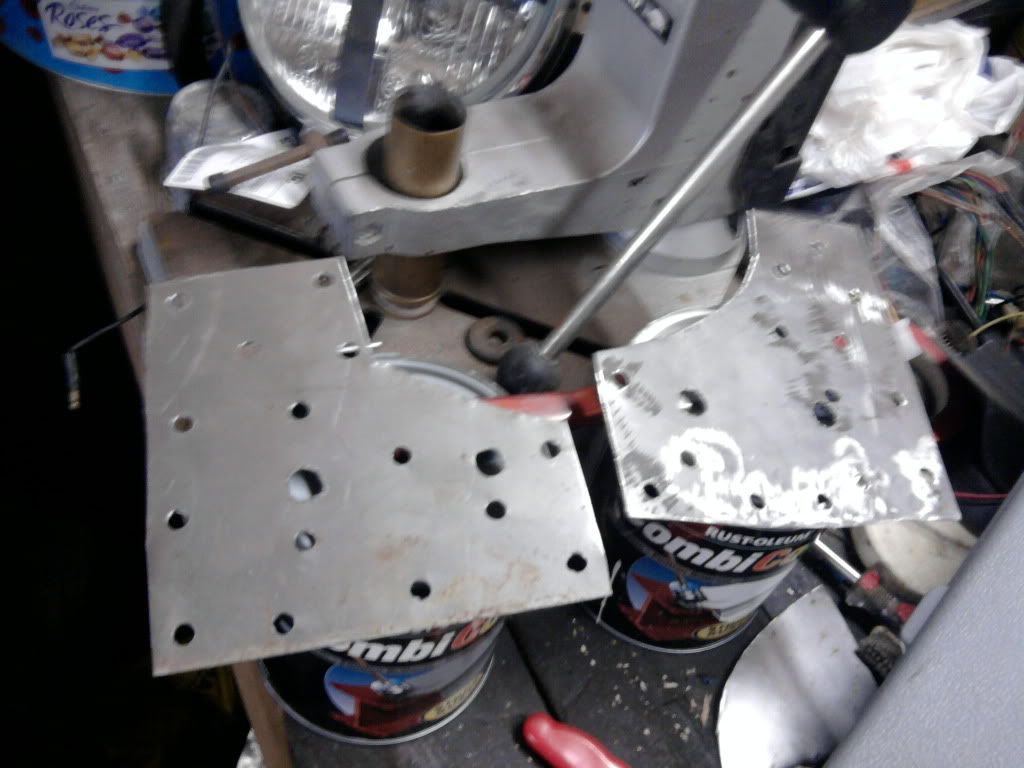
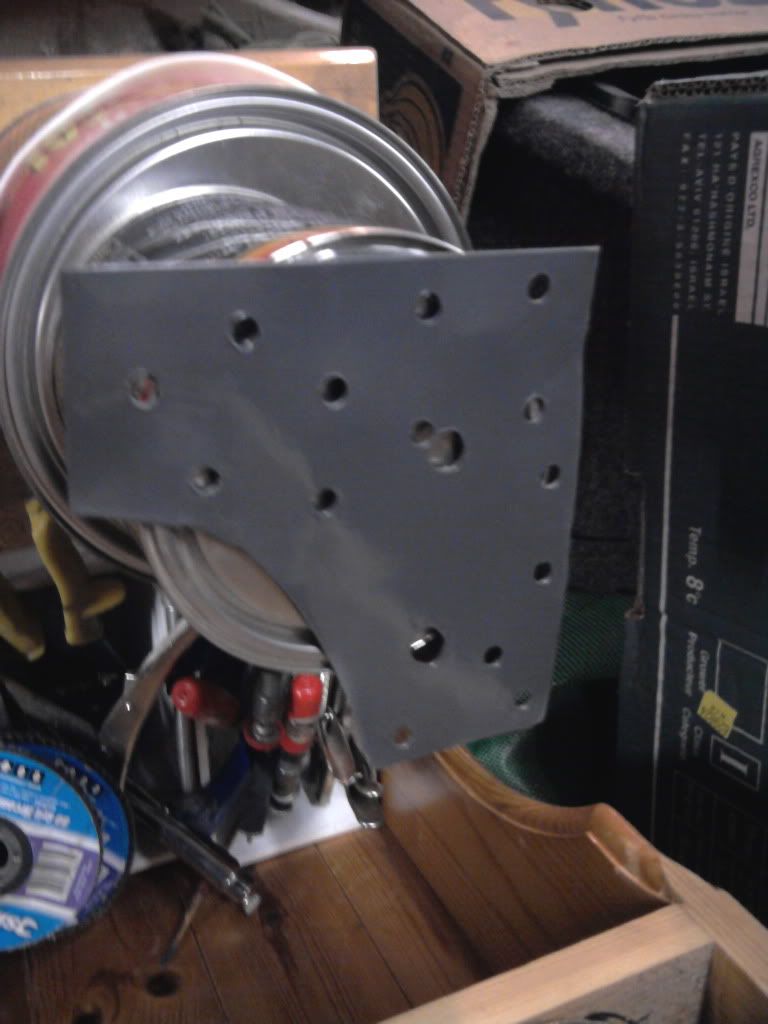
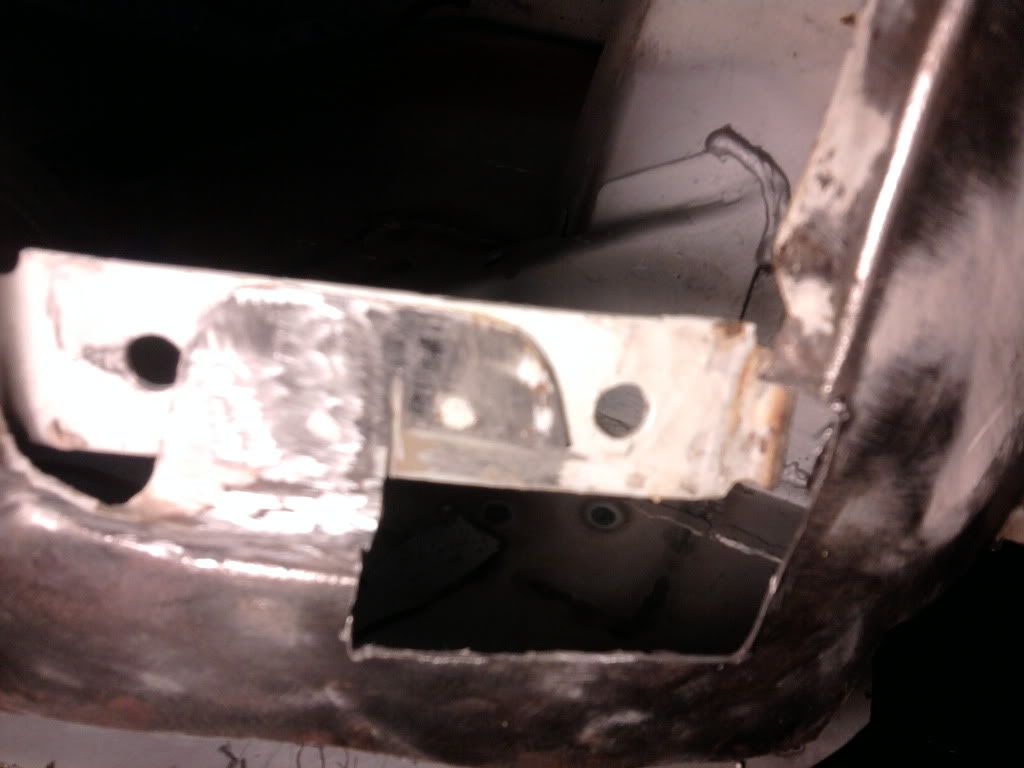
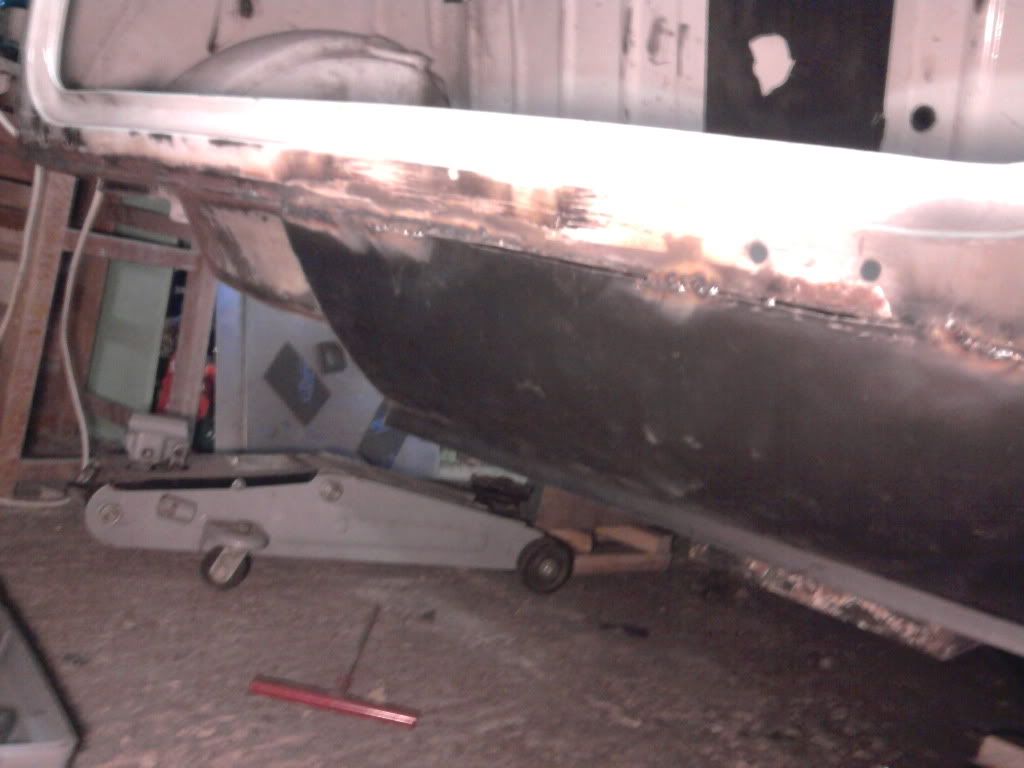
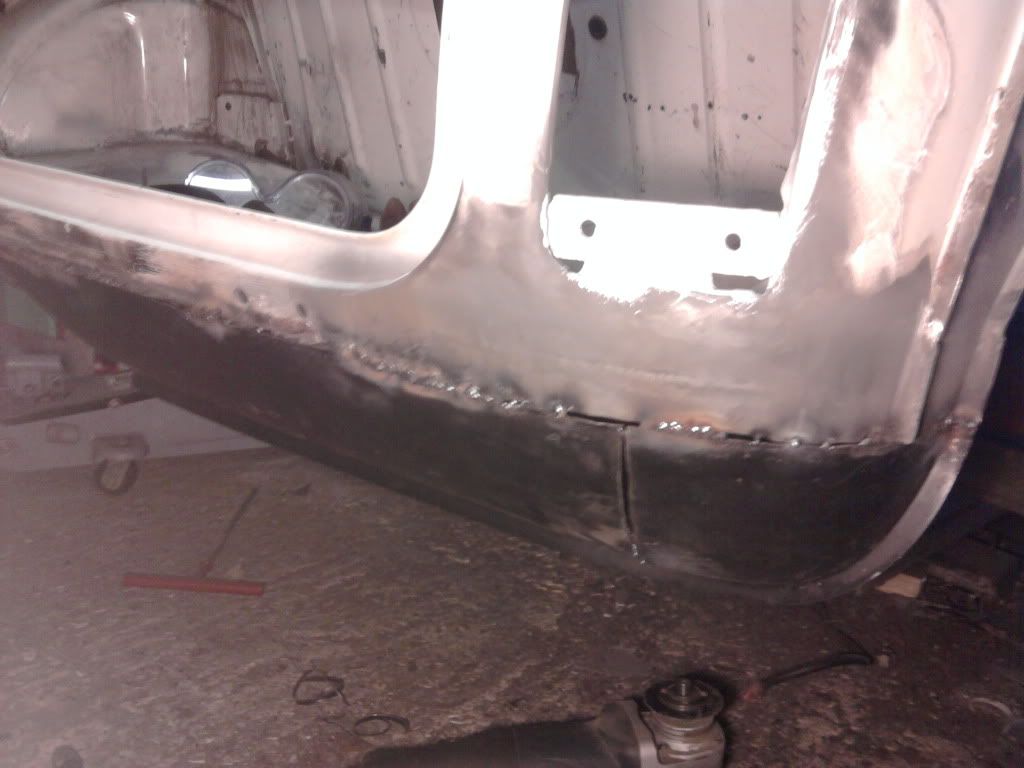
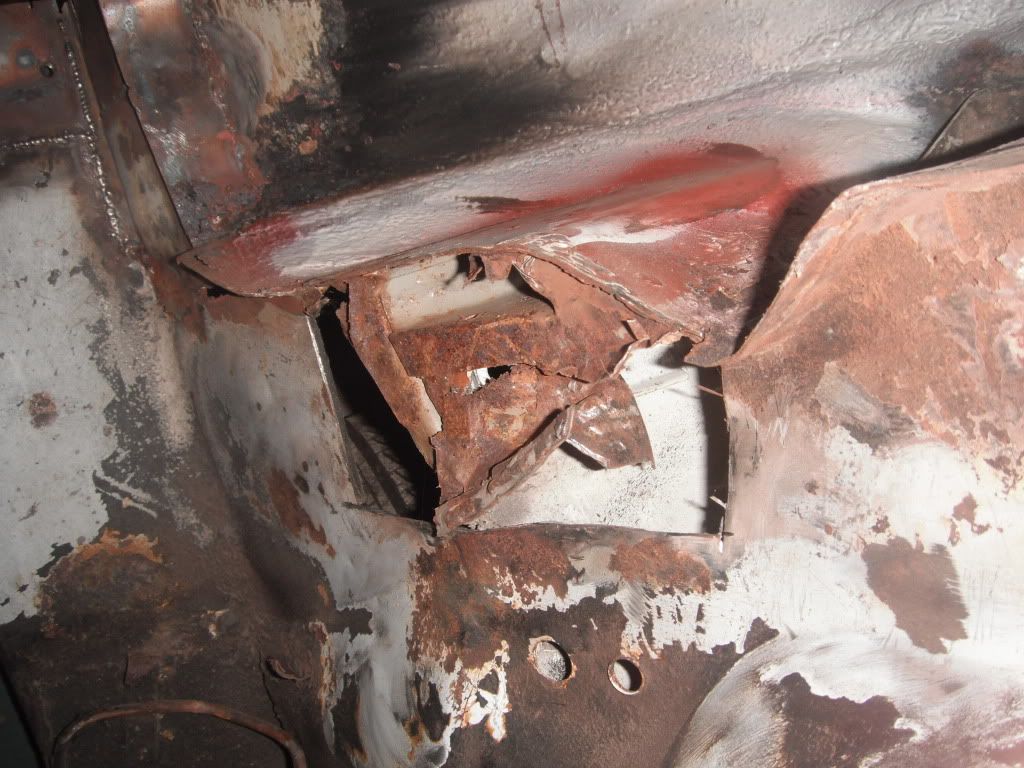
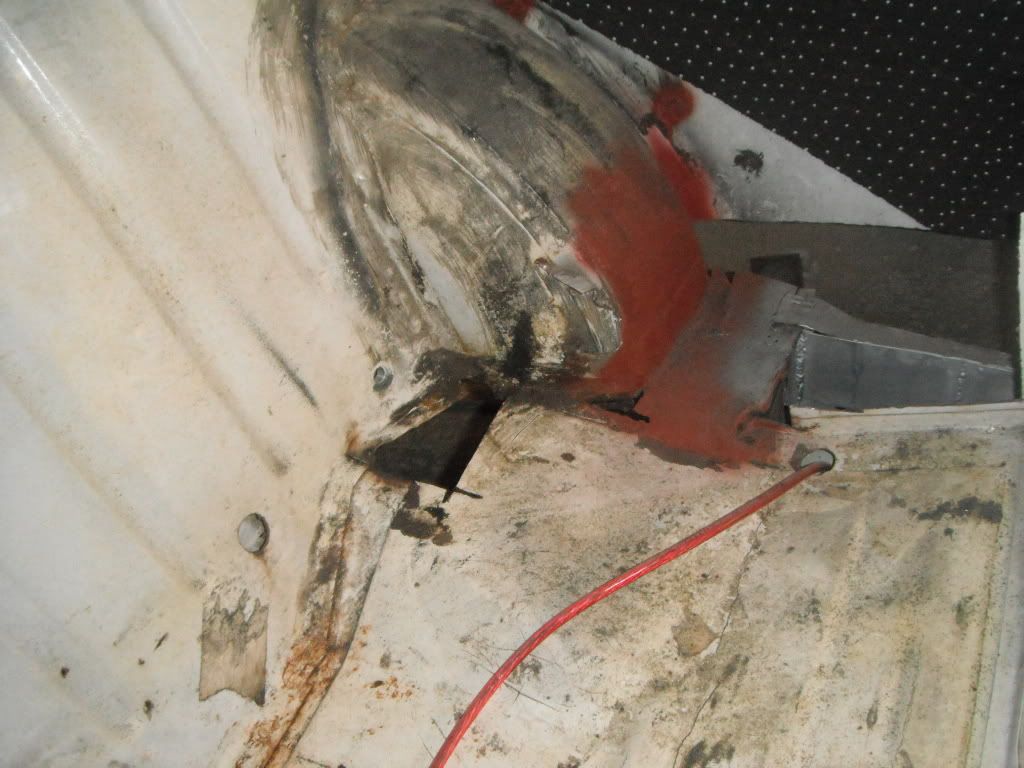
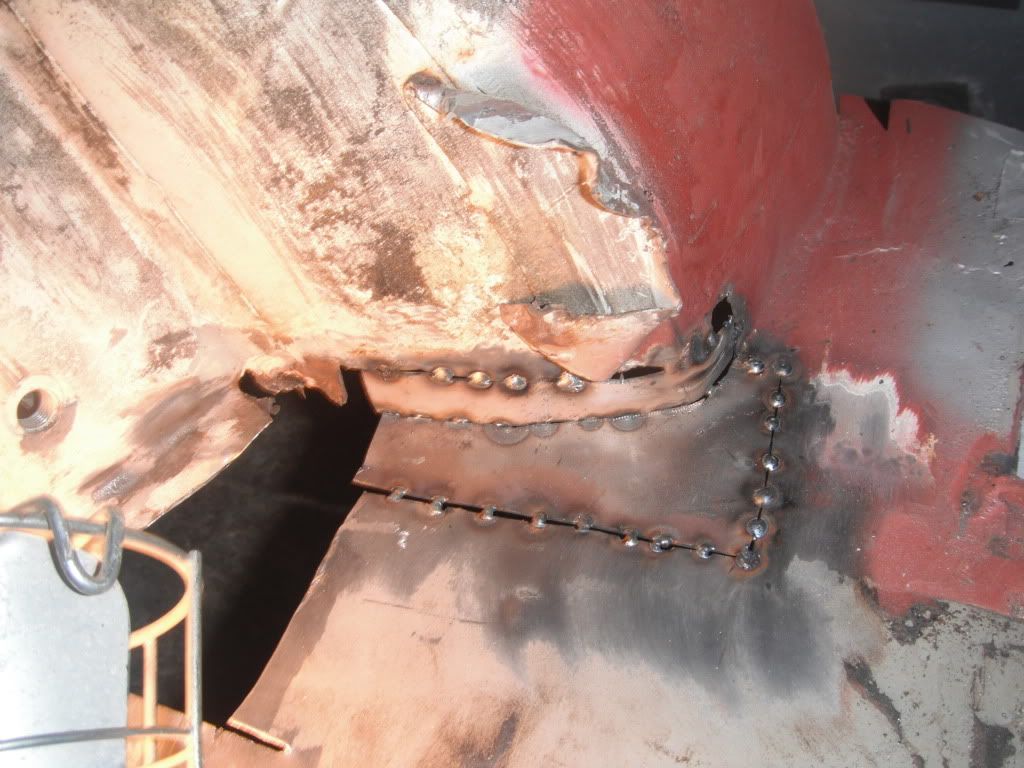
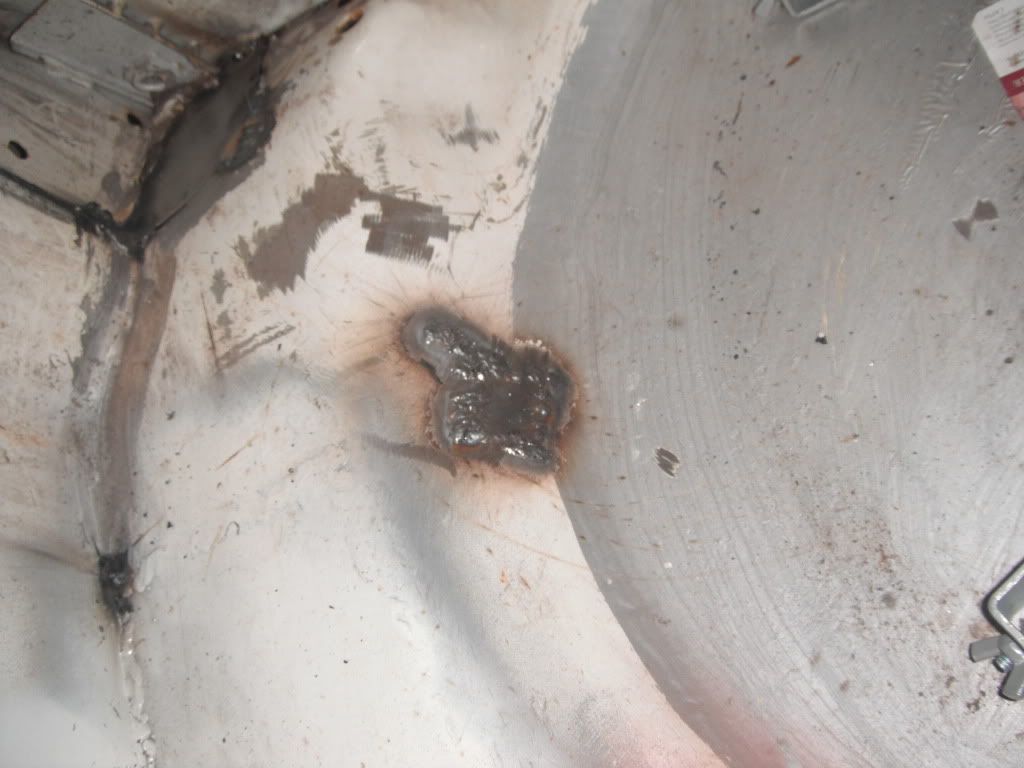
made a start on the rear subframe mount strengthener panels
drivers side started out like this
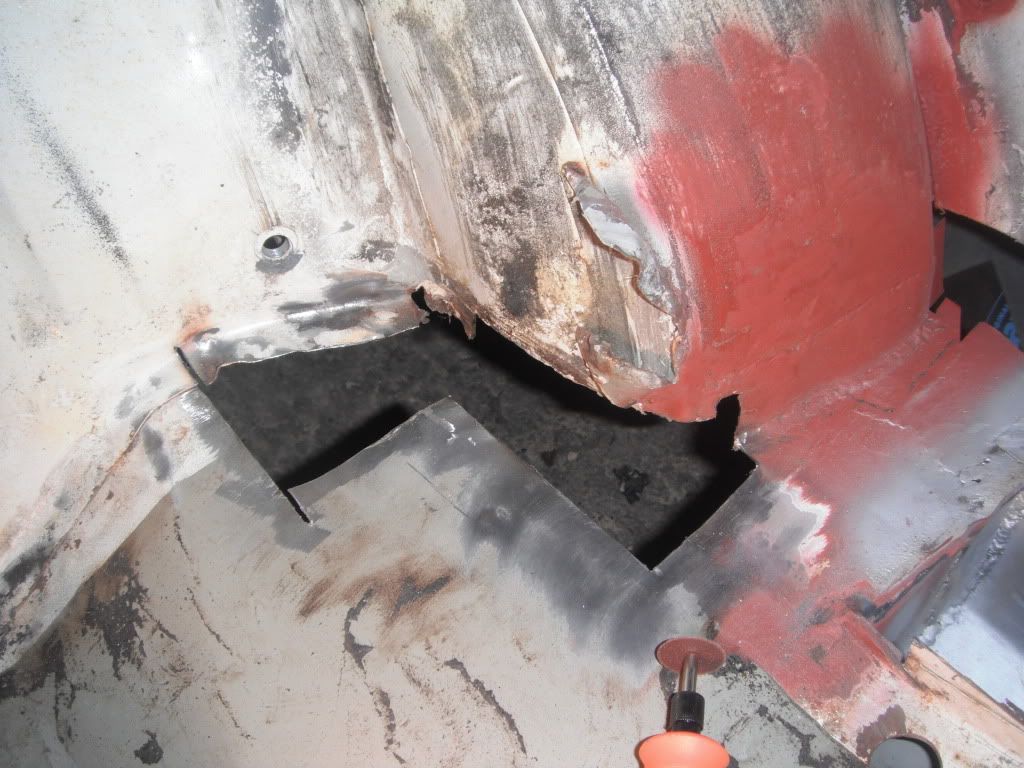
now i thought that i had trimmed back to the end of the rust but i was wrong
so i had to remove the rest of the metal which took me ages
the other side is alot better so shouldt take long
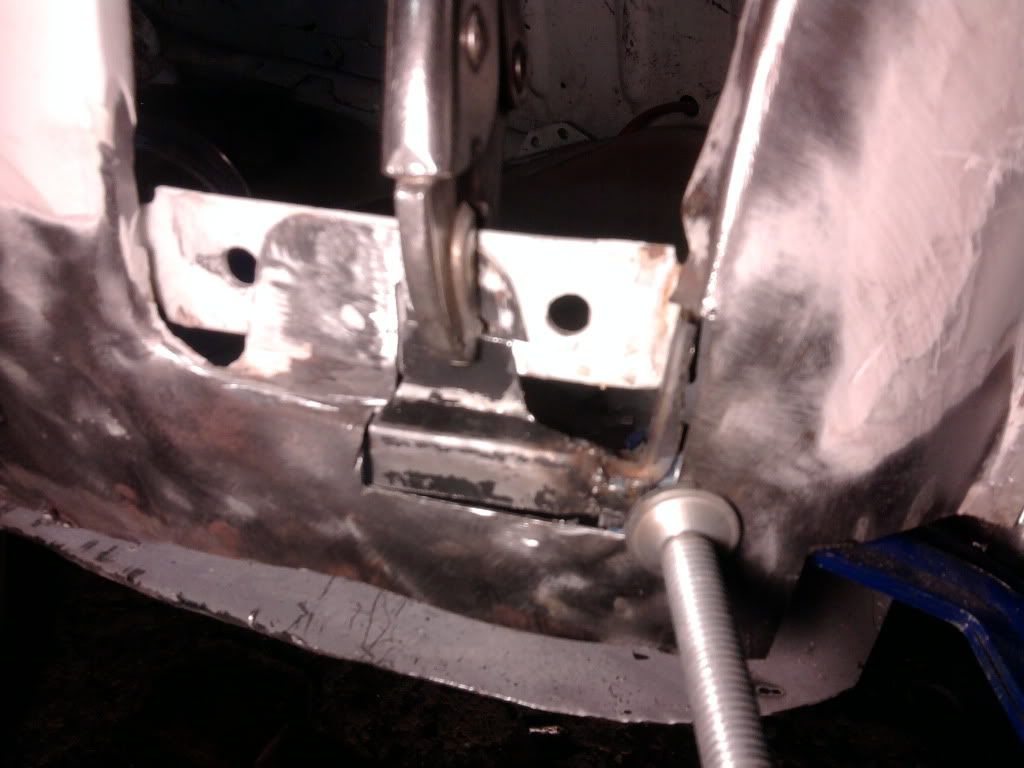
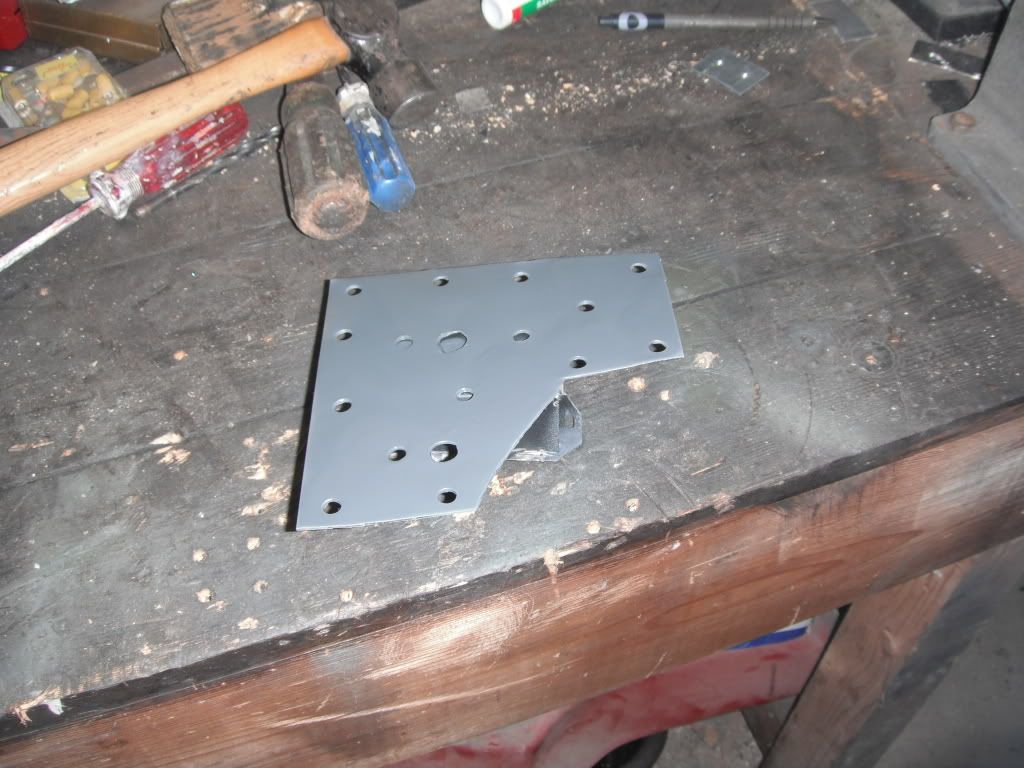
strengthener plates made
bacon break now and then another update later
Lawrence
made a start on the rear subframe mount strengthener panels
drivers side started out like this
now i thought that i had trimmed back to the end of the rust but i was wrong
so i had to remove the rest of the metal which took me ages
the other side is alot better so shouldt take long
strengthener plates made
bacon break now and then another update later
Lawrence
#80
lawrence
-
- Members
-
- 1,341 posts
One Carb Or Two?
Posted 18 October 2011 - 02:14 PM
(i have a problem with photobucket  so will check this when i get back from work and hopfully it will have pictures then)
so then, my internets was playing up yeaterday so this is two days of updates
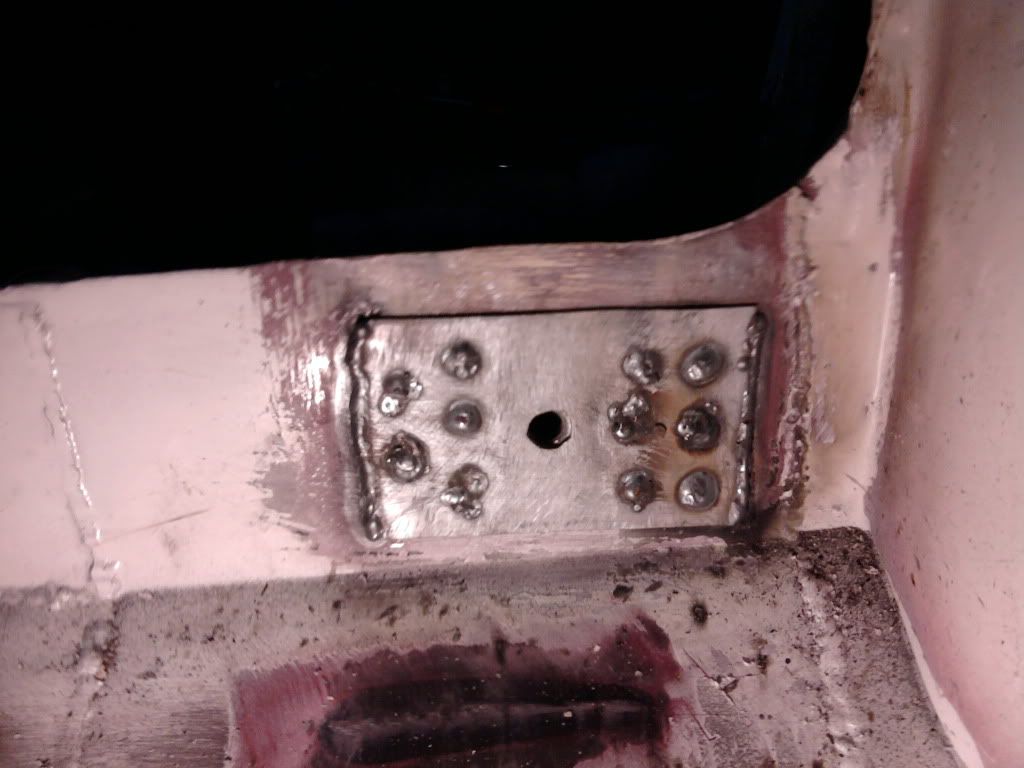
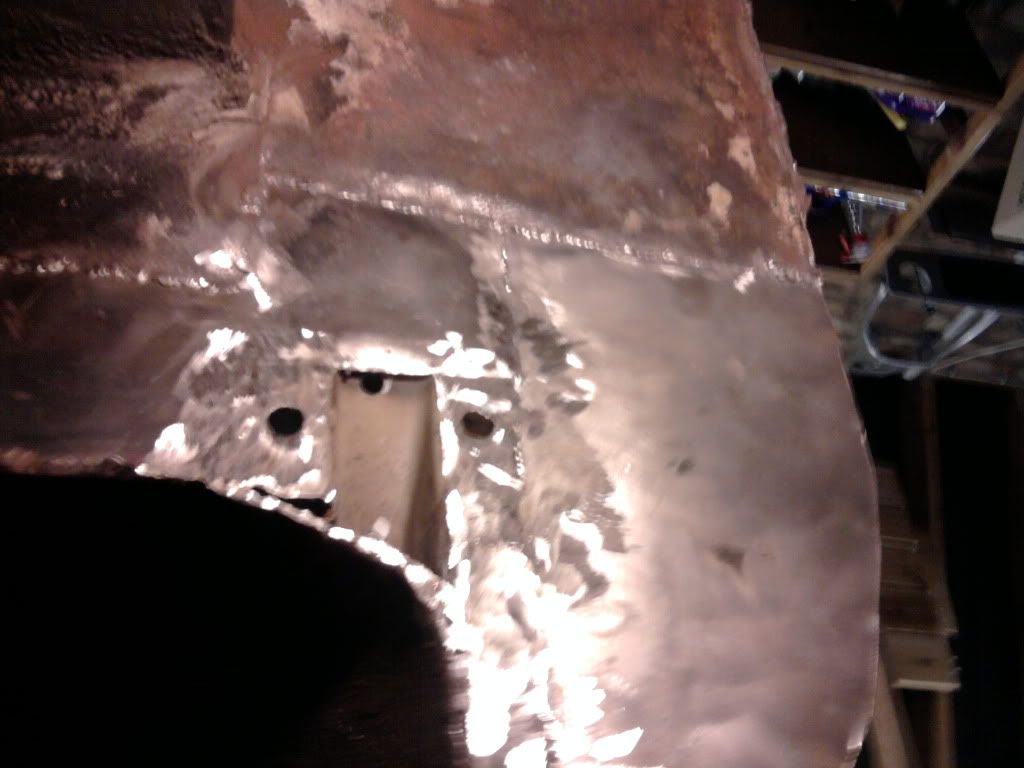
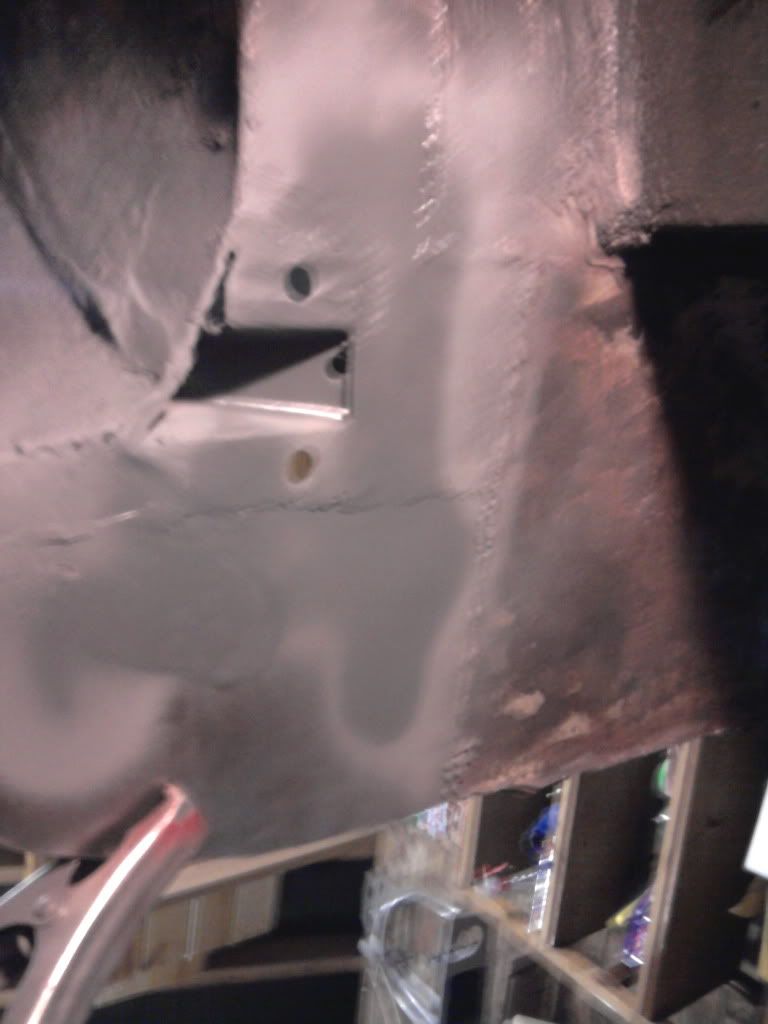
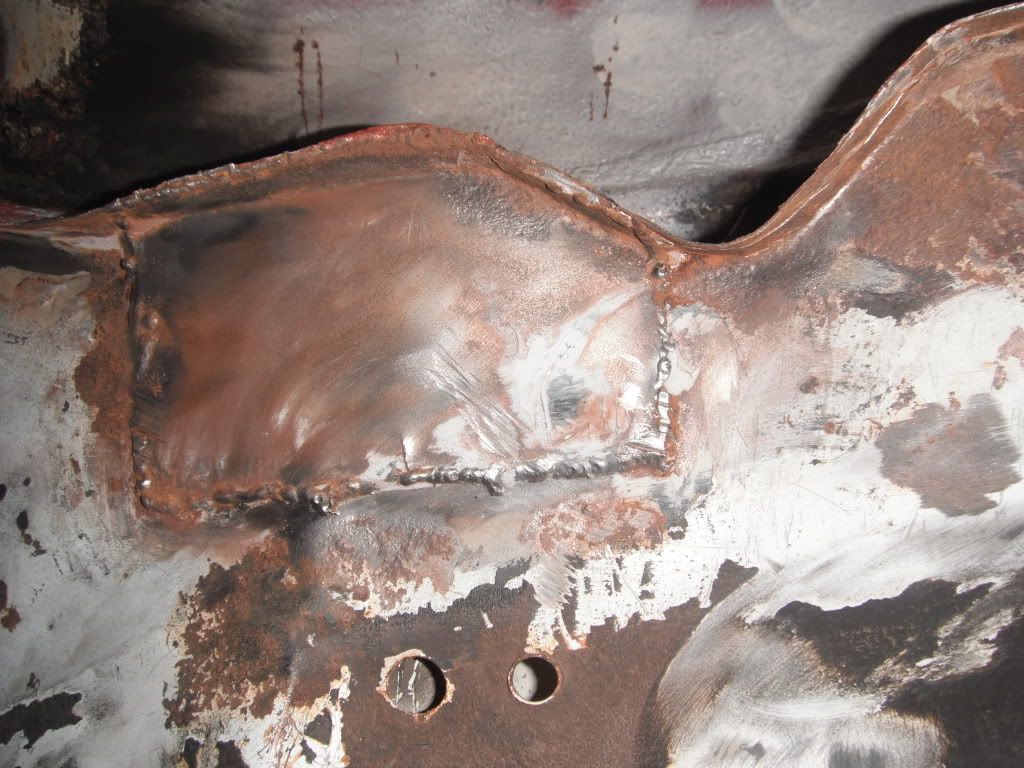
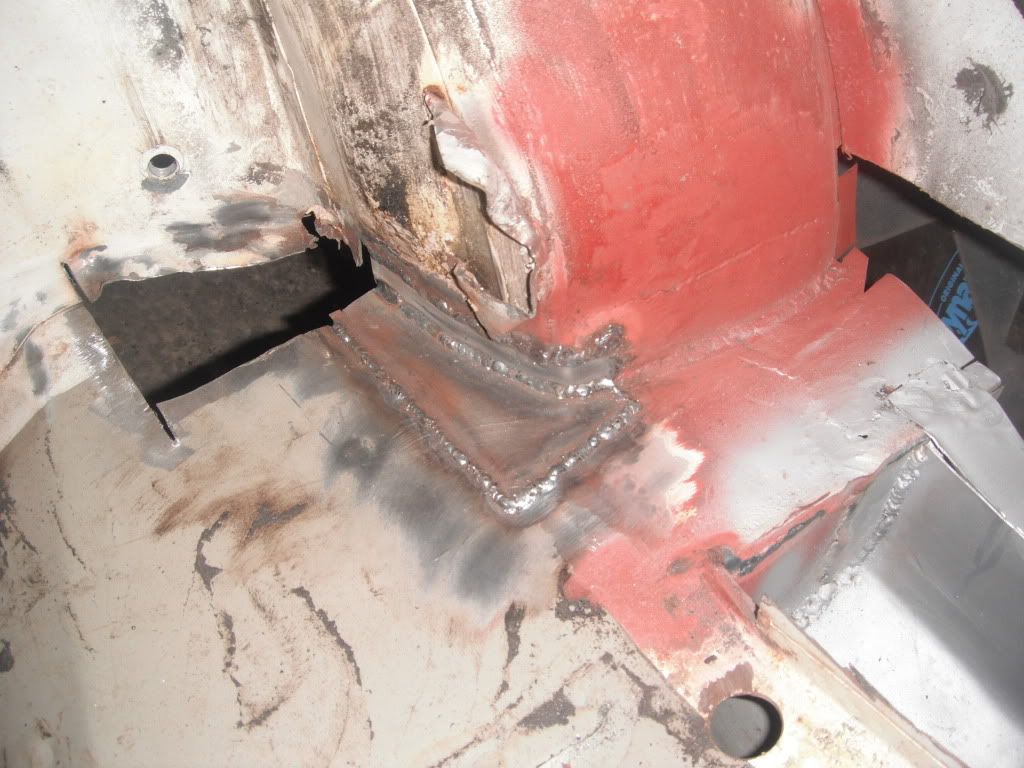
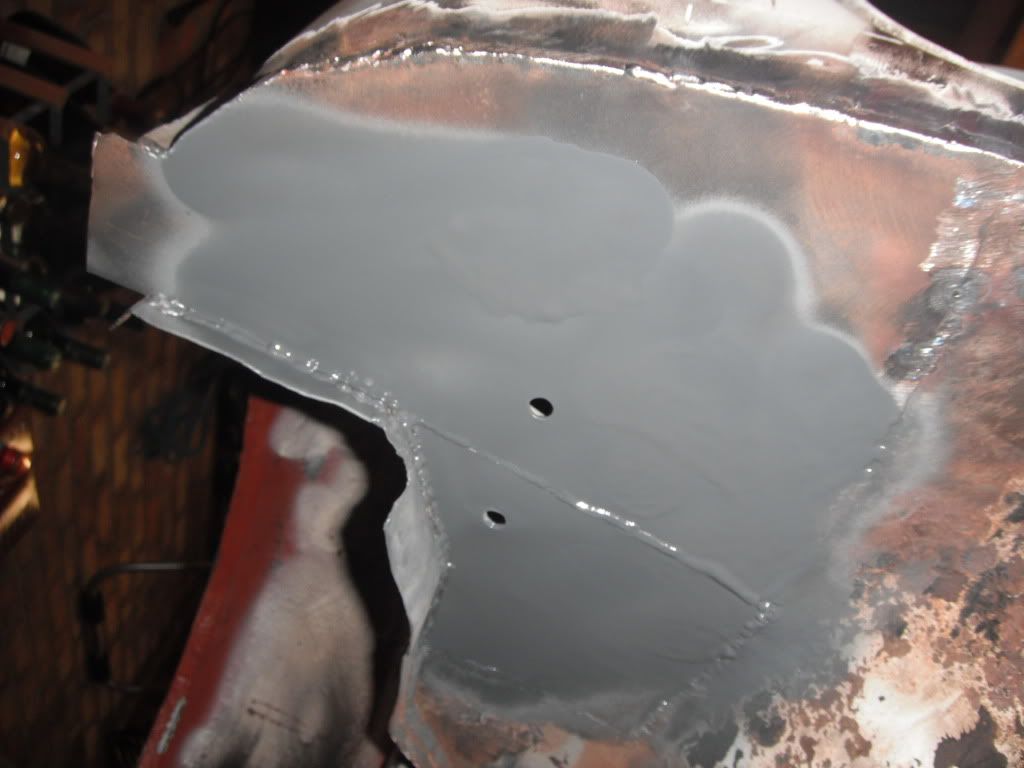
zinc primered the strengthener plate
zinc primered where it goes
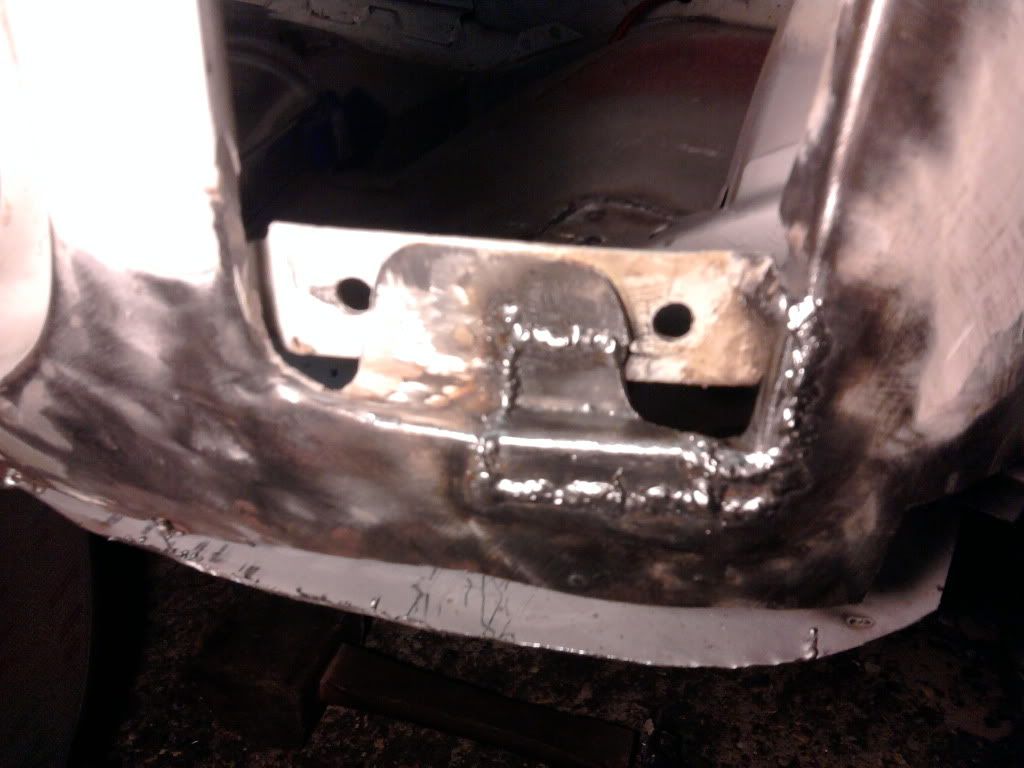
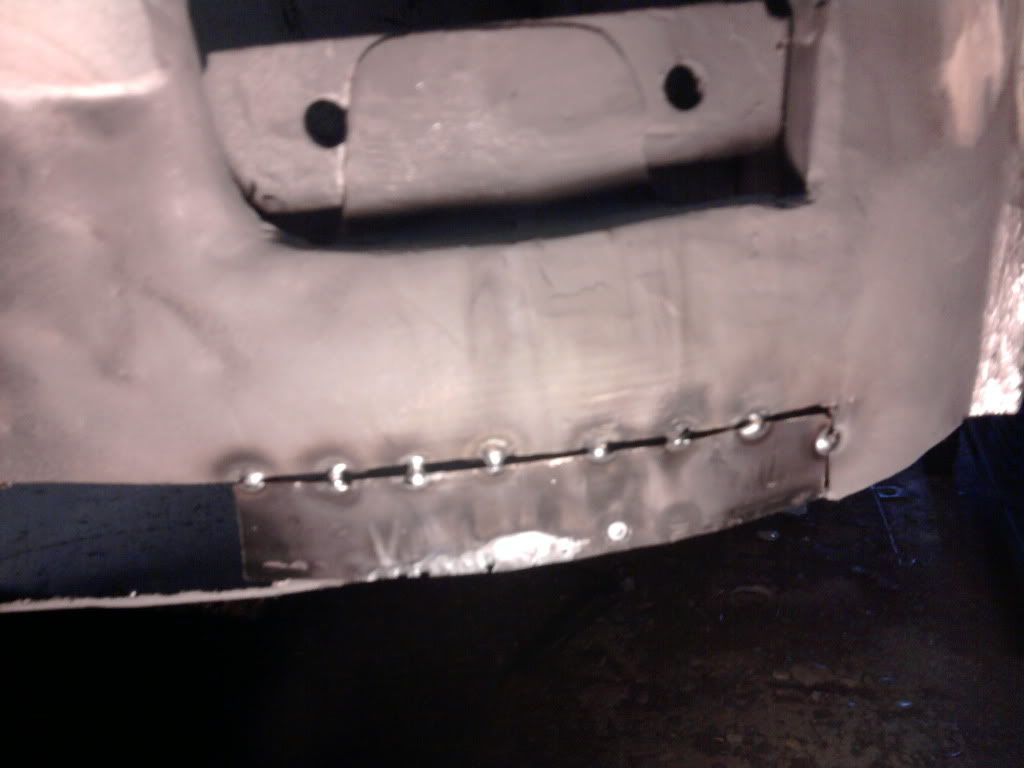
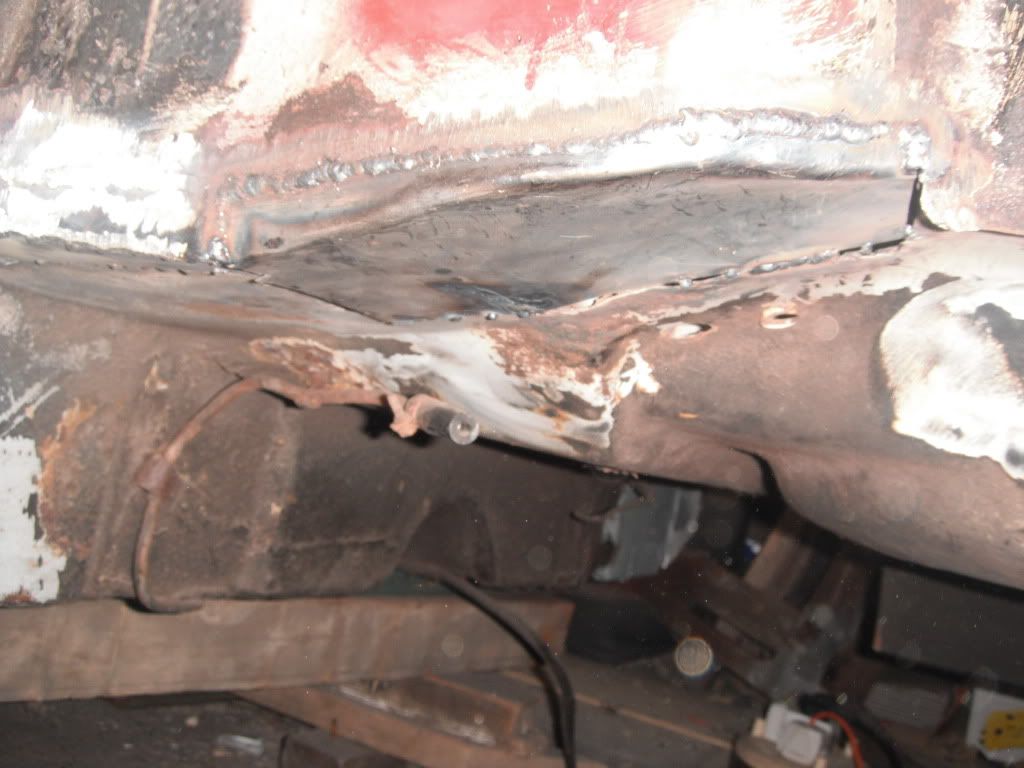
plug welded on and seam welded round the edges for strength, my welding updside down is getting better
lots of nice penertration inside
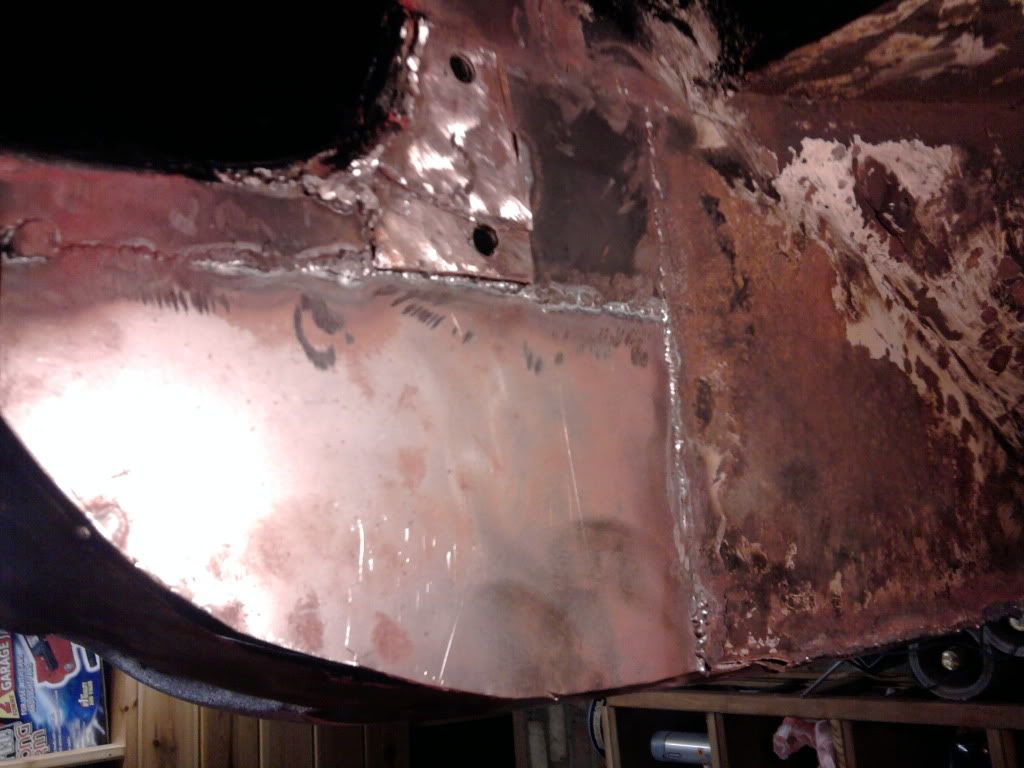
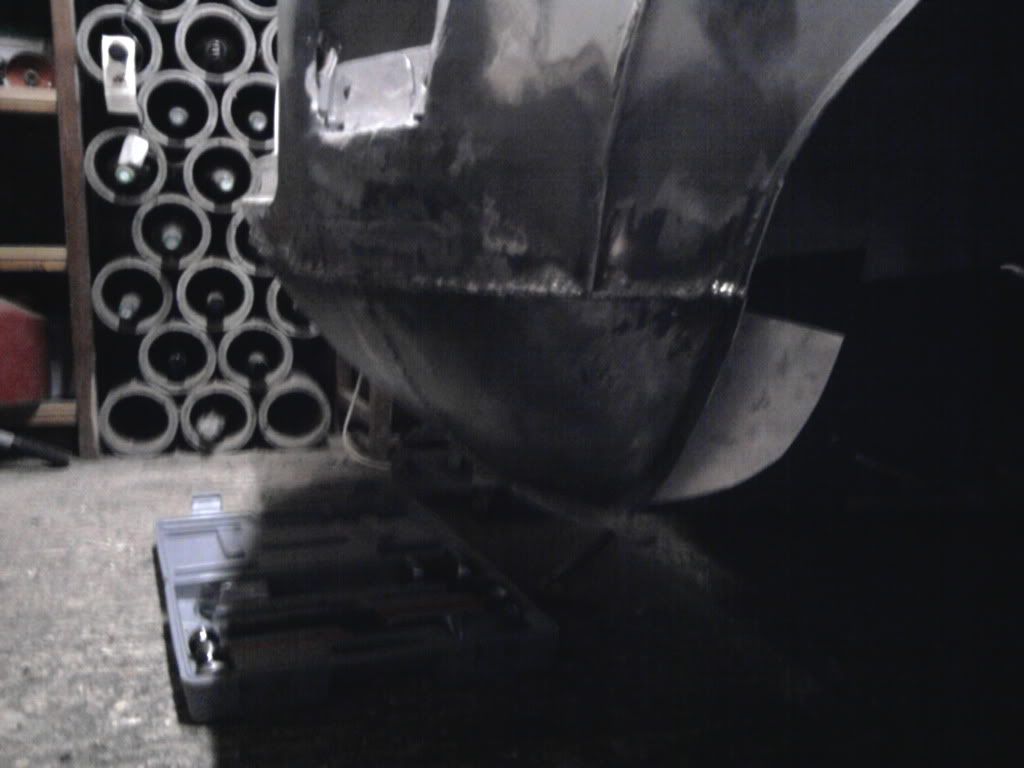
now moving onto the back panel
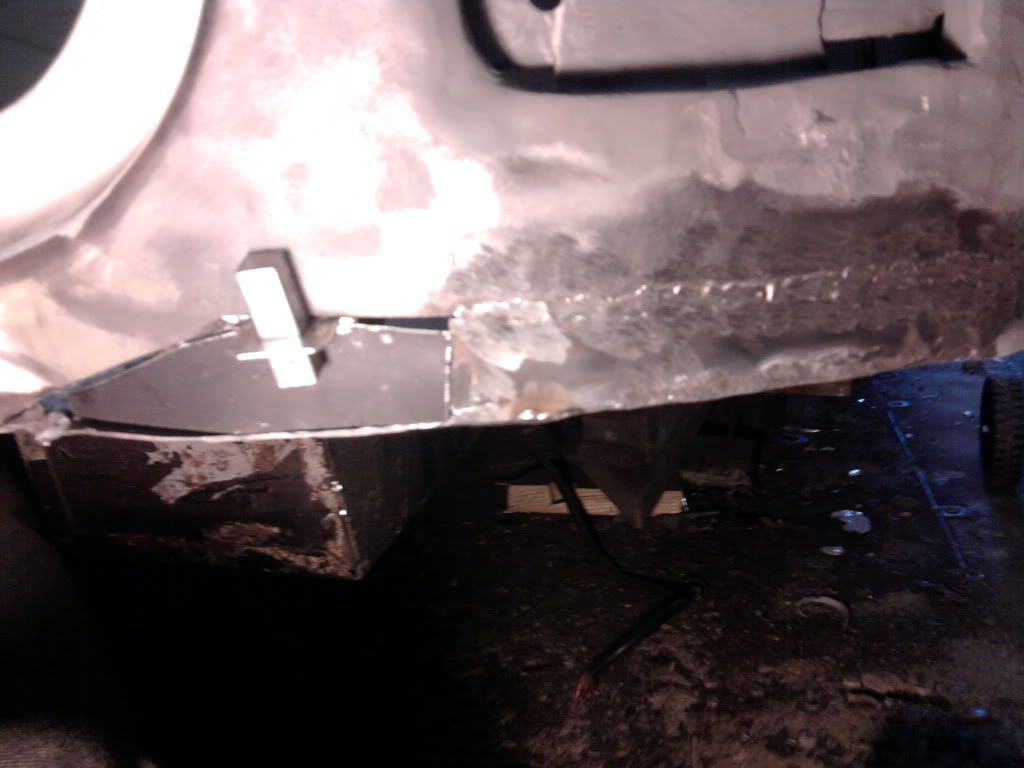
there was a crack in the light mount and i went to weld it up but it was lovely and crusty and kept blowing thourugh. this area was covered in filler so i assume before i got the car she had had a shunt
crusty area cut out
tricky panel made
welded in
ground down, doesnt look to bad and but is alot stronger than before
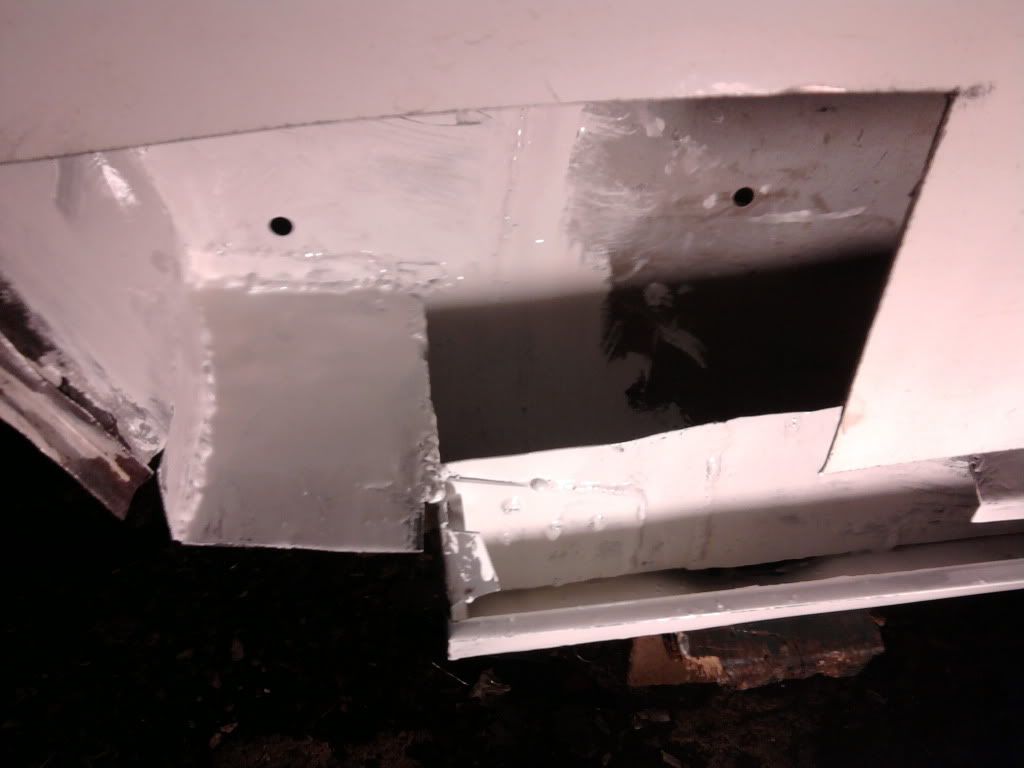
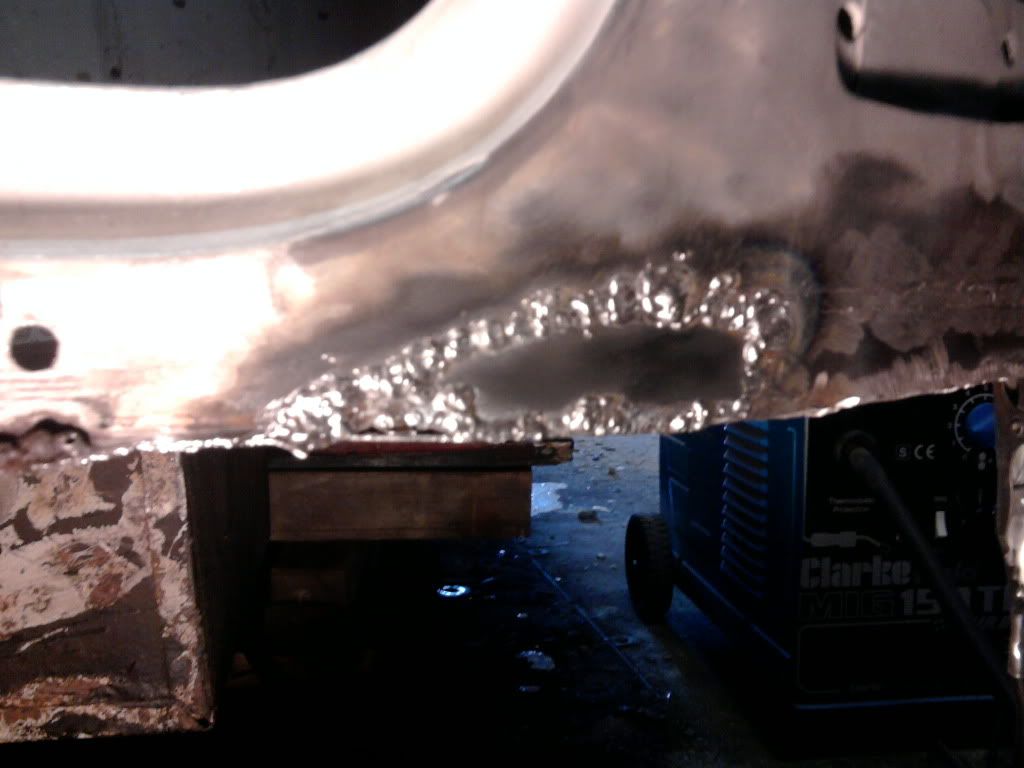
moving onto the corner bit
crusty section cut out
panel made and partly welded in
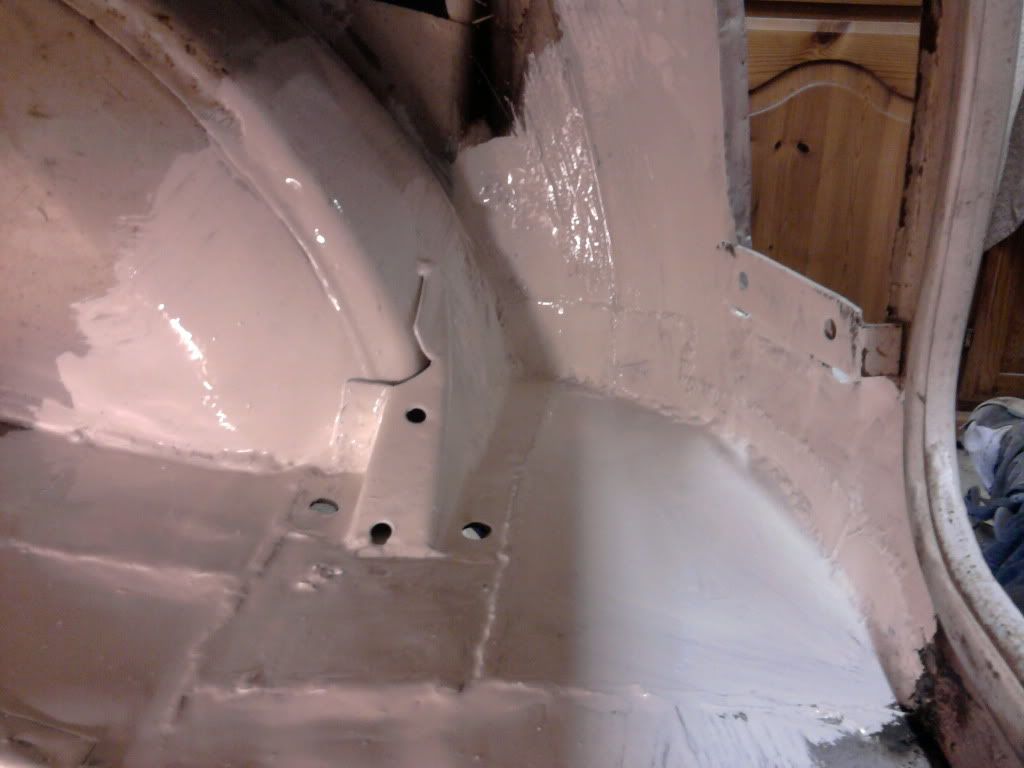
and ground down and primed
next piece made, the bottom of the light was a bit crusty so i decided to add a few patches to make a stronger job
held in
tacked in
and ground down with the next patch held in
next patch welded in, it is also ground down but no pics im afraid
inside corner of boot is now all painted too
due to my rear valance being a pattern part ive had to cut it in half to get a good fit
so my plan of action is to make a closing panel for the drivers side and fit the drivers half of the valance
then ill be turning the old girl round to do the other side easier!
hope you like, comments are always nice!
Lawrence
so will check this when i get back from work and hopfully it will have pictures then)so then, my internets was playing up yeaterday so this is two days of updates
zinc primered the strengthener plate
zinc primered where it goes
plug welded on and seam welded round the edges for strength, my welding updside down is getting better
lots of nice penertration inside
now moving onto the back panel
there was a crack in the light mount and i went to weld it up but it was lovely and crusty and kept blowing thourugh. this area was covered in filler so i assume before i got the car she had had a shunt
crusty area cut out
tricky panel made
welded in
ground down, doesnt look to bad and but is alot stronger than before
moving onto the corner bit
crusty section cut out
panel made and partly welded in
and ground down and primed
next piece made, the bottom of the light was a bit crusty so i decided to add a few patches to make a stronger job
held in
tacked in
and ground down with the next patch held in
next patch welded in, it is also ground down but no pics im afraid
inside corner of boot is now all painted too
due to my rear valance being a pattern part ive had to cut it in half to get a good fit
so my plan of action is to make a closing panel for the drivers side and fit the drivers half of the valance
then ill be turning the old girl round to do the other side easier!
hope you like, comments are always nice!
Lawrence
Edited by lawrence, 18 October 2011 - 02:15 PM.
#81
lawrence
-
- Members
-
- 1,341 posts
One Carb Or Two?
Posted 19 October 2011 - 02:54 PM
so then, my internets was playing up yesterday so this was 2 days ago`s work!
zinc primered the strengthener plate
zinc primered where it goes
plug welded on and seam welded round the edges for strength, my welding updside down is getting better
lots of nice penetration inside
now moving onto the back panel
there was a crack in the light mount and i went to weld it up but it was lovely and crusty and kept blowing thourugh. this area was covered in filler so i assume before i got the car she had had a shunt
crusty area cut out
tricky panel made
welded in
ground down, doesnt look to bad and but is alot stronger than before
moving onto the corner bit
crusty section cut out
panel made and partly welded in
and ground down and primed
next piece made, the bottom of the light was a bit crusty so i decided to add a few patches to make a stronger job
held in
tacked in
and ground down with the next patch held in
next patch welded in, it is also ground down but no other pics im afraid
inside corner of boot is now all painted too
due to my rear valance being a pattern part ive had to cut it in half to get a good fit
so my plan of action is to make a closing panel for the drivers side and fit the drivers half of the valance
then ill be turning the old girl round to do the other side easier!
hope you like, comments are always nice!
Lawrence
#82
lawrence
-
- Members
-
- 1,341 posts
One Carb Or Two?
Posted 19 October 2011 - 07:27 PM
and now onto todays update!
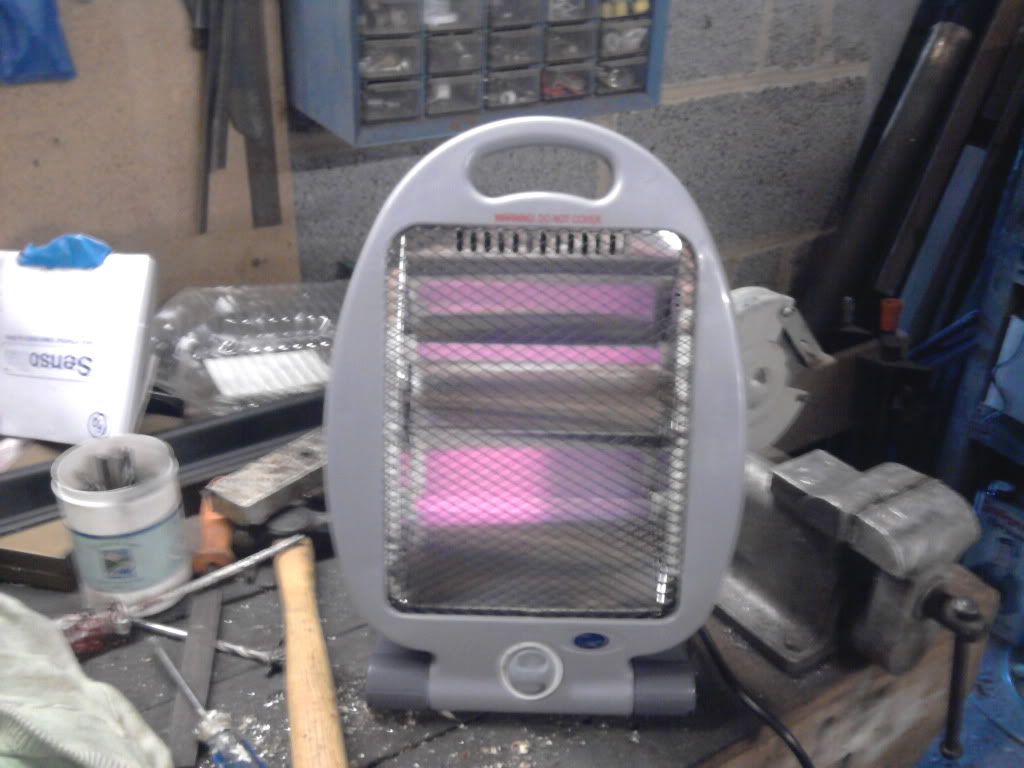
went shoppinh for gas and got a heater too! and a light
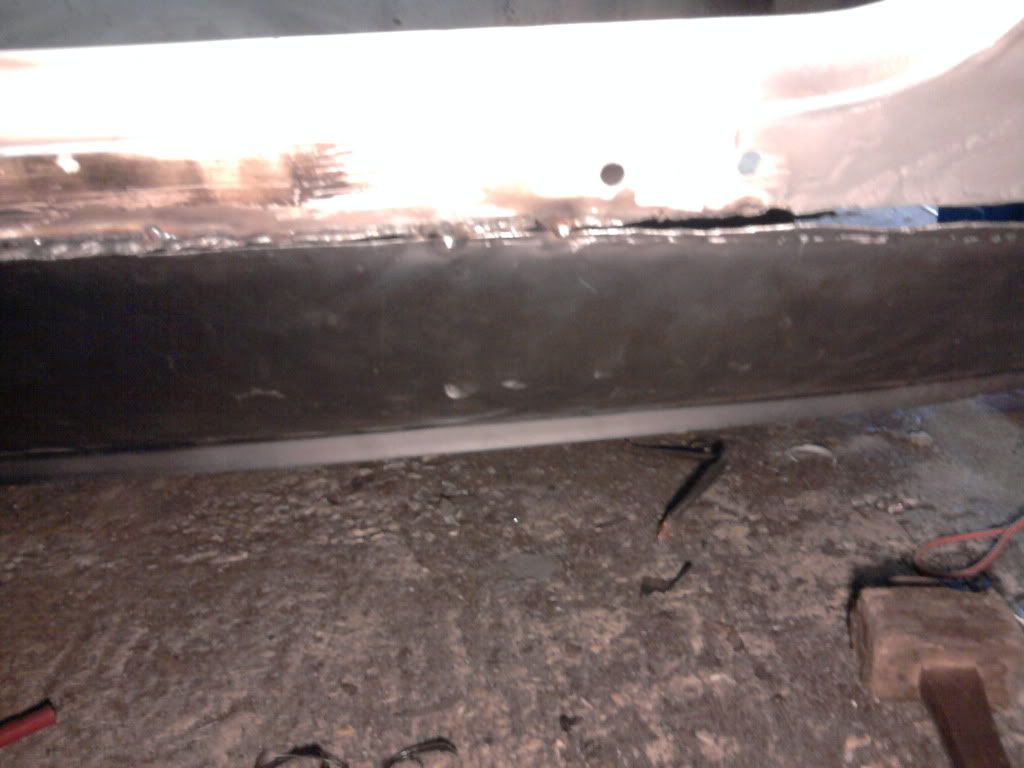
this is how it ended yesterday
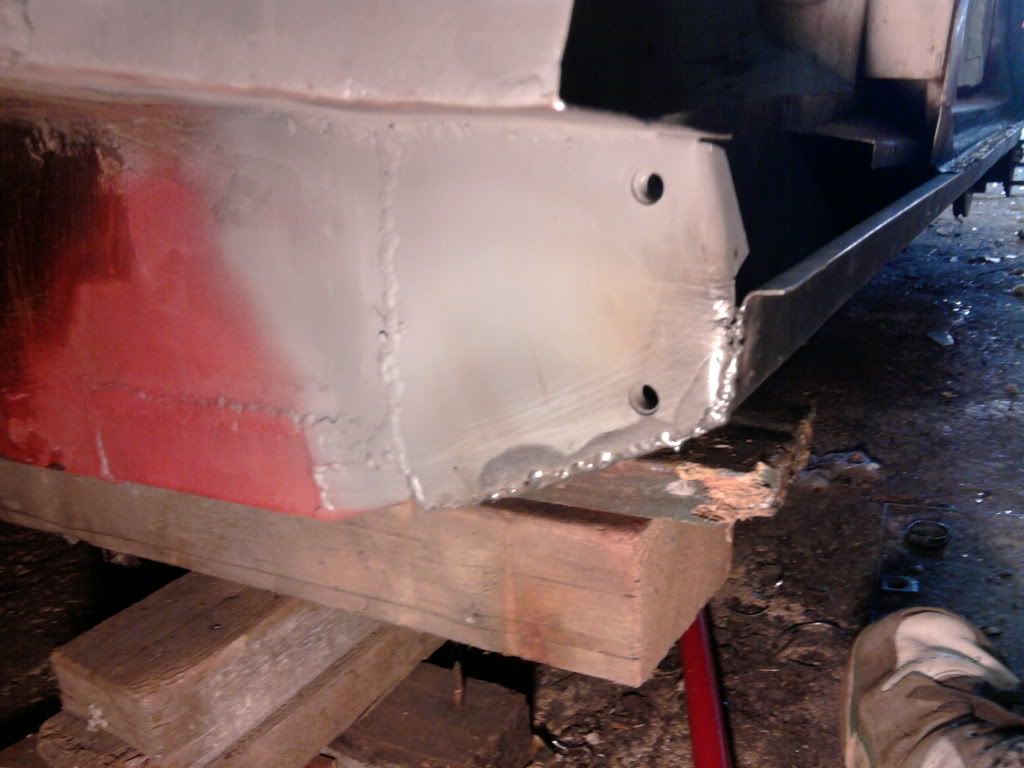
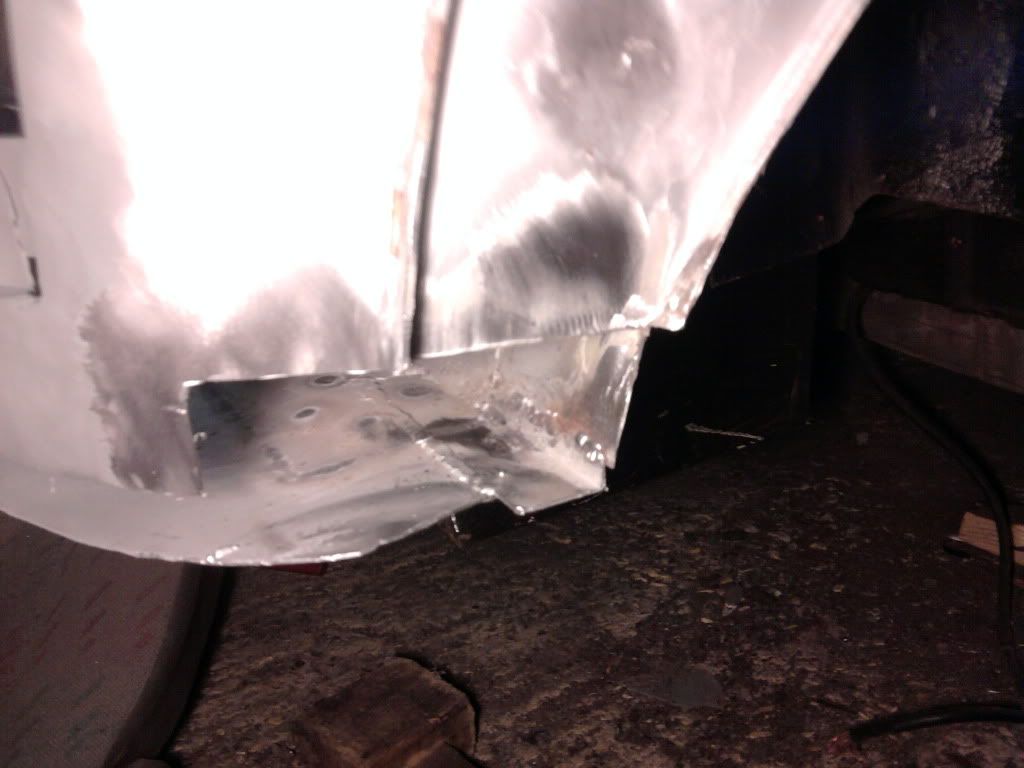
valance been trimmed and getting tacked in place
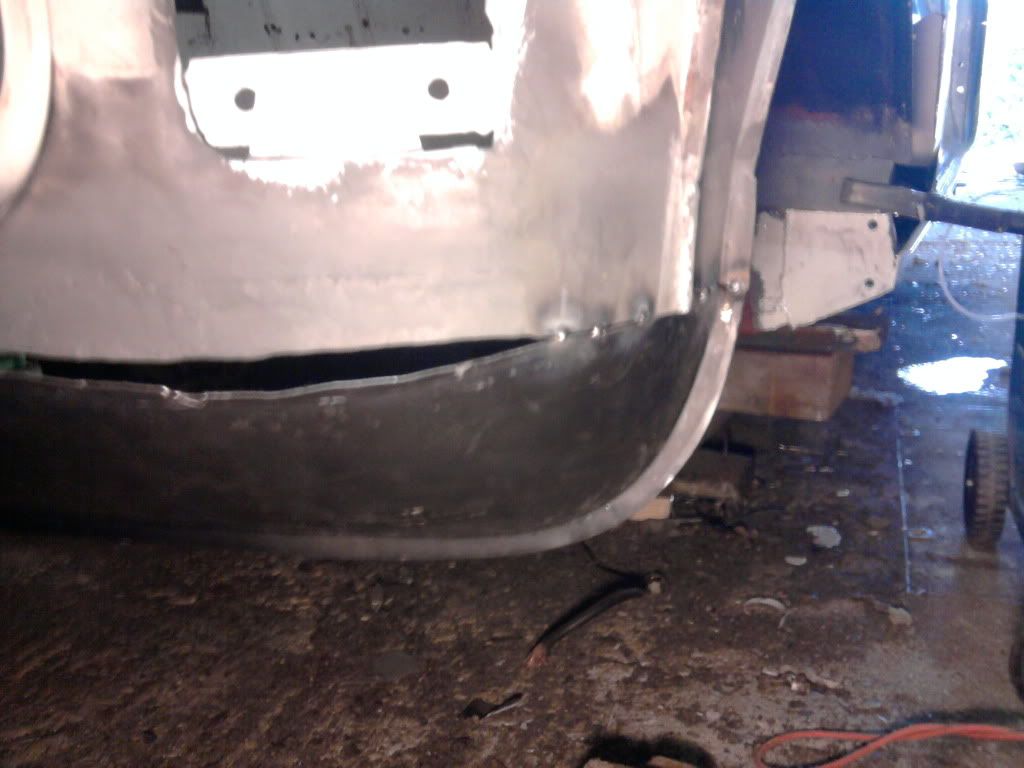
small problem with the fit!
welded some more
and problem solved
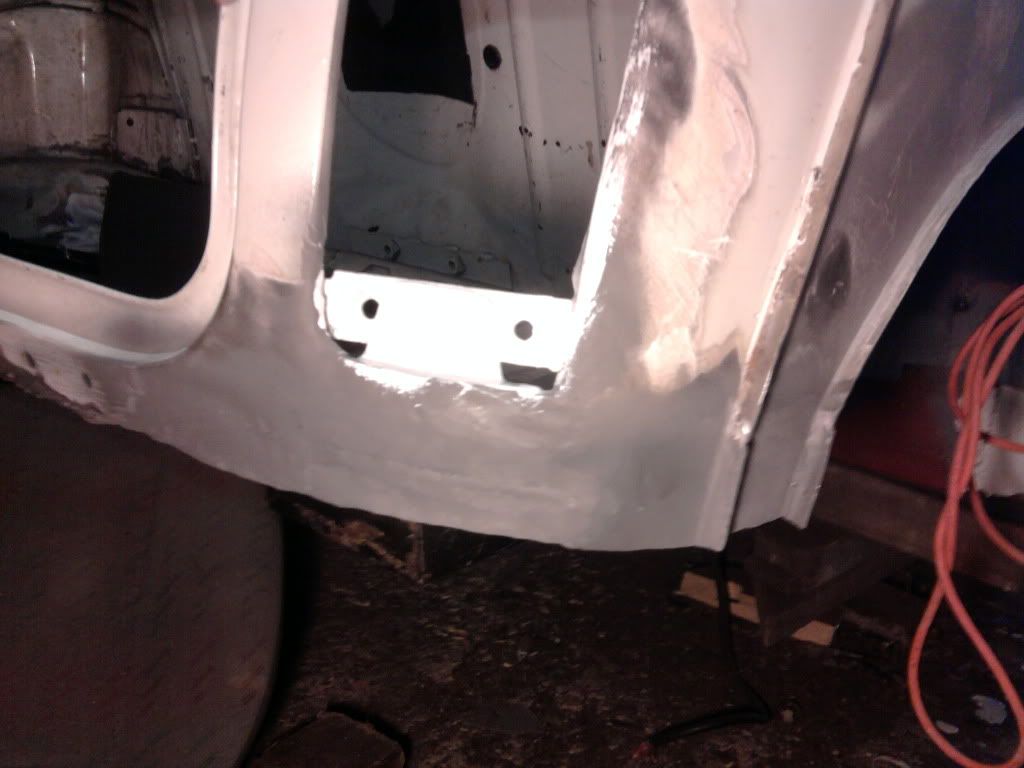
Fully welded on
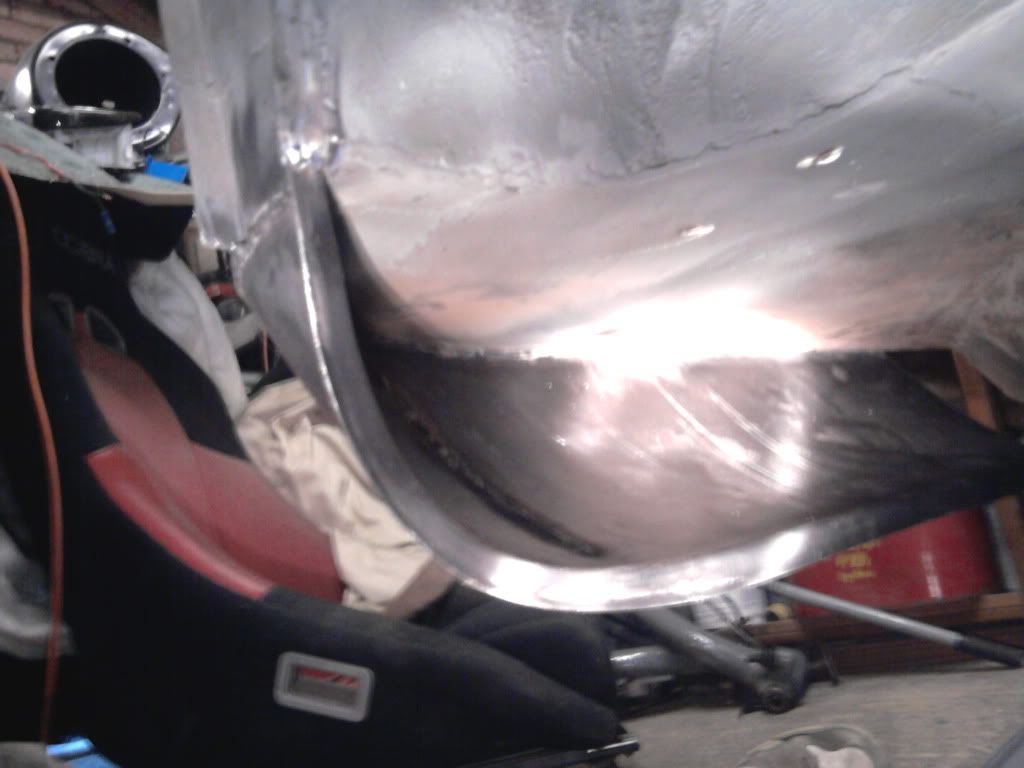
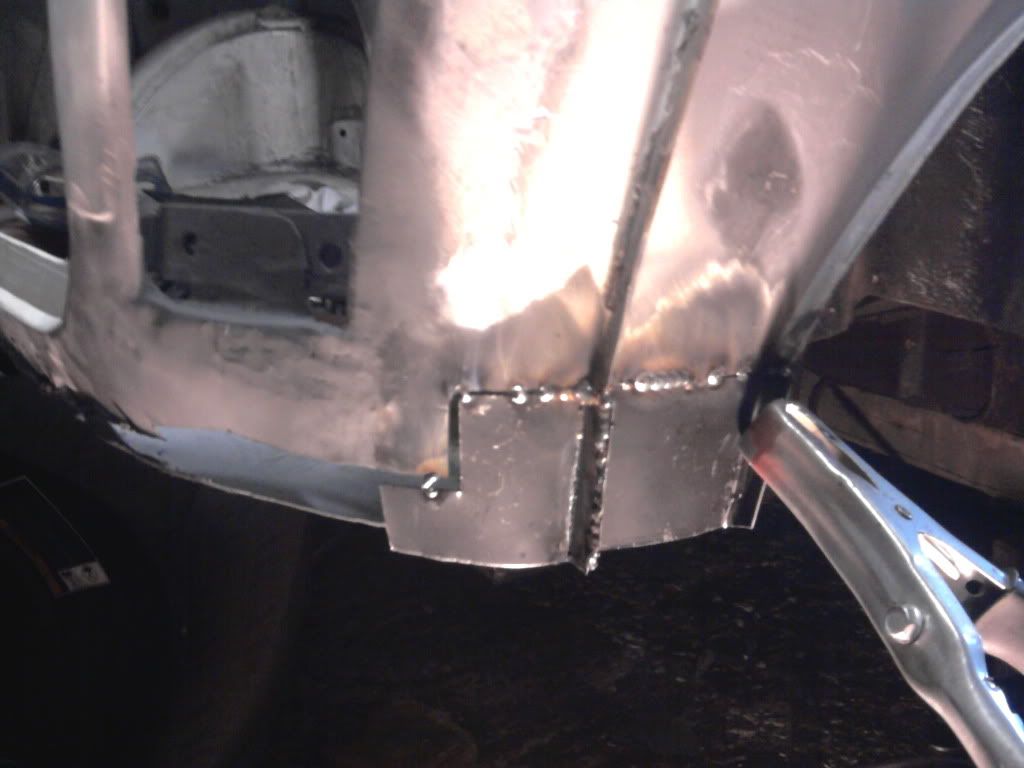
starting to make my closing panel
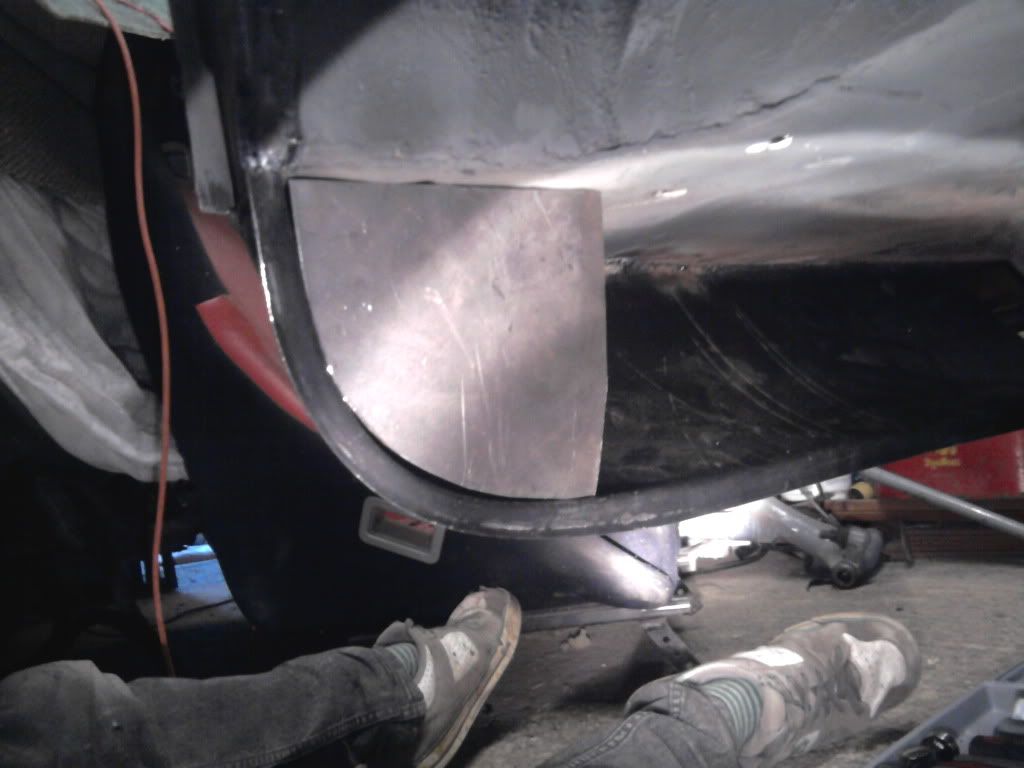
tacked in

partly welded
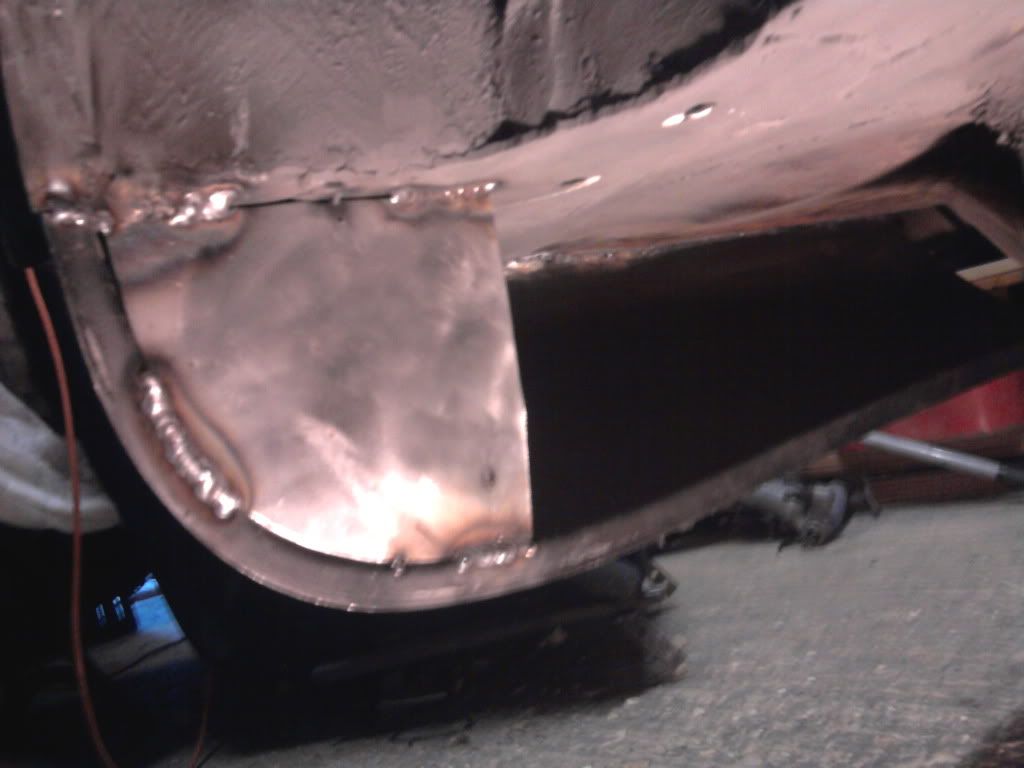
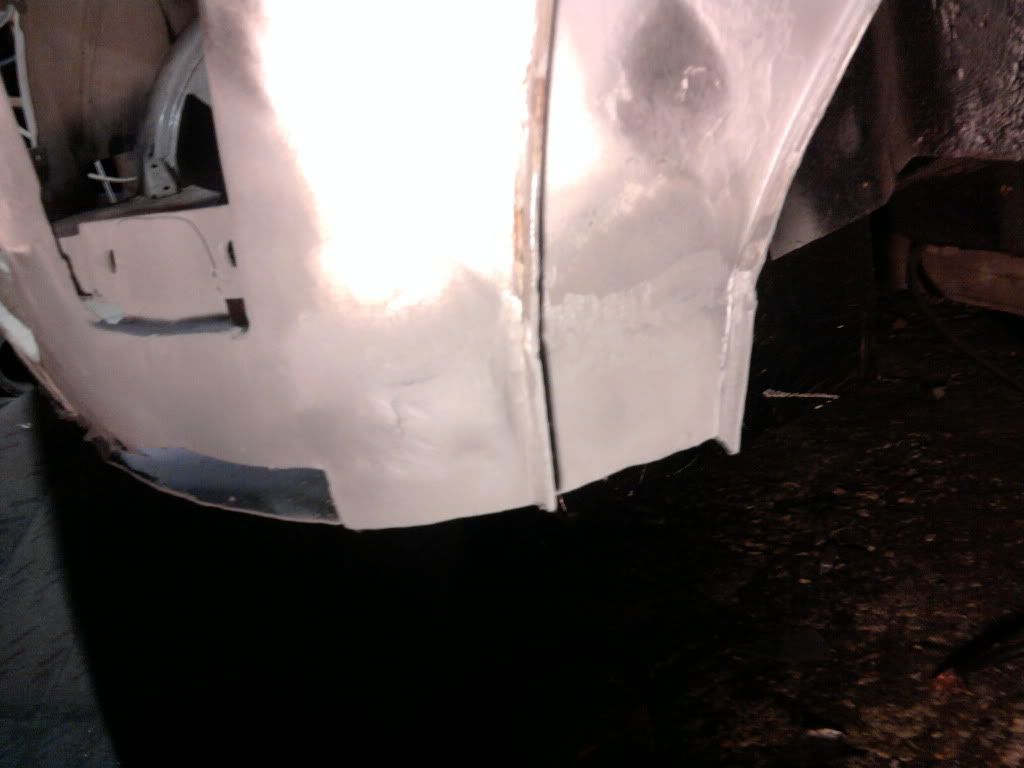
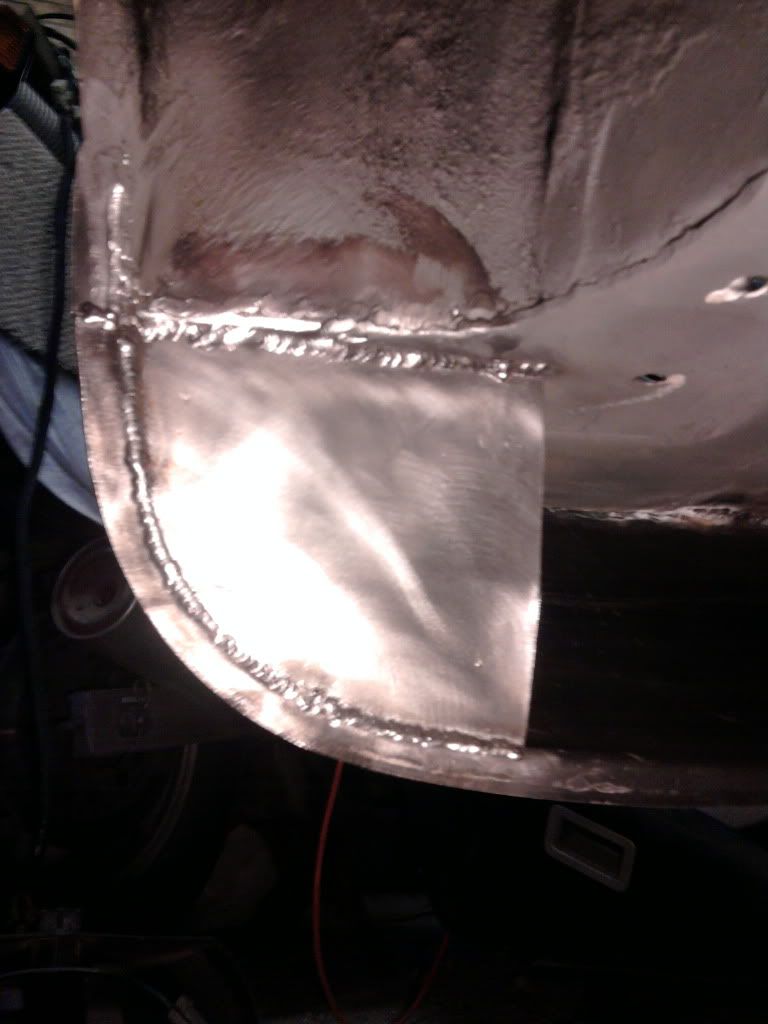
full welded
painted
hope you like this update
more tommorow
lawrence
went shoppinh for gas and got a heater too! and a light
this is how it ended yesterday
valance been trimmed and getting tacked in place
small problem with the fit!
welded some more
and problem solved
Fully welded on
starting to make my closing panel
tacked in
partly welded
full welded
painted
hope you like this update
more tommorow
lawrence
#83
lawrence
-
- Members
-
- 1,341 posts
One Carb Or Two?
Posted 20 October 2011 - 06:50 PM
so, onto the otherside of the boot today!
crispy plate that i had removed a few weeks ago
very little work to do in this corner compared with the other side
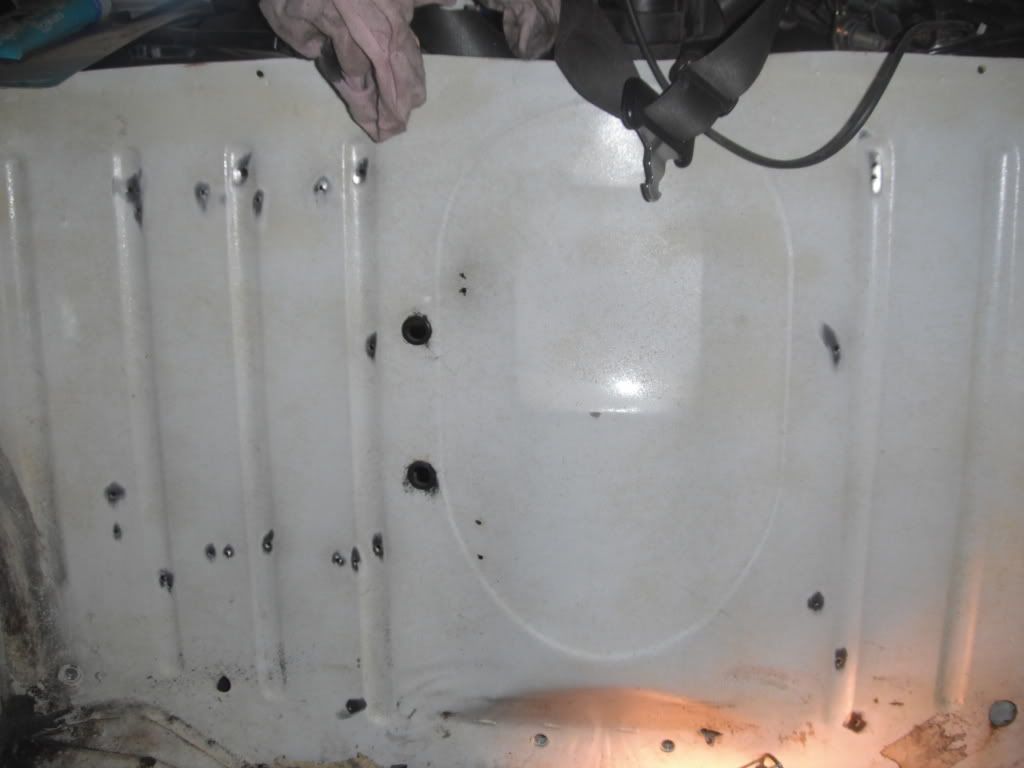
hole at the back that needs patching
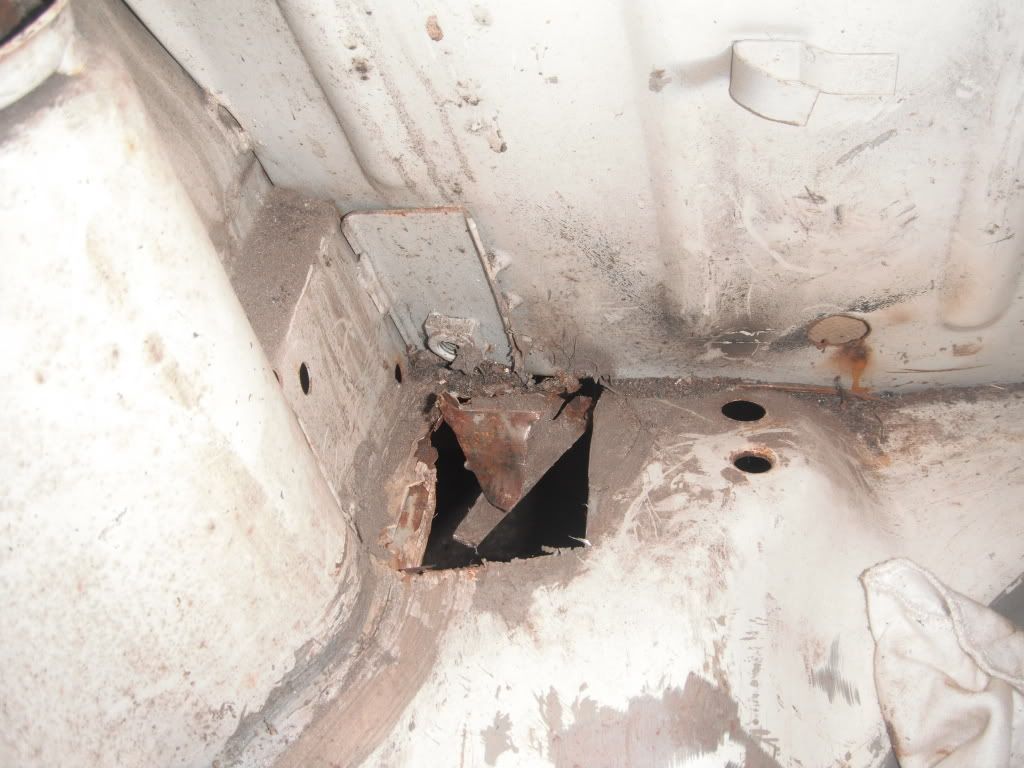
hole at the back of the boot extends to the rear seat base
Area cleaned up and trimmed ready for panels
all the holes on the rear seat clened up ready for welding up
welded up
panel made up for hole and held in
tacked in
fully welded
ground down
second part of the hole prepped for patch making tommorow
hope you all like this update, feel free to comment
Lawrence
crispy plate that i had removed a few weeks ago
very little work to do in this corner compared with the other side
hole at the back that needs patching
hole at the back of the boot extends to the rear seat base
Area cleaned up and trimmed ready for panels
all the holes on the rear seat clened up ready for welding up
welded up
panel made up for hole and held in
tacked in
fully welded
ground down
second part of the hole prepped for patch making tommorow
hope you all like this update, feel free to comment
Lawrence
#84
minimuk
-
- Members
-
- 1,947 posts
Camshaft & Stage Two Head
- Location: Midlands
Posted 20 October 2011 - 06:52 PM
are you on a mission or what,....ready before Xmass????
#85
lawrence
-
- Members
-
- 1,341 posts
One Carb Or Two?
Posted 20 October 2011 - 08:02 PM
yh i just missed driving her, so want everything done by before march next year! should be easy i hope:)
#86
minimuk
-
- Members
-
- 1,947 posts
Camshaft & Stage Two Head
- Location: Midlands
Posted 20 October 2011 - 08:21 PM
optimism, love it, make sure you measure now and then any angles and lenght here and there., have you trial fit the bootlid and doors yet? Bonnet etc?
#87
lawrence
-
- Members
-
- 1,341 posts
One Carb Or Two?
Posted 21 October 2011 - 06:34 PM
yh most of my measurments were taken if needed, cant say ive refitted to boot lid tho. may do that tommorow. drivers door is fine and bonnet is fiberglass so the gaps will never be perfect.
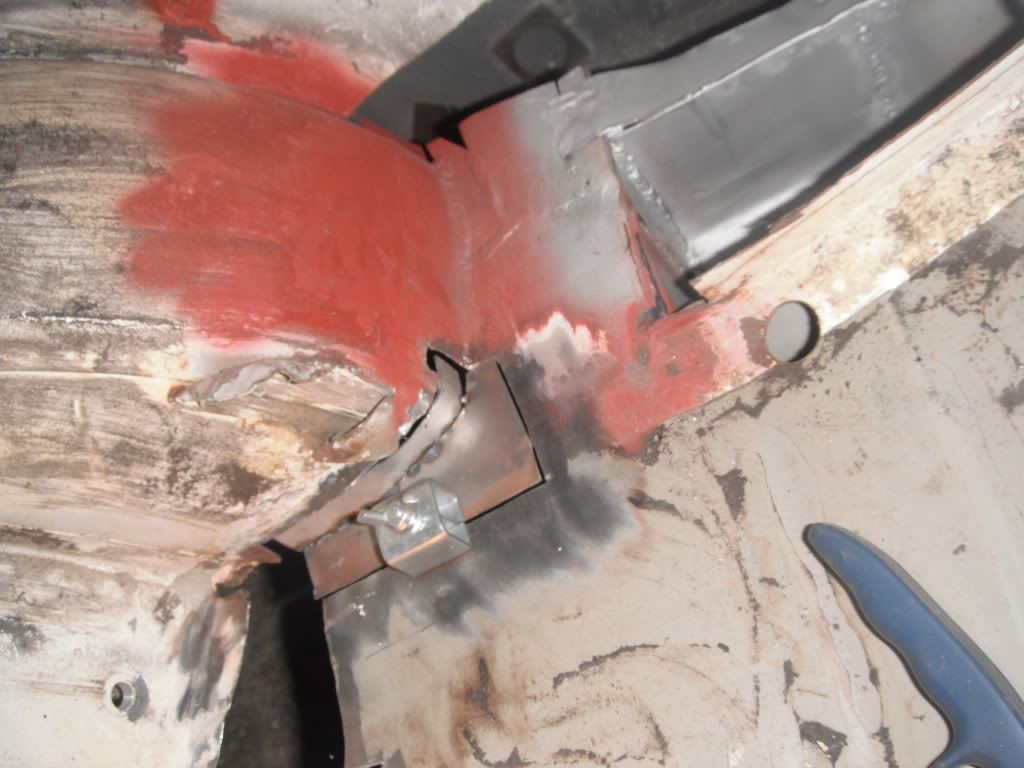
anyhow update from today
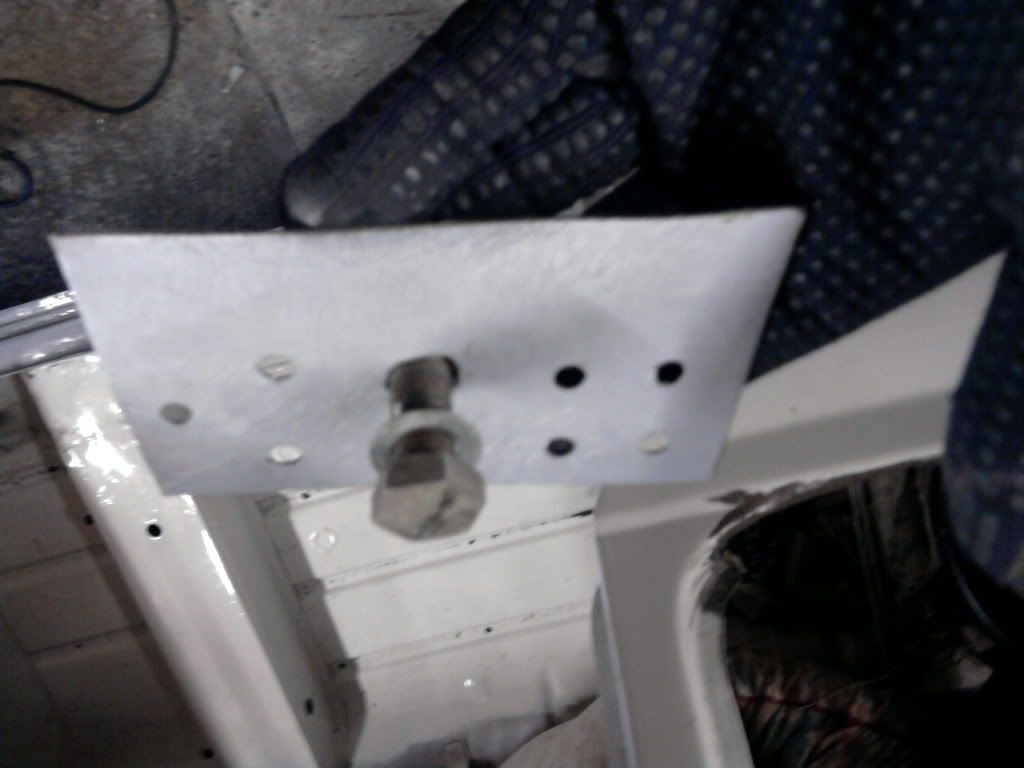
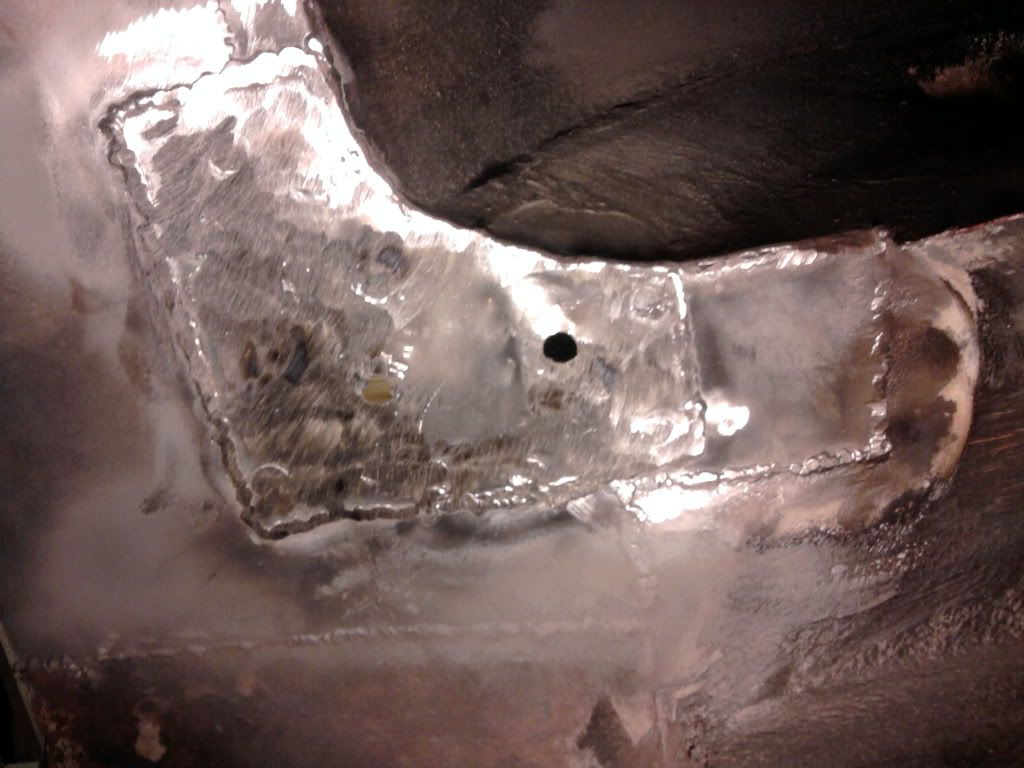
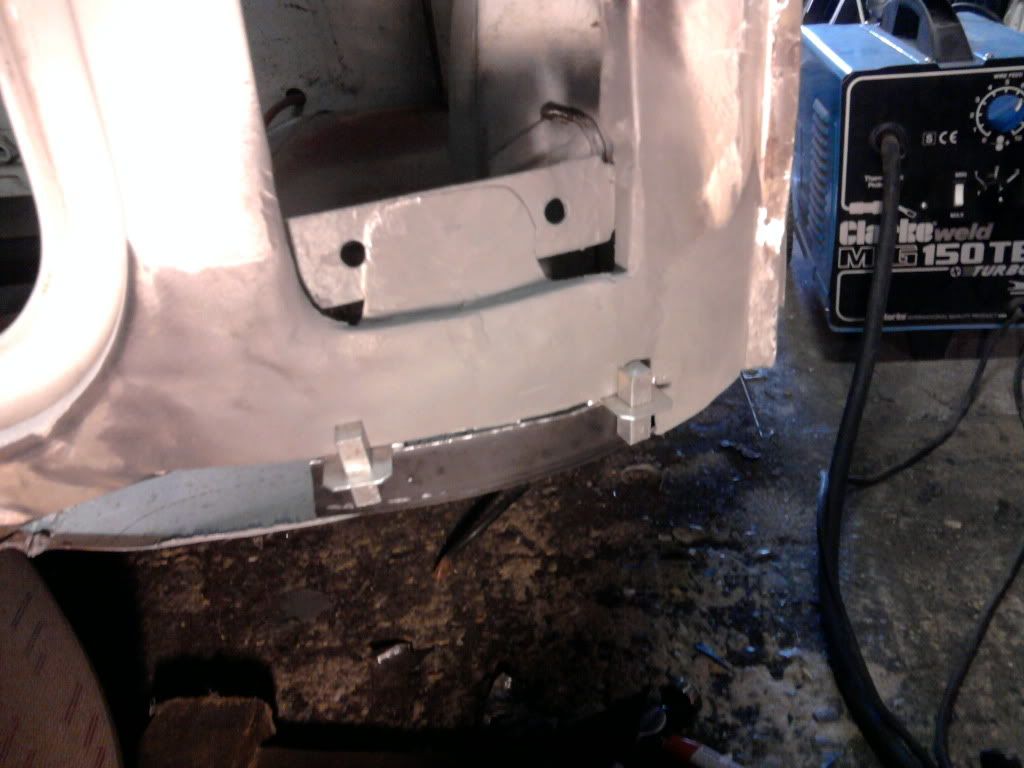
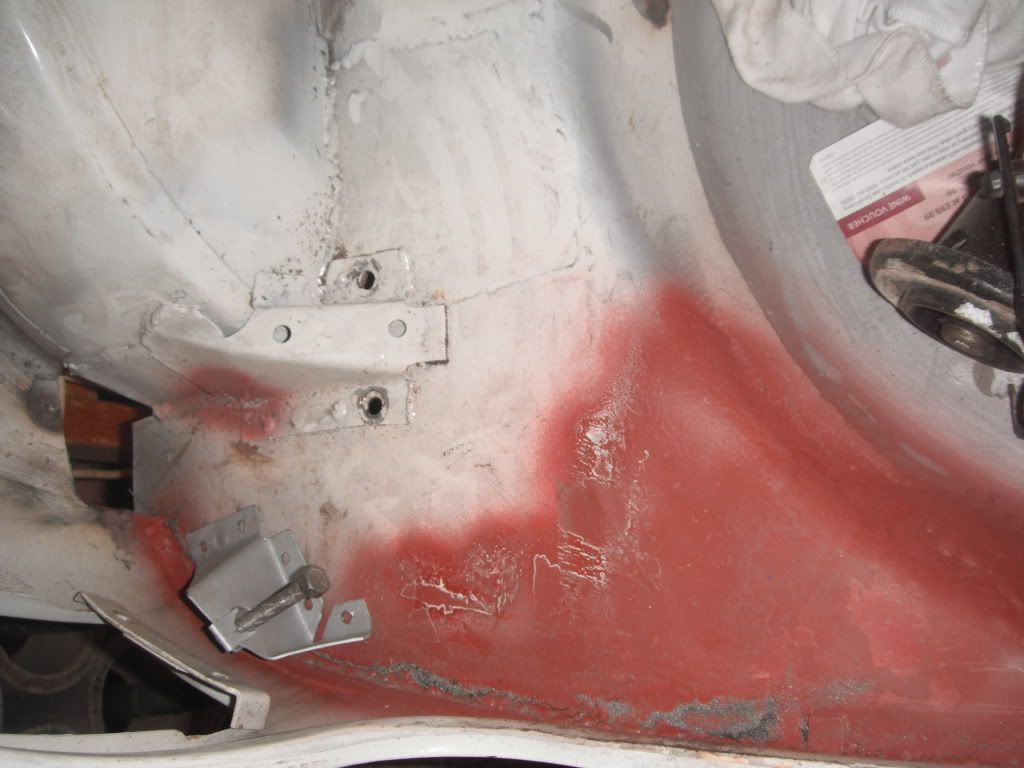
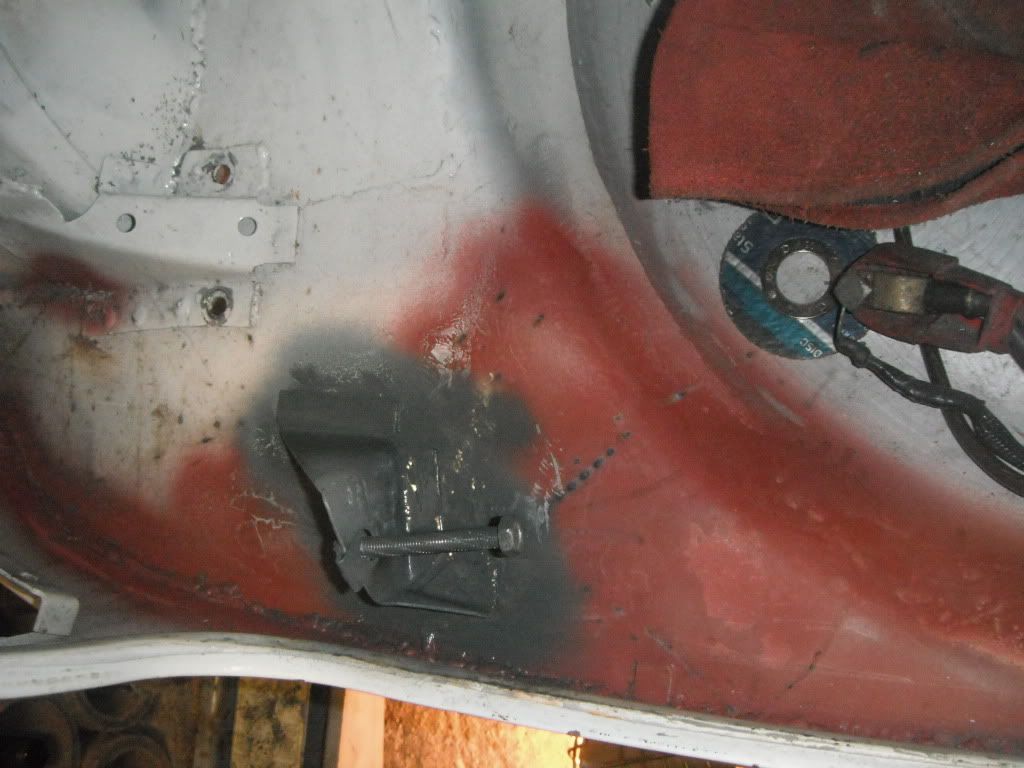
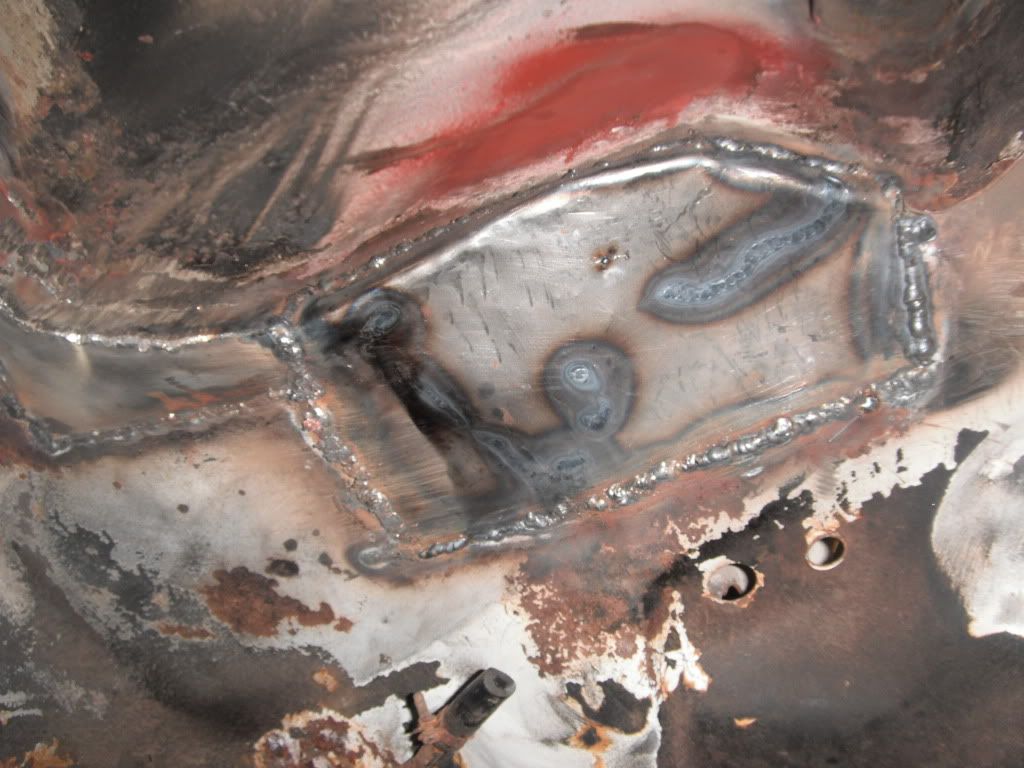
found my fuel tank bracket after a while of looking, was all prepped to be welding which is a nice surprise
sited it
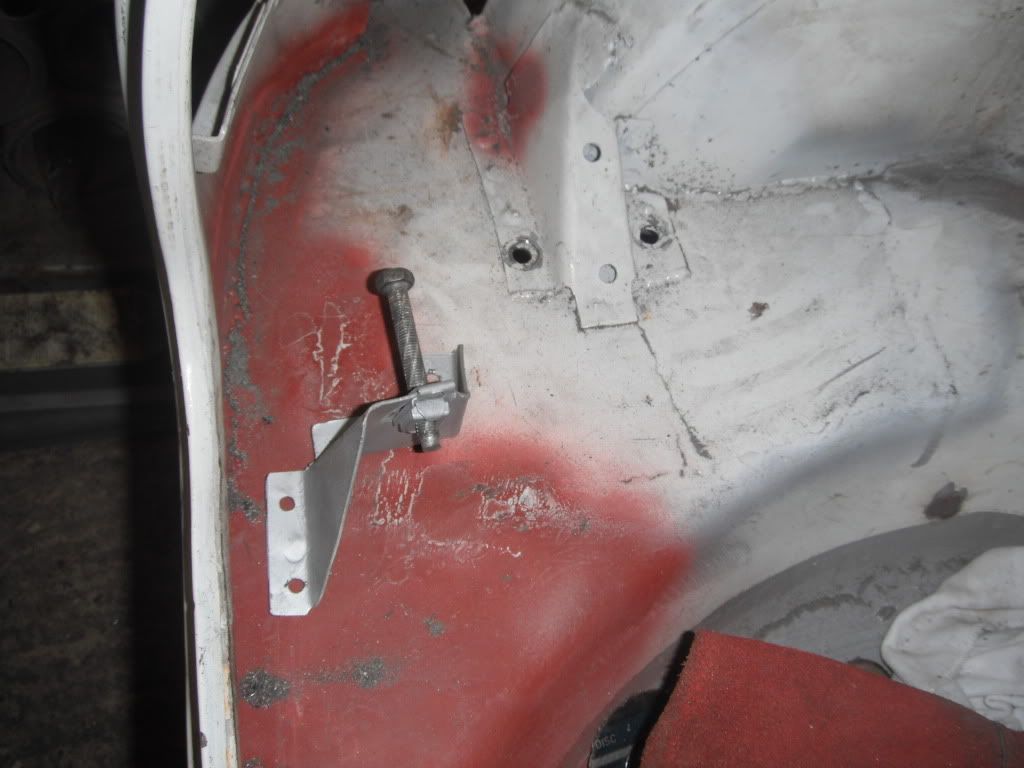
welded, ground down and primed
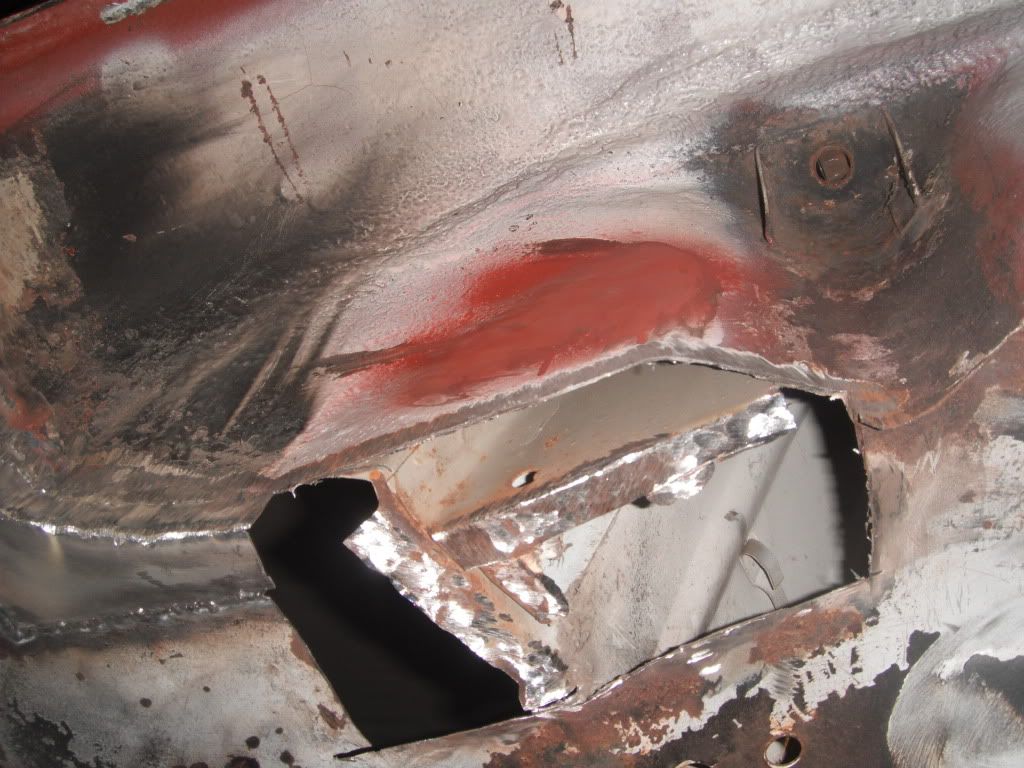
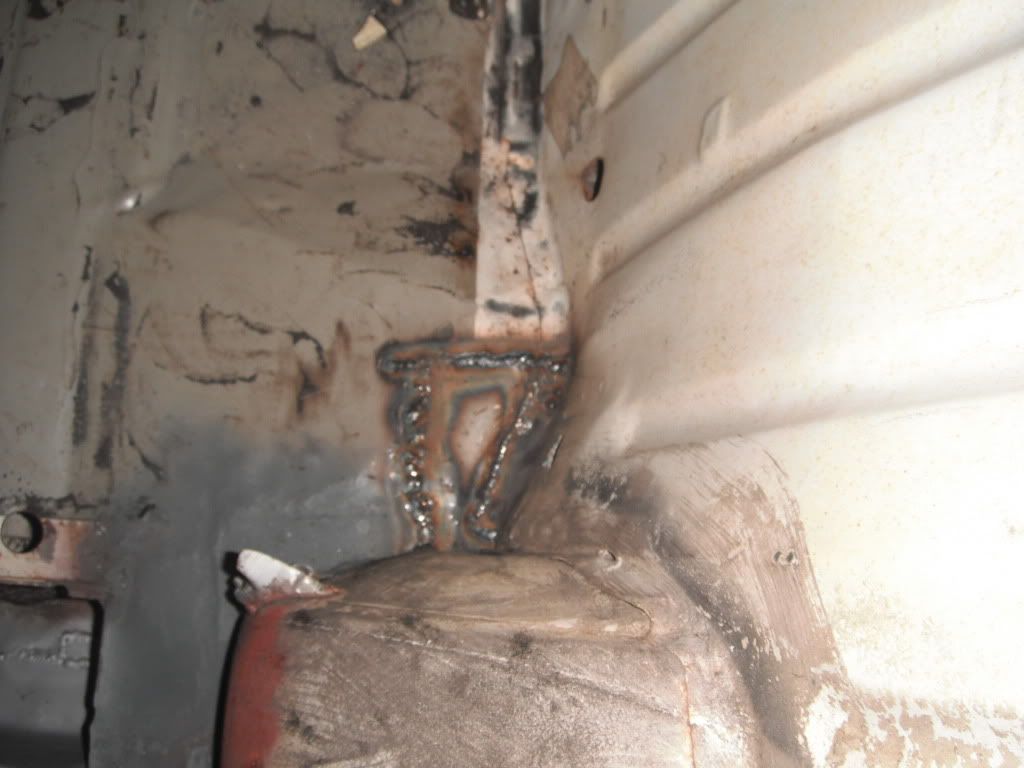
started making the panel for one of the last holes
finished making it, took absolutely ages. no wonder garages slap patches over stuff! its so much quicker!
tacked in and partly welded
fully welded
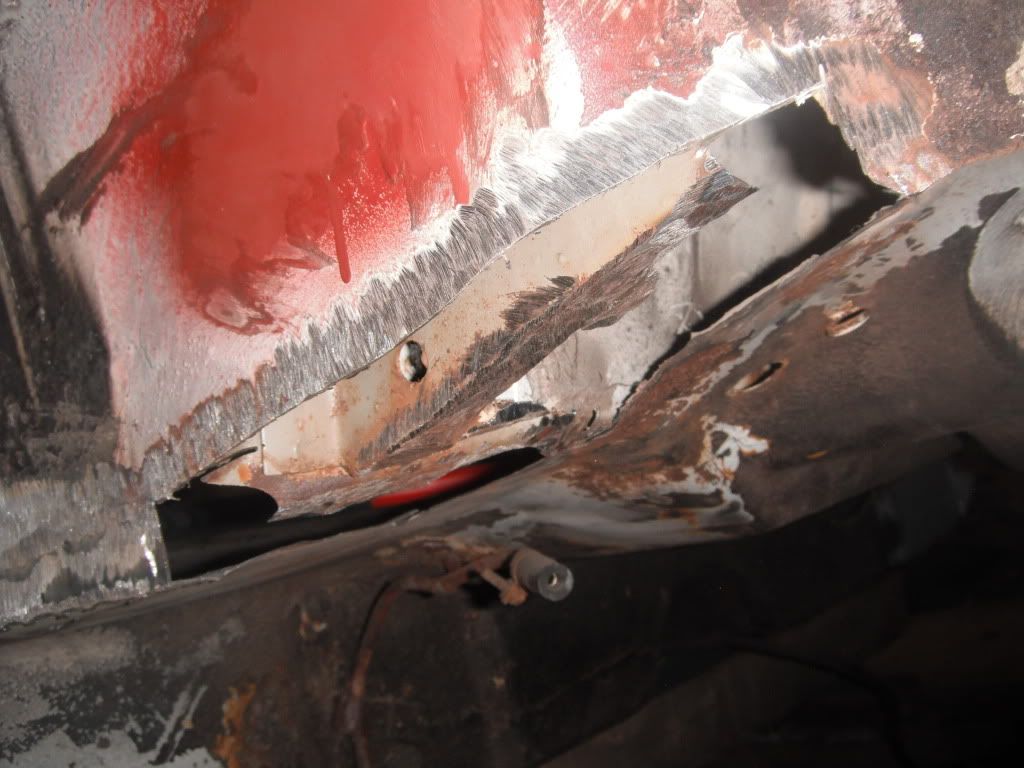
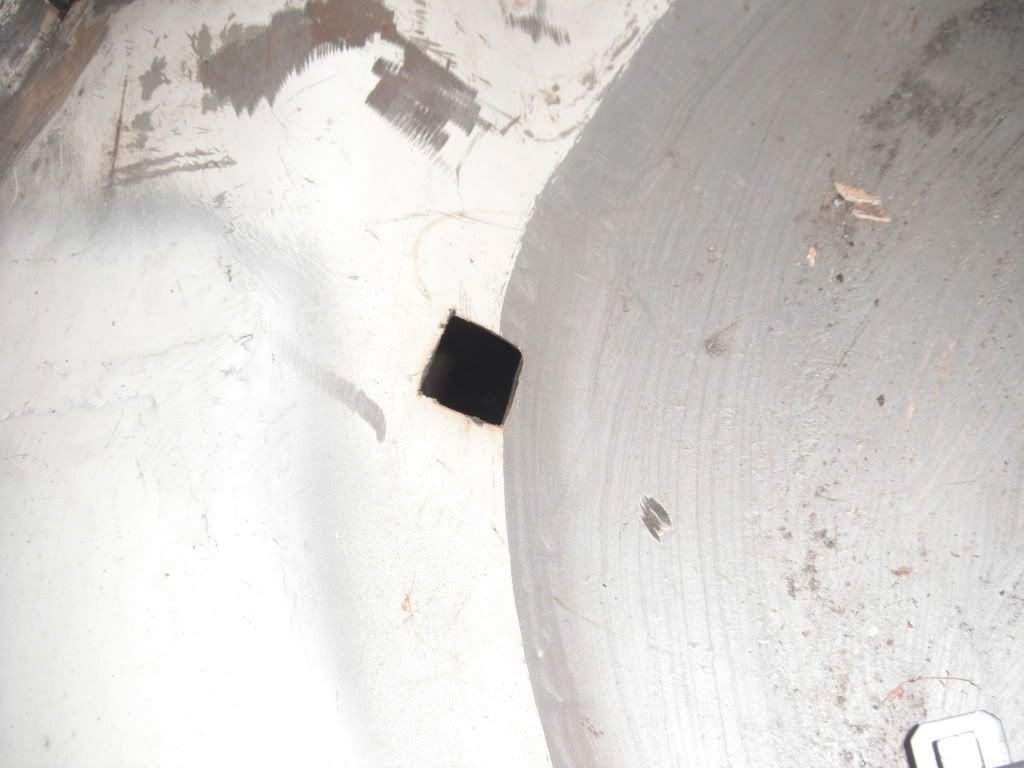
found a new hole while giving the boot floor a wire brush
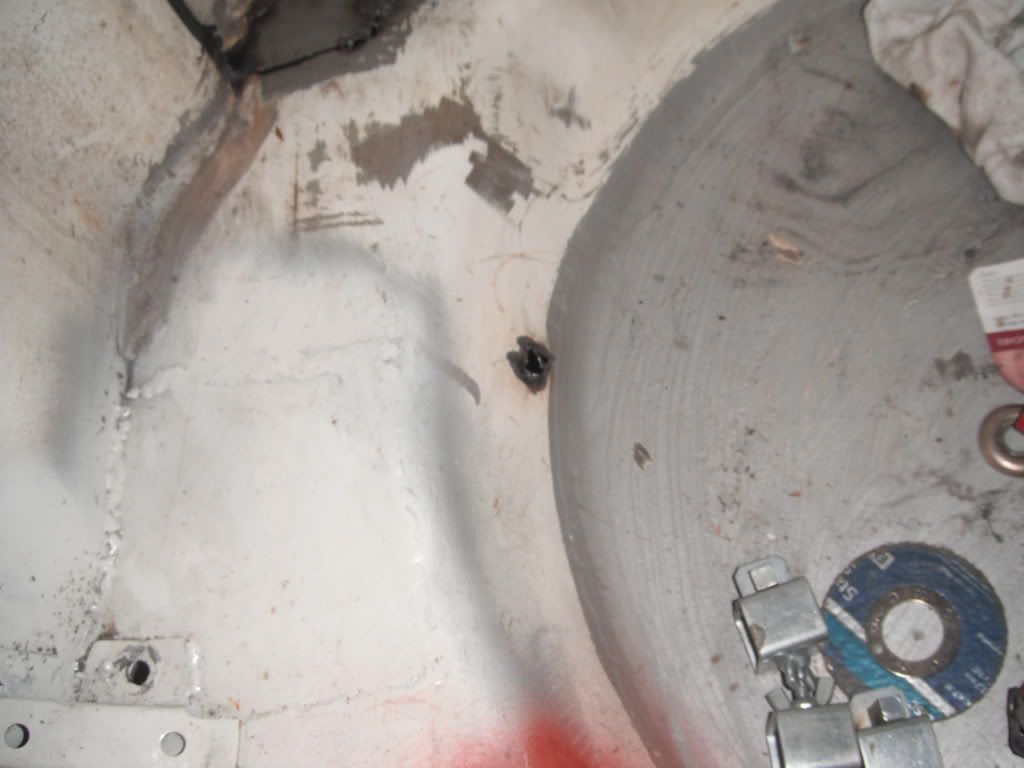
cut out
welded a little patch
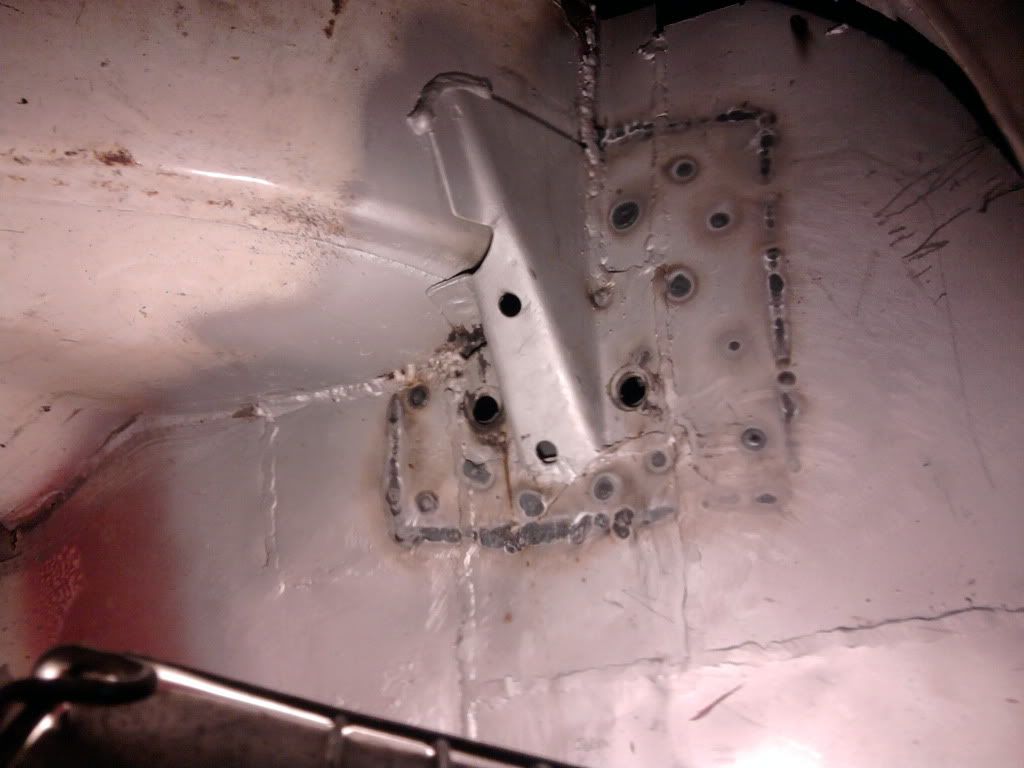
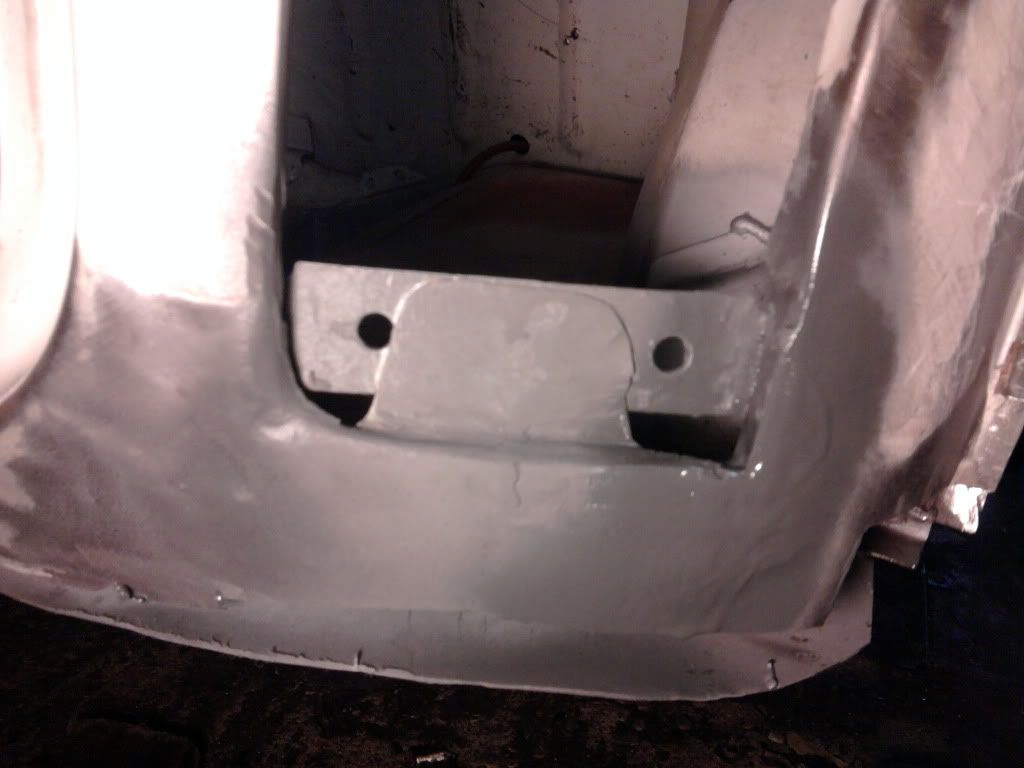
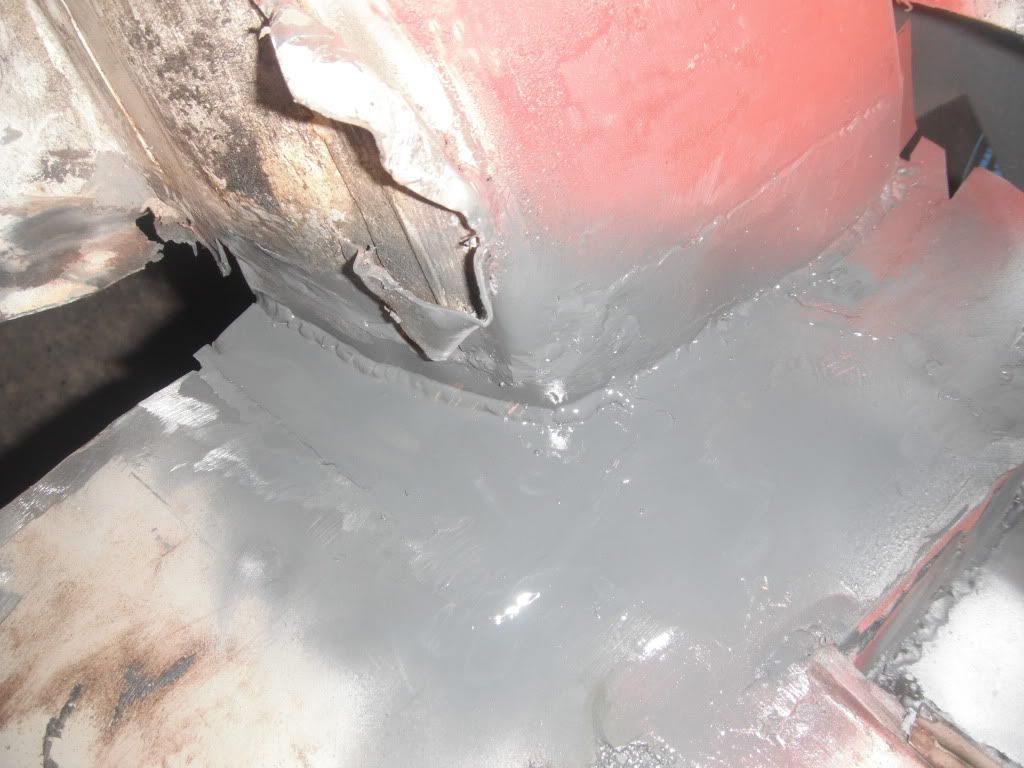
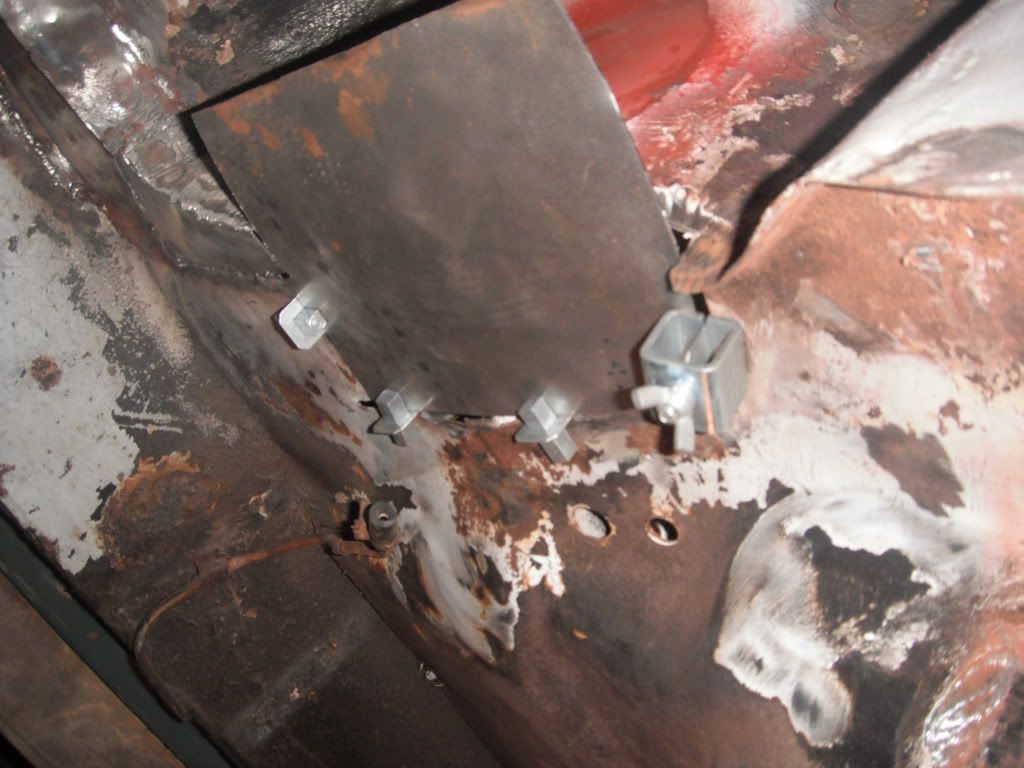
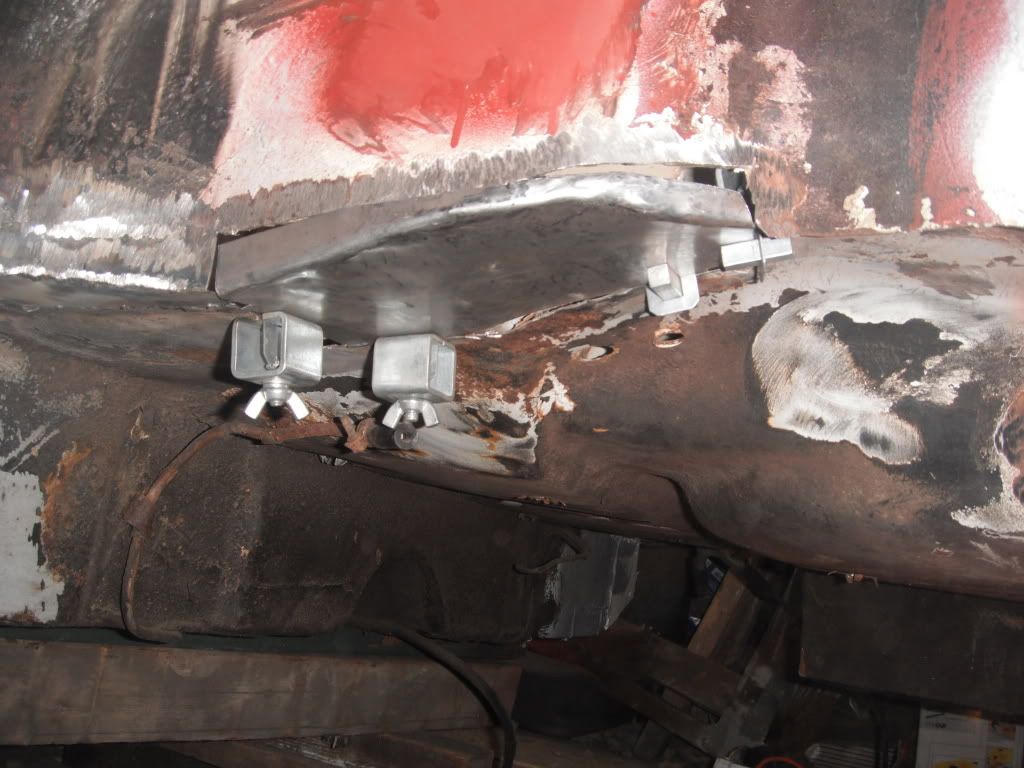
then cleaned up where the subfame strengthener plate goes and zinc primed it
and zinc primed the panel ready for welding
hope you like todays update. its nice to have a solid floor again!
next update probably this sunday as im a bit busy tommorow
Lawrence
anyhow update from today
found my fuel tank bracket after a while of looking, was all prepped to be welding which is a nice surprise
sited it
welded, ground down and primed
started making the panel for one of the last holes
finished making it, took absolutely ages. no wonder garages slap patches over stuff! its so much quicker!
tacked in and partly welded
fully welded
found a new hole while giving the boot floor a wire brush
cut out
welded a little patch
then cleaned up where the subfame strengthener plate goes and zinc primed it
and zinc primed the panel ready for welding
hope you like todays update. its nice to have a solid floor again!
next update probably this sunday as im a bit busy tommorow
Lawrence
Edited by lawrence, 21 October 2011 - 06:36 PM.
#88
hughJ
-

- Members
-
- 727 posts
Soldiering Along
- Location: Highlands, Scotland
Posted 21 October 2011 - 07:20 PM
Lawrence - that is some work. I like the fabricating and patching!! Keep up the good work
Hugh
Hugh
#89
grahama
-

- Members
-
- 2,442 posts
Up Into Fourth
- Location: Warrington
- Local Club: None in my area !!
Posted 22 October 2011 - 05:27 PM
Have to agree, lots of patches but the whole works well, keep it up.
Graham
Graham
#90
lawrence
-
- Members
-
- 1,341 posts
One Carb Or Two?
Posted 23 October 2011 - 10:05 AM
Thankyou for the comments Hugh and Graham, I agree there are a hell of alot of patches something like 50 is what i counted but i just cant afford to replace full panels like the boot foor etc. Think i will in my next build though as its probably less time consuming and alot easier! There may be a small update today too but it depend how i feel as ive got flu!
if i go out i will
>prime and paint the patch and area i did the other day
>clean up the passengers side heelboard and as its still not completely welded and then prime and paint.
>paint the majority of the boot floor including both arches ready for undersealing once the paints dry
>prep the bumper lip ready for the second half of the valance to be put on
>possibly weld on the valance and closer if i have time before work at 4
but i just cant afford to replace full panels like the boot foor etc. Think i will in my next build though as its probably less time consuming and alot easier! There may be a small update today too but it depend how i feel as ive got flu!if i go out i will
>prime and paint the patch and area i did the other day
>clean up the passengers side heelboard and as its still not completely welded and then prime and paint.
>paint the majority of the boot floor including both arches ready for undersealing once the paints dry
>prep the bumper lip ready for the second half of the valance to be put on
>possibly weld on the valance and closer if i have time before work at 4


4 user(s) are reading this topic
0 members, 2 guests, 0 anonymous users
-
Bing (2)


