Edited by minimuk, 16 August 2011 - 06:20 PM.
Ken -The 1275 High Compression Engine Micra Mini (Running Project)
Started by
lawrence
, Sep 19 2009 12:30 PM
749 replies to this topic
#61
Posted 16 August 2011 - 06:19 PM
perfect fit, the wing to scuttle, excellent job there,..interesting flitch to post repair. and like your arch closing panel, looks good, bet yr happy.
#62
Posted 16 August 2011 - 08:34 PM
yh that wing to scuttle fit is actually quite bad, the wing needs to move up by at least a centimetre to be level with the a panel but ill get it done! hopefully tommorow
#63
Posted 17 August 2011 - 06:28 PM
So today was another one of working on the mini
I decided that i wasnt going to fit the front end untill i had finished off the heelboard end and sill, however i did fettle it somewhat to try and improve the fit, ill post pictues when i get around to fitting it.
So i started out with clearing rust and making some patches for the heelboard instead
this is how it ended up one the rust was cut out
i then made a cardboard template
however i was finding it difficult to make the shape in metal fit so i halved it
first half welded in and red oxided
Second half welded in and red oxided
whilst waiting for the paint to dry i moved on to filling the holes in the wheel arches
holes welded, ground down and primed, looks so much better now
i then got bored with the heelboard repair so started on the door
rust bubbles all along the bottom and a bad filler repair done by me
cut back part of the skin to see what the door panel is like under the skin and its not good
so on that anlagy i decided to remove the entire skin
on cleaning it up it only need a slight repair on the bottom
Thats all for today. Small chance of an update tommorow morning but highly unlikely
Lawrence
#64
Posted 04 September 2011 - 09:33 AM
Not much news from SA???
#65
Posted 06 October 2011 - 09:40 PM
So people 
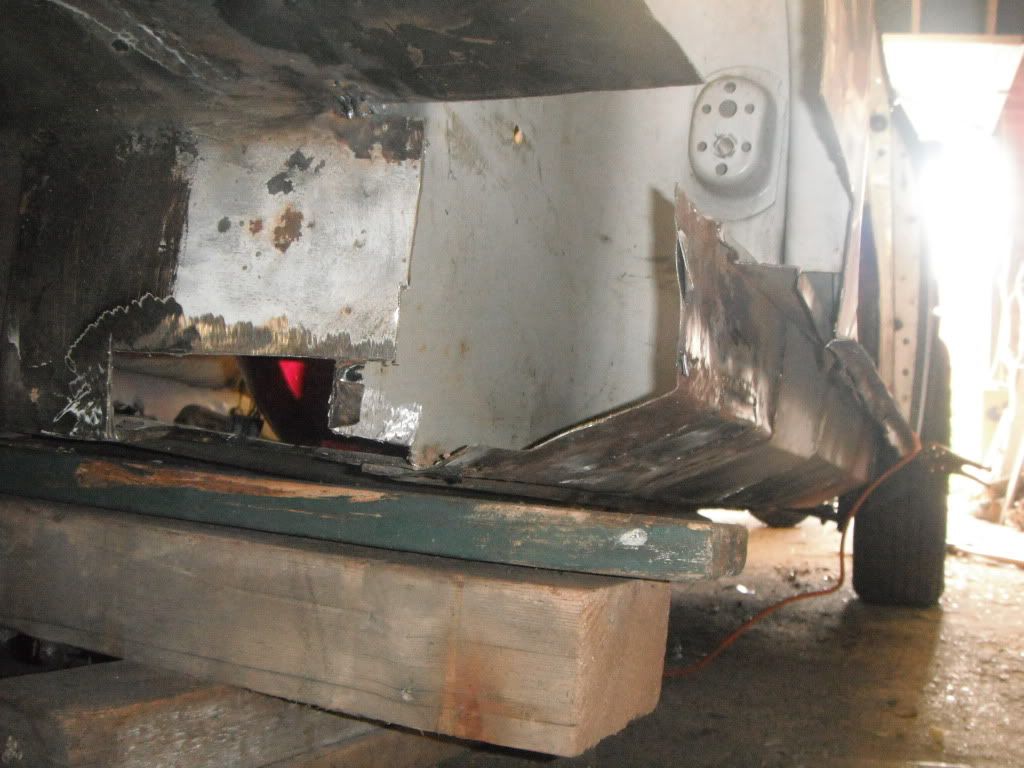
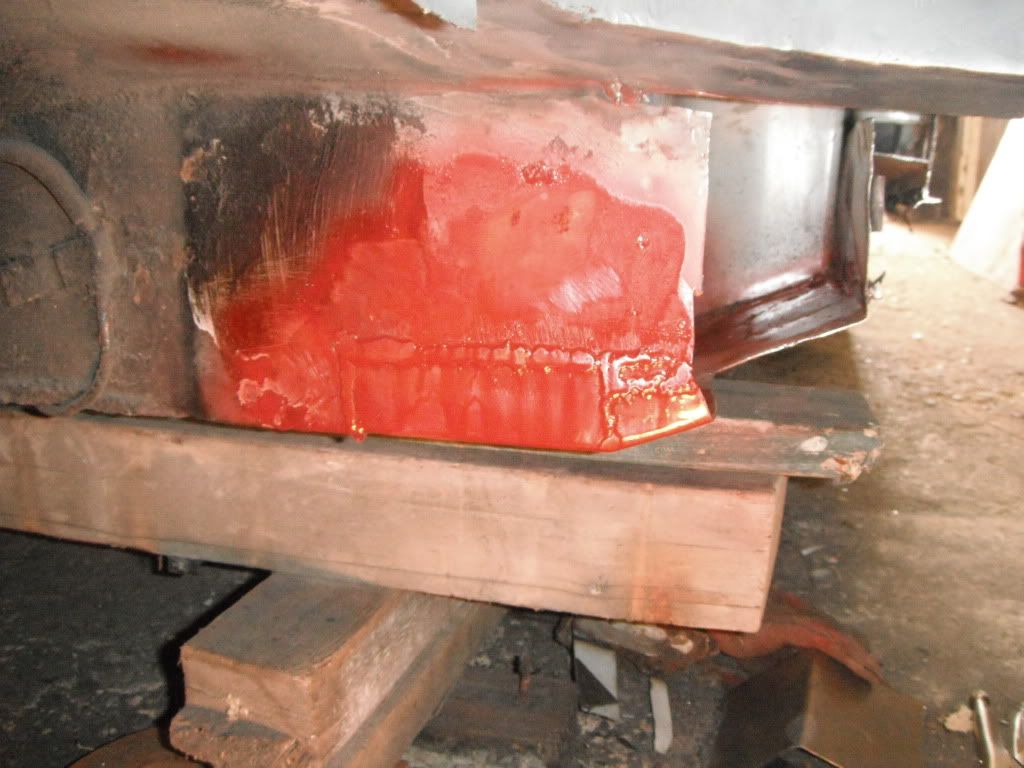
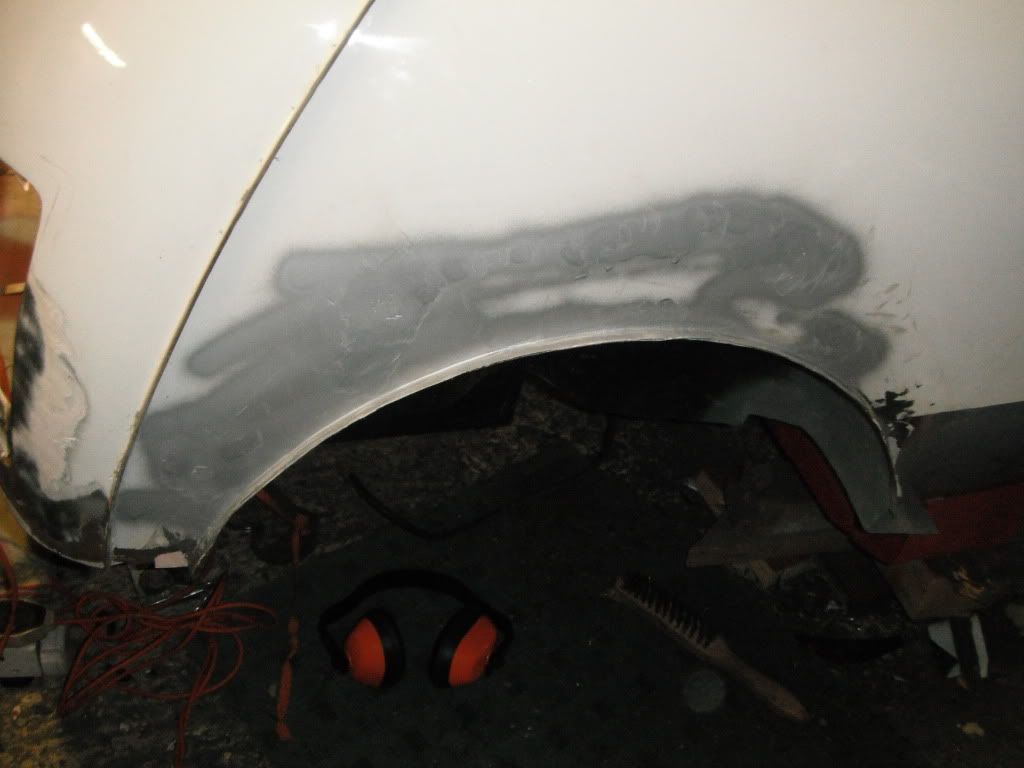
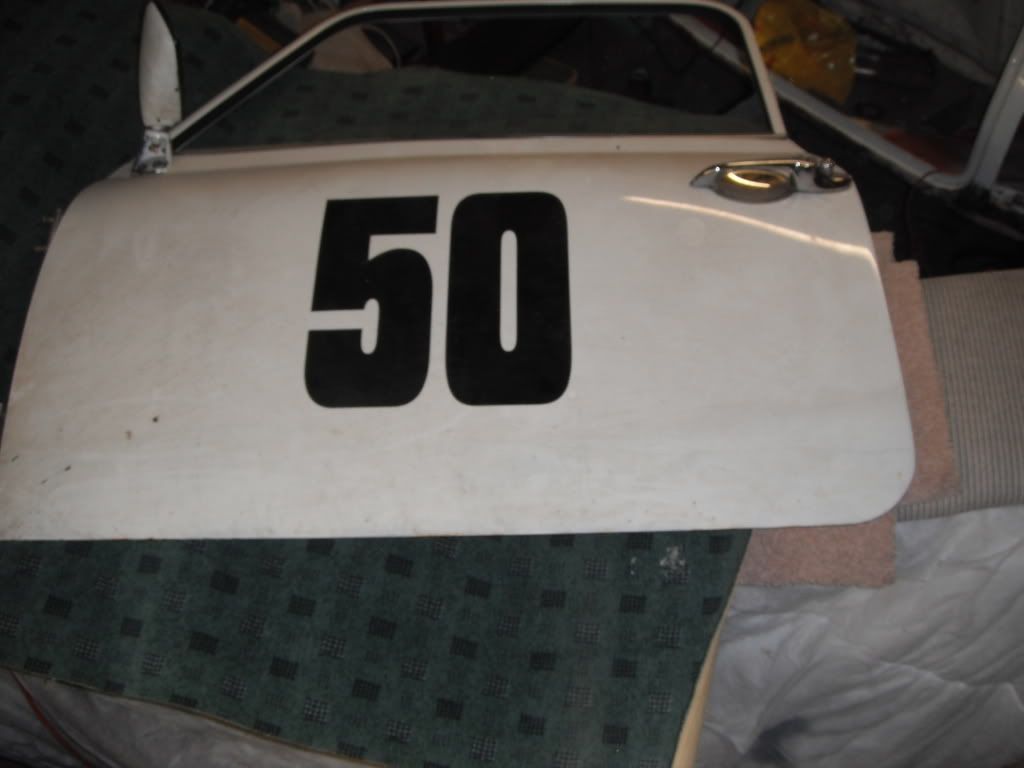
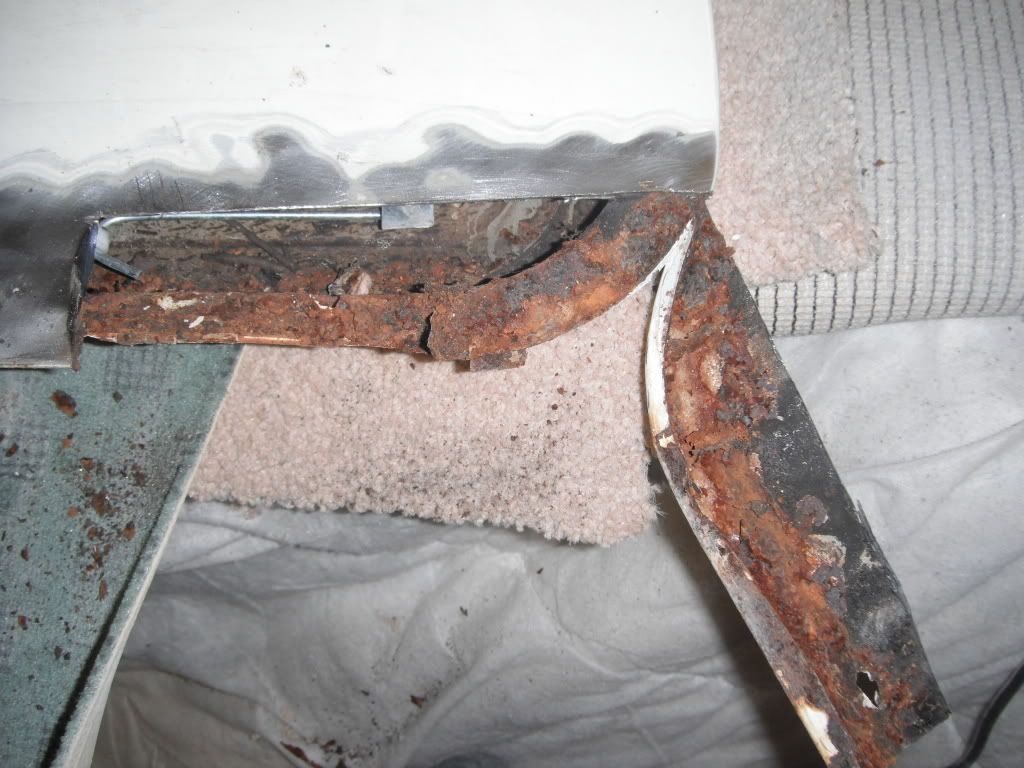
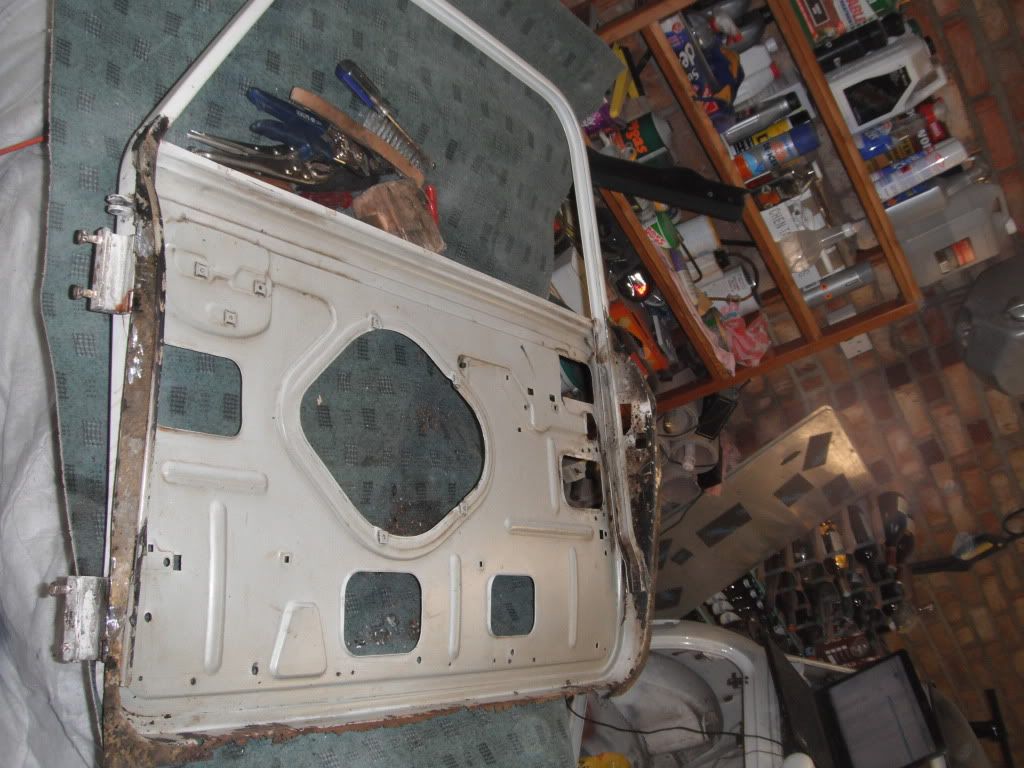
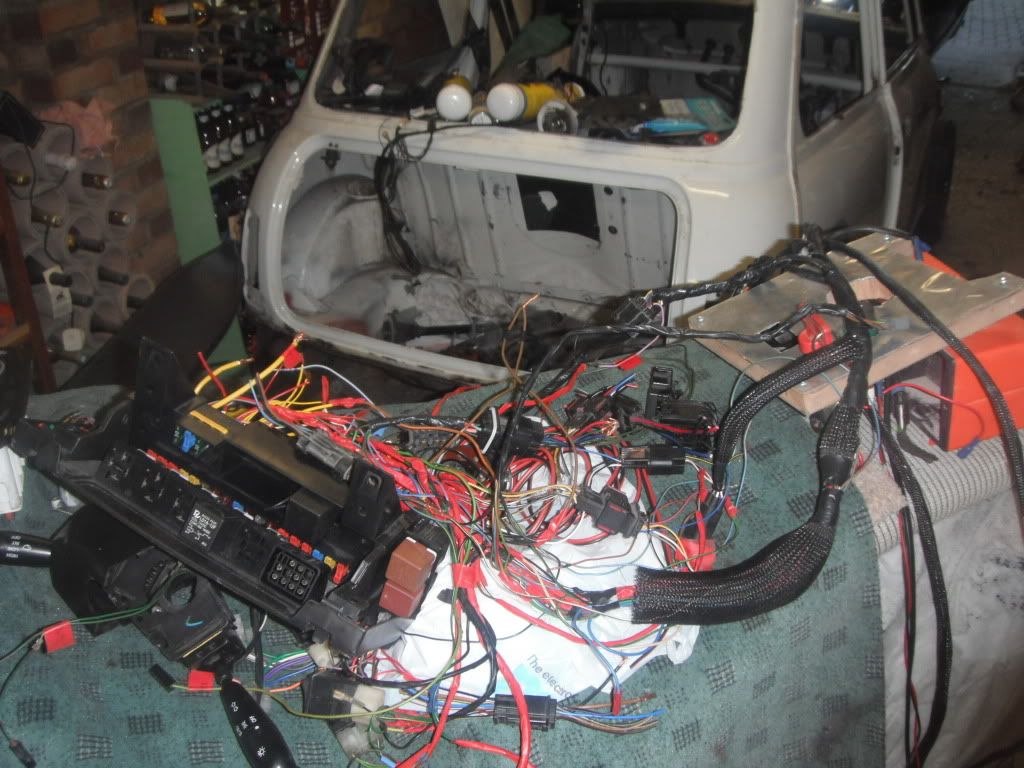
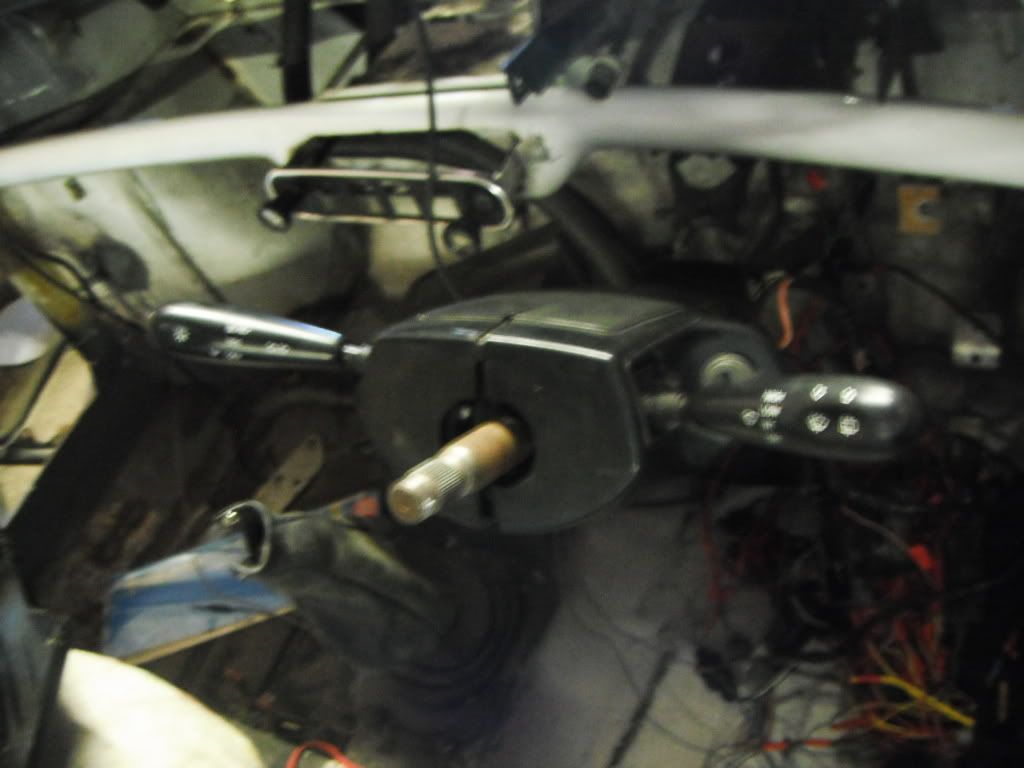
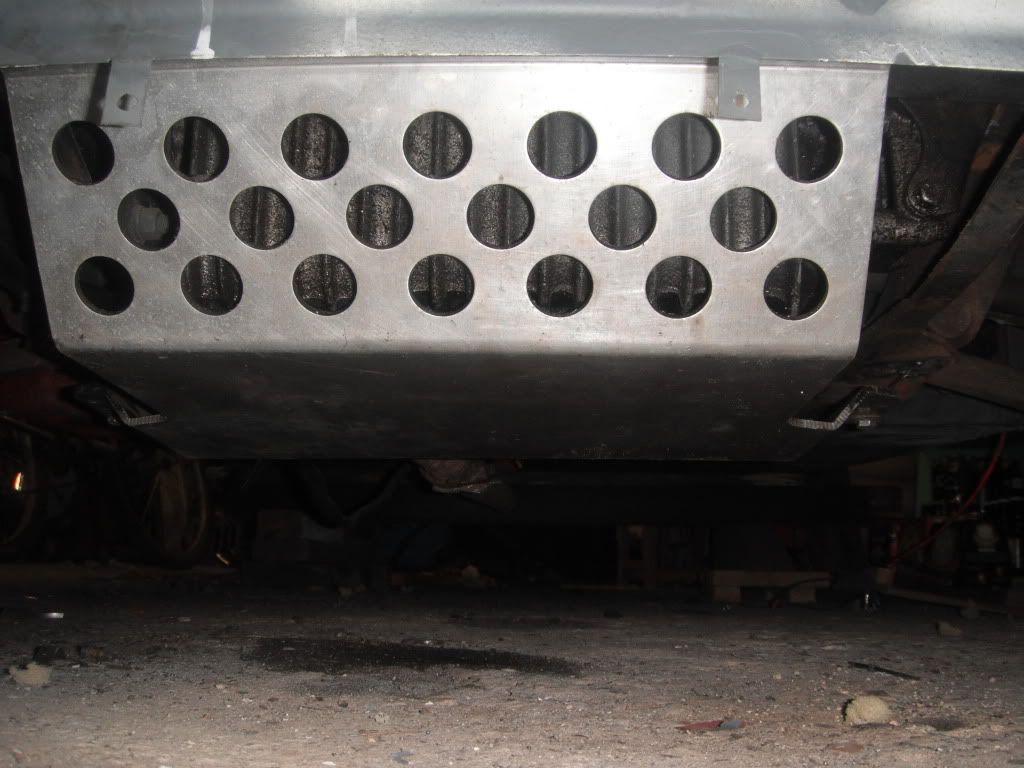
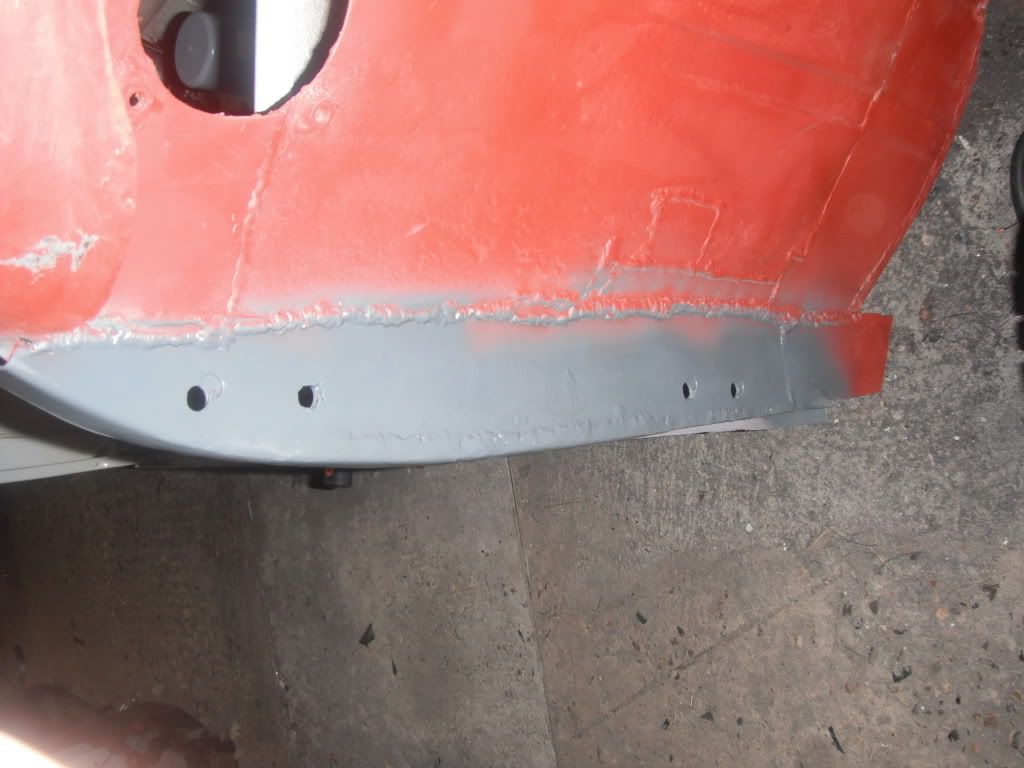
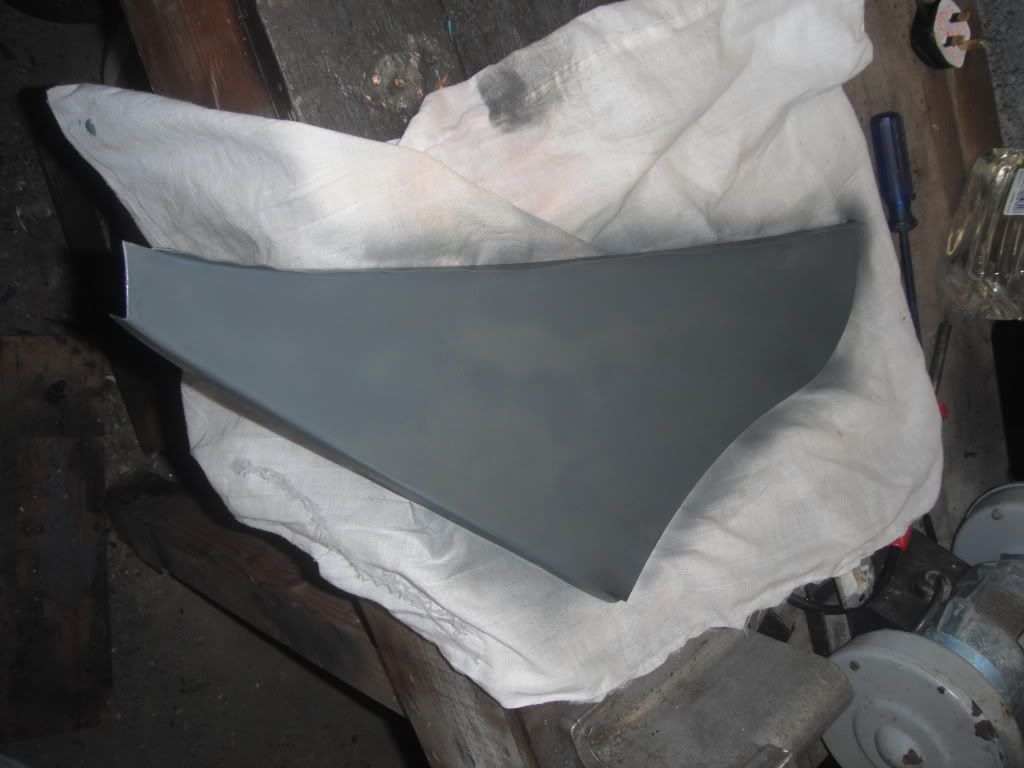
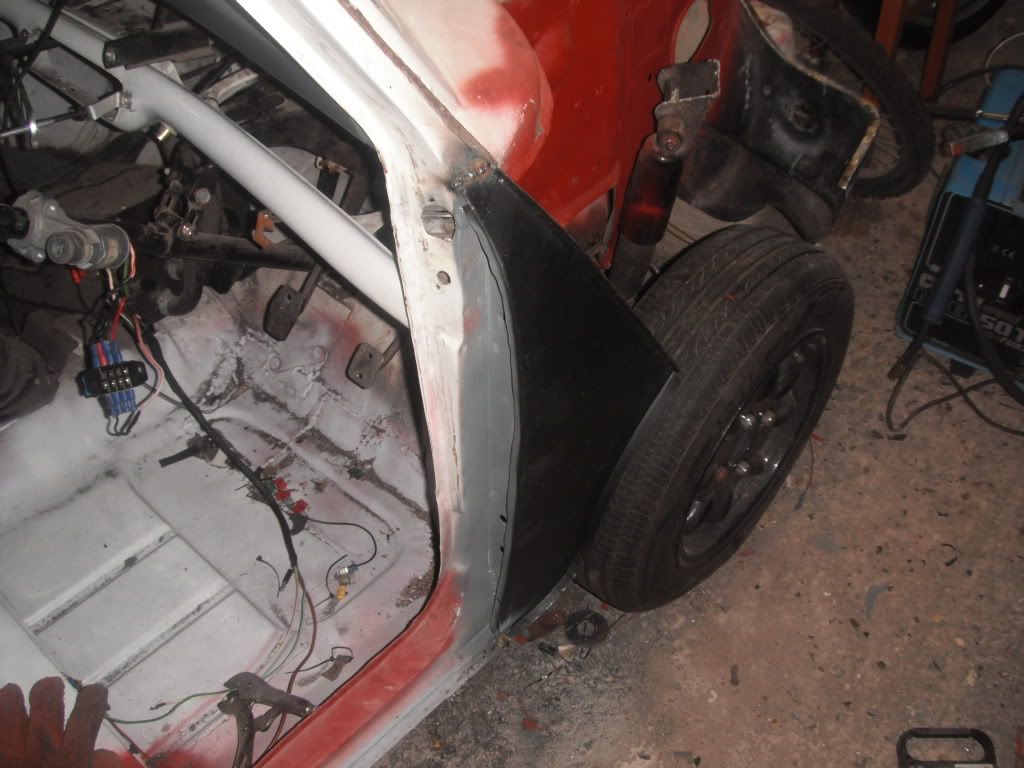
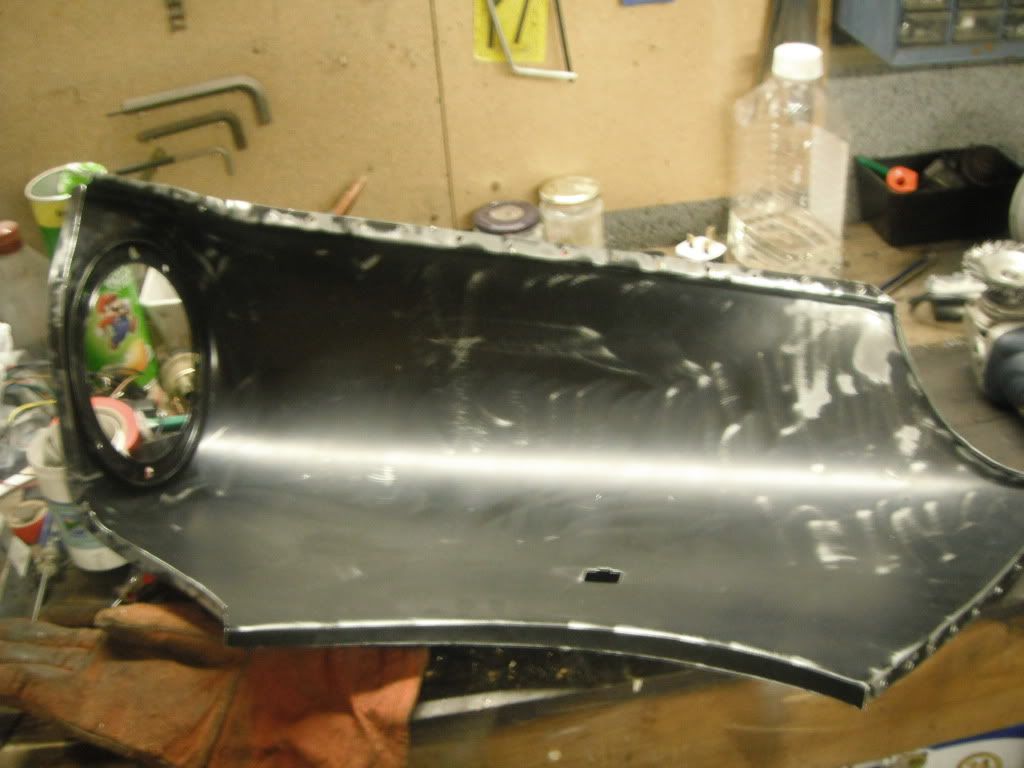
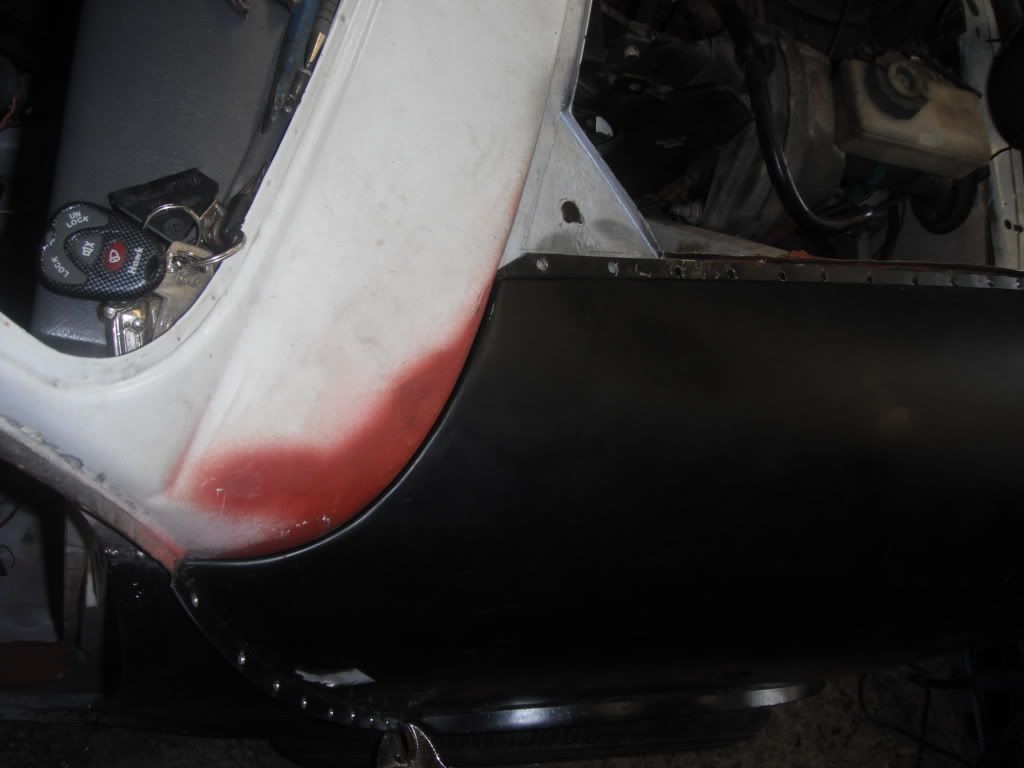
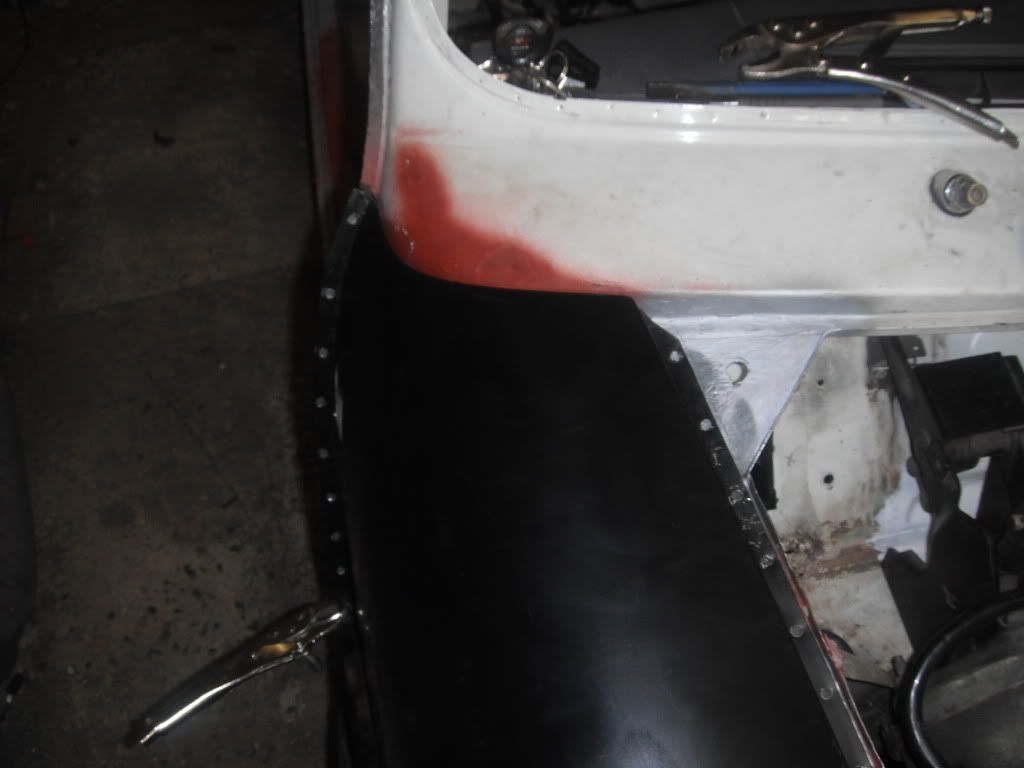
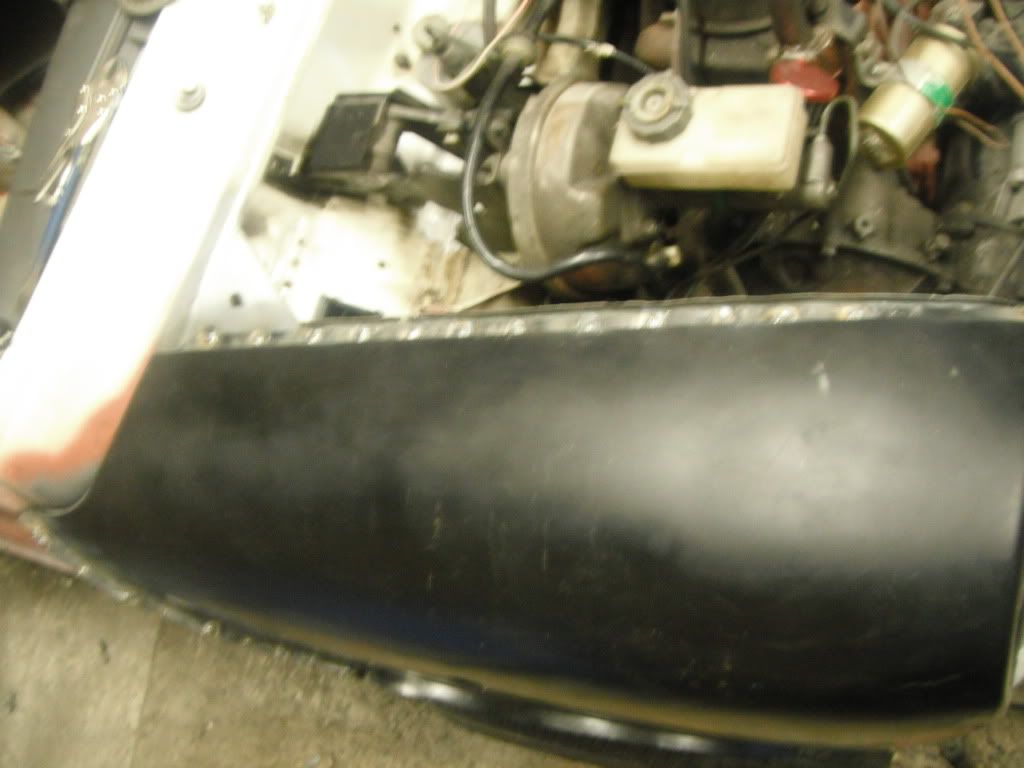
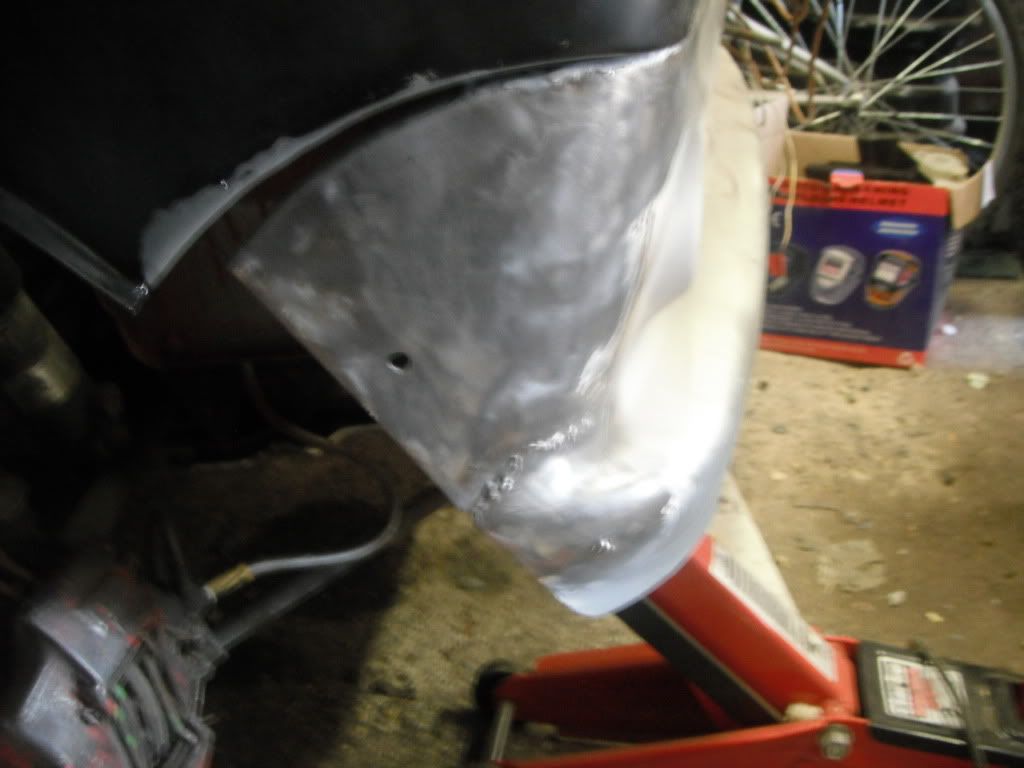
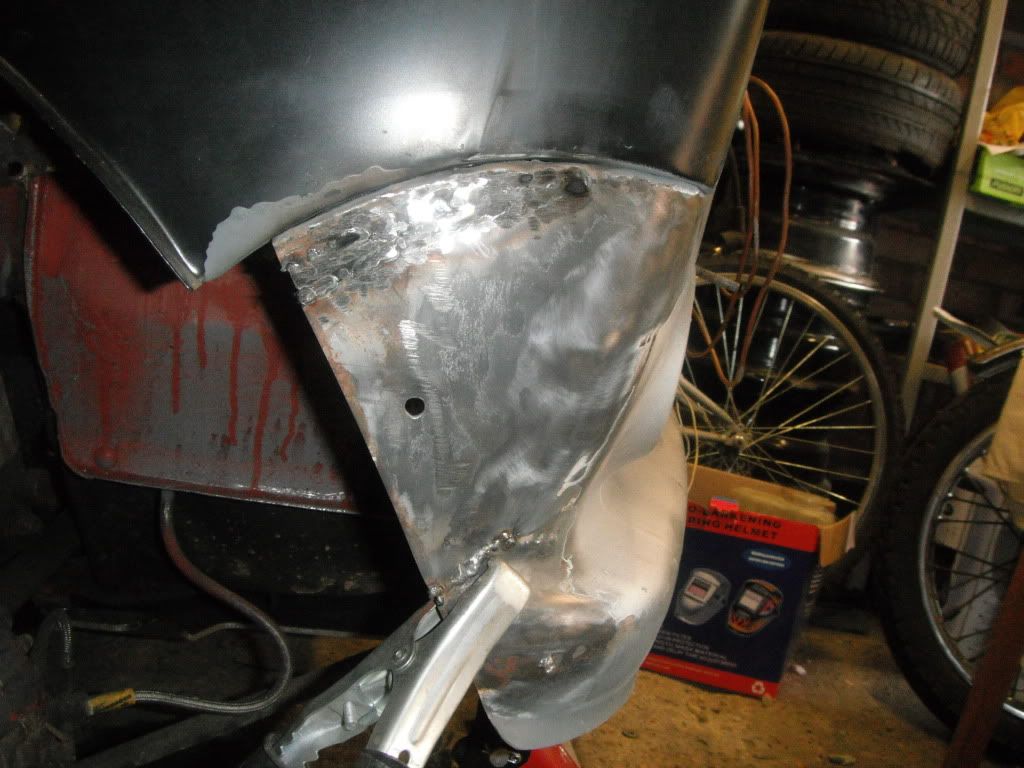
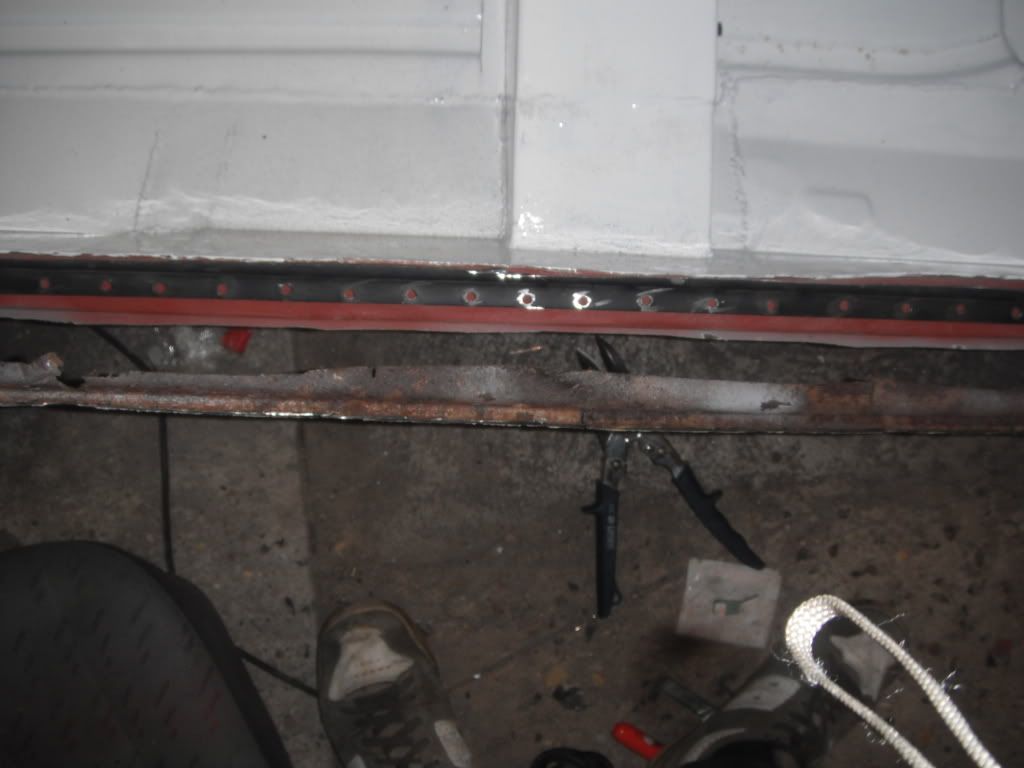
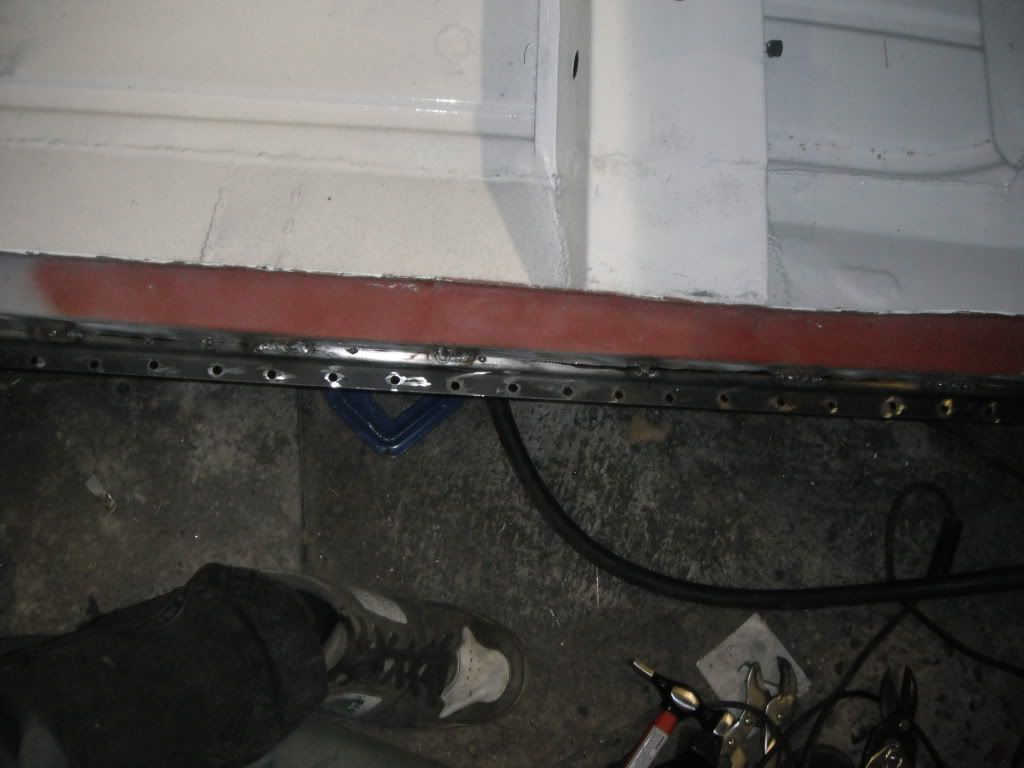
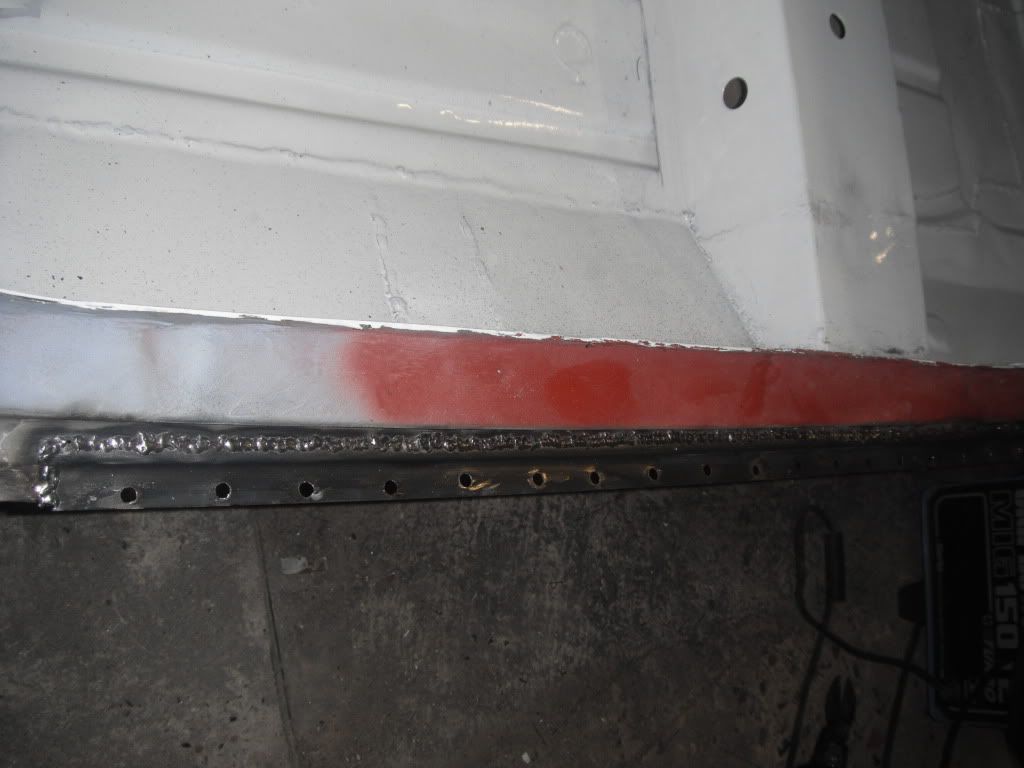
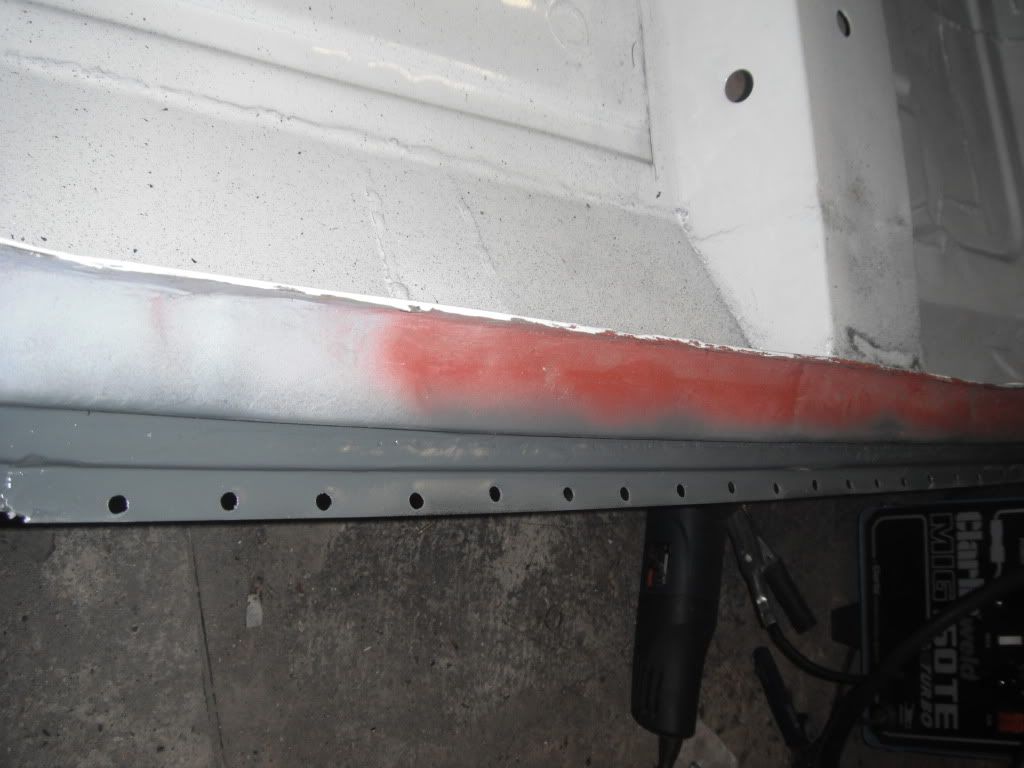
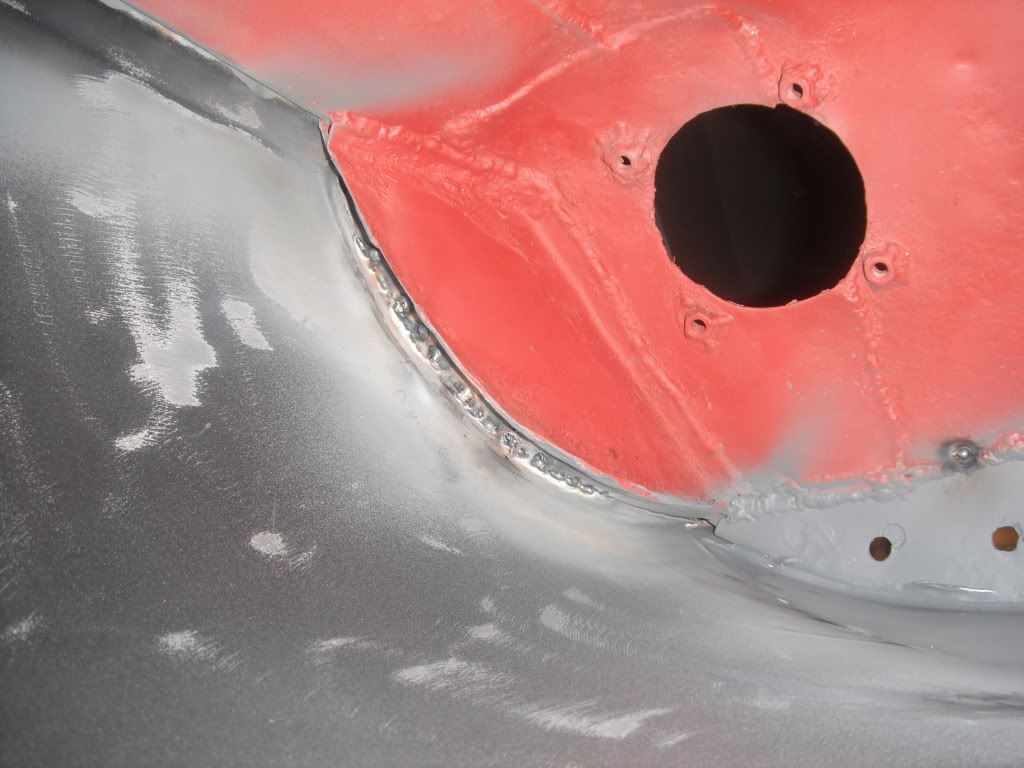
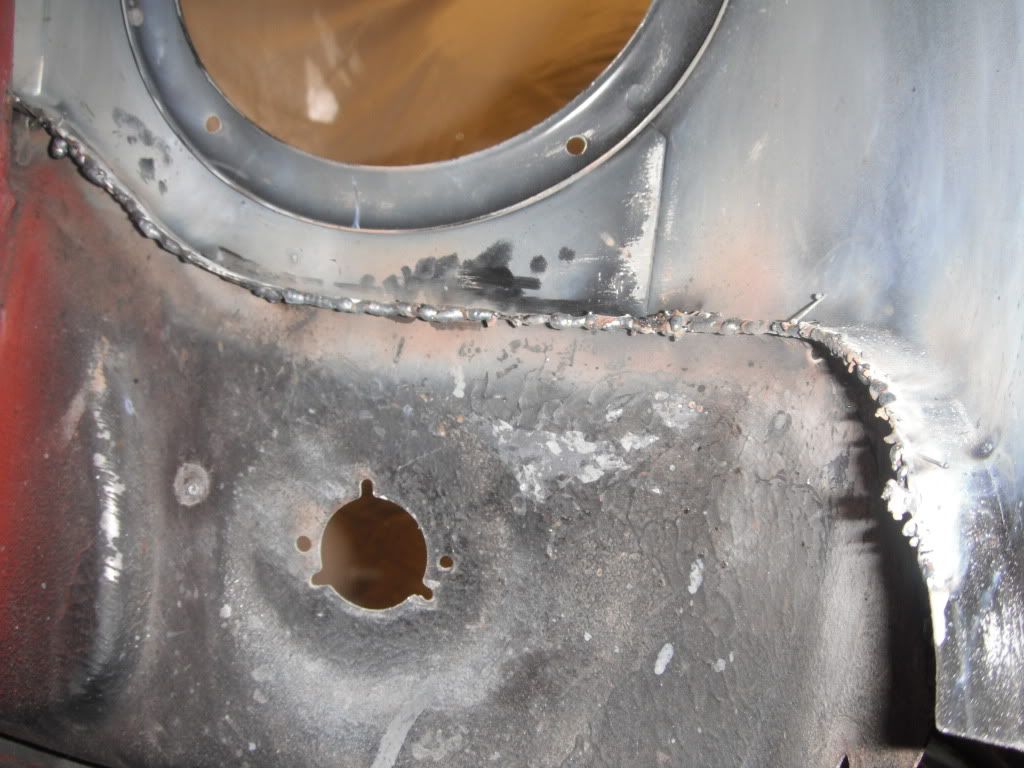
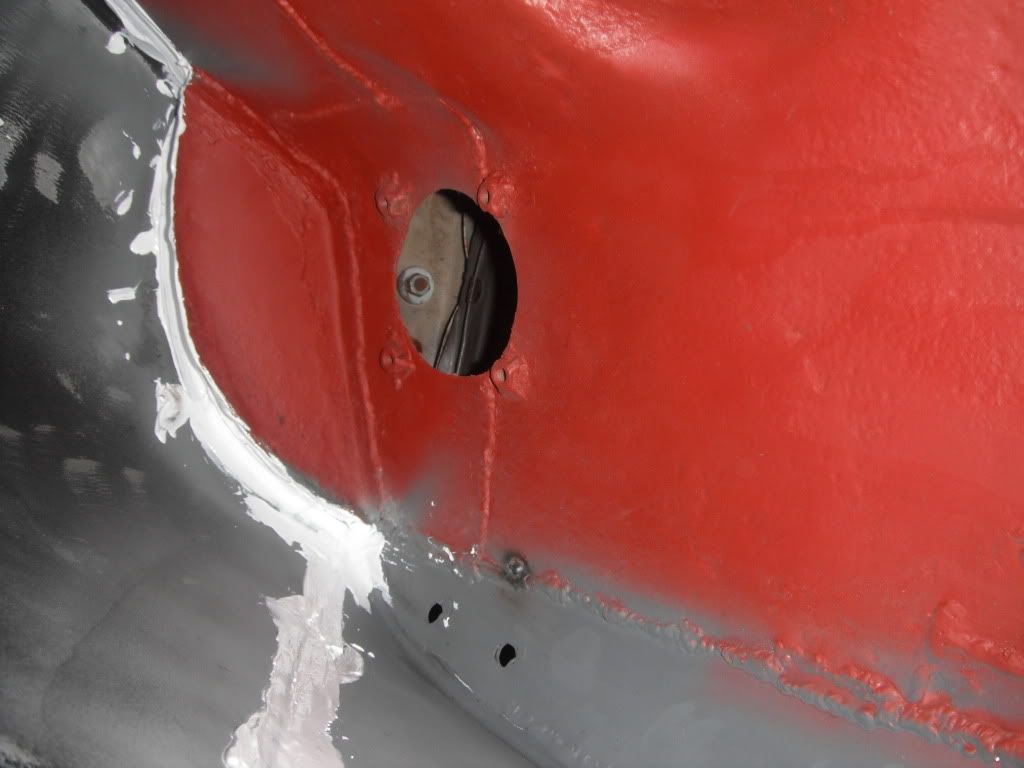
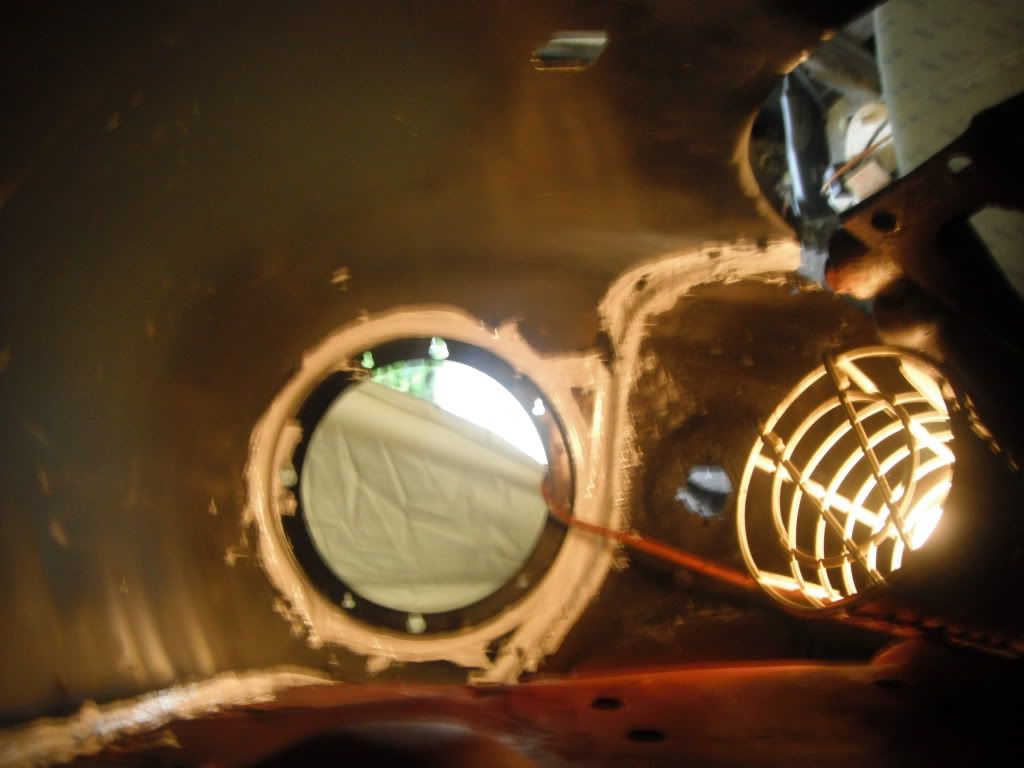
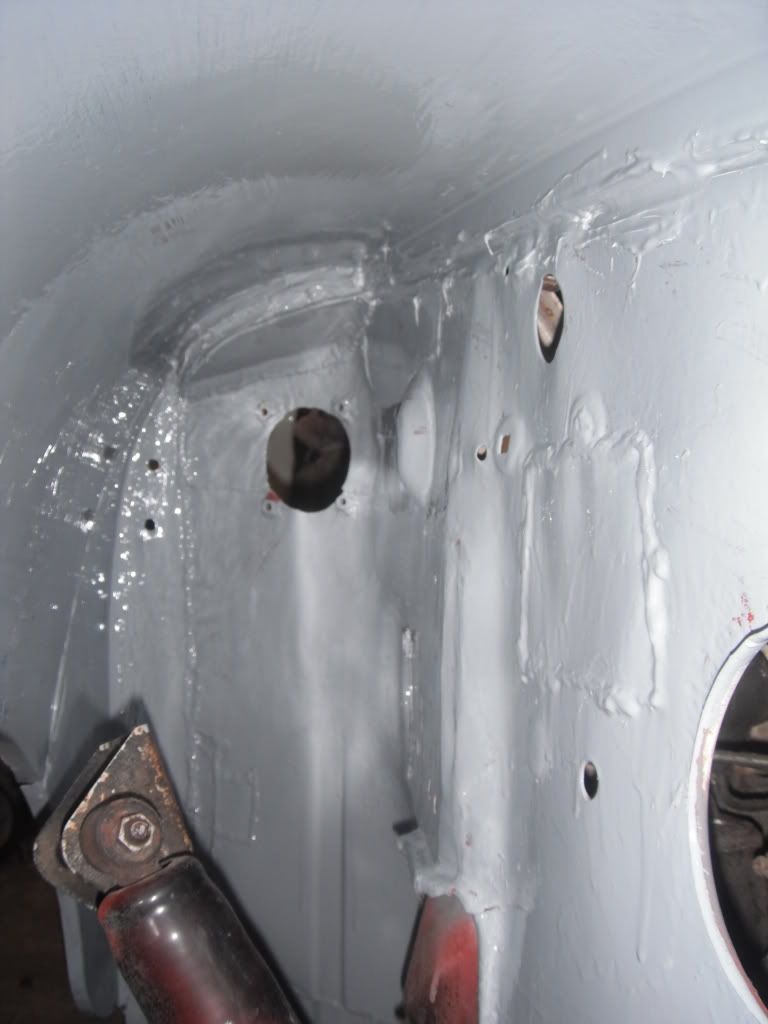
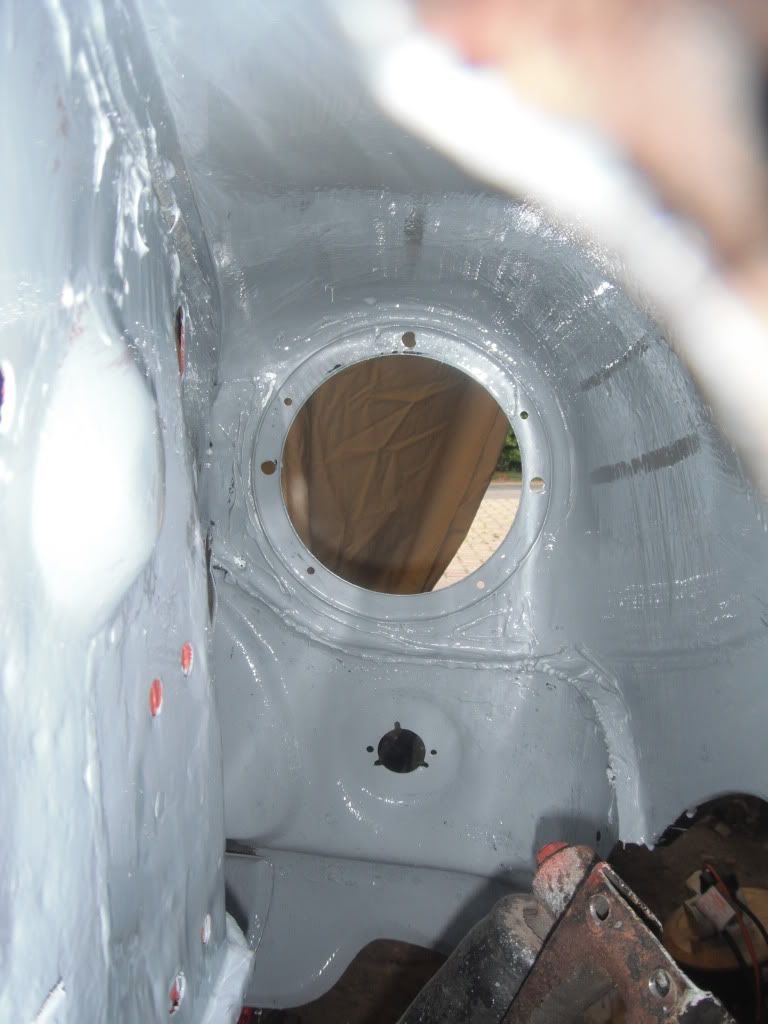
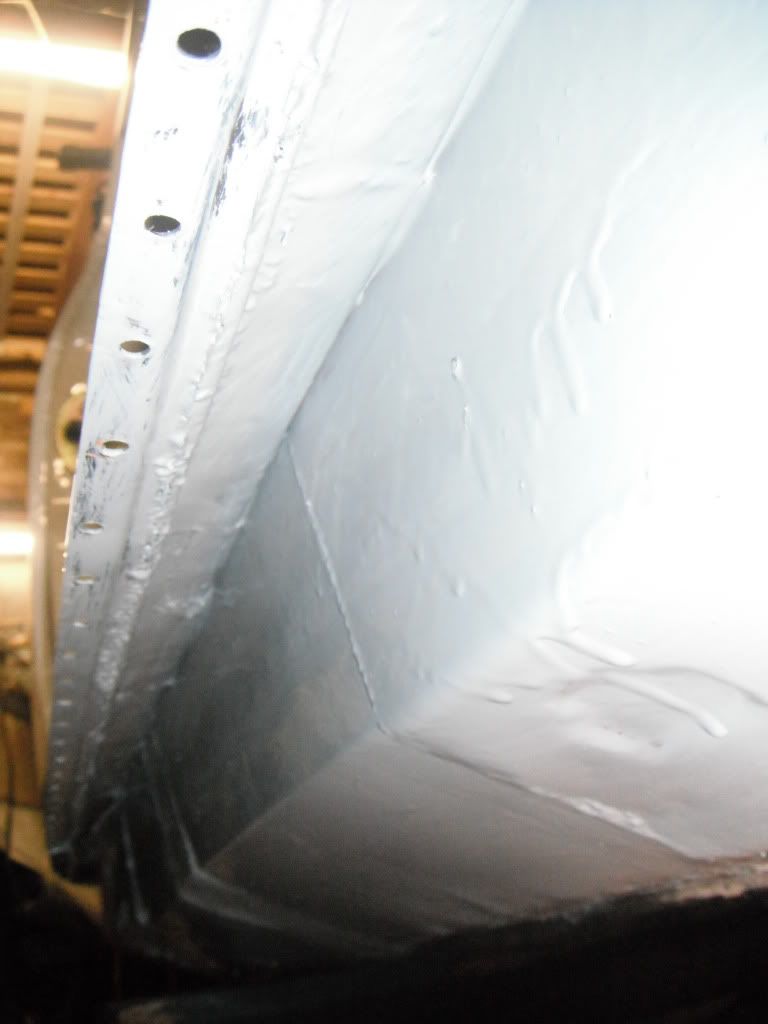
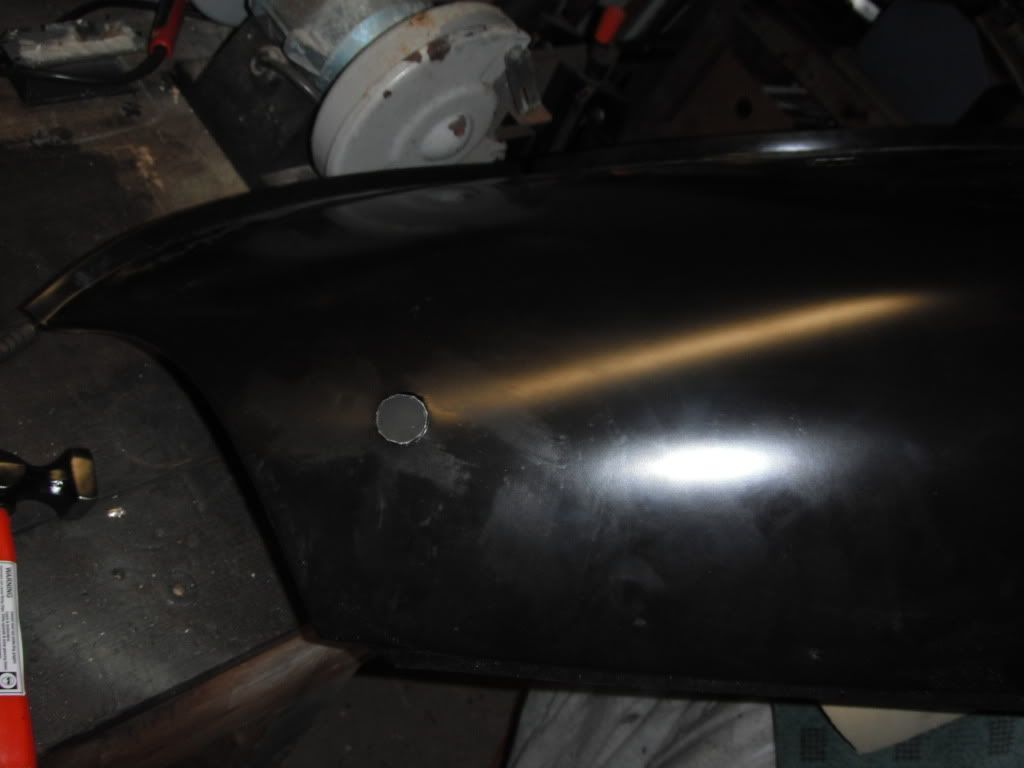
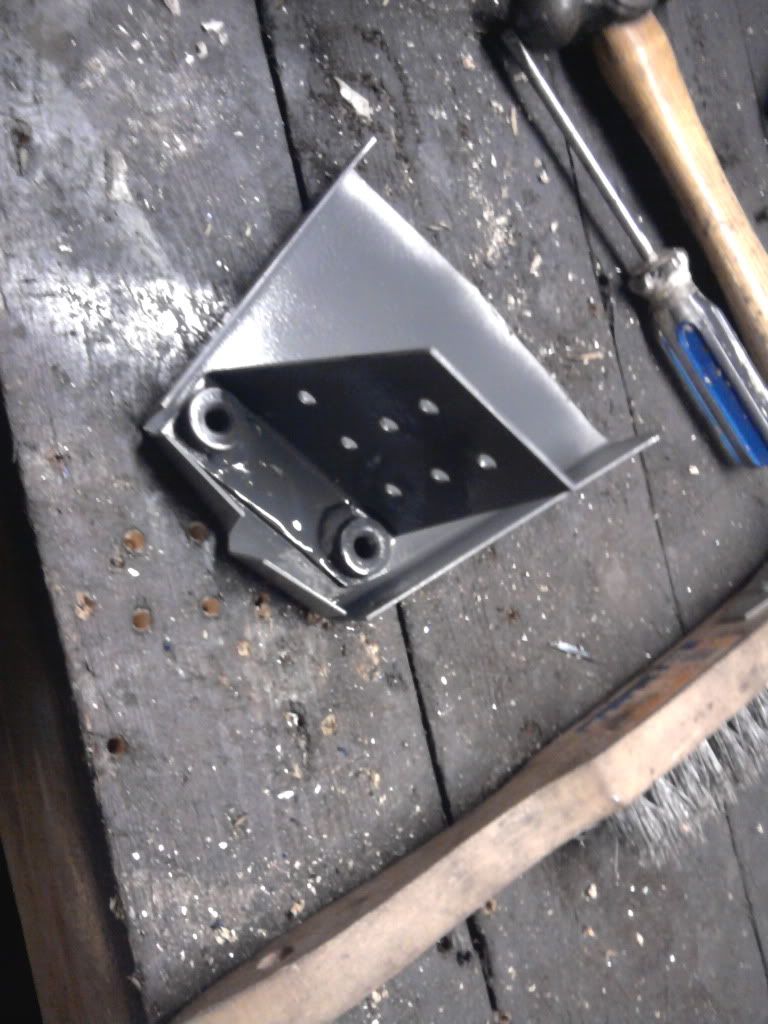
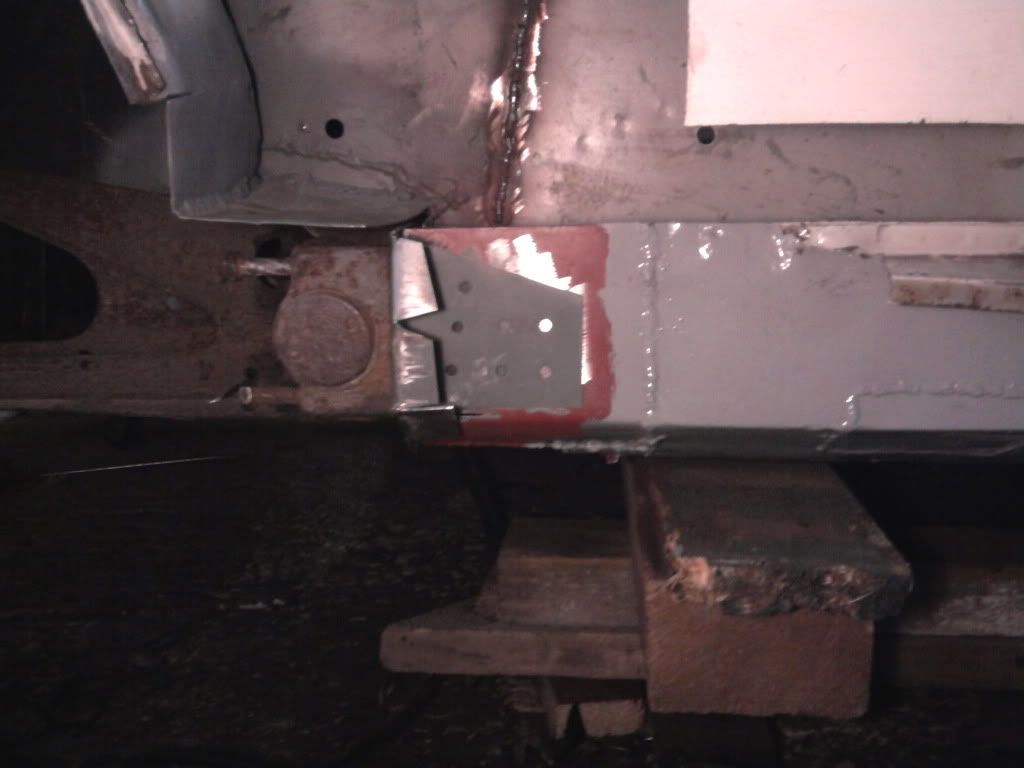
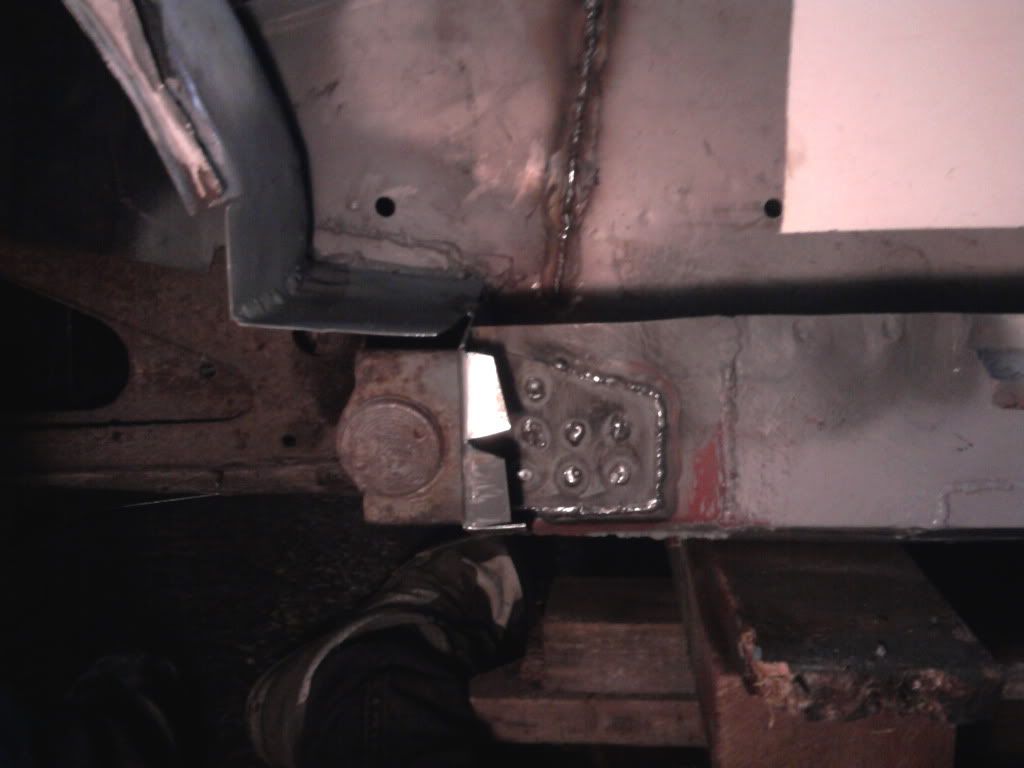
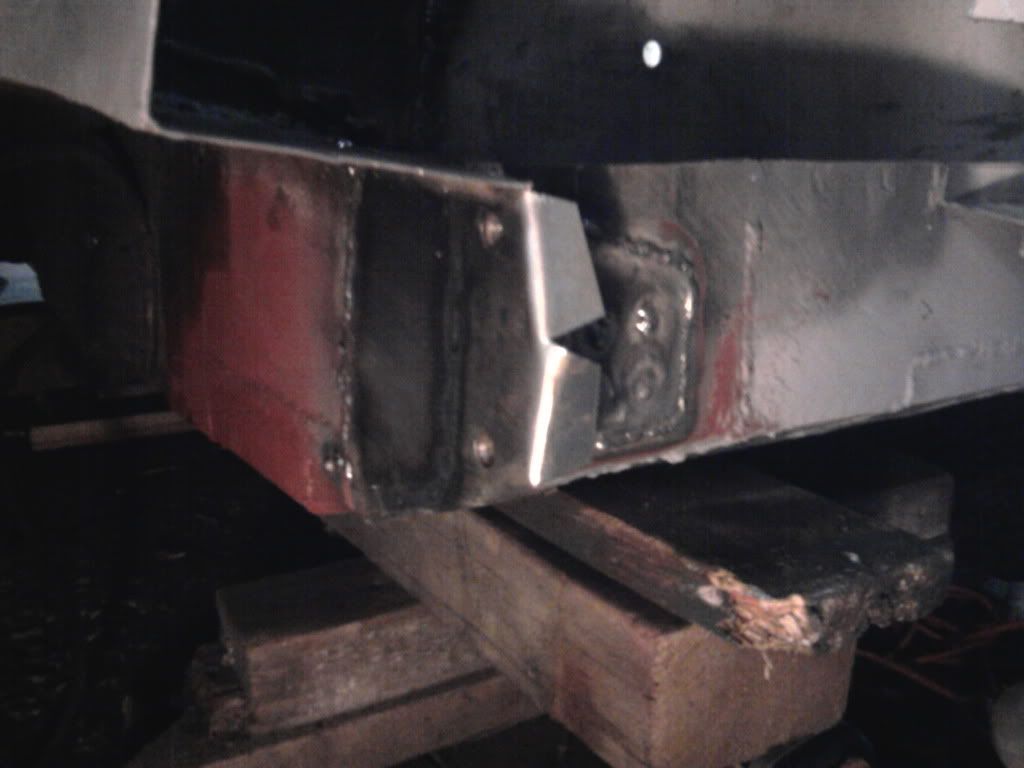
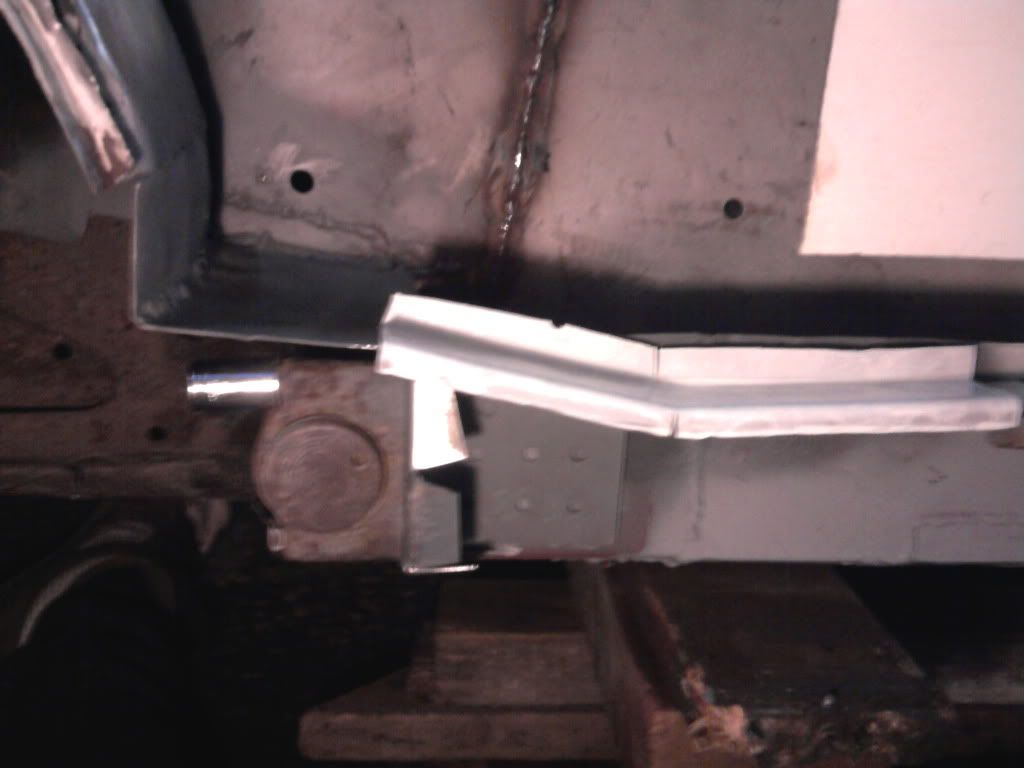
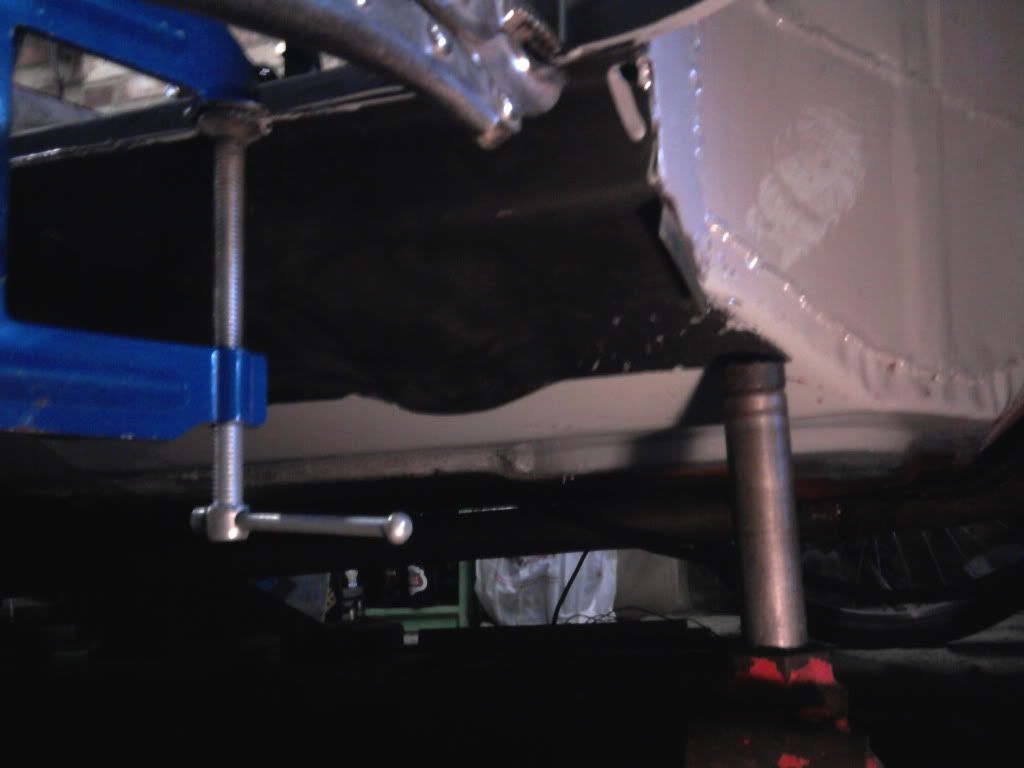
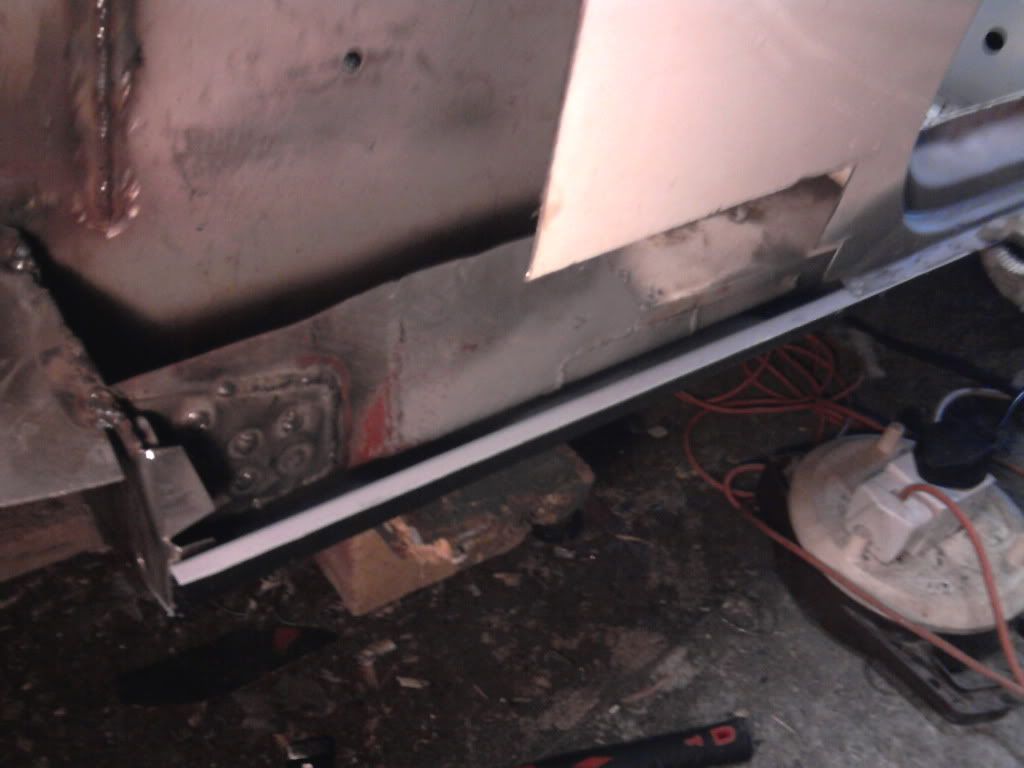
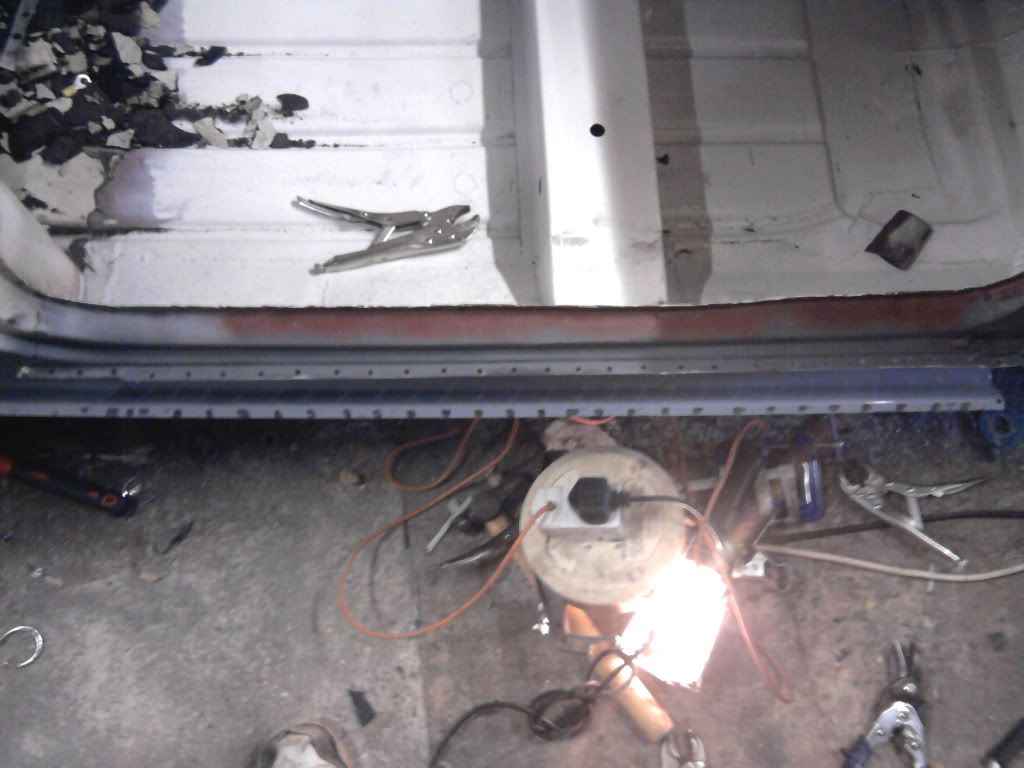
a long needed update is finally here! since my last update ive not done alot to the car, mainly because i refused to spend any money on mini last month! however a pay day has arrived so work has restarted
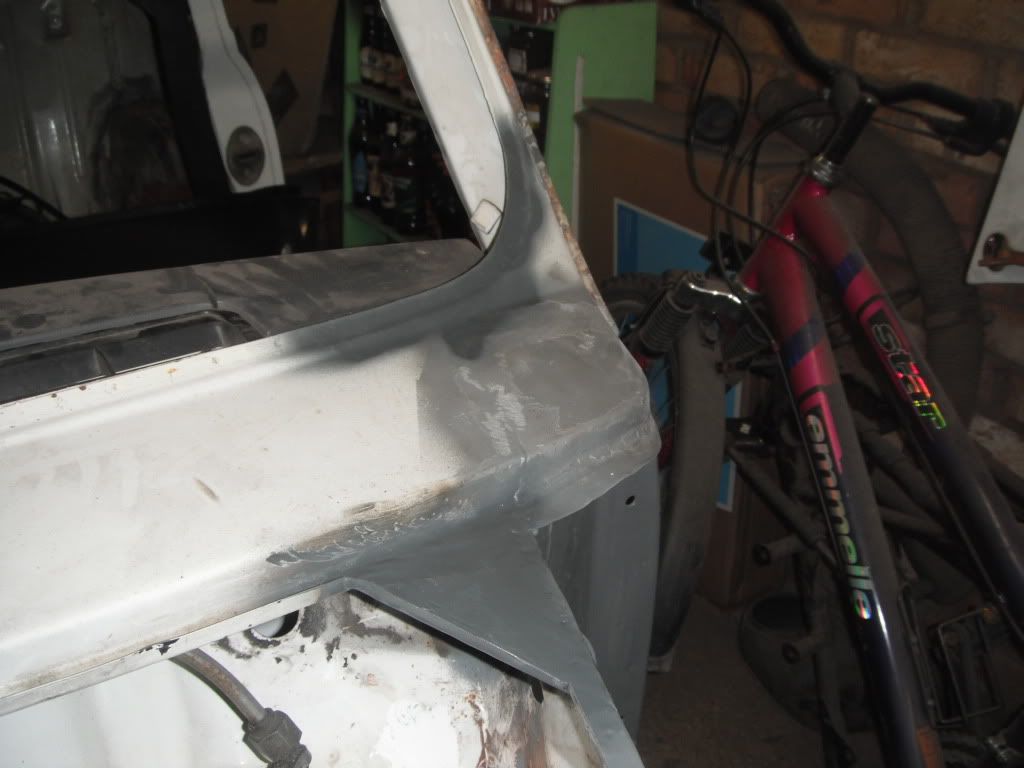
1st i finished off by the bonnet pin location so it look the same as the otherside, also ground down slight rust by the scuttle
2nd i cracked on with the wiring as it had yet to be finished from last time
i bought a fusebox from the internet and have attached most systems to it
i have also finally finished my new steering wheel stalk wiring, which went extremely well. i have now got the option to fit an intermittent wiper and a rear wiper as well as not needing to reach to the centre console to turn on the lights
3rdly i removed the servo and clutch to clean up the bulkhead,ground back the rust and gave it a good coat of hammerite, picture doesnt show much but its loads better than before
4th i bought a panel beating set to help me fit the front end and it has been very usefull so far
5th fitted the sump guard on brackets welded to the subframe for easy removal
6th improved the fit of the flitch panel. the panel had to be sectioned to improve the door panel gaps
7th After alot of fettling of my pattern panels i have finally made them fit in a reasonable way, so prepped the a panel
and welded it on
8th prepped the wing for welding on
gaps for the wing which i think are pretty good
and finally welded
so there we are, now up to date
hope you like this very late update
next few tasks are
1>section part of the front panel by the headlight to make it fit better
2>prime and seam seal wing
3>undercoat wing and a panel
then i need to order some rustoleum and move on to driver side sill
1>finish drivers side heelboard end
2>paint sill with rustoloeum
3>fit drivers side sill
Lawrence
#66
Posted 06 October 2011 - 10:18 PM
excellent job there, like your fitting and the use of the dollies (new toys), your wing sits nice, yr getting good at this......
#67
Posted 10 October 2011 - 06:08 PM
hello again, smaller update this time
my origonal to do list was
1>section part of the front panel by the headlight to make it fit better
before
during
after (a much better fit)
2>prime and seam seal wing
partly done, just under the wing left to do
3>undercoat wing and a panel
seam sealing will be finished tommorow and then ill paint it all in rustoluem
4>finish drivers side heelboard end
still to start
5>paint sill with rustoloeum
inner is now done as well as the floor, enclosed area still to be done (rustoluem is a great paint!!)
6>fit drivers side sill
doorstep prepped to be ready to welded in, including the drilling for plug welds
more work happening tommorow as i have most of the day off
hope you like
Lawrence
#68
Posted 10 October 2011 - 06:54 PM
Think that's the first time I have seen pics of a 'make it fit better' repair. Very useful thanks, but hoping that my heritage front end fits better than the pattern parts I have used!!
How have you put the rustoleum on and how has it settled, shiny or matish??
Graham
How have you put the rustoleum on and how has it settled, shiny or matish??
Graham
#69
Posted 11 October 2011 - 09:13 AM
thanks grahama, bet your heritage front will fit better than mine, i just cant afford heritage maybe for the next mini!
the rustoleum i put on just like it said on the tin, rub down with a wire brush, below it is a mix of red oxide and zinc primer and it seems to cover red oxide very well, i used a soft paintbrush to try and keep it smooth and its dried shiny. hope this helps
today will be a rolling update day as ive brought my laptop to the garage
tasks are
1> cut and weld doorstep panel
2>prep rest of doorstep lip for plug welding
3>rub down and paint sill inner box section and sill
4>finish sealing and painting drivers side wing and a panel
Lawrence
#70
Posted 11 October 2011 - 10:44 AM
first update today
grotty doorstep removed ready for shiny new one
partly welded in
fully welded in
and ground down
now onto the front wing
grotty doorstep removed ready for shiny new one
partly welded in
fully welded in
and ground down
now onto the front wing
#71
Posted 11 October 2011 - 12:19 PM
2nd update of today
added a run of welds to the scuttle join to try and prevent paint cracking later on in the seam
finished welding the front panel to the wing
just got a small dent to fill on the scuttle then i will seam seal and prime it
seam sealed the font wing
time for a monster bacon sandwich to get my strength back
hope you like
Lawrence
#72
Posted 11 October 2011 - 02:33 PM
3rd and final update of today am im working from 4
wing all painted in my new best friend rustoleum, seems a shame to slap a load of underseal over this shinnyness now! ive sealed round the headlight ring to try and prevent rust
inner sill also painted up so looking proper mint
hole being filled for arial
metal disk made
tacked
ground down,will need a slight skim of filler but not alot
lastly outer sill painted
tommorows work will be
1>finish prepping the doorstep for the new sill
2>fit the rear subframe so i can line up the last subframe mount
3>weld in rear subframe mount
4>fit drivers side sill
thats all for today folks
hope you like
Lawrence
#73
Posted 11 October 2011 - 04:42 PM
Top work there 
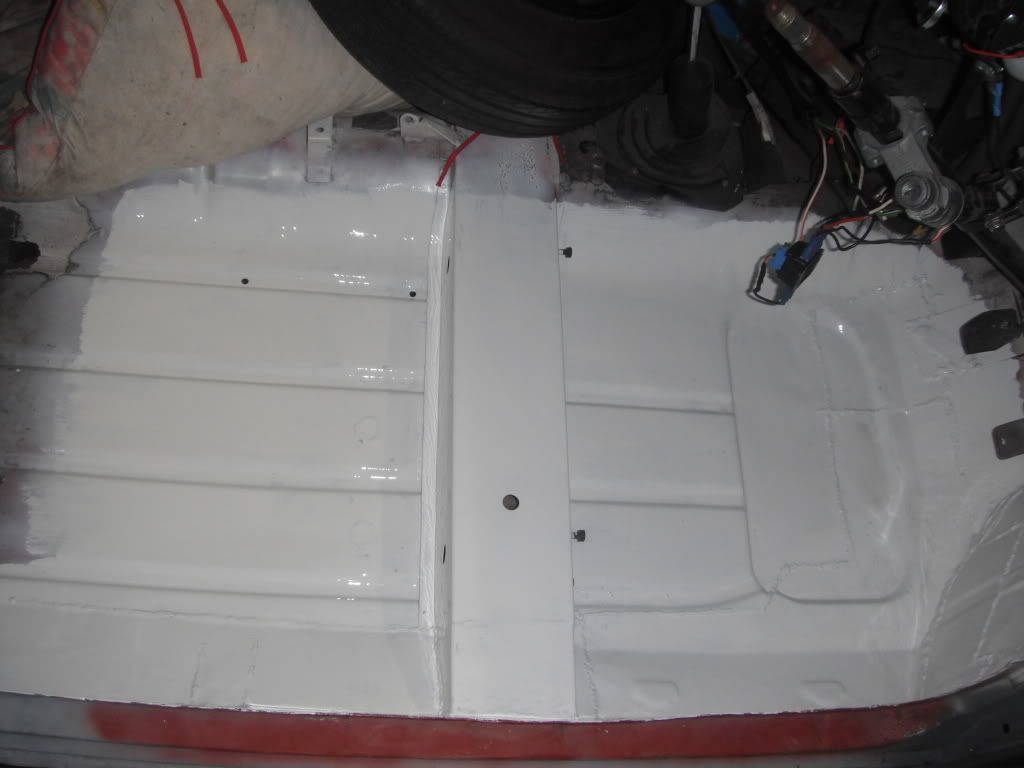
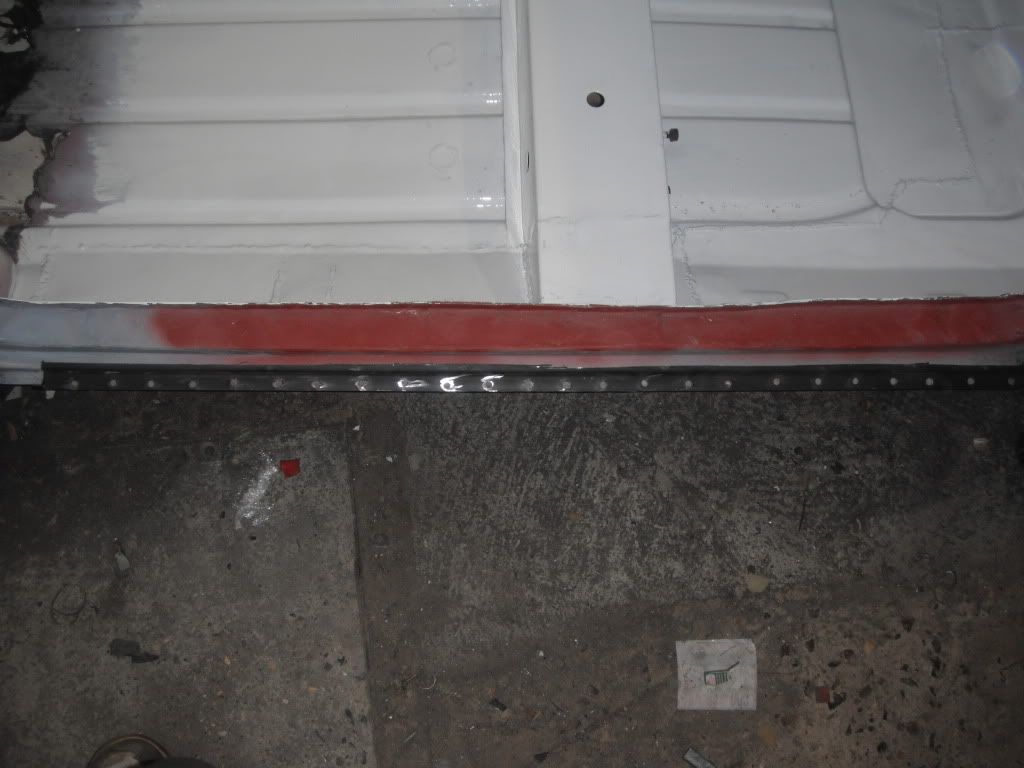
You've come along way from when you started the project. There is nothing better than looking back at where you started off and seeing all the work you achieved
#74
Posted 11 October 2011 - 09:01 PM
thanks craig, yeah i do agree with that, its just nice to know theres less rust and shes a bit safer!
more updates tommorow
#75
Posted 12 October 2011 - 02:14 PM
so ive done a bit more work today inbetween shifts at work.
my tasks today were
1>finish prepping the doorstep for the new sill, this is now finished , i decided i would cut part of the rear quater panel off as it was a bit crusty
2>fit the rear subframe so i can line up and weld in the last subframe mount
i zinc primed the subrame mount panel and trimmed it to fit
fitted the rear subframe and lined up where to weld the panel in
welded it in
made the sill strenghtener panel and will weld this in once the sill is on
4>fit drivers side sill
i havent completed this all yet, howver may finish it after work at 8. what i have done is
clamped it on to check the fit which is good
i have also then removed it and zinc primed where i am plug welding through
next few tasks will be:
1>clean up underside of the boot floor
2>weld reinforcement patches the rear subframe mounts that are on the boot
3>cut out and weld 2 small patches on the passengers side of the boot floor
4>paint whole of boot floor with grey rustoleum
5>make 2 closing panels for the rear valance but in this style http://www.somerford...roducts_id=1217 this is to try and prevent a rust trap
5>Weld on rear valance
6>fill the debumpered rear seam and then prime
hope you like todays update, sorry about the poor photo quality but my cameras being borrowed
Lawrence
0 user(s) are reading this topic
0 members, 0 guests, 0 anonymous users