

BusheyTrader: Oh no! Poor Bruno! I haven't been keeping up with it lately so I didn't know

grahama: Cheers dude! I'll try!
mini_legend: Looks like you got a reasonable deal there. I'm liking the estates more and more lately. +1 for getting almost a whole car too - especially the indicator lights which I have found are pretty rare and expensive! I got a bit of discount on my welder because I had a shopping spree in machine mart that day. Google says they are about £260 now.
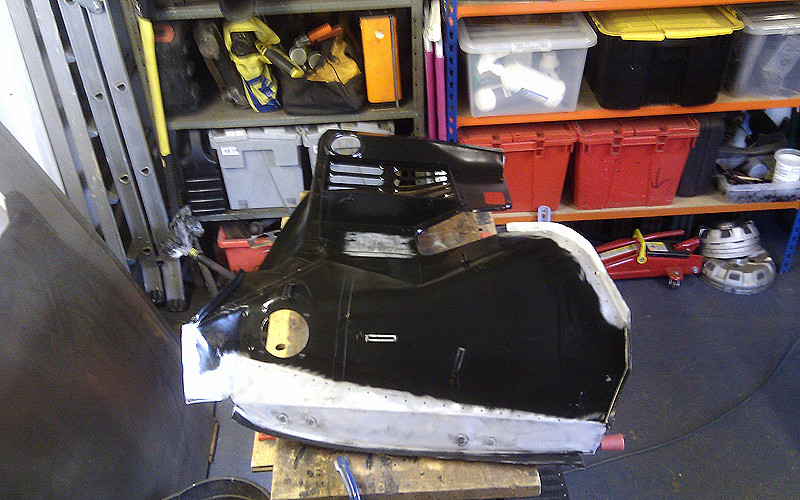
Finished off repairing this area today. Trying to keep as much form in the metal as possible to need minimal filler later. We now have a rust-free rear panel.


Also managed to get my home-made lip on.

It doesn't look like much but hopefully this little lot has saved me the cost of a new lower rear panel. Whoop!