Lovely neat work, pattern panels can be a trial at the best of times but you have done great work with thar qtr .


My Mk1 Mini Rebuild
Started by
minimikej
, Sep 26 2010 06:48 PM
202 replies to this topic
#61

grahama
-

- Members
-

- 2,442 posts
Up Into Fourth
- Location: Warrington
- Local Club: None in my area !!
Posted 24 August 2012 - 09:26 PM
#62
minimikej
-
- Members
-
- 355 posts
Speeding Along Now
- Location: Derbyshire
Posted 24 August 2012 - 09:33 PM
and p.s. there's no filler there at all yet; just welding and grit discs.
#63
minimikej
-
- Members
-
- 355 posts
Speeding Along Now
- Location: Derbyshire
Posted 24 August 2012 - 10:01 PM
I just read that again, makes me sound like a smunt. What I meant was, I haven't tried to 'tidy up' yet; there's still more grinding to be done in the corners but I don't seem to have the tools.and p.s. there's no filler there at all yet; just welding and grit discs.
#64
minimikej
-
- Members
-
- 355 posts
Speeding Along Now
- Location: Derbyshire
Posted 02 September 2012 - 10:11 AM
Hi folks
Does anyone have any pictures of what the lower B post looks like from the inside for a mk1/2 mini? Think there's something strange going on with my mini, looks to me like someone has cut them off just below the level of the top of the rear bins. I would have expected these to continue the box section down to the sill level?
Thanks
M
#65
minimikej
-
- Members
-
- 355 posts
Speeding Along Now
- Location: Derbyshire
Posted 08 September 2012 - 10:54 PM
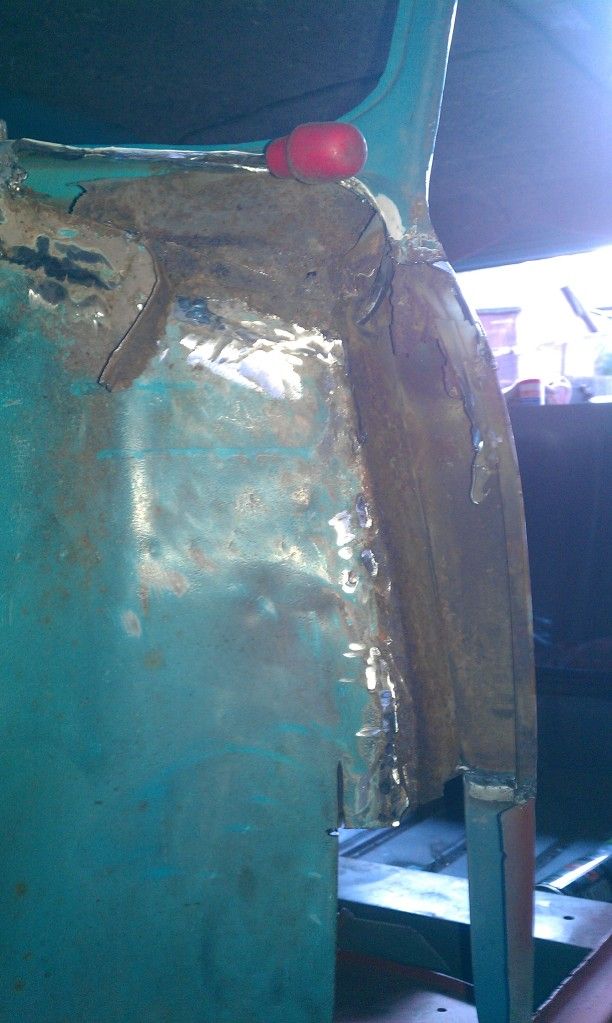
Had a really good day last weekend fitting the nearside rear bin, sill stiffener, closing plate, door dstep and rear quarter. Decided to seam weld along the inner and outer sill lines. Will need to do the same to the nearside.
Took a different approach with this quarter as the window edge was fine and I learnt from the other side that to get a nice radius around the B post I would have to cut on the outside face. Oncve again, there was no way I could line up all three of the rear seam, sill line and B post line. Settled for sill and rear seam, and cut vertically down the leading edge to fit.
Got the inner wheelarch offered up. Good fit apart from the rear lower edge. May have to unweld at the join with the boot floor, maybe it will go with some persuasion.
Dropped the support bracket in to see if it's likely to fit, looks ok.

Hopefully get both rear inners in tomorrow.
Cheers
Mike
Took a different approach with this quarter as the window edge was fine and I learnt from the other side that to get a nice radius around the B post I would have to cut on the outside face. Oncve again, there was no way I could line up all three of the rear seam, sill line and B post line. Settled for sill and rear seam, and cut vertically down the leading edge to fit.
Got the inner wheelarch offered up. Good fit apart from the rear lower edge. May have to unweld at the join with the boot floor, maybe it will go with some persuasion.
Dropped the support bracket in to see if it's likely to fit, looks ok.
Hopefully get both rear inners in tomorrow.
Cheers
Mike
Edited by minimikej, 08 September 2012 - 10:56 PM.
#66
minimikej
-
- Members
-
- 355 posts
Speeding Along Now
- Location: Derbyshire
Posted 09 September 2012 - 07:27 PM
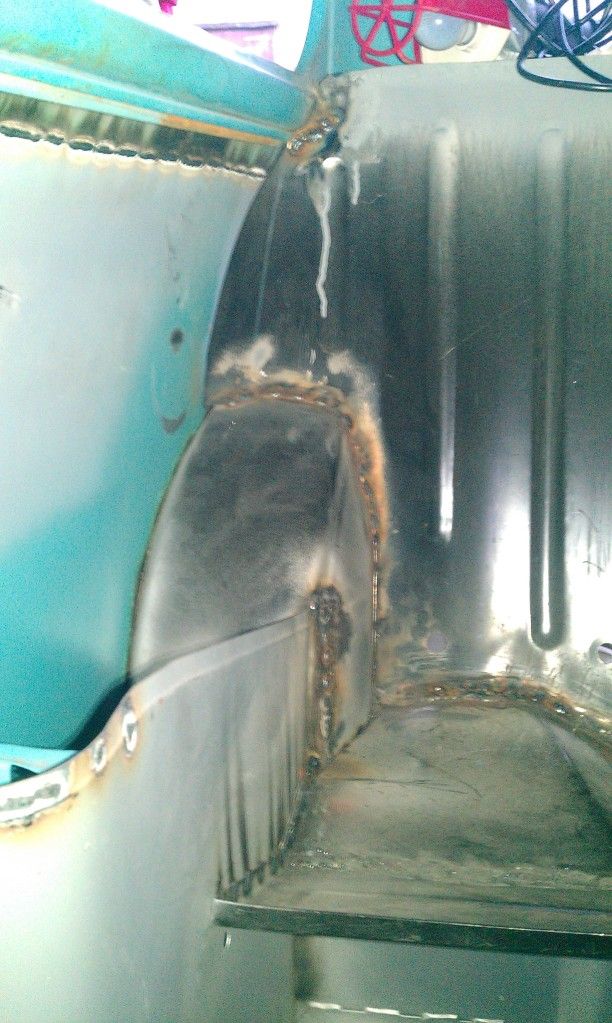
Well I got a little of what I'd hoped for done today. Offside rear inner wheelarch is now welded in and I'm relieved that the 'oil canning' of the rear quarter I'd noticed has gone which means I don't have to learn any new metal stretching techniques with hammer and dolly. Yet.
Then I ran out of petrol in the generator and it felt like time to go home because the missus had already dropped by for a mooch around.
I offered the nearside inner real wheelarch up and with a little more persuasion it is now a good fit and the heights from turret to bot floor inside the boot are now onlt 1/8 inch different (previous attempts were an inch out!). In order to do this I loaded the rear seat with concrete blocks and used a jack and hammer handle to bully the arch into position. Has to be said, even with heritage panels the curvature of the inner wheelarch and boot floor is different. By forcing it into position and aplying hammer it fell into a naturally happy join.
Cheers
Mike
p.s. I answered my own question about the B post internals by checking on my other mk1 saloon. The box section ends at the top of the rear bins under the 'saucer' plate and does not continue down to the inner sill. This means, people, that your rear bins are structural in my opinion...
#67
minimikej
-
- Members
-
- 355 posts
Speeding Along Now
- Location: Derbyshire
Posted 23 September 2012 - 04:45 PM
Hello.
Some more progress - a couple of jobs I was not lloking forward to. My welding is ok when I can see and get to what I'm welding, and can clamp it together properly. I dread the places where I can't... Today I got the rear bulkhead plug welded to the new rear wheel arches and got the strengthening brackets welded in. Made sure everything was really clean and was brave and really cranked up the welder and wire speed :)
Turned out better than I'd hoped - phew.
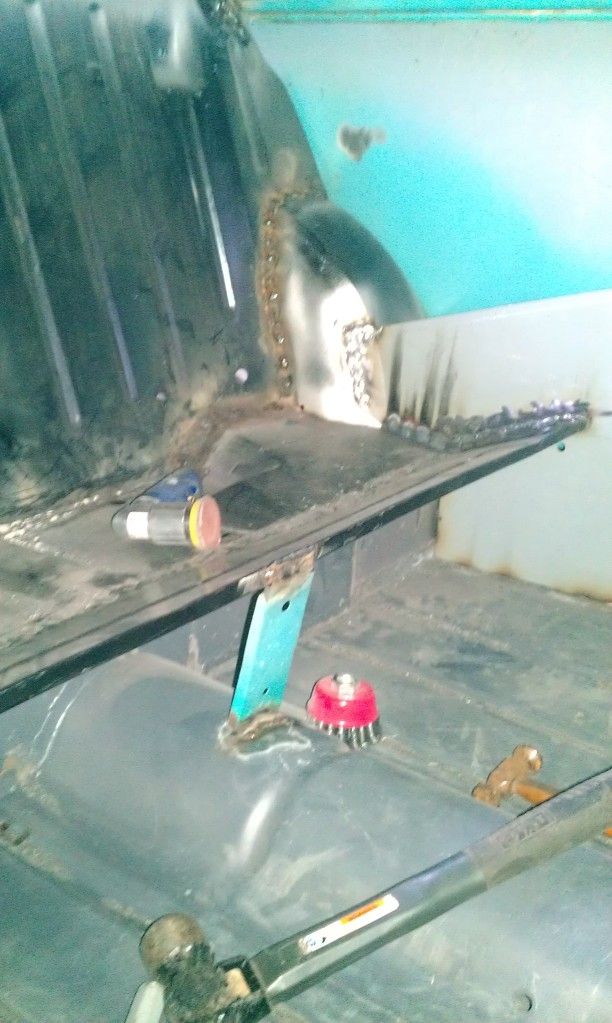
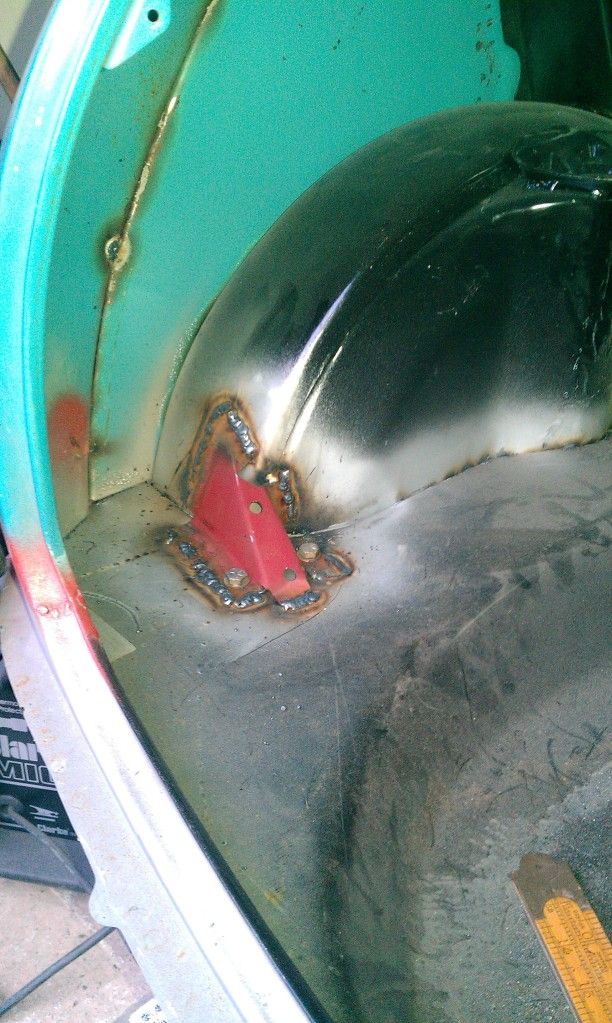
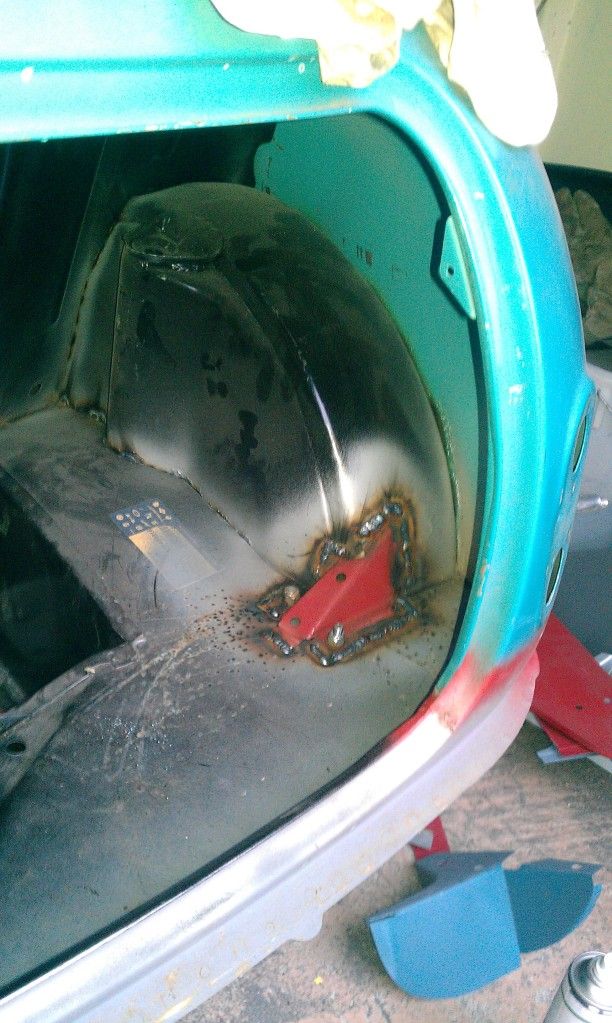
Really feel like I'm making progress now - nearly time to roll the shell over and do the panels under the boot floor, valance, and whatever seam welding and tidying up needs to be done...
Cheers
M
Some more progress - a couple of jobs I was not lloking forward to. My welding is ok when I can see and get to what I'm welding, and can clamp it together properly. I dread the places where I can't... Today I got the rear bulkhead plug welded to the new rear wheel arches and got the strengthening brackets welded in. Made sure everything was really clean and was brave and really cranked up the welder and wire speed :)
Turned out better than I'd hoped - phew.
Really feel like I'm making progress now - nearly time to roll the shell over and do the panels under the boot floor, valance, and whatever seam welding and tidying up needs to be done...
Cheers
M
Edited by minimikej, 23 September 2012 - 04:47 PM.
#68
miniman_7
-

- Members
-
- 286 posts
Mini Mad
- Location: Prestwood, Bucks
- Local Club: Looking...
Posted 23 September 2012 - 04:56 PM
Some great progress there.
Feels good to get some fresh metal in there huh?
Feels good to get some fresh metal in there huh?
#69
minimikej
-
- Members
-
- 355 posts
Speeding Along Now
- Location: Derbyshire
Posted 23 September 2012 - 07:08 PM
Some great progress there.
Feels good to get some fresh metal in there huh?
Yeah, really does. The clock is ticking now to get the bodywork done by early next year; hopefully something a little smaller coming along to occupy my time and resources...
How's your mk1 coming along?
#70
miniman_7
-
- Members
-
- 286 posts
Mini Mad
- Location: Prestwood, Bucks
- Local Club: Looking...
Posted 24 September 2012 - 05:13 PM
How's your mk1 coming along?
Slowly, but want to get the body prepped as best I can.
Hope to get a bit of primer on tomorrow......
#71
minimikej
-
- Members
-
- 355 posts
Speeding Along Now
- Location: Derbyshire
Posted 21 October 2012 - 08:30 PM
Had a couple of hours on the mini this weekend.
Replaced the n/s inner rear window channel. I didn't know that these were available but saw one on another thread. From Somerford Mini (great service by the way)
Next got round the front and hacked about with the air chisel. I had hoped to get away without too much surgery here but not to be. How many layers are there supposed to be in the windscreen scuttle???
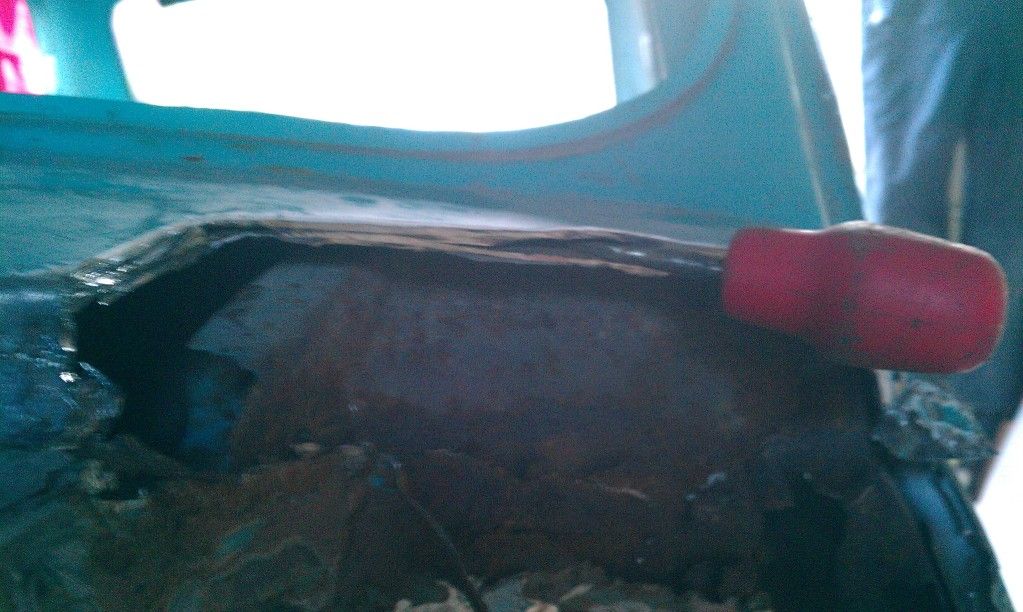
Finally, with the inner and outer A panels out the way, more rot
As the light faded I played about with the n/s door. The bits I'd measured and fretted about, the frame top to doorstep are bang-on. The rear quarter vertical is a mile out towards the sill. I really don't know why; I left the original vertical edge in place when I replaced the quarter. If memory serves me right though the old doors didn't fit either. However, I think some subtle surgery will get things right.
Cheers
Replaced the n/s inner rear window channel. I didn't know that these were available but saw one on another thread. From Somerford Mini (great service by the way)
Next got round the front and hacked about with the air chisel. I had hoped to get away without too much surgery here but not to be. How many layers are there supposed to be in the windscreen scuttle???
Finally, with the inner and outer A panels out the way, more rot
As the light faded I played about with the n/s door. The bits I'd measured and fretted about, the frame top to doorstep are bang-on. The rear quarter vertical is a mile out towards the sill. I really don't know why; I left the original vertical edge in place when I replaced the quarter. If memory serves me right though the old doors didn't fit either. However, I think some subtle surgery will get things right.
Cheers
Edited by minimikej, 21 October 2012 - 08:32 PM.
#72
minimikej
-
- Members
-
- 355 posts
Speeding Along Now
- Location: Derbyshire
Posted 24 November 2012 - 09:54 PM
Done a little more on the mini but haven't had much time recently.
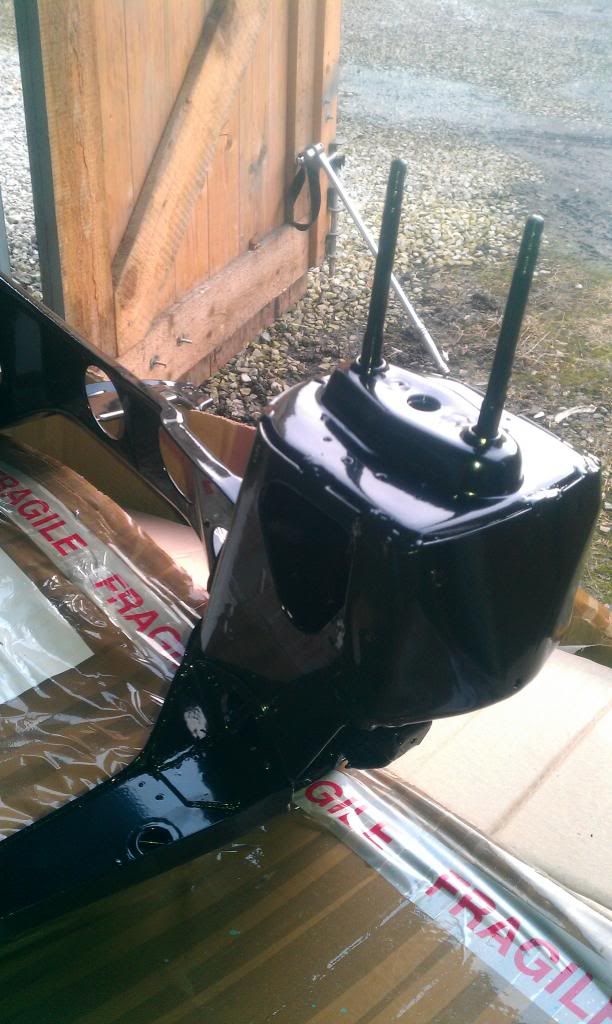
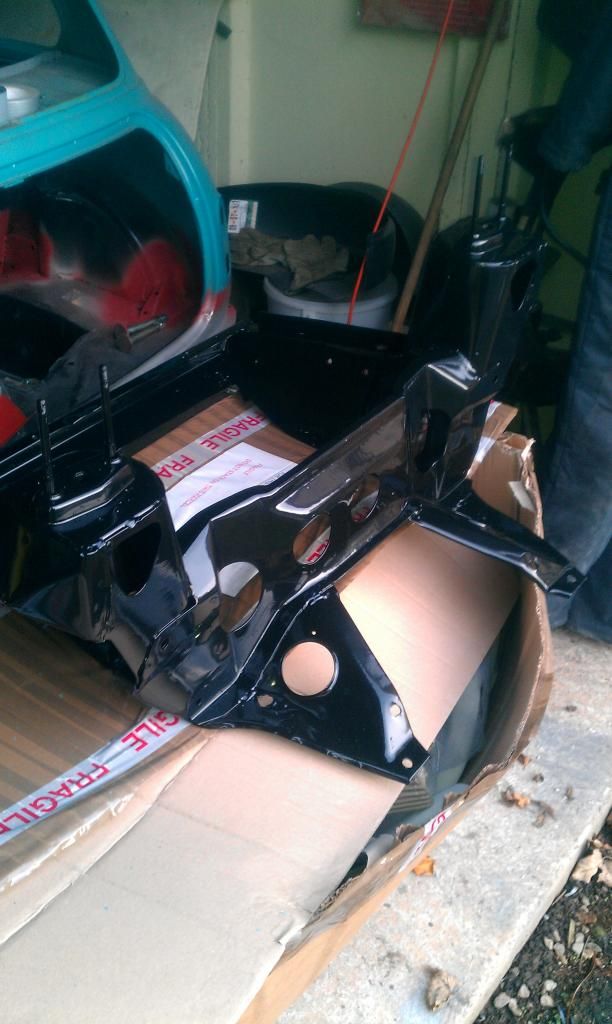
First off, I sent the front and rear subframes off to be blasted and powder coated. I used Chicago coatings in Mossley, they did an excellent job:

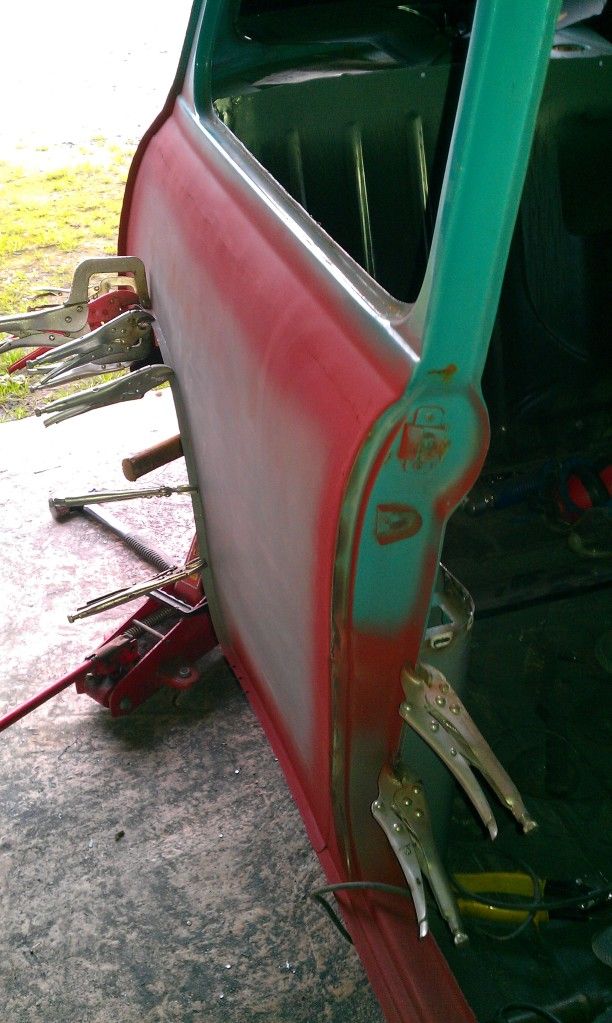
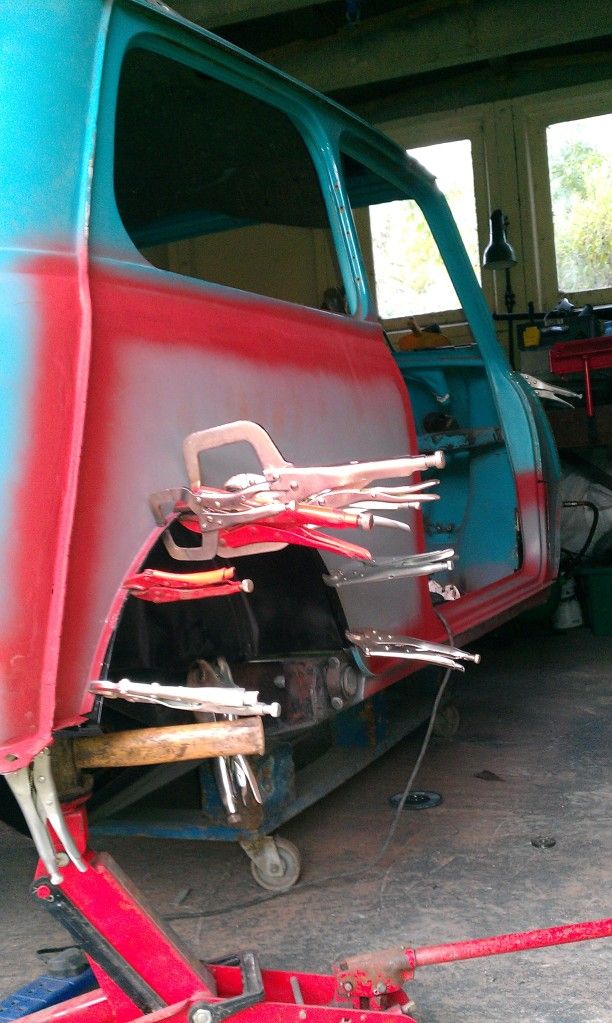
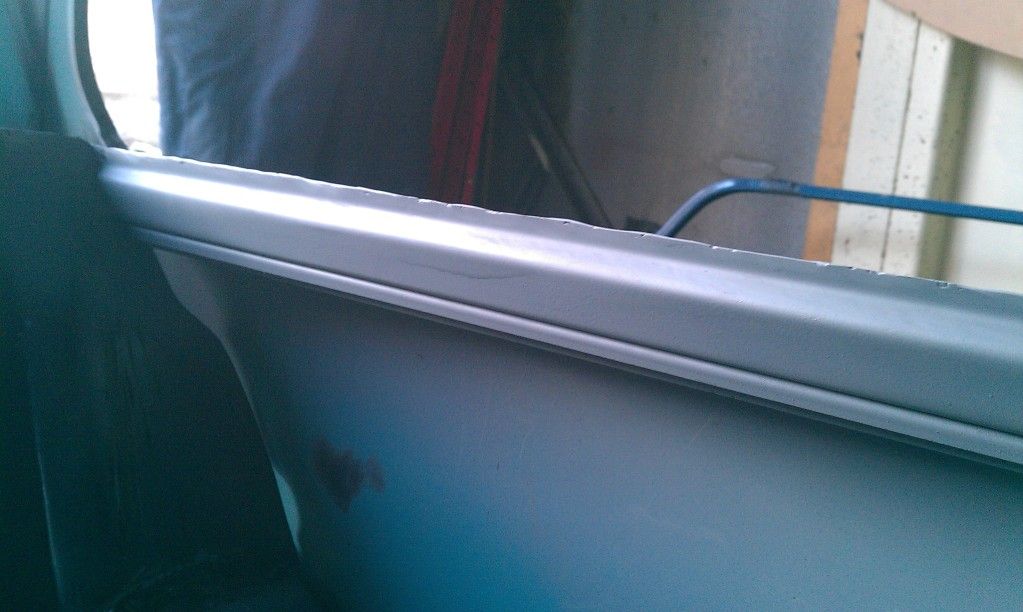
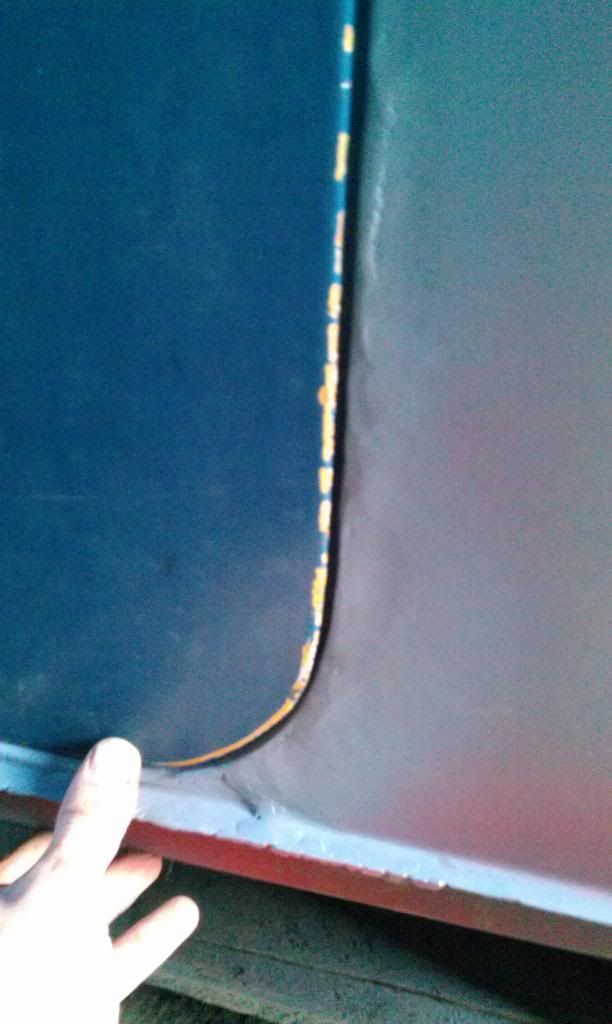
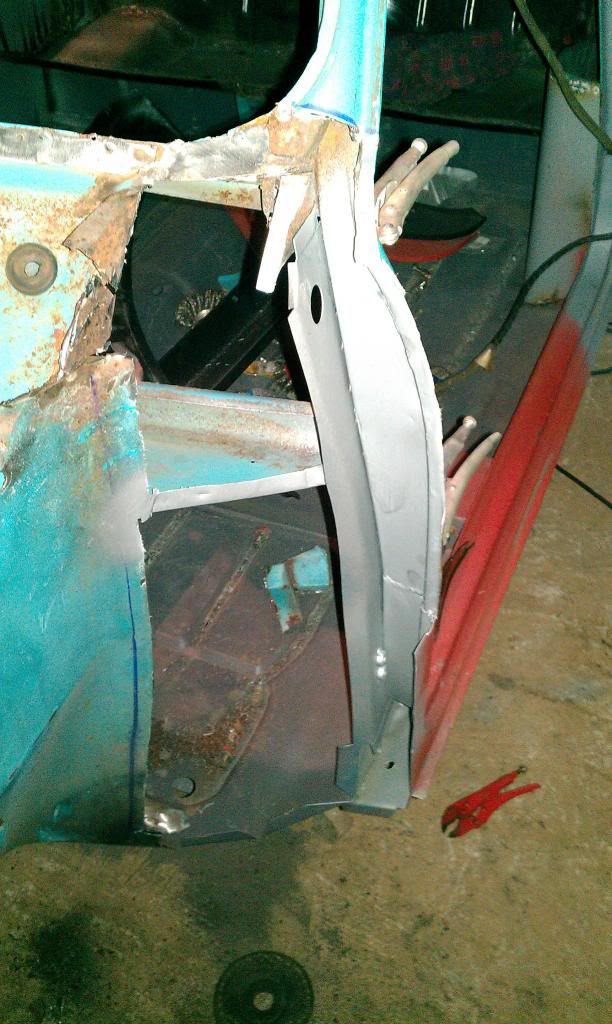
The only other "progress" was trying to sort out the mess I'd made on the passenger door gaps. I knew after I'd fitted the rear quarter that I'd taken the wrong approach, but experience is expensive as they say
So it was either chop the lot out and replace it, or try and fix it. I cut a slit down the wing a few mm in from the B post, did a lot of hammering and welded the gap back up.
It's by no means perfect but at least the door fits in the frame now. Pretty certain that I can get the door gaps even all round. If I'm not happy with it as things progress I guess I may chop it out and do it again. Does anyone know if you can buy just the B post for a mk1/2 ???
Hoping to start work on the front panels tomorrow if I manage to escape for a bit.
First off, I sent the front and rear subframes off to be blasted and powder coated. I used Chicago coatings in Mossley, they did an excellent job:
The only other "progress" was trying to sort out the mess I'd made on the passenger door gaps. I knew after I'd fitted the rear quarter that I'd taken the wrong approach, but experience is expensive as they say
So it was either chop the lot out and replace it, or try and fix it. I cut a slit down the wing a few mm in from the B post, did a lot of hammering and welded the gap back up.
It's by no means perfect but at least the door fits in the frame now. Pretty certain that I can get the door gaps even all round. If I'm not happy with it as things progress I guess I may chop it out and do it again. Does anyone know if you can buy just the B post for a mk1/2 ???
Hoping to start work on the front panels tomorrow if I manage to escape for a bit.
#73
mad mk1
-

- Members
-
- 746 posts
One Carb Or Two?
- Location: woking
- Local Club: TurboMinis.co.uk
Posted 25 November 2012 - 10:31 AM
Looks good mate keep up the good work.
#74
tommy13
-

- Members
-
- 878 posts
One Carb Or Two?
Posted 25 November 2012 - 04:07 PM
You are doing an excellent job on this rebuild. Once the shell is painted and bits are going back on it becomes a real pleasure.
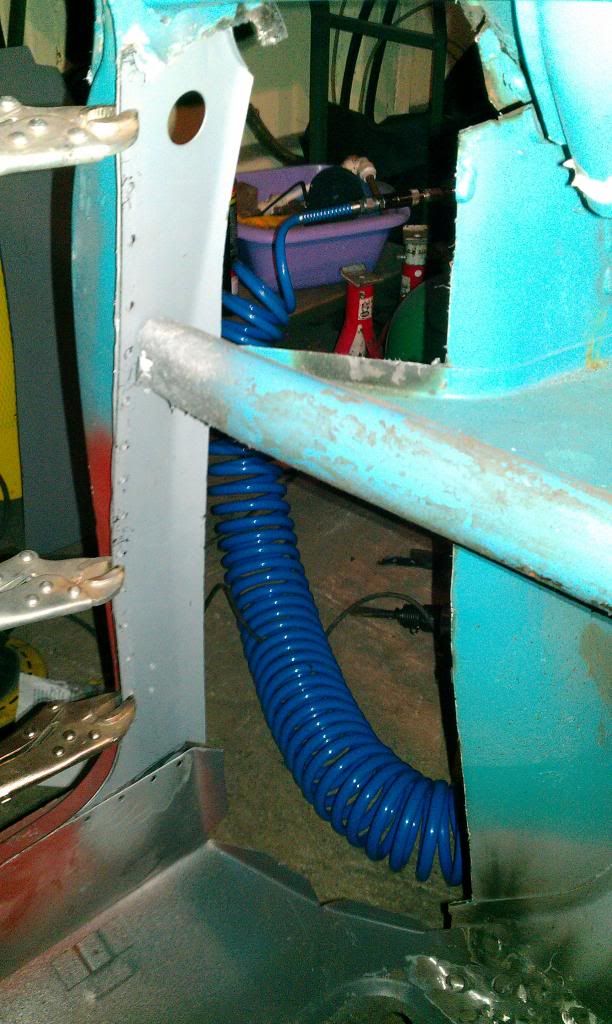
below is a pic of inner B post from a MK1 . hope it may help.

below is a pic of inner B post from a MK1 . hope it may help.
#75
minimikej
-
- Members
-
- 355 posts
Speeding Along Now
- Location: Derbyshire
Posted 09 December 2012 - 09:29 AM
Where do people find the time? Managed to get an hour at the garage yesterday before the light went.
Got the air chisel out and chopped out the remains of the A pillar internals on the passenger side. The air chisel is great for separating spot welded seams without too much distortion.
Offered up the new piece - it's an M-Machine panel and fits great.
Hopefully be able to get out and weld it up later.


2 user(s) are reading this topic
0 members, 2 guests, 0 anonymous users


