Wow i havent been on here for a bit and this project is really taking shape i love it! its going to look like a well nice estate once done, not that it didnt before, very retro mini, cant wait to have mine back on the road now!

1971 Clubman Estate....now Turbo
Started by
woodenman23
, May 23 2011 10:34 PM
297 replies to this topic
#121

minimissions
-

- Members
-

- 3,427 posts
Up Into Fourth
- Location: North West
- Local Club: M.M.O.C
Posted 04 May 2012 - 10:13 PM
#122
woodenman23
-
- Noobies
-
- 299 posts
Mini Mad
Posted 06 May 2012 - 11:08 AM
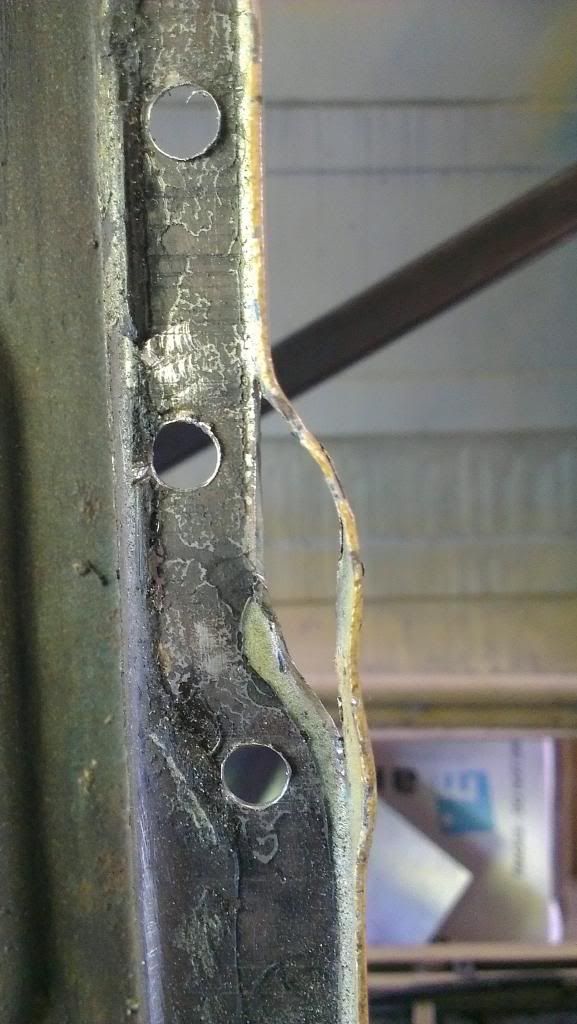
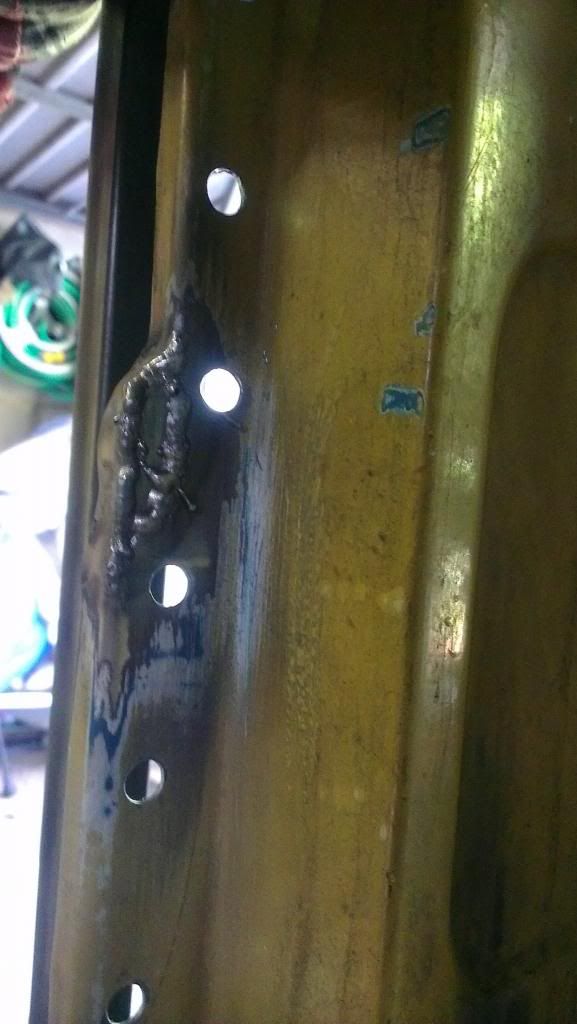
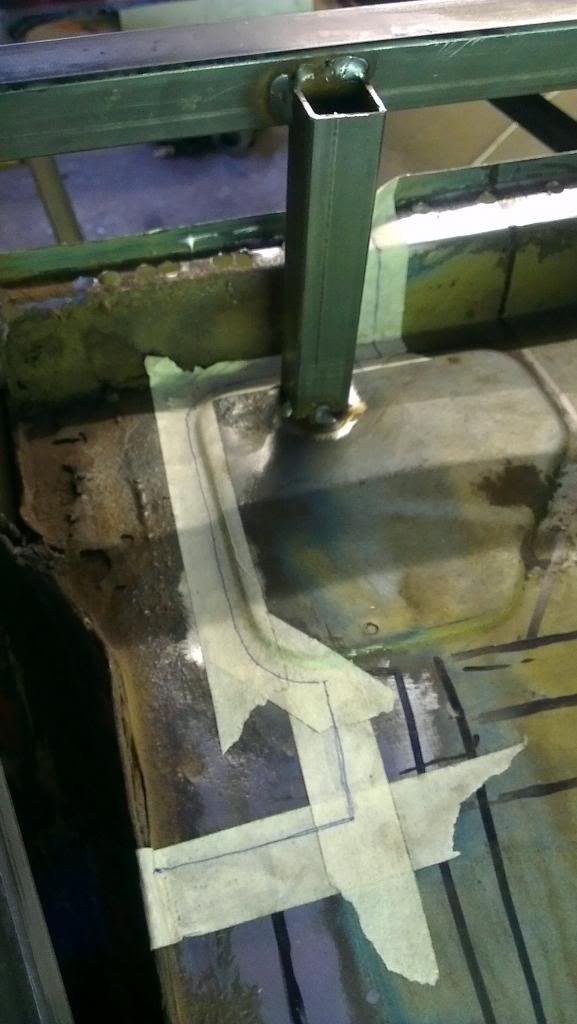
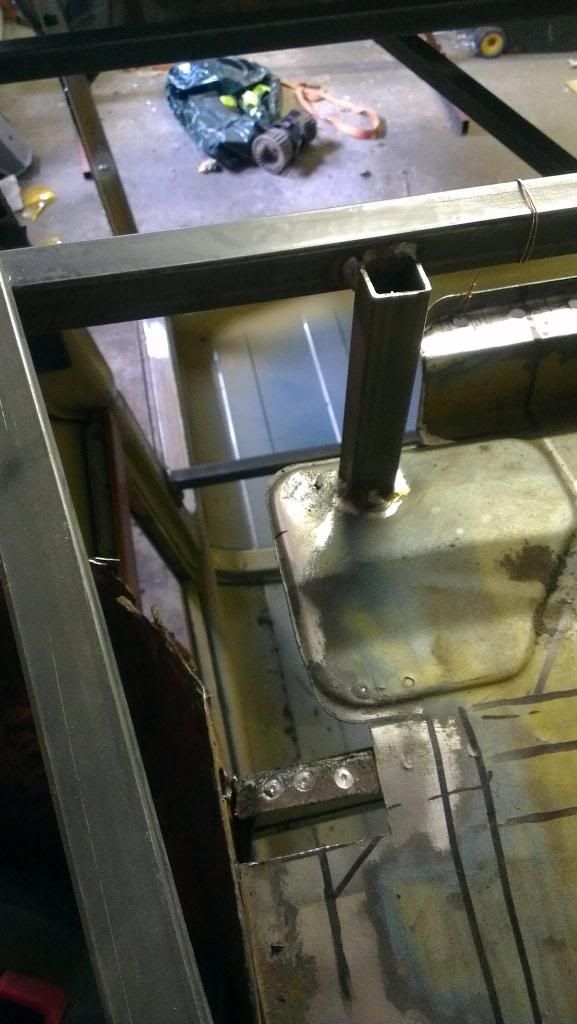
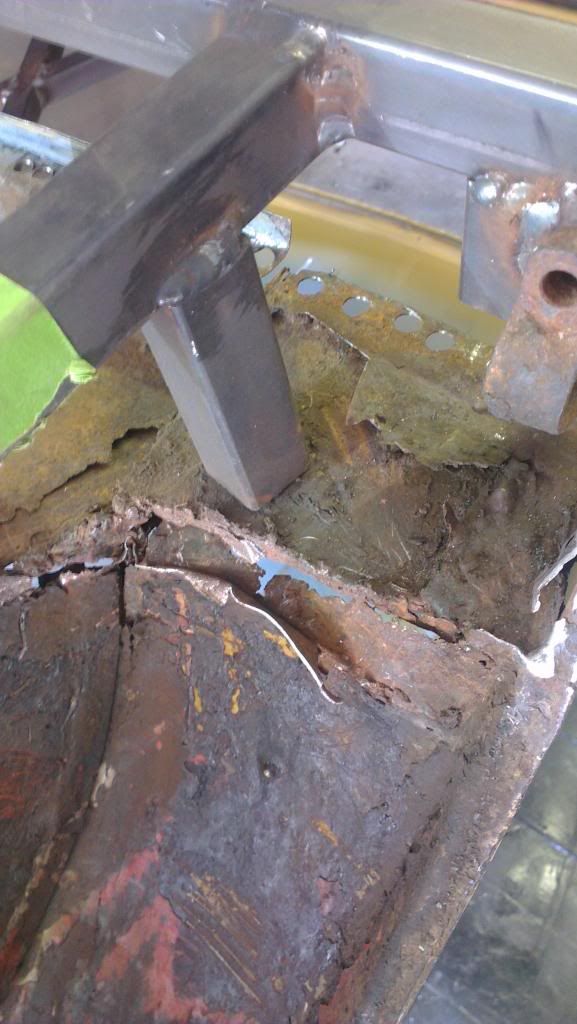
I have another problem with the heel board 
Basically yesterday I was working on the heel board, making sure it was sitting right. I got it sitting nicely against the boot floor with out having to pull it together and then went to line it up to the jig I made, but it doesn't. Its meant to be able to bolt to the jig via the subframe fixing points. I bolted one side in went to do the other but you could clearly see that it wouldn't fit.
At first I thought it was my jig that was wrong, but that is solid and there is no way that it has moved. I then measured from the centre of the holes where the subframe fixes to, on both the new heritage heel board and the original one ( didn't look like it had ever been changed nor had it been repaired before, so believe it's original).
Original measured: 1,279mm
Heritage measured: 1,283mm
A difference of 4mm.
At this point I believed it was the heritage panel at fault but after some internet thrashing I found a number of different diagrams and they all said that it should measure 1,282.7mm (50 1/2 in), which means the heritage one is spot on.
http://www.theminiforum.co.uk/forums/topic/48070-subframe-measurements/
As a result of all this my jig is now rendered useless, and now have to try and line up the heel board a different way.
I have started by finding the centre line of the car and using string pulled tight to mark it, then I found the centre line for the heritage heel board so that I can line it up with that of the car. I'm scared to do anything at moment in case I haven't got in the right place.
Has anyone had experience of this before?
Why is there such a difference from the original heel board and the heritage one?
Is there anything else I can do to ensure its in the correct place?
Your help would be most welcome, really don't want to screw this up.
Liam
#123
BusheyTrader
-

- TMF+ Member
-
- 484 posts
Speeding Along Now
- Location: Bushey
- Local Club: Nope
Posted 06 May 2012 - 01:26 PM
Hi,
I wish I'd seen your link before I started on my heelboard.
http://www.theminifo...e-measurements/
My original heelboard had the centrepoints of the subframe mounting points 50 1/2" apart. The captive nuts on the Heritage item I bought aren't perfectly in line with the respective holes in the heelboard, they're a few millimetres horizontally off centre. (Could that account for your lost few millimetres?) However, it's no longer in one piece so I can't measure how far apart the captive nut centres are. The centre section on the original was in great shape so I'm using the ends as repair panels.
Adam
#124
Brams96
-

- Members
-
- 2,308 posts
Up Into Fourth
- Local Club: Kentish Mini Club
Posted 08 May 2012 - 05:37 AM
You could try lining up the heal board so it fits all around the edges then see how far out the holes are, remove the nuts & reweld them in the correct place.
The other option is removing your subframe jig & refitting the actual subframe to see what lines up, after all its the subframe that needs to fit back on.
I'm liking the door pods too, they look really good.
The other option is removing your subframe jig & refitting the actual subframe to see what lines up, after all its the subframe that needs to fit back on.
I'm liking the door pods too, they look really good.
Edited by Brams96, 08 May 2012 - 05:38 AM.
#125
norris2002
-

- Noobies
-
- 73 posts
Stage One Kit Fitted
- Location: SE London
Posted 08 May 2012 - 11:47 AM
Once the placement of the nuts is confirmed, put a bit of extra weld behind the nuts to make them extra safe. When mocking up the back end on mine, the captive nuts became free, so the subframe could not be tightened. Luckily this was noticed before the car was sprayed, as a hole had to be cut to get the welder in and fix the nut back on. I'm pretty sure these were heritage heelboard repair panels.
Neil.
Neil.
Edited by norris2002, 08 May 2012 - 11:48 AM.
#126
woodenman23
-
- Noobies
-
- 299 posts
Mini Mad
Posted 08 May 2012 - 01:57 PM
Thanks for the comments guys, I think I'm going to continue doing what I'm doing with lining the heel board up with the centre line of the car. Then do a few more checks before I do anything drastic like cutting and drilling.
Thanks for the heads up about, securing captive nuts on the heel board.
Thanks for the heads up about, securing captive nuts on the heel board.
#127
2Black
-

- Noobies
-
- 38 posts
On The Road
- Location: Wijchen
- Local Club: Mini7Club Nederland
Posted 09 May 2012 - 08:27 AM
Reading through all this projects' pages with mounting admiration...  .
.
That is an enormous amount of work you're putting yourself through, I would never be able (or willing) to do anything like this.
Respect! And keep it up, it's going to be a great car.
.That is an enormous amount of work you're putting yourself through, I would never be able (or willing) to do anything like this.
Respect! And keep it up, it's going to be a great car.
#128
woodenman23
-
- Noobies
-
- 299 posts
Mini Mad
Posted 13 May 2012 - 06:43 PM
It is the anniversary of the crash today which means it's almost a year since I started this project. Where has the time gone.
Thanks 2Black, before I started this build I didn't know anything about car restoration, and I couldn't weld. I learnt so much just by reading other peoples build threads.
which means it's almost a year since I started this project. Where has the time gone. Thanks 2Black, before I started this build I didn't know anything about car restoration, and I couldn't weld. I learnt so much just by reading other peoples build threads.
#129
alex-95
-

- Members
-
- 6,078 posts
I am THE CLAMP MAKER
- Location: l
Posted 03 July 2012 - 12:27 PM
Any update's?
#130
SamMayfair1996
-

- Members
-
- 193 posts
Mini Mad
- Location: Near Tunbridge Wells, Kent, UK
Posted 16 August 2012 - 09:36 PM
Any updates? Looked like it was going so well, hope your all on the road and your excitement has meant youve forgotten to post.
#131
alex-95
-
- Members
-
- 6,078 posts
I am THE CLAMP MAKER
- Location: l
Posted 01 November 2012 - 08:53 PM
Any update's woodenman?
#132
woodenman23
-
- Noobies
-
- 299 posts
Mini Mad
Posted 01 November 2012 - 09:07 PM
Hell it's been a long time since I've even looked at my thread.
I haven't totally forgotten about it and have been doing a fair bit of work on it recently. I went a long time without even looking at the car in fear that the neighbor would complain about noise. We have now come to some sort of arrangement which allows me to progress.
When I get time I'll do a little write up to bring you all up to date.
Edited by woodenman23, 01 November 2012 - 09:13 PM.
#133
woodenman23
-
- Noobies
-
- 299 posts
Mini Mad
Posted 04 November 2012 - 08:54 PM
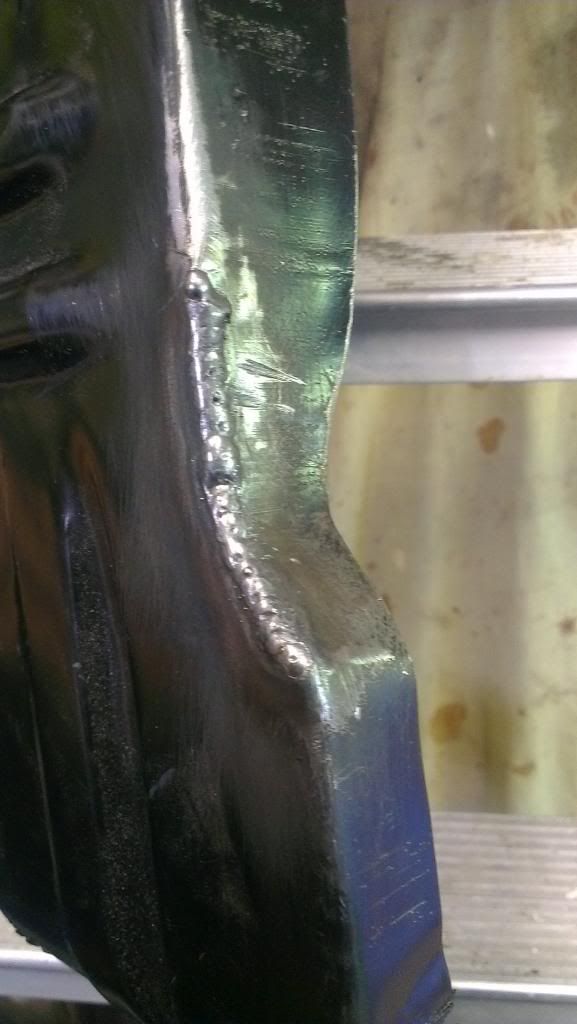
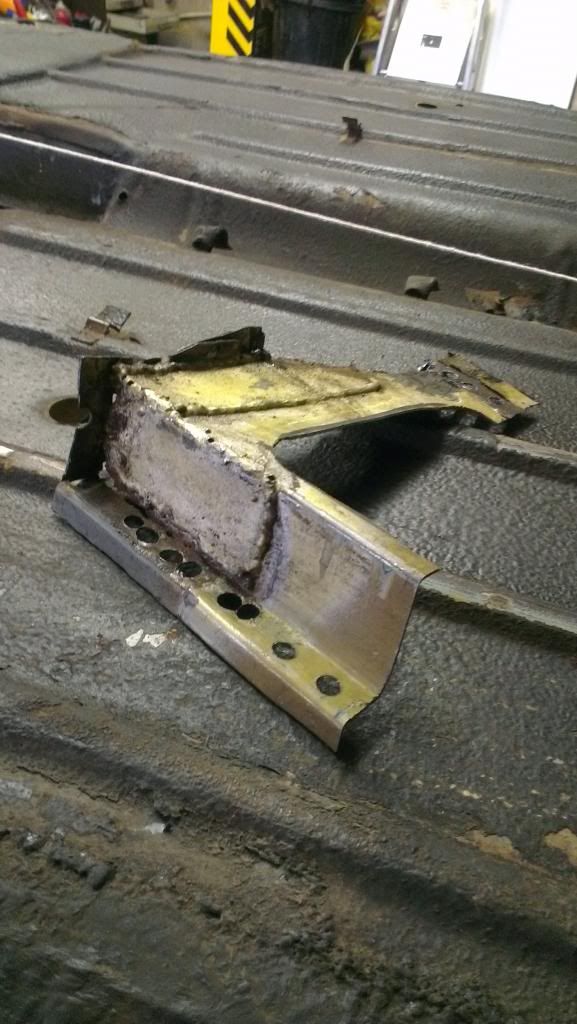
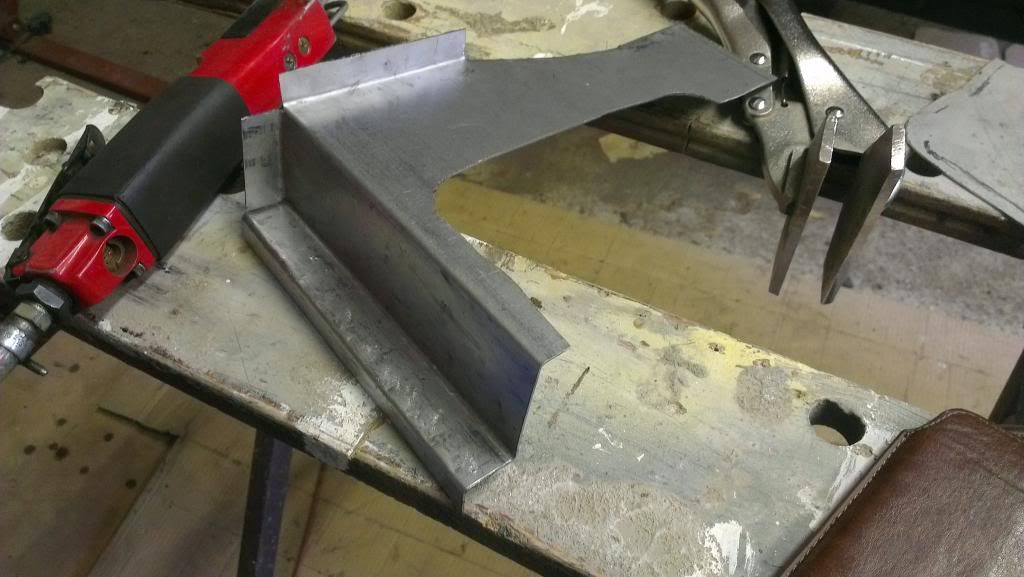
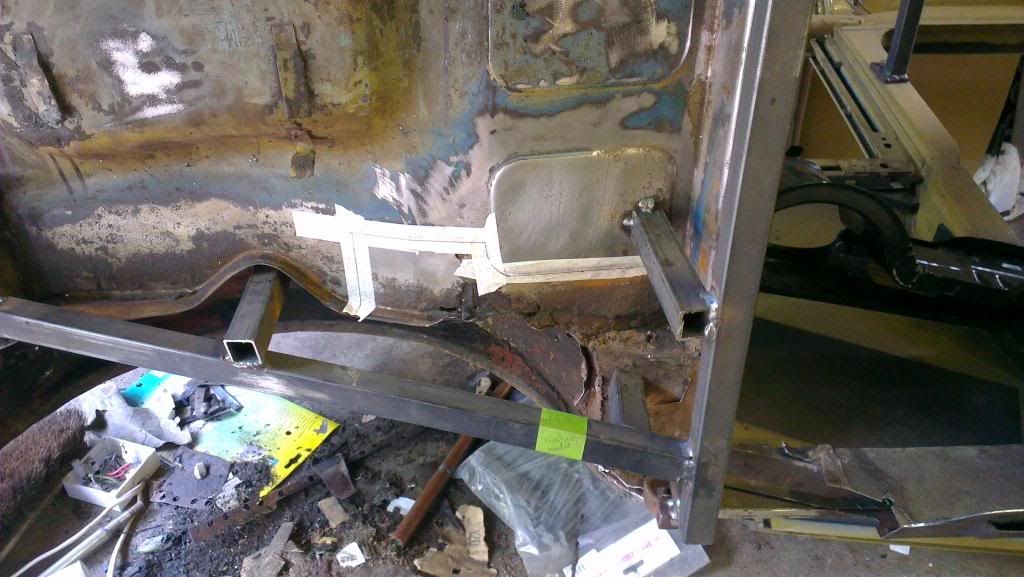
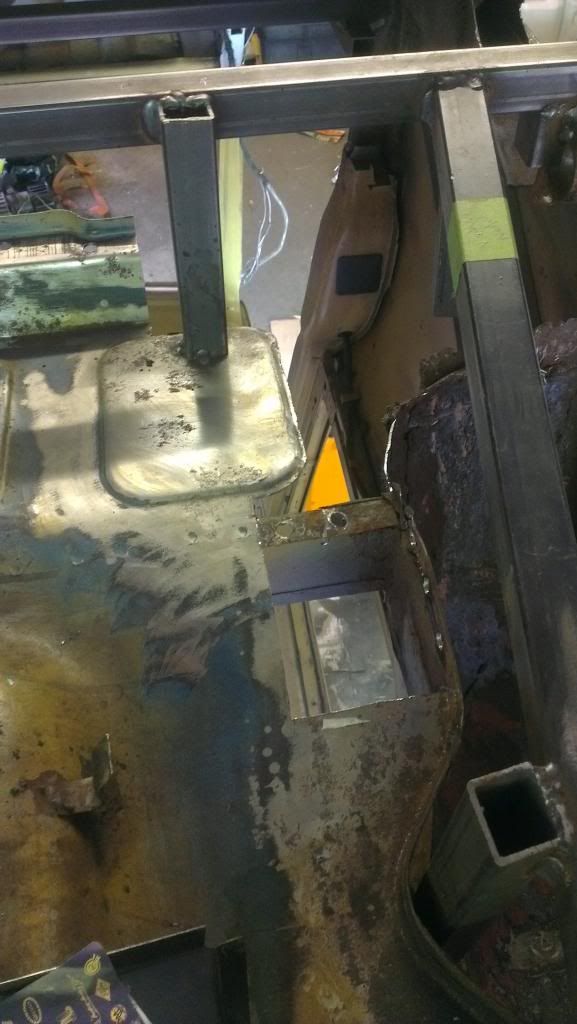
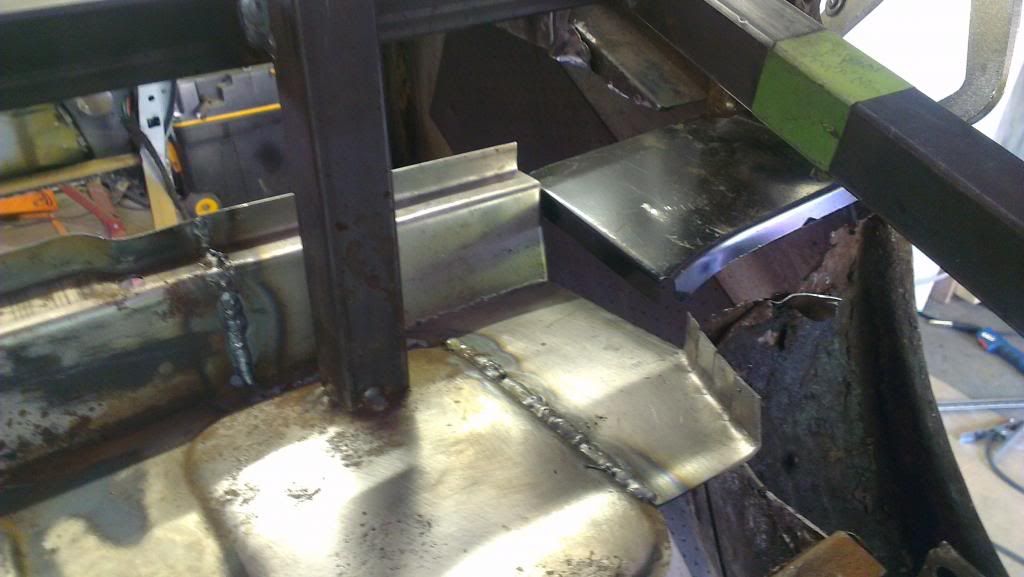
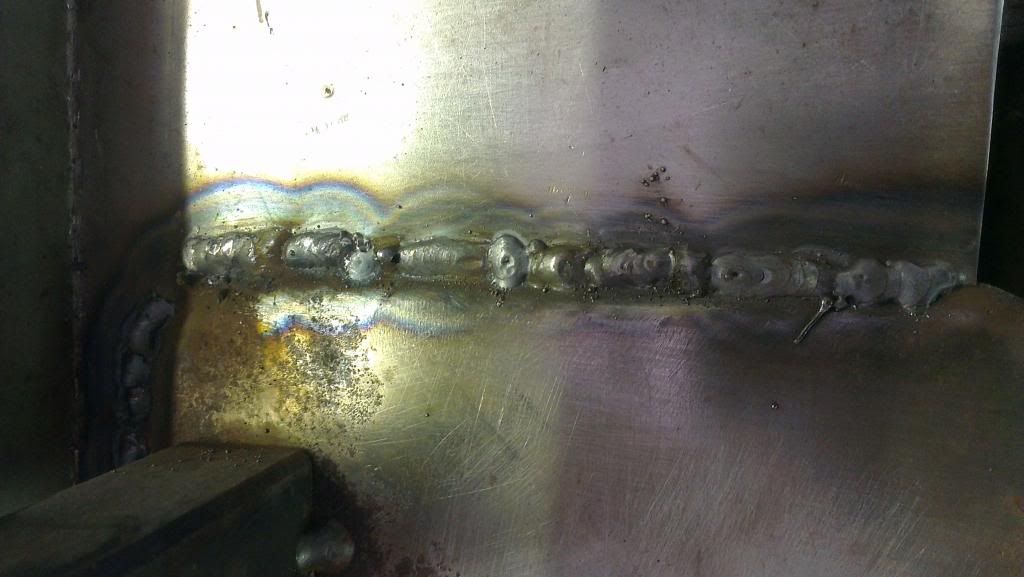
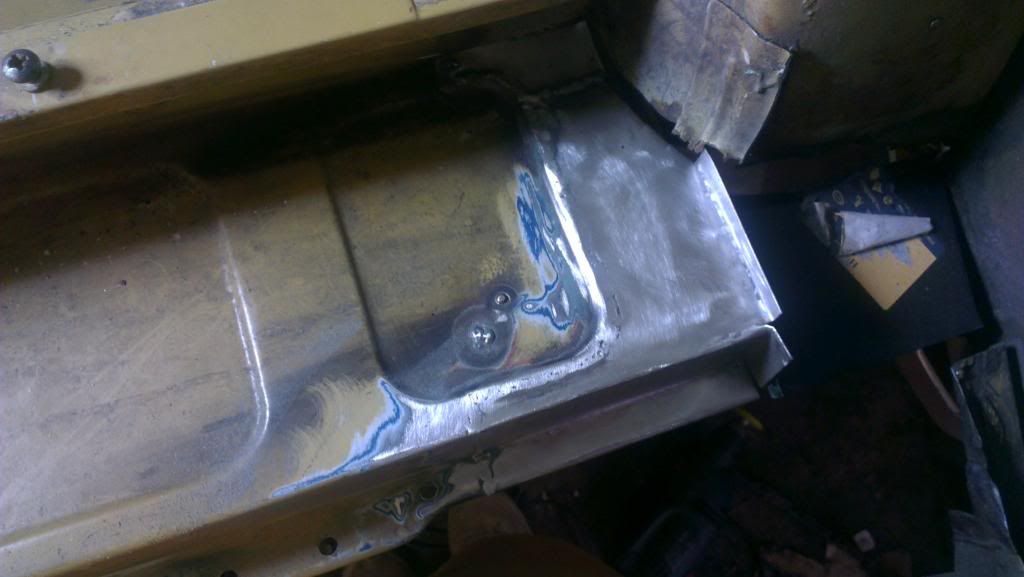
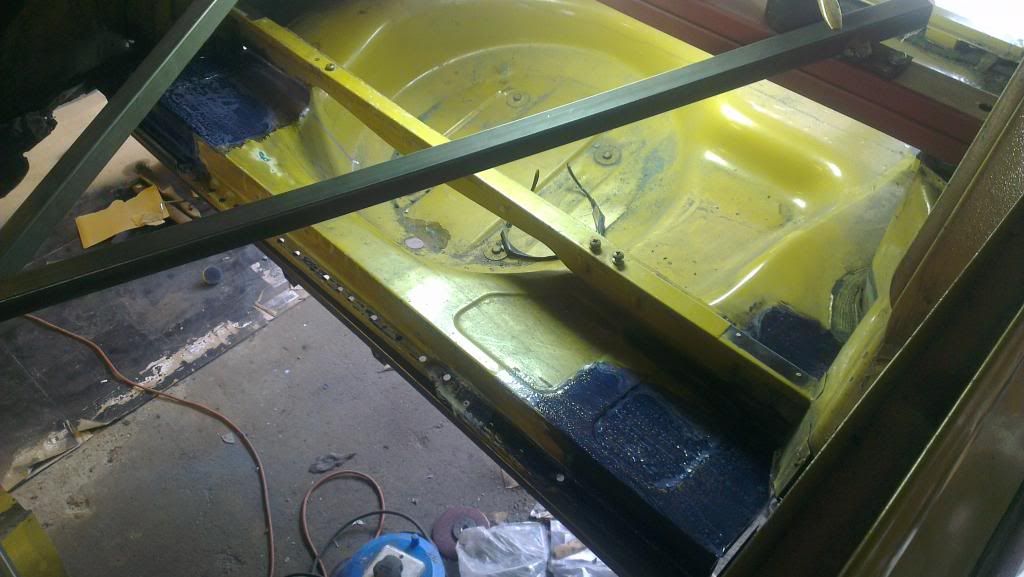
I think this is where I left off last time. Trying to get the estate extension piece kit into the heel board, well after some slitting I was able to weld it up and it fits right.
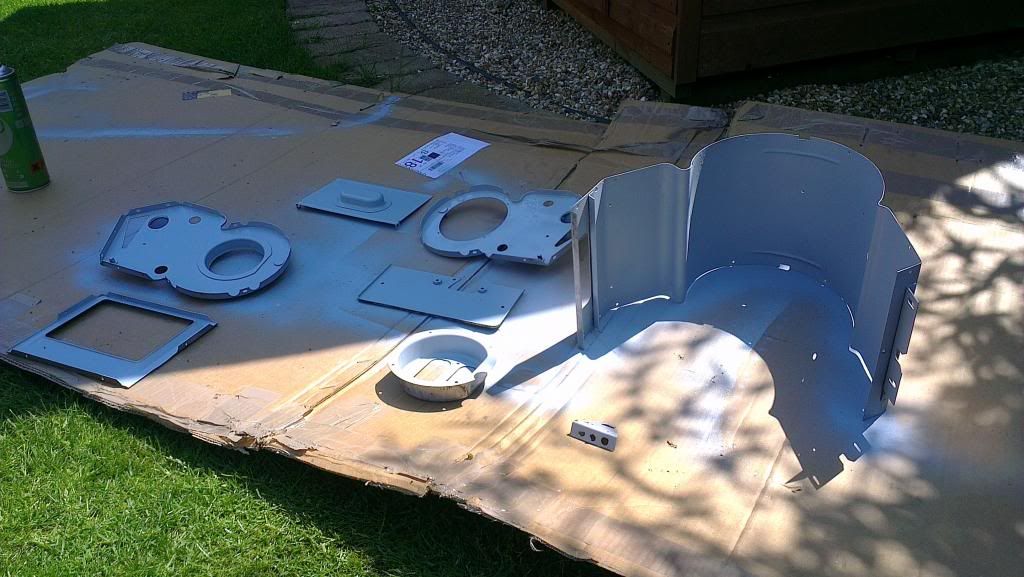
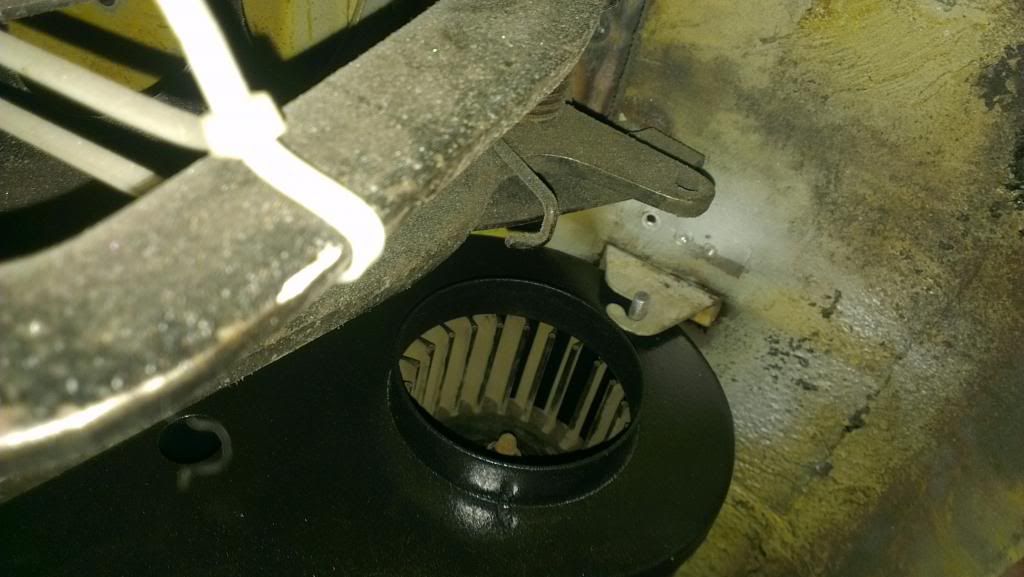
I got myself a different heater as the bottom of mine just fell out from so much rust. This one isn't perfect but for a tenner I couldn't complain.

For some reason the studs at the back on the new unit are shorter than on my original unit, as you can see in the pic below. It doesn't extend far enough to sit on the hook.

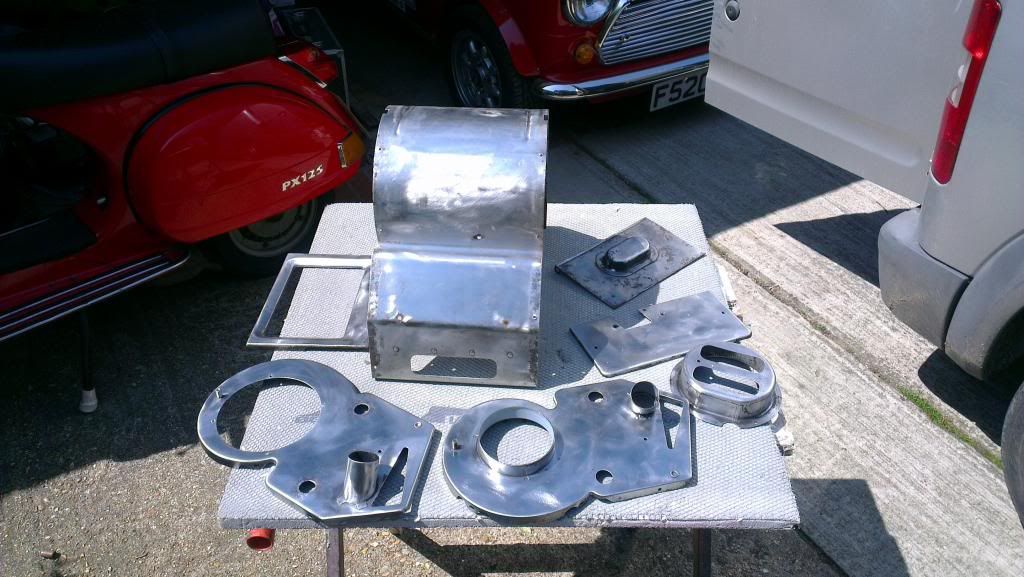
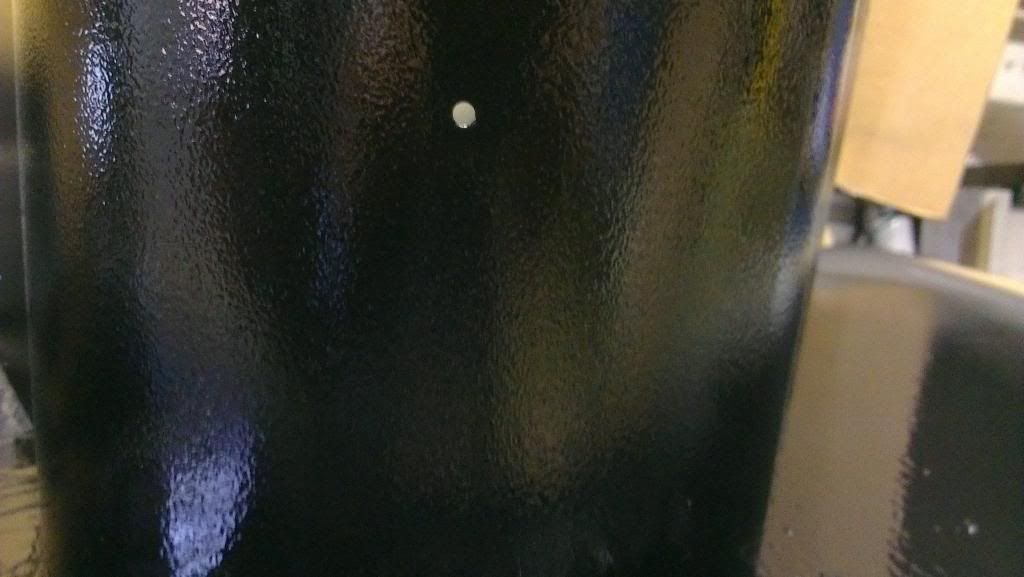
Taken back to bare metal, etch primed then top coated with black wrinkle paint.
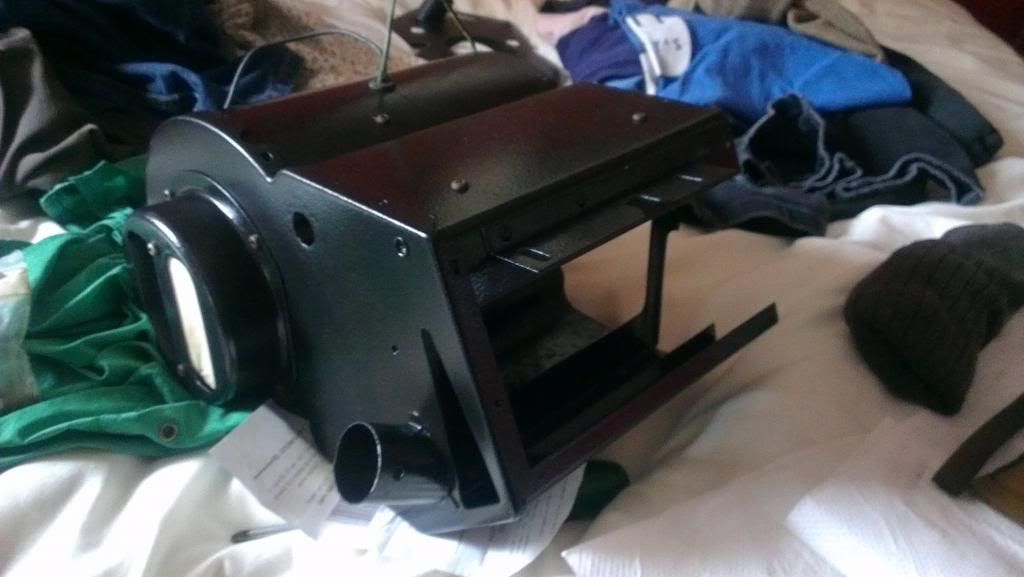
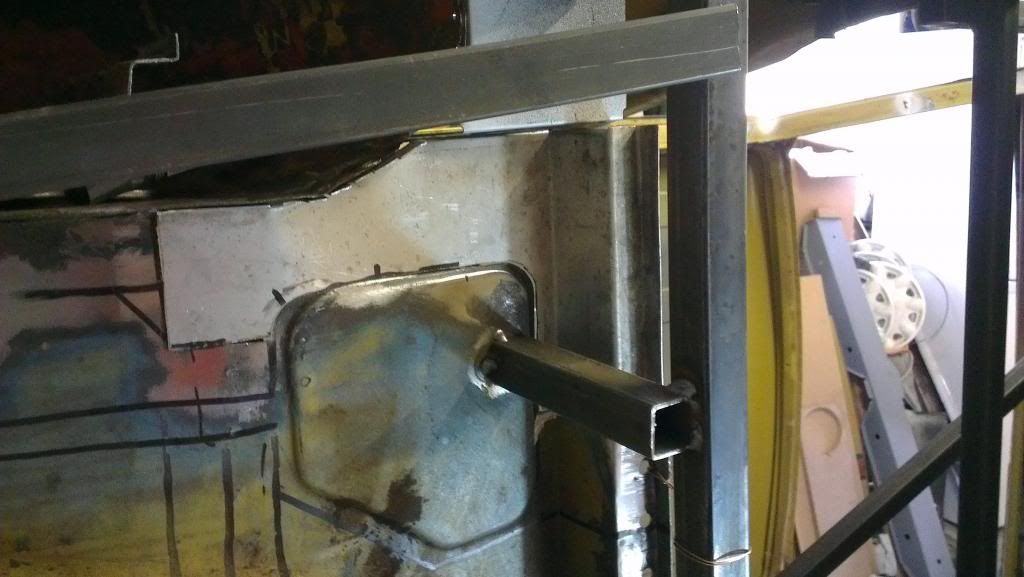
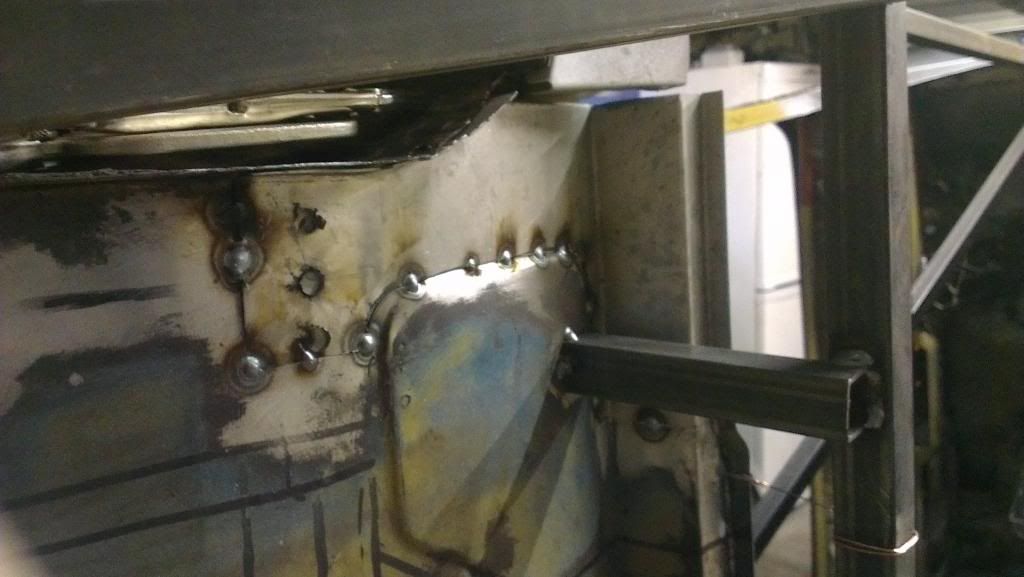
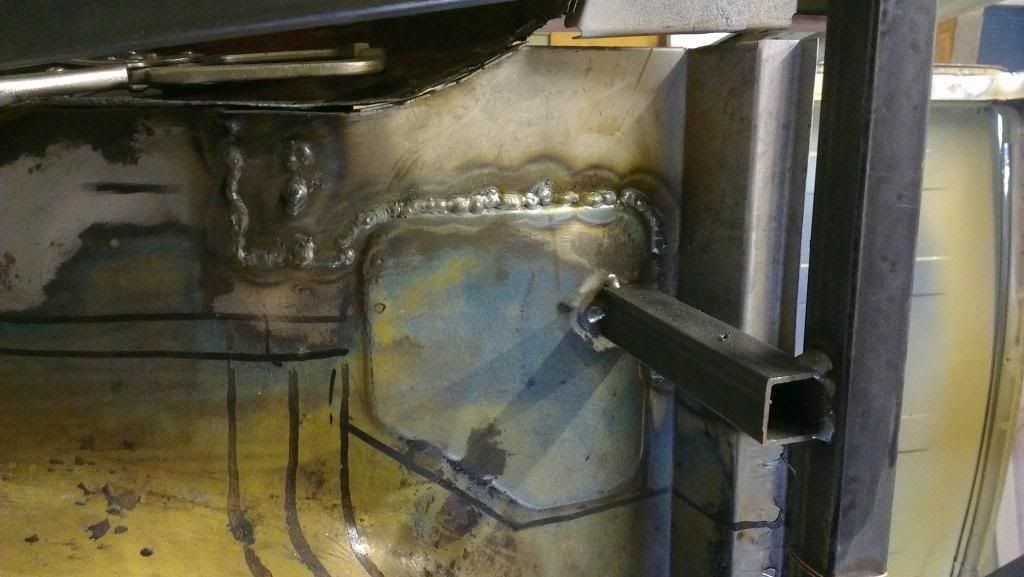
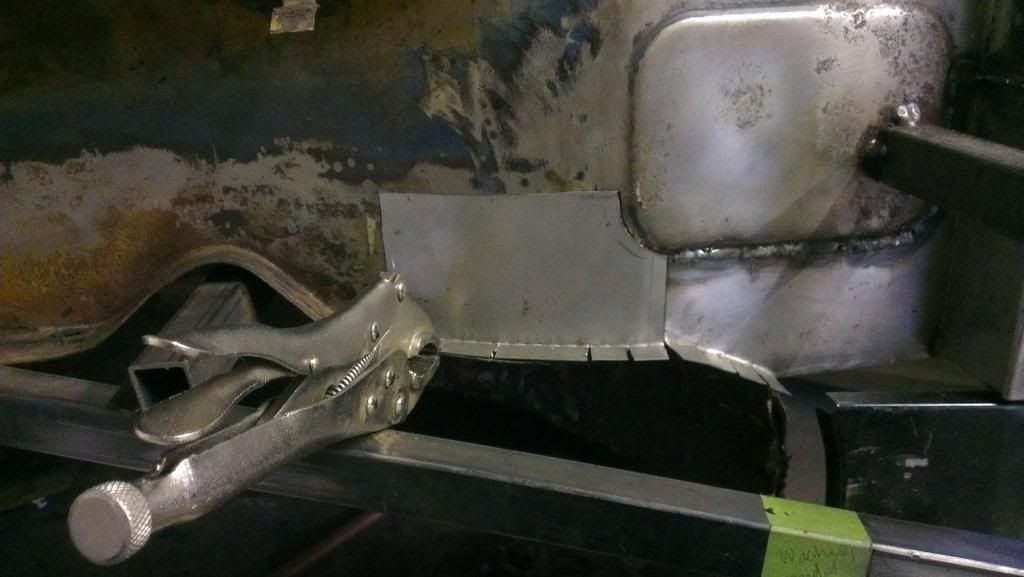
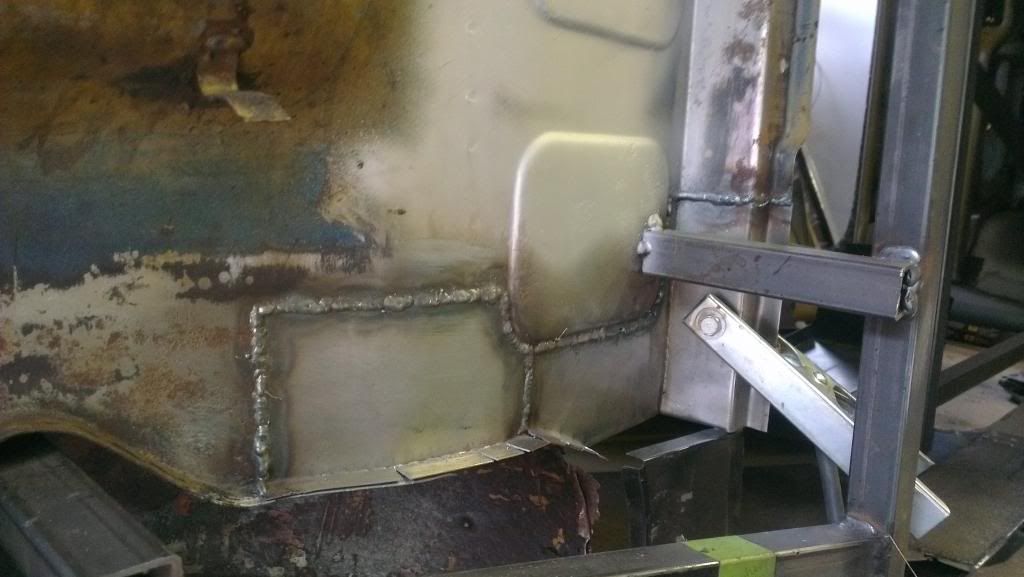
Drilled the spot welds out of the hook and re-welded it to where it needed to be.
More to come....
I got myself a different heater as the bottom of mine just fell out from so much rust. This one isn't perfect but for a tenner I couldn't complain.
For some reason the studs at the back on the new unit are shorter than on my original unit, as you can see in the pic below. It doesn't extend far enough to sit on the hook.
Taken back to bare metal, etch primed then top coated with black wrinkle paint.
Drilled the spot welds out of the hook and re-welded it to where it needed to be.
More to come....


0 user(s) are reading this topic
0 members, 0 guests, 0 anonymous users


