
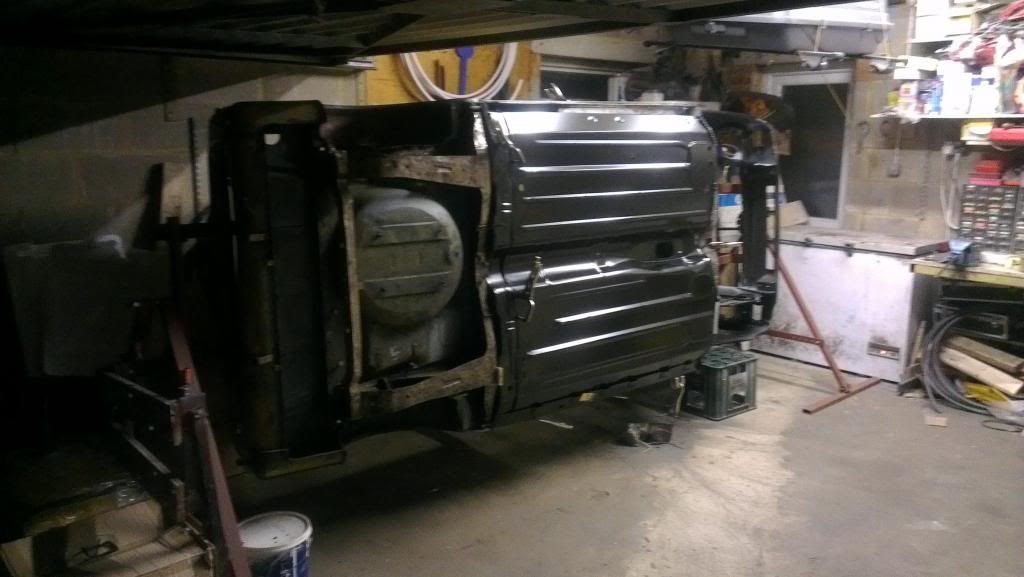
Mini Mad

Posted 04 November 2012 - 09:20 PM
Mini Mad
Posted 04 November 2012 - 09:42 PM

Mini Mad
Posted 04 November 2012 - 09:59 PM

Edited by woodenman23, 04 November 2012 - 10:00 PM.
Mini Mad
Posted 04 November 2012 - 10:23 PM

Mini Mad
Posted 04 November 2012 - 10:30 PM
I am THE CLAMP MAKER

Posted 06 November 2012 - 10:05 AM
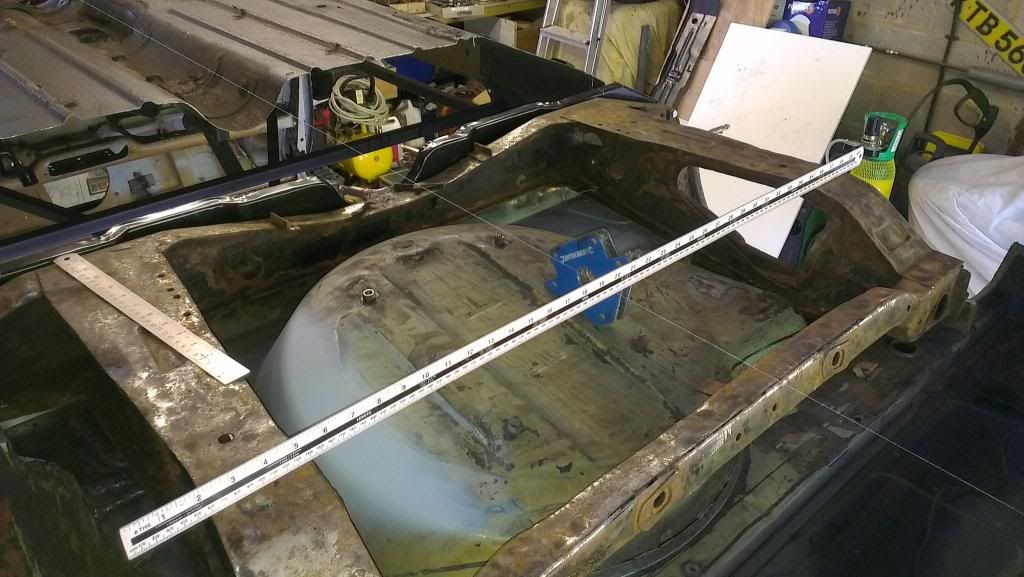
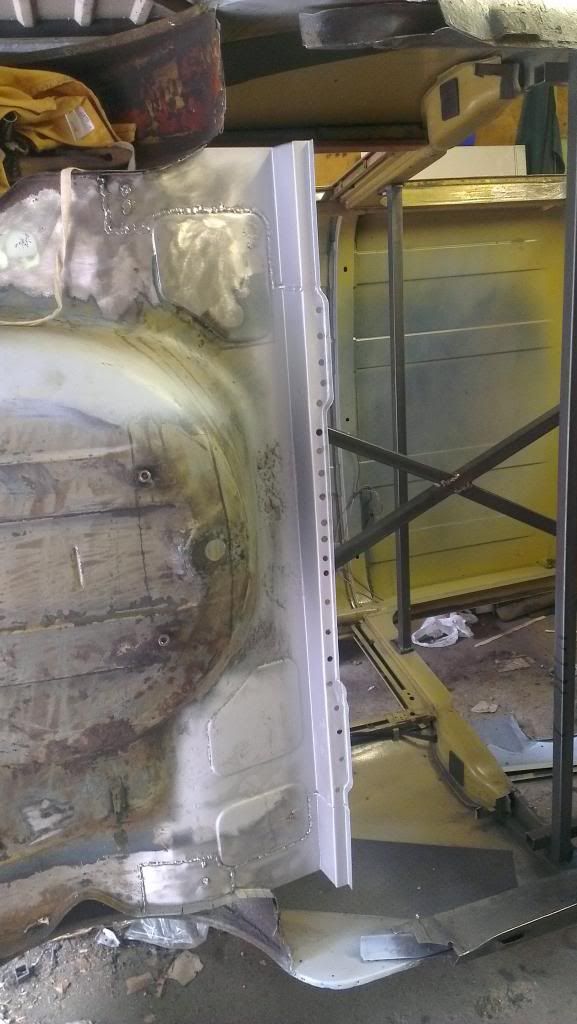
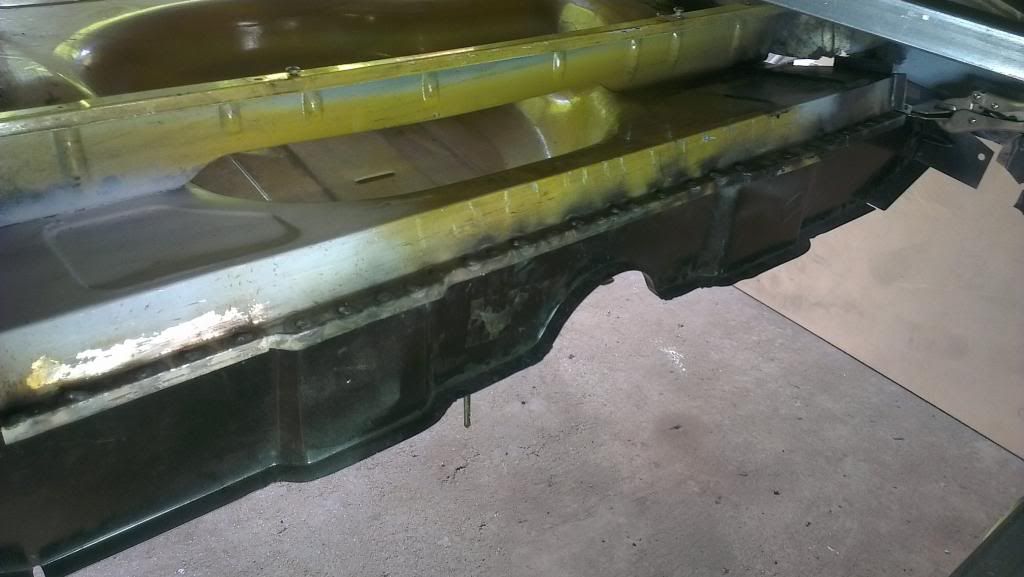
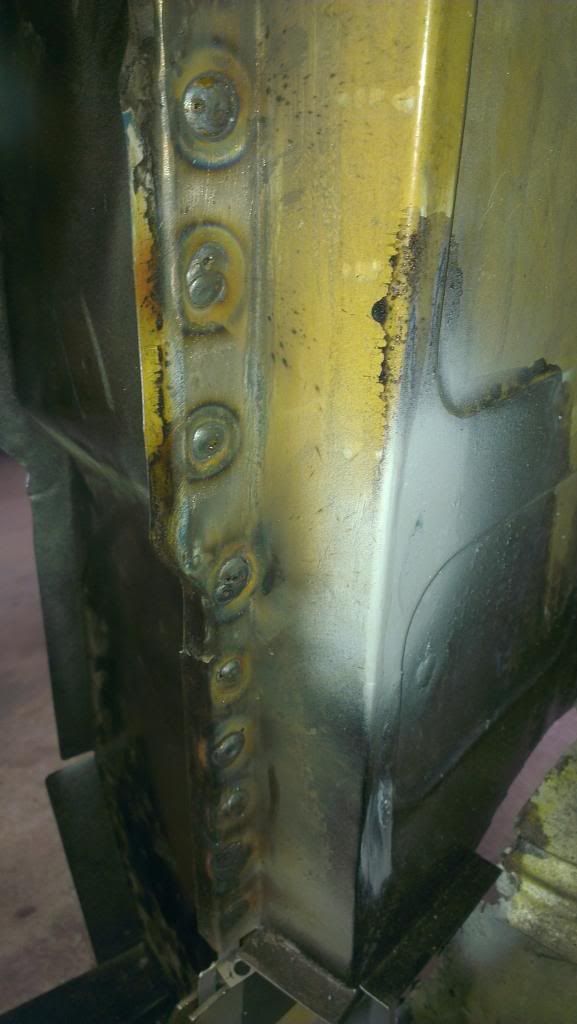
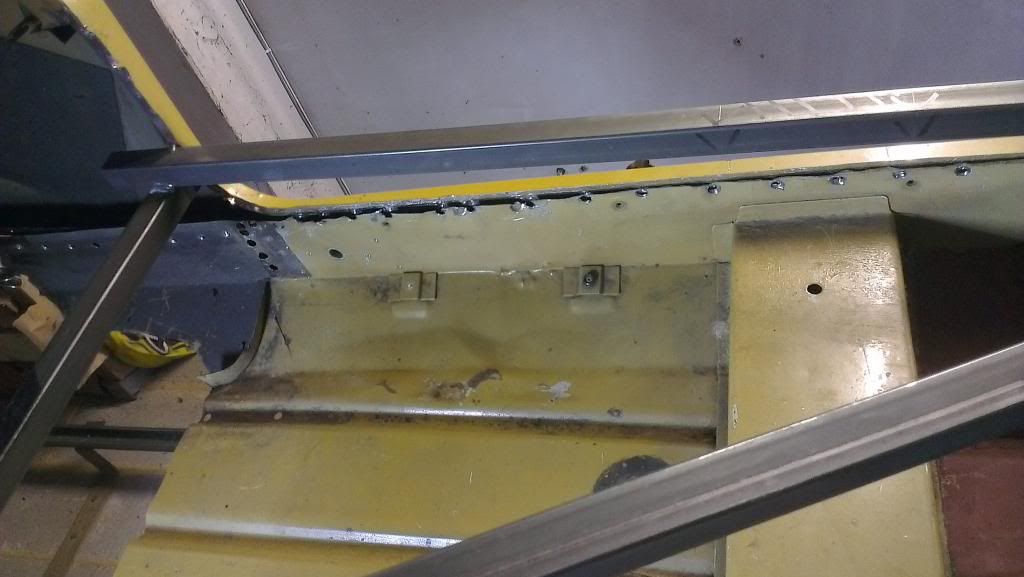
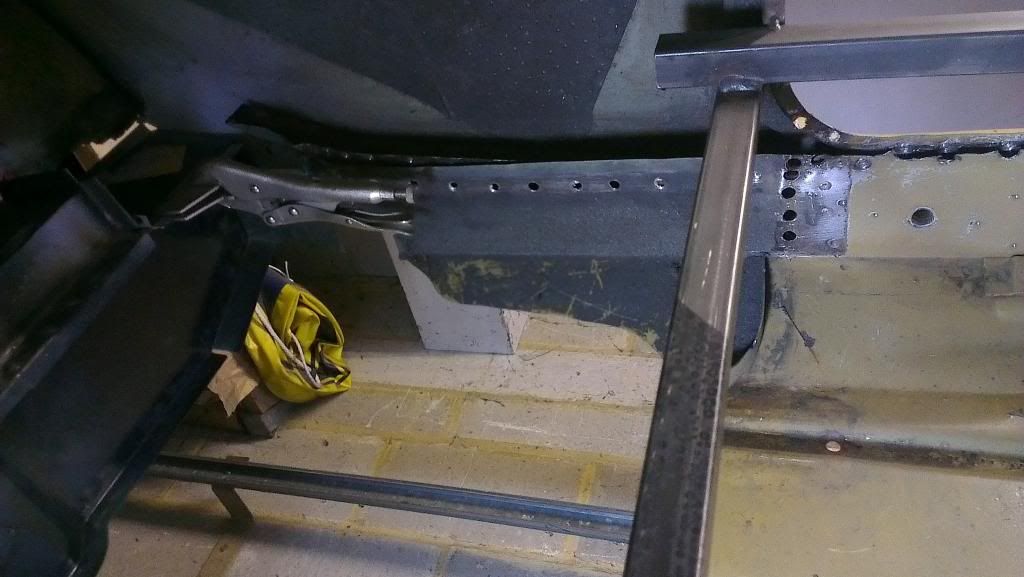
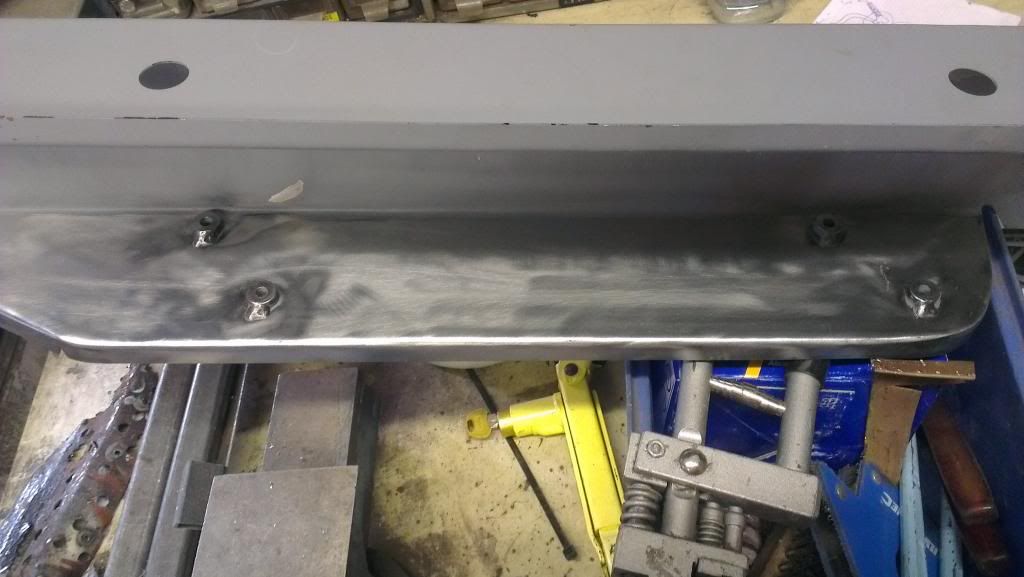
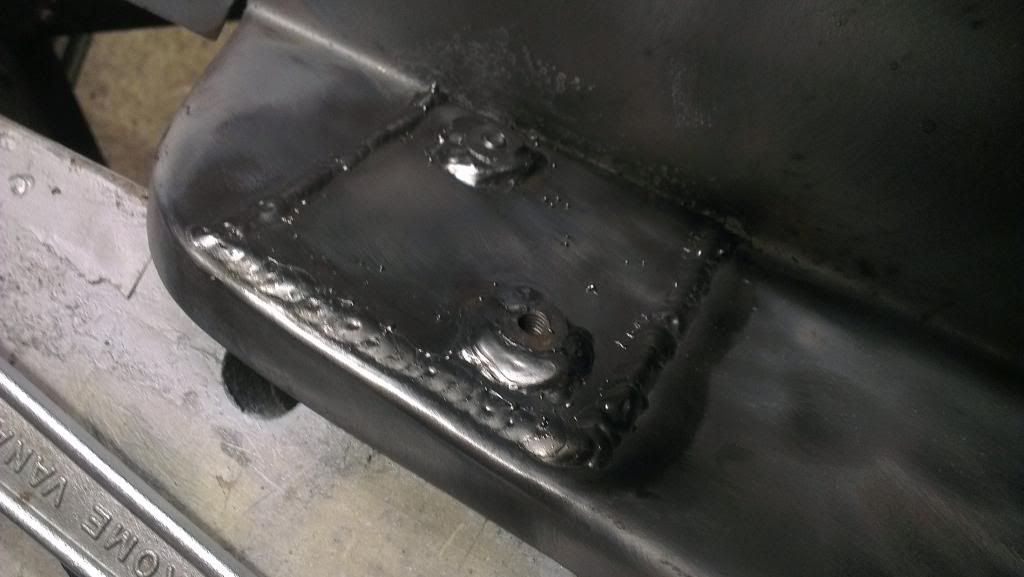
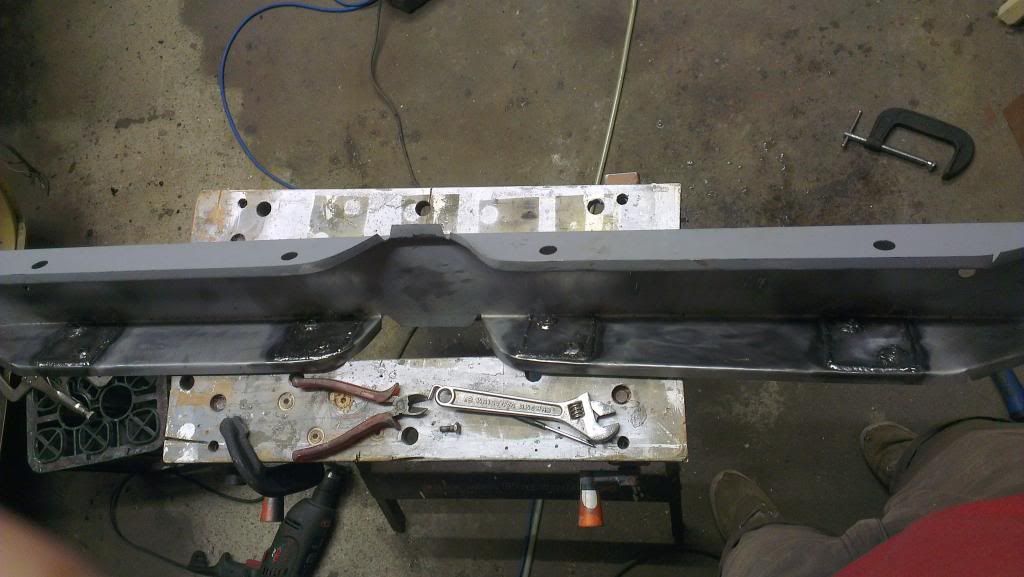
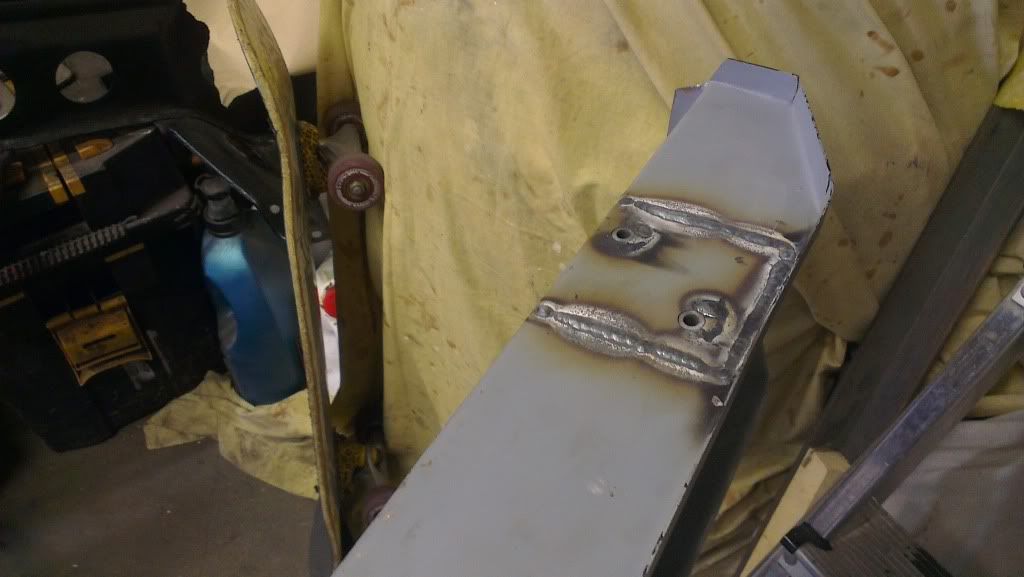
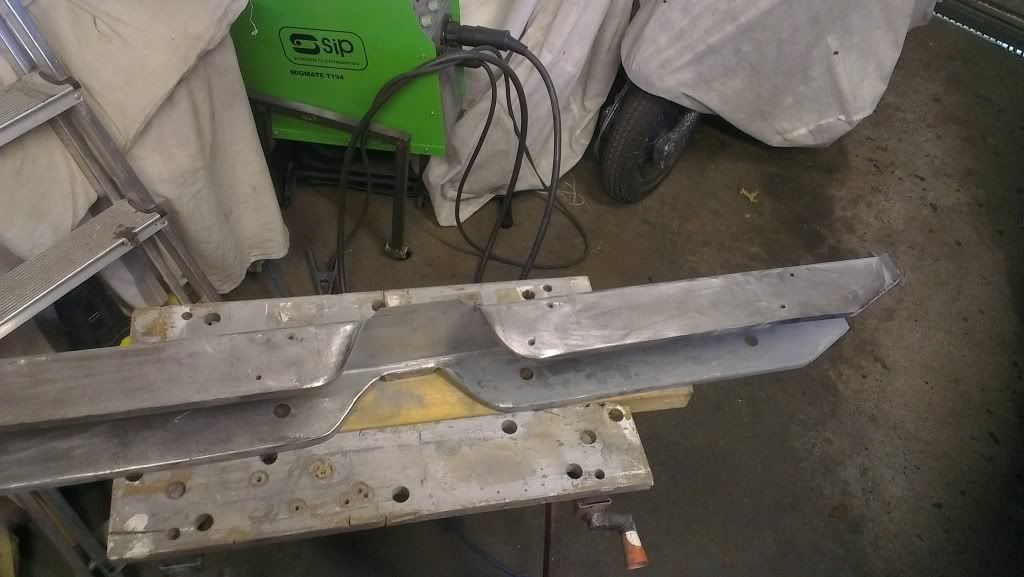
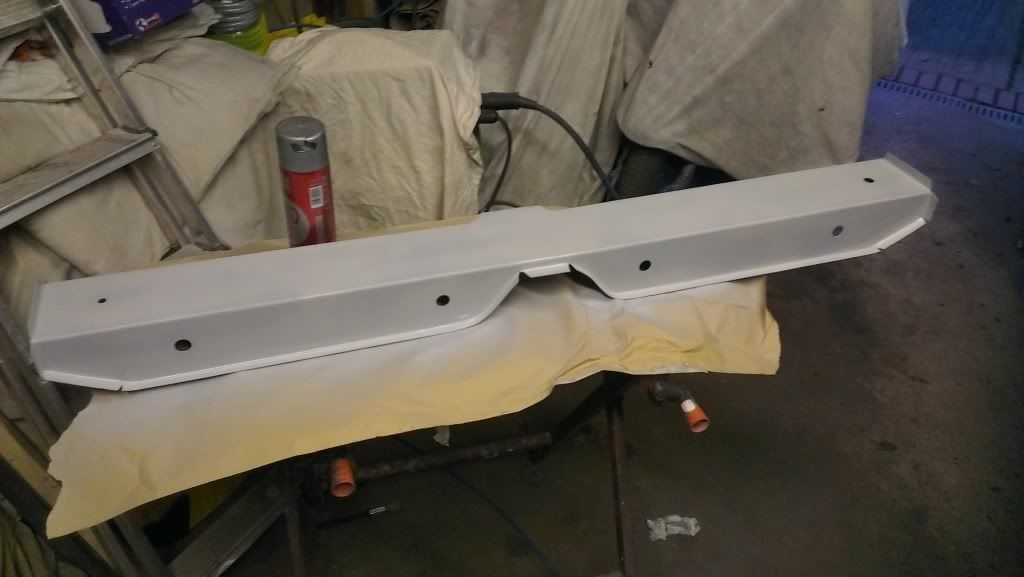
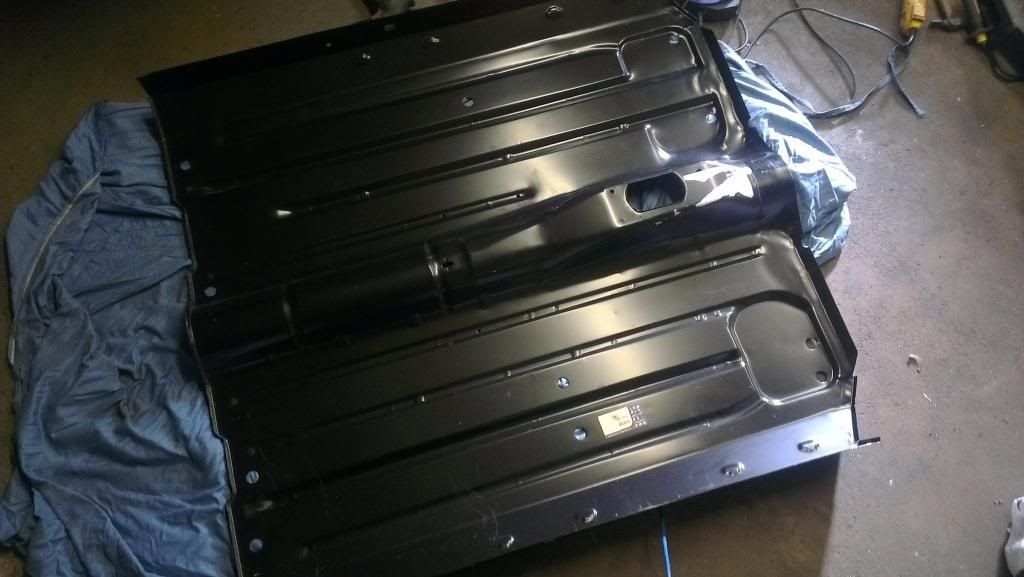
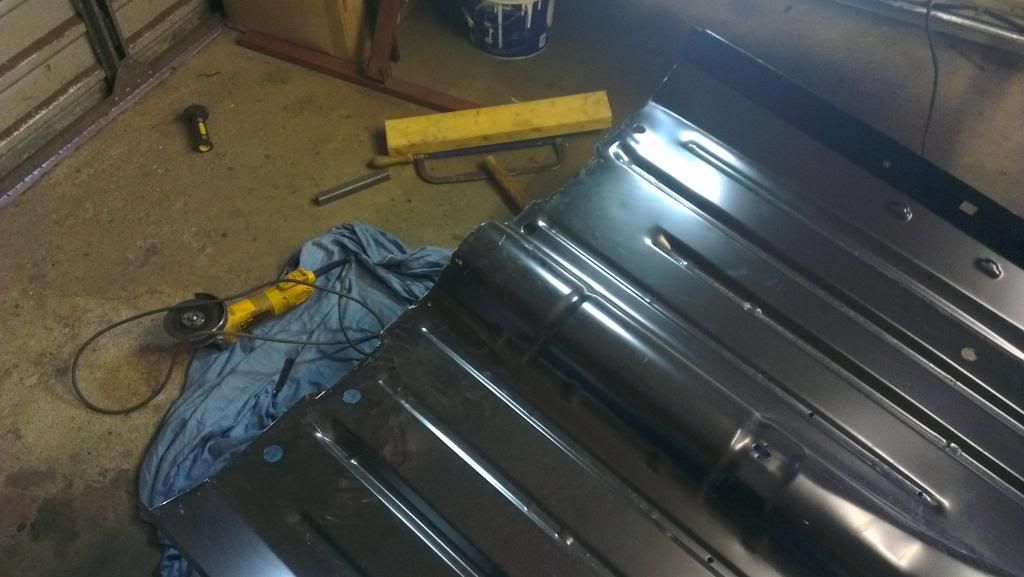
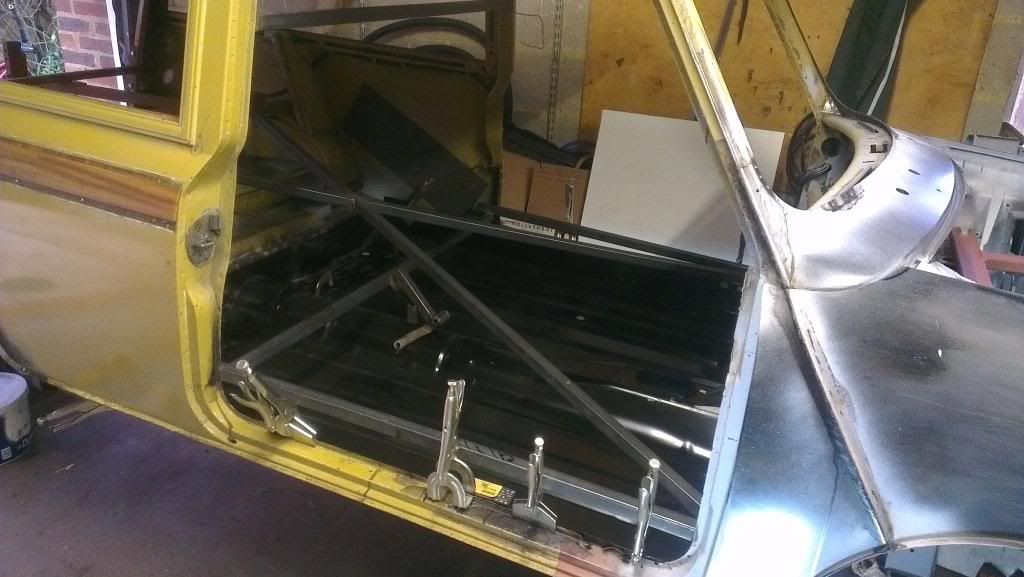
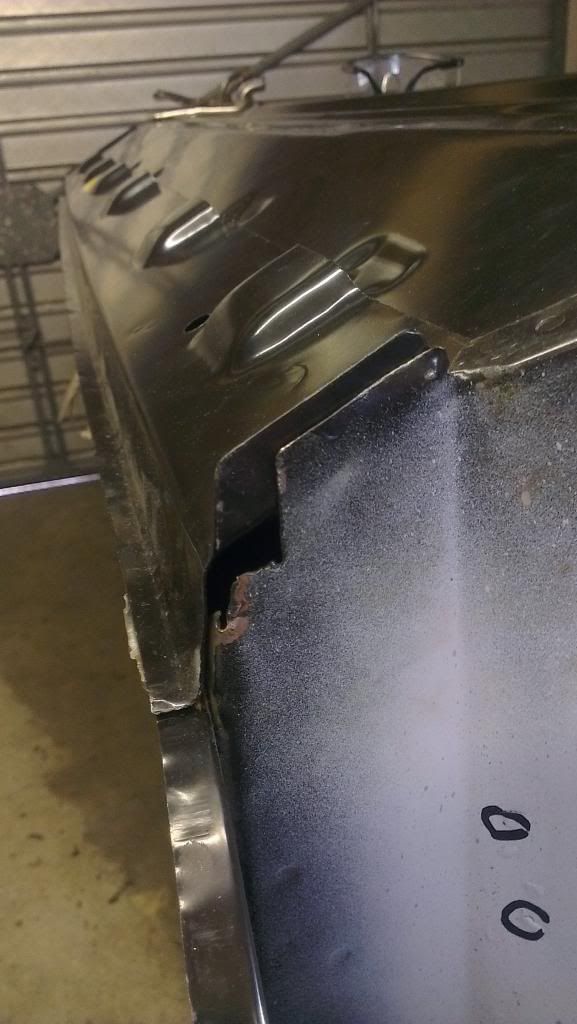
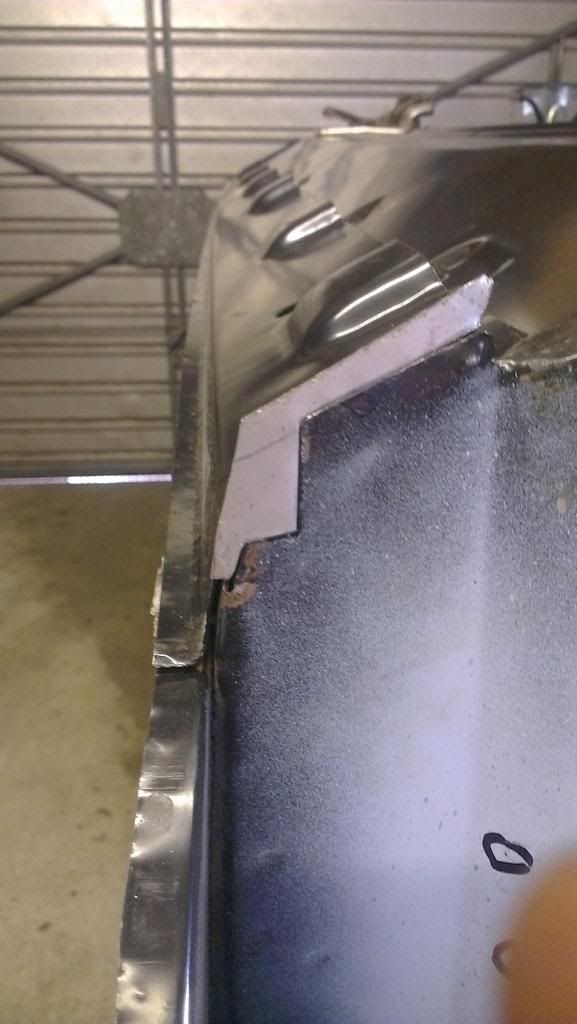
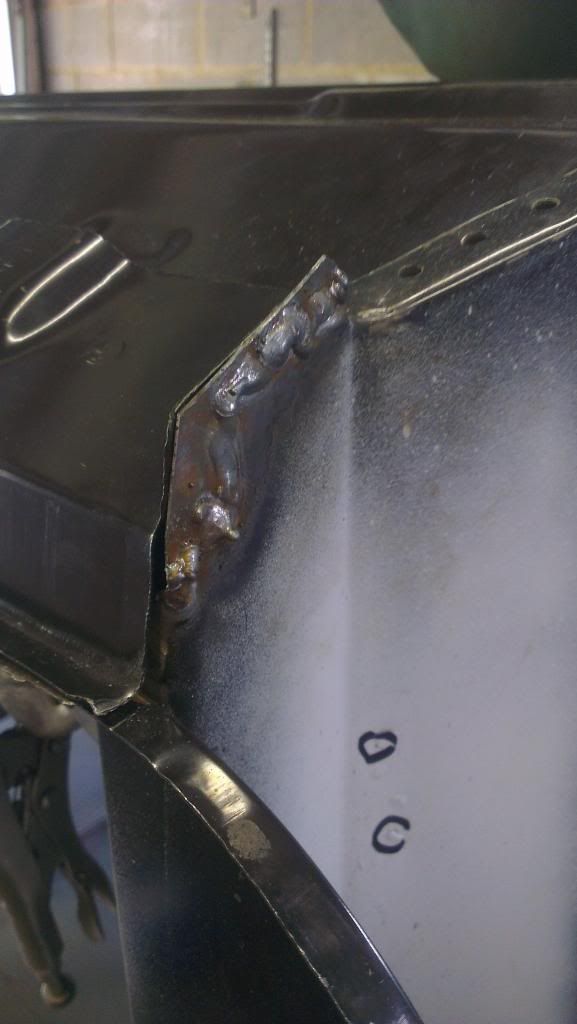
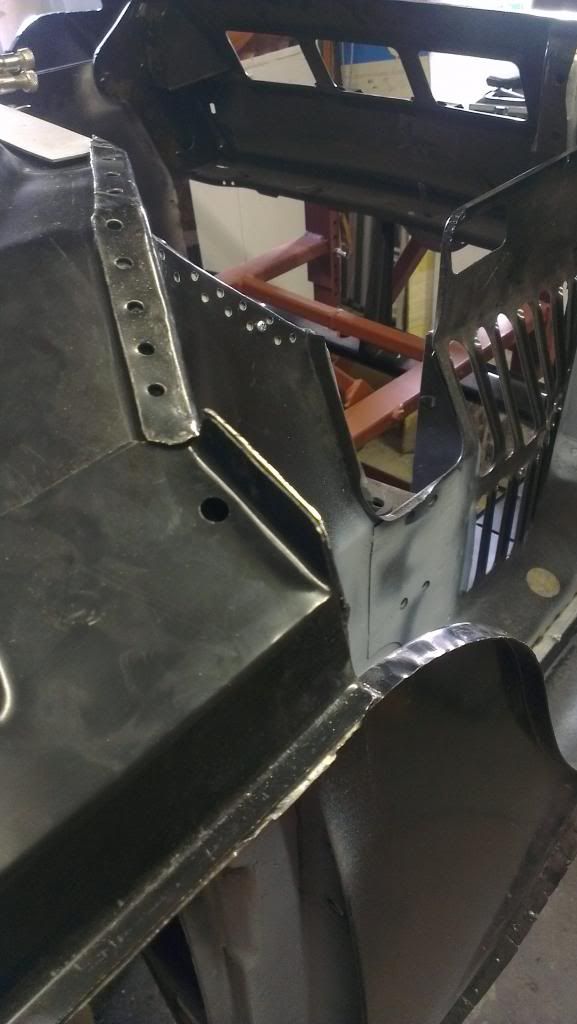
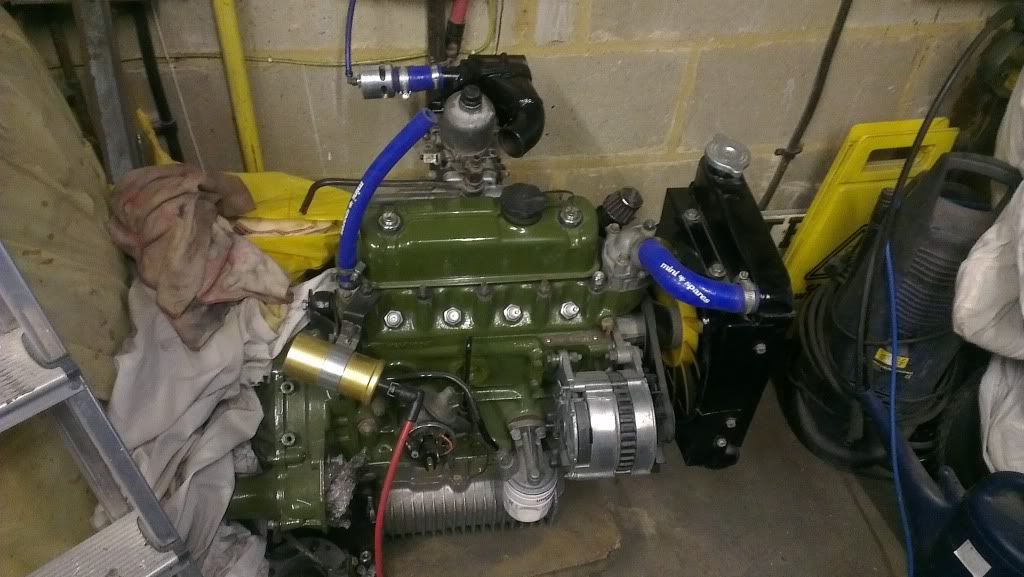
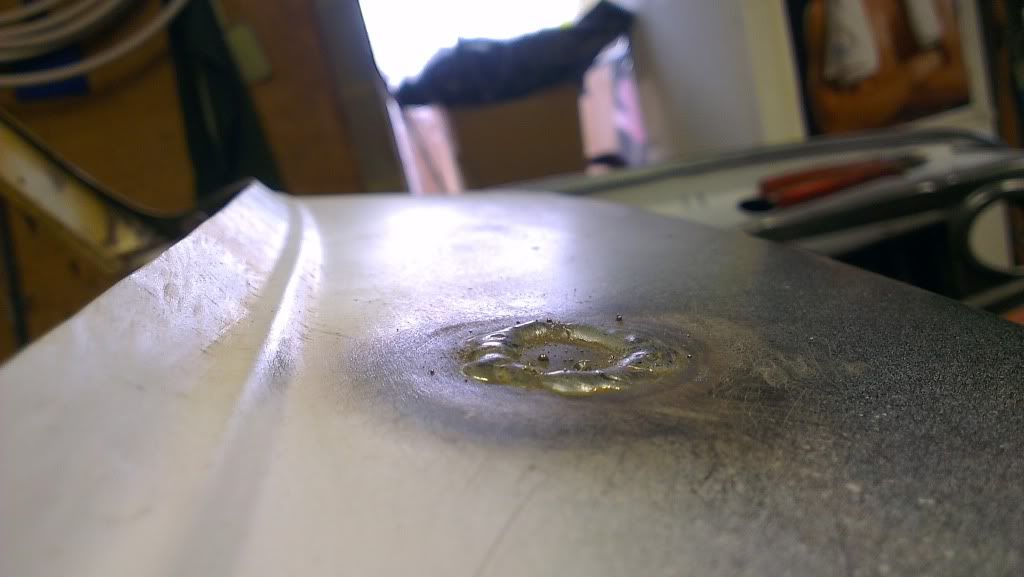
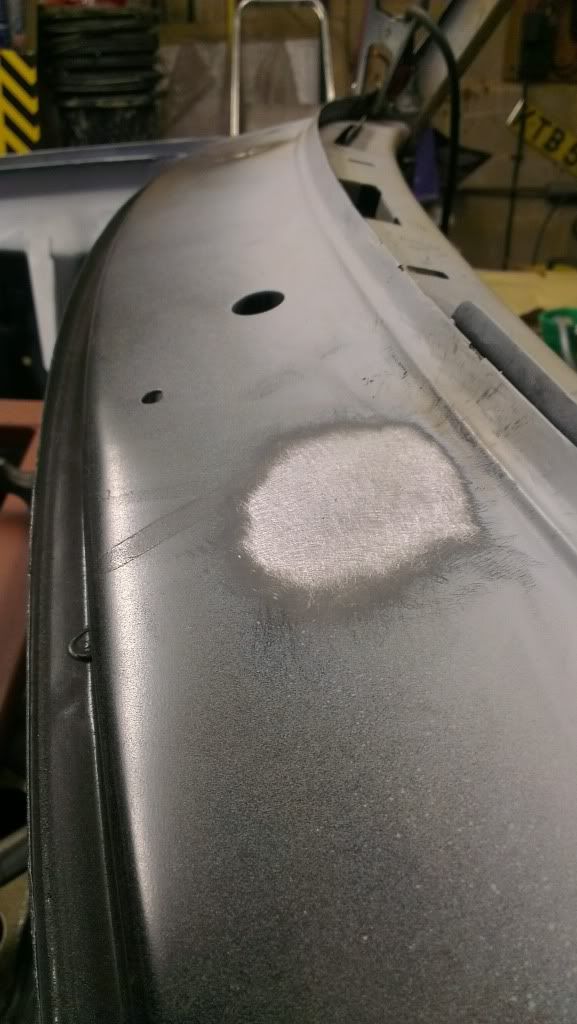
Doing a great job liam, I don't think them captive nut's will be going anywhere.I think that Pretty much brings you all up to date. I have also done a lot of the boring stuff I never got round to finishing before, like dressing of welds etc....wish I had done it sooner.
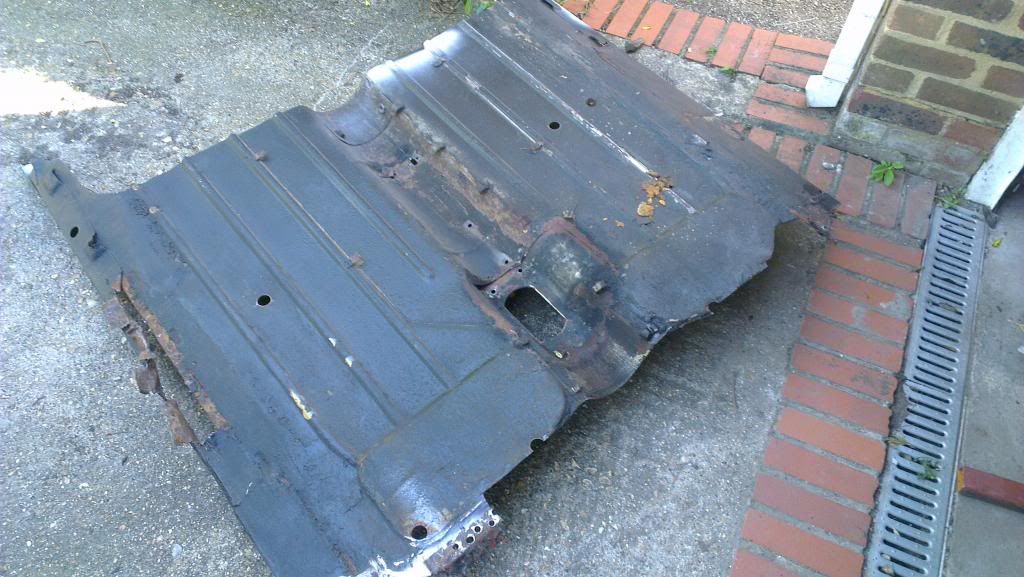
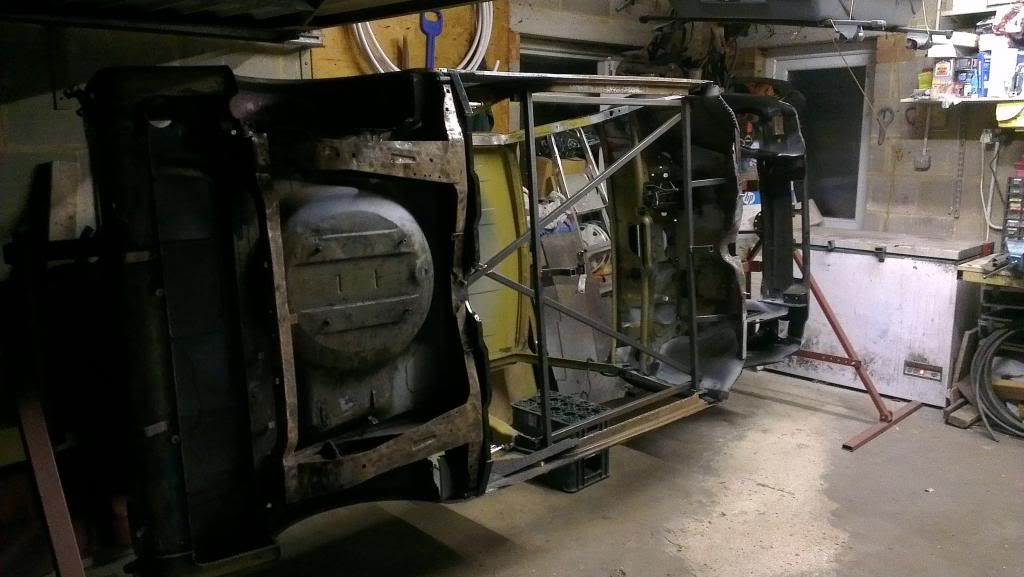
What do you think? Not a lot of work seeing as my last post was in May.
Liam
Mini Mad

Posted 06 November 2012 - 10:45 PM
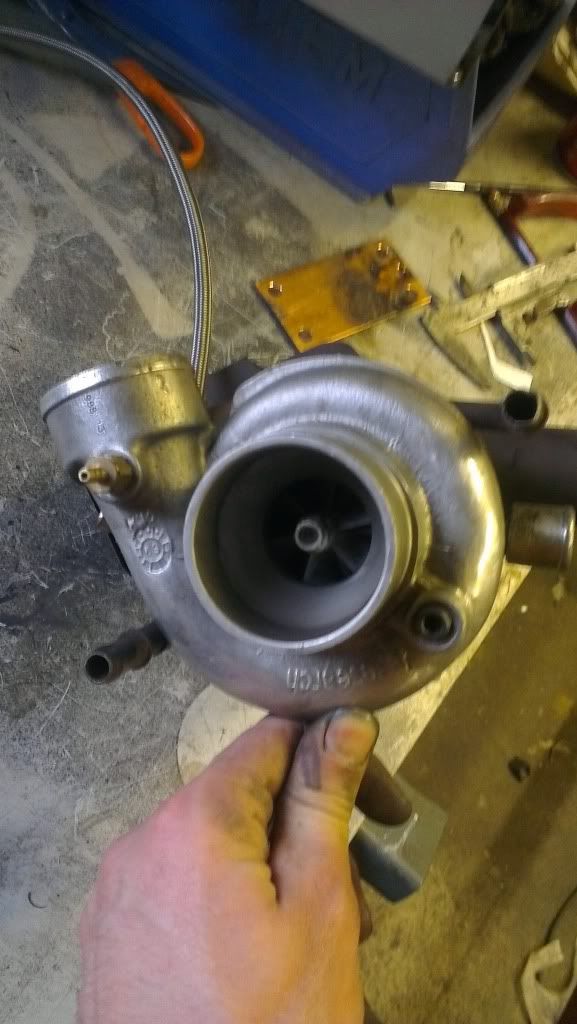
One Carb Or Two?
Posted 07 November 2012 - 12:04 AM
Mini Mad
Posted 07 November 2012 - 01:48 AM
Edited by woodenman23, 07 November 2012 - 01:53 AM.
Mini Mad
Posted 08 November 2012 - 01:22 AM

Mini Mad
Posted 09 November 2012 - 08:56 PM
Soldiering Along

Posted 10 November 2012 - 07:40 PM
Stage One Kit Fitted

Posted 21 November 2012 - 09:45 PM
Why not mount the number plate in the back door? You could do a bit of creative panel work to make a recess for it to fit in or have it flat like this one:
I am THE CLAMP MAKER
Posted 21 November 2012 - 09:58 PM
Look like Wood and pickett arches.
Why not mount the number plate in the back door? You could do a bit of creative panel work to make a recess for it to fit in or have it flat like this one:
Sorry for going off topic, but quick question anyone know what the arches used here are?
Mini Mad
Posted 22 November 2012 - 06:32 PM
Look like Wood and pickett arches.
Why not mount the number plate in the back door? You could do a bit of creative panel work to make a recess for it to fit in or have it flat like this one:
Sorry for going off topic, but quick question anyone know what the arches used here are?
Edited by woodenman23, 22 November 2012 - 06:35 PM.


0 members, 1 guests, 0 anonymous users


