<div>So after my laptop threw a wobbly and died I haven't managed to update the thread for a couple weeks! Safe to say Ive been busy!</div>
<div> </div>
<div>Finished Uni work 6 days early before hand in (had Xmas day and new years day off and every other day been churning out the design work) so I could manage a few days out at the mini. So today is day one of many this month
 </div>
<div> </div>
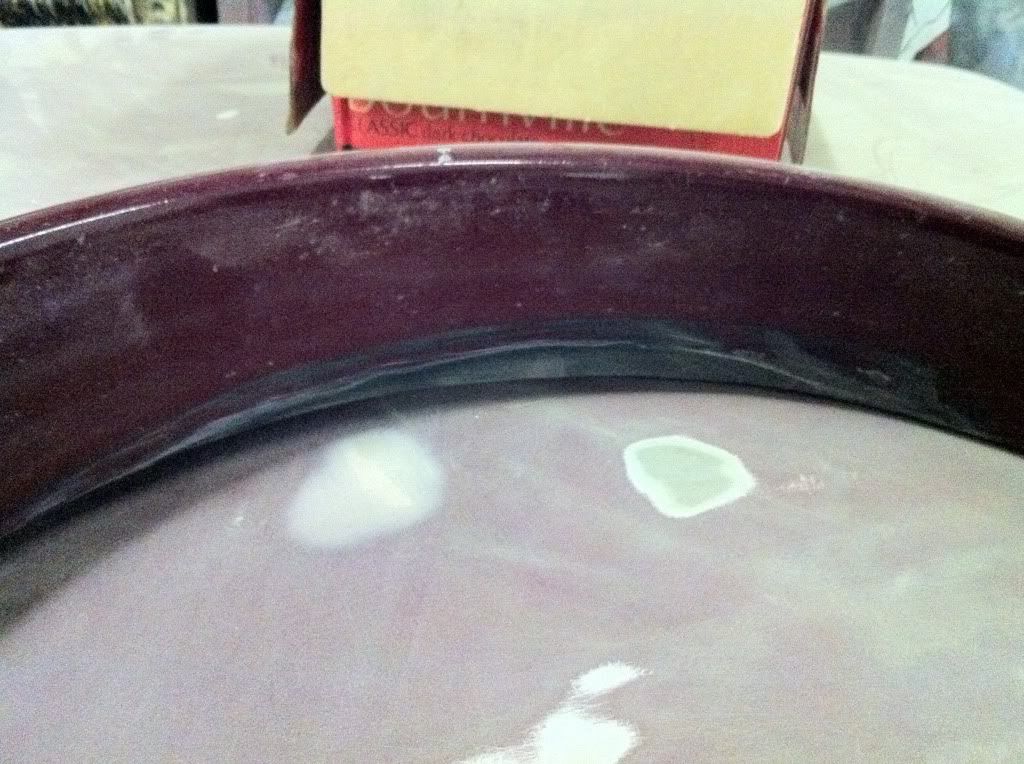
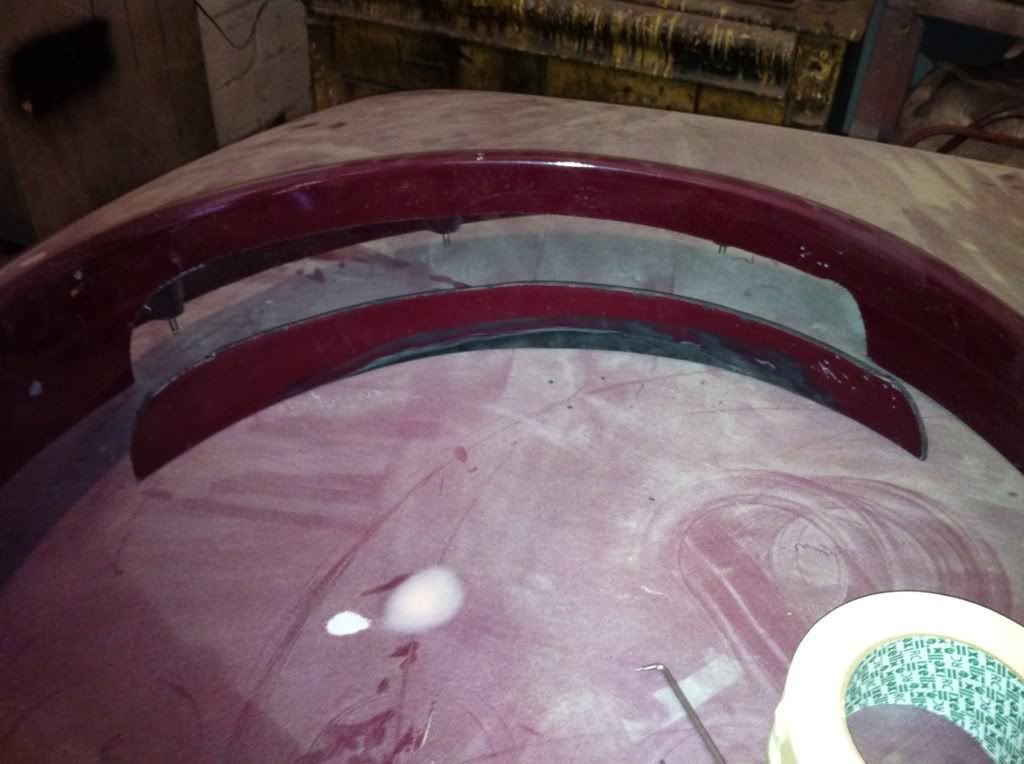
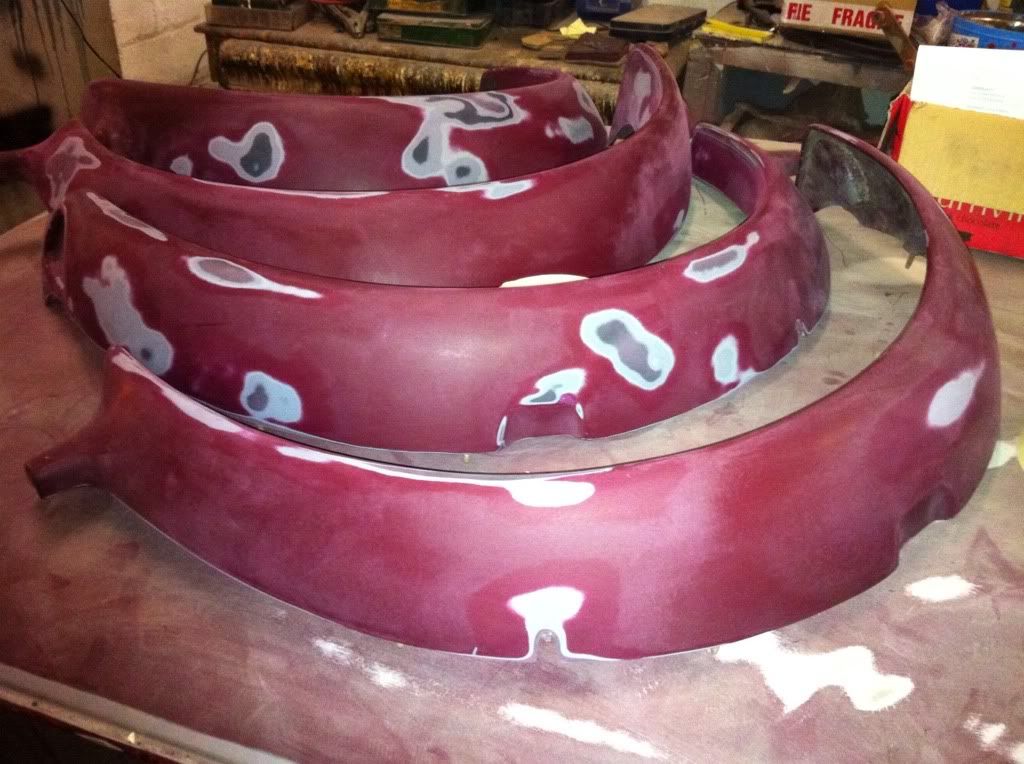
<div>When I arrived we decided to get the arches prepped. Before rebuild the rear wheels hit on the rear arches under compression so with the tubbed arches we need to take advantage of them! </div>
<div> </div>
<div>So I got to work with the air saw and cut out a segment of the aches so the wheels will clear the arch and go up into it rather than hit it. Cars going to be very low so this is going to help.</div>
<div> </div>
<div>This took balls as these arches are genuine OE Rover sportspacks worth £400 new. I didn't want to muck up the cutting!!!</div>
<div> </div>
<div>
 </div>
<div> </div>
<div>
 </div>
<div> </div>
<div>Then I prepped the rest of them ready for paint. Almost finished just needs a bit of final hand sanding to get rid of a load of stone chips in tight areas.</div>
<div> </div>
<div>
 </div>
<div> </div>
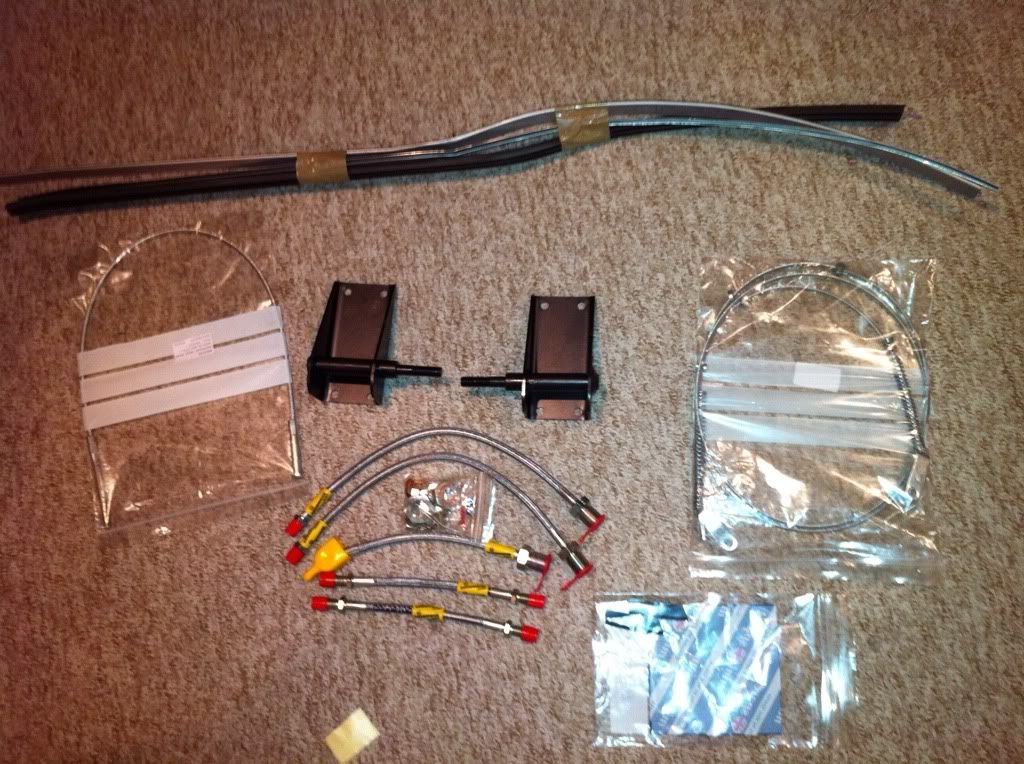
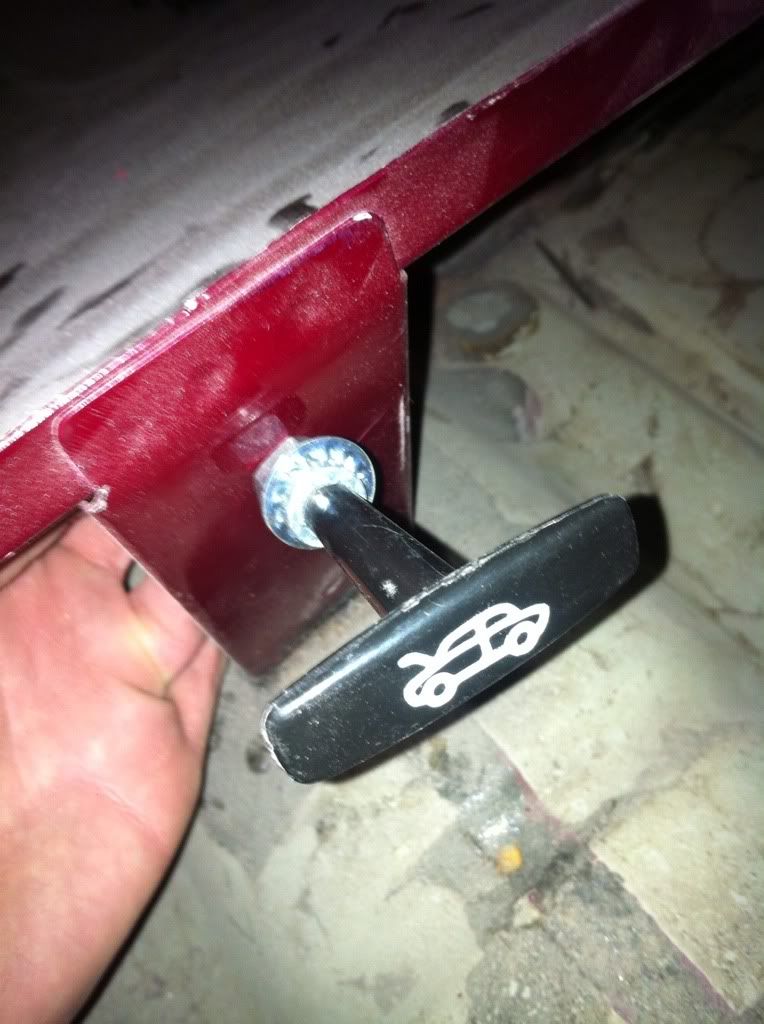
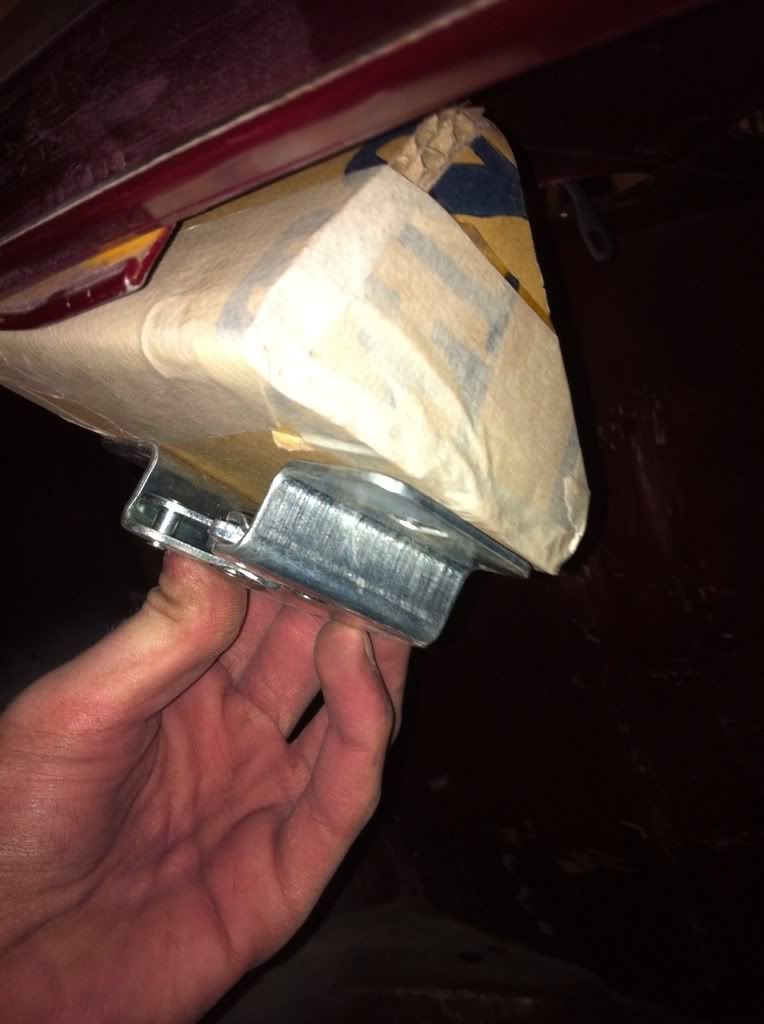
<div>I also bought a latch, striker plate and bonnet pull from kit car specialists Europa Spares for the bootlid. Decided to mount the handle on the rear seat support plate in the centre of the car. That way either passenger or driver can open the boot from an easily accessed place you won't accidentally pull on!!</div>
<div> </div>
<div>
 </div>
<div> </div>
<div>
 </div>
<div> </div>
<div>The spring looks weak but is beyond strong! Literally fires out the pin when it's released
 </div>
<div> </div>
<div>Also mocked up a bracket for the latch as it will need to align perfectly with the bootlid striker plate. Only made out of cardboard at the mo, will make a metal version tomorrow morning. Little project to practice welding on hopefully! :)</div>
<div> </div>
<div>
 </div>
<div> </div>
<div>Back to it tomorrow for another few hours! :)</div>
<div> </div>
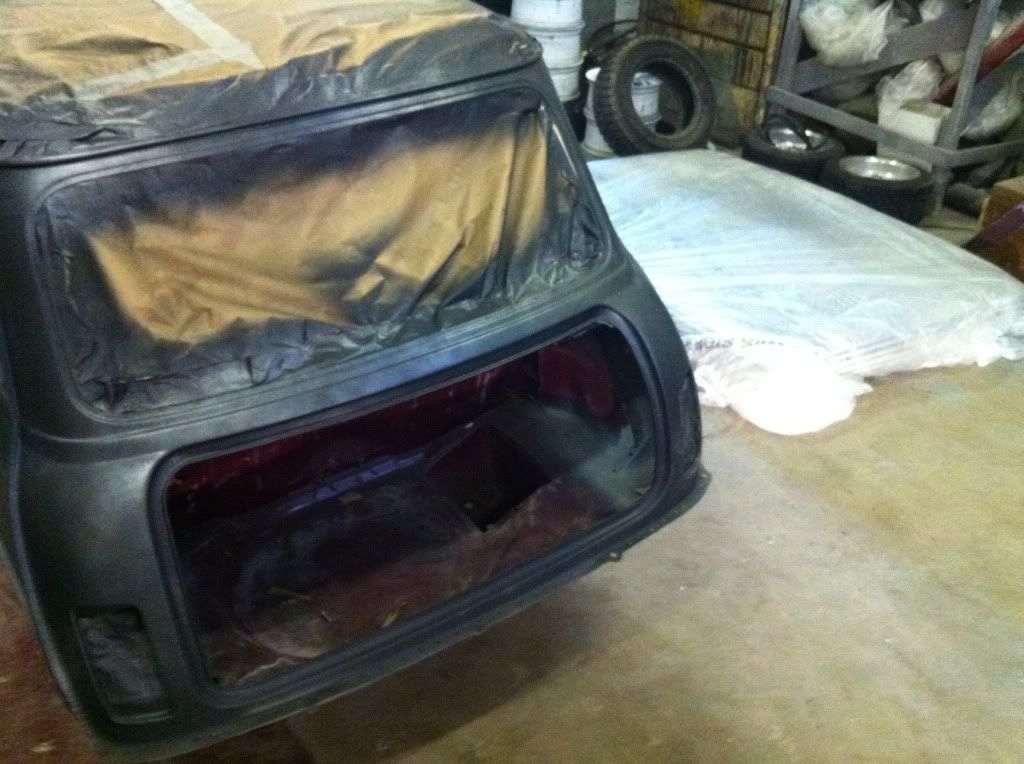
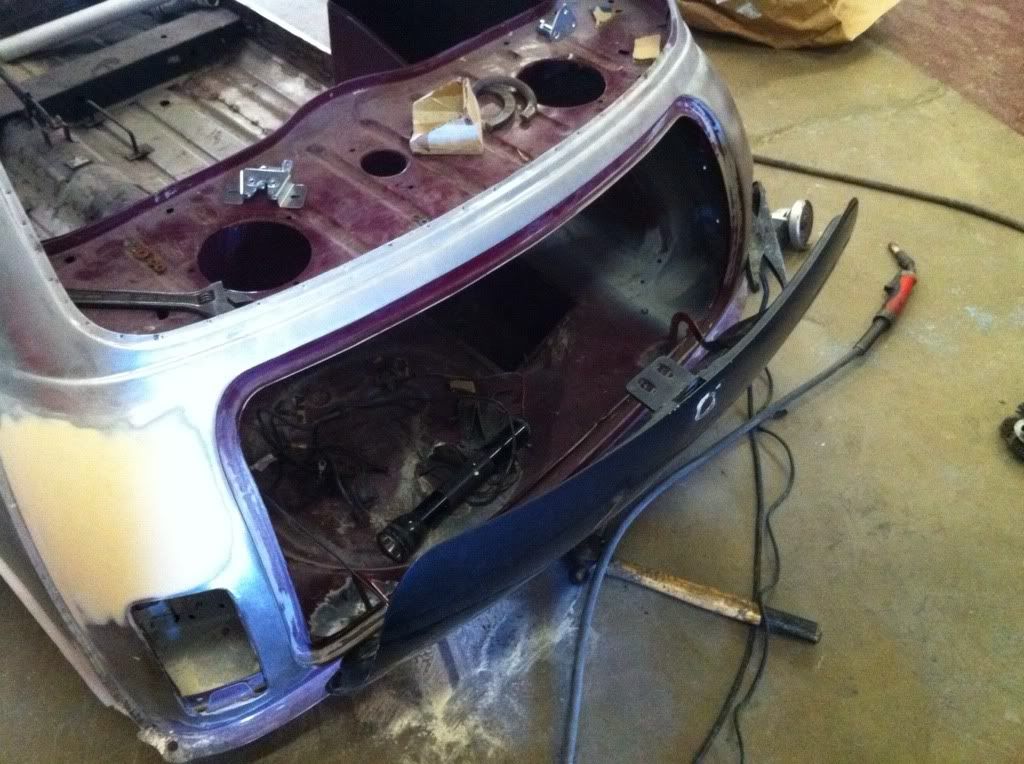
<div>Another morning working on the motor vehicle! Major step forward this morning. Bootlid is done! </div>
<div> </div>
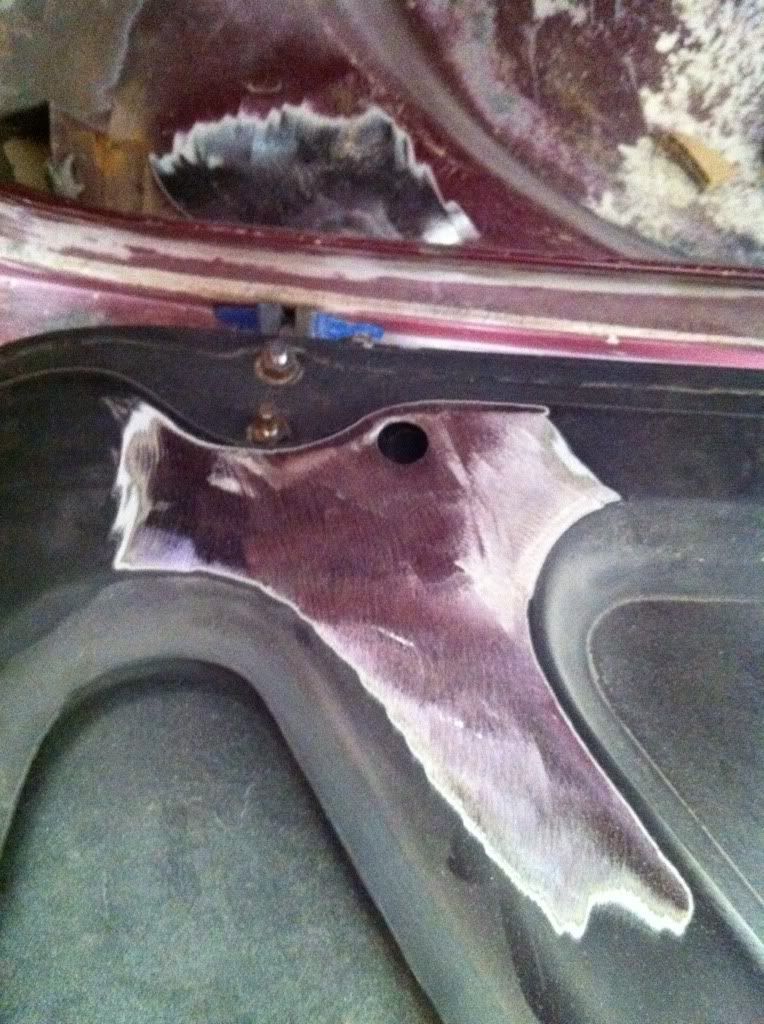
<div>Most will know by now that Im after internal hinges and catch for the bootlid so today we set about doing the hinges.</div>
<div> </div>
<div>Got rid of the paint on the bit we would be welding onto</div>
<div> </div>
<div>
 </div>
<div> </div>
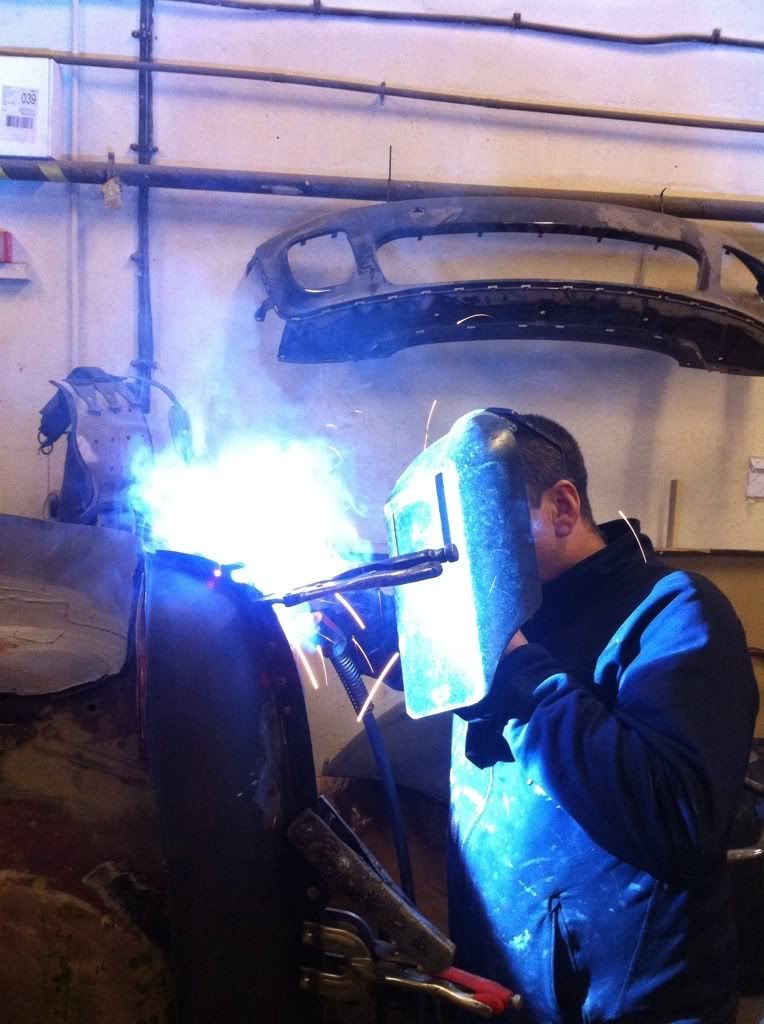
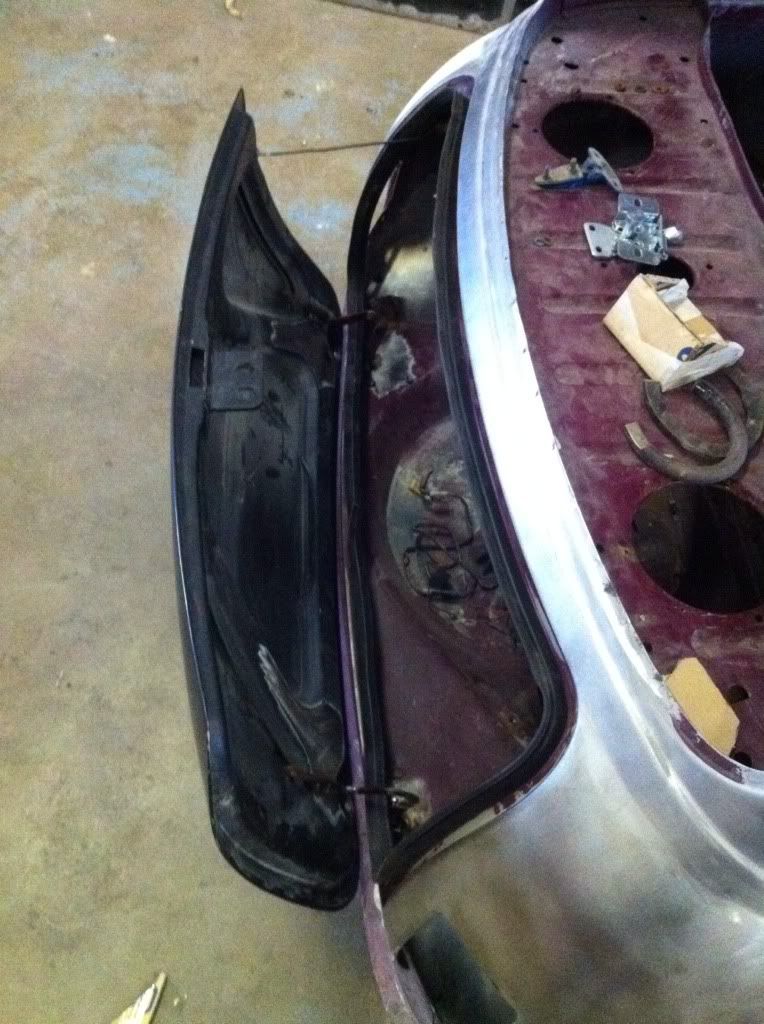
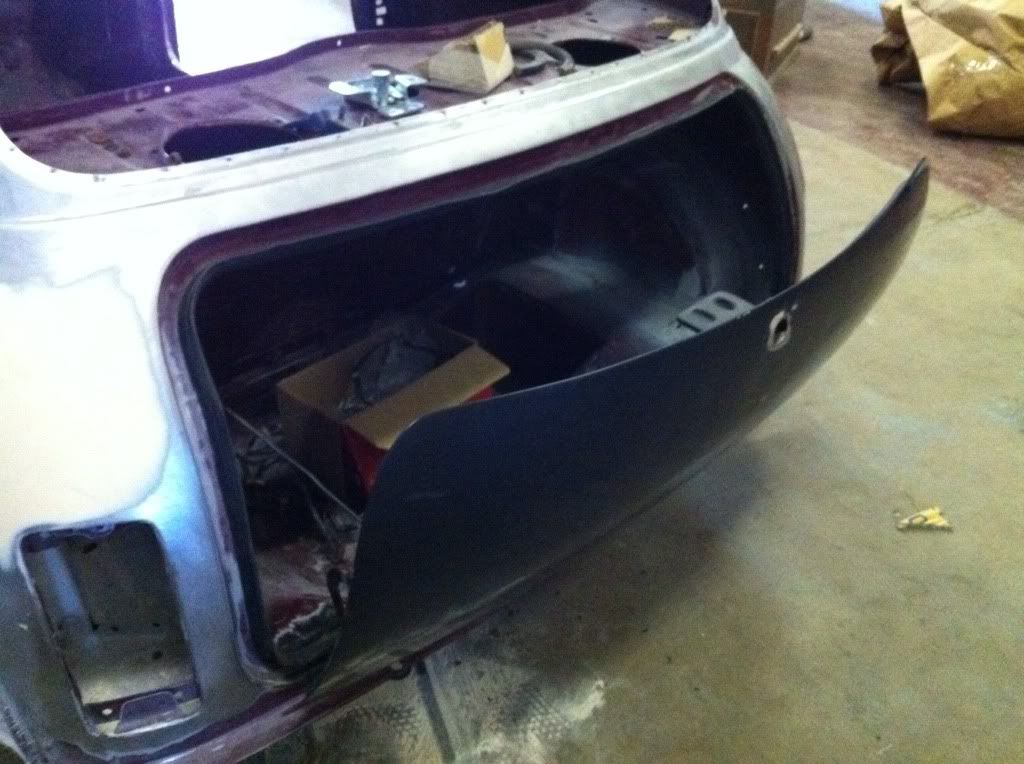
<div>Then with a lot of trial fitting of the hinges and positioning of them/tweaking with an oxyacetylene torch we got it bang on to create this</div>
<div> </div>
<div>
 </div>
<div> </div>
<div>
 </div>
<div> </div>
<div>
 </div>
<div> </div>
<div>
 </div>
<div> </div>
<div>AS you can see it doesn't open as far as a normal lid but with still having the rear seam on the valence the lid would hit it if it were to open any further. As Phil accurately pointed out 'You've enough room to slide a crate of beer in!' which is pretty much the largest thing i will need the boot for
</div><div> </div>
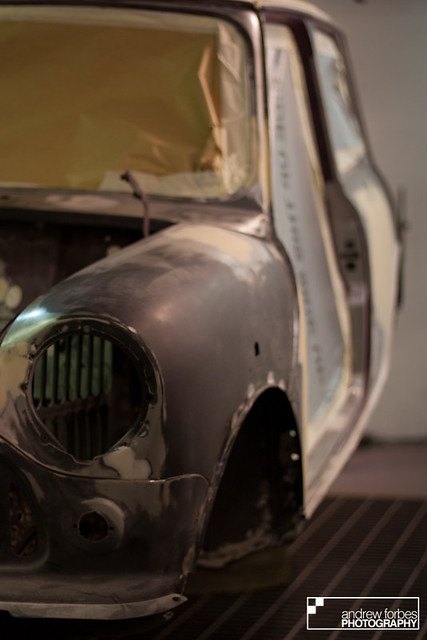
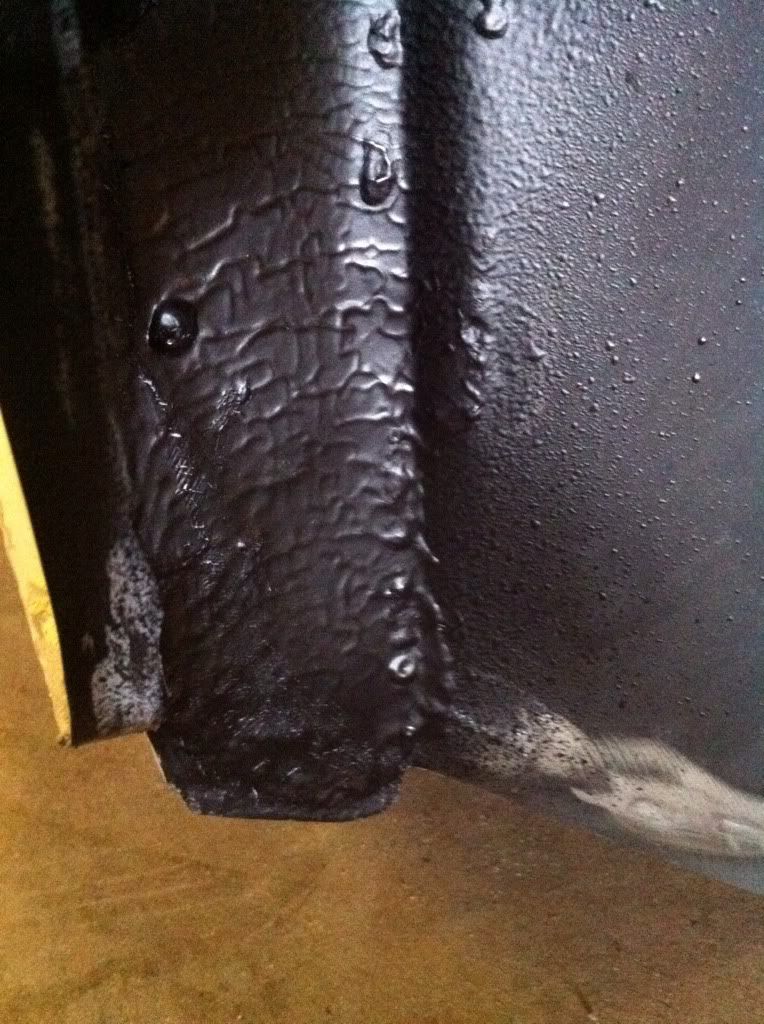
<div>Also got a test bit of stone chip underneath one of the front arches. Going to look pretty good!</div>
<div> </div>
<div>
 </div>
<div> </div>
<div>Out again Monday afternoon after I hand in all my uni stuff in the morning for the first semester. Next stage is reinforce the bootlid hinge mounts and then attack the underneath to get it ready for stone chip, then its paint time
</div><div> </div>
<div>Another afternoon out at banchory today after my uni hand in.</div>
<div> </div>
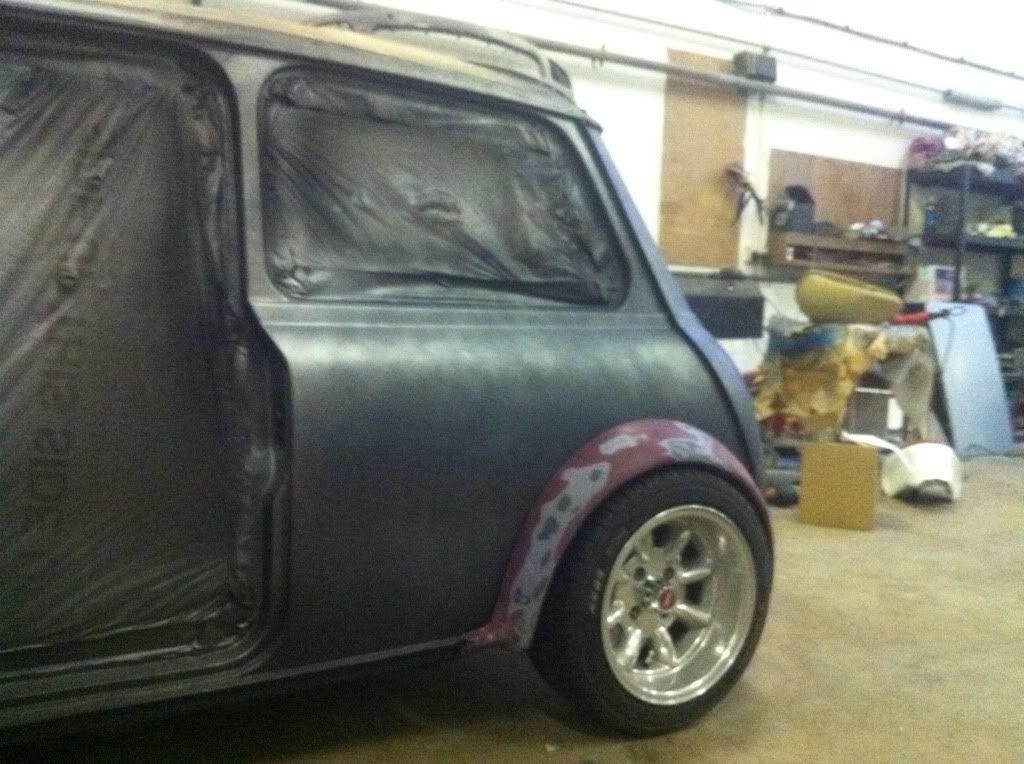
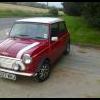
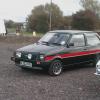
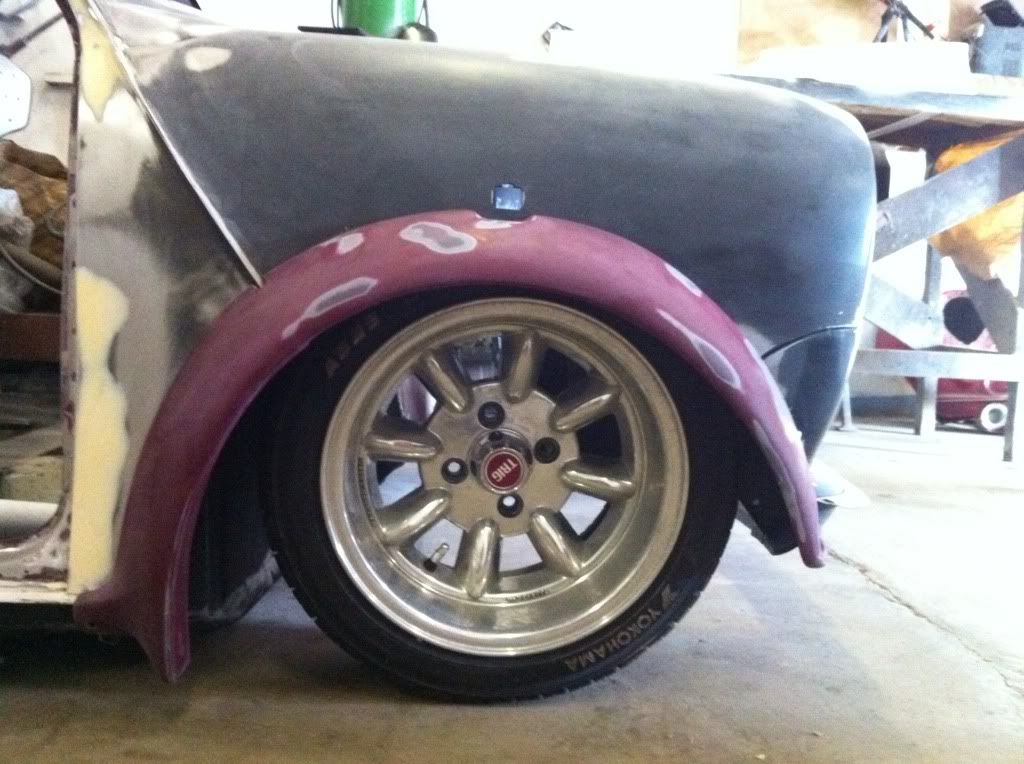
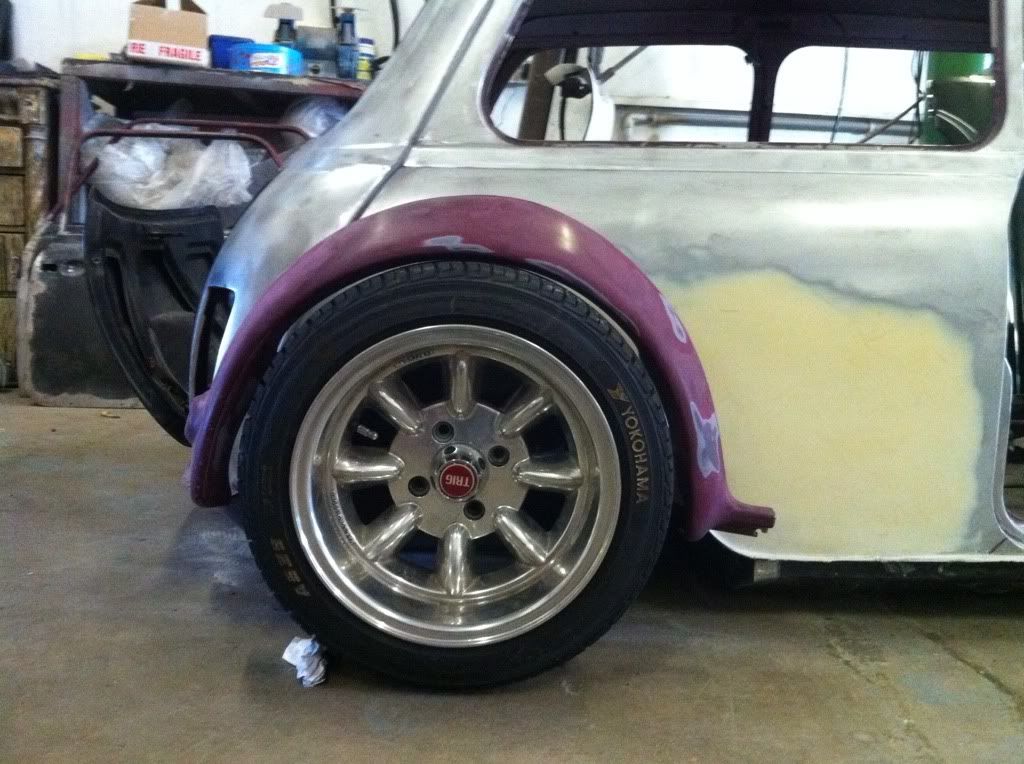
<div>Phil and the lads had been asking what wheels were going on the car so brought a couple out. Safe to say they were impressed! Even though they aren't polished....</div>
<div> </div>
<div>And just because I could.....slammed/tucked Mini anyone? </div>
<div> </div>
<div>
 </div>
<div> </div>
<div>
 </div>
<div> </div>
<div>It will not be possible to run this low of course as it would need even more severe arch work and the front wouldn't be able to turn at all! Unless I go and get a Z Cars Monte Carlo kit theres not a hope!</div>
<div> </div>
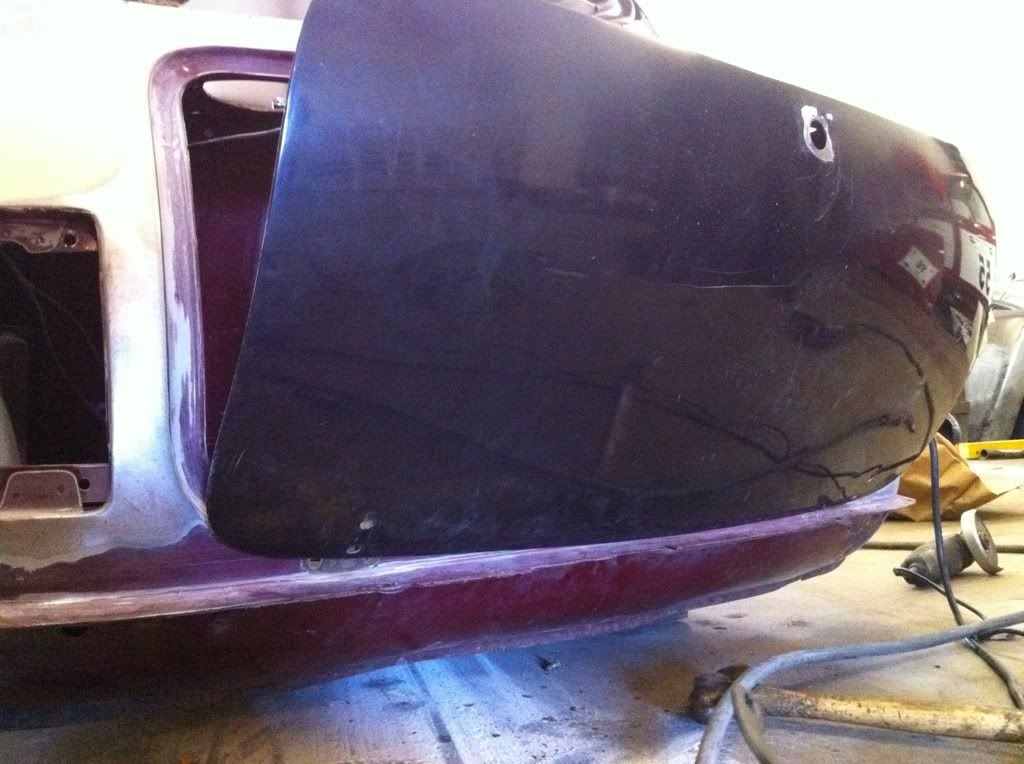
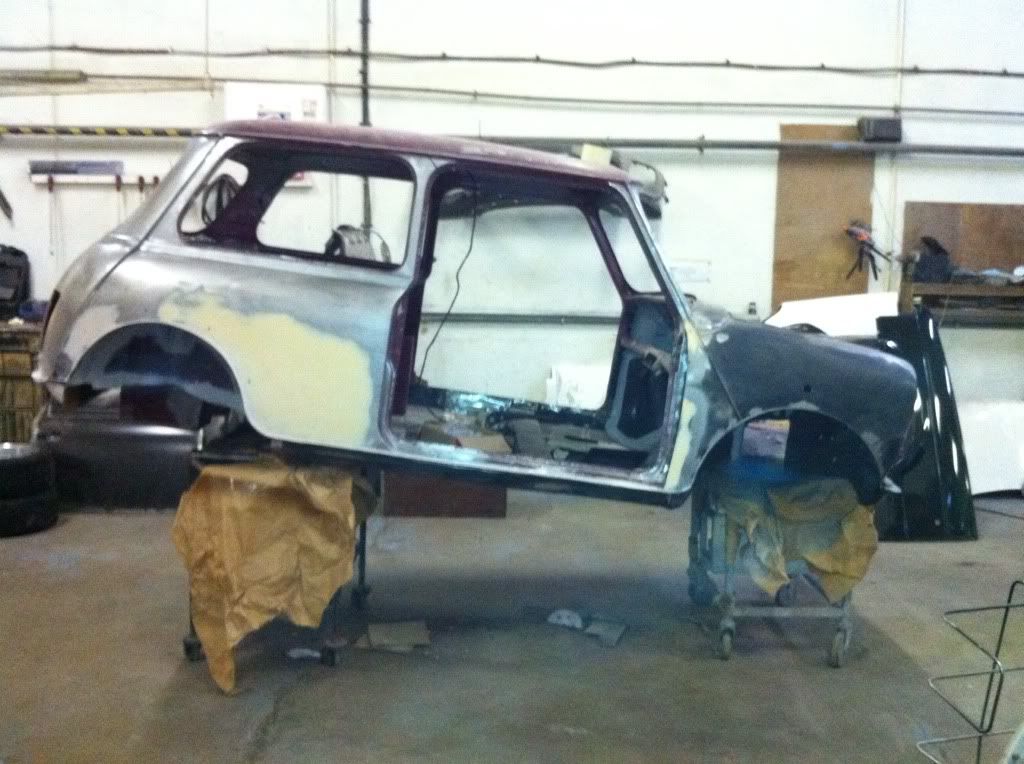
<div>So with that out the way we set about prepping the rear valence/boot hinge area ready for primer. Chucked it onto a couple trolleys and set about fixing it. Welded and filled the bootlid and top valence holes for the original hinges and filled and sanded them down.</div>
<div> </div>
<div>
 </div>
<div> </div>
<div>
 </div>
<div> </div>
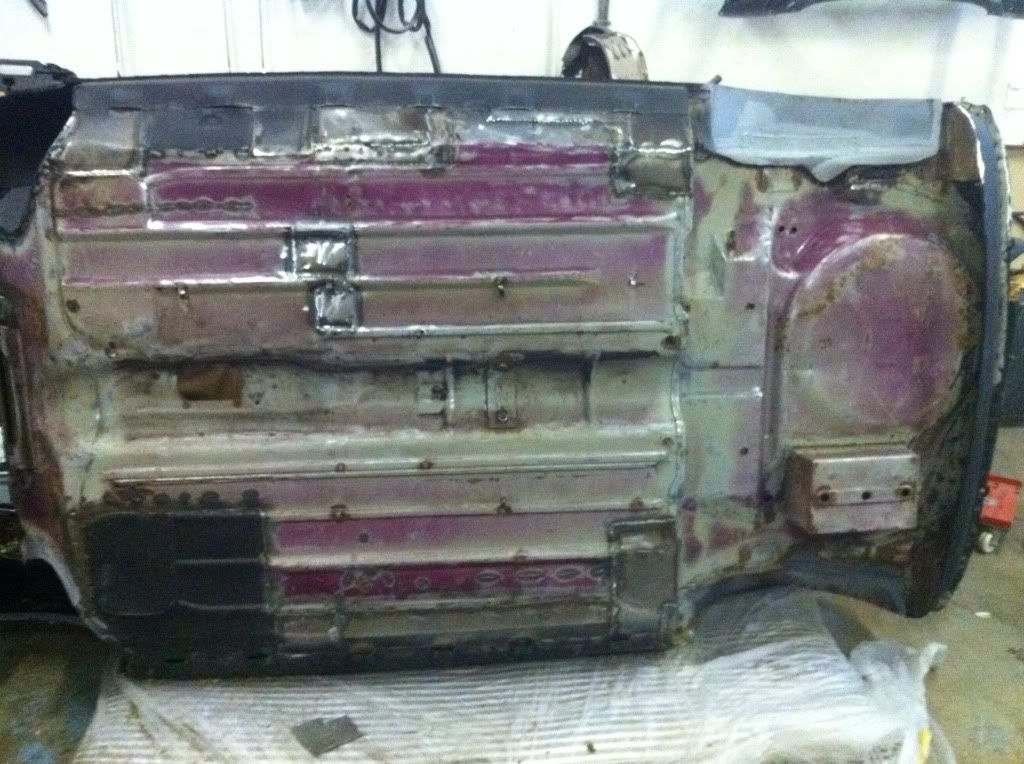
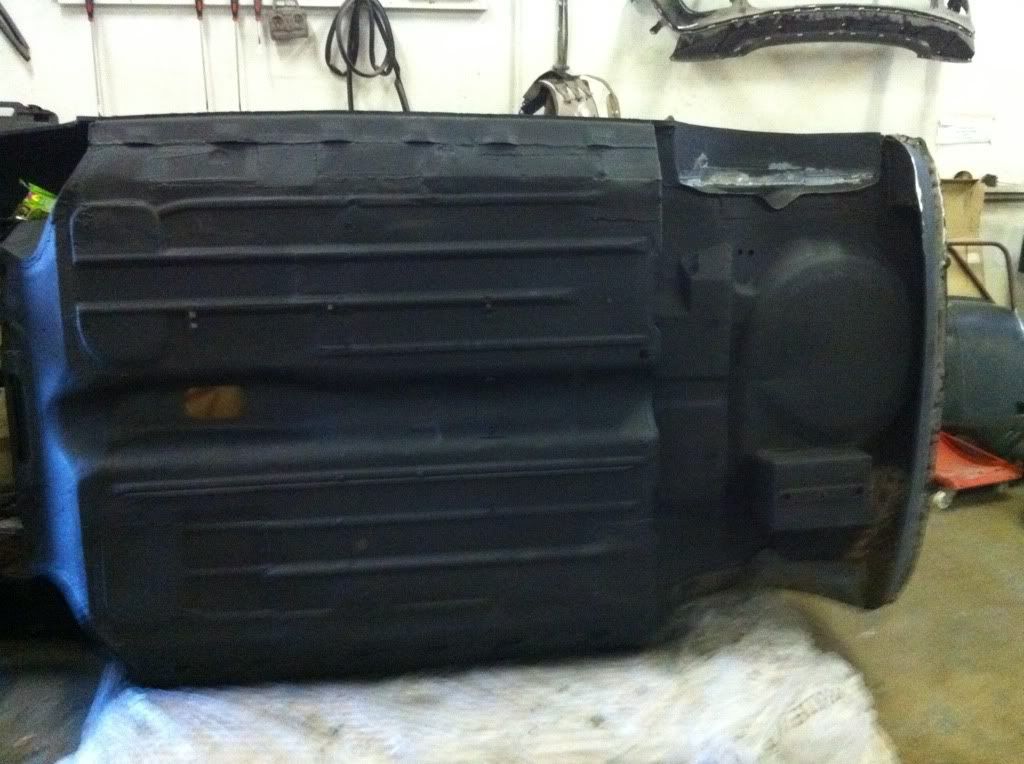
<div>Then MBX'd the floor to get rid of all the old stone chip/sealer put on by the factory.</div>
<div> </div>
<div>
 </div>
<div> </div>
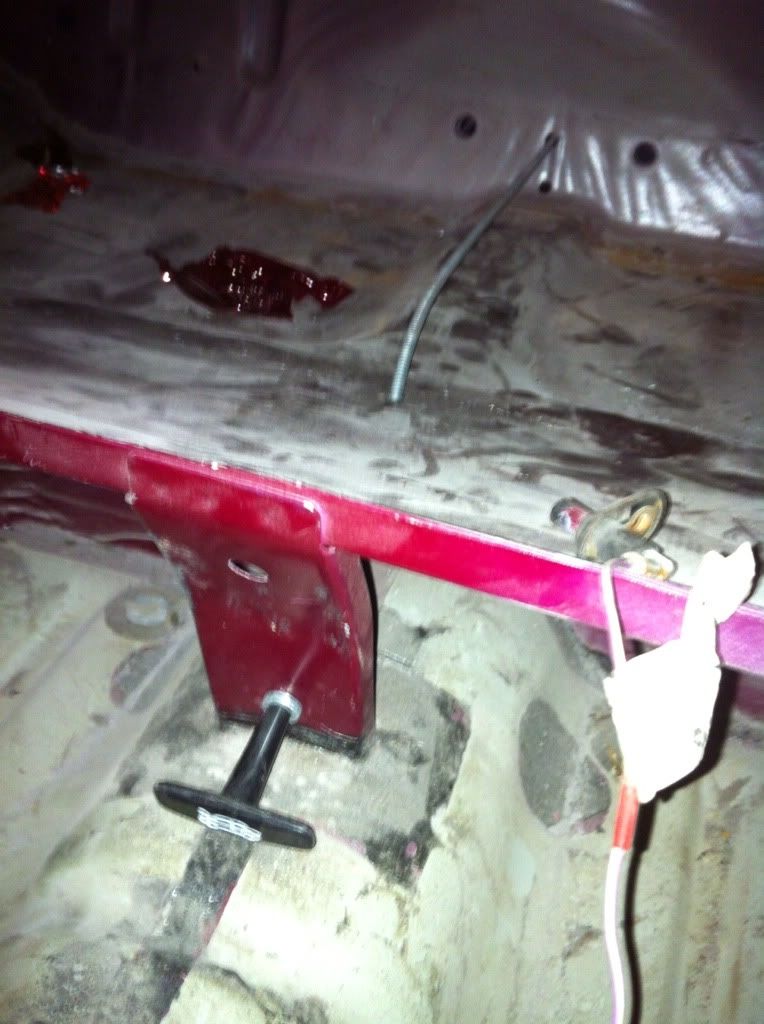
<div>With the rear all prepped I sorted out the location of the boot pull handle. Had to locate it further down than first thought as it was hitting the seat because of the way it slants at that section. Means its more hidden and won't get knocked by stuff in the car though which is good! It will be fixed underneath the sound deadening/carpets so won't be floating in space as it is at the moment.</div>
<div> </div>
<div>
 </div>
<div> </div>
<div>Will get the catch properly located and a plate welded first thing tomorrow morning.</div>
<div> </div>
<div>So thats todays progress. Tomorrow is the biggest day so far.....PRIMER!!!!! Acid etch followed by high build to really smooth off the panels before the final top coat goes on with the laquer to finish! </div>
<div> </div>
<div>The end of the body shop period of the build is in sight!!!</div>
<div> </div>
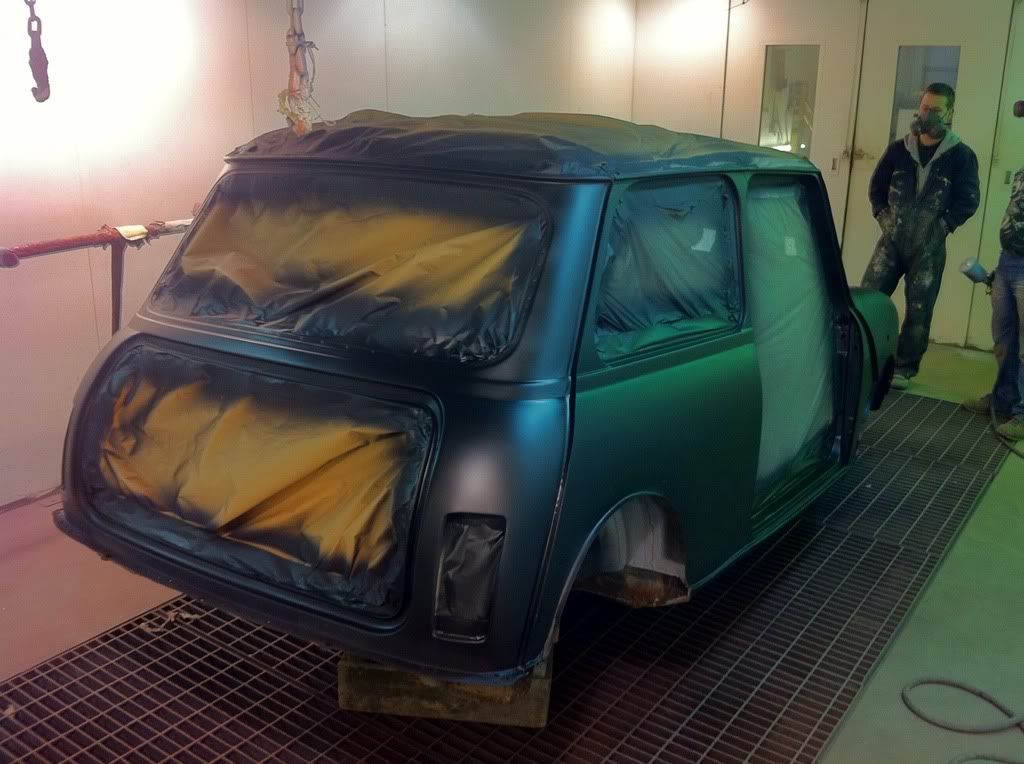
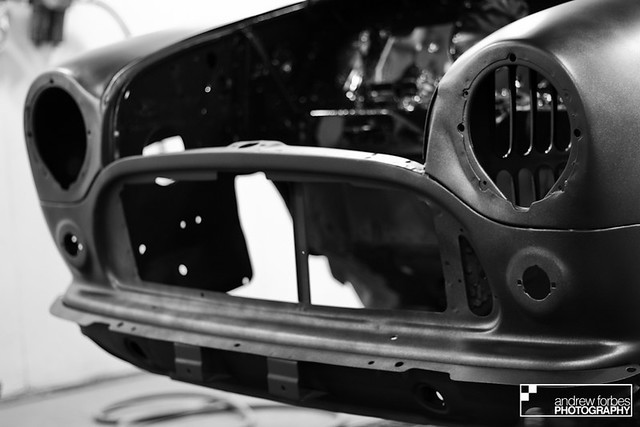
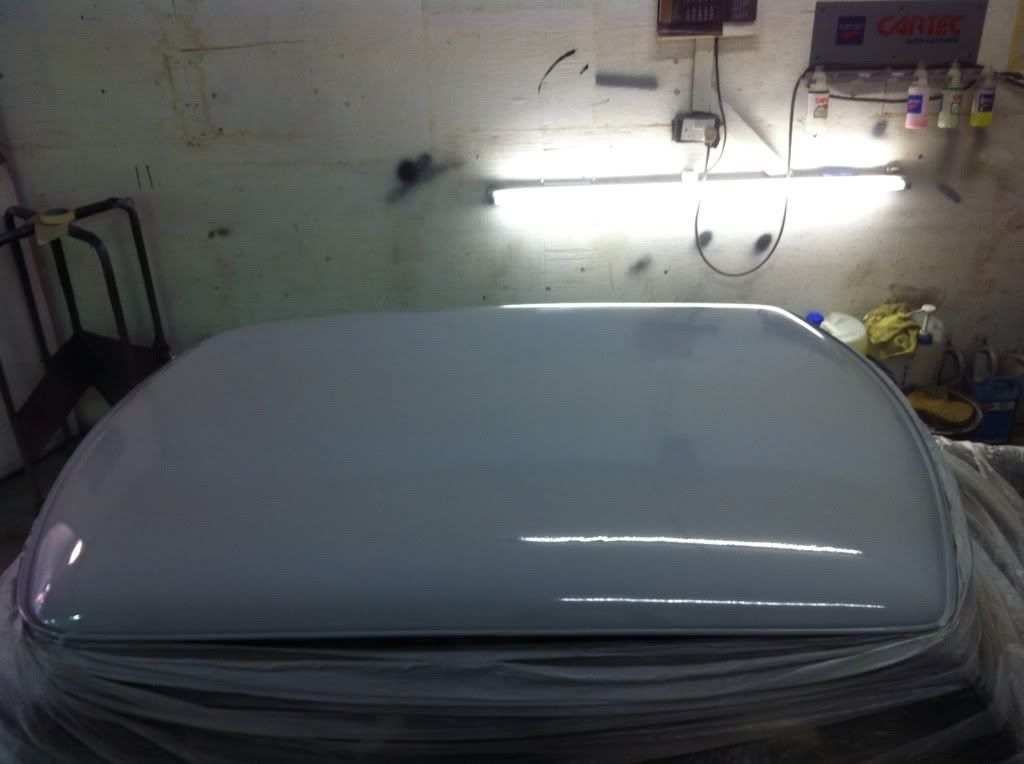
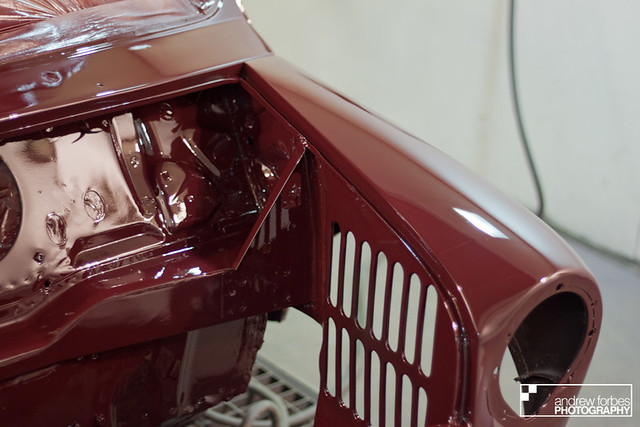
<div>Righto! HUGE day today! Car is now in PRIMER! </div>
<div> </div>
<div>So onto the photos.....!</div>
<div> </div>
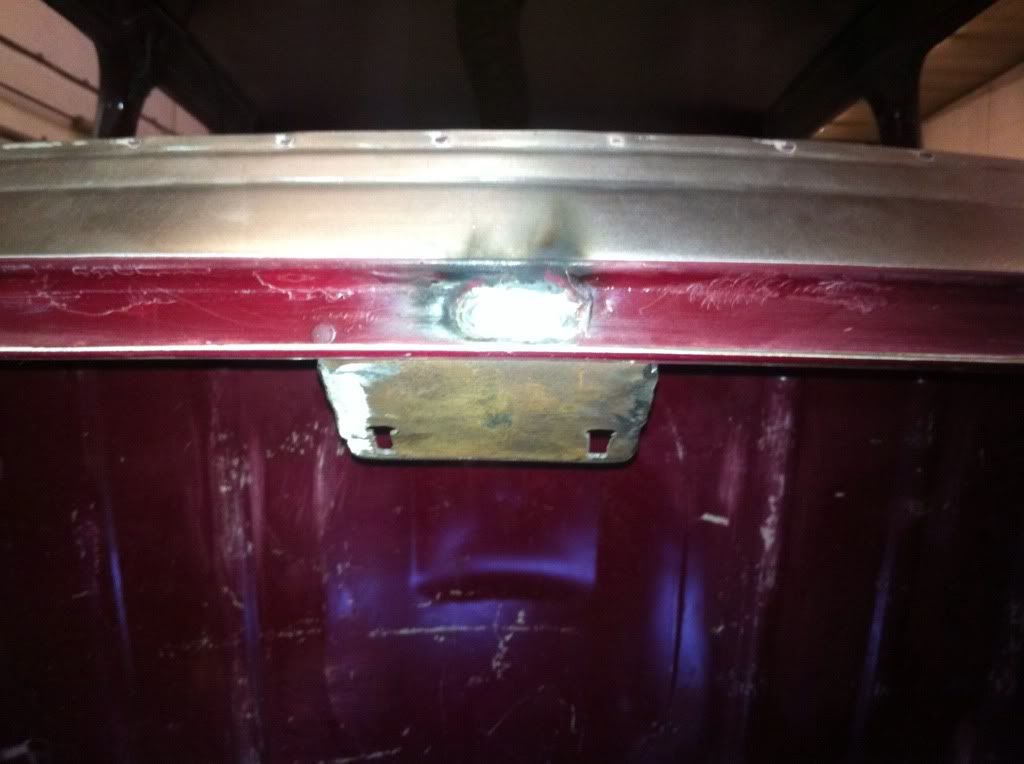
<div>Before we got that far we created the bracket for the boot catch. All of 30 minutes work</div>
<div> </div>
<div>
 </div>
<div> </div>
<div>Slotted holes so we can adjust the catch after paint for perfect alignment.</div>
<div> </div>
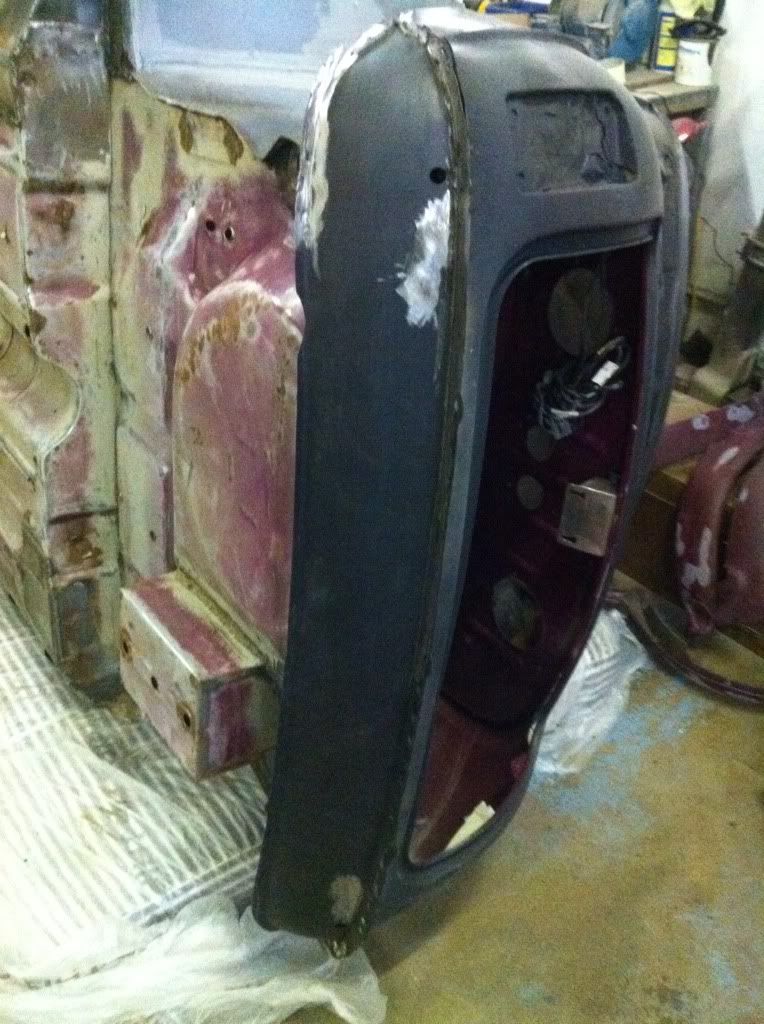
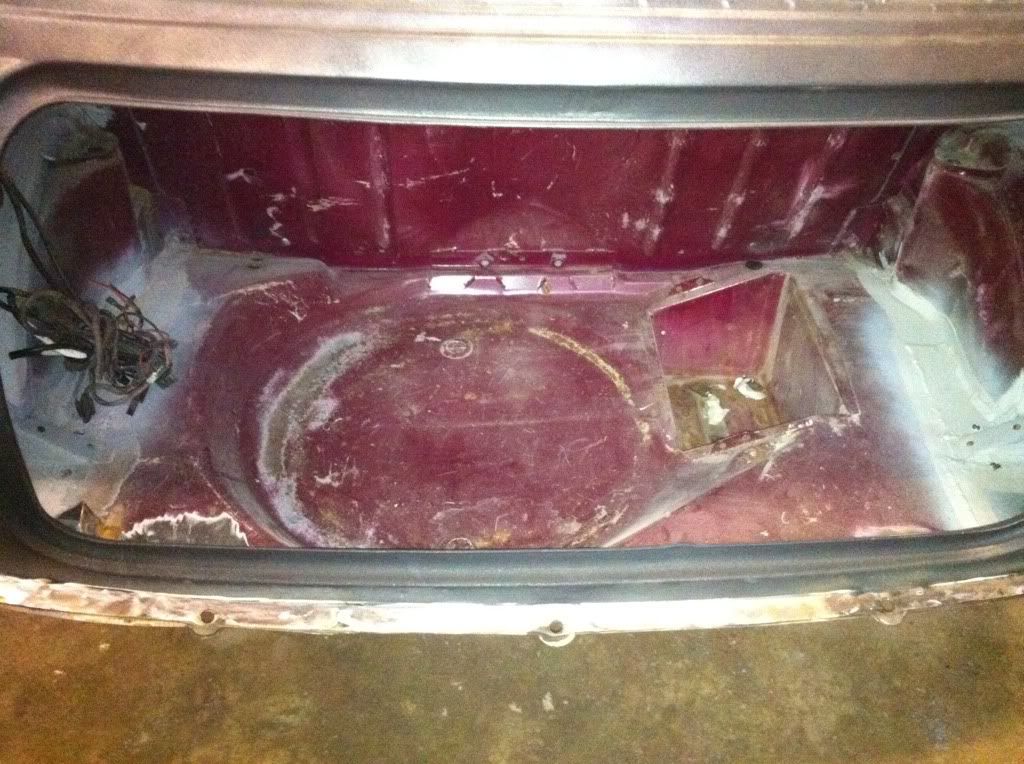
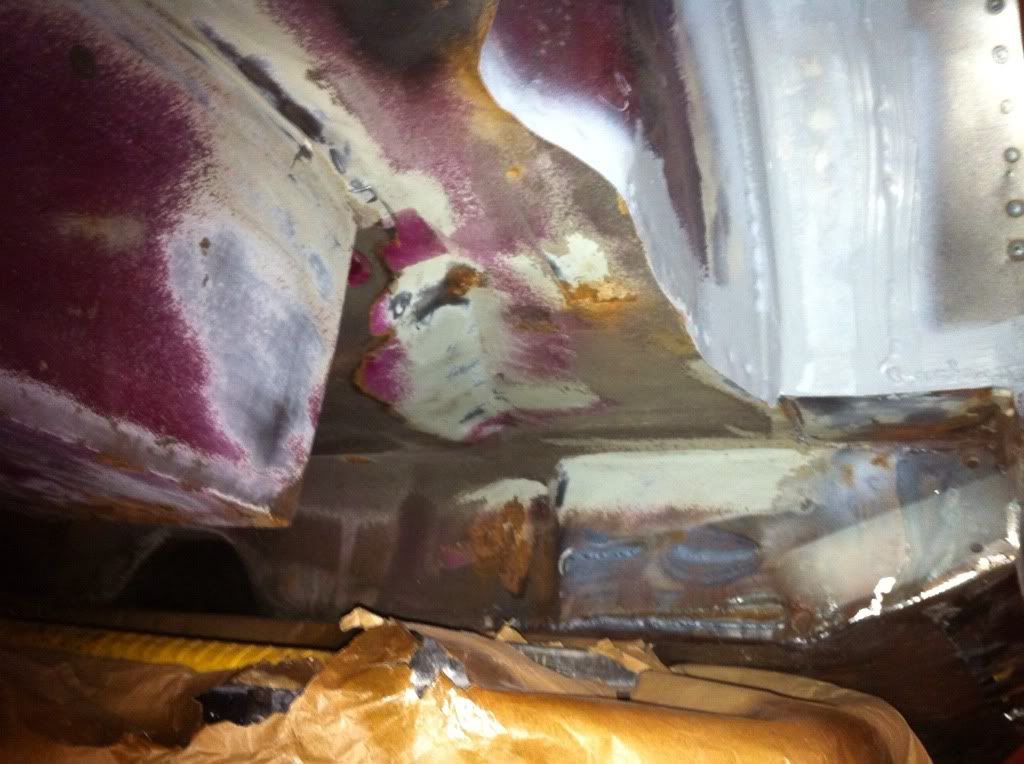
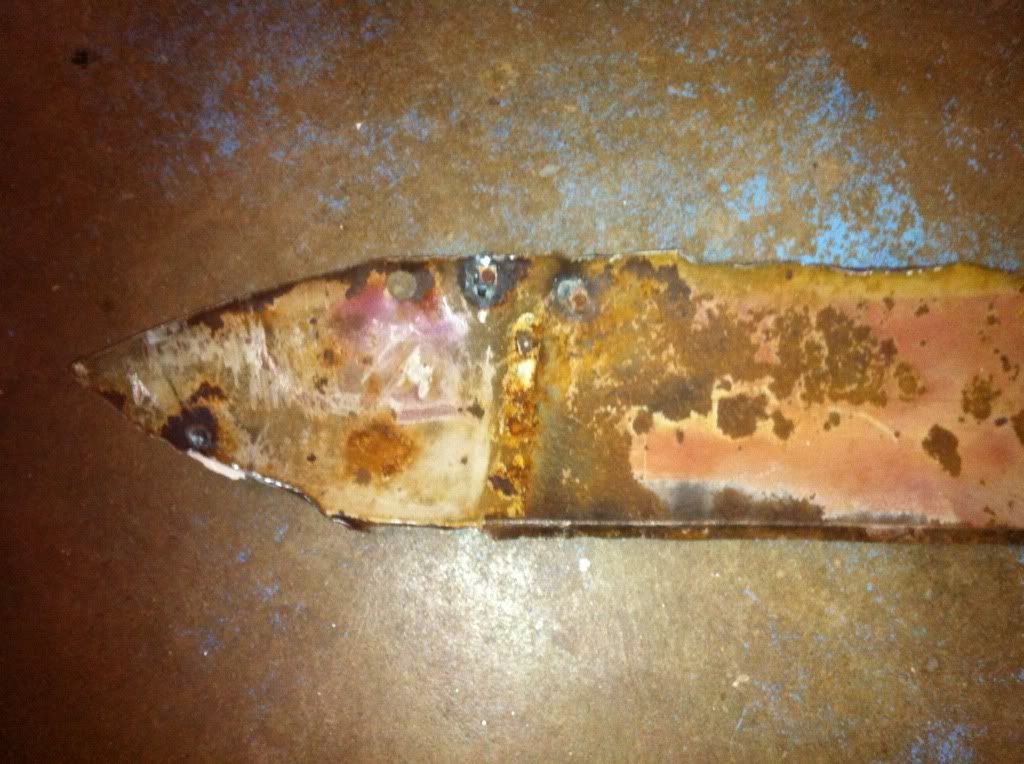
<div>Having then sanded down the epic layers of paint on the rear valence we revealed some stupidly thin steel. So we drilled out the spot welds and cut it off. </div>
<div> </div>
<div>Here you can see what was revealed. No point in cutting corners at this late a stage.</div>
<div> </div>
<div>
 </div>
<div> </div>
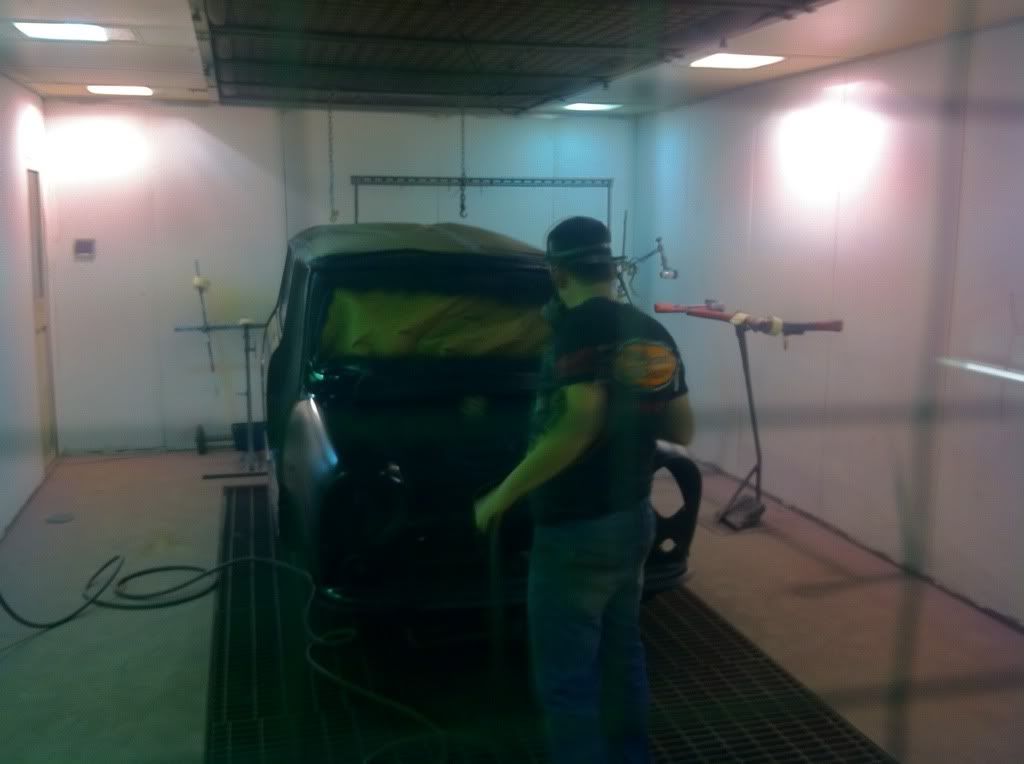
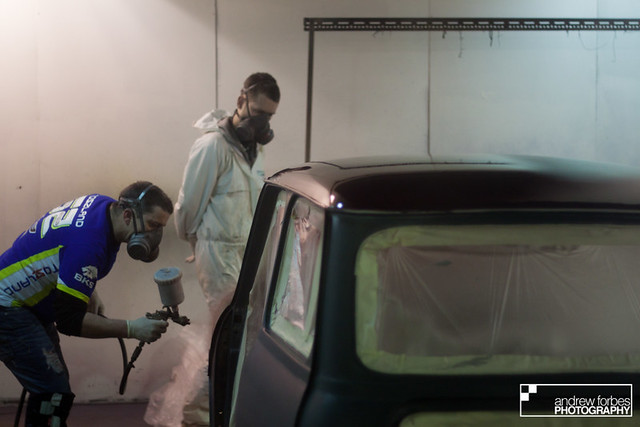
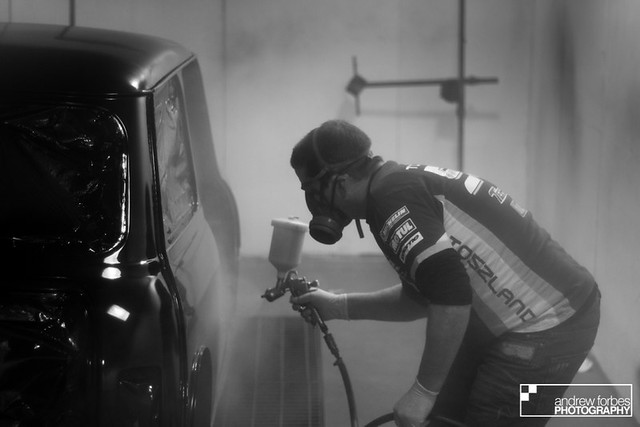
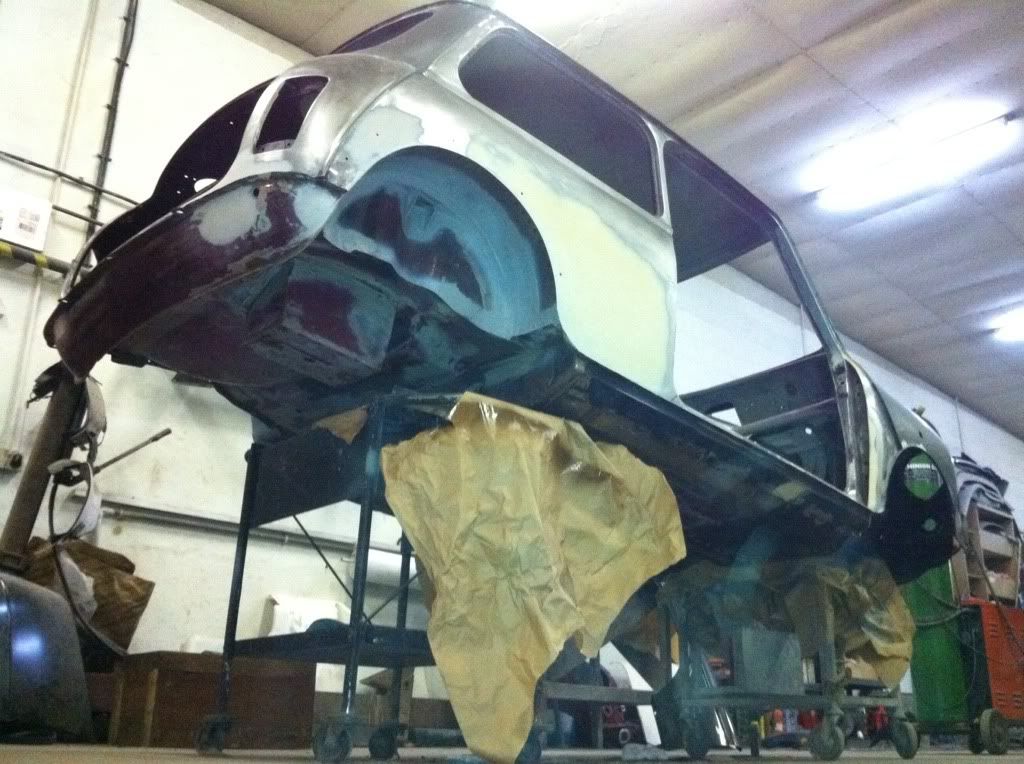
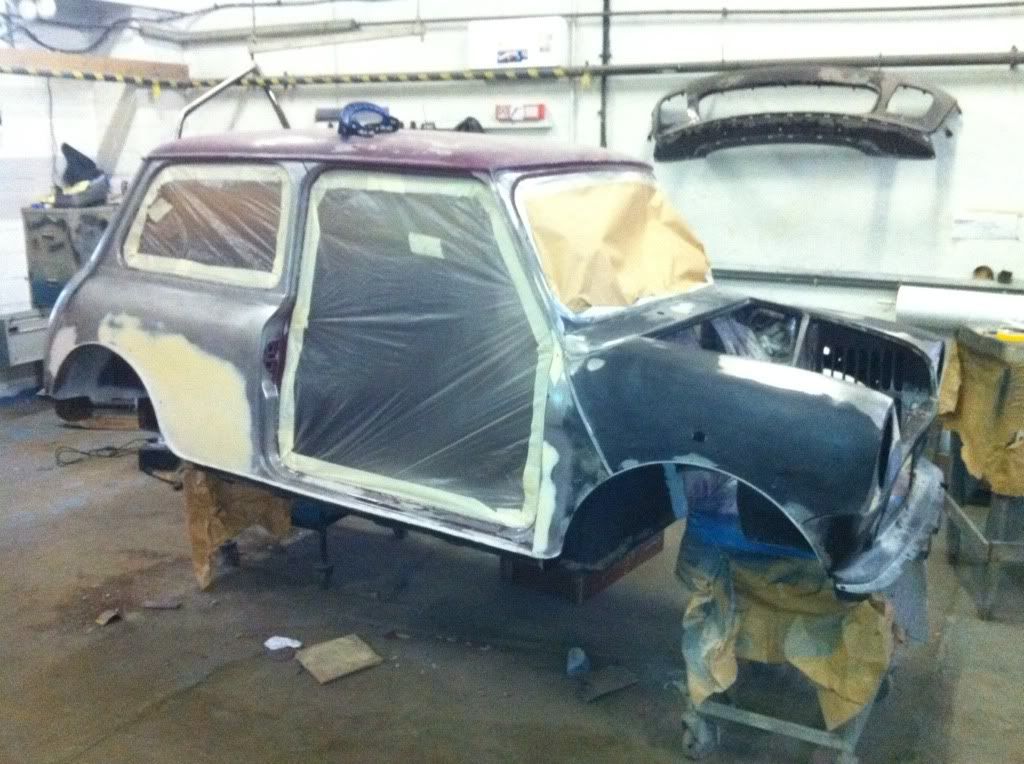
<div>We couldn't get another one until tomorrow afternoon at the earliest but we soldiered onto the main bit of the day. Priming the car.</div>
<div> </div>
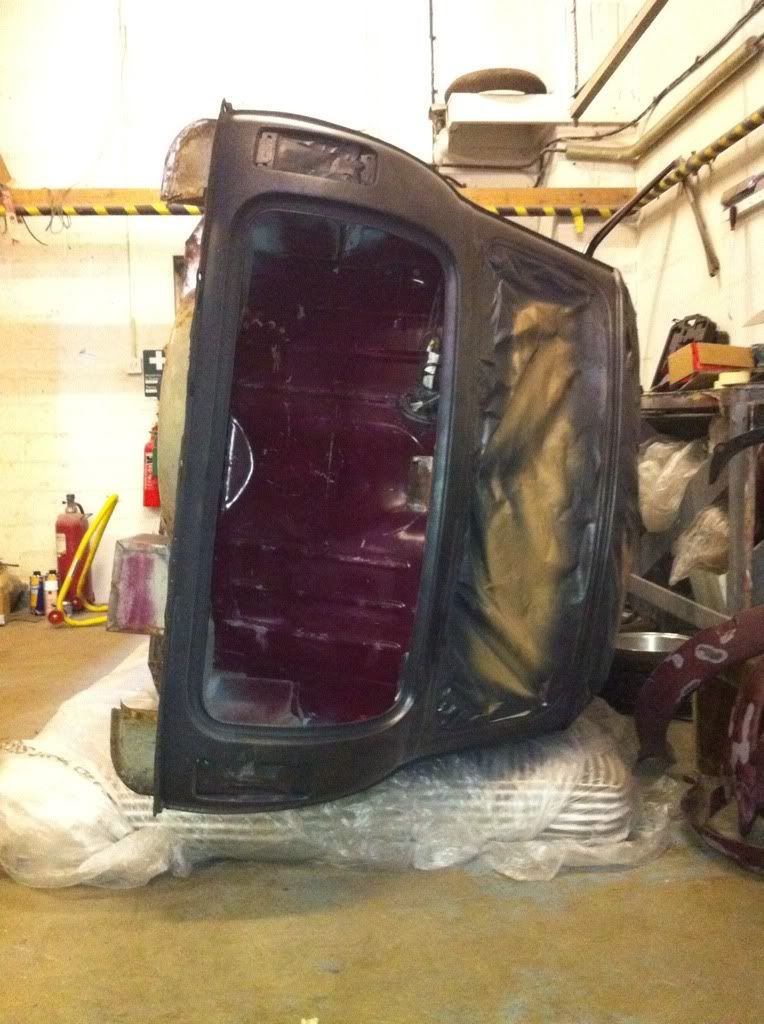
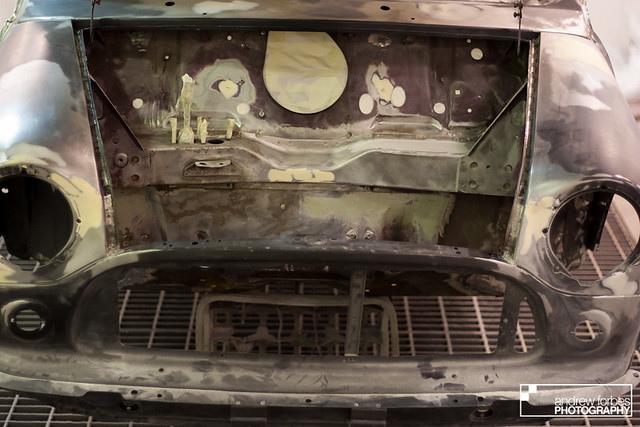
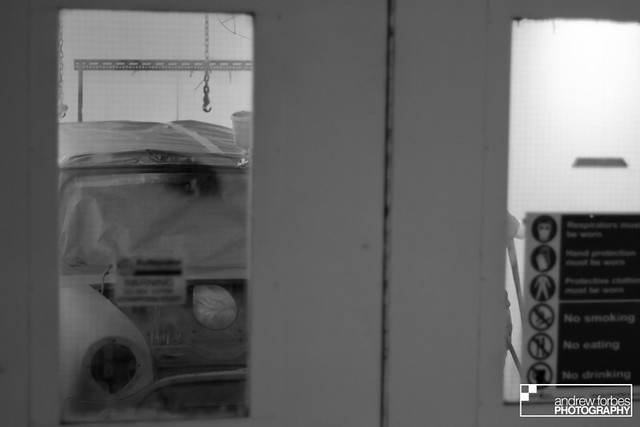
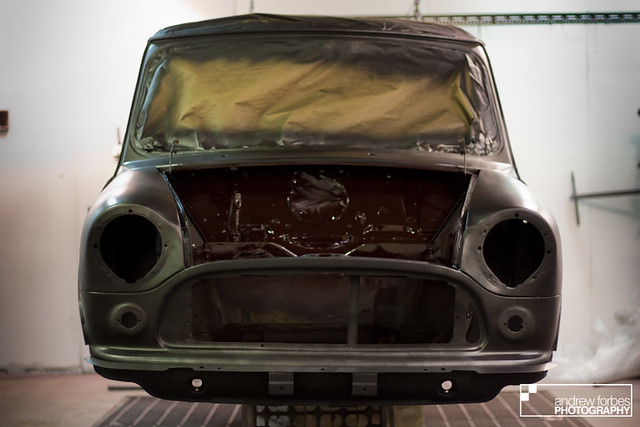
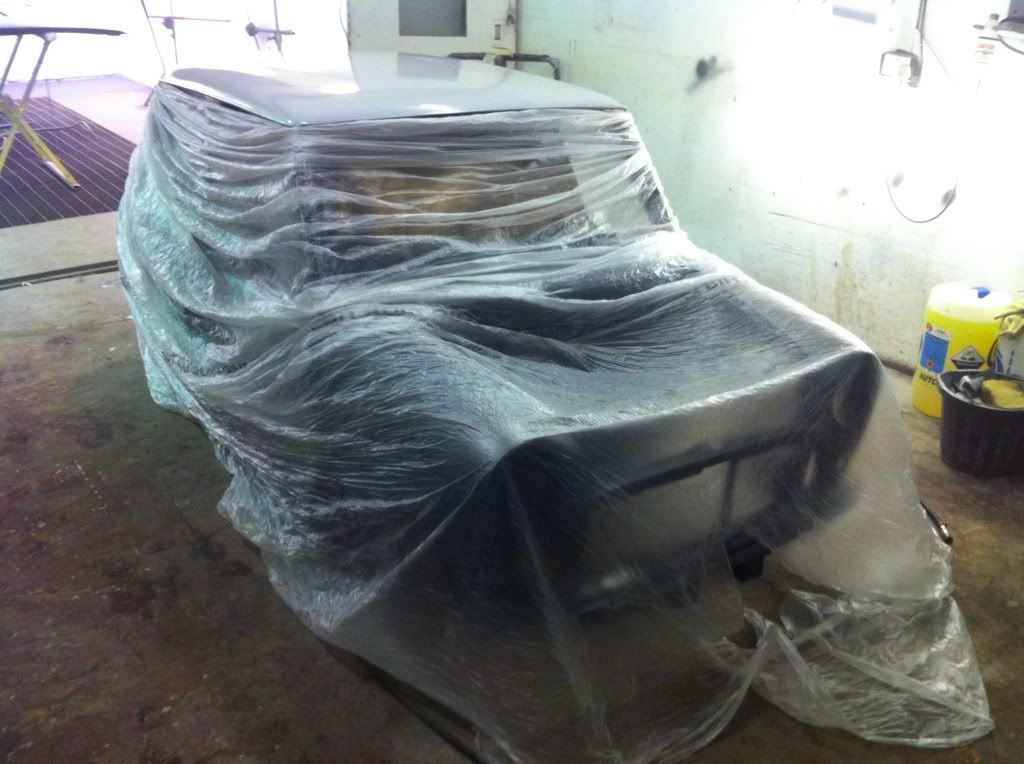
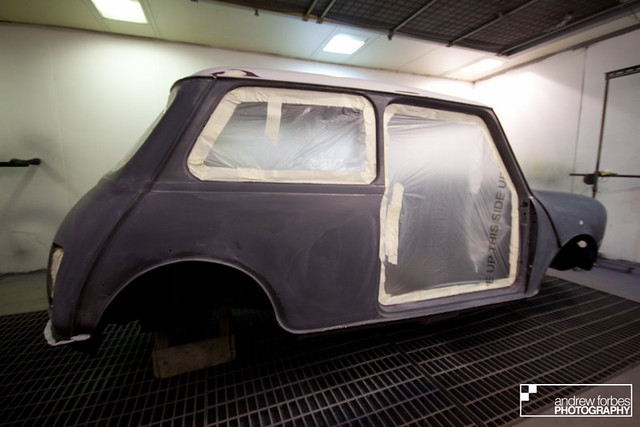
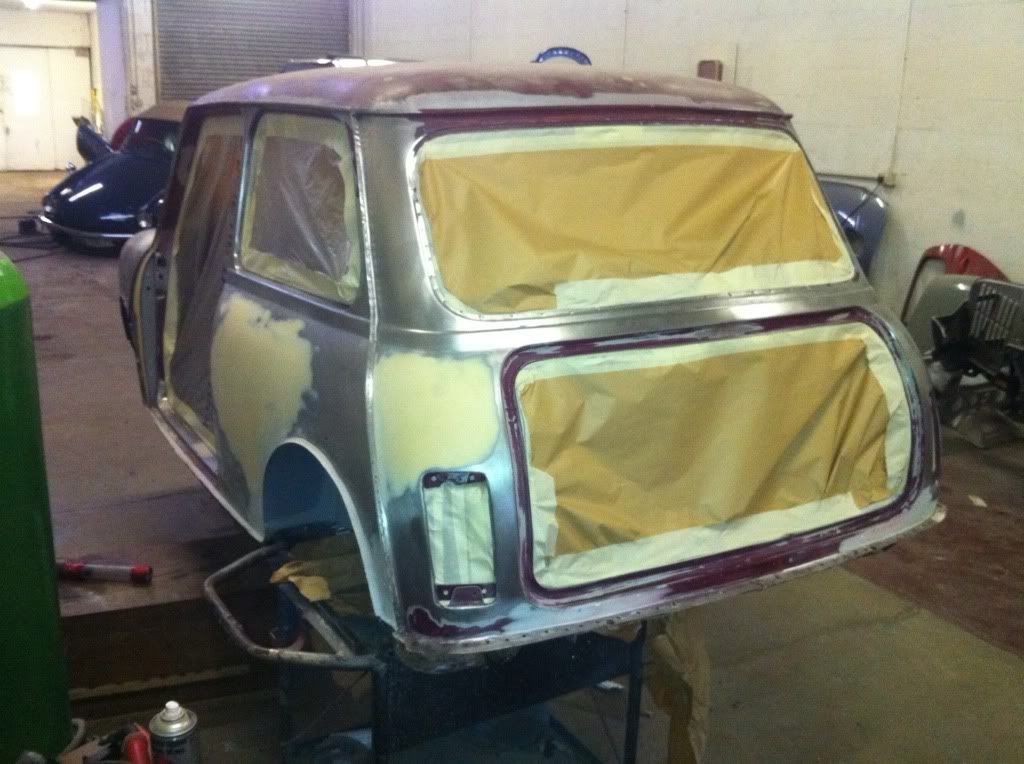
<div>Masked off the interior so the crap inside didn't flow onto the fresh paint. This is just a test prime really with the final getting done asap. Its highlighted some areas we need to go back to which is the whole idea.</div>
<div> </div>
<div>
 </div>
<div> </div>
<div>
 </div>
<div> </div>
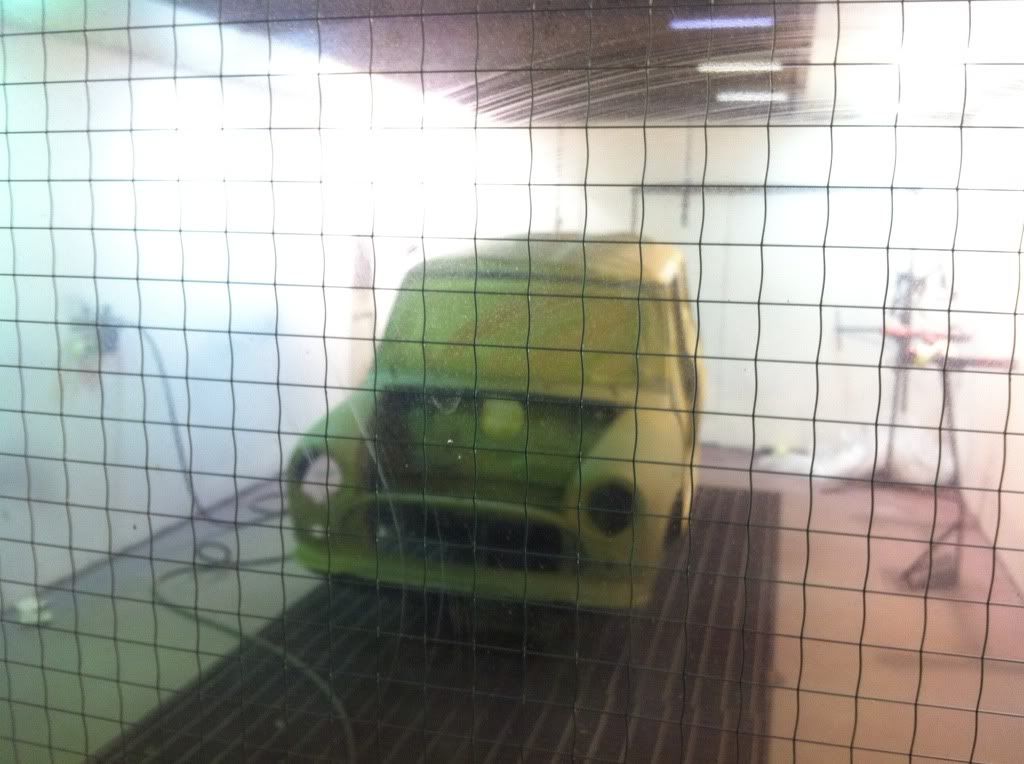
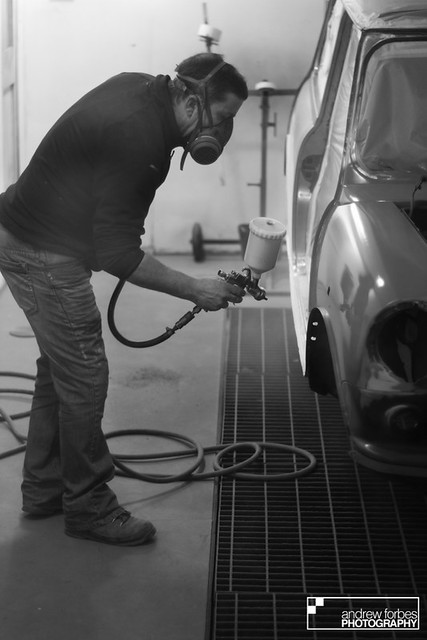
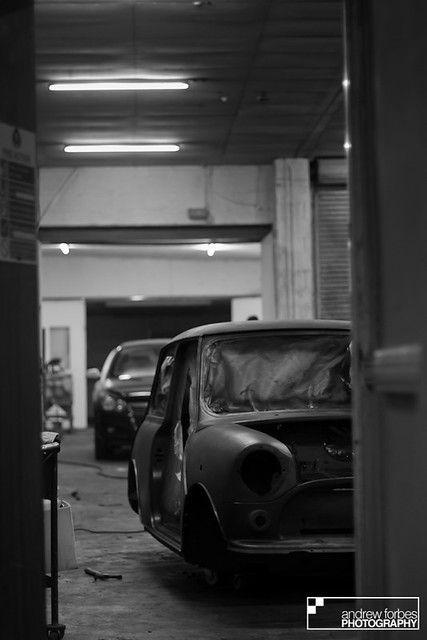
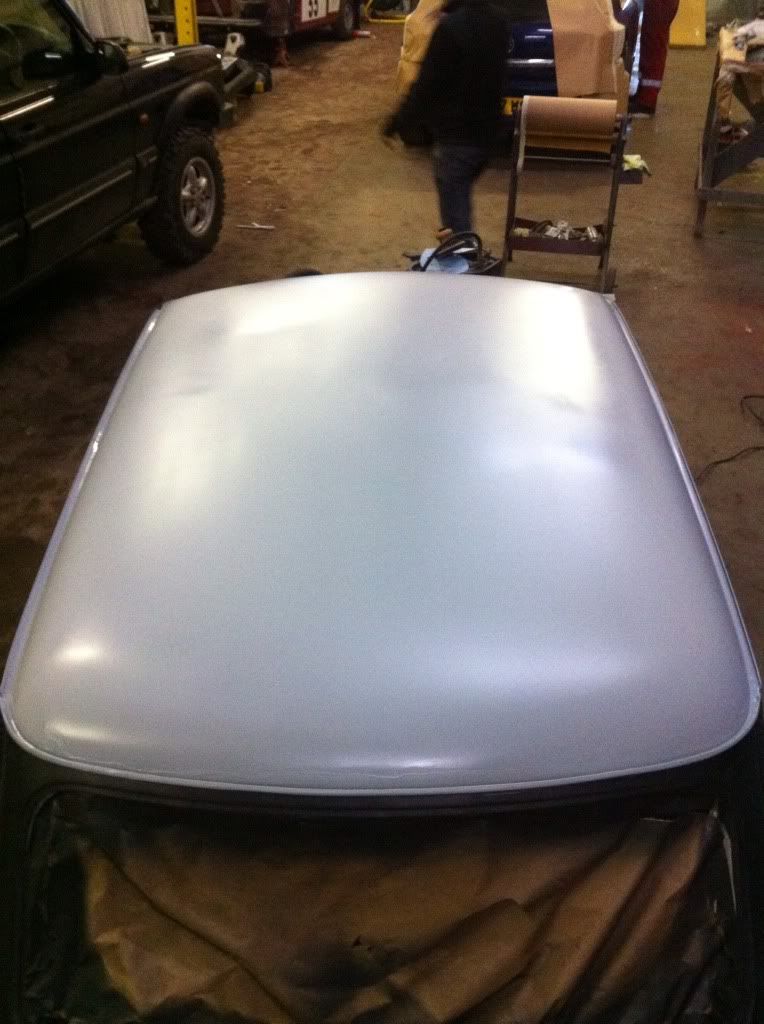
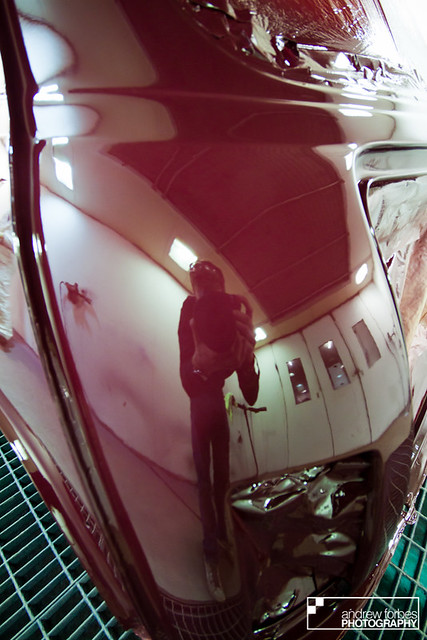
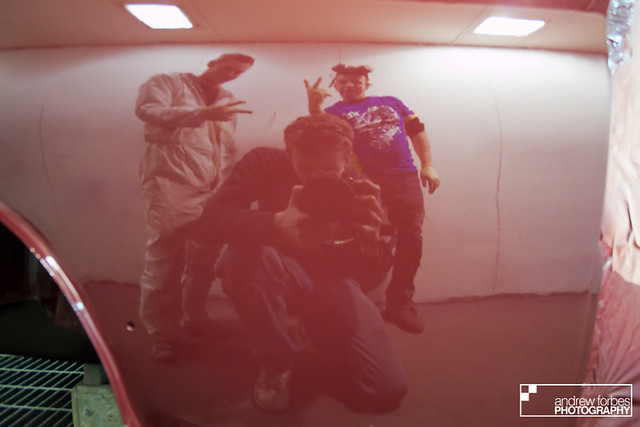
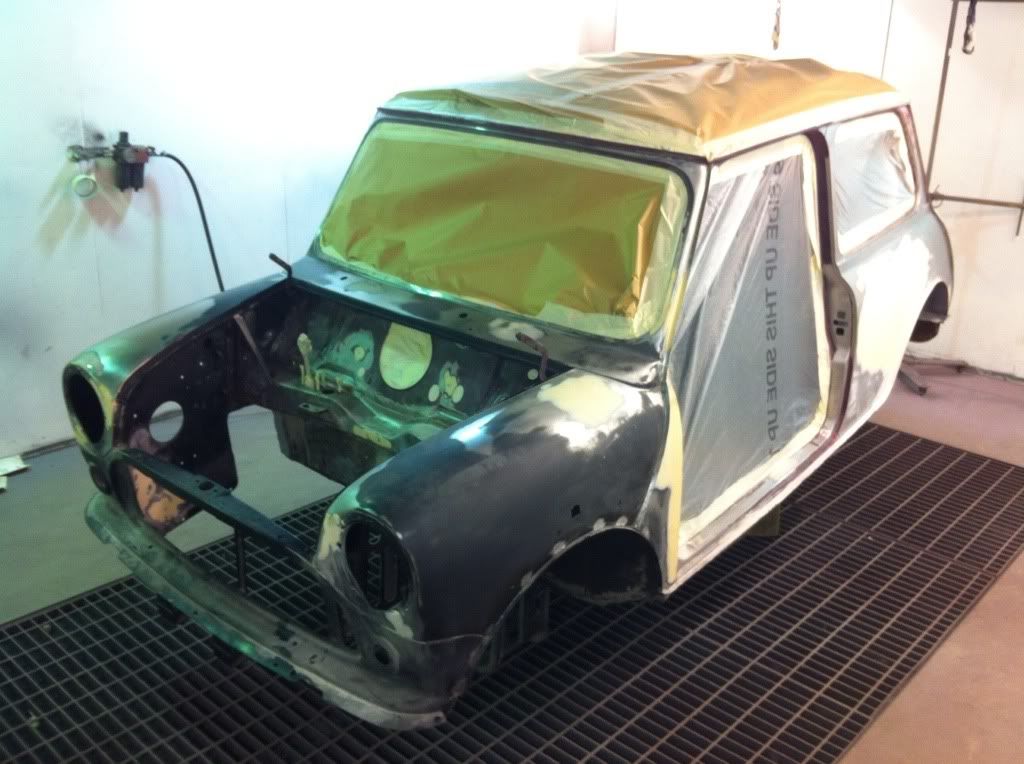
<div>Then it was a quick slide into the booth.</div>
<div> </div>
<div>
 </div>