Jump to content


Photo
- - - - -

The 89' Mayfair - Aka Two (The White One)


  • Please log in to reply
338 replies to this topic

#1 myredmini

myredmini

    My Mummy Says It's OK

  • Members
  • PipPipPipPipPipPipPipPipPip
  • 3,211 posts
  • Name: Dan
  • Location: Teesside
  • Local Club: BOG MOG

Posted 08 September 2011 - 10:11 PM

Hi, I thought it was about time I made a thread for my little Mayfair.

Bit of background information. I bought her in February from "elfie" on here, it was bought with a 998 and a stage 1 kit, Mary Quant front seats (which I did not like) Was scabby round the edges but its my Daily driver. The plan was to tidy it up, get it through an MOT, and gradually make it better until my Chelsea was finished, then I would restore my mayfair.

I then got it through an mot after replacing the rear subframe which looked to be original (i know its hard to believe) it was patched to death!! Fitted new discs and pads, fully serviced it, quick tune and I have been using it since. The shell is remarkably solid considering it's age, i have replaced the front panel, and it only has 3 patches (all to be redone very soon)

Anyway, it is coming off the road tomorrow for a "make-over" before winter sets in, this will include;

A Respray in Old English White and Jet Black roof.
Fit my 12x6" Superlite alloys I am refurbishing and painting Anthracite which will have some new rubber, Yoko A539's.
Remove the Engine, strip the head off lap the valves in, fit new stem seals, head gasket.
New clutch as the old one is on its way and is basically....rubbish.
Fit a replacement gearbox due to the current gearbox beginning to go funny when engaging 2nd.
And basically tidy it up by repainting parts.
Most of all, Underseal !!

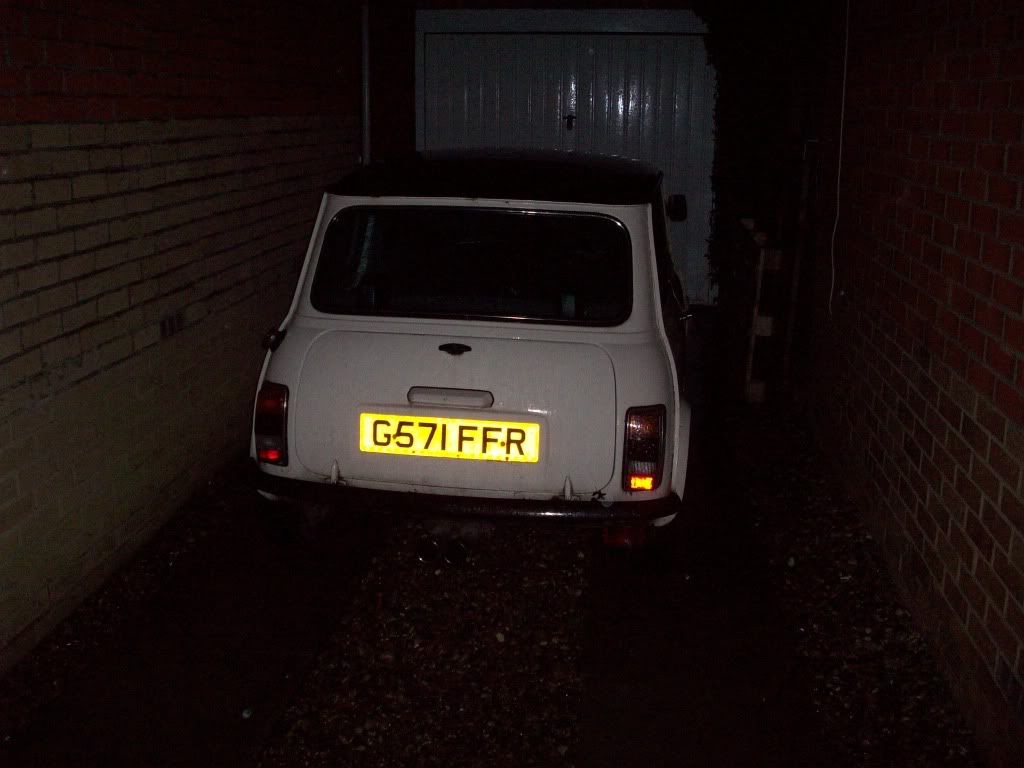
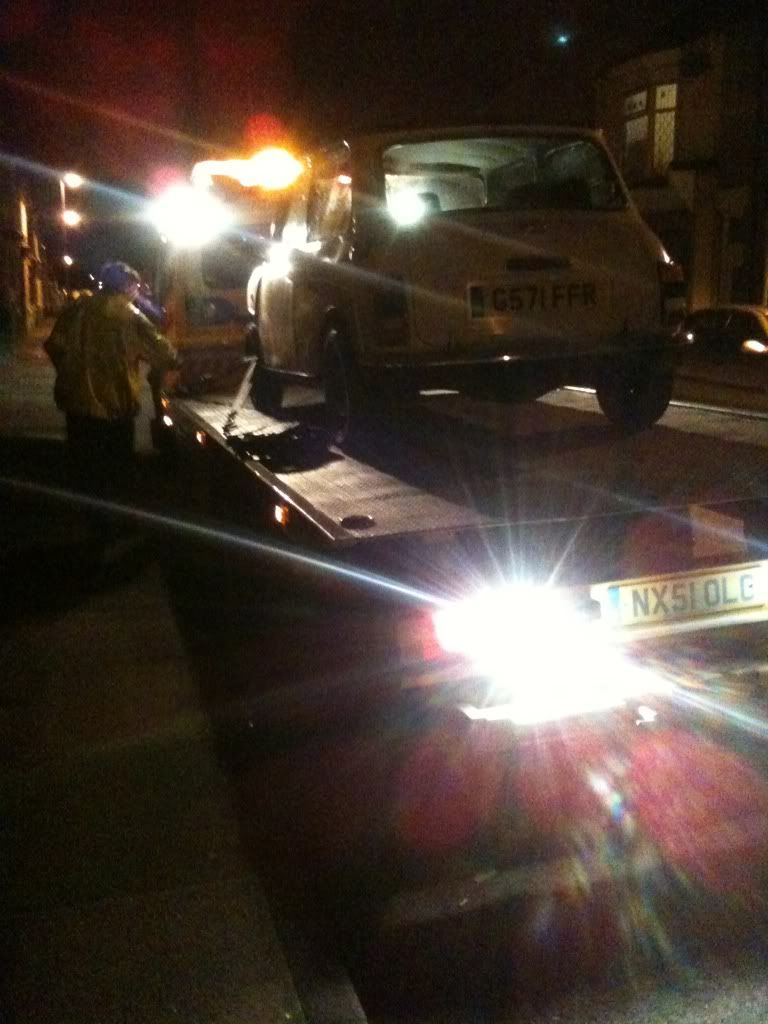
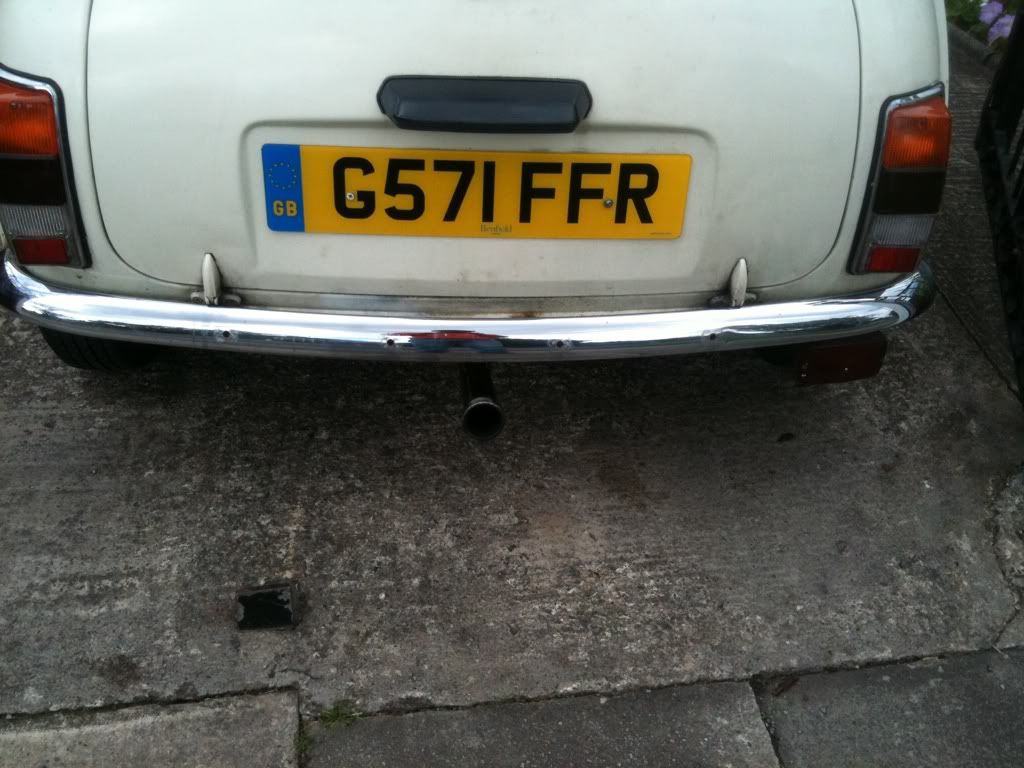
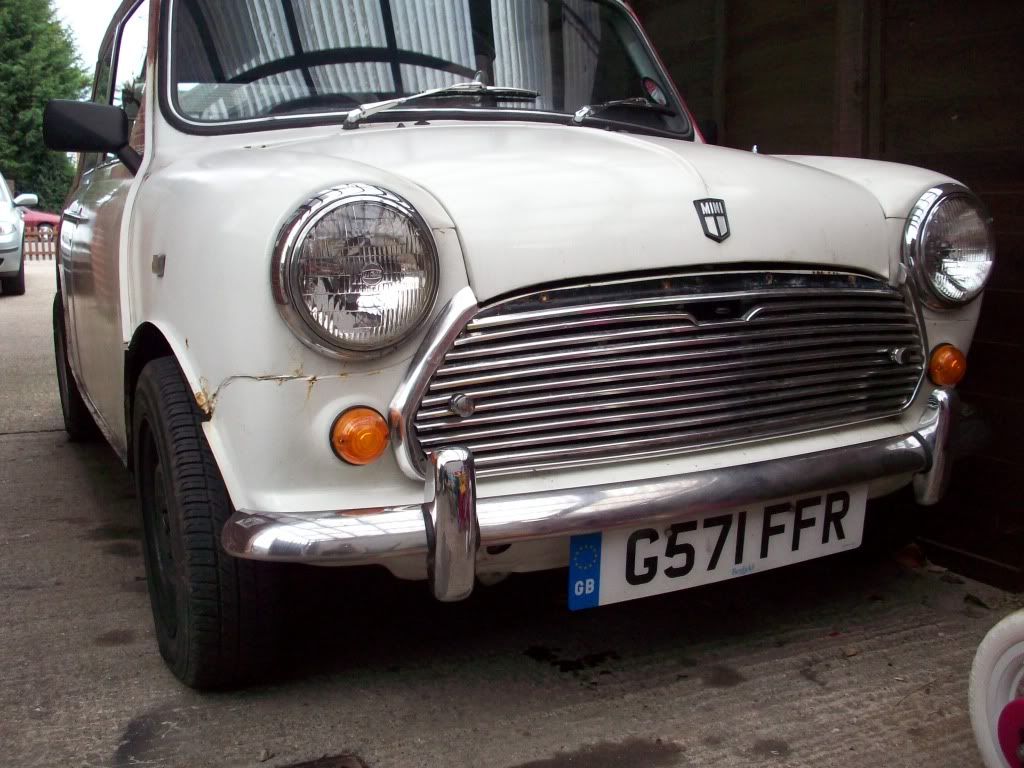
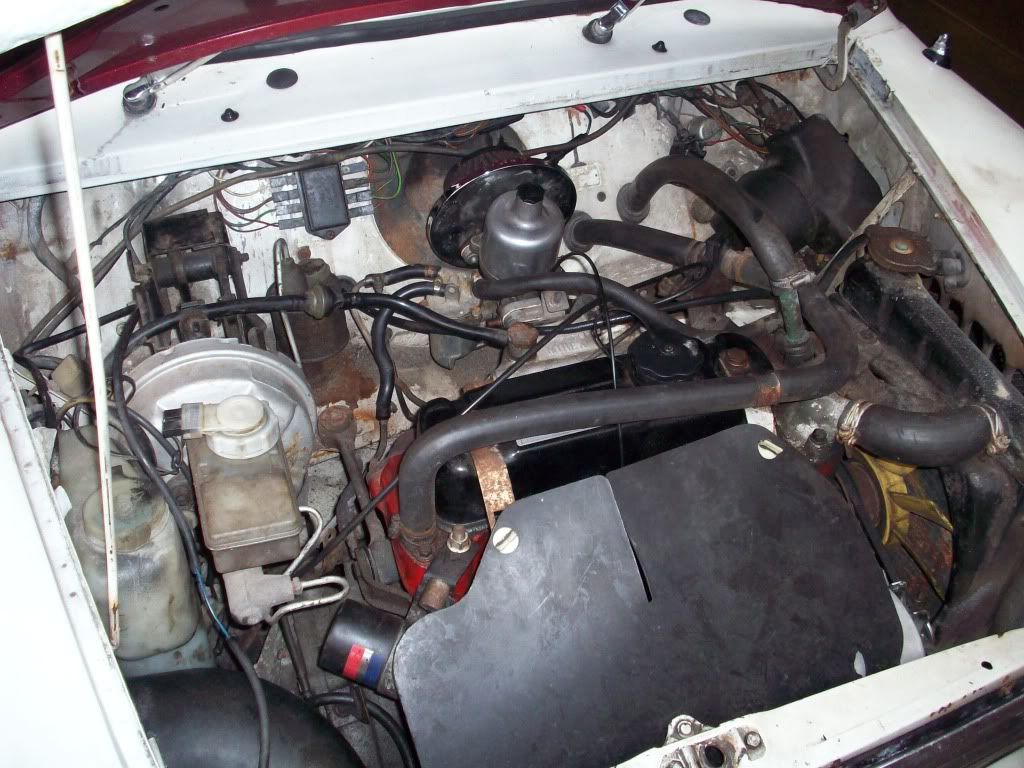
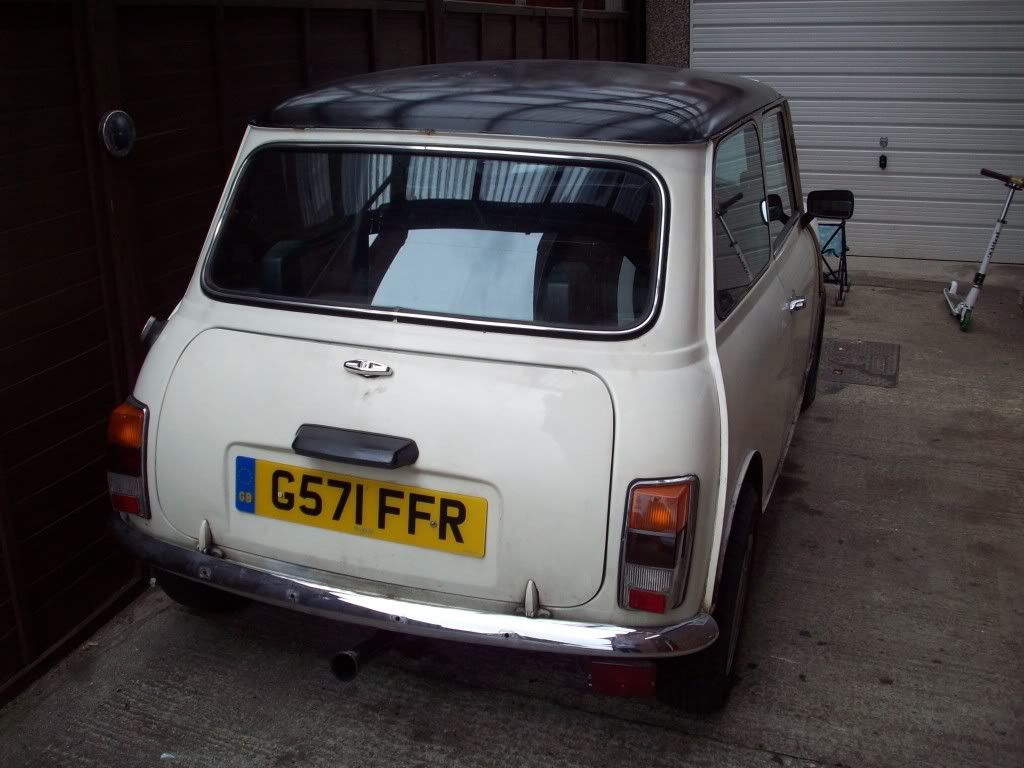
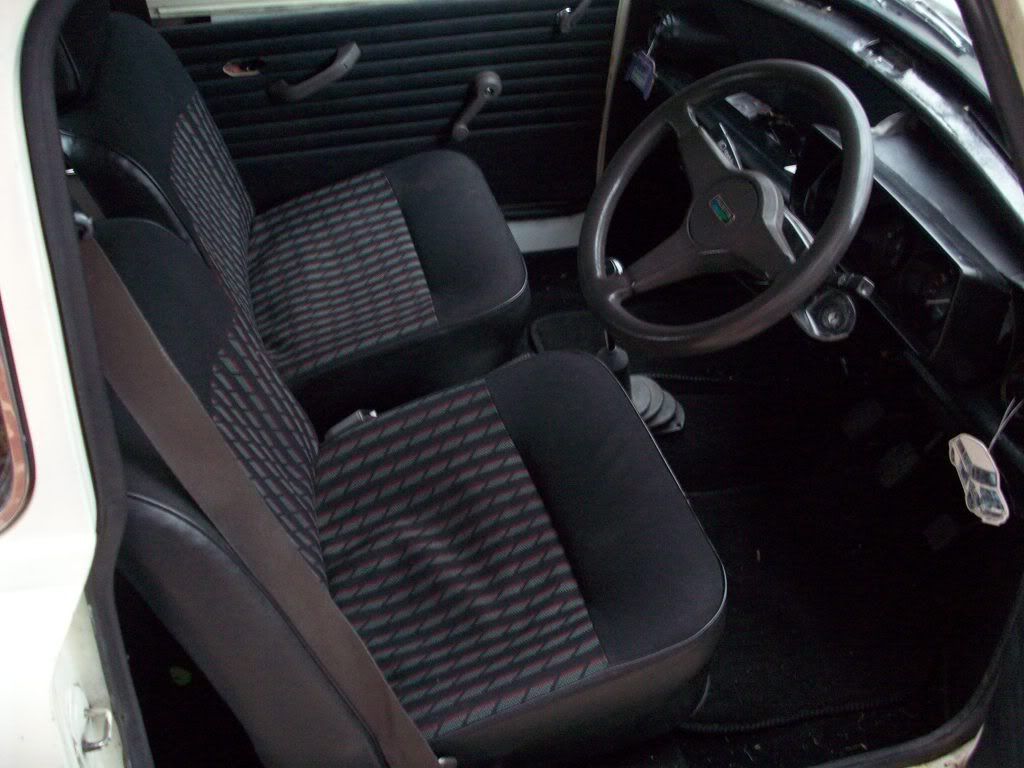
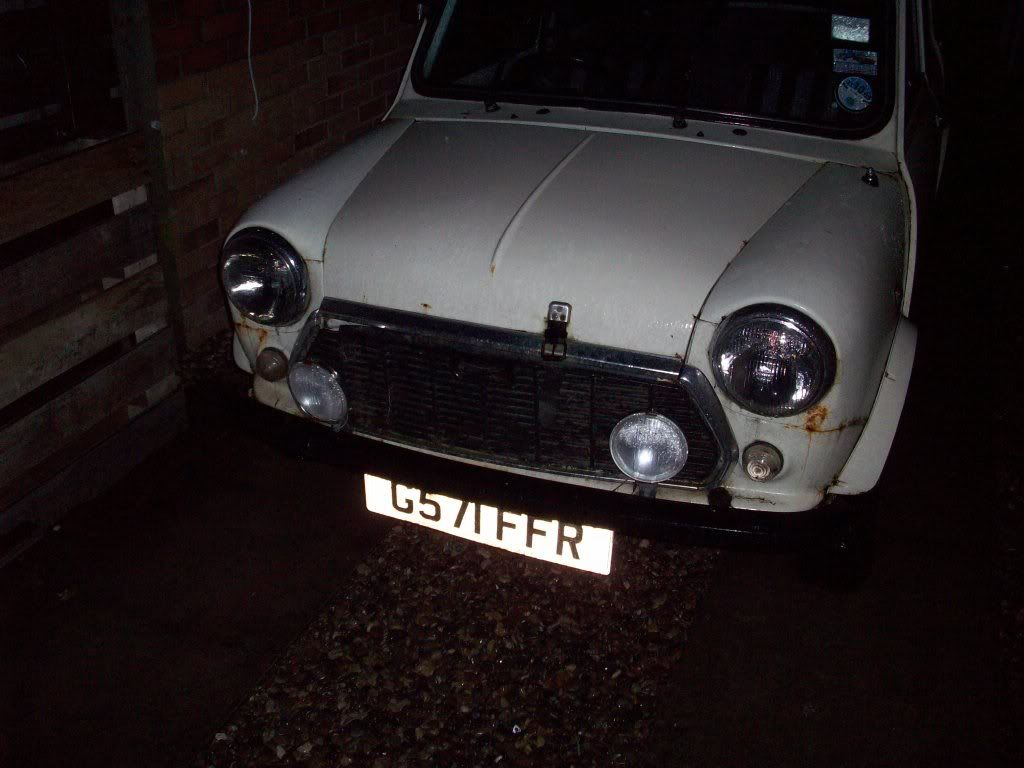
Heres a few photos of when I bought her;
Posted Image

Posted Image

Posted Image

Posted Image

Rotten Subframe!

Posted Image

Posted Image

Posted Image

Posted Image

Beginning the rebuild on the new subframe

Posted Image

Posted Image

Posted Image

Posted Image

Just to show what a wet-flat and polish can do..

Before..
Posted Image

After..
Posted Image

New carpet set..
Posted Image

Sneaky Peak of the wheels.
Posted Image

Posted Image

Posted Image

More to follow!

Dan

Edited by myredmini, 03 December 2012 - 09:13 PM.


#2 myredmini

myredmini

    My Mummy Says It's OK

  • Members
  • PipPipPipPipPipPipPipPipPip
  • 3,211 posts
  • Name: Dan
  • Location: Teesside
  • Local Club: BOG MOG

Posted 08 September 2011 - 10:30 PM

Was amazingly reliable, up until this....

Posted Image

Posted Image

Posted Image

Posted Image

Posted Image

Posted Image

The alternator Regulator decided to play games and not work anymore resulting in overcharging my brand new battery. This also managed to damage the positive lead and the earth strap were fried. I was turning left at night, lights on all of a sudden everything goes, electrics engine the lot, I pushed it to safety. Try to start it and nothing. I then had a wiff of burning, ran to the boot which was full of smoke. Threw all my stuff on the floor including my boot lining kit >_< to see the battery sparking and smoking. I managed to disconnect it. Thanks to Footman James, I was home in about an hour. I bought an uprated 70amp alternator, positive cable and earth strap and this solved that problem.

The only issue I have now is my rev counter reading wrong, which is work in progress!

Decided to upgrade the exhaust, so I got a Maniflow single pipe centre exit, which is brilliant!!

Posted Image

Posted Image
Hmmm... :X

I taken these pictures yesterday as a before and after !

Posted Image

Posted Image
She's Crying for a new coat.

Posted Image
Wings and a panels to be replaced!


Posted Image

Posted Image

Posted Image


Posted Image

Posted Image


Posted Image

Posted Image

Posted Image

Posted Image

Leaking >_<

Dan

#3 myredmini

myredmini

    My Mummy Says It's OK

  • Members
  • PipPipPipPipPipPipPipPipPip
  • 3,211 posts
  • Name: Dan
  • Location: Teesside
  • Local Club: BOG MOG

Posted 08 September 2011 - 10:31 PM

Posted Image
Soild original Sills

Posted Image

Posted Image

Posted Image
:shifty:

Posted Image
Toolbox (a must)

Posted Image

Posted Image
Badly painted roof! very hazey

Posted Image

Posted Image

Posted Image

Posted Image

Posted Image

Posted Image

Posted Image

Posted Image

Posted Image

Posted Image

Posted Image

So watch this space for regular updates!!

Dan ;D

#4 minidream94

minidream94

    One Carb Or Two?

  • Members
  • PipPipPipPipPipPipPip
  • 1,233 posts

Posted 08 September 2011 - 10:51 PM

Dude, your parking is RUBBISH :L hahaha na good luck with it all, ill be following definately :D oo does this mean your without a car aswell now?

#5 myredmini

myredmini

    My Mummy Says It's OK

  • Members
  • PipPipPipPipPipPipPipPipPip
  • 3,211 posts
  • Name: Dan
  • Location: Teesside
  • Local Club: BOG MOG

Posted 08 September 2011 - 10:58 PM

Oh haha very funny, if you notice in the pictures before it was against the fence, i pushed it out to get a picture of the other side :proud:

#6 mini danny

mini danny

    I am a mini daddy.

  • Members
  • PipPipPipPipPipPipPipPipPipPip
  • 5,229 posts
  • Local Club: british mini club

Posted 11 September 2011 - 02:53 PM

looking good matey cant wait to see your minis in the flesh :)

#7 R.S.P

R.S.P

    Super Mini Mad

  • Members
  • PipPipPipPipPipPip
  • 501 posts
  • Location: Teesside
  • Local Club: Durham mini club

Posted 11 September 2011 - 03:36 PM

So do you now have 2 projects and none on the road?

Are you doing thee charity run with bogmog at the end of the month?

#8 myredmini

myredmini

    My Mummy Says It's OK

  • Members
  • PipPipPipPipPipPipPipPipPip
  • 3,211 posts
  • Name: Dan
  • Location: Teesside
  • Local Club: BOG MOG

Posted 12 September 2011 - 12:01 AM

I have 3 mini's this one has just came off for an overhaul before winter, will be back on the road by the end of october hopefully. I didnt know about that run, if my mini was done yes but highly unlikely.

Also R.S.P do you have an engine crane ?

Thanks for the comments.
Dan.

#9 mini danny

mini danny

    I am a mini daddy.

  • Members
  • PipPipPipPipPipPipPipPipPipPip
  • 5,229 posts
  • Local Club: british mini club

Posted 12 September 2011 - 08:38 PM

any updates matey

#10 sonikk4

sonikk4

    Twisted Paint Polisher!!!

  • Admin
  • PipPipPipPipPipPipPipPipPipPipPip
  • 16,188 posts
  • Name: Neil
  • Location: Cotwolds.

Posted 12 September 2011 - 08:46 PM

Bit of a glutton for punishment there Dan still its a good base. Looks like somebody has already had a crack at repairing the wing at one point under the headlight.

Good luck with it.

#11 myredmini

myredmini

    My Mummy Says It's OK

  • Members
  • PipPipPipPipPipPipPipPipPip
  • 3,211 posts
  • Name: Dan
  • Location: Teesside
  • Local Club: BOG MOG

Posted 12 September 2011 - 10:35 PM

I put a piece in there Neil before the Mot just to be safe, I also done a few others but you cant see them ;) just on the hunt for a scuttle panel now. Its Quite a solid mini to be honest, all floors and sills are originals and solid as they seem to have been undersealed well..

Thanks

#12 myredmini

myredmini

    My Mummy Says It's OK

  • Members
  • PipPipPipPipPipPipPipPipPip
  • 3,211 posts
  • Name: Dan
  • Location: Teesside
  • Local Club: BOG MOG

Posted 27 September 2011 - 09:04 PM

Part 1

Finally got round to an update, and a big one at that.

Began the strip down a few weeks back, took just iver 2 hours to get it to this ;

Posted Image

Posted Image

Posted Image

Posted Image

These are my replacement seats, Im missing the rear piece that your back rests on (Anyone got one ? )

Posted Image

Posted Image

Heritage "A" Panels

Posted Image

Genuine Scuttle Closing Panels

Posted Image

And one rotten scuttle >_<

Posted Image

Will be collecting my new genuine Scuttle Panel tomorrow.

#13 myredmini

myredmini

    My Mummy Says It's OK

  • Members
  • PipPipPipPipPipPipPipPipPip
  • 3,211 posts
  • Name: Dan
  • Location: Teesside
  • Local Club: BOG MOG

Posted 27 September 2011 - 09:10 PM

Part 2


All my paints and thinners arrived

Posted Image

More of the rotten scuttle

Posted Image

Posted Image

Shock Mount (bet you can see whats coming)

Posted Image


Yep..

Posted Image

Posted Image

Cleaning up with a knotted wheel

Posted Image

Cut out both layers, made the first layer and welded in, then zinc primed

Posted Image

Second skin made up and zinc primed

Posted Image

All welded in and dressed

Posted Image

More Bodgery, expandable foam and fibreglass this time.. >_<

Posted Image

#14 myredmini

myredmini

    My Mummy Says It's OK

  • Members
  • PipPipPipPipPipPipPipPipPip
  • 3,211 posts
  • Name: Dan
  • Location: Teesside
  • Local Club: BOG MOG

Posted 27 September 2011 - 09:21 PM

Part 3


Purchased a new watertrap/regulator for when i get round to painting

Posted Image

Extra water trap for the gun incase of moisture in the air line

Posted Image

Now onto the bulkhead repairs..

Posted Image

Posted Image

Good penetration
Posted Image

New Heritage Dash rail, Test fitting

Posted Image

Posted Image

Posted Image

That will be welded in along with the scuttle. Only worry is the fitting of the windscreen, I will be tacking the panels together and then trial fitting the windscreen to check everything is good to go..

Few repairs onto the top of the inner wing..

Posted Image

Small repair needed on the pillar.

Cut out
Posted Image

Panel made
Posted Image

In place
Posted Image

Welded and Dressed
Posted Image

Zinc Primed
Posted Image

I then thought I would trial fit the passenger side wing and a panel

Posted Image

Posted Image

Posted Image

Front panel was replaced just before the MOT a few months back, both front panel and wings are non-genuine and the fit it suprisingly very good as you can see in the pictures.

Posted Image

Rust under the old wing

Posted Image

#15 myredmini

myredmini

    My Mummy Says It's OK

  • Members
  • PipPipPipPipPipPipPipPipPip
  • 3,211 posts
  • Name: Dan
  • Location: Teesside
  • Local Club: BOG MOG

Posted 27 September 2011 - 09:26 PM

Part 4

After I had removed the expanding foam, it revealed this

Posted Image

Posted Image

Posted Image

Posted Image

Posted Image

I am fitting a new flitch panel to repair everything in one go..

Posted Image

Posted Image

Other shock mount after hitting it with a hammer..

Posted Image

HUH?.... wheres the rust ?............. O_O

I will cut the top layer off to check behind it and re construct it again to get rid of ALL the rust..

Posted Image

Posted Image

Posted Image

Phew, thats all for now, next update may well be tomorrow evening..

Dan.. :highfive:


1 user(s) are reading this topic

0 members, 1 guests, 0 anonymous users